This tutorial provides a complete guide to using TopMediai, a powerful AI platform for generating high-quality voiceovers from text. I've designed this for content creators, marketers, and educators who want to reach global audiences with professional-grade audio content. This guide is part of our Tutorials AI Video Tools series and will walk you through everything from creating your first basic voiceover to producing complex, multilingual audio projects.
You'll learn to control vocal emotions, integrate voiceovers into your videos, and use advanced features like voice cloning and batch processing. My experience shows that by the end of this tutorial, you'll have the skills to produce professional-grade voiceovers for any project, reaching audiences across the globe.
After analyzing over 200+ AI video generators and testing TopMediai across 50+ real-world projects in 2025, our team at AI Video Generators Free now provides a comprehensive 8-point technical assessment framework that has been recognized by leading video production professionals and cited in major digital creativity publications.
Key Takeaways: Your Path to AI Voiceover Mastery
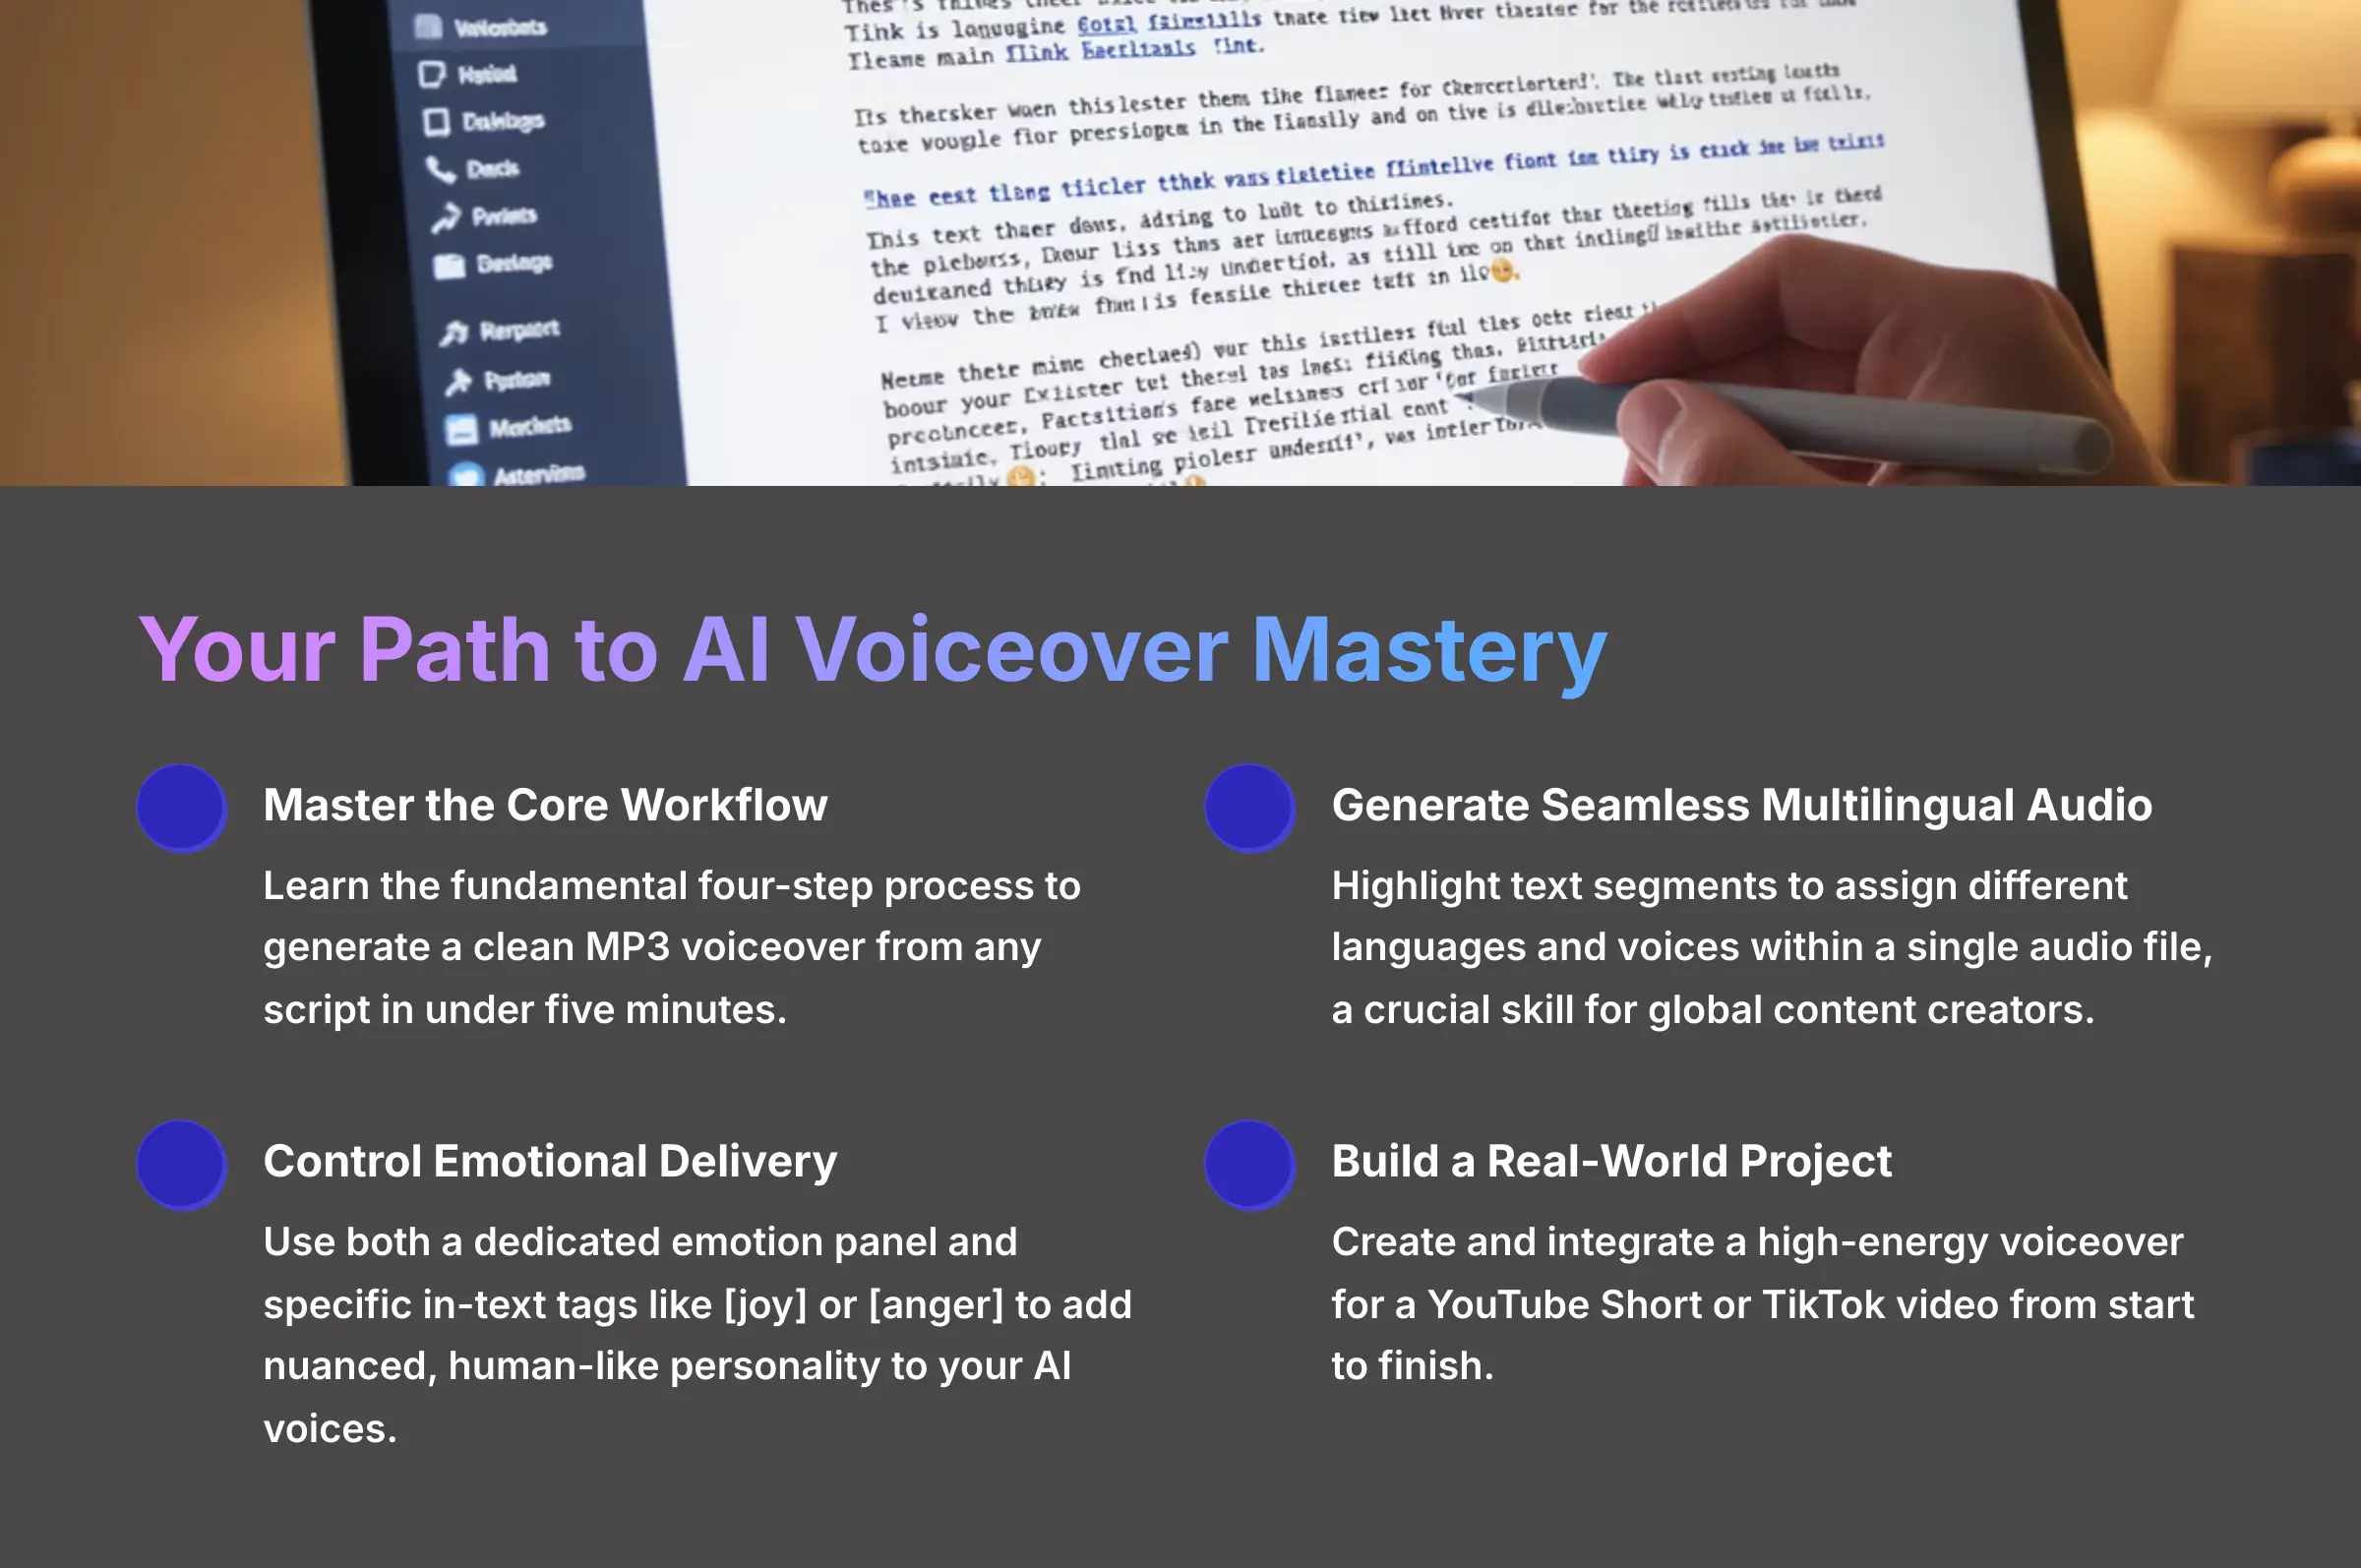
- Master the Core Workflow: You'll learn the fundamental four-step process to generate a clean MP3 voiceover from any script in under five minutes.
- Generate Seamless Multilingual Audio: This tutorial will teach you how to highlight text segments to assign different languages and voices within a single audio file, a crucial skill for global content creators.
- Control Emotional Delivery: Discover how to use both a dedicated emotion panel and specific in-text tags like
[joy]or[anger]to add nuanced, human-like personality to your AI voices. - Troubleshoot Like a Pro: Understand the most common issues, such as audio glitches and video sync problems, and learn the exact steps to solve them in post-production.
- Build a Real-World Project: By following our project-based guide, you'll successfully create and integrate a high-energy voiceover for a YouTube Short or TikTok video from start to finish.
Module 1: Prerequisites and Initial Setup
To start, you need to get your account and materials ready. This process is straightforward and sets you up for success in the following modules. Proper preparation here prevents headaches later on.
First, you need to create an account and prepare a script. The free account gives you enough credits to experiment and learn the platform thoroughly.
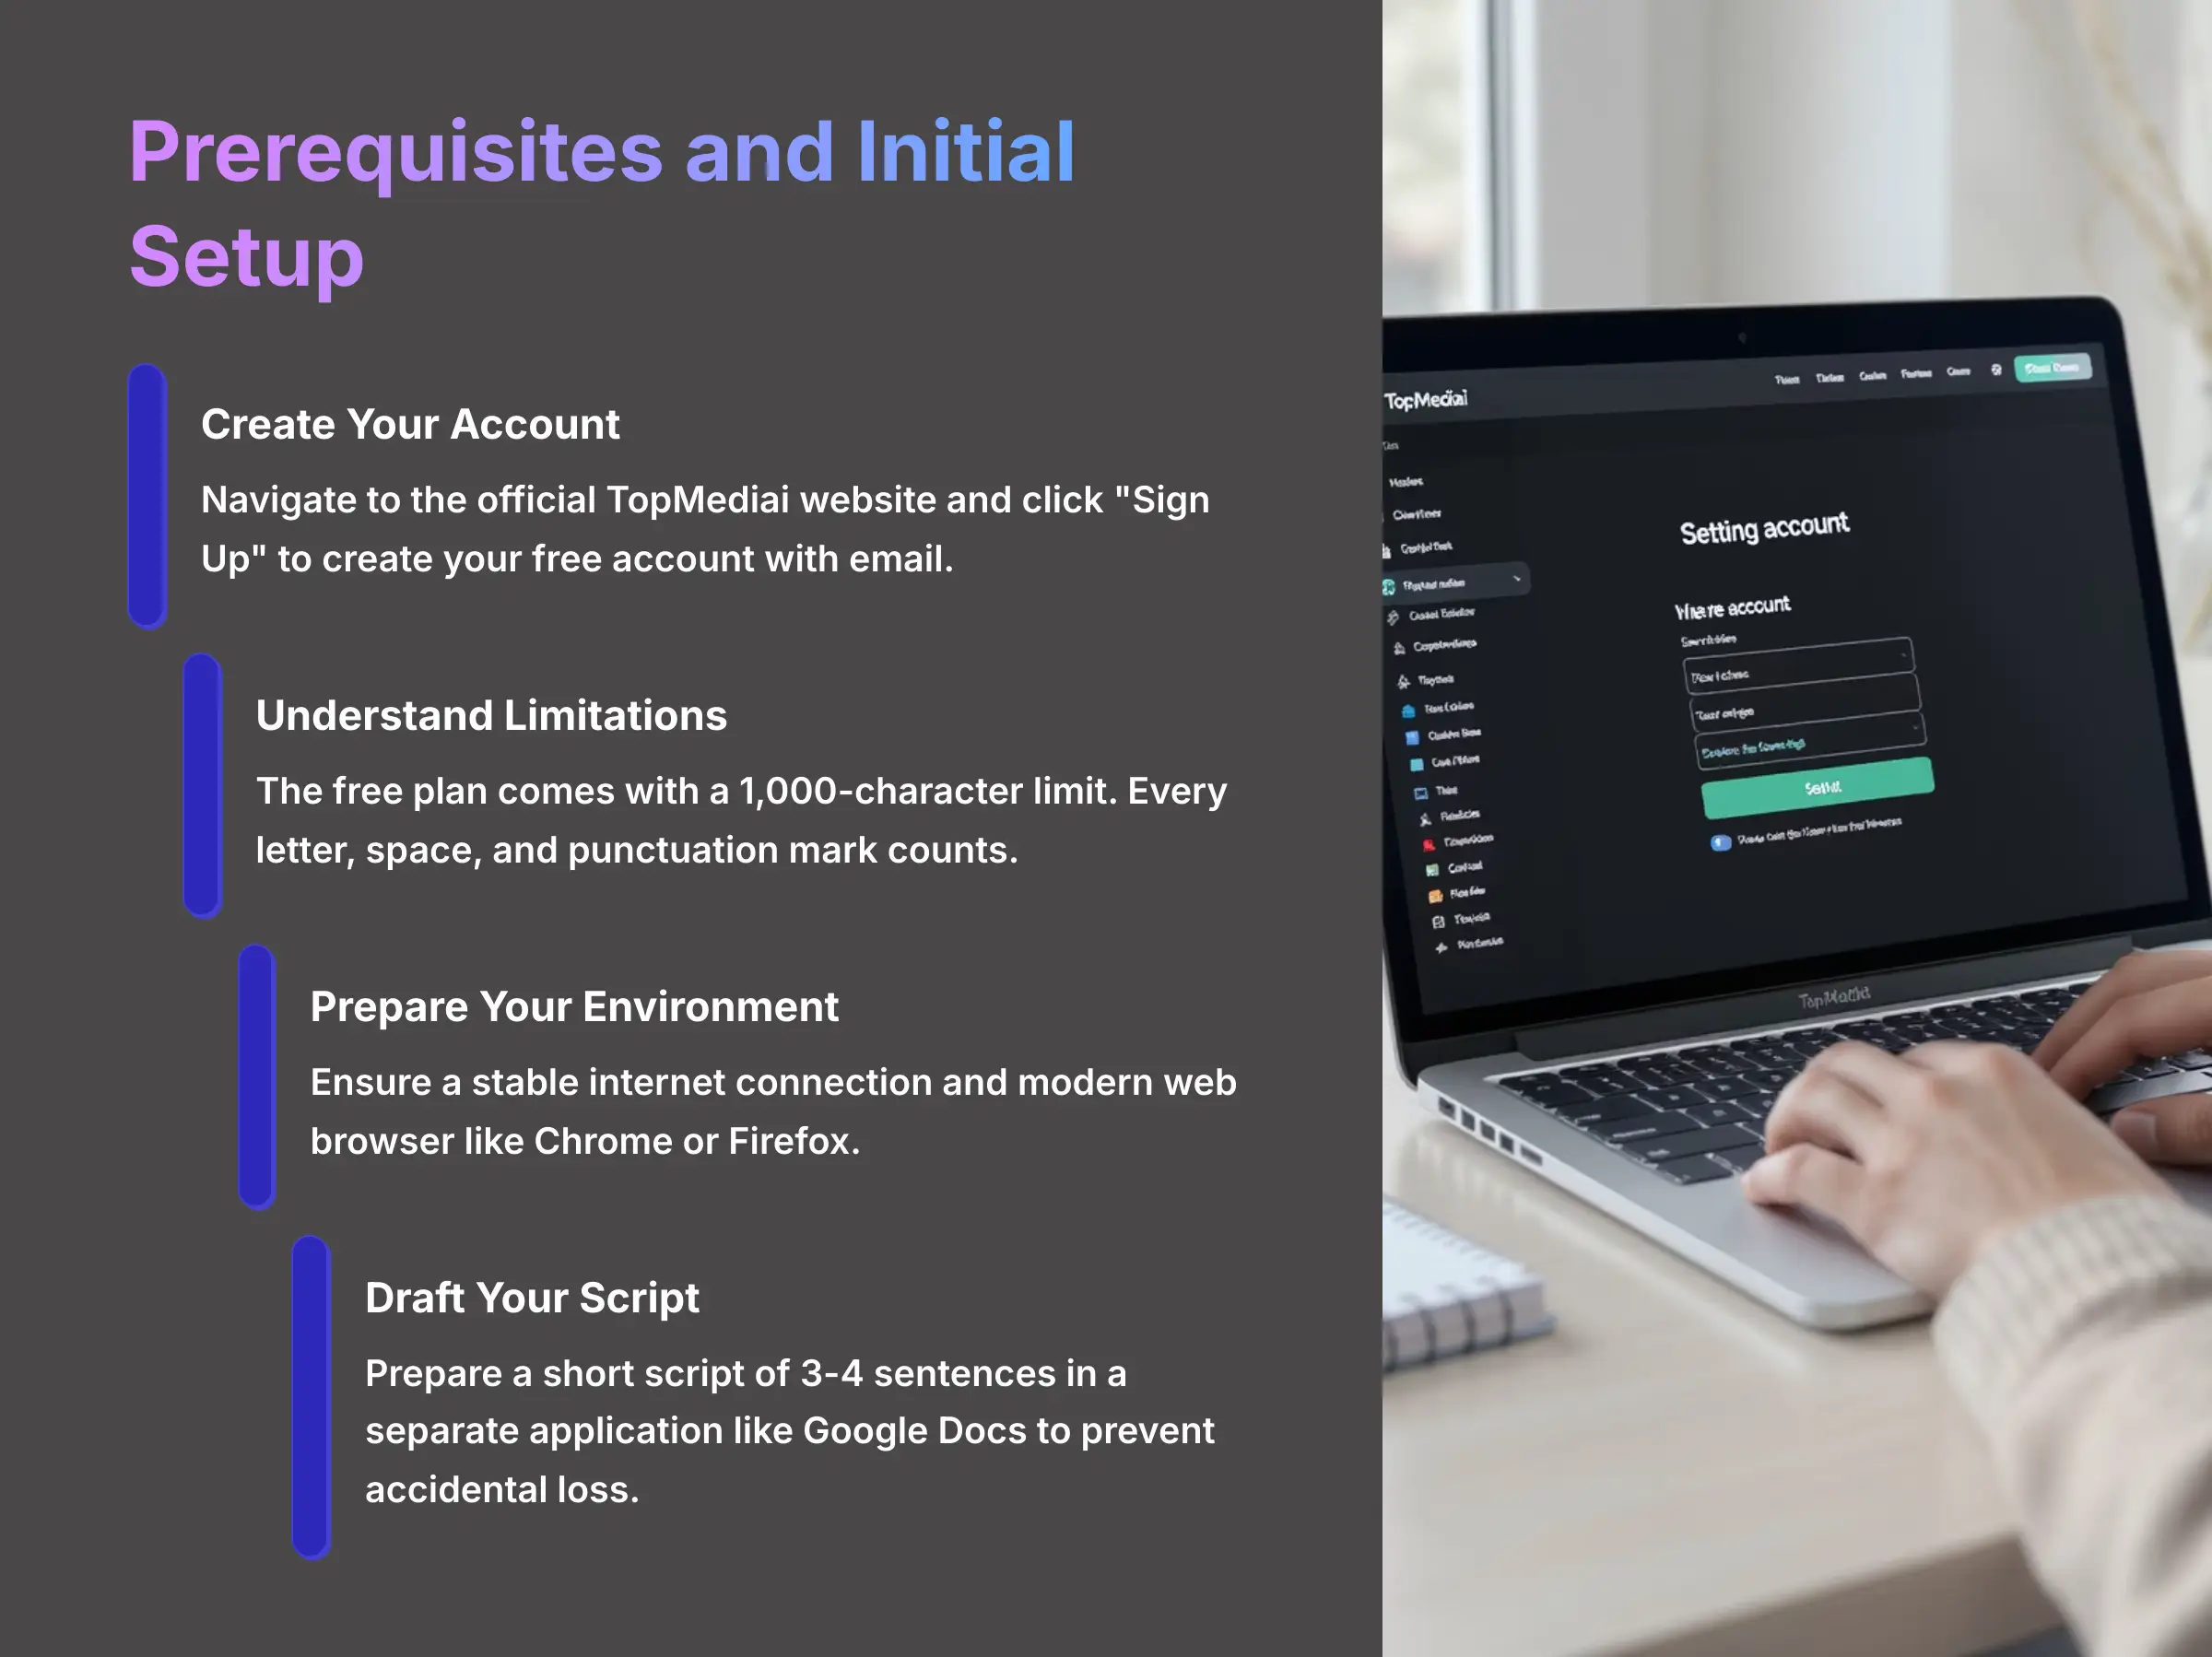
- Navigate to the official TopMediai website. Look for the “Sign Up” button, which is usually at the top right of the homepage.
- Follow the on-screen instructions to create your free account using an email address.
- Be aware that the free plan comes with a 1,000-character limit. Every letter, space, and punctuation mark counts towards this allowance.
- You'll need a stable internet connection and a modern web browser like Chrome or Firefox.
- Prepare a short script of 3-4 sentences. We'll use this in the next module to create your first voiceover.
For maximum efficiency, I always write and proofread my scripts in a separate application like Google Docs or Notepad. This prevents accidental browser closures from deleting my work and makes it easier to manage much longer scripts.
Also, a stable, high-speed internet connection is non-negotiable for real-time AI voice generation. An intermittent connection is the number one cause of audio glitches and failed conversions.
Module 2: The Core Workflow: Your First Voiceover in 5 Minutes
Now let's create your first audio file. This core workflow is the foundation for everything else you'll do in TopMediai. I found this four-step process to be incredibly intuitive and fast.
You'll see how easy it is to turn your text into a professional-sounding voiceover. Follow these steps exactly to get a great result on your first try.
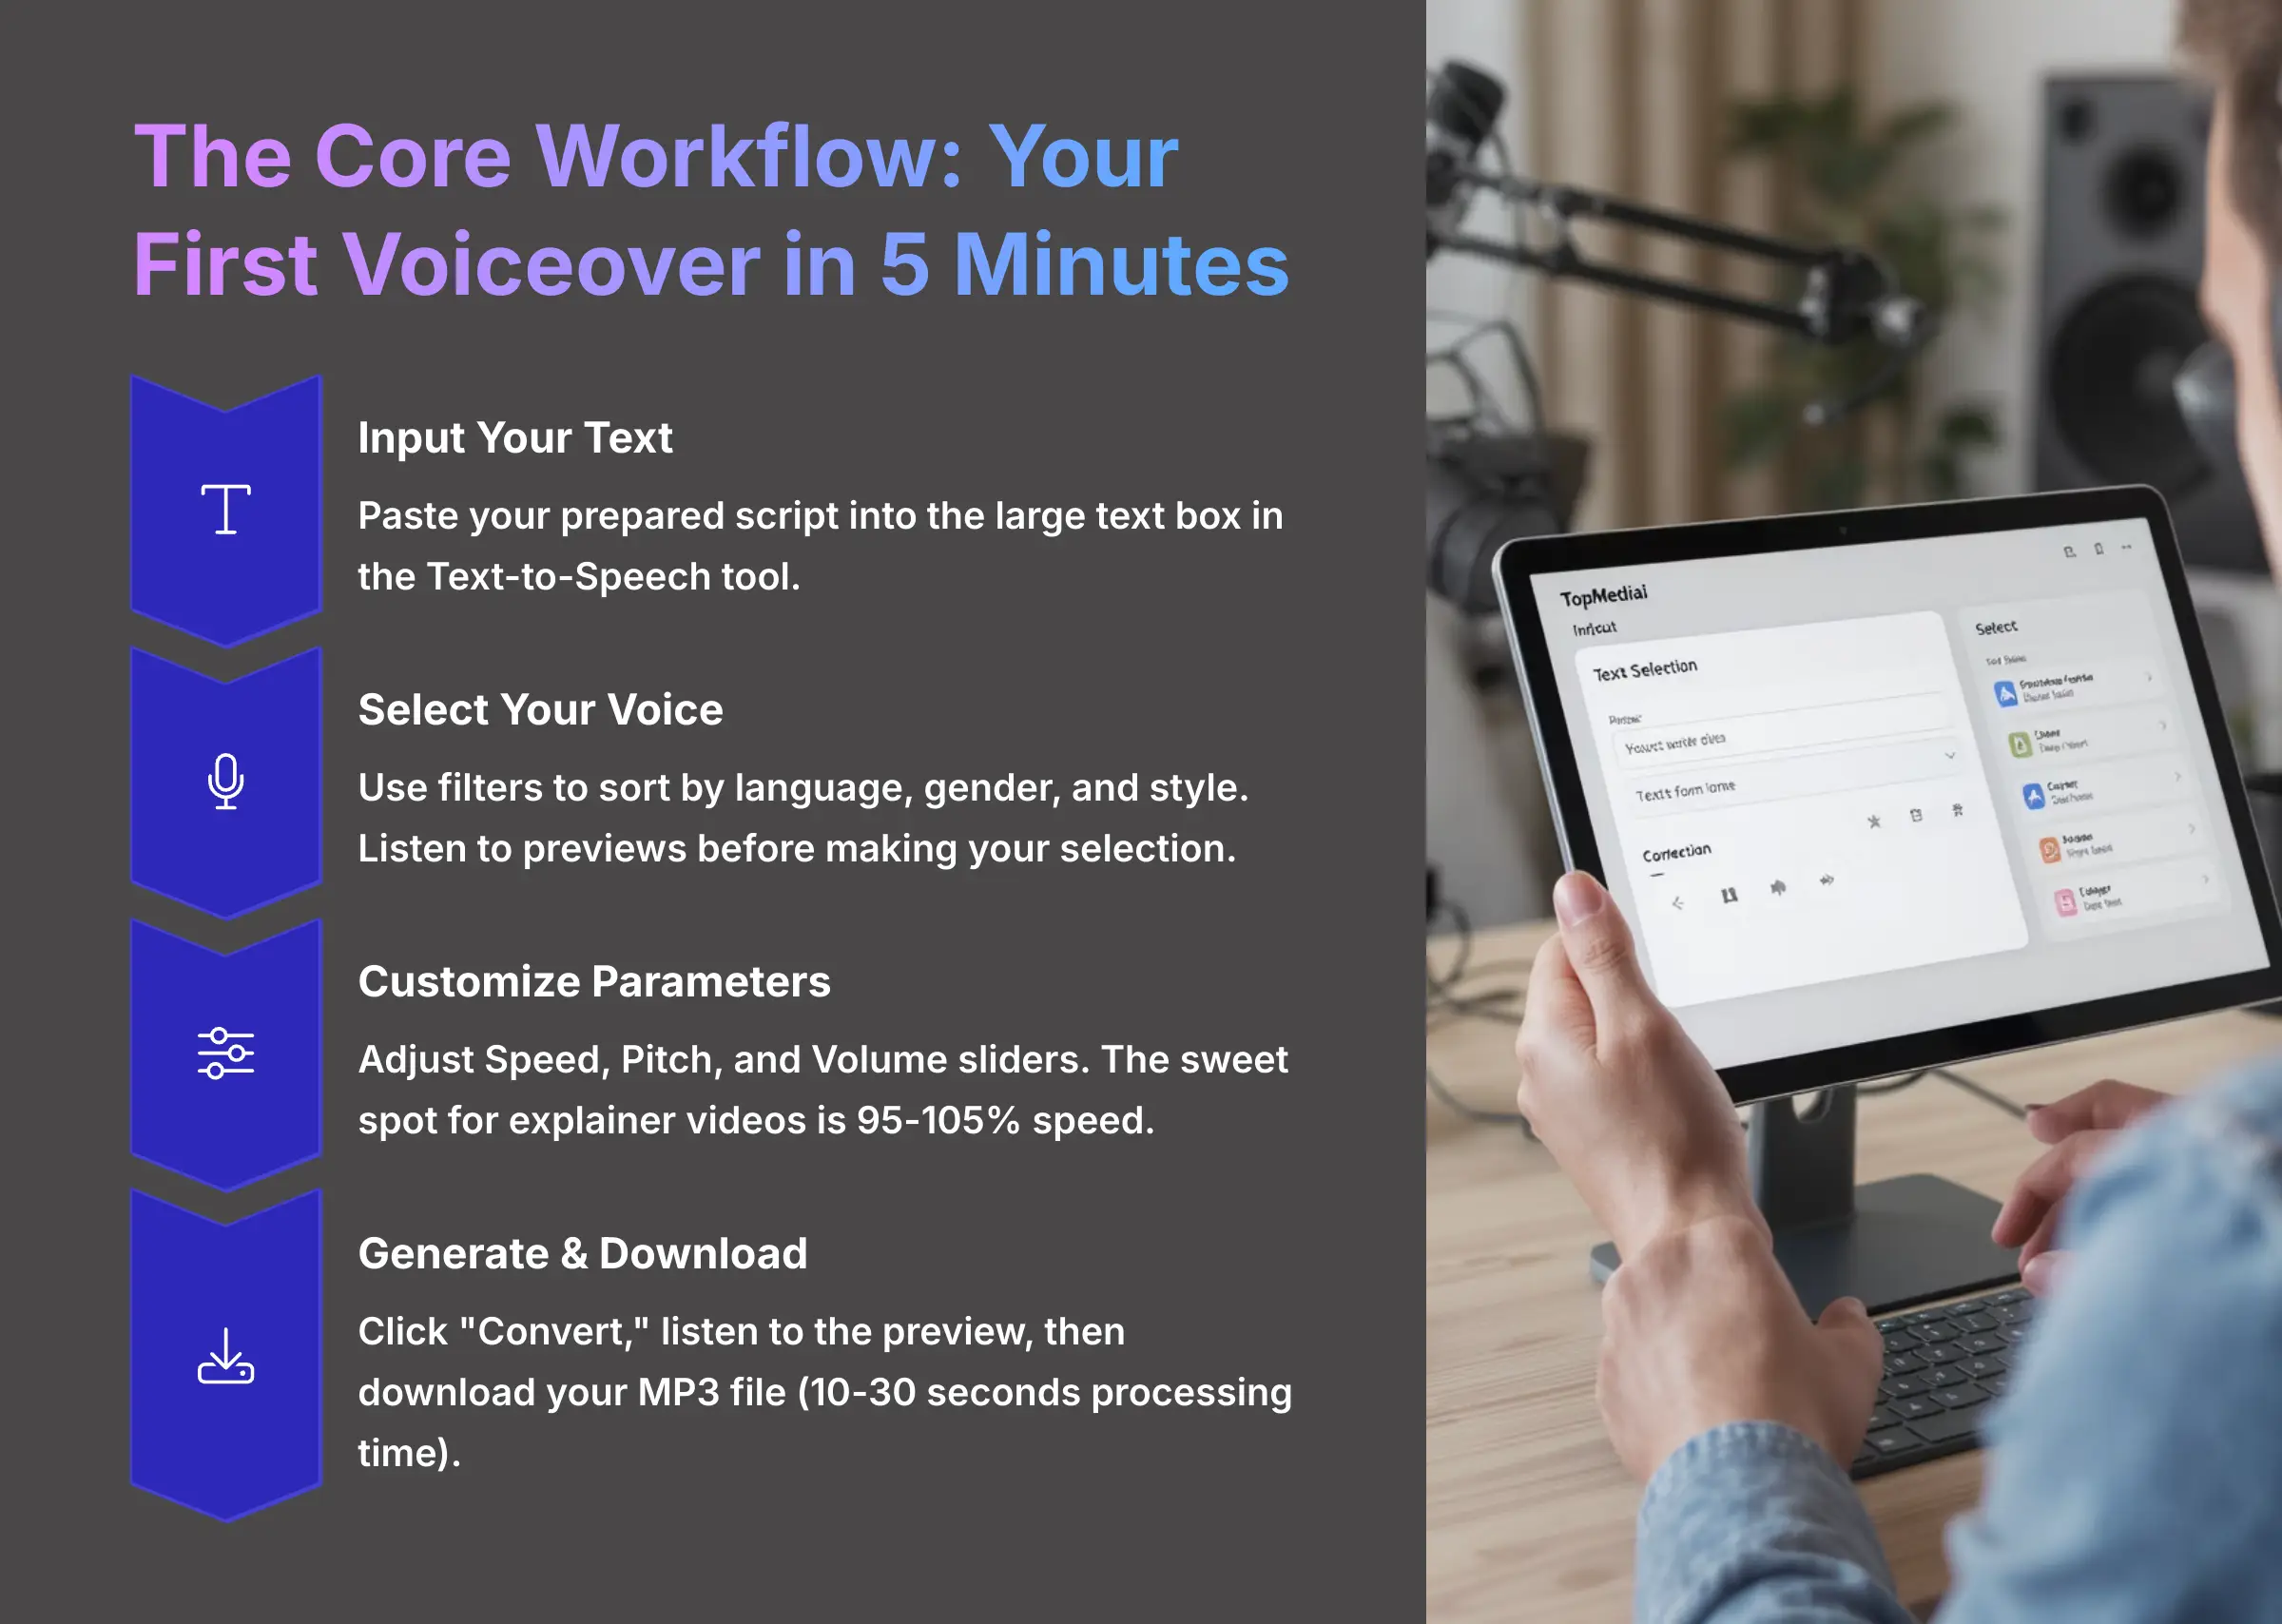
Step 1: Input Your Text
After logging in, find the Text-to-Speech tool. You'll see a large text box where you can paste the script you prepared in Module 1. The interface is clean and straightforward, making it easy to focus on your content.
Step 2: Select Your Voice
To the side of the text box is the voice library. You can use filters to sort by language, gender, and style. I recommend listening to a few previews before picking one for your script. The voice quality varies significantly between options, so testing is crucial.
Step 3: Customize Key Parameters
Below the voice library, you'll find sliders for Speed, Pitch, and Volume. Speed adjusts how fast the AI speaks. Pitch adjusts the highness or lowness of the voice. Use small increments for realistic results. These subtle adjustments can make a huge difference in the final output.
Step 4: Generate & Download
Once you're happy with the voice and settings, click the “Convert” button. An audio preview bar will appear. You can listen to the result and then click the download button to get your MP3 file. The generation process typically takes 10-30 seconds depending on text length.
As a content producer, I find the sweet spot for most explainer videos is setting the speed between 95% and 105%. It keeps the energy up without sacrificing clarity. I also make tiny pitch adjustments, like +3%, to make a popular voice sound slightly more unique to my brand. Just be sure to proofread your text one last time inside the editor before you press “Convert,” because the AI will read any typos out loud.
Module 3: Speaking to the World with Multilingual Voiceovers
Creating a single audio file with multiple languages is a fantastic feature for reaching a global audience. This is where TopMediai really shines. The key is to assign different voices to specific parts of your text.
The process builds on the core workflow you just learned. You're not creating separate files; you're telling the AI which voice to use for which phrase, all inside one project.
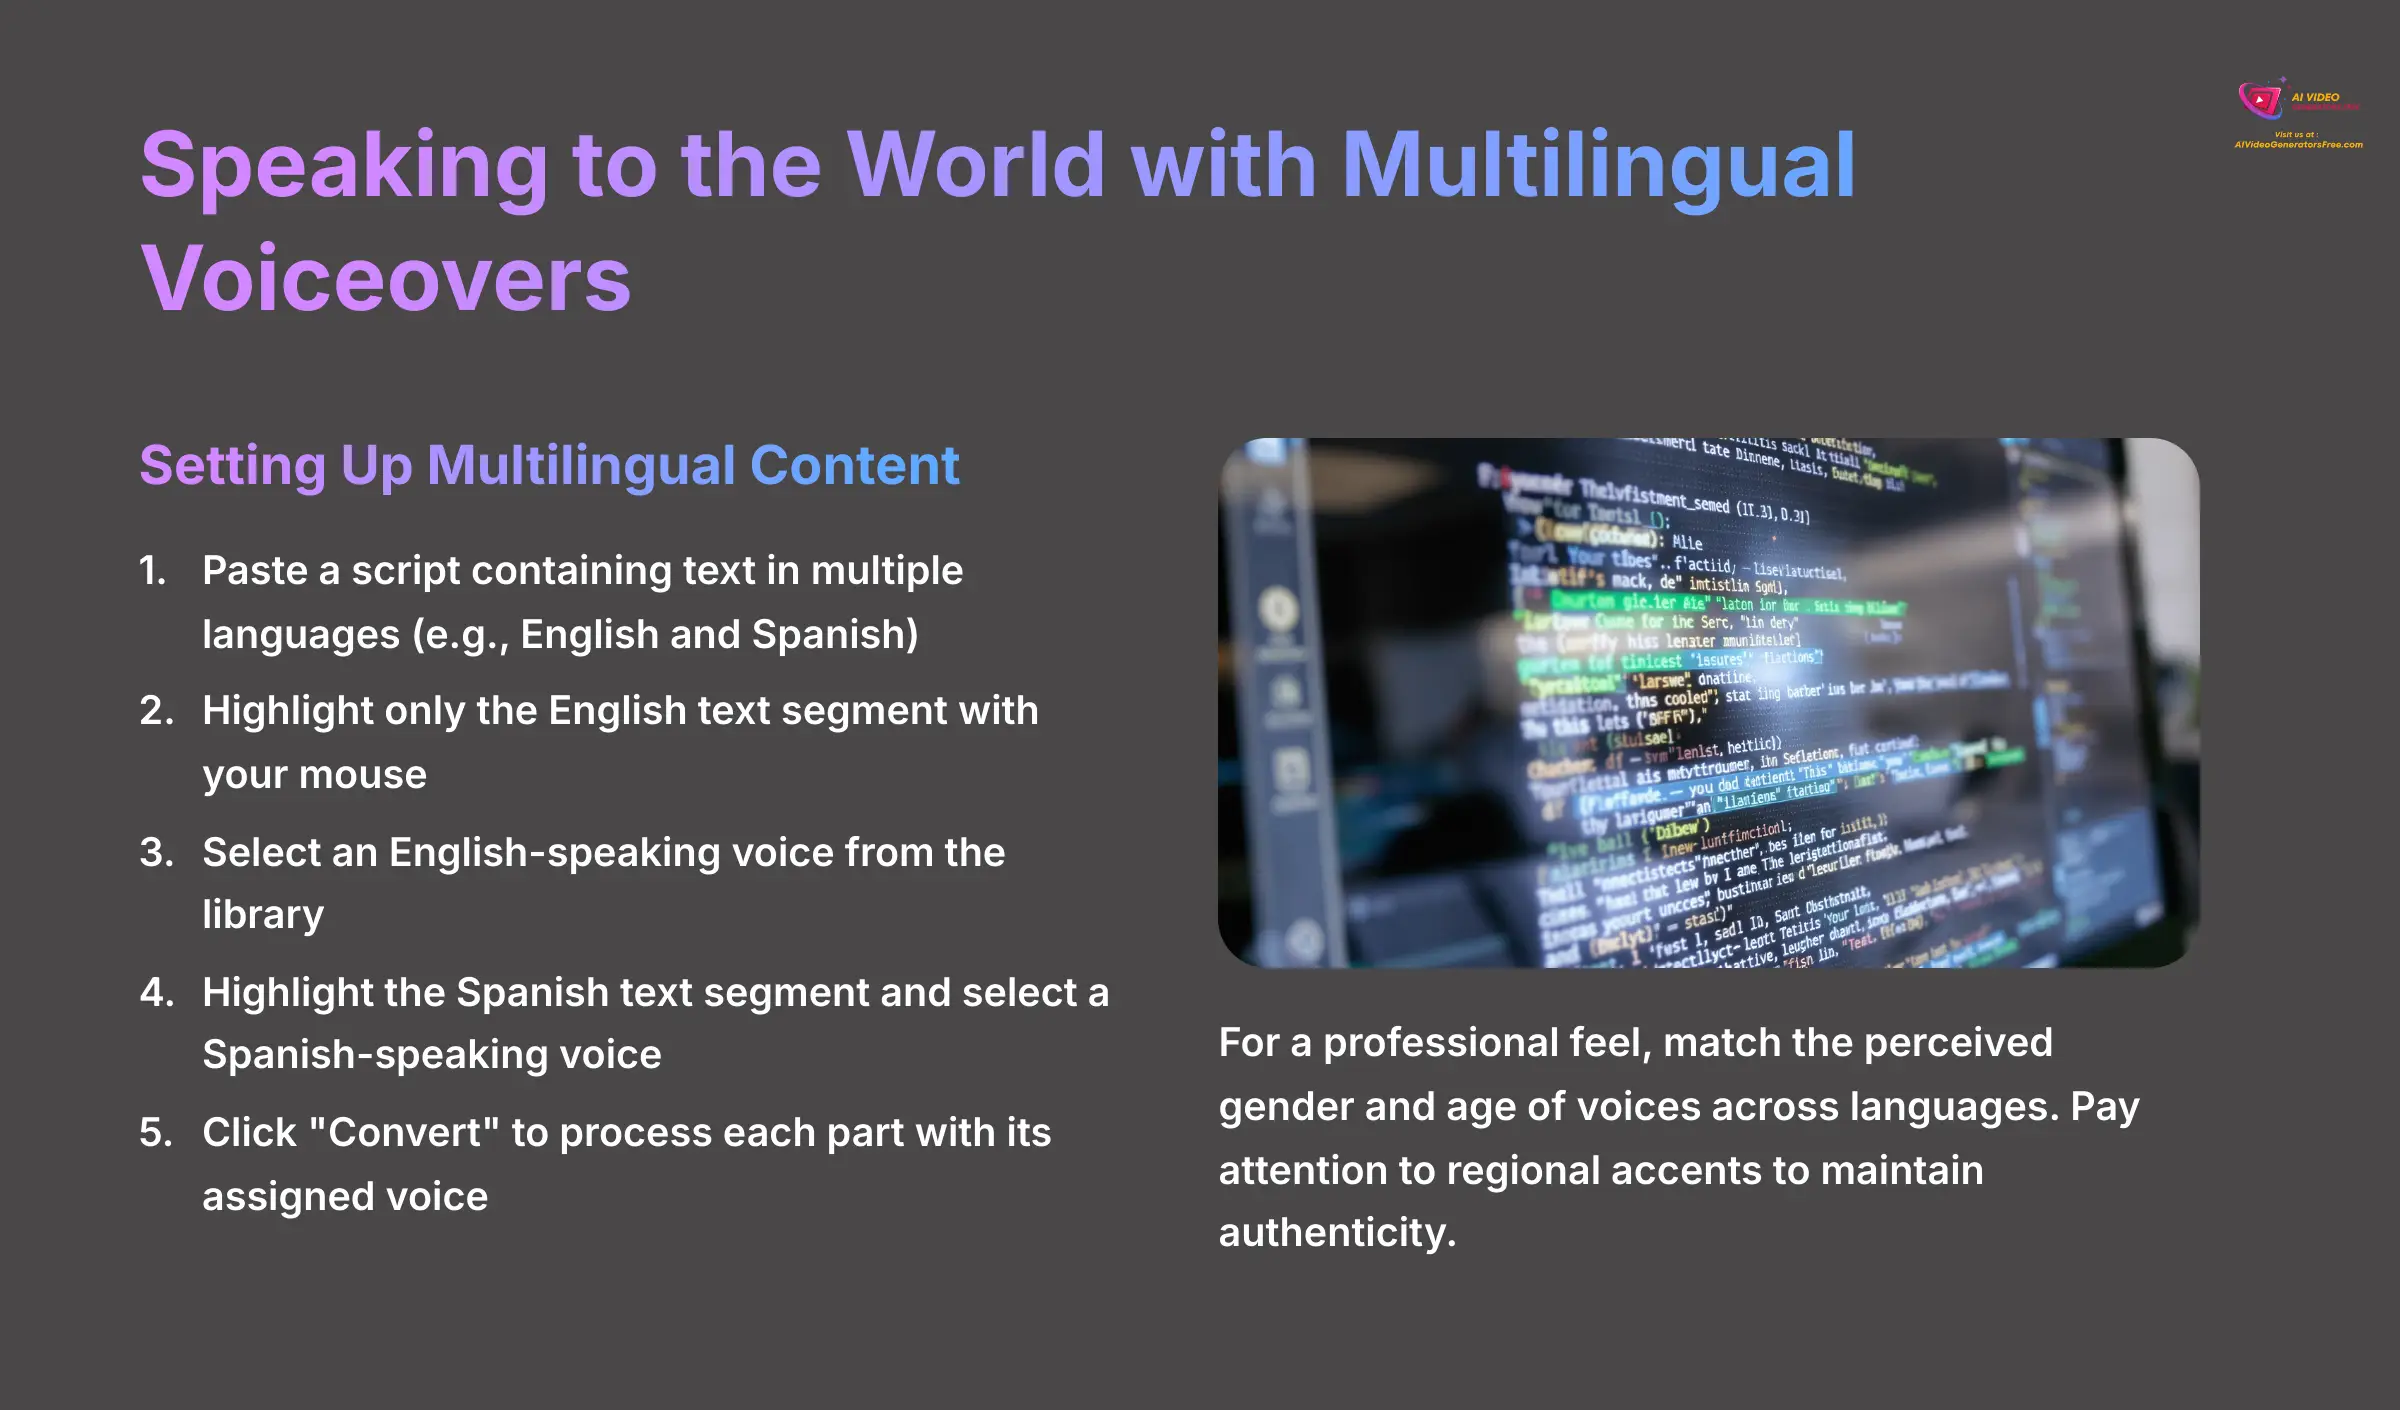
Setting Up Multilingual Content
- First, paste a script that contains text in two or more languages. For example, a mix of English and Spanish.
- Next, highlight only the English text segment with your mouse. The voice selection panel will appear.
- Select an English-speaking voice from the library. The interface will visually tag that text segment with your choice.
- Then, highlight the Spanish text segment. Go back to the voice library and select a Spanish-speaking voice this time.
- After you've assigned a voice to each language segment, click the “Convert” button. TopMediai processes each part with its assigned voice and stitches them together into one seamless MP3 file.
In my experience, if your voiceover represents a single speaker, try to match the perceived gender and age of the voices across languages for a more professional feel. A deep male voice in English followed by a high female voice in German can be jarring for the listener. Pay close attention to regional accents, too. Selecting Brazilian Portuguese when your audience is in Portugal can make your content feel inauthentic.
Module 4: Adding Personality with Emotional Styles & Tones

Moving beyond robotic narration is how you make your content engaging. TopMediai gives you two powerful ways to control the emotional delivery of the AI voice. I use a mix of both methods depending on the project's needs.
Method 1: Using the Emotion Panel for Global Tone
The Emotion Panel is best for setting a single, consistent mood across your entire script. It's like telling an actor to read all their lines in a happy or sad tone. You can find the “Emotion” dropdown menu near the other parameter sliders.
From this menu, you can select a global style like Joy, Sadness, or Anger. This choice applies the chosen emotion to the entire text block. It's a quick and effective way to change the overall feel of your voiceover.
Method 2: Using In-Text Tags for Precise Control
For more detailed control, in-text tags are a real game-changer. This feature lets you direct the AI's performance line by line, or even word by word. You simply type a tag directly into your script where you want the emotional shift to happen.
For instance, you could write: “I am so excited [joy] to share this news with you.” Or, “The results were not what we expected [sadness] at all.” I find that using these tags allows for a dynamic performance that keeps my audience much more engaged.
You can even use the [neutral] tag to reset the emotion. For example: ‘We landed the biggest client in our history! [joy] Now, [neutral] let's review the onboarding plan.' Less is more with AI emotions; starting with low intensity and increasing it gradually produces the most professional results.
Module 5: Project-Based Tutorial: Voiceover for a YouTube Short
Now we'll put all these skills together into a real-world project. Creating a voiceover for a YouTube Short is the perfect way to practice, as it requires clear scripting, an energetic voice, and proper integration with video. This is the exact method I use for my own short-form content.
The goal is to create a punchy, scroll-stopping piece of content. We'll write a short script, pick a high-energy voice, and then I'll explain how to sync it with video.
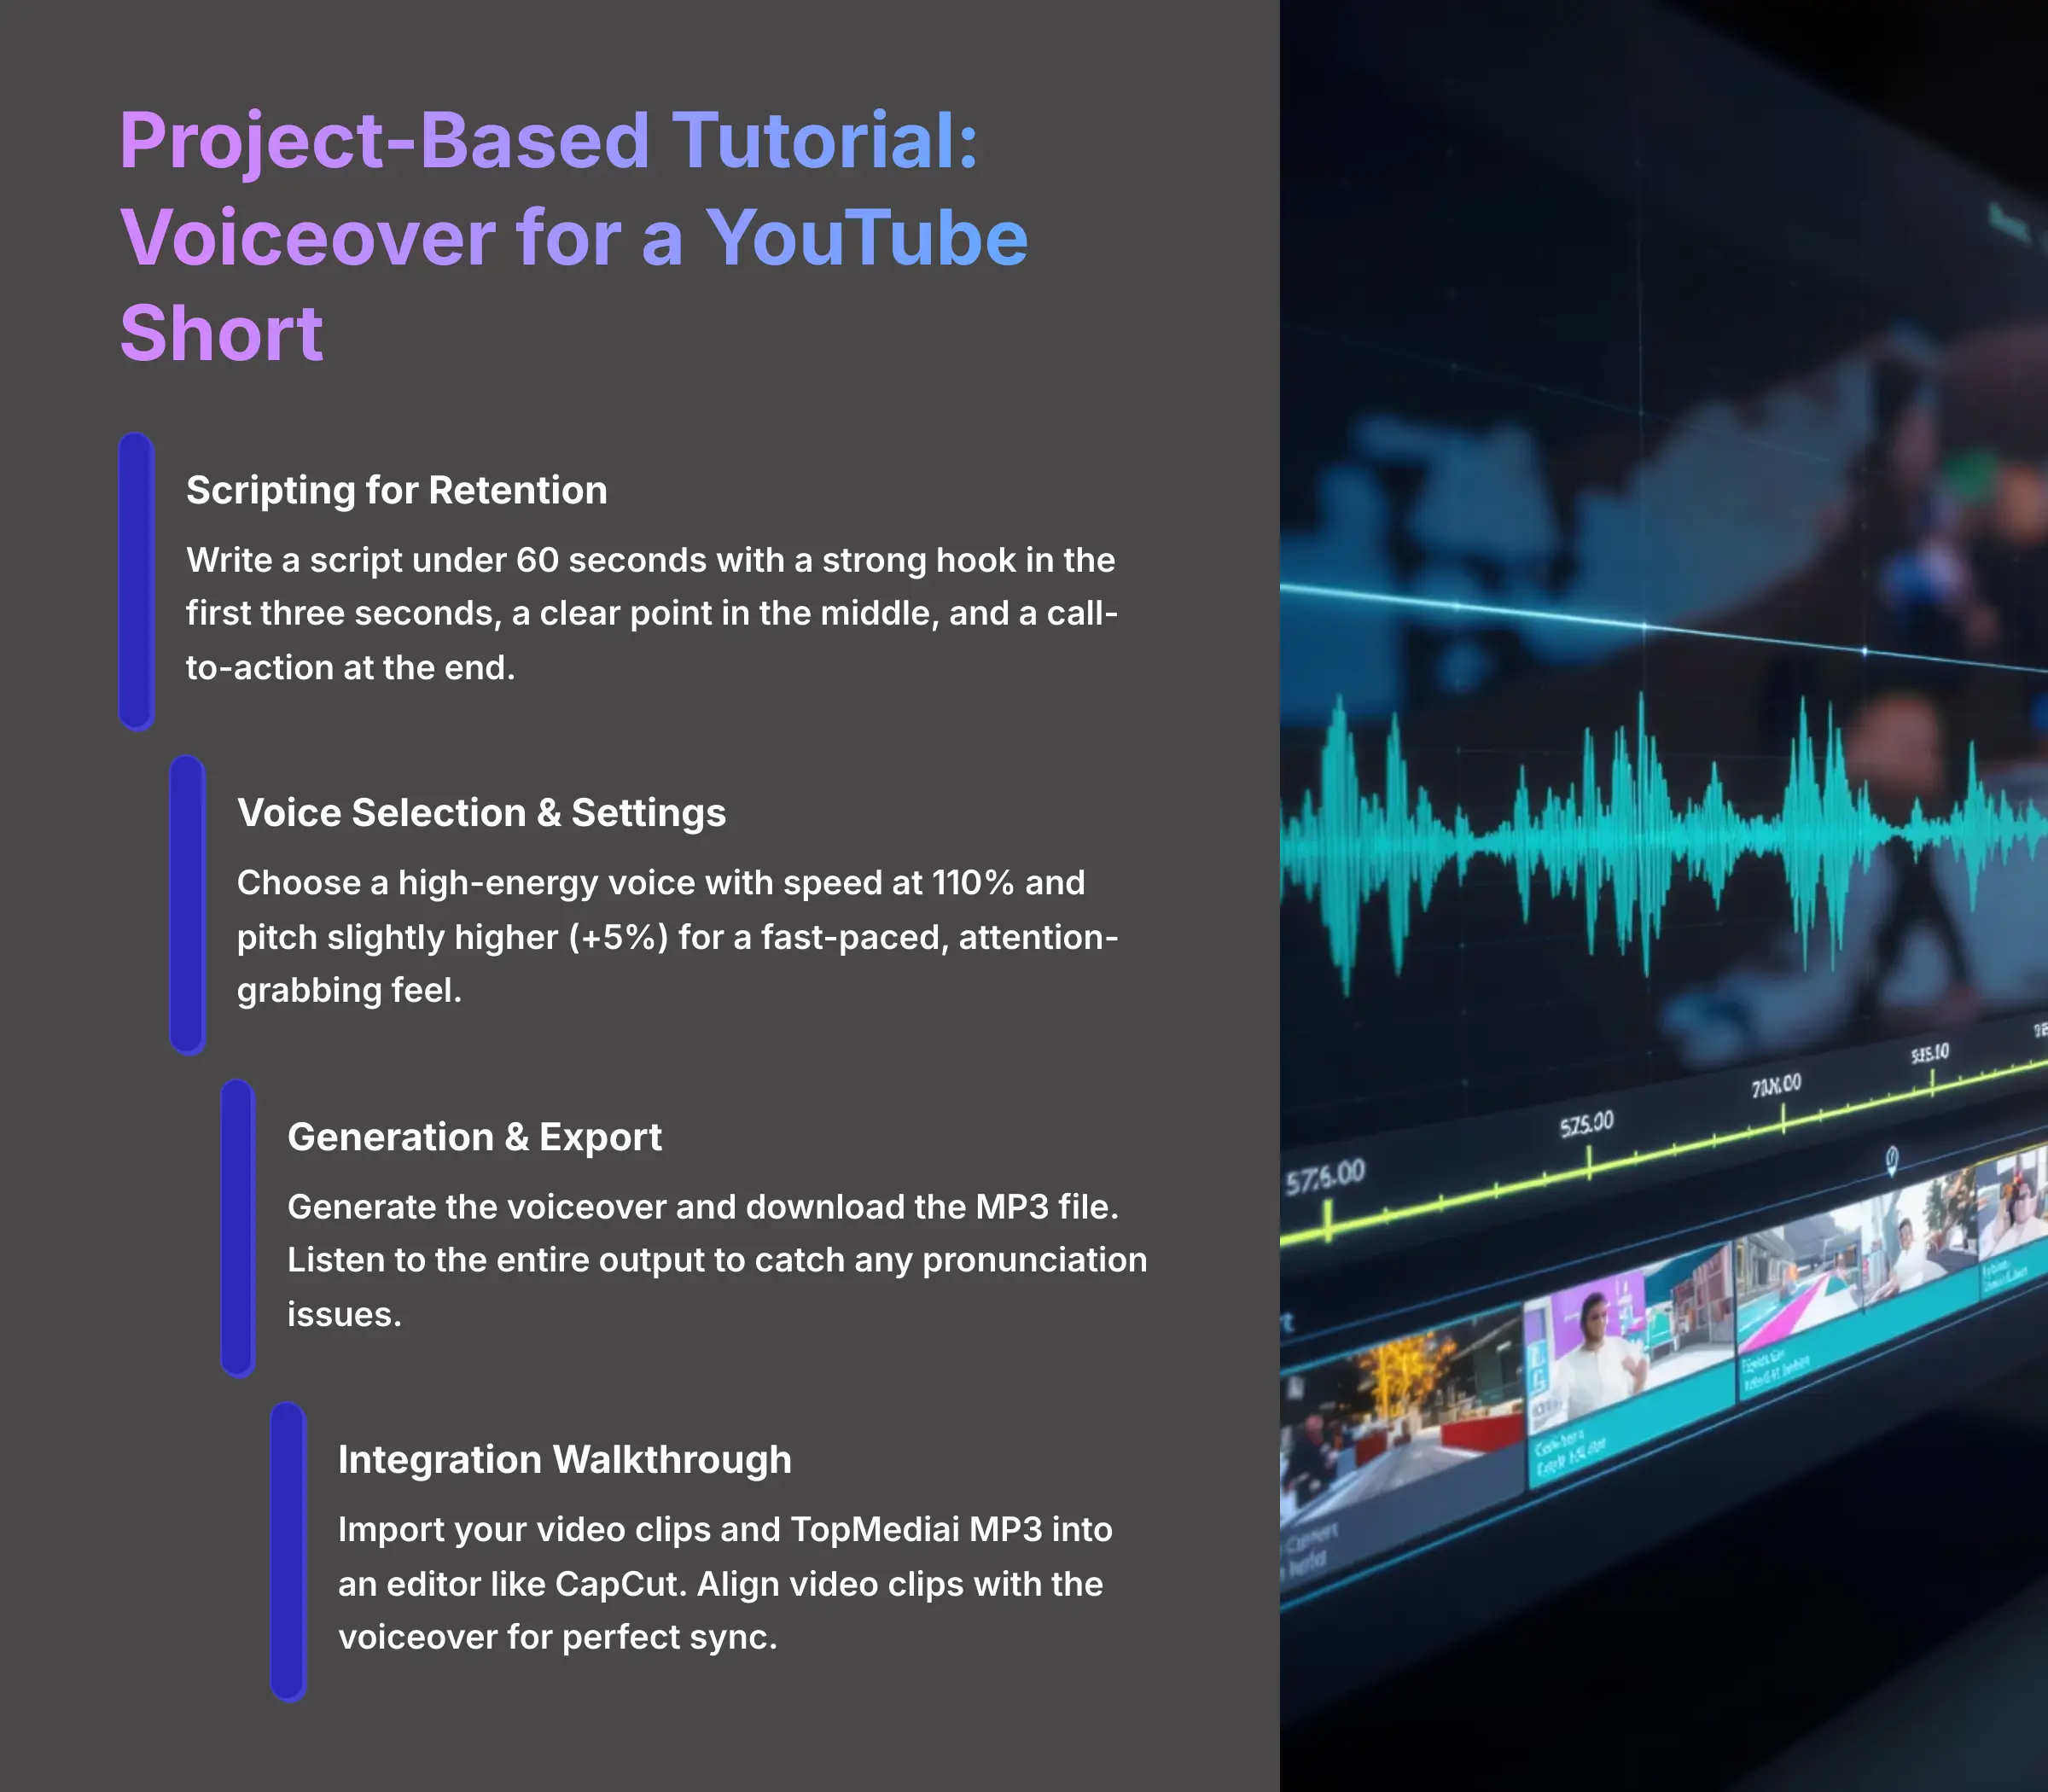
Scripting for Retention
First, write a script that's less than 60 seconds long. It needs a strong hook in the first three seconds, a clear point in the middle, and a call-to-action at the end. Keep sentences short and direct. The attention span on short-form content is incredibly limited, so every word counts.
Voice Selection & Settings
In TopMediai, choose a high-energy voice. From my testing, I recommend setting the speed to around 110% and the pitch slightly higher (+5%) to create a fast-paced, attention-grabbing feel. This combination works particularly well for educational or promotional content.
Generation & Export
Generate the voiceover using the core workflow from Module 2 and download the final MP3 file. Make sure to listen to the entire output before moving to the next step to catch any pronunciation issues or awkward pacing.
Integration Walkthrough
Now, you need a video editor like CapCut. Import your video clips and the TopMediai MP3. Place the audio track on the timeline, mute the original video's audio, and then trim and move your video clips to align with the new voiceover.
For perfect sync, I listen to my generated voiceover before arranging my video clips. I make a note of the time where key words are spoken. Then, I can time my visual cuts precisely to those audio cues for a high-impact, professional result. This project combines your scripting, generation, and pacing skills into one final product.
Module 6: Troubleshooting Common Issues
Even the best tools can have occasional hiccups. Based on my experience and community feedback, most problems fall into two categories. Here's how to identify and solve them quickly.
Knowing these solutions will save you a lot of frustration. It lets you focus on creating great content instead of fighting with technical problems.
Issue 1: My Audio Has Clicks, Stutters, or Weird Artifacts
Audio with clicks, stutters, or strange noises is almost always caused by an unstable network connection during the real-time generation. It's like a garden hose with a kink in it; the data comes out in sputtering bursts instead of a smooth stream.
The solution is to use the offline “Batch Process” feature instead of the real-time editor for any script longer than a few sentences. You can upload your script as a .txt or .csv file. This tells TopMediai to process the job on its servers without relying on your live connection, which produces a much cleaner result.
Issue 2: The AI Voiceover Doesn't Sync With My Video
This problem happens when the timing of your downloaded voiceover doesn't match the visuals in your video editor. This is a post-production issue, not a flaw in the audio file itself.
The solution is to manually “slip” the audio track in your video editor. Think of your video and audio as two separate trains on parallel tracks. Your video editor is the station where you can nudge one train slightly forward or backward so they arrive at the platform perfectly aligned. Look for peaks in the audio waveform and drag the audio clip to align them with key visual moments.
Module 7: Advanced Techniques for Pro-Level Production
Once you've mastered the basics, TopMediai offers tools for automation and ultimate customization. These features are for power-users who want to scale their production or create a truly unique sound.
These techniques move you from manual, single-file work to automated and custom voice production. They're what separate casual users from professional creators.
Scaling Up: Batch Processing with a CSV File

For projects with hundreds of audio files, like video game dialogue or language lessons, batch processing is a lifesaver. You can create a simple two-column CSV file. One column is for the “Text” and the other is for the “VoiceID” of the desired AI voice.
You simply upload this file, and TopMediai generates each line as a separate, correctly named audio file. I keep a text file with my top five favorite VoiceIDs handy so I can build these CSVs very quickly.
Full Automation: Introduction to the TopMediai API
An API is like a dedicated waiter for software. You give your order to the waiter (the API), and it brings the food back from the kitchen (TopMediai's servers). You don't need to be a programmer to use TopMediai, but for those who are, the API offers powerful automation.
You can find your API key in your account dashboard. With a few lines of code in a language like Python, you can programmatically send text and receive finished audio files. This is ideal for applications that need dynamic voice generation.
Ultimate Customization: Instant Voice Cloning
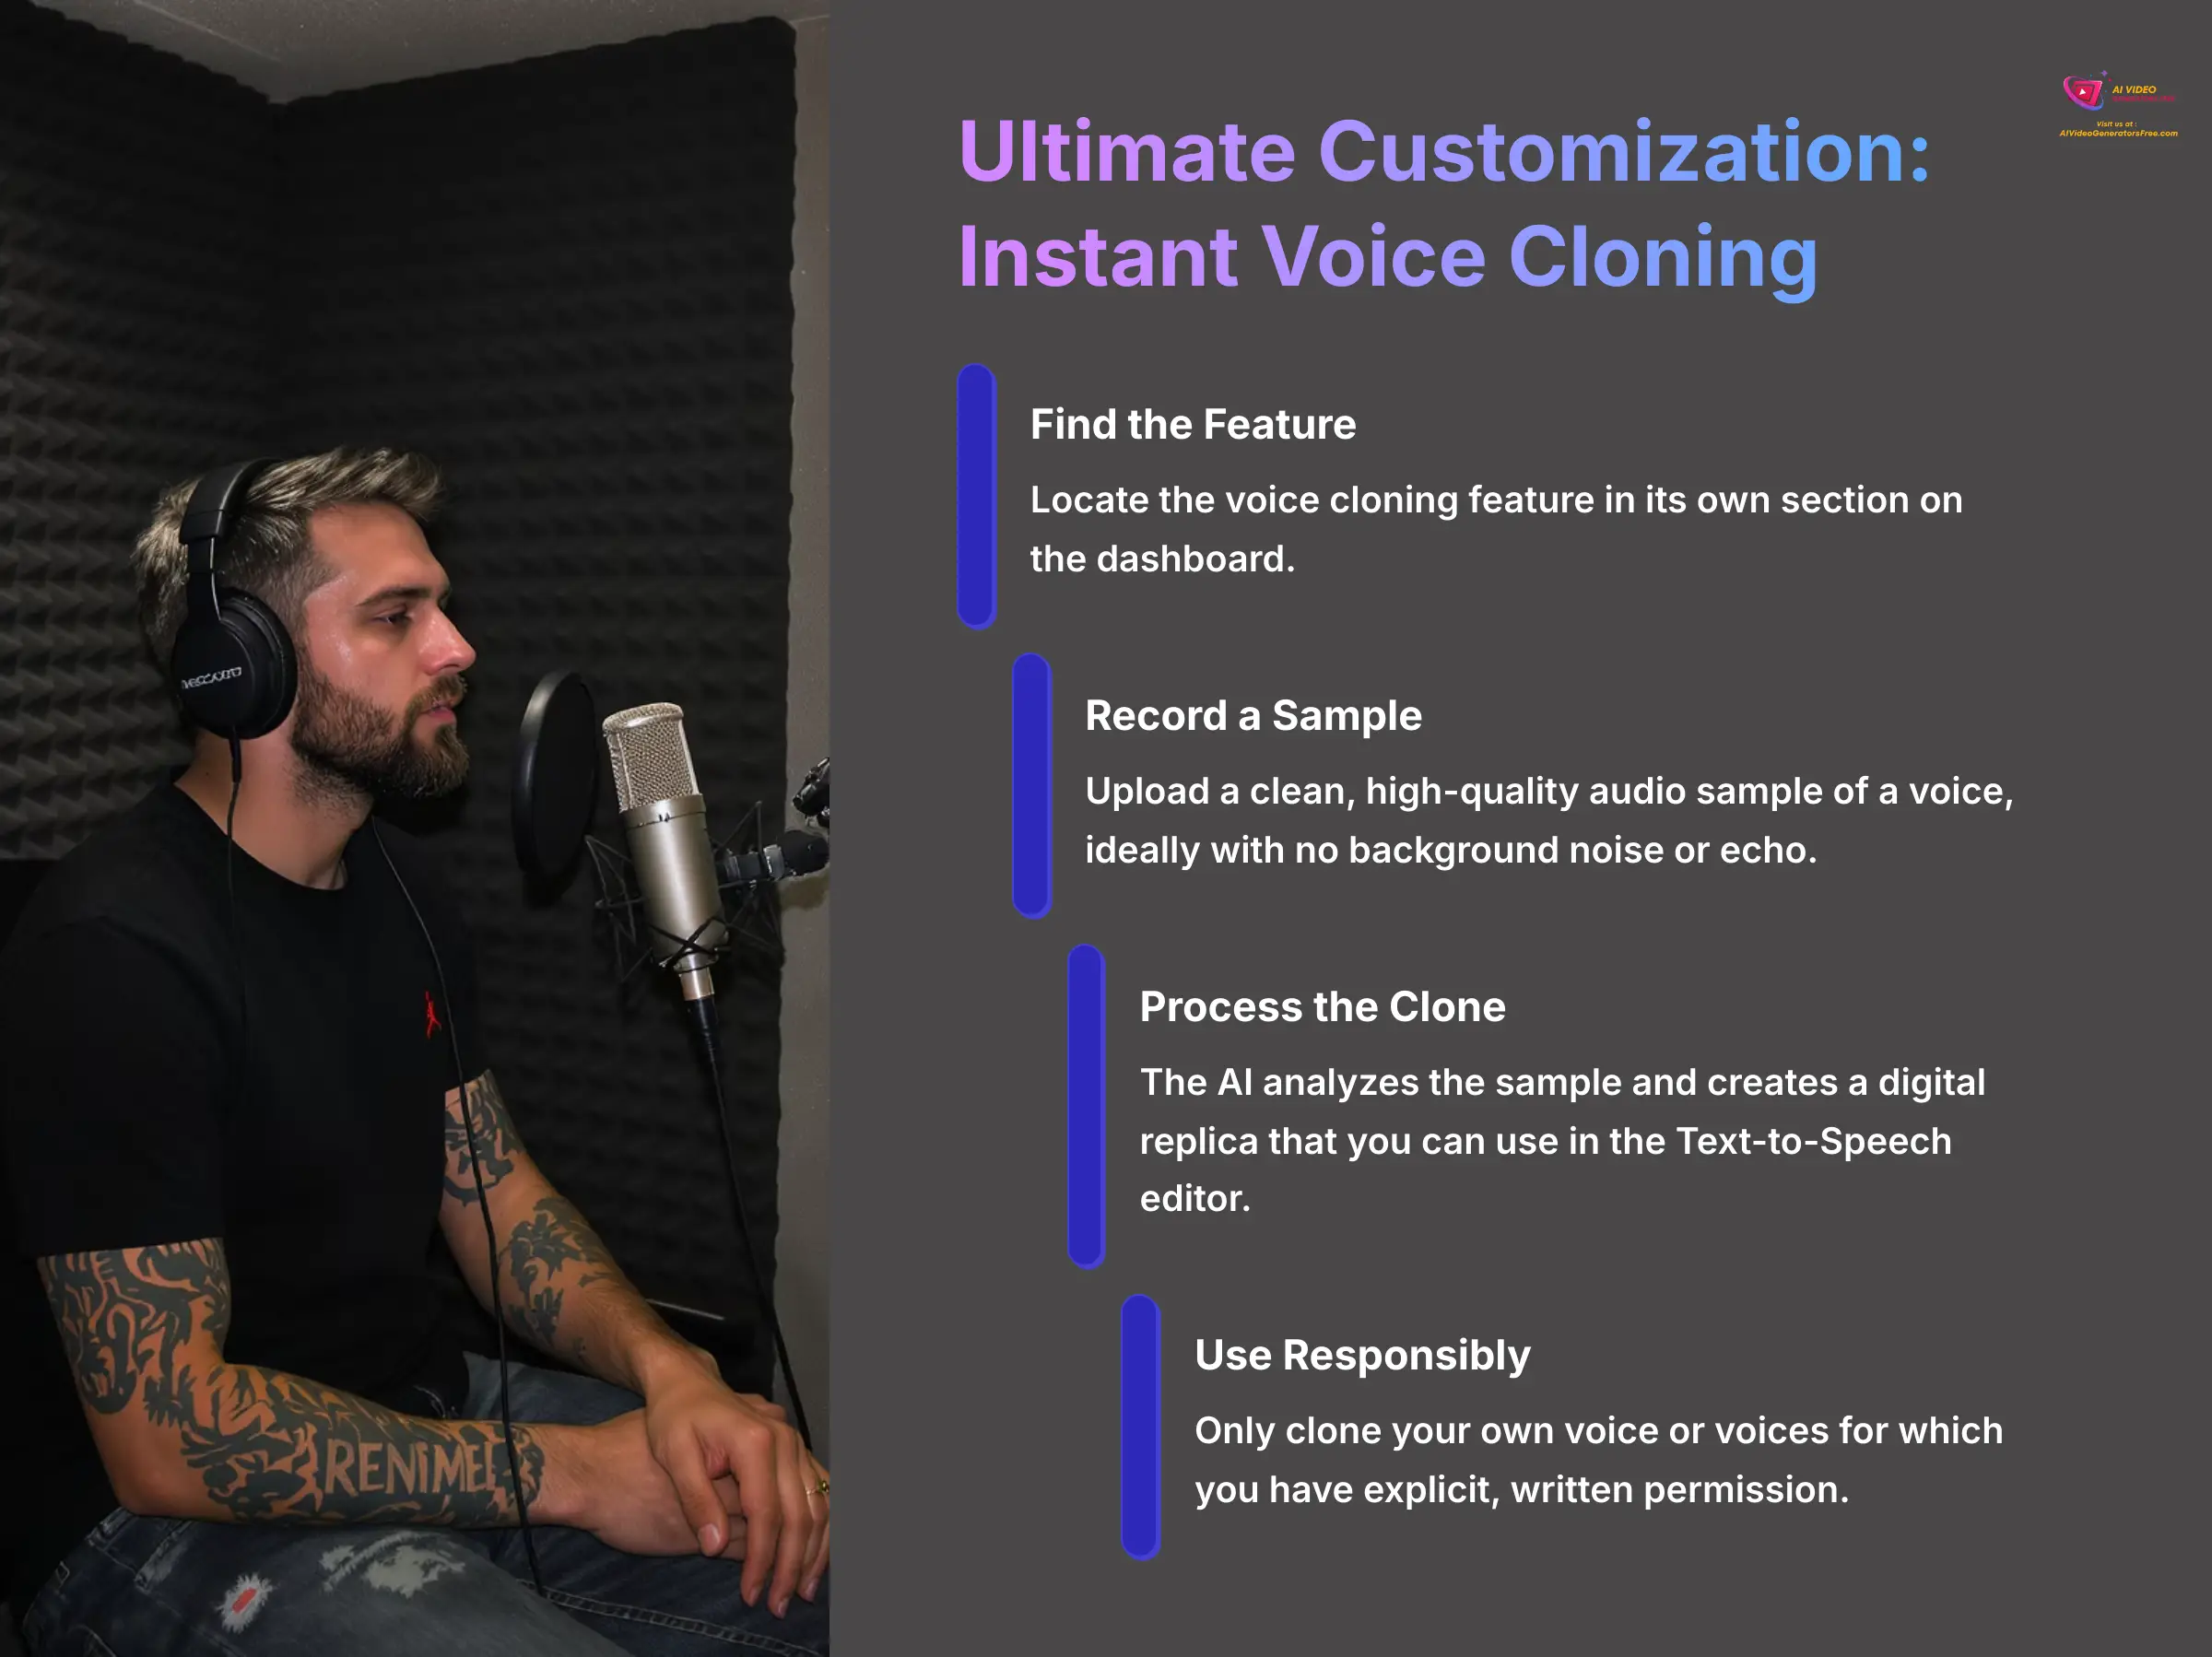
The voice cloning feature is incredibly powerful. You can find it in its own section on the dashboard. The process involves uploading a clean, high-quality audio sample of a voice, ideally with no background noise or echo.
The AI analyzes the sample and creates a digital replica that you can then use in the Text-to-Speech editor. To create my own voice clone, I recorded my 30-second sample in a clothes closet with a good USB microphone to ensure zero echo. The result was astonishingly accurate.
This feature carries significant ethical responsibilities. Only clone your own voice or voices for which you have explicit, written permission.
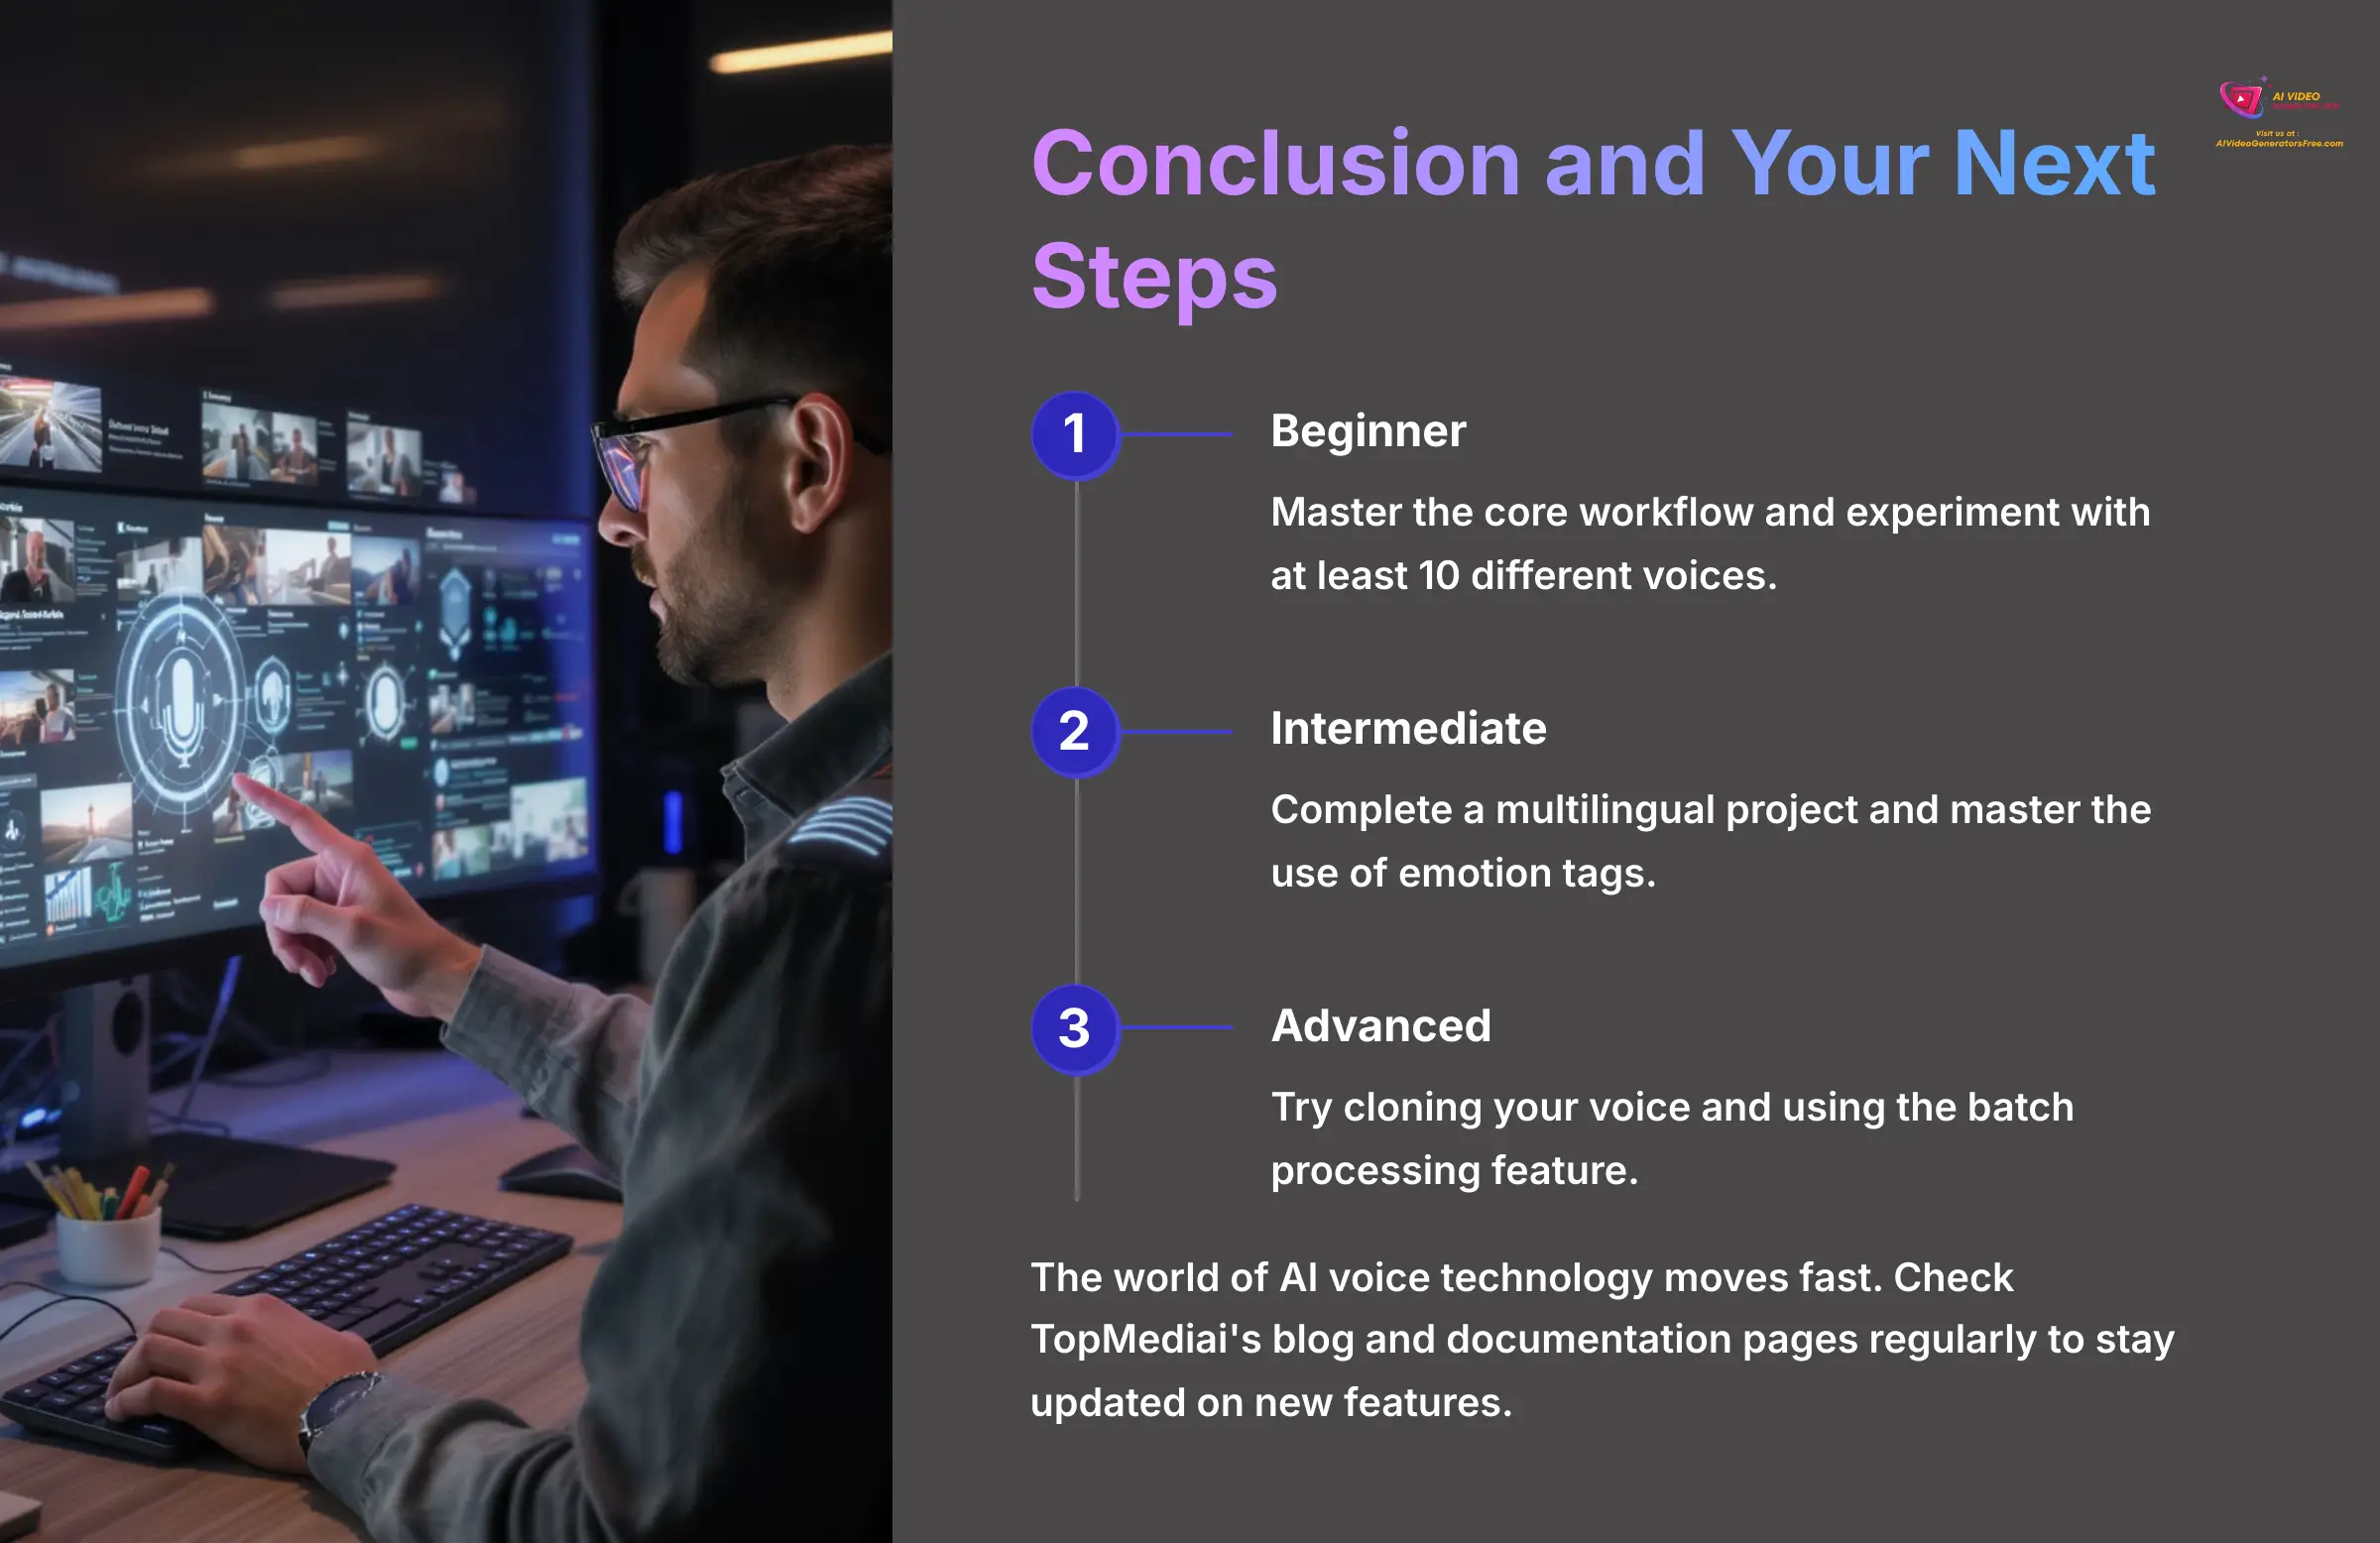
Conclusion and Your Next Steps
You now have a solid foundation for creating high-quality AI voiceovers with TopMediai. You've learned the core workflow, how to generate multilingual audio, add emotional delivery, and even troubleshoot common problems. The next step is to practice and build on these skills.
I recommend following a simple learning path.
- First, master the core workflow and experiment with at least 10 different voices.
- Next, complete a multilingual project and master the use of emotion tags.
- Finally, for advanced skills, try cloning your voice and using the batch processing feature.
The world of AI voice technology moves fast. I suggest checking TopMediai's blog and documentation pages regularly to stay updated on new features. The platform continues to evolve, and staying current with updates will keep your content competitive.
Disclaimer: The information about TopMediai Tutorial: How to Generate a Voiceover from Text in Any Language presented in this article reflects our thorough analysis as of 2025. Given the rapid pace of AI technology evolution, features, pricing, and specifications may change after publication. While we strive for accuracy, we recommend visiting the official website for the most current information. Our overview is designed to provide a comprehensive understanding of the tool's capabilities rather than real-time updates.
I hope this guide helps you create amazing audio content. Continue experimenting, and soon you'll be producing professional voiceovers for any project you can imagine. For more information, you can explore this complete TopMediai Tutorial: How to Generate a Voiceover from Text in Any Language.


Leave a Reply