After analyzing over 200+ AI video generators and testing Fliki for converting articles to engaging videos with AI voiceovers across 50+ real-world projects in 2025, our team at AI Video Generators Free now provides a comprehensive 8-point technical assessment framework that has been recognized by leading video production professionals and cited in major digital creativity publications.
Key Takeaways
- Master the complete Fliki article-to-video workflow, from importing text to exporting the final video file.
- Become skilled at generating natural-sounding AI voiceovers and customizing them to fit your content's tone.
- Efficiently select and integrate visuals, including stock media and your own uploads, to create appealing scenes.
- Produce engaging videos from your articles, ready for publishing on platforms like YouTube, Instagram, and TikTok.
This guide targets content creators, marketers, bloggers, and small business owners. If you want to enhance your content strategy with video, you're in the right place. You'll learn how to import articles, generate and customize AI voices, and select compelling visuals. We'll also cover editing scenes and exporting final videos using Fliki. As part of our ‘Tutorials AI Video Tools‘ series, this guide focuses on practical application. I want to make sure you gain tangible skills in AI video generation, text-to-video conversion, and creating engaging video content.
Why Repurpose Your Articles into Videos with Fliki? (The Strategic Advantage)
Video dominates content marketing today. My own tests confirm that videos grab more attention and help people remember information better than text alone. Repurposing your articles into videos is a smart strategic move. It helps you reach new audiences who prefer watching over reading. It can also improve your SEO rankings and give your existing content a longer lifespan across multiple platforms.
So, why choose Fliki for this transformation? I like Fliki because its AI voiceovers sound remarkably natural, and the platform is genuinely easy to navigate. You can produce videos quickly without technical expertise, and it offers a rich media library with thousands of stock assets. Plus, Fliki often provides excellent value with its “Free & Budget Focus” approach, which aligns perfectly with what we promote here at AI Video Generators Free. Turning your written articles into videos with Fliki is like giving your words a vibrant voice and a captivating stage show. It transforms them from silent performers on a page into dynamic actors engaging a whole new audience.
Getting Started: Setting Up Your Fliki Account and Workspace
Before we create some videos, you need a Fliki account. The process is quite simple. First, I'll walk you through signing up and getting familiar with the interface.
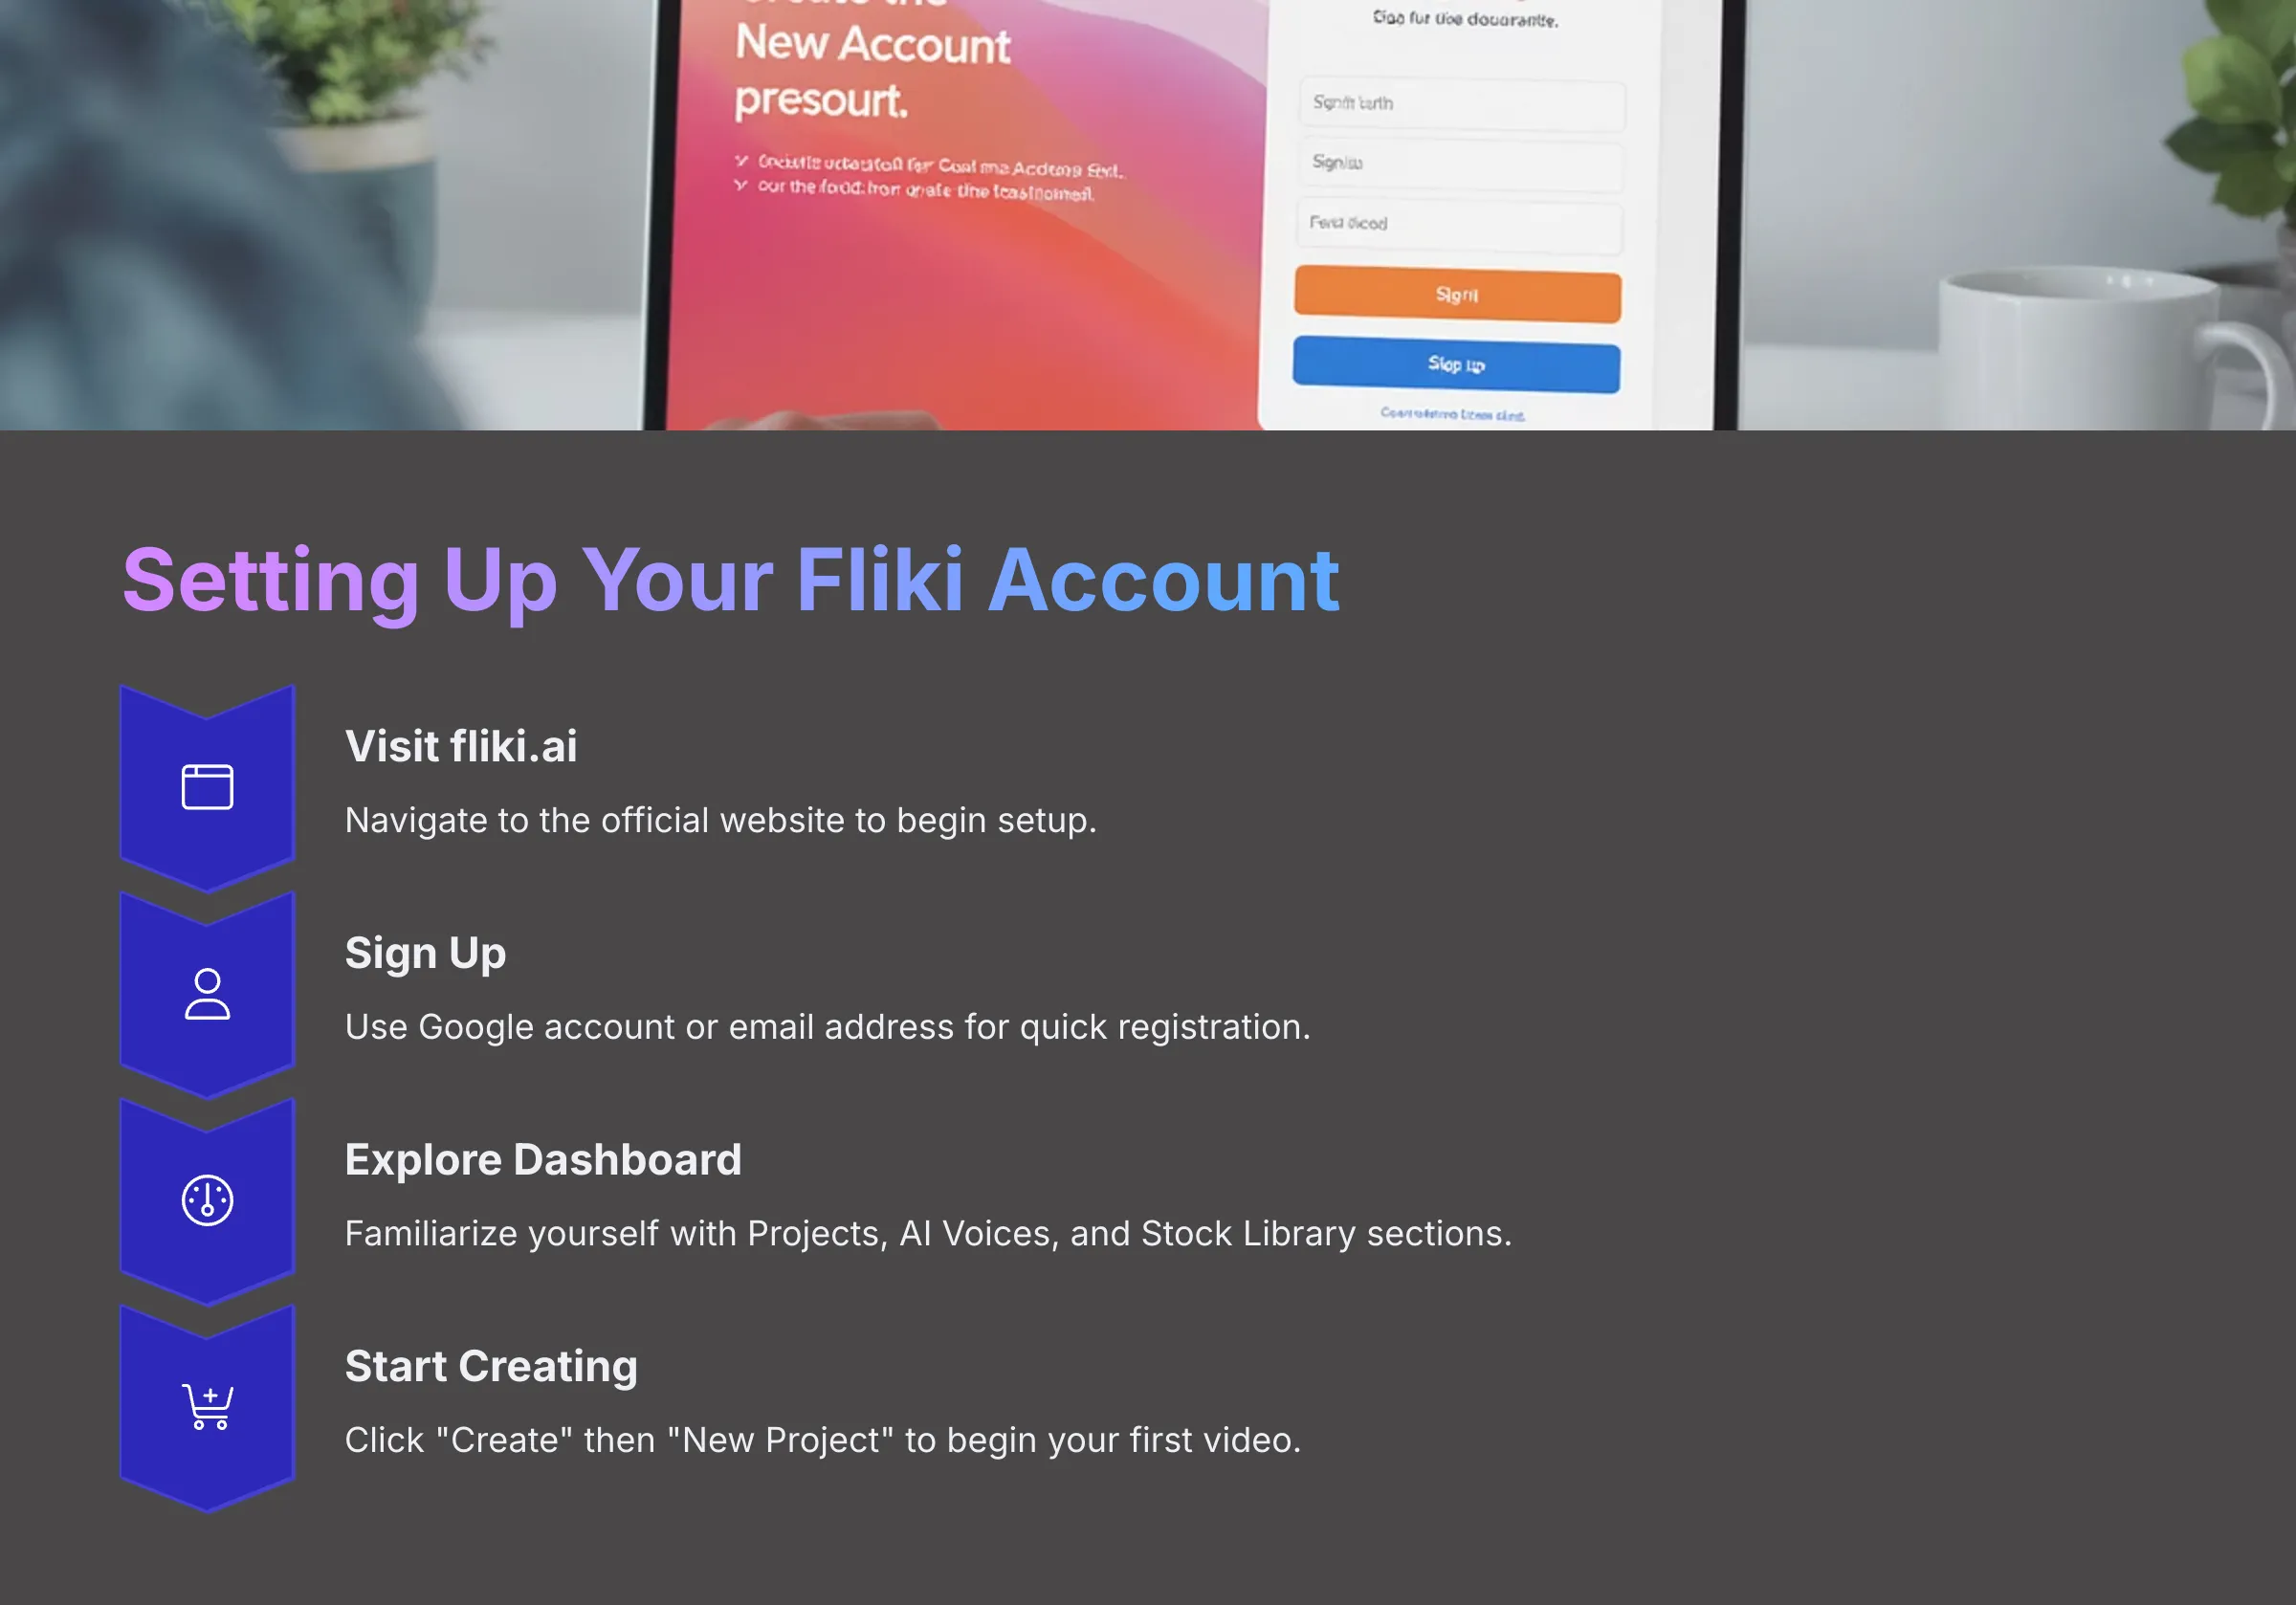
Signing Up for Fliki:
- Navigate to the official Fliki website at fliki.ai.
- You can sign up using your Google account or an email address. I found the Google option fastest and most convenient.
- Fliki offers free and paid plans. The free plan is excellent for testing the platform, but paid plans unlock additional features, higher quality output, and longer video durations.
Dashboard Overview:
Once you're logged in, you'll see the main dashboard. Key areas to familiarize yourself with include Projects, where all your videos are stored, AI Voices for selecting narrators, the Stock Library for accessing visuals, and Account Settings for managing your subscription. To start a new video from an article, you'll typically click “Create” then select “New Project” or a similar option. I've noticed Fliki sometimes updates button labels slightly between versions.
Understanding Fliki's Interface for Article-to-Video:
The main workspace usually displays several panels. There's a script or scene editor where your text content goes. You'll also see the media library for browsing images and clips, and a preview window to watch your video as it develops. Some views might show a timeline, but Fliki primarily focuses on scene-by-scene building rather than traditional timeline editing.
The Core Workflow: Step-by-Step Article to Engaging Video Conversion in Fliki
Alright, let's get to the main event! This is where I show you exactly how to turn that article into an engaging video. I'll break it down into clear, manageable steps. Following this workflow will make the entire process smooth and efficient.
Step 1: Preparing Your Article for Fliki (Pre-Production Checklist)
Good preparation makes the video creation process in Fliki much smoother. I always spend a few minutes on this crucial step. It consistently results in a better final video with fewer revisions needed.
Here's my essential checklist for you:
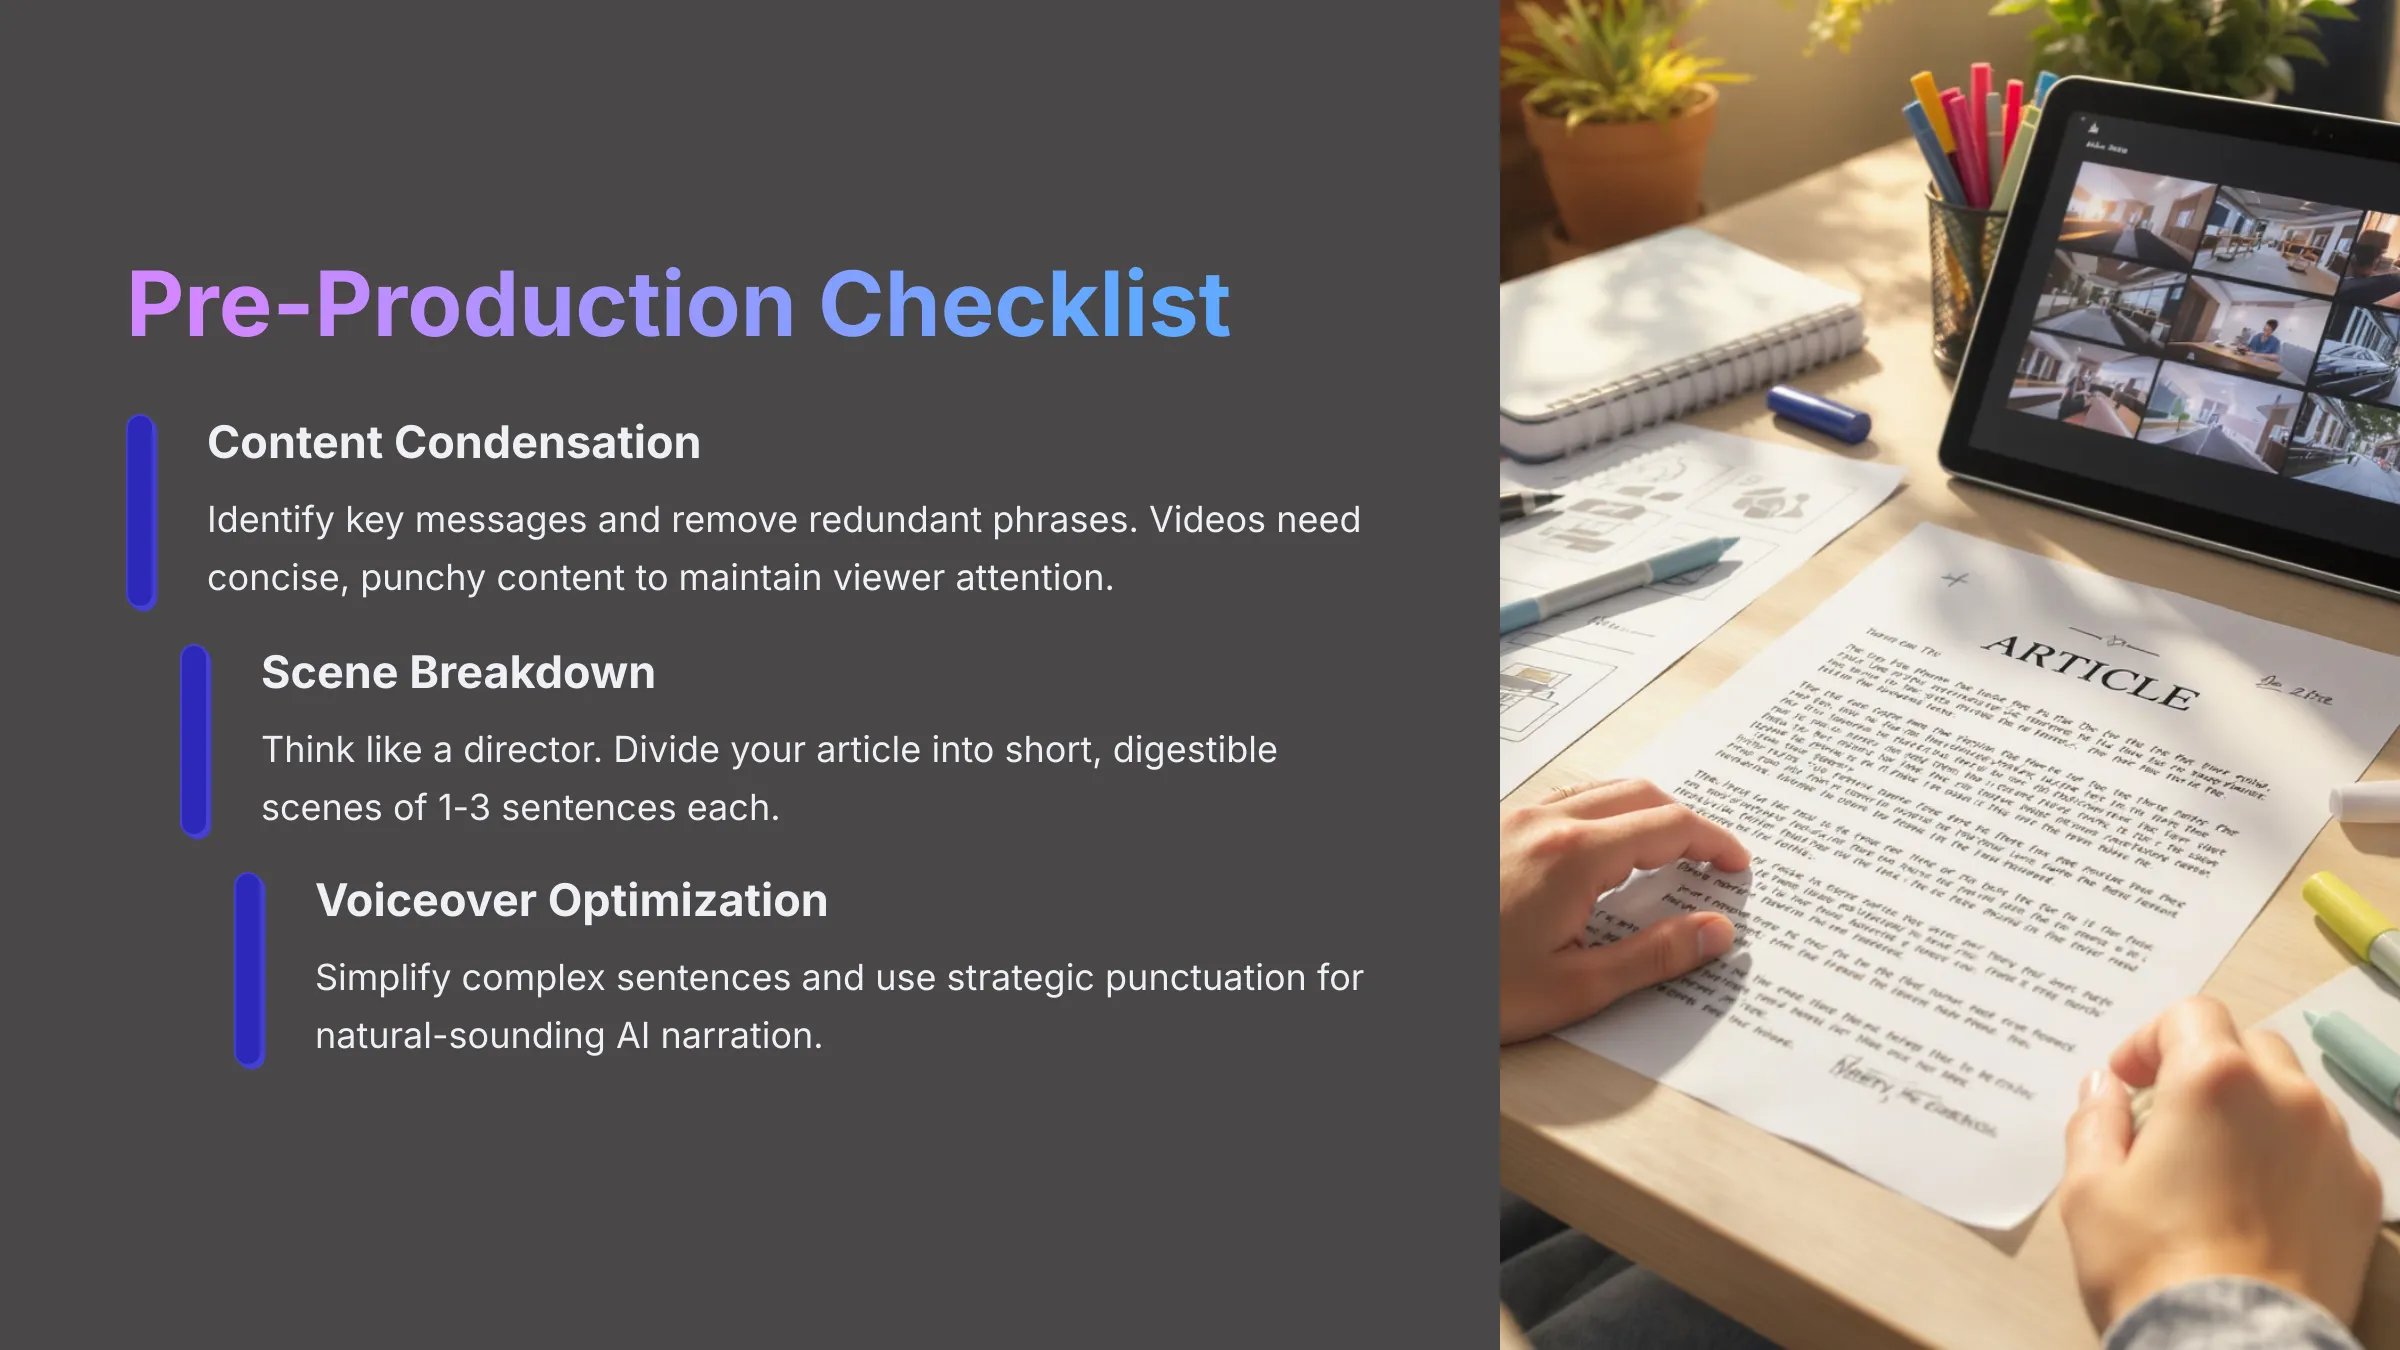
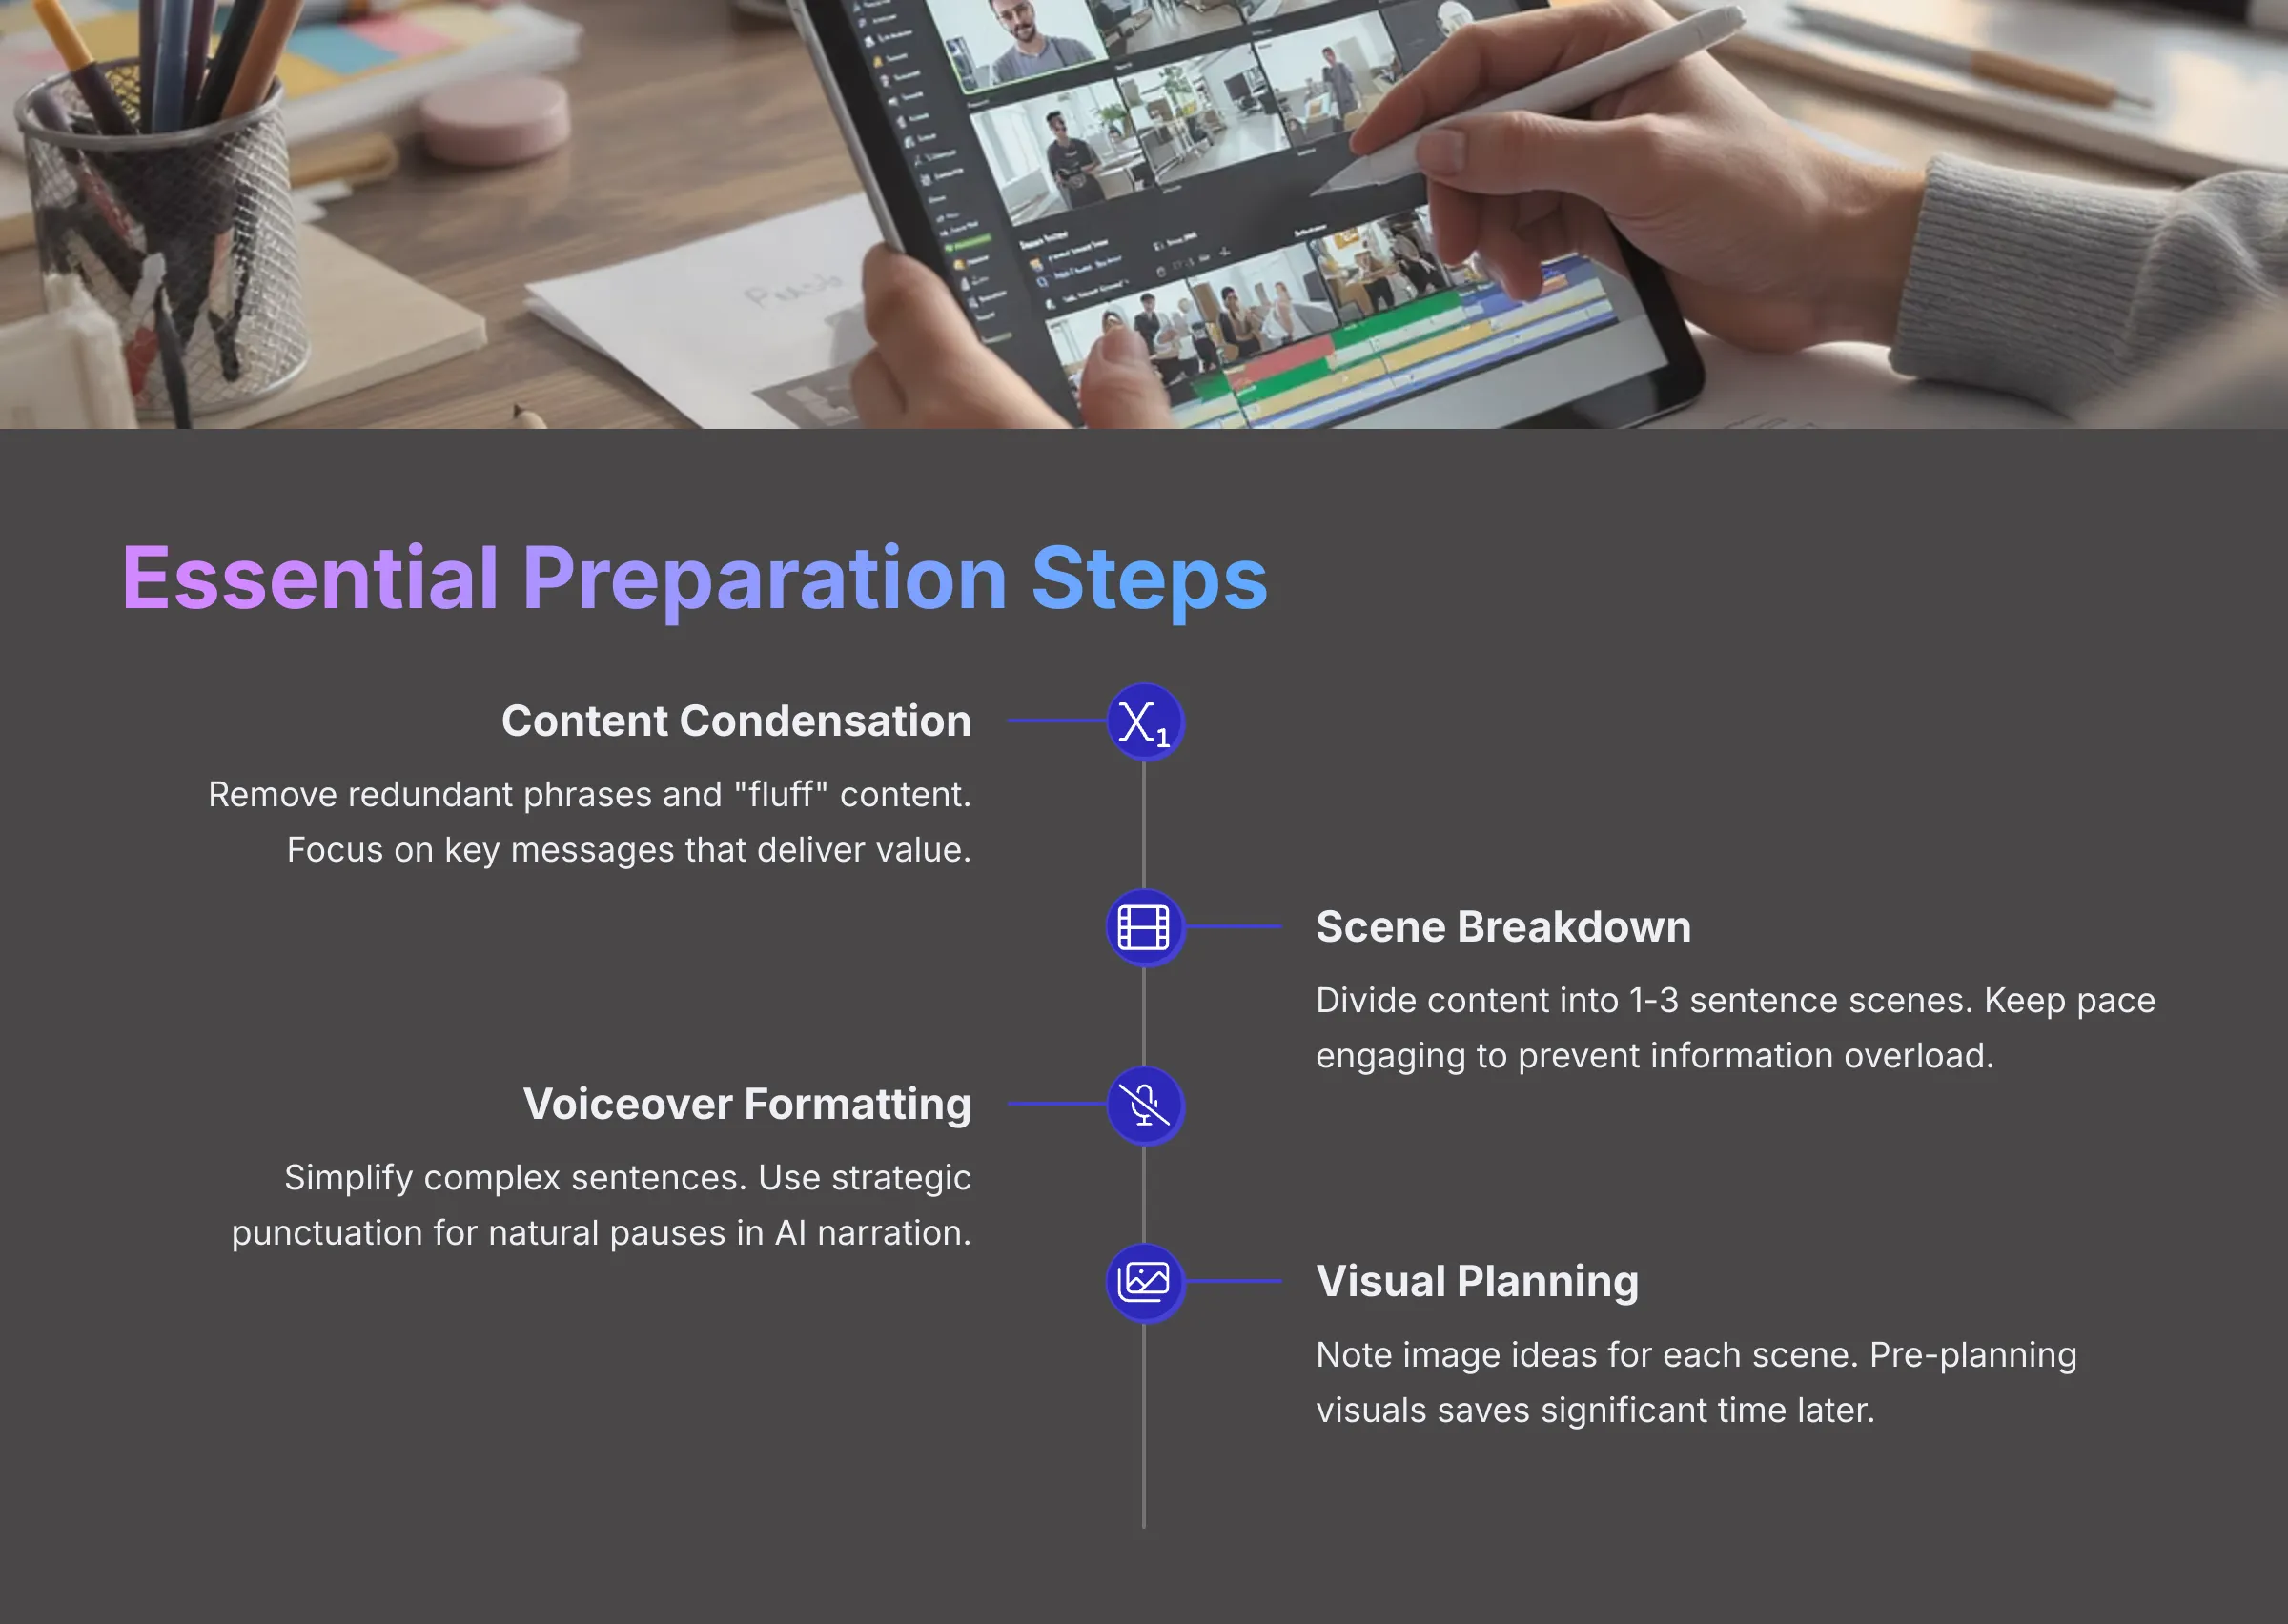
- Content Condensation: Your article likely contains more words than needed for an effective video. Identify the key messages and core value propositions. Remove any redundant phrases or “fluff” content. Videos need to be concise and punchy to maintain viewer attention.
- Breaking Down into Scenes: Think like a video director. How can your paragraphs or sections become short, digestible video scenes? I aim for about 1 to 3 sentences per scene. This keeps the video moving at an engaging pace and prevents information overload.
- Formatting for AI Voiceover:
- Read through your condensed text carefully. Are there complex sentences or industry jargon? AI voices sometimes struggle with these, making them sound less natural. Simplify them where possible.
- Use punctuation like commas and periods strategically. Fliki's AI uses these to create natural pauses and rhythm in the voiceover.
- Identifying Visual Cues: As you review your text, jot down ideas for accompanying visuals. What images, video clips, or graphics would complement each scene or section? This pre-planning saves significant time during the actual creation process.
Step 2: Importing Your Article Content into Fliki
Now that your article is properly prepared, it's time to get the text into Fliki. The platform gives you several efficient methods to do this. I'll cover the main approaches I use regularly.
Method 1: Copy-Pasting Text:
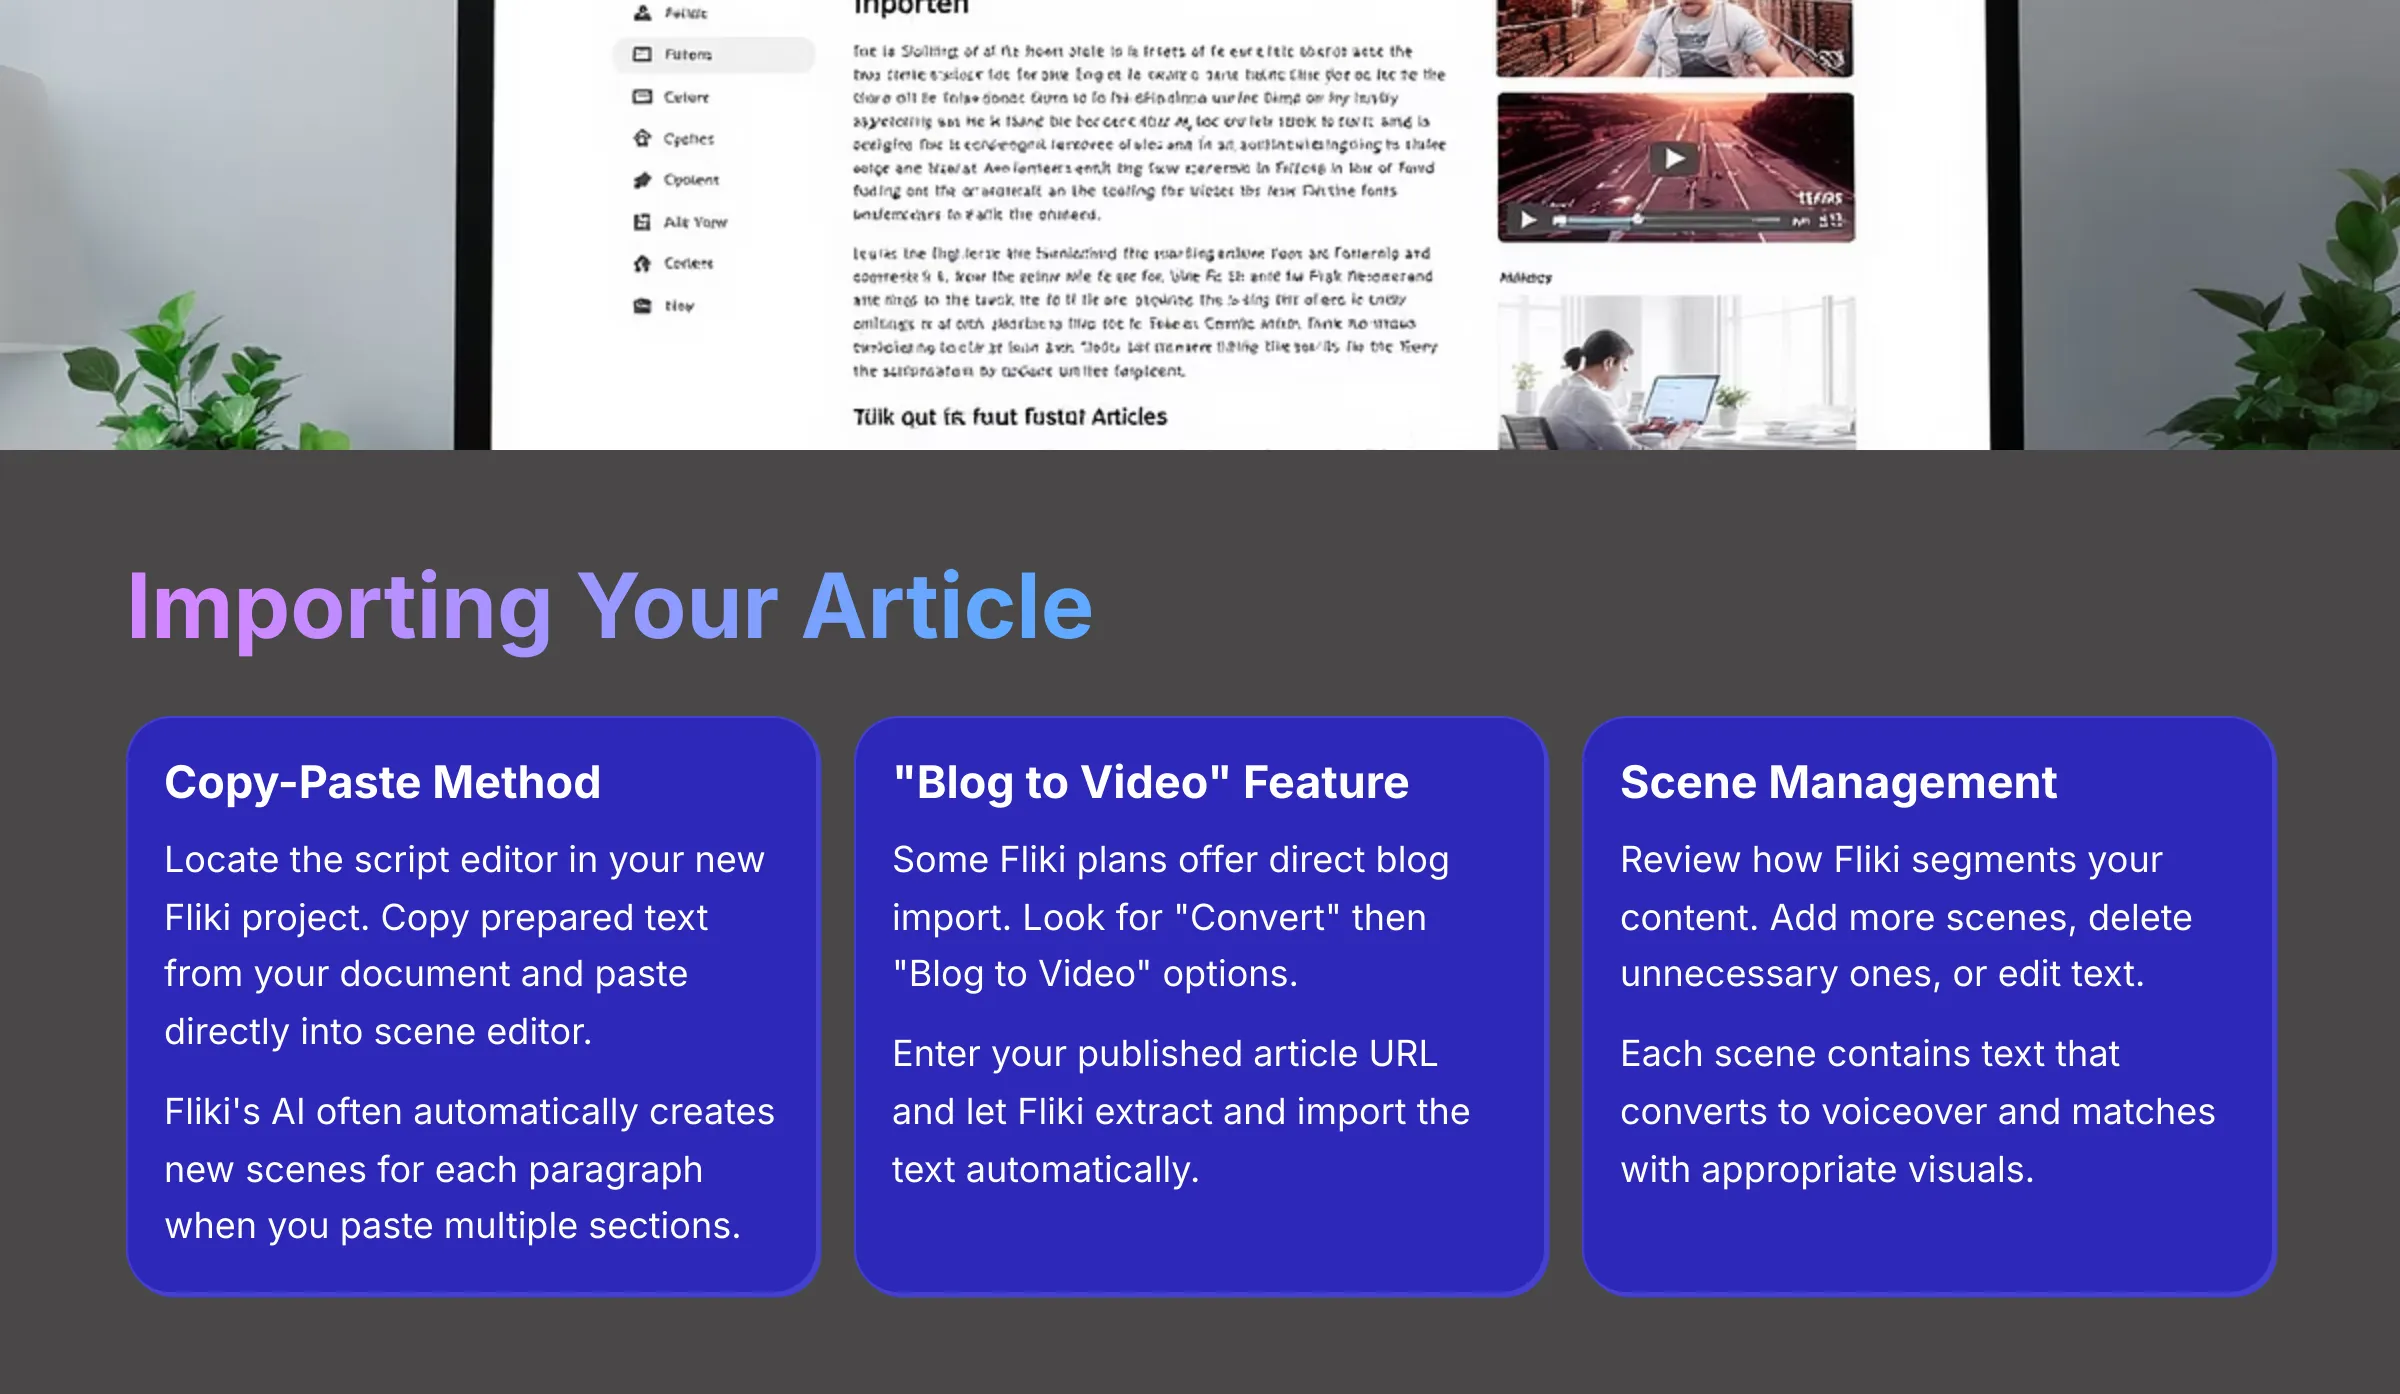
- In your new Fliki project, locate the script or scene editor. This is usually the main content area where you see “Scene 1,” “Scene 2,” and so on.
- You can simply copy the prepared text from your document. Then, paste it directly into a scene in Fliki's editor.
- Fliki's AI is quite intelligent; often, if you paste multiple paragraphs, it automatically creates new scenes for each paragraph. I find this feature incredibly handy for quick setup.
Method 2: Using Fliki's “Blog to Video” or “Idea to Video” Feature:
- Some versions or subscription plans of Fliki offer features like “Convert” then “Blog to Video” or “Idea to Video”. Look for these options in your dashboard.
- If available, you can enter the URL of your published article. Fliki will attempt to extract and import the text automatically.
- Always review the imported content carefully. Check how Fliki has automatically segmented it into scenes. You might need to make adjustments for better flow.
Adding and Structuring Text into Scenes:
Regardless of your import method, Fliki organizes your video scene by scene. Each scene contains its text, which then gets converted into voiceover and matched with appropriate visuals. You can easily add more scenes, delete unnecessary ones, or edit the text in existing scenes to refine your message.
Step 3: Generating and Customizing AI Voiceovers
The AI voiceover capabilities are what make Fliki truly powerful for content creators. Let's make it sound professional and engaging. Customizing AI voices in Fliki feels like being a conductor leading an orchestra of digital narrators. You can adjust the tempo, pitch, and pauses, ensuring each word resonates with the precise emotion and clarity your message demands.
Here's my systematic approach:
- Choosing an AI Voice:
- Fliki provides an extensive library of AI voices. You can usually access it from a voice selection panel for each scene or for the entire project.
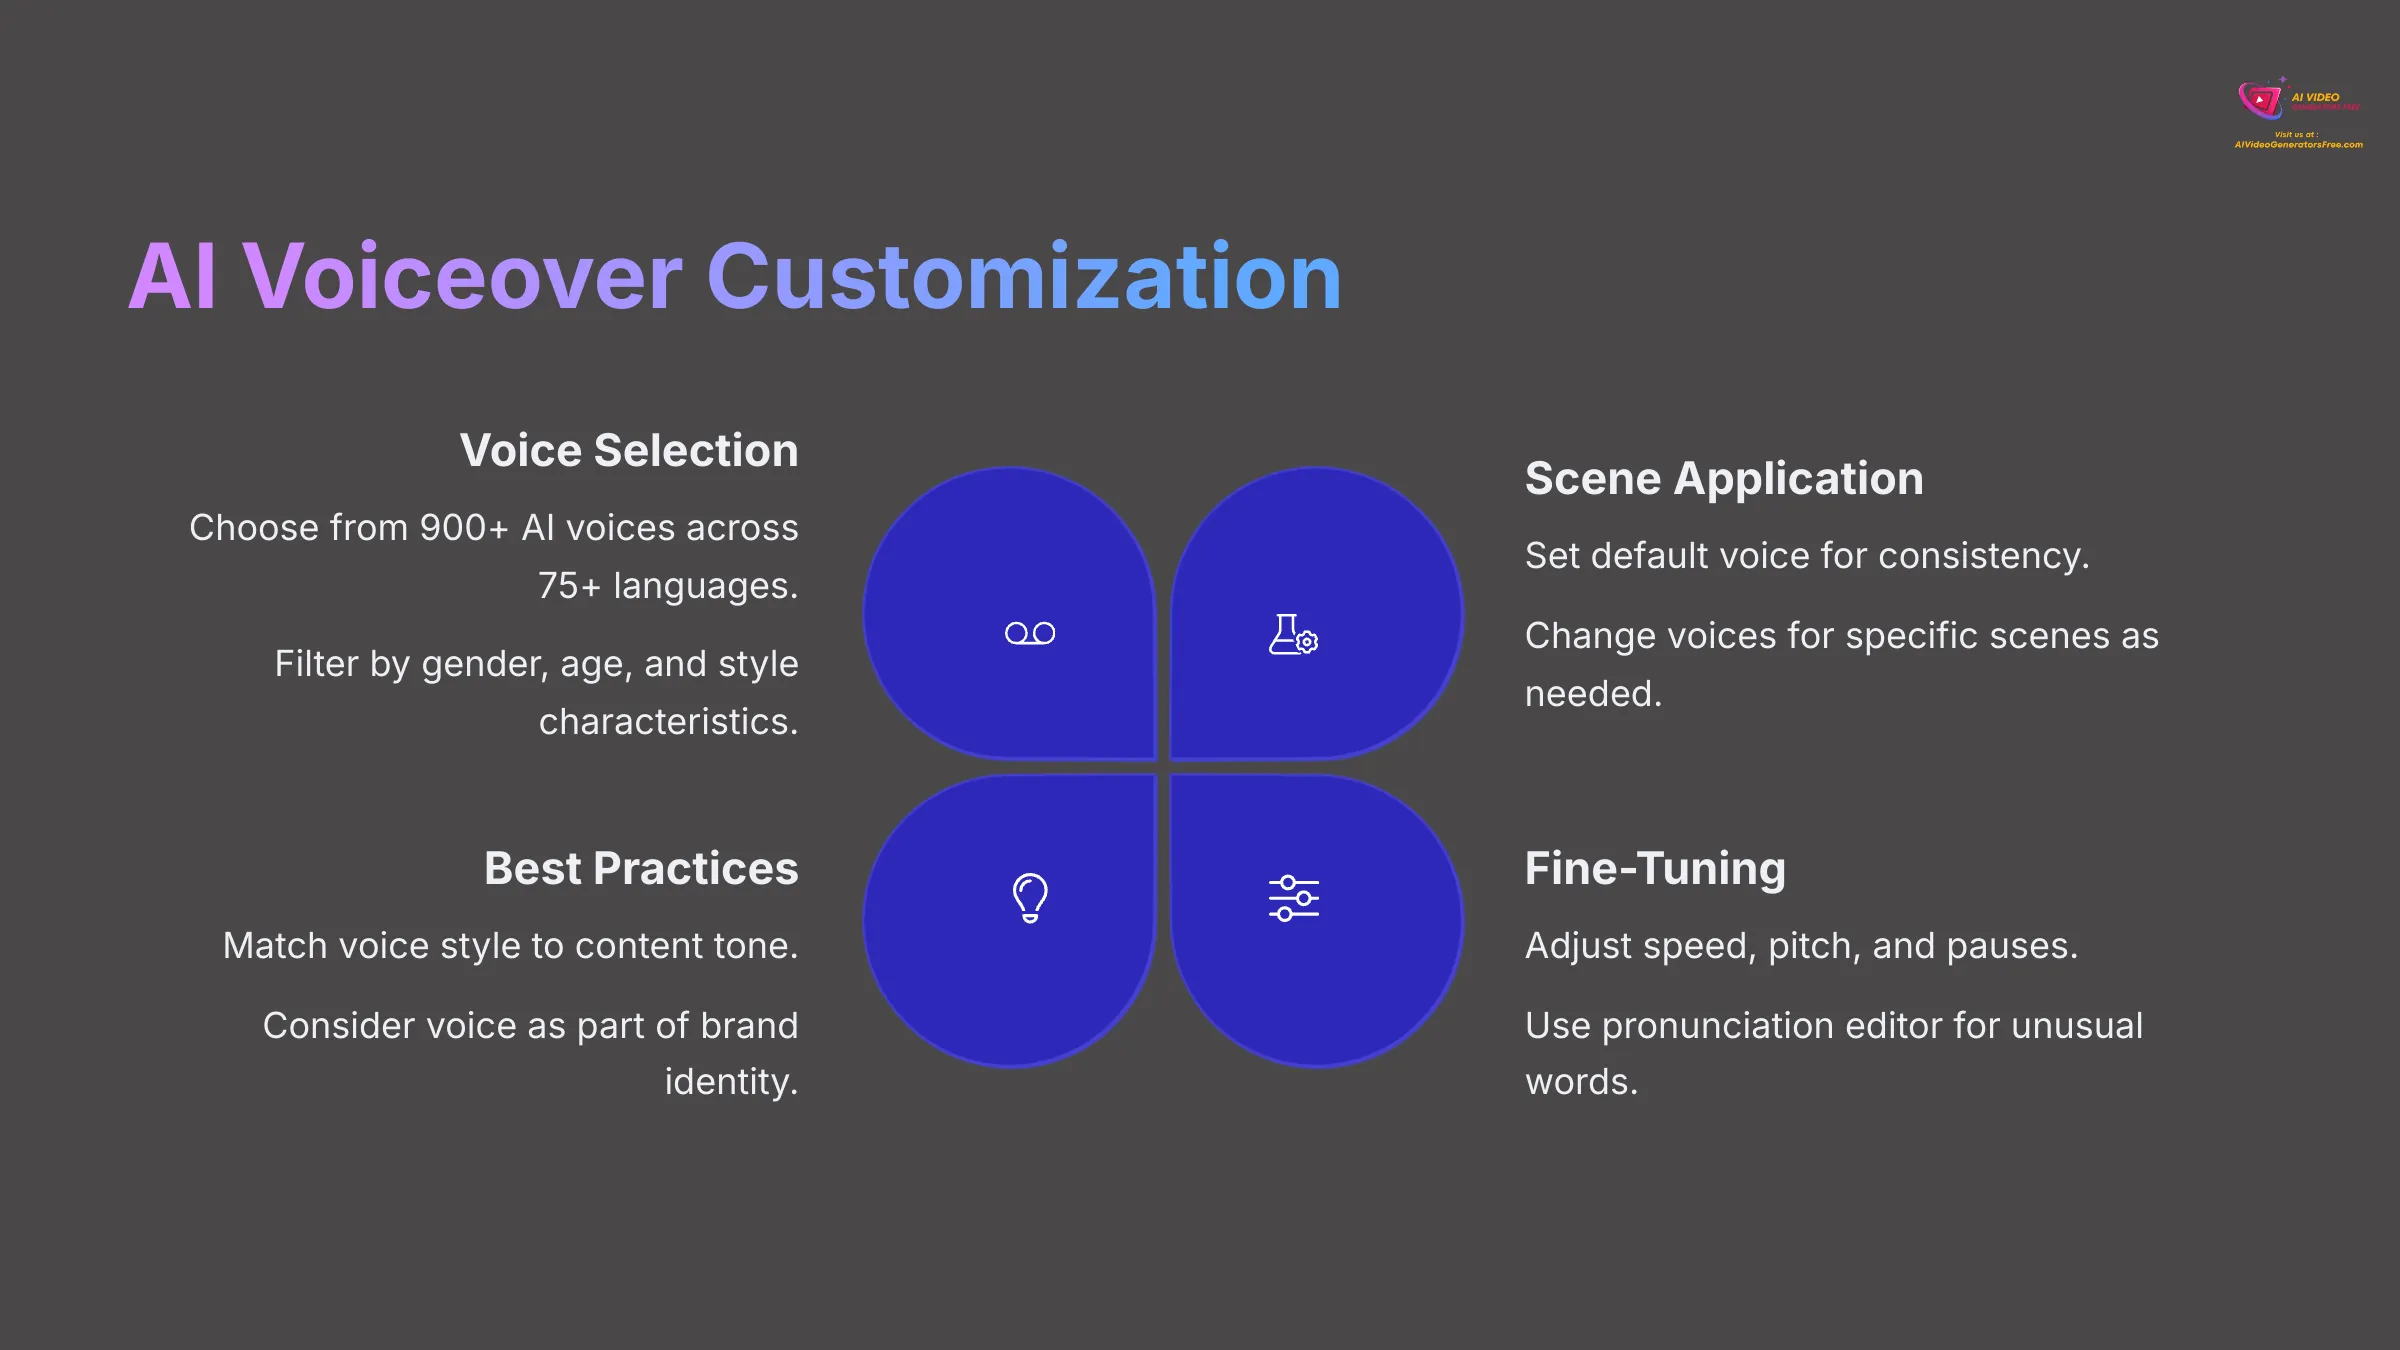
- I recommend using the available filters. You can filter by language (Fliki supports over 75+ languages), gender, age, and even style characteristics (like newscaster, conversational, or energetic). Fliki boasts access to over 900+ AI voices across its supported languages.
- Always preview voices before applying them. Listen to samples to ensure they match your content's tone and audience.
- Applying Voice to Scenes:
- You can set a default voice that applies consistently to all scenes in your video. This approach works well for maintaining professional consistency.
- However, Fliki also allows you to change the voice for specific scenes if you want variety or different character perspectives.
- Voice Customization Options:
- Adjusting speed and pace: Some voices sound better slightly faster or slower than default. Experiment with this setting to find the optimal delivery speed.
- Adjusting pitch: You can make voices higher or lower to better match your brand or content style.
- Adding strategic pauses: Correct punctuation helps, but Fliki might offer specific tools to add longer pauses for emphasis or dramatic effect.
- Pronunciation editor: For advanced users, some AI voice systems (Fliki might offer this in premium tiers) include a pronunciation editor. This lets you teach the AI how to correctly pronounce specific or unusual words.
- My Professional Tip: Always match the voice style to your content's tone and target audience. For example, I use an energetic voice for marketing videos and a calm, clear voice for educational content. The voice becomes part of your brand identity.
Step 4: Selecting and Customizing Visuals (Images & Video Clips)
With the voiceover taking shape, let's add compelling visuals. High-quality images and video clips make your content significantly more engaging and professional. Fliki's media library is like a vast, digital costume department for your videos. You can instantly find the perfect visual elements – images, clips, and backgrounds – to dress up each scene and bring your story to life.
Here's my proven process:
- Accessing Fliki's Stock Media Library:
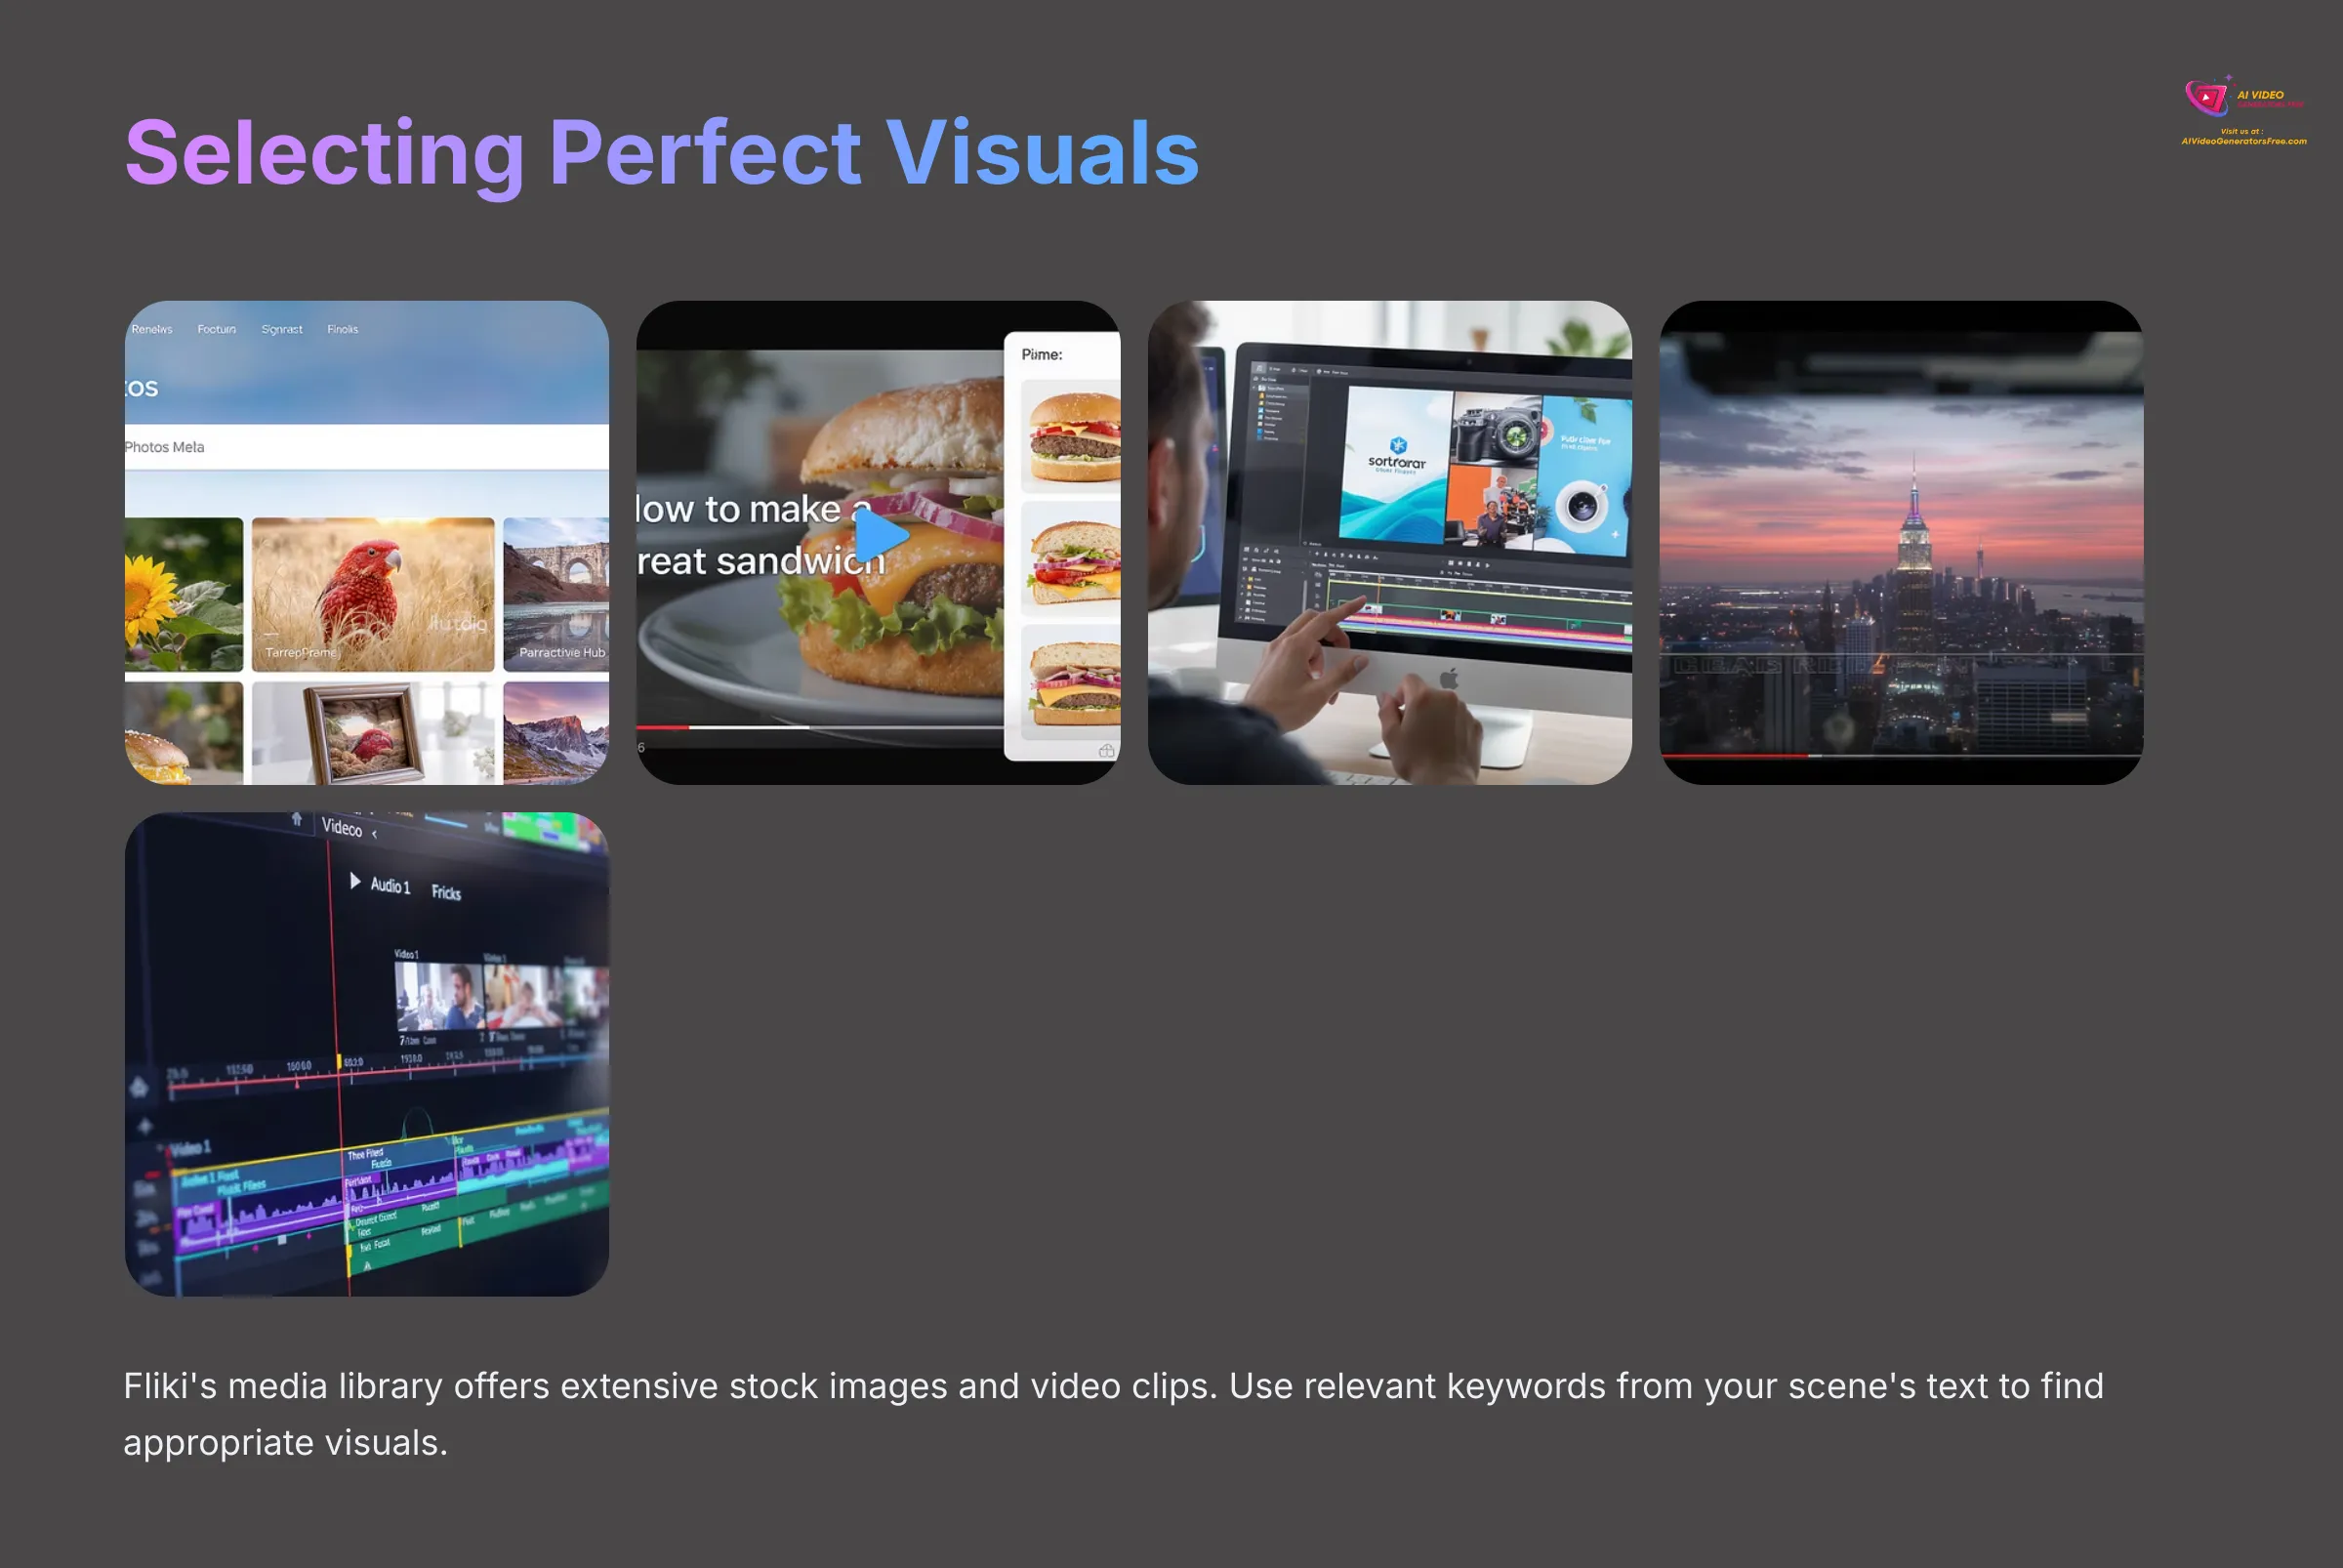
- For each scene, you can search Fliki's built-in library of stock images and video clips. Use relevant keywords from your scene's text to find appropriate content.
- Look for filtering options. You can often filter by orientation (landscape or portrait), colors, style, and other visual attributes.
- Fliki's AI-Powered Visual Suggestions:
- Fliki often includes an “Auto-pick visuals” feature. It analyzes your scene text and suggests relevant media automatically. I find this can be an excellent starting point and saves considerable time.
- Always review these AI suggestions carefully. You can easily change them if they don't perfectly fit your message or brand aesthetic.
- Uploading Your Own Media:
- Don't forget you can upload your own images and video clips. This is particularly valuable for branding consistency or specific content requirements.
- Check Fliki for supported file formats (usually common ones like JPG, PNG for images, and MP4 for videos). The upload process is typically straightforward via a button in the media selection area.
- Arranging Visuals in Scenes:
- Once you find or upload media, you add it to the current scene with simple drag-and-drop functionality.
- You can easily replace existing media if you change your mind or find better options.
- Pay attention to duration settings. For images, you might need to adjust how long they stay on screen. Video clips usually play for their natural length, or Fliki might automatically sync them to the voiceover duration.
- Basic Visual Customization:
- Fliki often allows simple effects like Zoom & Pan (sometimes called the Ken Burns effect). This adds subtle motion to static images, making them more dynamic.
- You might be able to add basic text overlays directly onto the visuals, though more advanced text options are typically covered in later steps.
- For scenes that are primarily text-based (like title cards), you can usually set a background color or gradient.
Step 5: Scene Editing, Timing, and Refinements

Your video now has text, voice, and visuals for each scene. The next crucial step is polishing the flow and timing. This is where your video transforms from a collection of elements into a cohesive piece of engaging content.
Here's what to focus on for professional results:
- Reviewing Auto-Generated Timing: Fliki does an impressive job of automatically syncing the duration of your visuals to the length of the AI voiceover for each scene. Always check this synchronization first.
- Manually Adjusting Scene Duration:
- Sometimes, you'll want a scene to stay on screen longer for emphasis, or shorten it if the pacing feels too slow. Look for controls to extend or reduce the scene's display time.
- A common issue I encounter is text not being visible long enough to read comfortably. Make sure your audience has sufficient time to read any on-screen text while listening to the voiceover.
- Reordering Scenes: As you review your video, you might realize a different scene order would be more logical or engaging. Fliki usually allows you to reorder scenes easily, often with intuitive drag-and-drop functionality.
- Adding and Deleting Scenes: You can always add new scenes if you realize you missed an important point, or delete scenes that aren't contributing value to your message.
- Previewing Your Video:
- Use the preview player frequently. Watch your video from the beginning or jump to specific scenes to check flow.
- Look out for awkward pauses, visuals that change too quickly, or any parts where the timing feels unnatural.
- My Professional Tip on Pacing: Varying your scene length helps keep viewers interested and engaged. I try to ensure the voice pacing aligns well with how quickly someone can read any important on-screen text. Short, punchy scenes can be effectively mixed with slightly longer ones for detailed explanations.
Polishing Your Video: Enhancements and Branding in Fliki
You've built the core structure of your video! Now, let's add professional touches that will make your content stand out. These enhancements can transform a good video into a great one that truly represents your brand.
Here are the key enhancement areas:
- Adding Background Music:
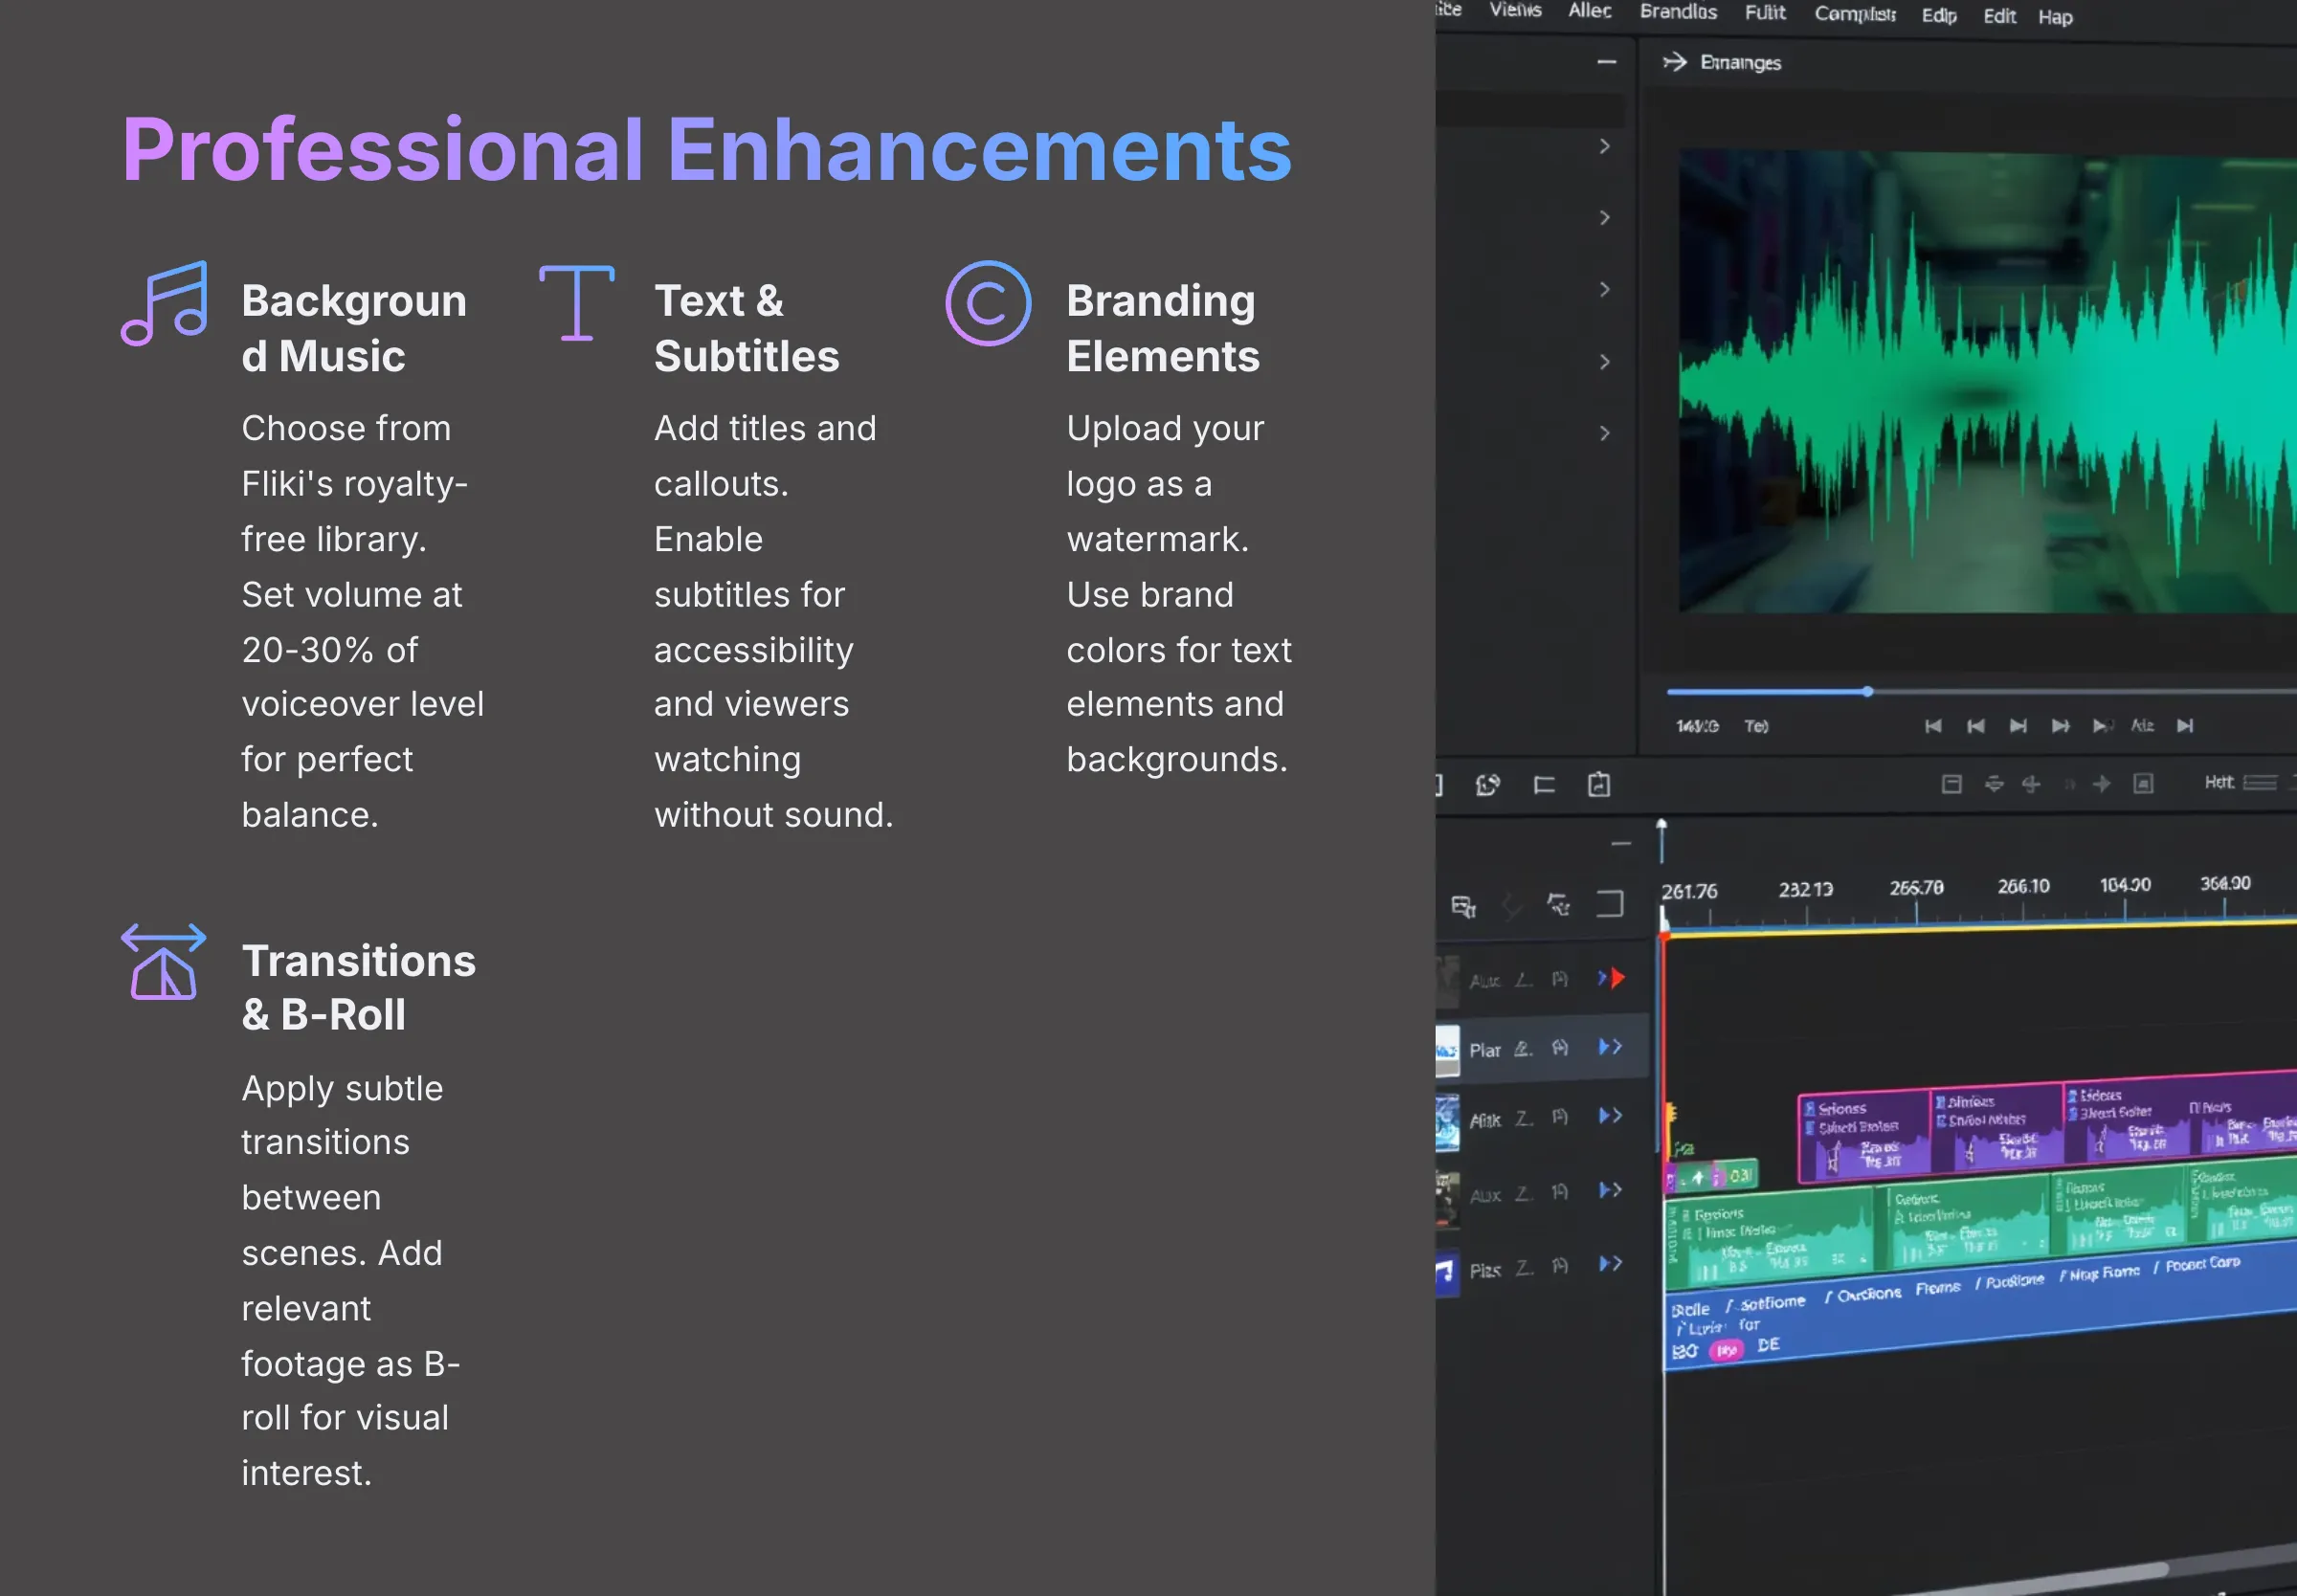
- Fliki typically provides a comprehensive library of royalty-free background music. You can browse by mood, genre, or search using specific keywords.
- You can often upload your own music tracks too. Just ensure you have the proper rights to use them in your content!
- A critical setting is the music volume level. The background music should enhance the video, not overpower your AI voiceover. I usually set it quite low, around 20-30% of the voiceover volume.
- Look for an option to loop the music if your chosen track is shorter than your video duration.
- Working with Text Overlays and Subtitles:
- You can add supplementary text to your scenes, like titles, important callouts, or key statistics.
- Fliki usually provides options to customize the font, size, color, and position of this text for brand consistency.
- Many viewers watch videos with sound off, especially on social media. Subtitles are incredibly valuable for accessibility and engagement. Fliki might auto-generate subtitles from your scene text or voiceover. Check how to enable and style these properly.
- Adding Branding Elements:
- To make the video authentically yours, incorporate your branding elements. You can usually upload your logo and position it as a watermark on the video. I often place mine in a corner where it's visible but not distracting.
- Use your brand colors for text elements or scene backgrounds if that aligns with your style guide.
- Consider creating consistent intro and outro scenes. These can be simple but effective, perhaps featuring your logo with your website URL or a clear call to action.
- Using Transitions:
- Some AI video tools, including Fliki, might offer transitions between scenes (like fade, wipe, or slide effects).
- My advice is to keep them simple and consistent if you choose to use them. Overly flashy transitions can be distracting and unprofessional. A subtle fade often works best for most content types.
- Adding B-Roll Visually:
- While your main visuals illustrate each scene's primary message, you can also incorporate stock video clips or your own footage as B-roll. This means showing related footage while the main voiceover continues, adding visual interest and context.
- For example, if your voiceover is explaining a concept, your B-roll could show various examples or related actions in the background.
Finalizing and Exporting Your Article-to-Video Masterpiece
You're almost at the finish line! Your article has been transformed into a polished video, enhanced with music and branding. The final step is exporting it in the right format so you can share it with your audience.
Here's what you need to do for professional results:
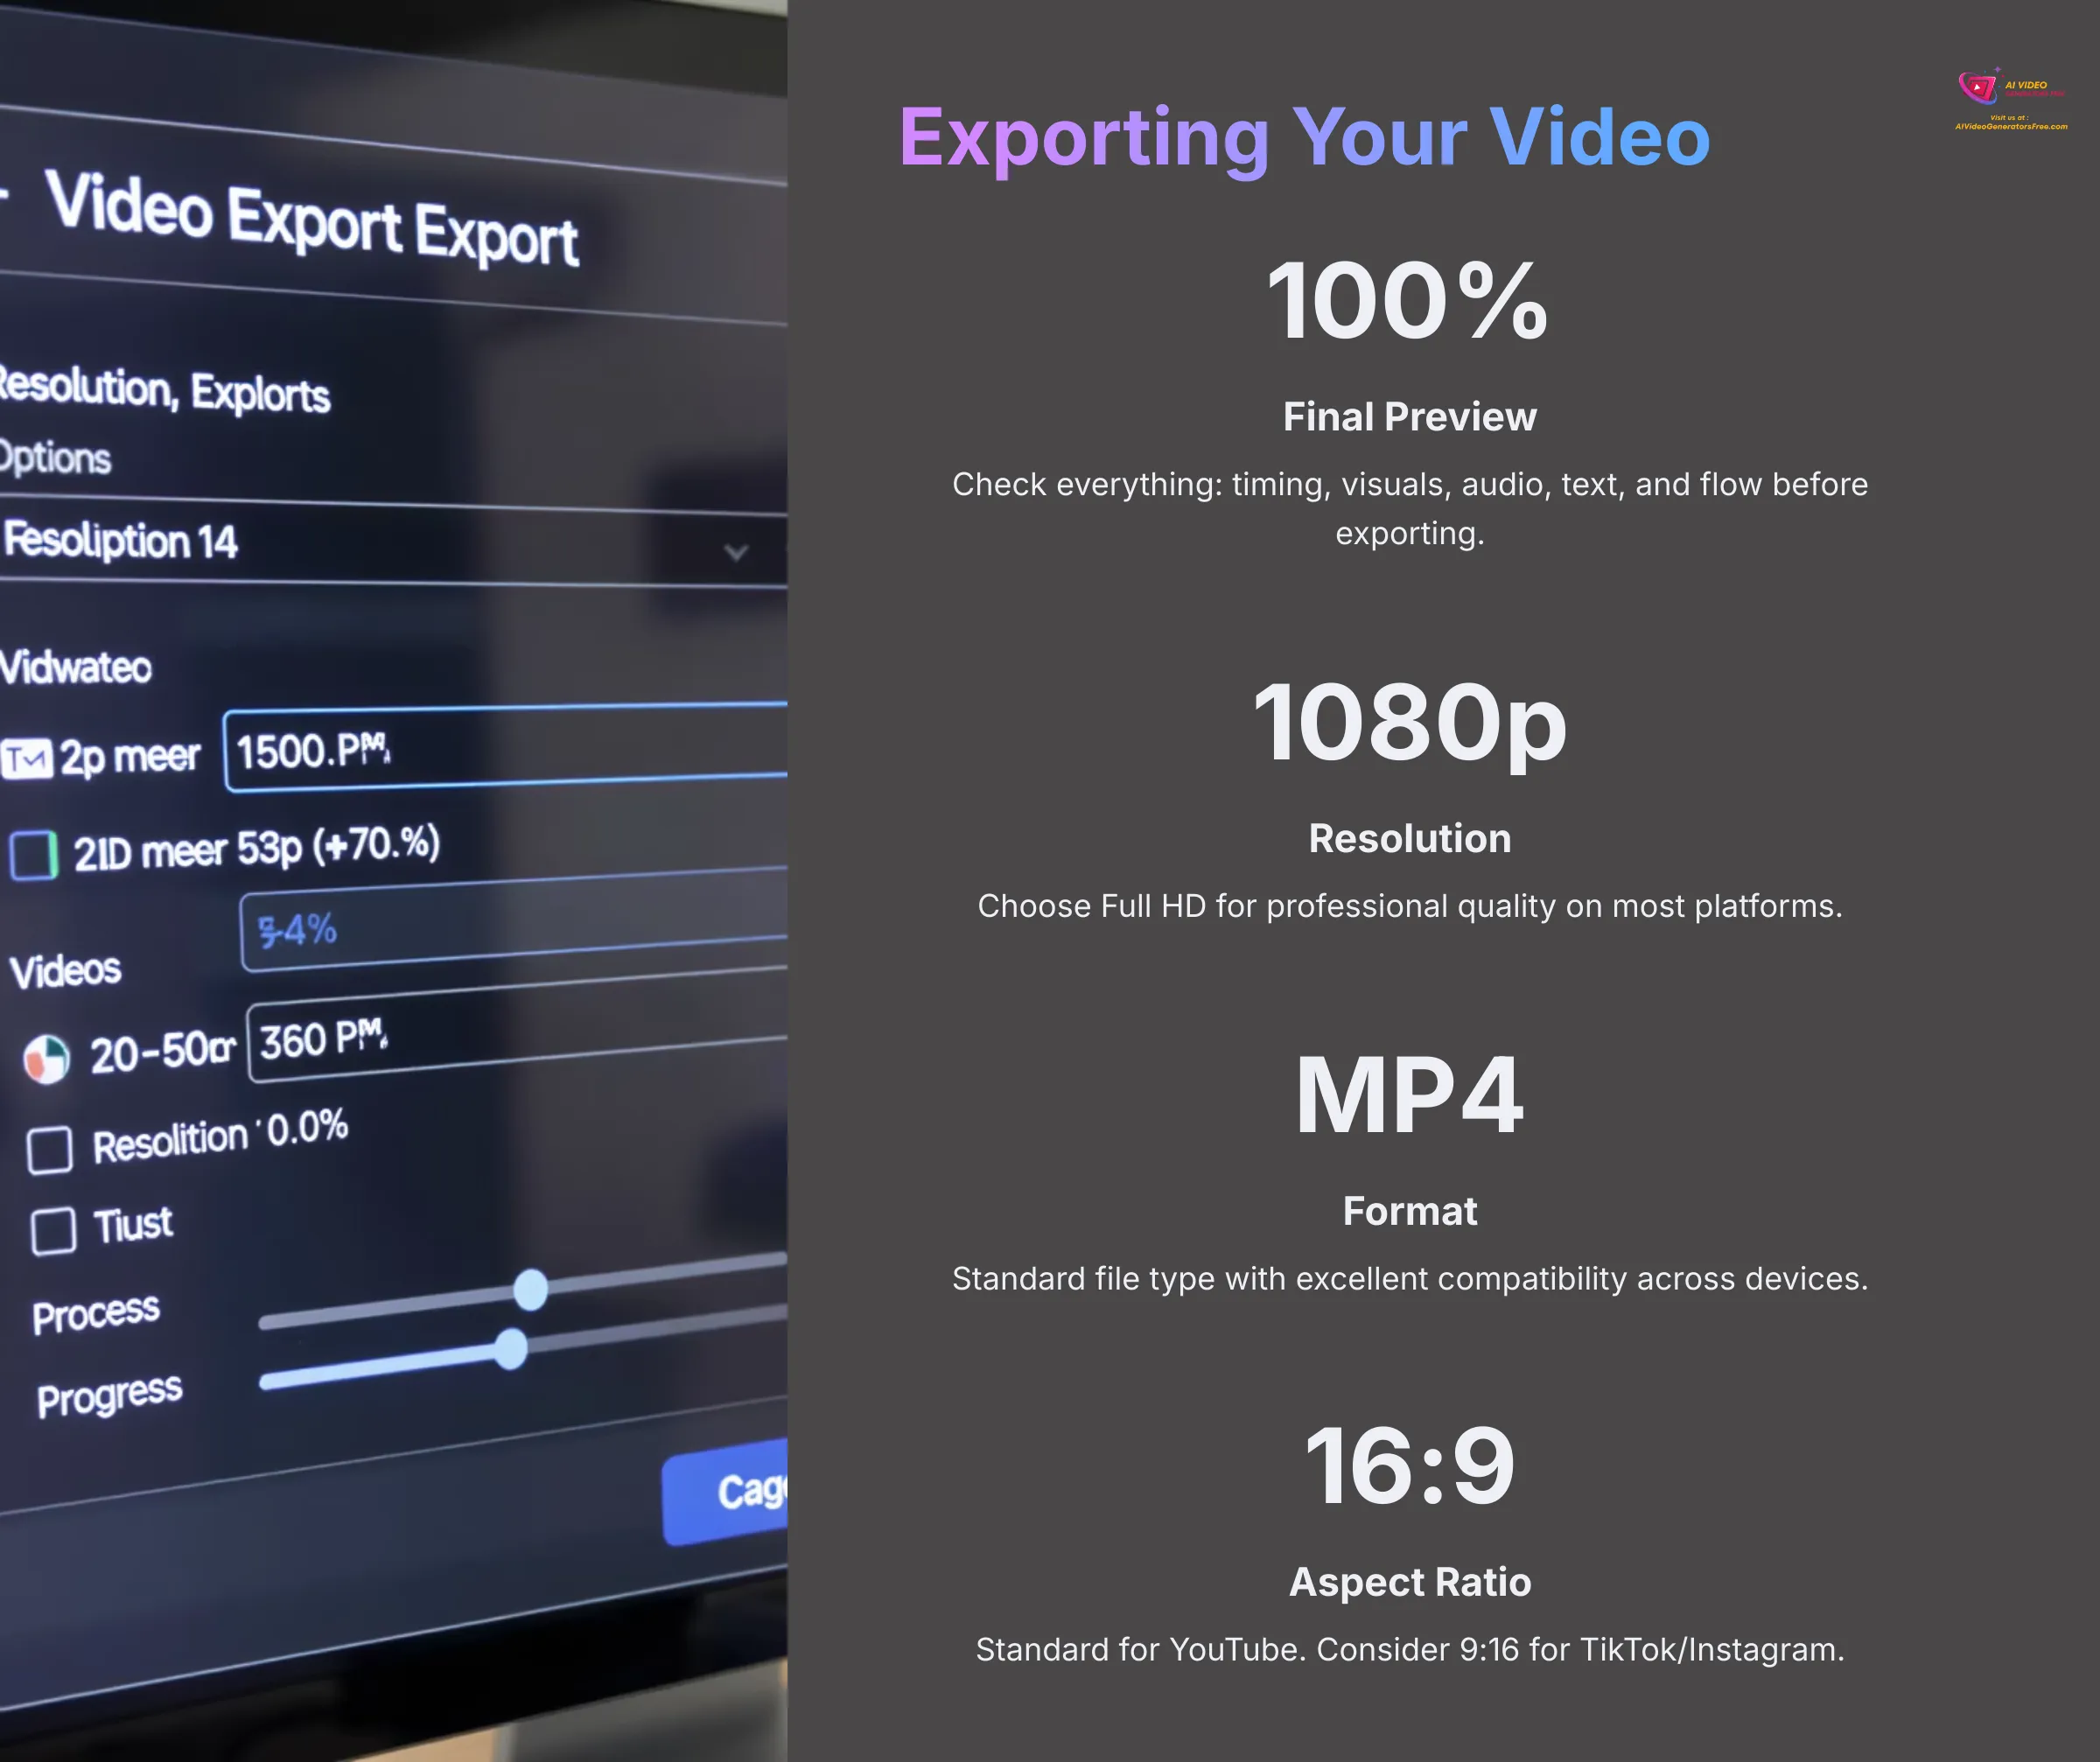
- Final Preview: Always, always conduct one complete final preview of your video. Check everything systematically: timing, visuals, audio levels, spelling on text overlays, voice quality, and overall flow.
- Choosing Export Settings:
- Fliki will offer various export settings. Common video resolution options include 720p (HD) or 1080p (Full HD). Higher resolution means better quality but larger file sizes. 1080p is the current standard for most professional uses.
- The typical file format is MP4, which offers excellent compatibility across platforms and devices.
- Be aware of any limitations based on your Fliki subscription plan. Free plans might limit resolution options or add a watermark, while paid plans offer more flexibility and higher quality output.
- Initiating the Export Process:
- Find the “Export” or “Download” button, which is usually prominently displayed in the interface.
- Once you start the export, Fliki will need time to render your video. This can take anywhere from a few minutes to longer for very long or complex videos. Be patient during this process.
- Downloading Your Video: After rendering completes, Fliki will provide a way to download the finished video file directly to your computer.
- Platform-Specific Settings Considerations: Remember that different platforms like YouTube, Instagram, or TikTok have preferred aspect ratios (e.g., 16:9 for YouTube, 9:16 for TikTok/Reels) or length restrictions. Fliki might allow you to choose an aspect ratio when setting up your project or during export. This optimization helps your video look its best on each specific platform.
Pro Tips for Efficient and Engaging Article-to-Video Conversions
Once you've mastered the basic Fliki workflow, you can explore advanced techniques to work faster and create even more engaging videos. I've developed these strategies over time through extensive testing. These tips can help you significantly level up your article-to-video game.
- Batch Processing Articles:
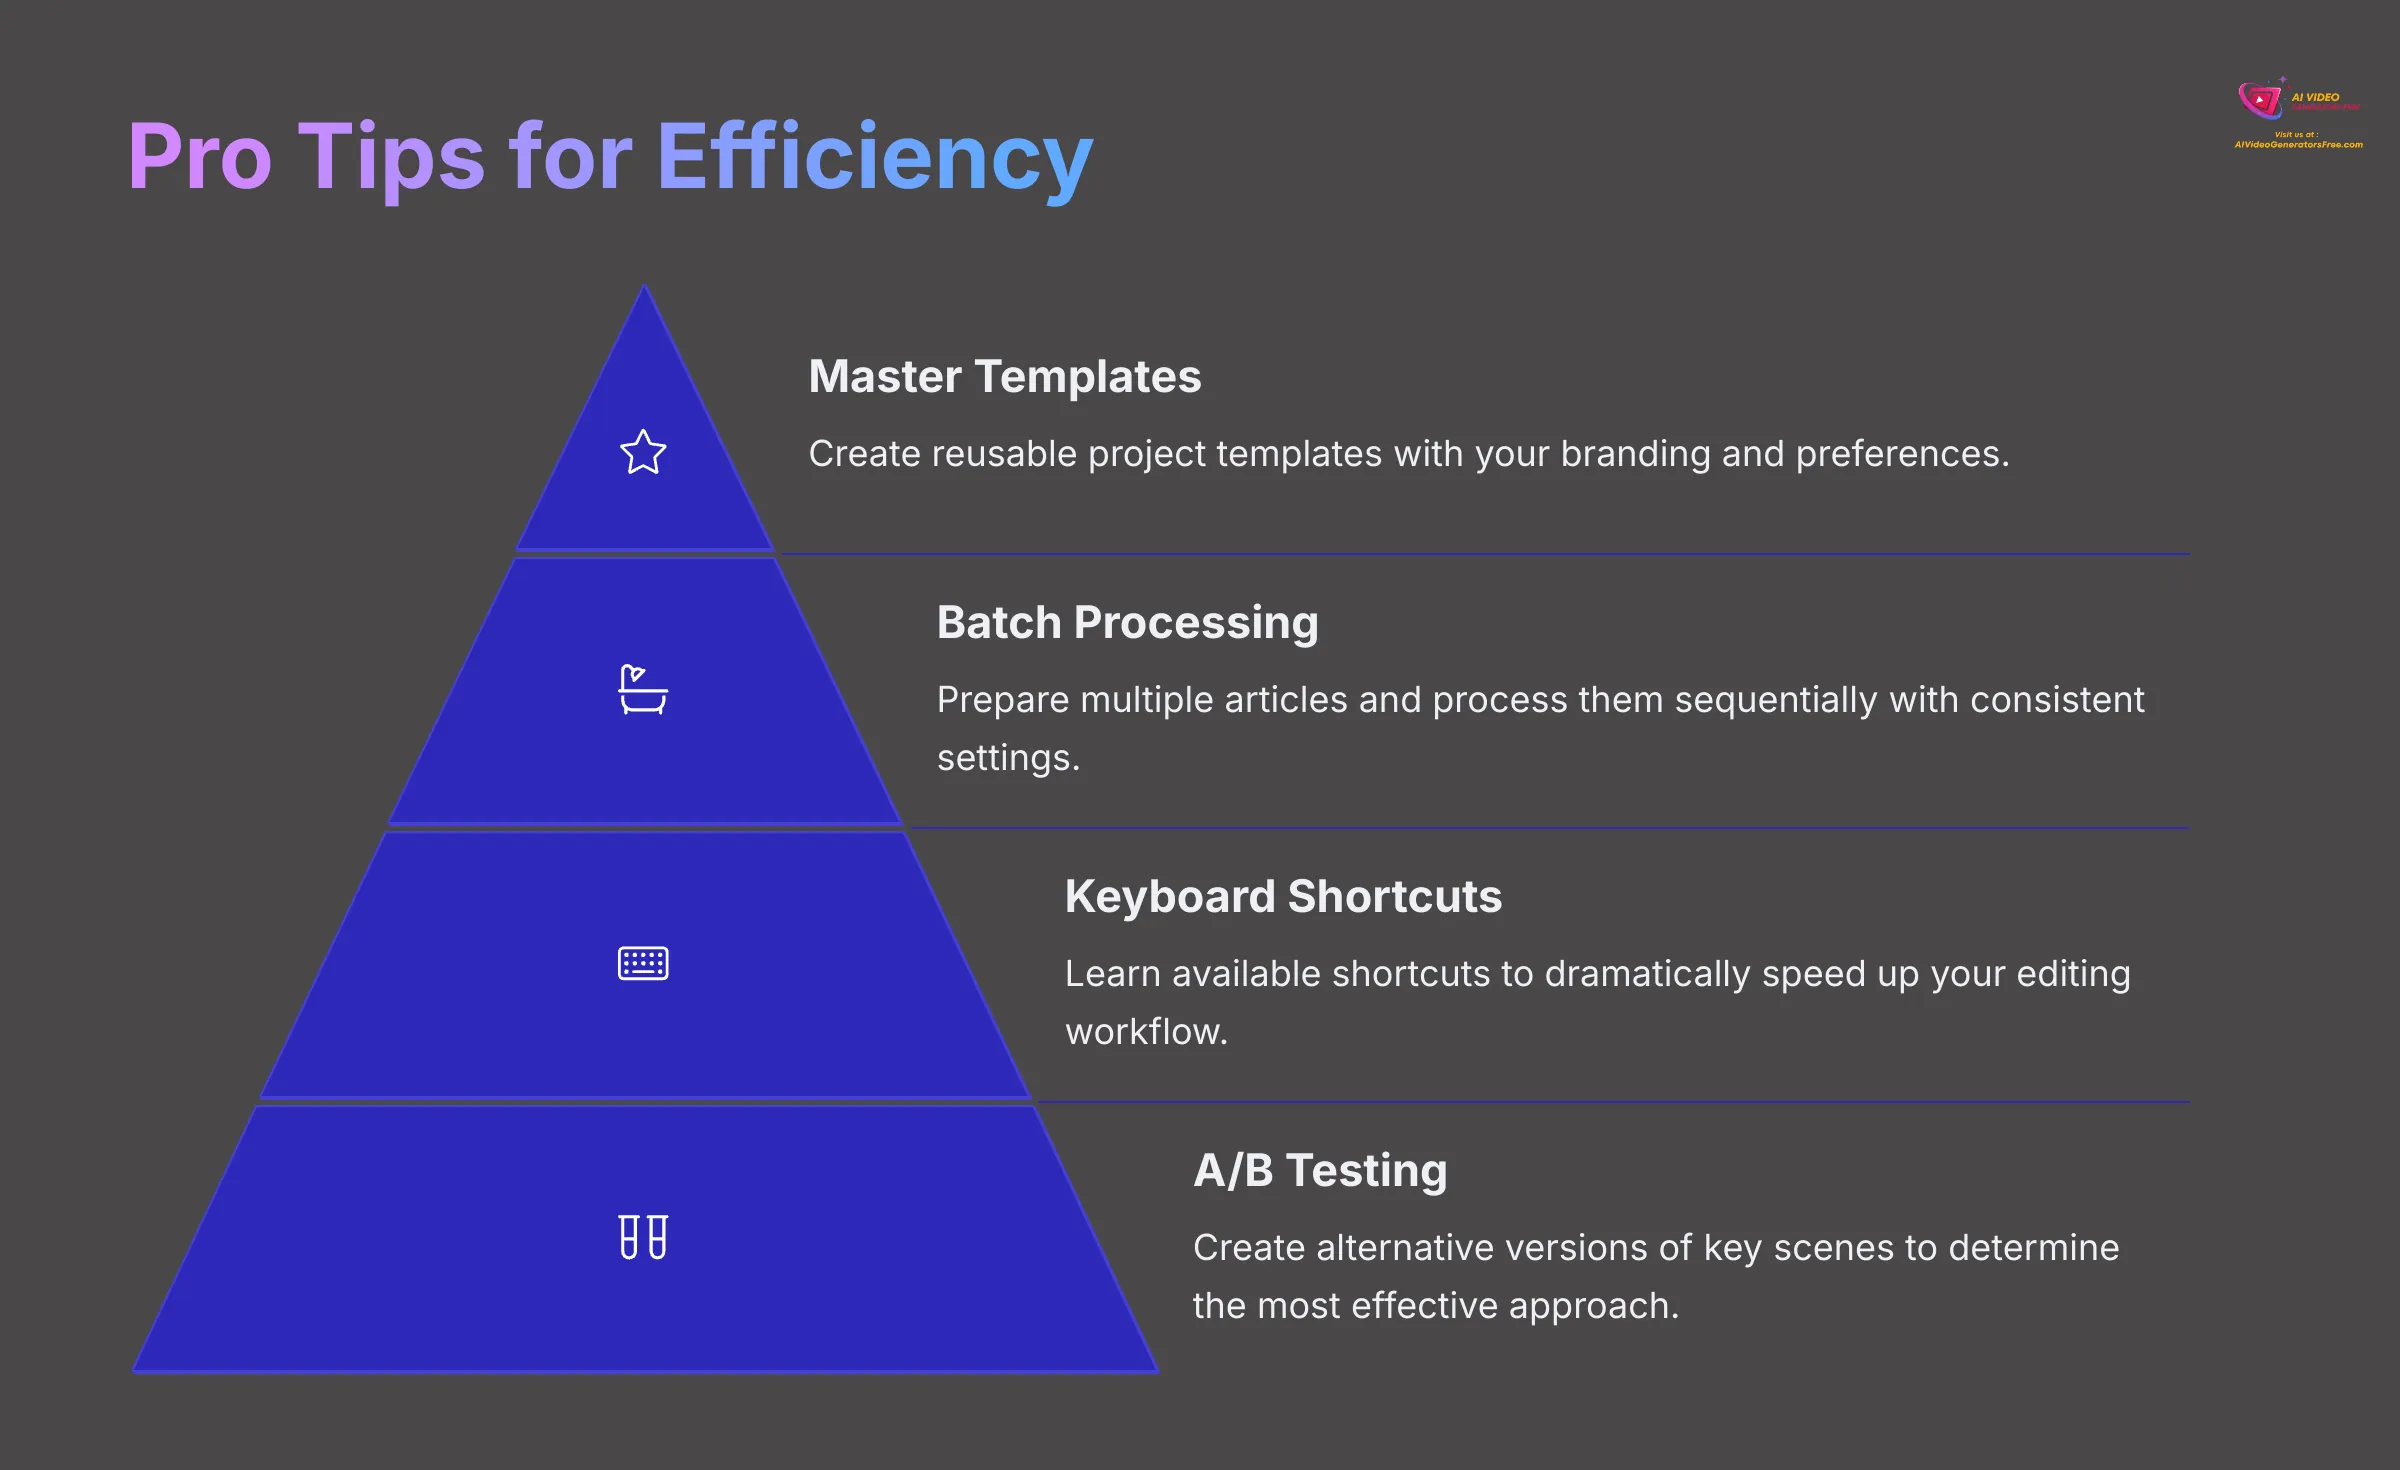
- While Fliki might not have a single button to “batch convert” multiple article URLs, you can create an efficient workflow. Prepare several articles using the checklist from Step 1. Then, process them in Fliki sequentially, but speed things up by reapplying similar voice settings, visual styles, or branding elements consistently.
- If Fliki has a “duplicate project” feature, use it strategically. Create one high-quality video, then duplicate it and simply swap out the script and visuals for the next article. This maintains consistency for a video series.
- Creating Reusable Templates: If Fliki allows you to save a project as a template (with your branding, music preferences, voice style, etc.), this becomes a huge time-saver for creating similar types of content regularly.
- Voice Pacing and Text Timing Deep Dive:
- Use shorter sentences in your script for a naturally faster pace in the voiceover delivery.
- For emphasis, you can deliberately add pauses using punctuation like “…” or if Fliki has specific pause tags, utilize those strategically.
- Crucially, ensure any on-screen text that supplements or reinforces the voiceover appears long enough to be read comfortably while listening. I test this by reading it aloud myself at a normal pace.
- A/B Testing Voiceovers or Visuals: For important videos, consider creating two versions of a key scene with different AI voices or visual styles. Export both versions and analyze which one feels more effective for your audience. This manual A/B testing approach can improve your results significantly.
- Keyboard Shortcuts: Take time to learn any available Fliki keyboard shortcuts displayed in the interface or help documentation. Even a few shortcuts can dramatically speed up your editing workflow.
- Leveraging “Idea to Video” for Initial Structure: Even if you have a complete blog post, you can sometimes use Fliki's “Idea to Video” feature by first summarizing your blog post into key bullet points. Let Fliki generate an initial video structure and suggest visuals. Then, you can refine it with the more detailed content from your actual blog post.
- Voice Cloning Capabilities: Some advanced AI tools, and Fliki may offer this in higher-tier plans, provide voice cloning functionality. If you have good quality recordings of your own voice, you could potentially create a custom AI voice for very consistent branding across all your videos.
- Scripting for Video First: For future content creation, if video is a primary goal, try writing your scripts with video in mind from the start. Think in scenes, keep content concise, and note visual ideas as you write. This makes the Fliki conversion process incredibly smooth and efficient.
Troubleshooting Common Fliki Conversion Hurdles
Even with an excellent tool like Fliki, you might encounter occasional challenges. Don't worry, it happens to experienced users too! Here are some common problems and the solutions I've developed through extensive testing.
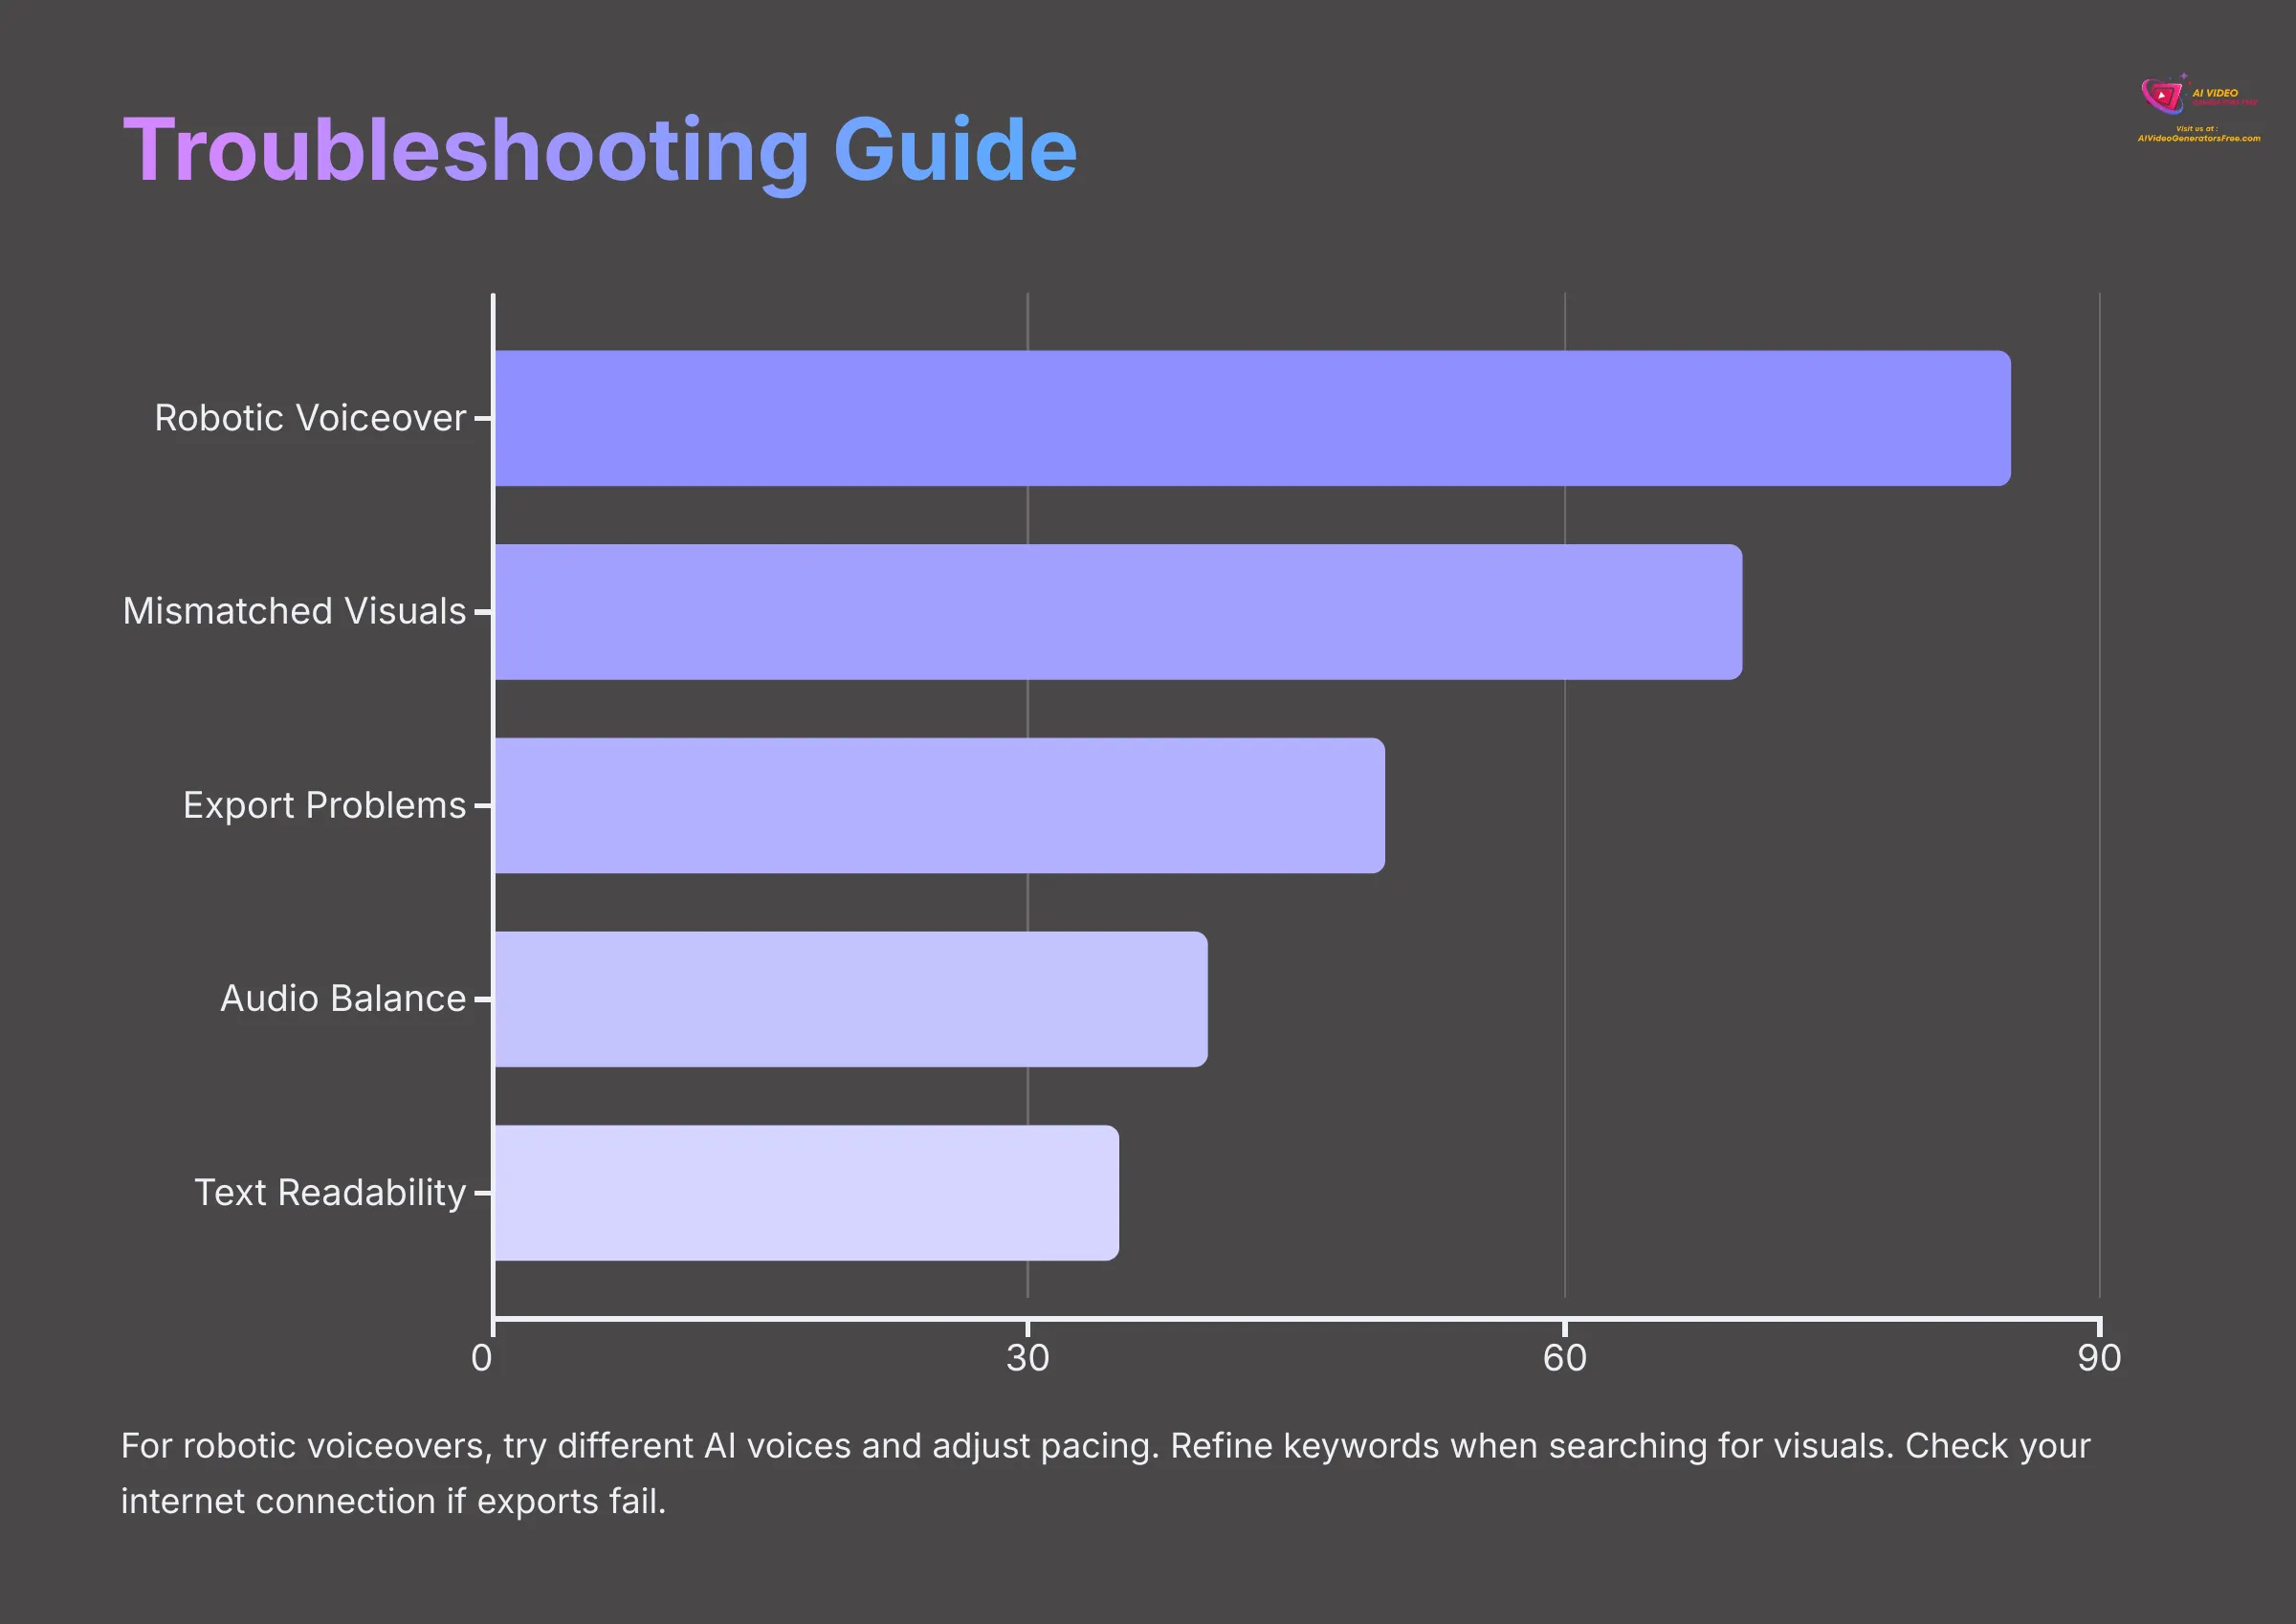
- Problem: Voiceover Sounds Robotic or Unnatural
- Solution: Try a different AI voice from Fliki's library. Some voices, especially premium ones, sound significantly more natural than others. Adjust the pacing settings and add more strategic pauses using punctuation. Simplify any very long or complex sentences in your script. Also, double-check for typos or unusual punctuation in your text, as these can confuse the AI voice engine.
- Problem: Visuals Don't Match Scene Content Well
- Solution: Refine your keywords when searching Fliki's stock media library. Be more specific and descriptive. Don't rely solely on AI-suggested visuals; manually replace them if they're not a good fit for your message. Ensure your scene text is clear and concise; this helps the AI understand the context better for its visual suggestions.
- Problem: Video Export Fails or Takes Too Long
- Solution: First, check your internet connection stability. A reliable connection is crucial for cloud-based tools. As a test, try exporting at a lower resolution (e.g., 720p instead of 1080p). If the video is very long or has many complex elements, try reducing its length or simplifying some scenes. Check Fliki's official status page or support channels for any known temporary issues.
- Problem: Audio Sounds Muffled or Unbalanced
- Solution: Carefully review the individual volume levels for your voiceover track and your background music track. The voiceover should be clear and dominant in the mix. If you've uploaded your own audio files, ensure they were high-quality to begin with.
- Problem: Subtitles or Text Not Readable
- Solution: Adjust the font size, color, and background contrast for your text overlays or subtitles. A common mistake is text that blends too much with the background visuals. Also, ensure the text duration is sufficient for someone to comfortably read it while processing the audio.
Beyond the Basics: Next Steps and Further Learning with Fliki
You now have a solid foundation for transforming articles into engaging videos with Fliki. The best way to become even more proficient is through consistent practice and continued exploration. Don't be afraid to experiment with different settings and features as you develop your skills.
Here are some effective ways to continue your learning journey:
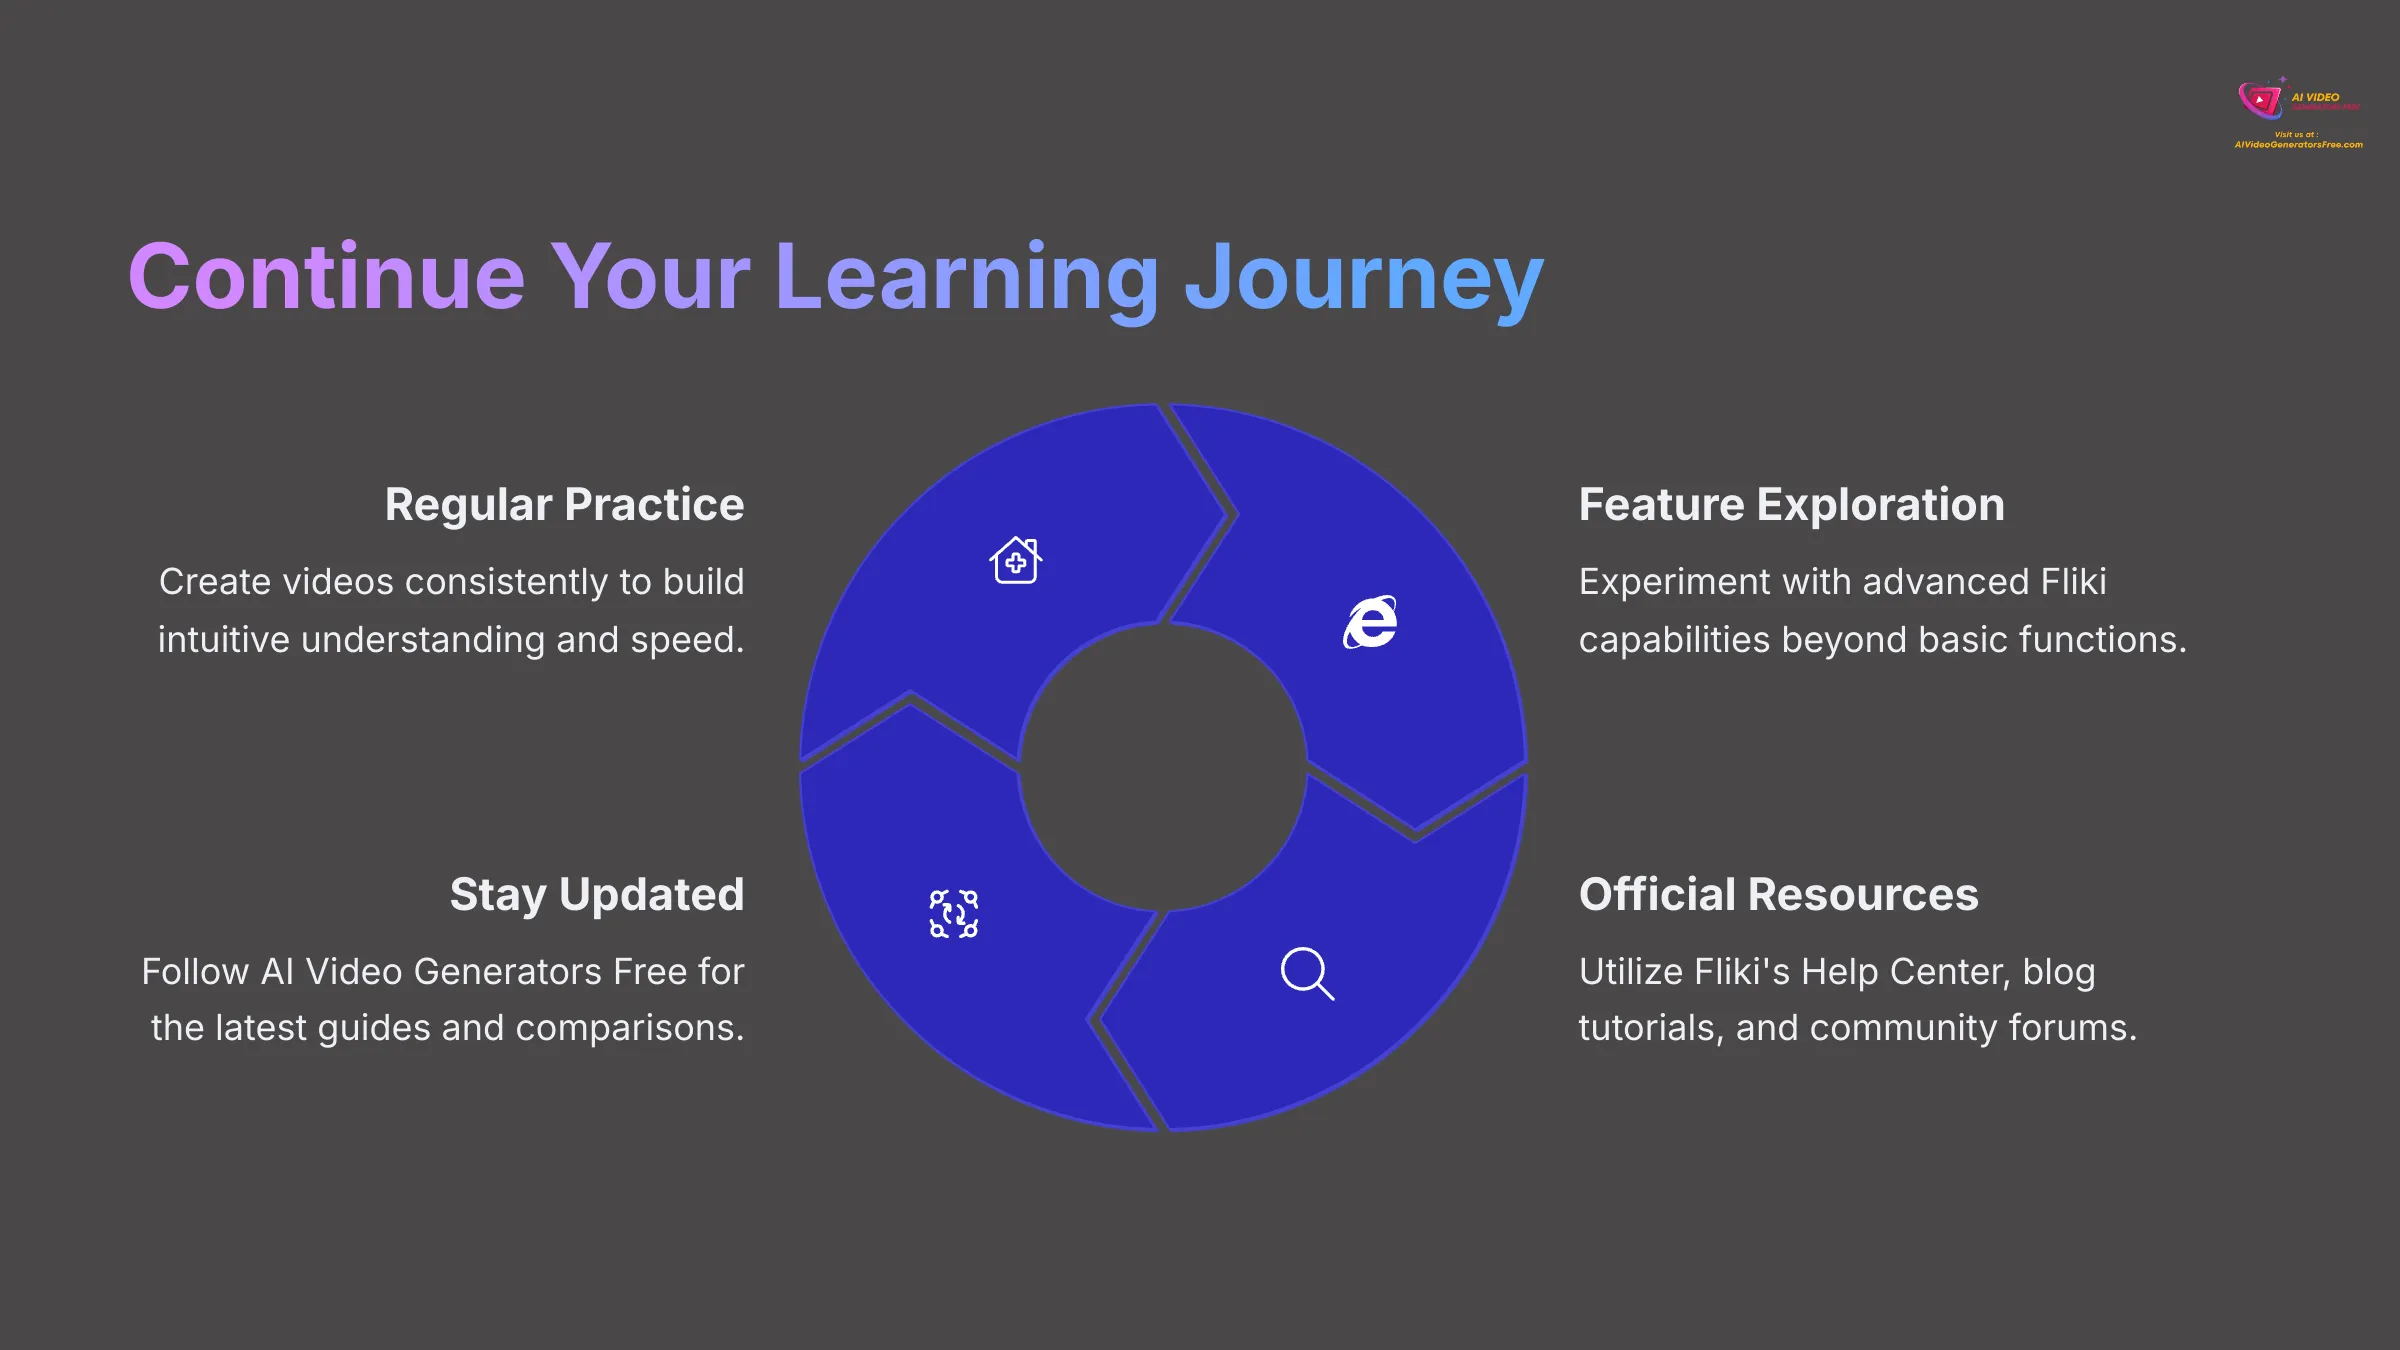
- Keep practicing regularly! The more videos you create, the faster and more intuitive the entire process becomes. Each project teaches you something new.
- Explore additional Fliki features that we might not have covered deeply in this tutorial. Perhaps Fliki offers different video styles, more advanced voice emotion controls, or even API access for developers if that's relevant to your workflow needs.
- Make full use of Fliki's own educational resources. They usually provide:
- A Fliki Help Center or Knowledge Base with detailed articles and guides
- A Fliki Blog or dedicated Tutorials section, often showcasing new features and best practices
- A Fliki Community Forum or social media group, where you can ask questions and learn from other experienced users
- You can also explore other content here on AI Video Generators Free. I regularly post Fliki reviews, detailed comparisons with other AI video tools, and guides on specific video creation techniques and strategies.
Conclusion: Transform Your Content Strategy with Fliki Article-to-Video
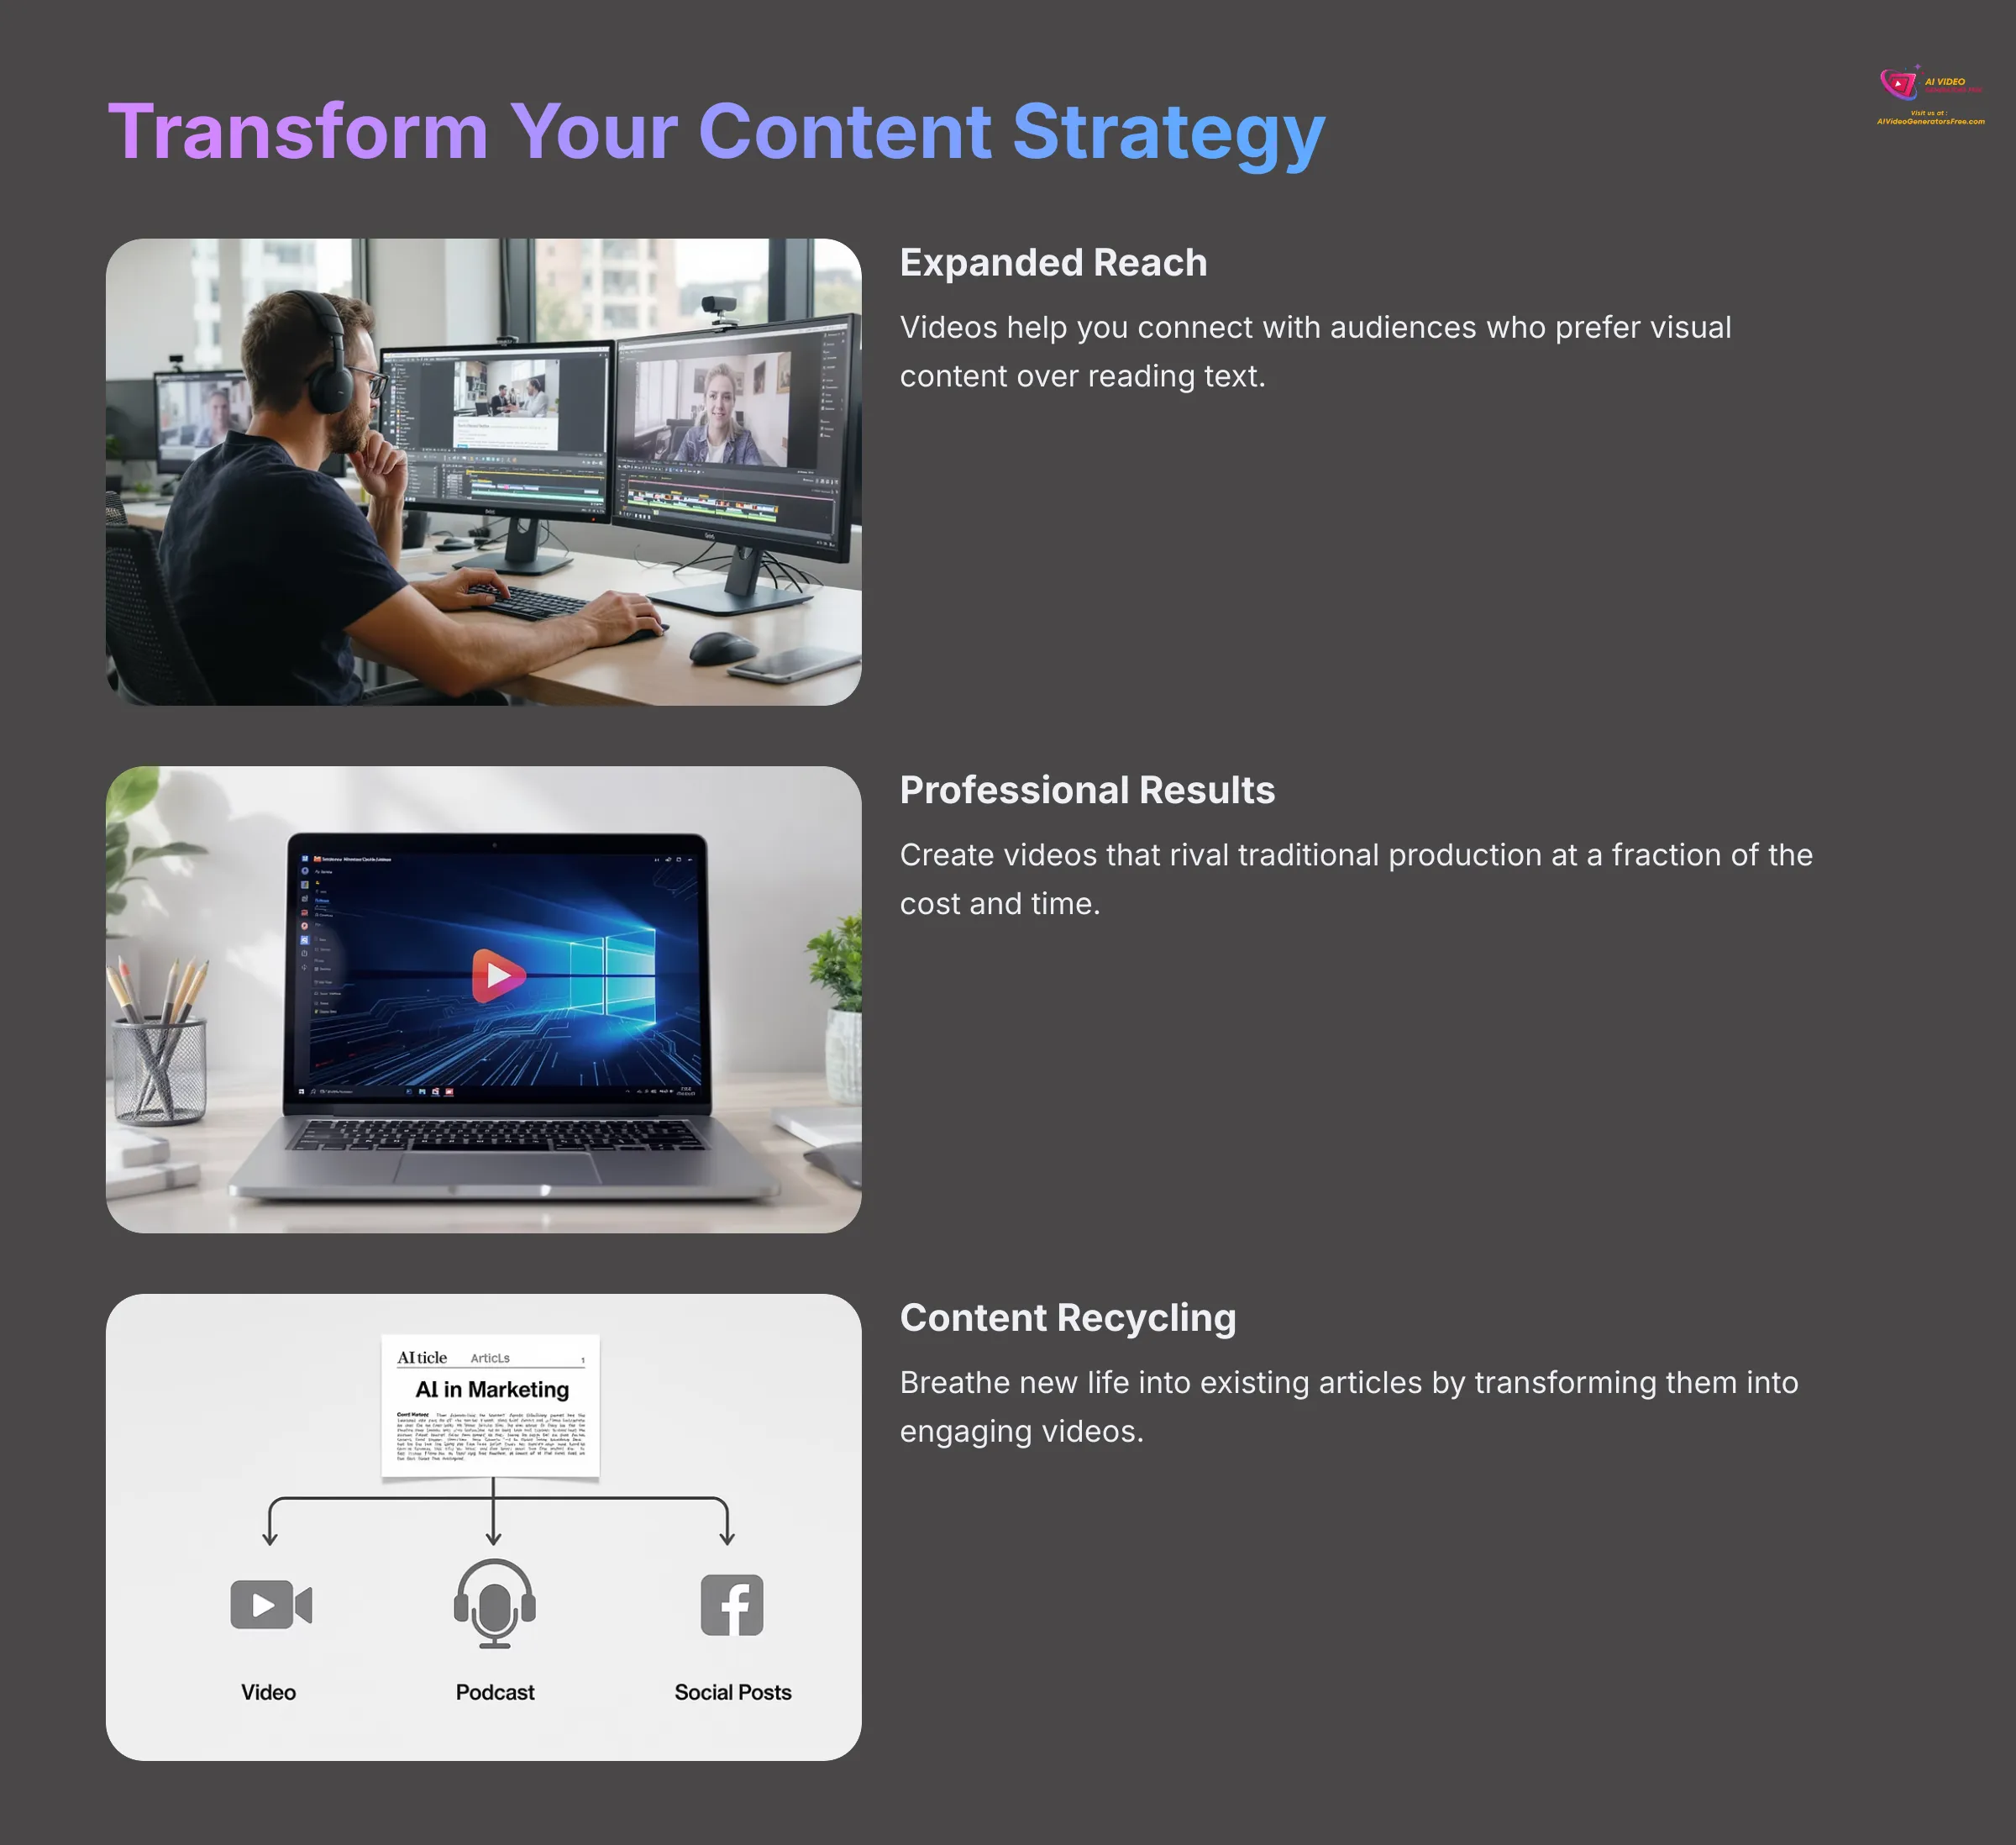
So there you have it! Converting your articles into engaging videos using Fliki is a powerful strategy to expand your reach and breathe new life into your existing content. I've shown you the essential steps from preparing your text to exporting a polished video, complete with professional AI voiceovers and compelling visuals. My experience demonstrates this can significantly enhance your overall content strategy and audience engagement.
With Fliki and the systematic approach I've outlined in this Fliki Tutorial: Converting Articles to Engaging Videos with AI Voiceovers, you can create impressive videos that rival traditional video production. It's often more cost-effective and faster than hiring professional video teams. Go ahead and start transforming your own articles into engaging video content!
Disclaimer: The information about Fliki Tutorial: Converting Articles to Engaging Videos with AI Voiceovers presented in this article reflects our thorough analysis as of 2025. Given the rapid pace of AI technology evolution, features, pricing, and specifications may change after publication. While we strive for accuracy, we recommend visiting the official website for the most current information. Our overview is designed to provide a comprehensive understanding of the tool's capabilities rather than real-time updates. Users can explore various Fliki Usecase scenarios, such as transforming blog posts into dynamic video presentations or converting educational content into engaging visual materials. These applications highlight the versatility of Fliki, showcasing its ability to enhance digital storytelling across different domains. As AI technology continues to advance, the potential for creative uses of tools like Fliki will only grow.
Frequently Asked Questions (FAQs) about Converting Articles to Videos with Fliki
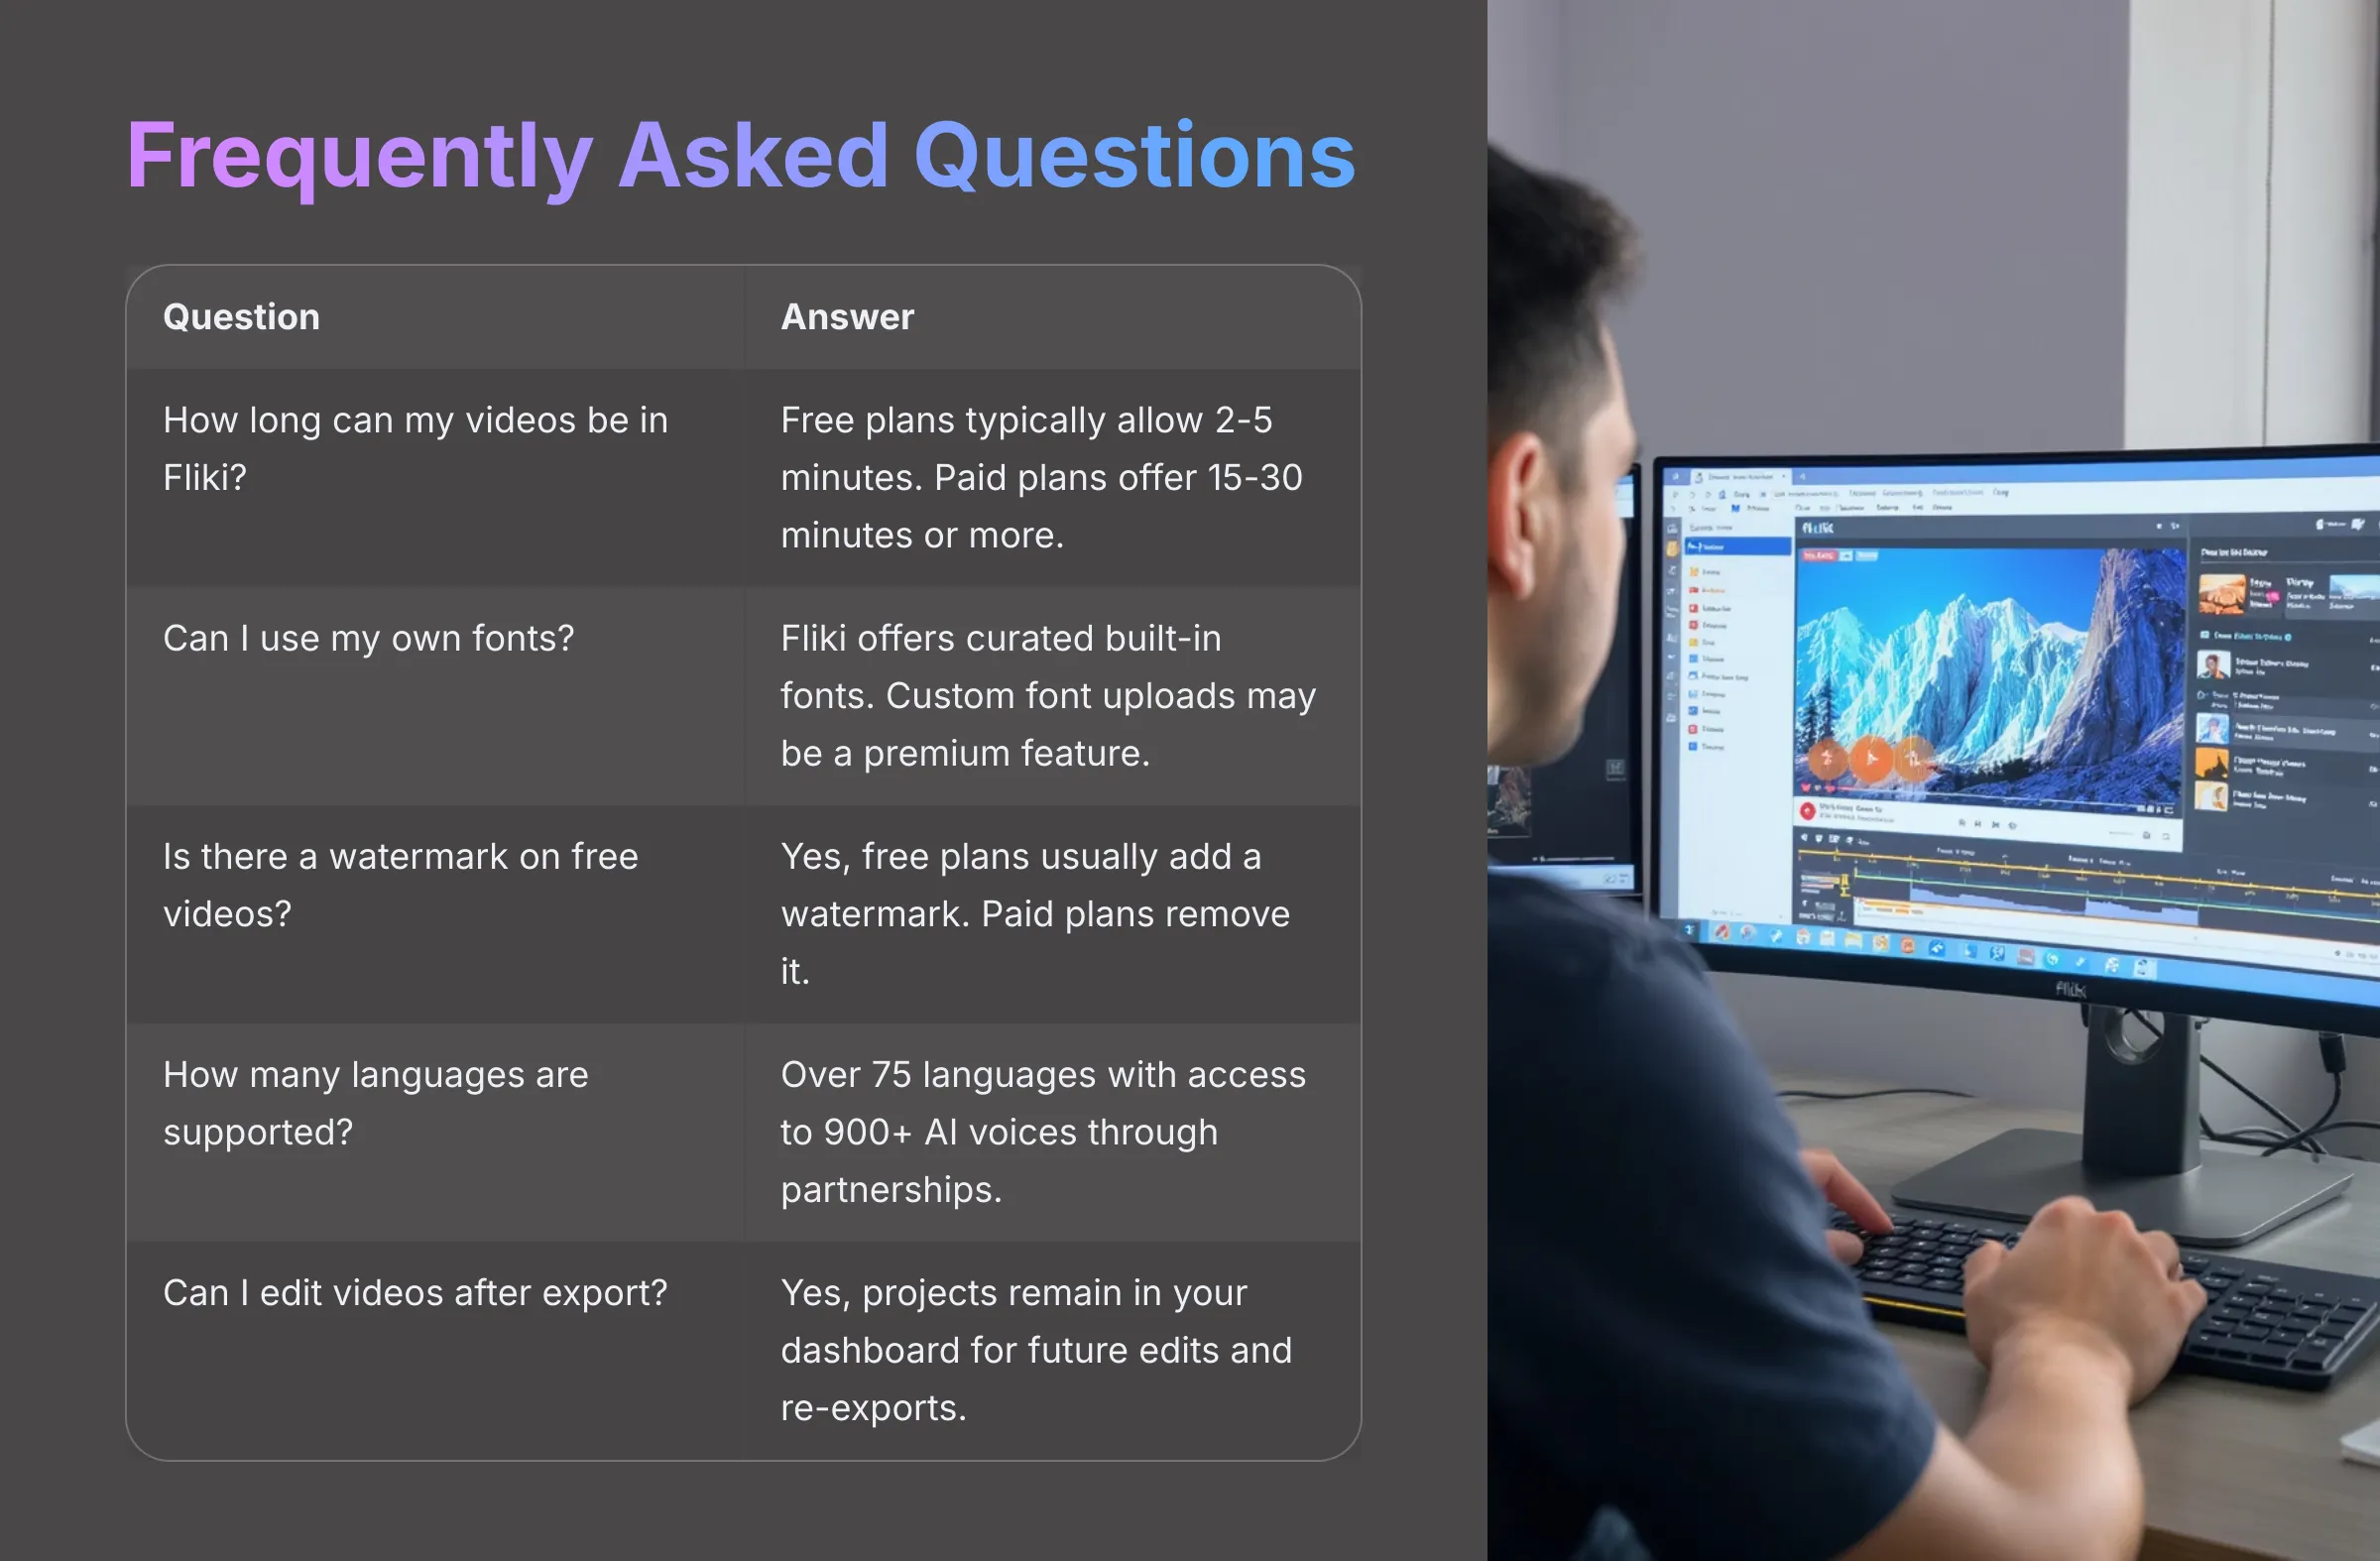
1. Q: How long can my videos be in Fliki (free vs. paid plan)?
A: This depends on Fliki's current subscription specifications. Generally, free plans have stricter limits on video length, perhaps 2-5 minutes. Paid plans usually offer much longer video durations, sometimes up to 15 or 30 minutes per video, or even more on higher tiers. I always recommend checking Fliki's current pricing page for the latest details.
2. Q: Can I use my own fonts in Fliki?
A: Fliki typically offers a curated selection of built-in fonts for text overlays and subtitles. The ability to upload custom fonts might be a premium feature or may not be available, depending on their current feature set. It's best to check their interface or help documentation for font customization options.
3. Q: Does Fliki add a watermark on videos created with the free plan?
A: Yes, most AI video tools, including Fliki, usually add a watermark to videos created using their free plan. To remove the watermark and access higher quality exports, you generally need to subscribe to one of their paid plans.
4. Q: How many languages and voices does Fliki support?
A: Fliki is known for its extensive language and voice support. They often advertise support for over 75 languages and access to hundreds of AI voices (sometimes over 900+ through partnerships). The exact number can change as they update their platform, so Fliki's official website is the best source for the most current list.
5. Q: Can I edit a video in Fliki after I've exported it?
A: Absolutely. Fliki saves your projects in your account dashboard permanently. You can return to any project, make your edits (change text, voice, visuals, etc.), and then re-export the updated version. This flexibility is excellent for making corrections or updating information as needed.


Leave a Reply