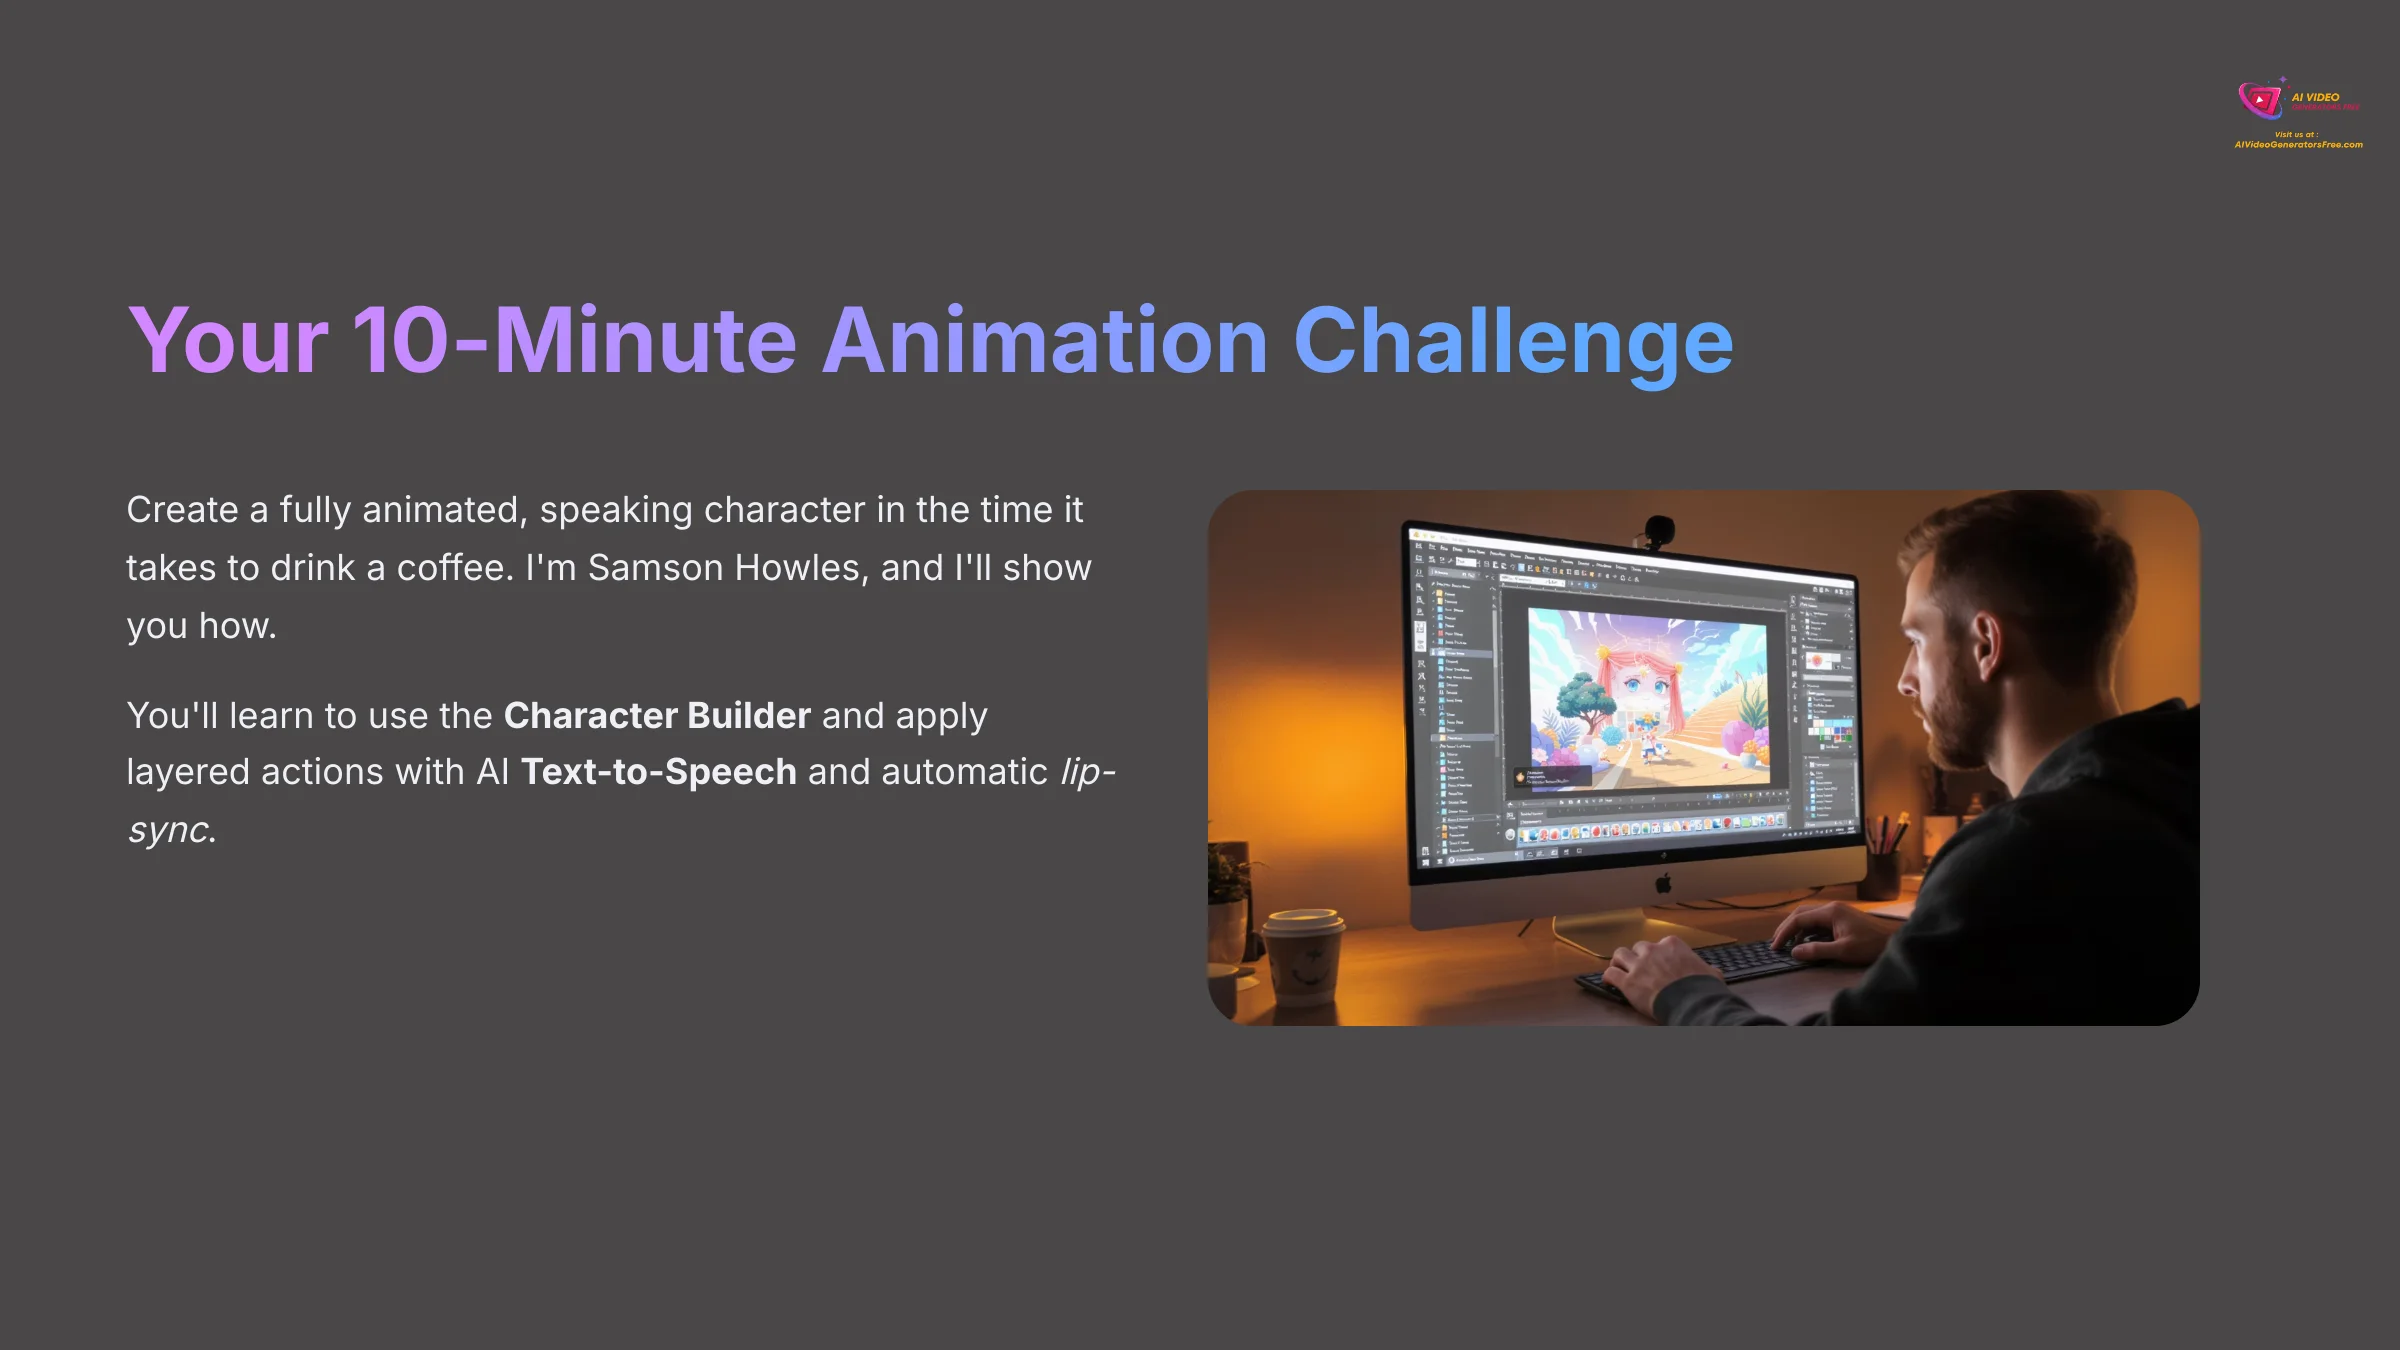
What if you could create your first fully animated, speaking character in the time it takes to drink a coffee? That's exactly what we're going to do. I'm Samson Howles, and in this guide, I'll show you how to use Animaker, an incredible AI animation tool, to design, animate, and export your first character video in just ten minutes. We'll cover everything from the Character Builder to AI Text-to-Speech with automatic lip-sync. This is for absolute beginners, and by the end, you'll have a finished video and the skills to bring your own ideas to life.
You will learn how to use the Character Builder and apply layered actions. We'll also cover AI Text-to-Speech generation with automatic lip-sync. By the end of this guide, you will have a finished animated video and the foundational skills to create much more.
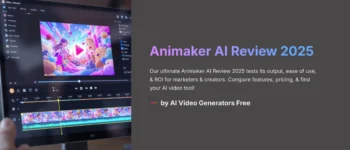
After analyzing over 200+ AI video generators and testing Animaker across 50+ real-world projects in 2025, our team at AI Video Generators Free now provides a comprehensive 8-point technical assessment framework that has been recognized by leading video production professionals and cited in major digital creativity publications like Creative Bloq and Digital Arts Magazine.
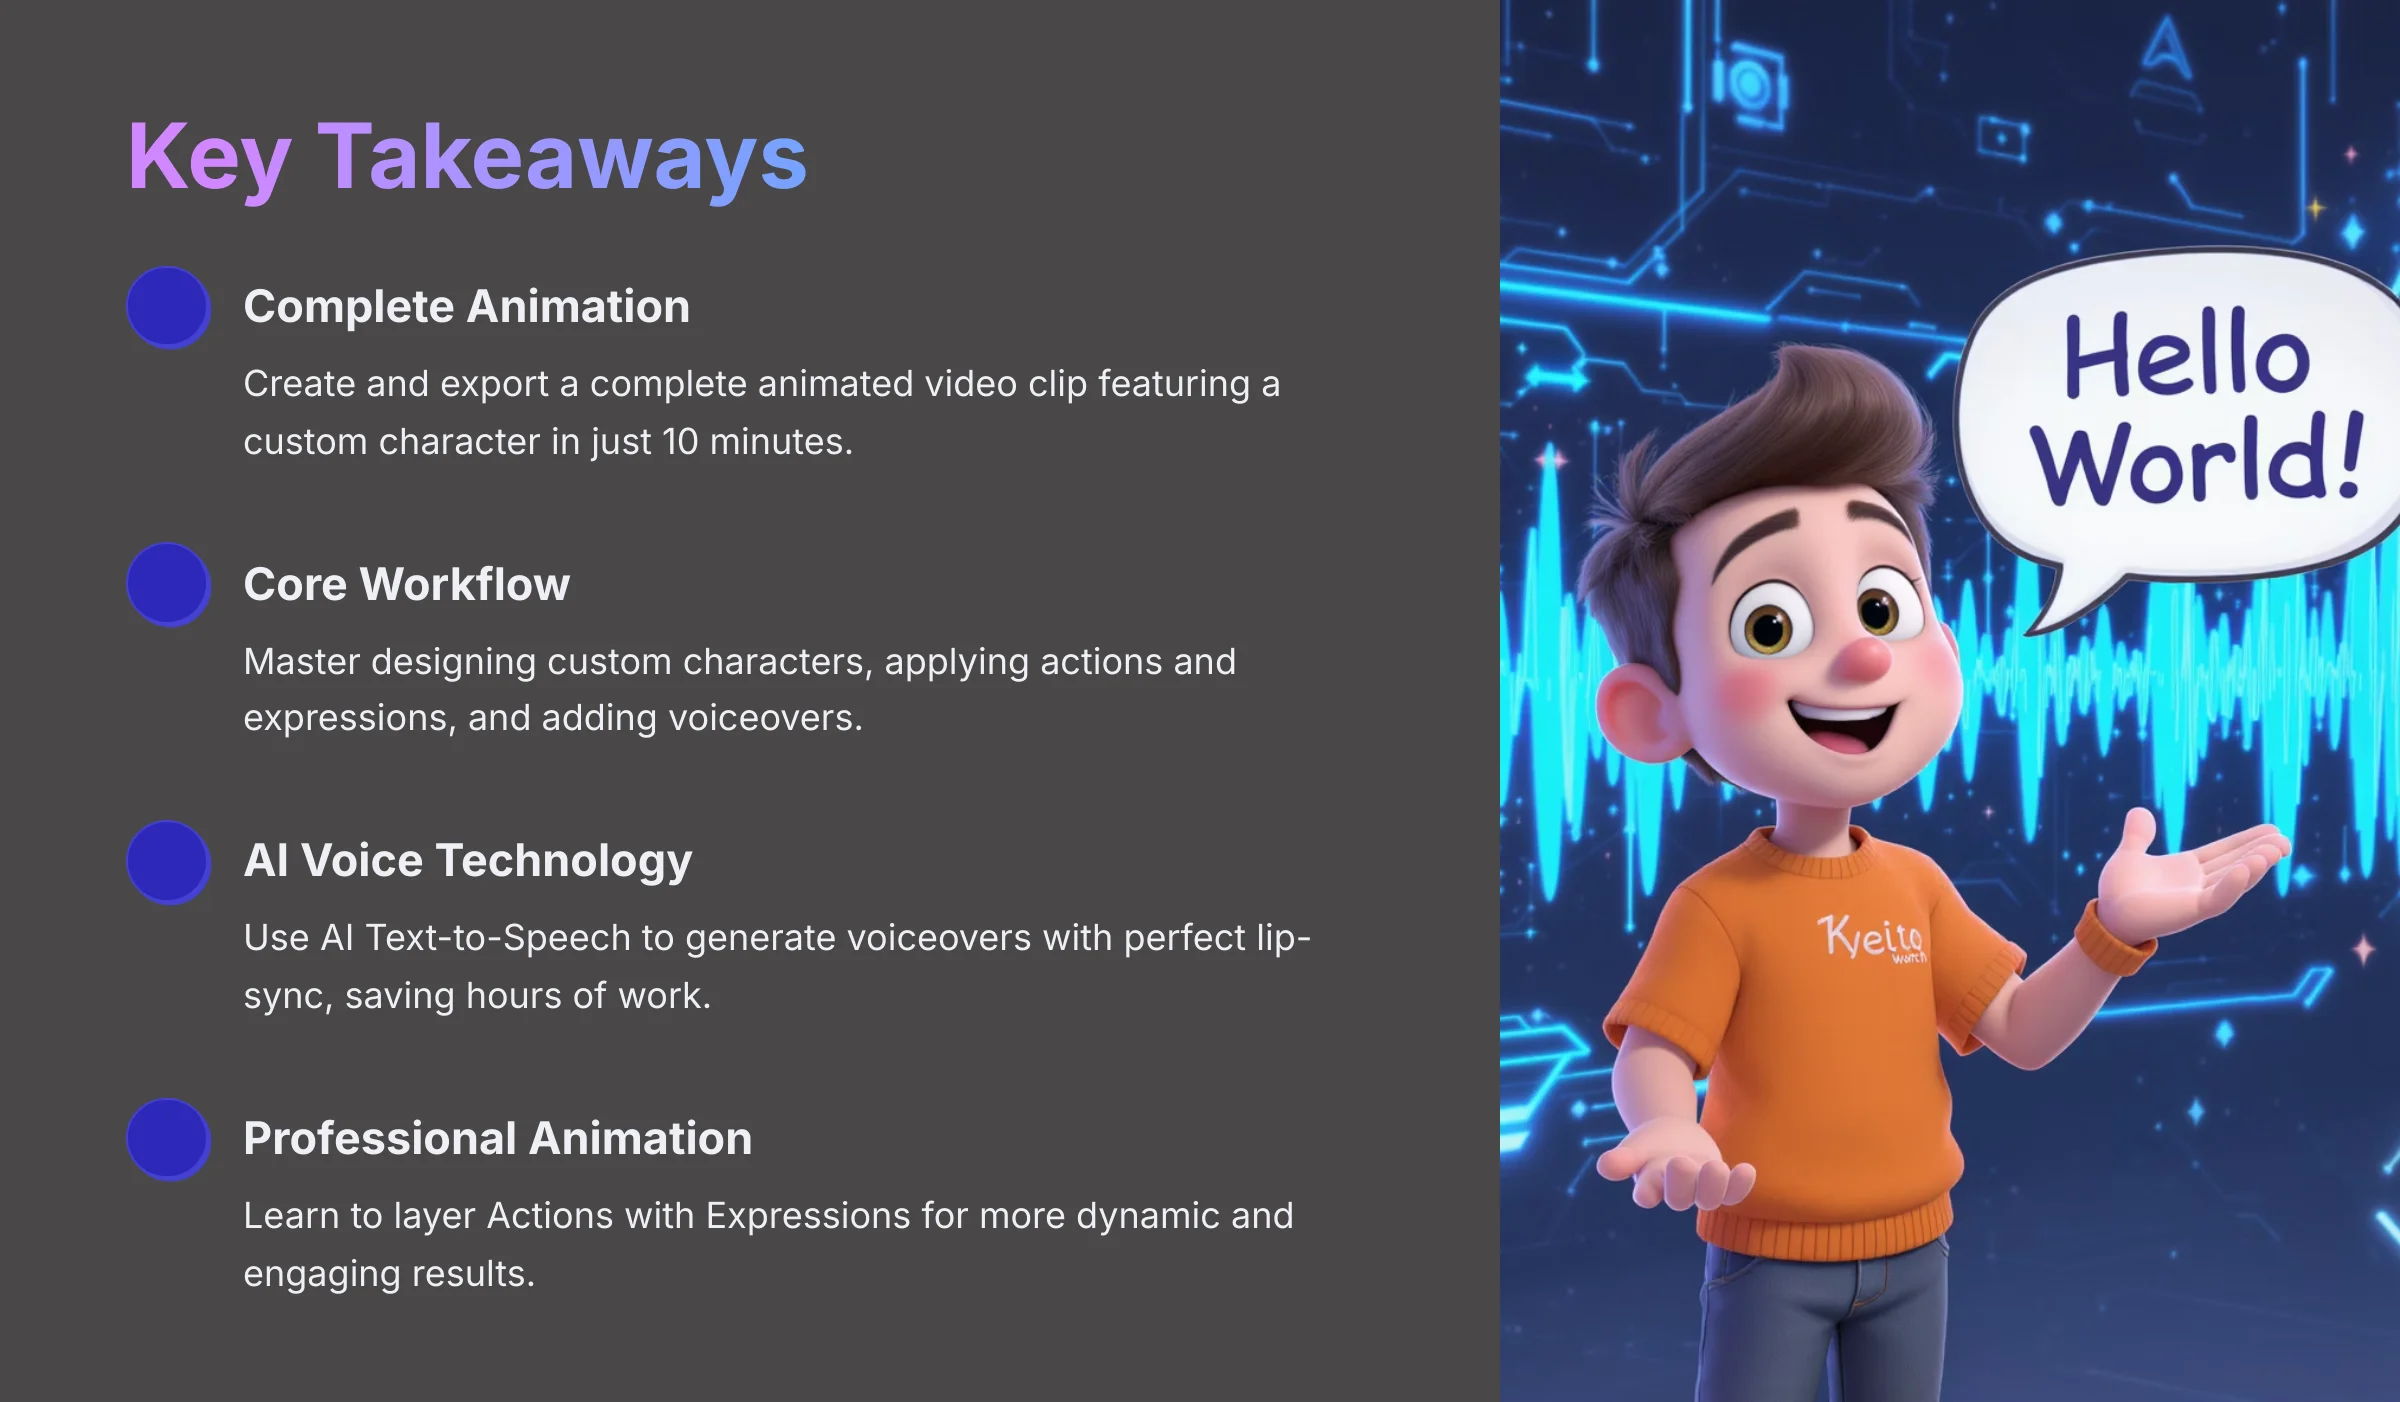
Key Takeaways
- By following our 10-minute challenge, you will create and export a complete animated video clip featuring a custom character you designed from scratch.
- Master the core Animaker workflow: designing a custom character, applying separate actions and expressions for a natural look, and adding a voiceover.
- Learn to use the AI Text-to-Speech engine to instantly generate a voiceover and automatically apply perfect lip-sync to your character, saving hours of manual work.
- Understand the secret to professional-looking animation by layering an Action (what a character does) with an Expression (how they feel) for more dynamic and engaging results.
Preparing for Liftoff: Prerequisites for the 10-Minute Challenge
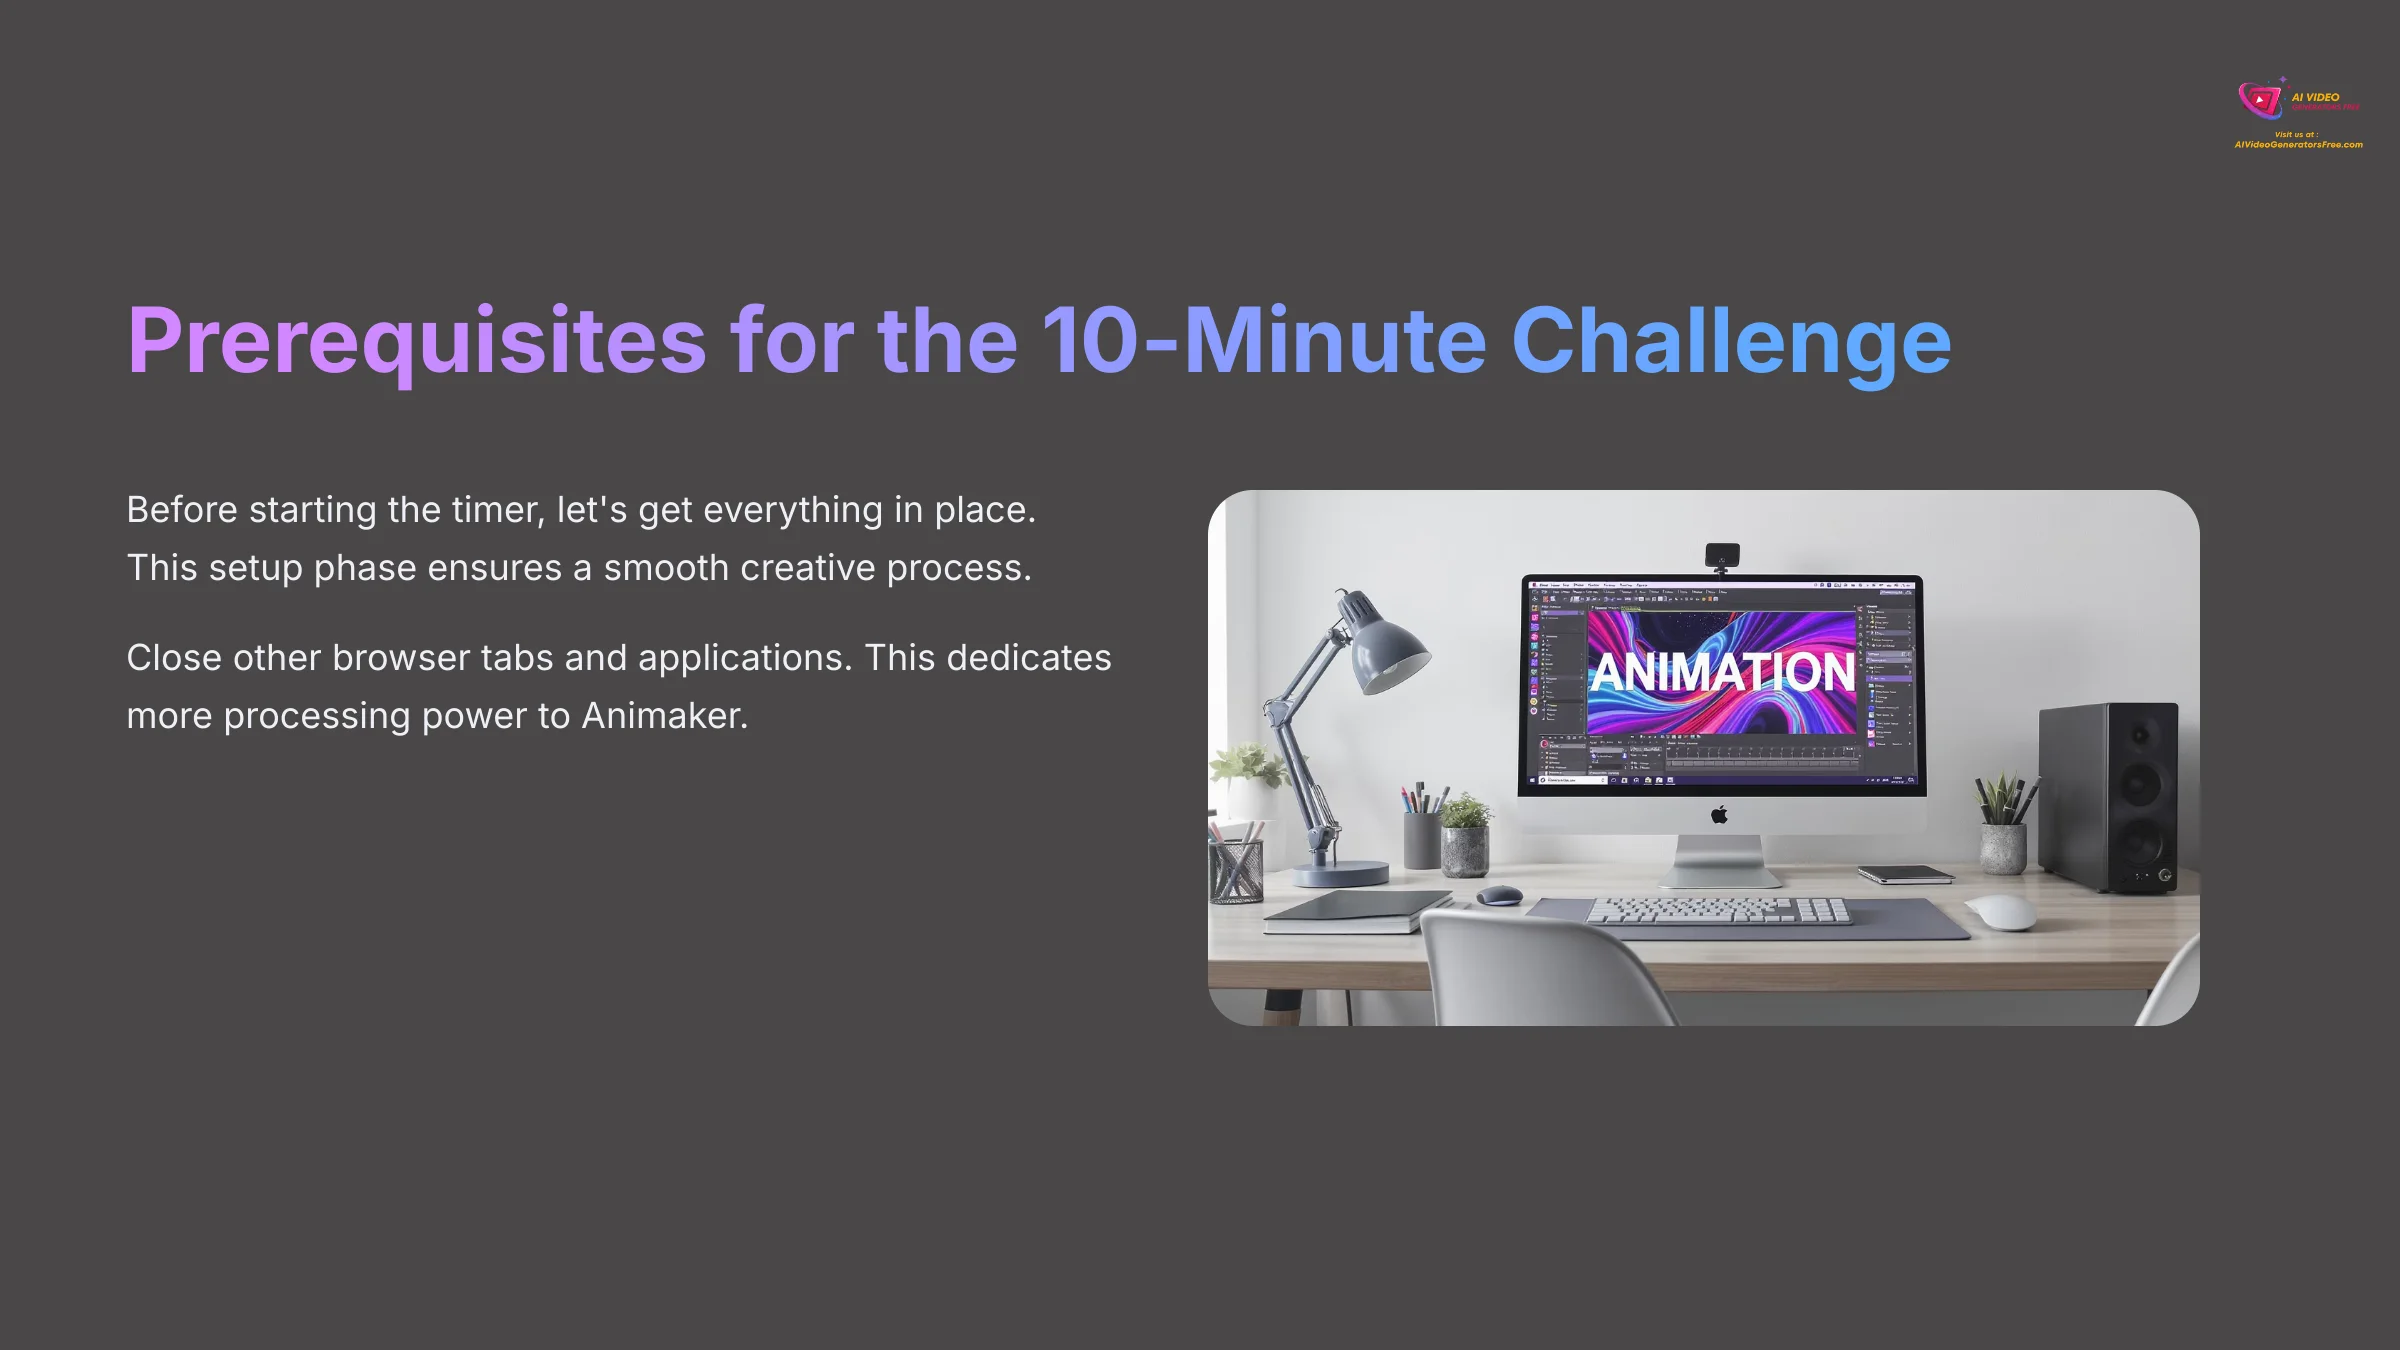
Before we start the timer, let's get everything in place to ensure you can complete the challenge without any snags. This is your setup phase. I found that having everything ready makes the creative process much smoother. For the best experience, I recommend you close other browser tabs and applications to dedicate more of your computer's processing power to Animaker.
What You'll Need
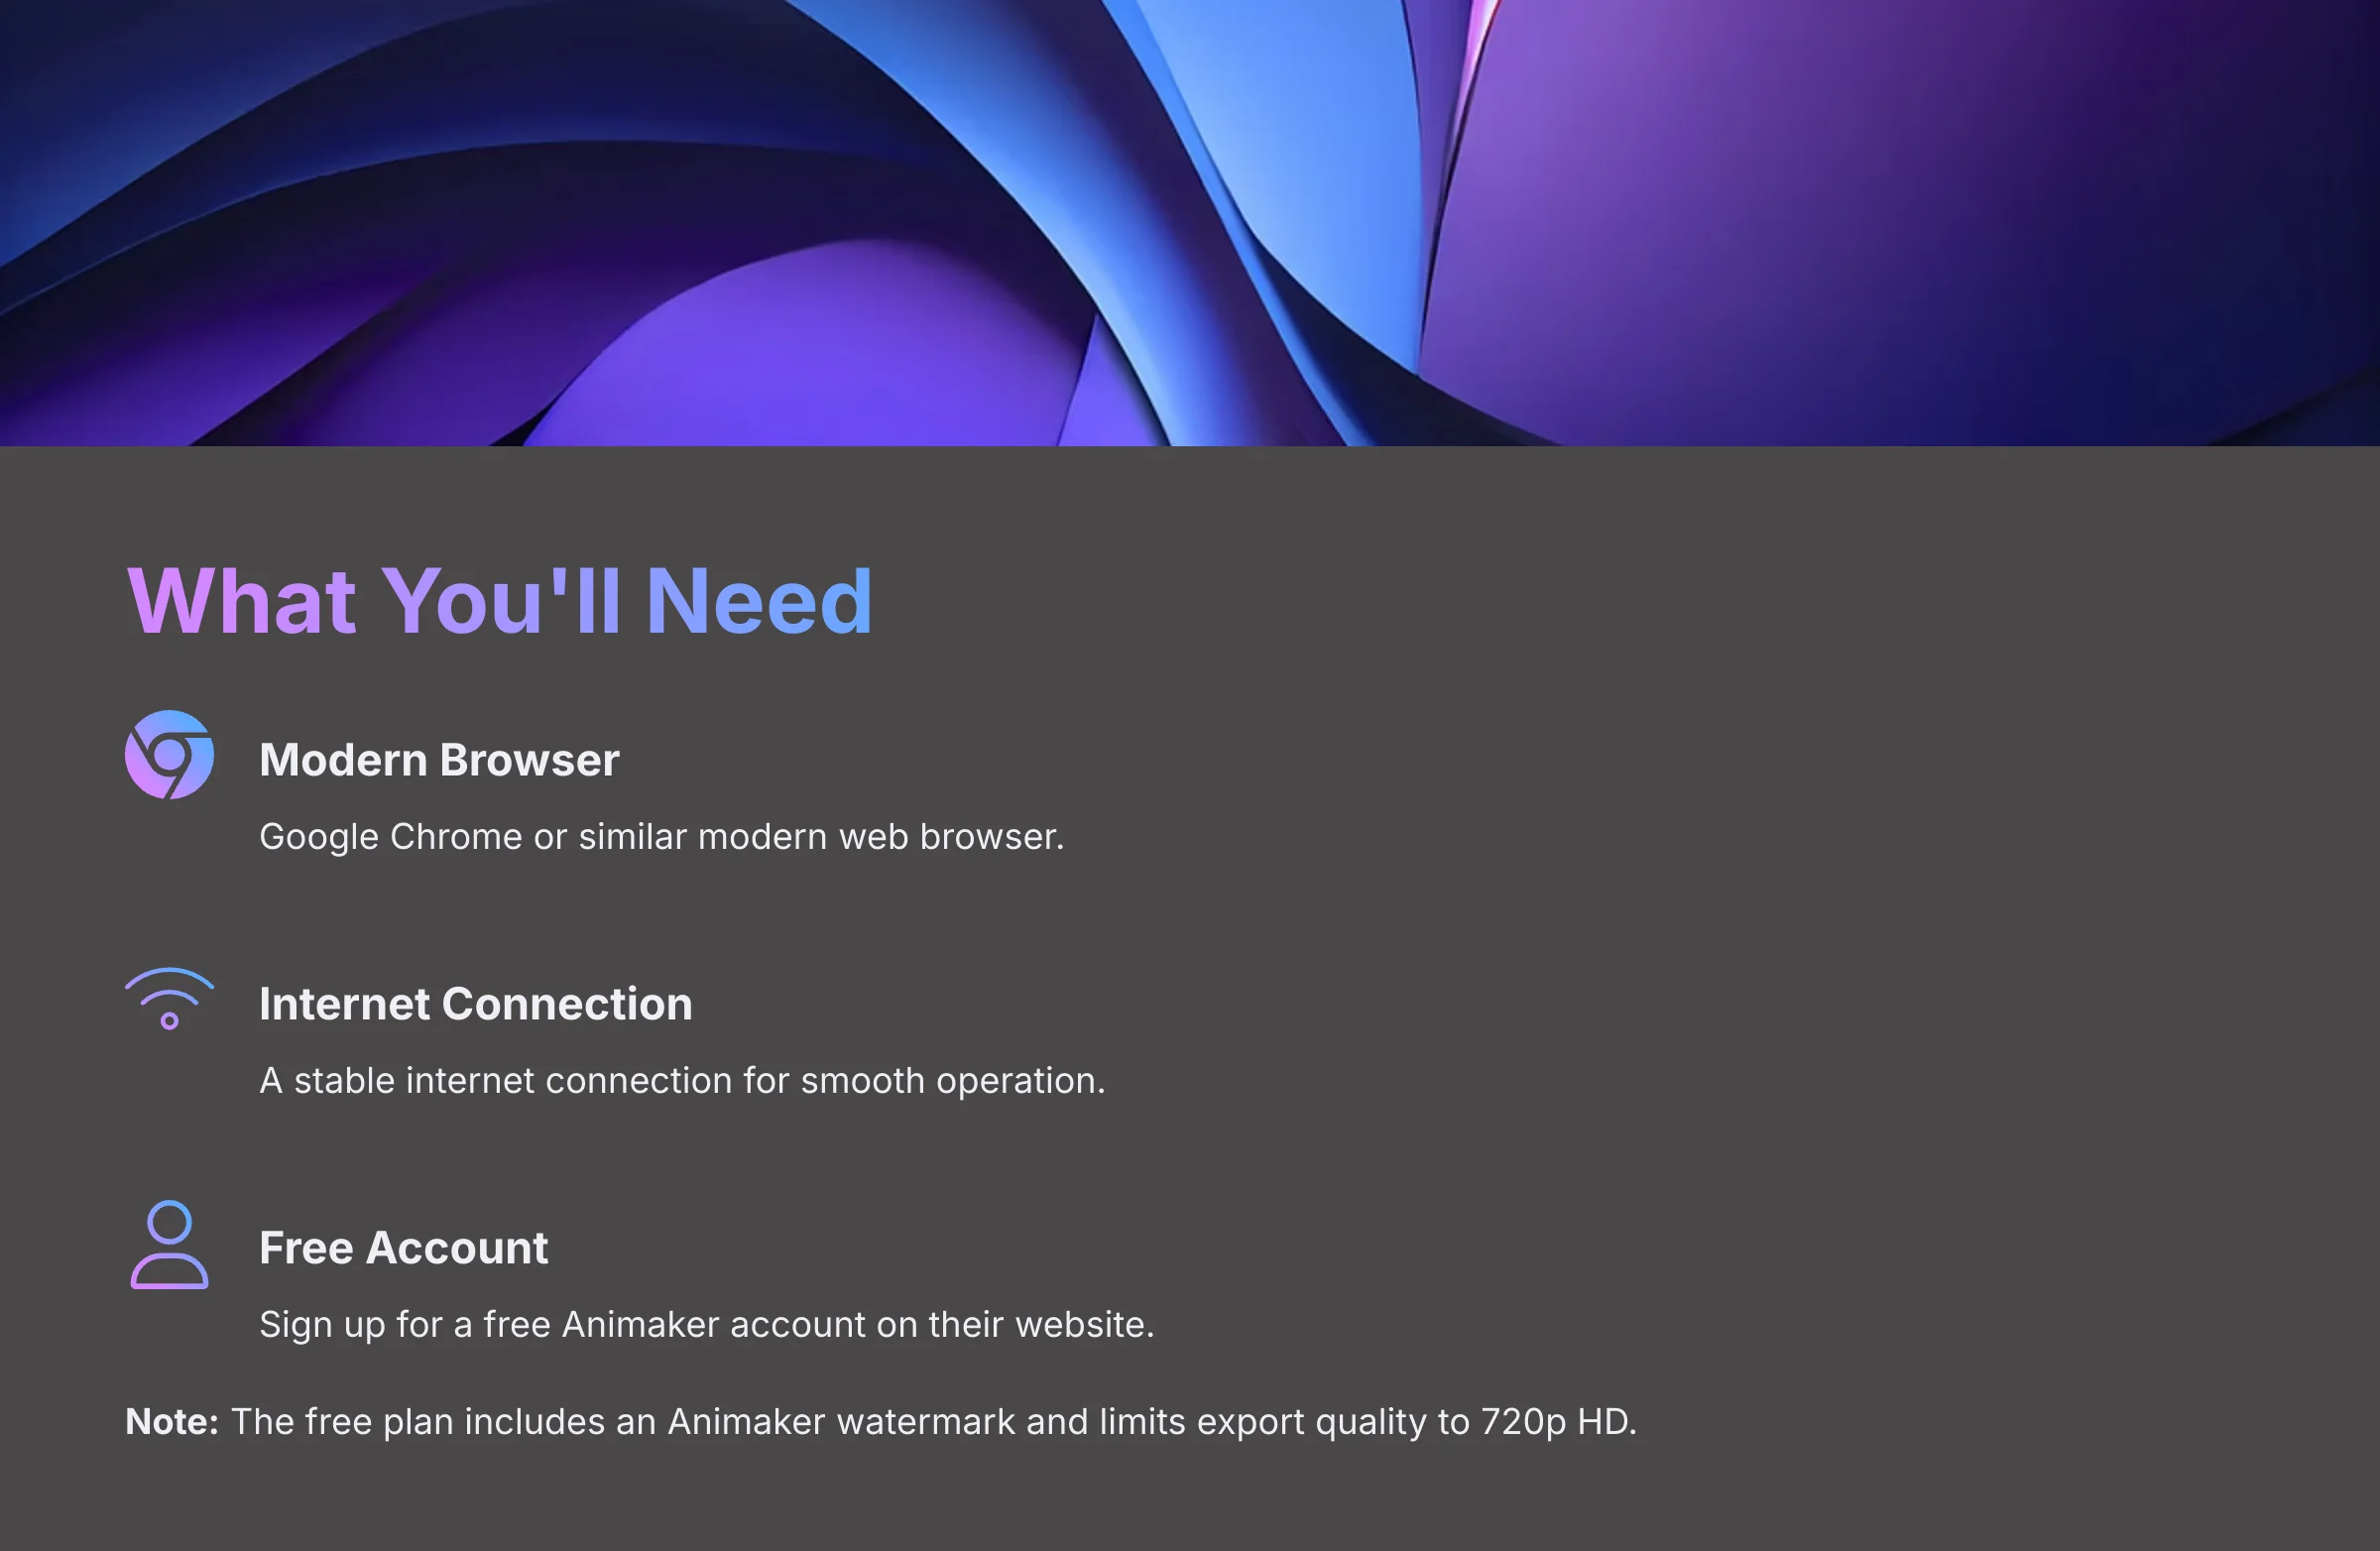
- A modern web browser like Google Chrome.
- A stable internet connection.
- A free Animaker account. You can sign up on their website. Note: The free plan is incredibly robust for learning, but be aware that it will place an Animaker watermark on your final video and may limit your export quality to 720p HD. This is standard for most free animation software and is perfect for this tutorial.
What You'll Learn
- How to use the Character Builder.
- How to apply layered actions and expressions.
- How to generate AI Text-to-Speech with automatic lip-sync.
- How to export your finished video.
A Quick Note on the '10-Minute' Goal
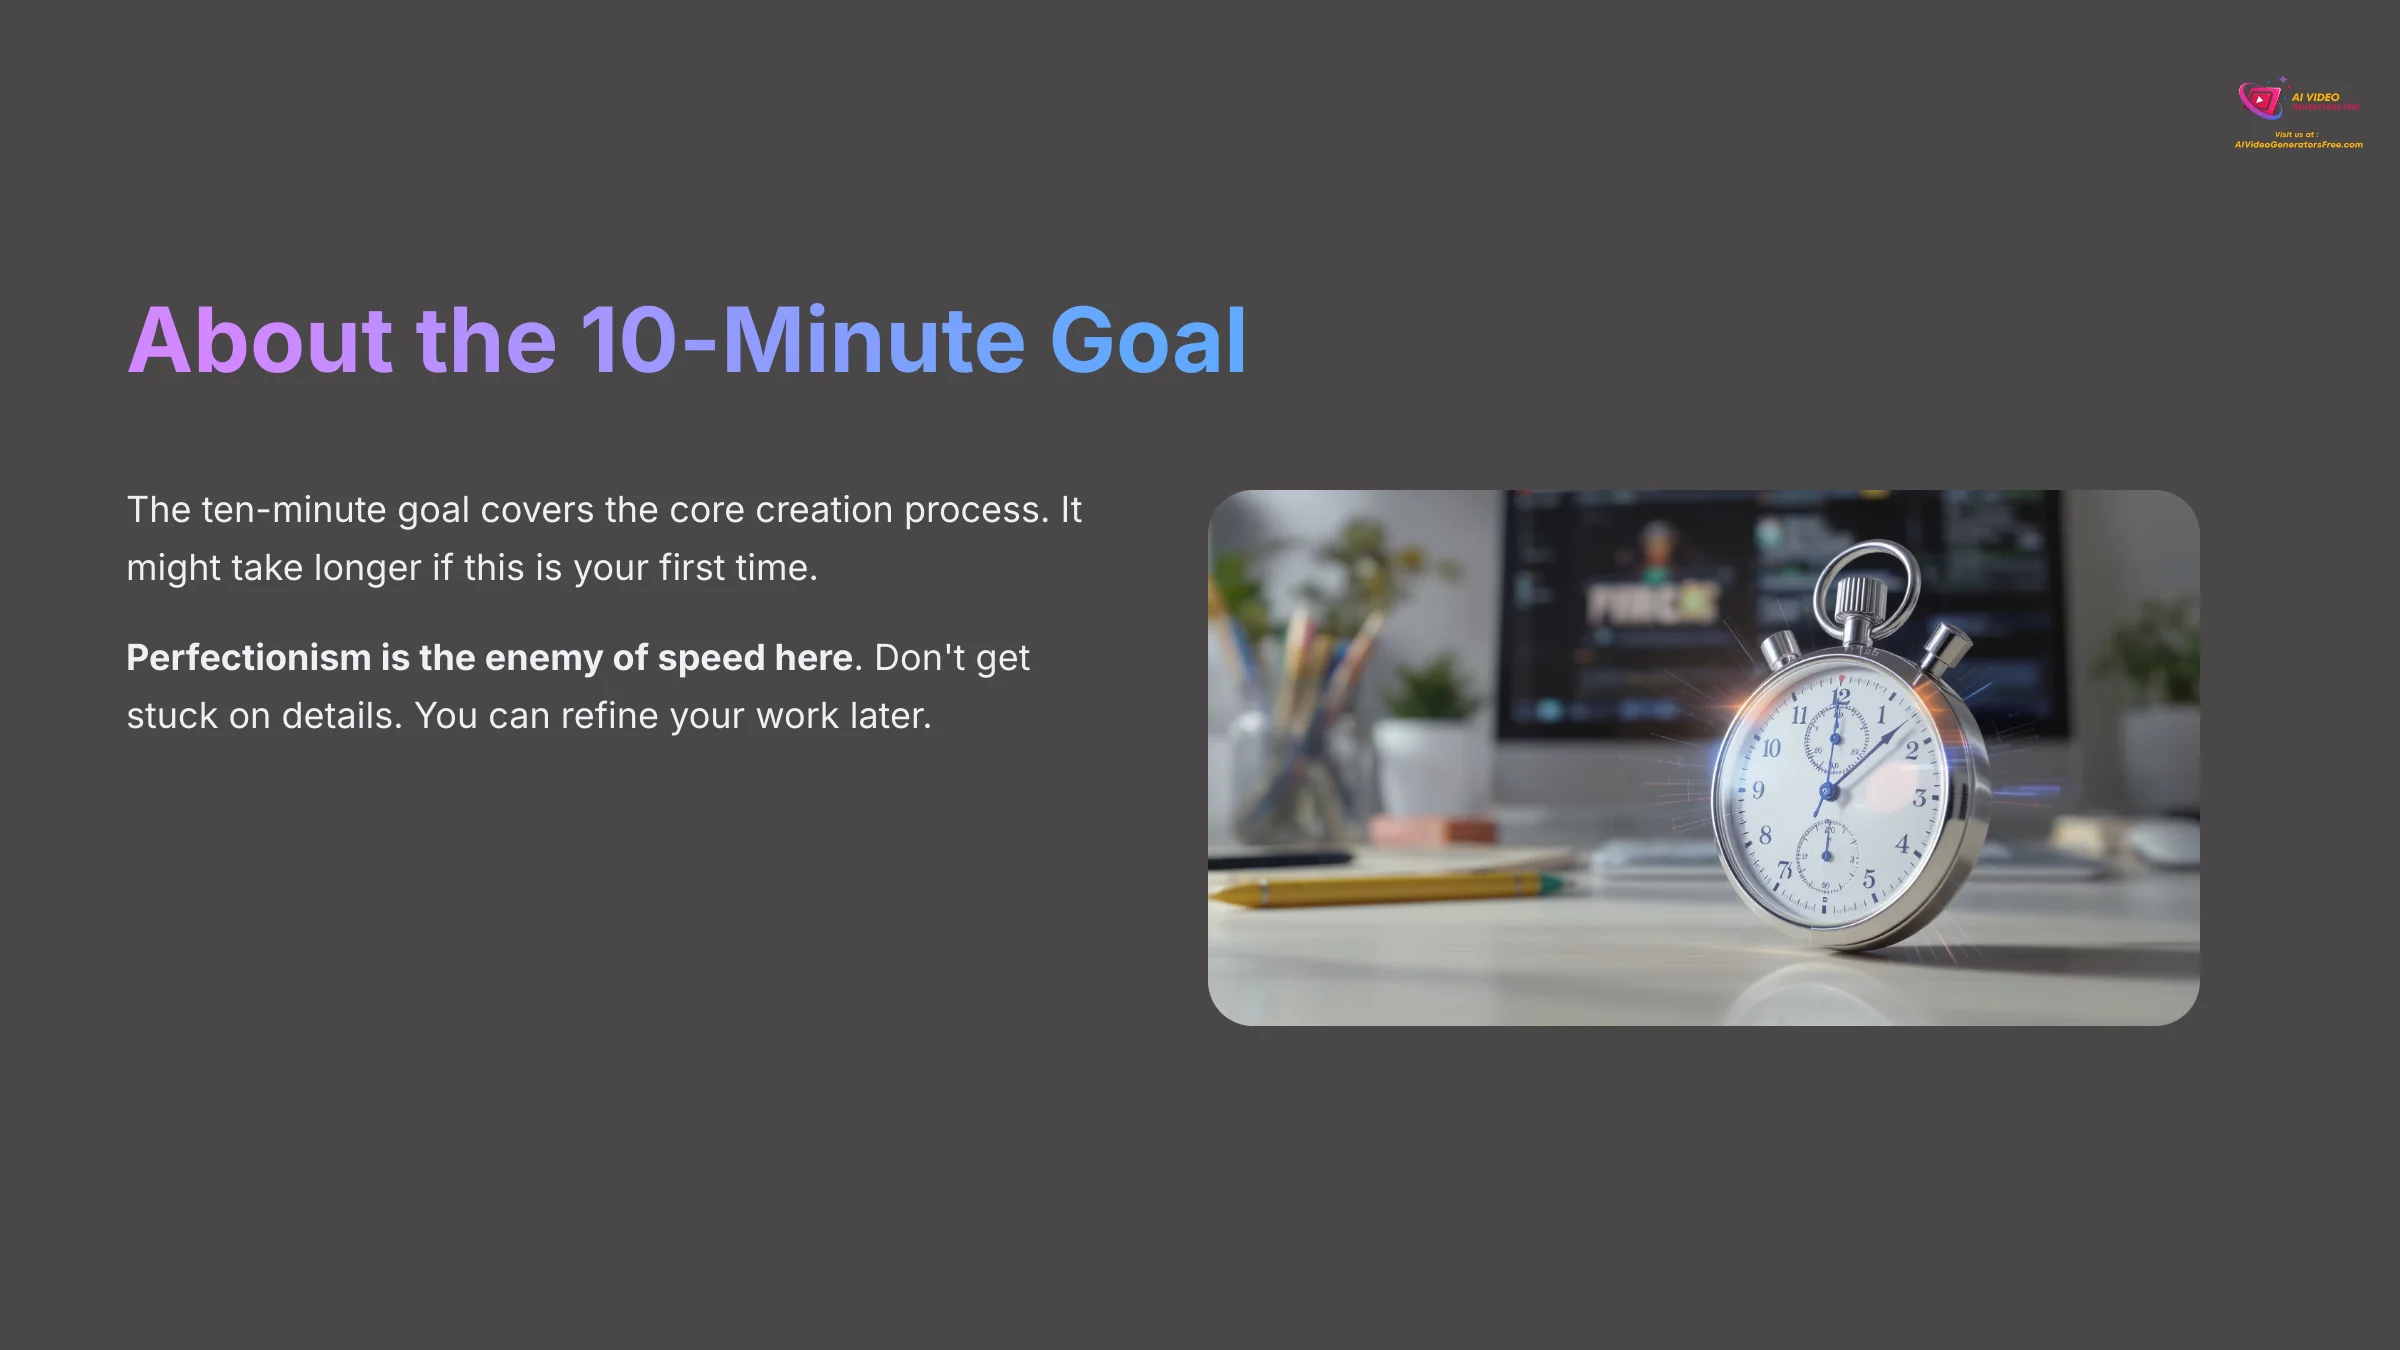
The ten-minute goal covers the core creation process, from starting the project to hitting export. It might take a little longer if this is your very first time, and that is perfectly fine. The main goal is to understand the workflow. Perfectionism is the enemy of speed here, so don't get stuck on perfecting every detail on your first attempt. You can always go back and refine your work later.
The 10-Minute Challenge: Your First Animated Video from Start to Finish
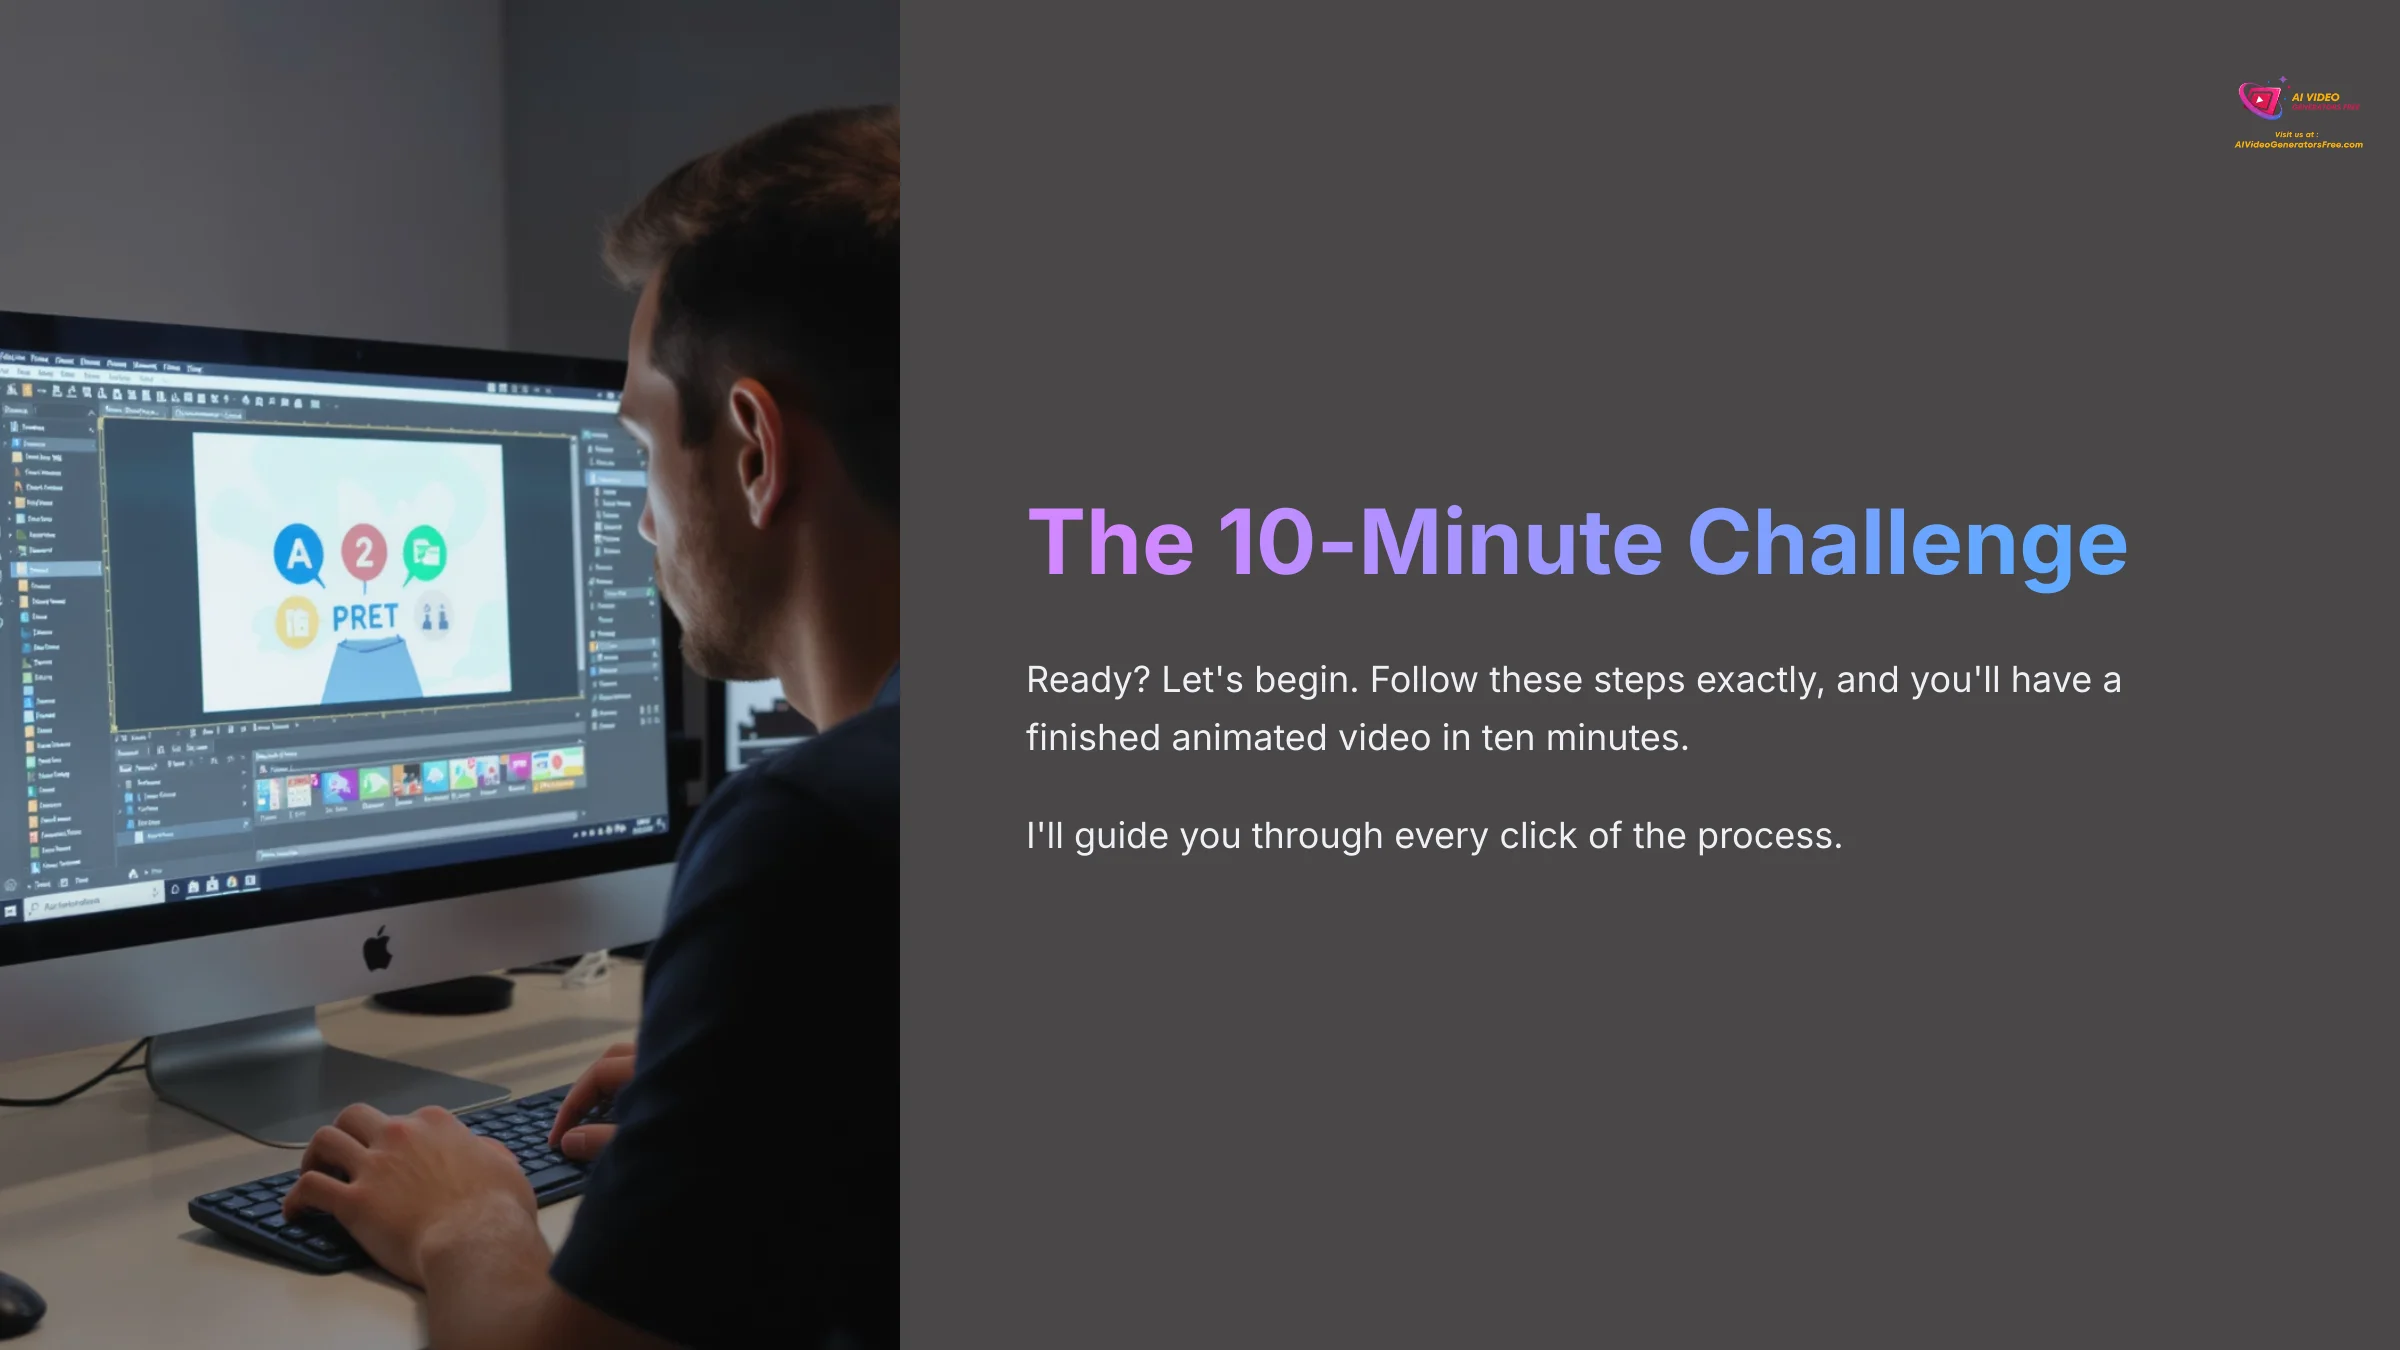
Ready? Let's begin the challenge. Follow these steps exactly, and you'll have a finished animated video in ten minutes. I'll guide you through every click.
Part 1: Project Setup and Workspace Tour (Minutes 0:00 – 1:00)
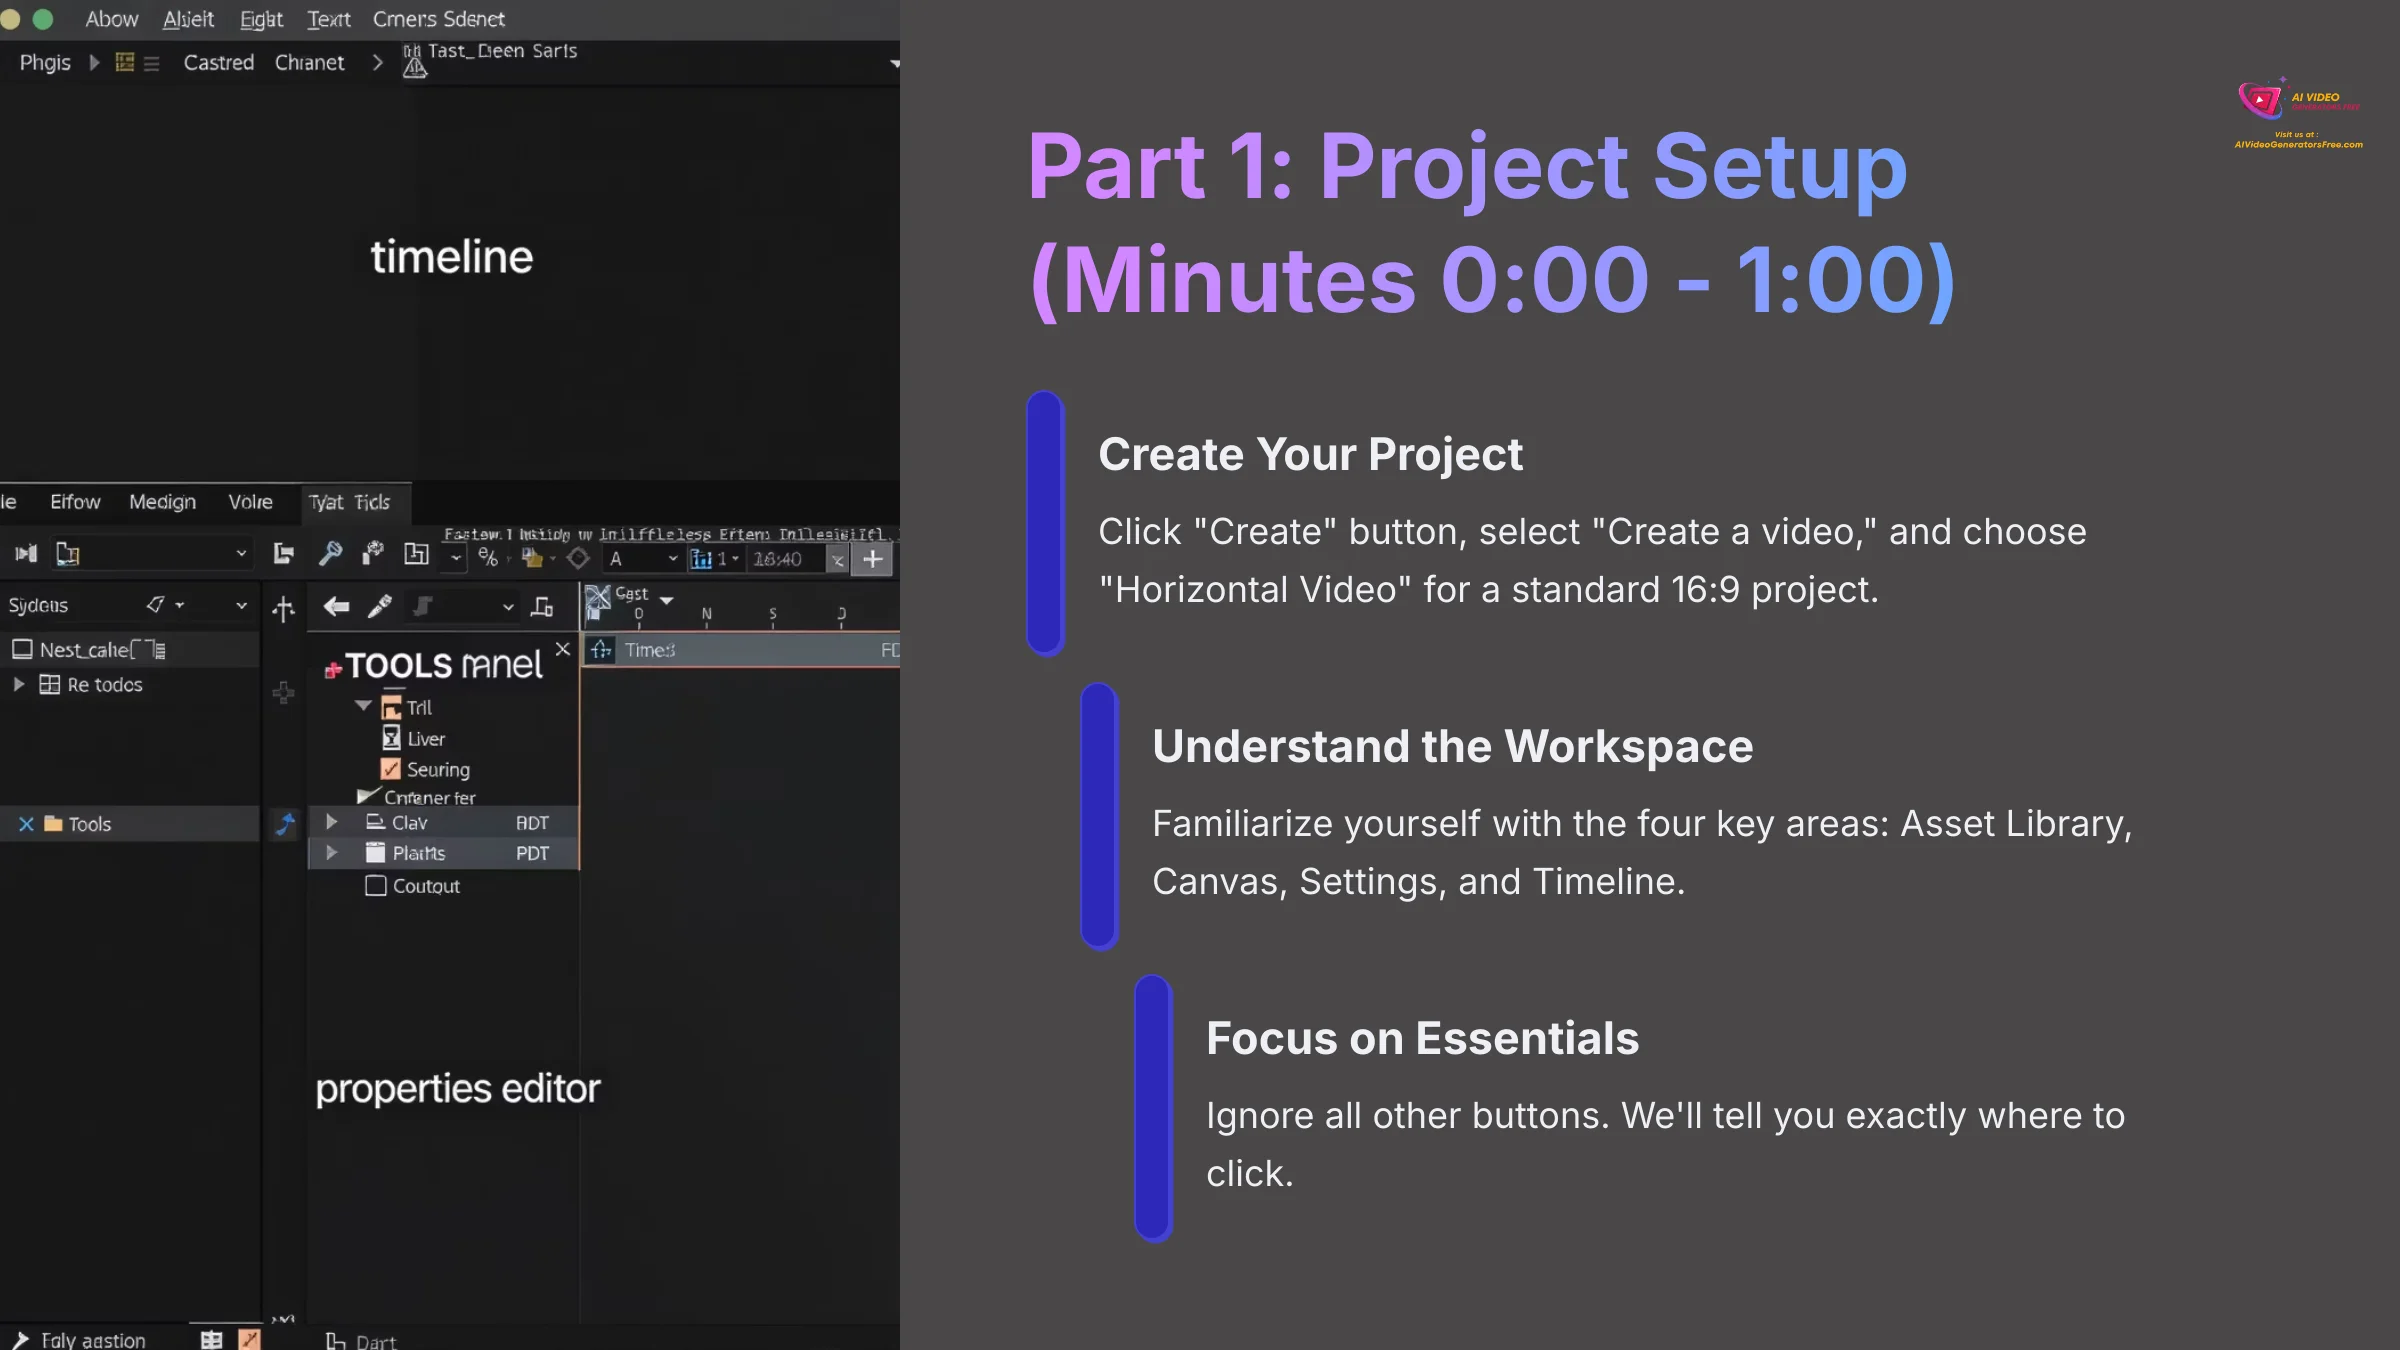
First, we need to set up our project and get familiar with the workspace. Think of the main interface as your workshop. The Asset Library on the left is your toolbox, full of characters and props. The Canvas in the middle is your workbench where you assemble everything.
- Creating Your Project: Once logged in, click the “Create” button, then select “Create a video,” and finally choose “Horizontal Video.” This sets up a standard 16:9 project.
- The 4 Key Areas of Your Workspace: Take a moment to see the four main areas. On the left is the Asset Library with characters and objects. In the center is your main Canvas. On the right are the Settings for anything you select. At the bottom is the Timeline, which is like your movie script, dictating when things happen. For now, ignore all the other buttons and focus only on these four areas. We'll tell you exactly where to click.
Part 2: Designing Your Custom Character (Minutes 1:01 – 4:00)
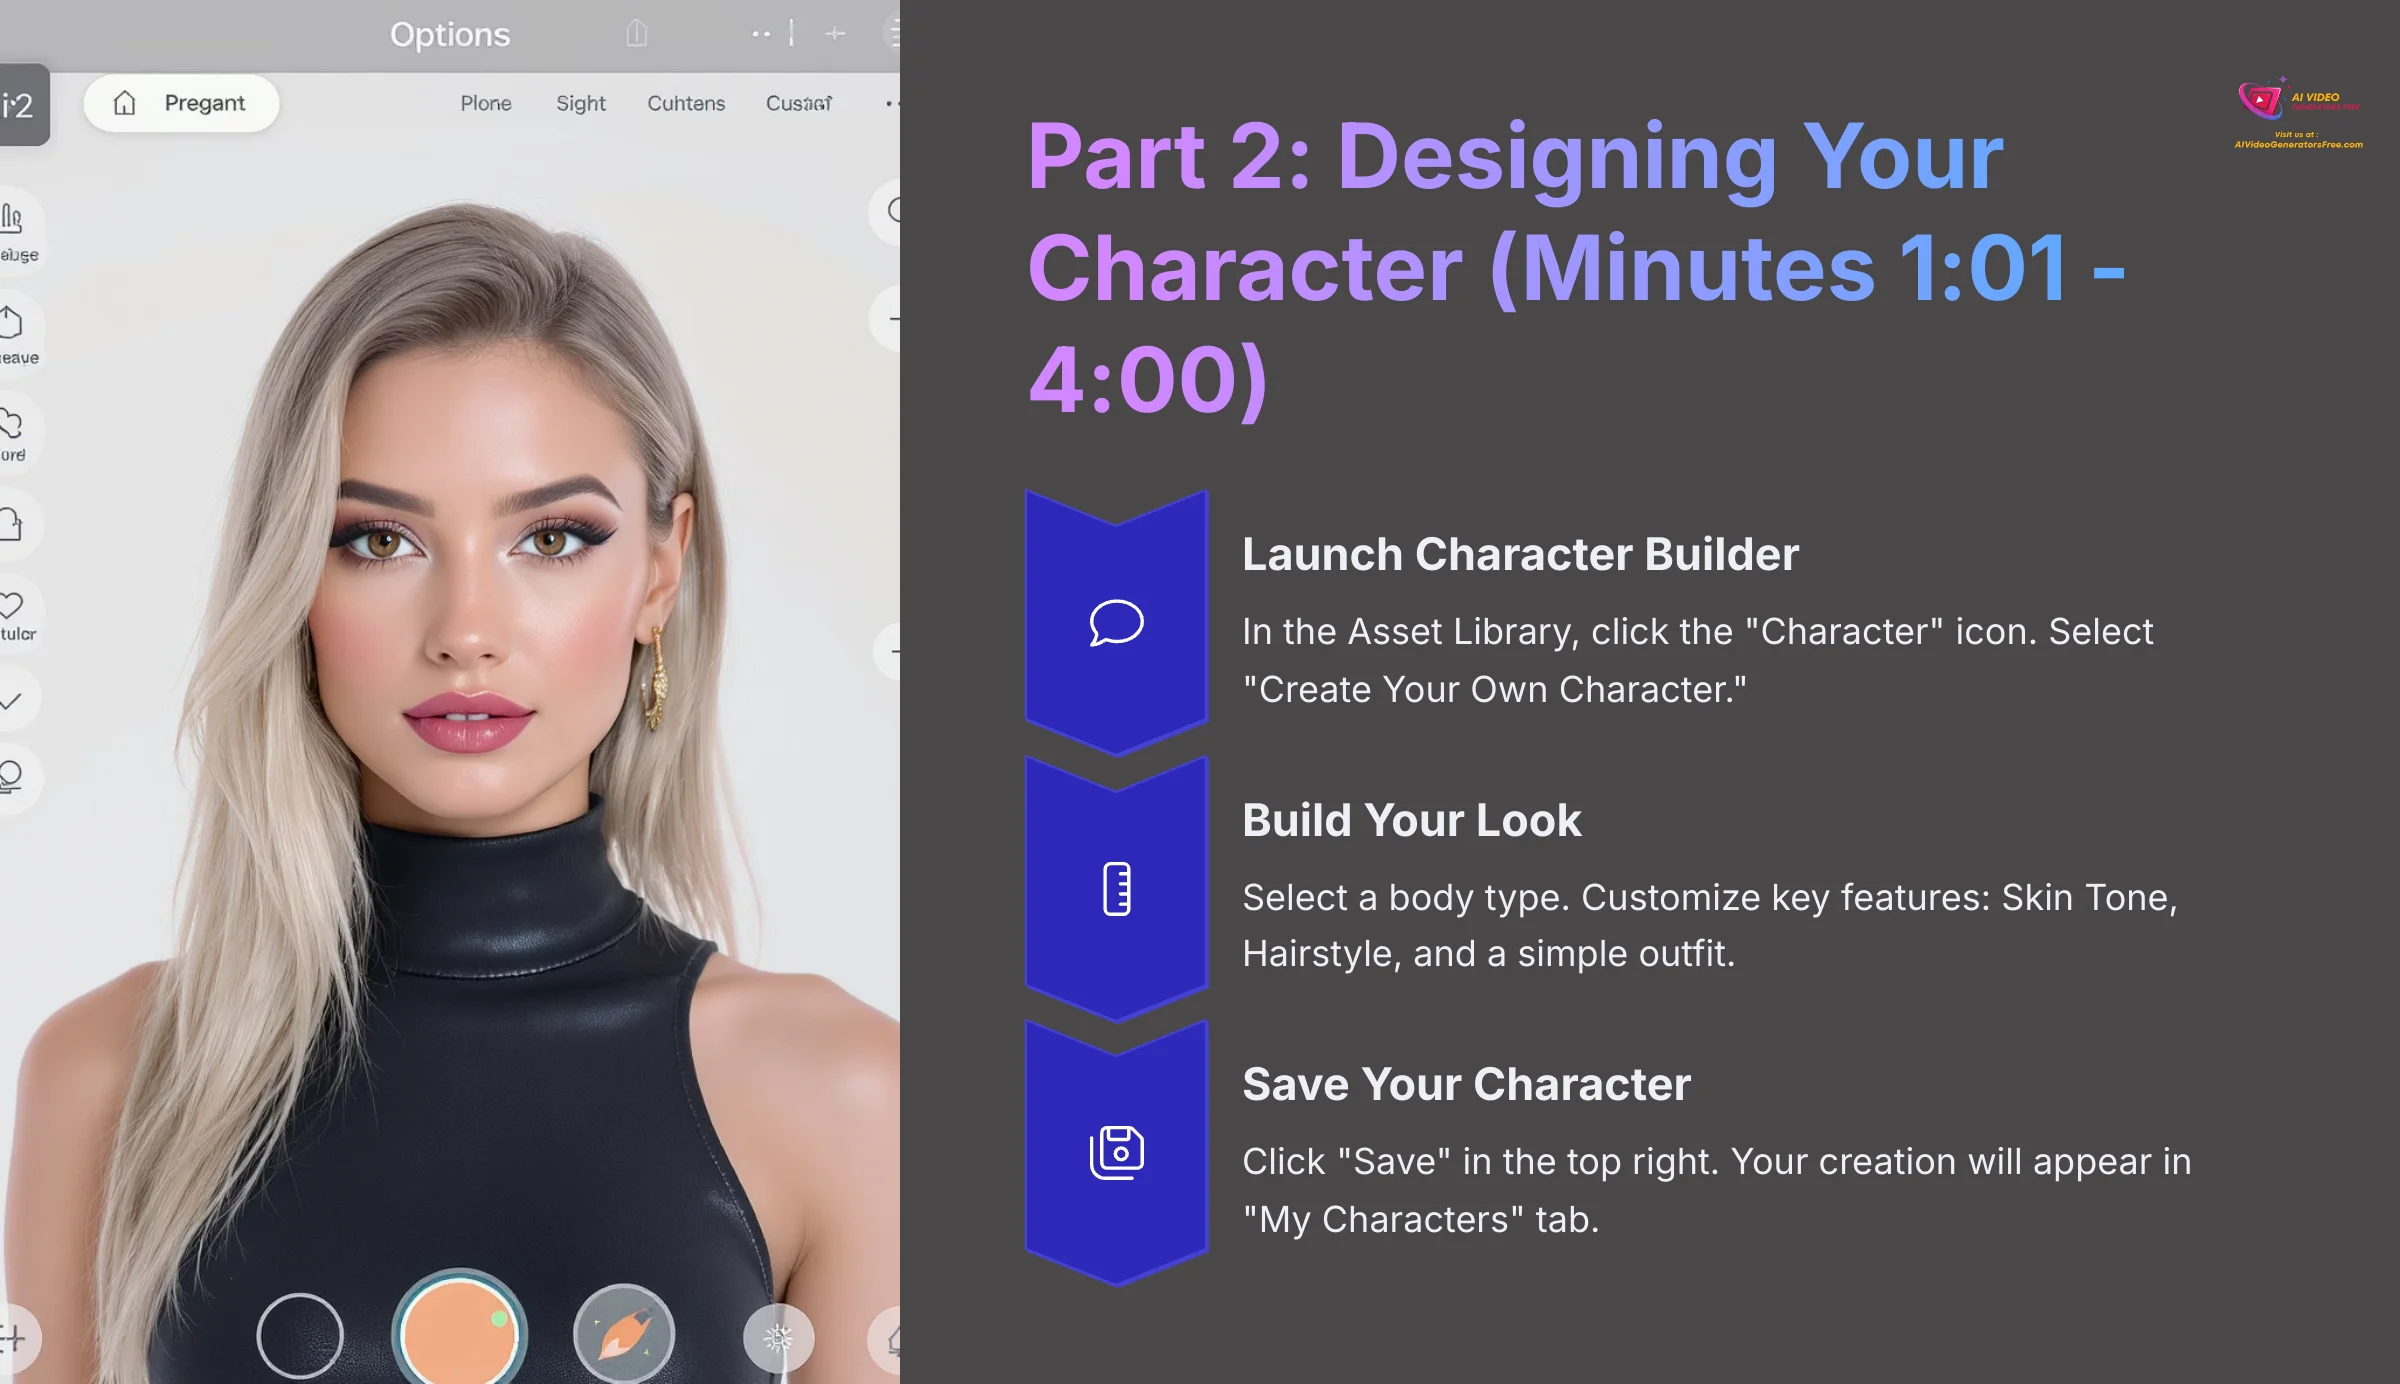
Now for the fun part: creating your character. In my testing, I found the Character Builder to be very straightforward. Remember, the goal is ‘done', not ‘perfect'. You can follow my lead and create a simple character to stay within the time limit.
- Launch Character Builder: In the Asset Library on the left, click the “Character” icon. Then select the option to “Create Your Own Character.”
- Build Your Look: First, select a body type. Next, customize a few key features to stay on schedule. For this challenge, I recommend just picking a Skin Tone, a Hairstyle, and a simple outfit (like the basic T-shirt and jeans) to keep things moving.
- Save Your Character: Click the “Save” button in the top right. Your new creation will now show up in the “My Characters” tab. Always save your character before exiting the builder, as it may not auto-save your changes.
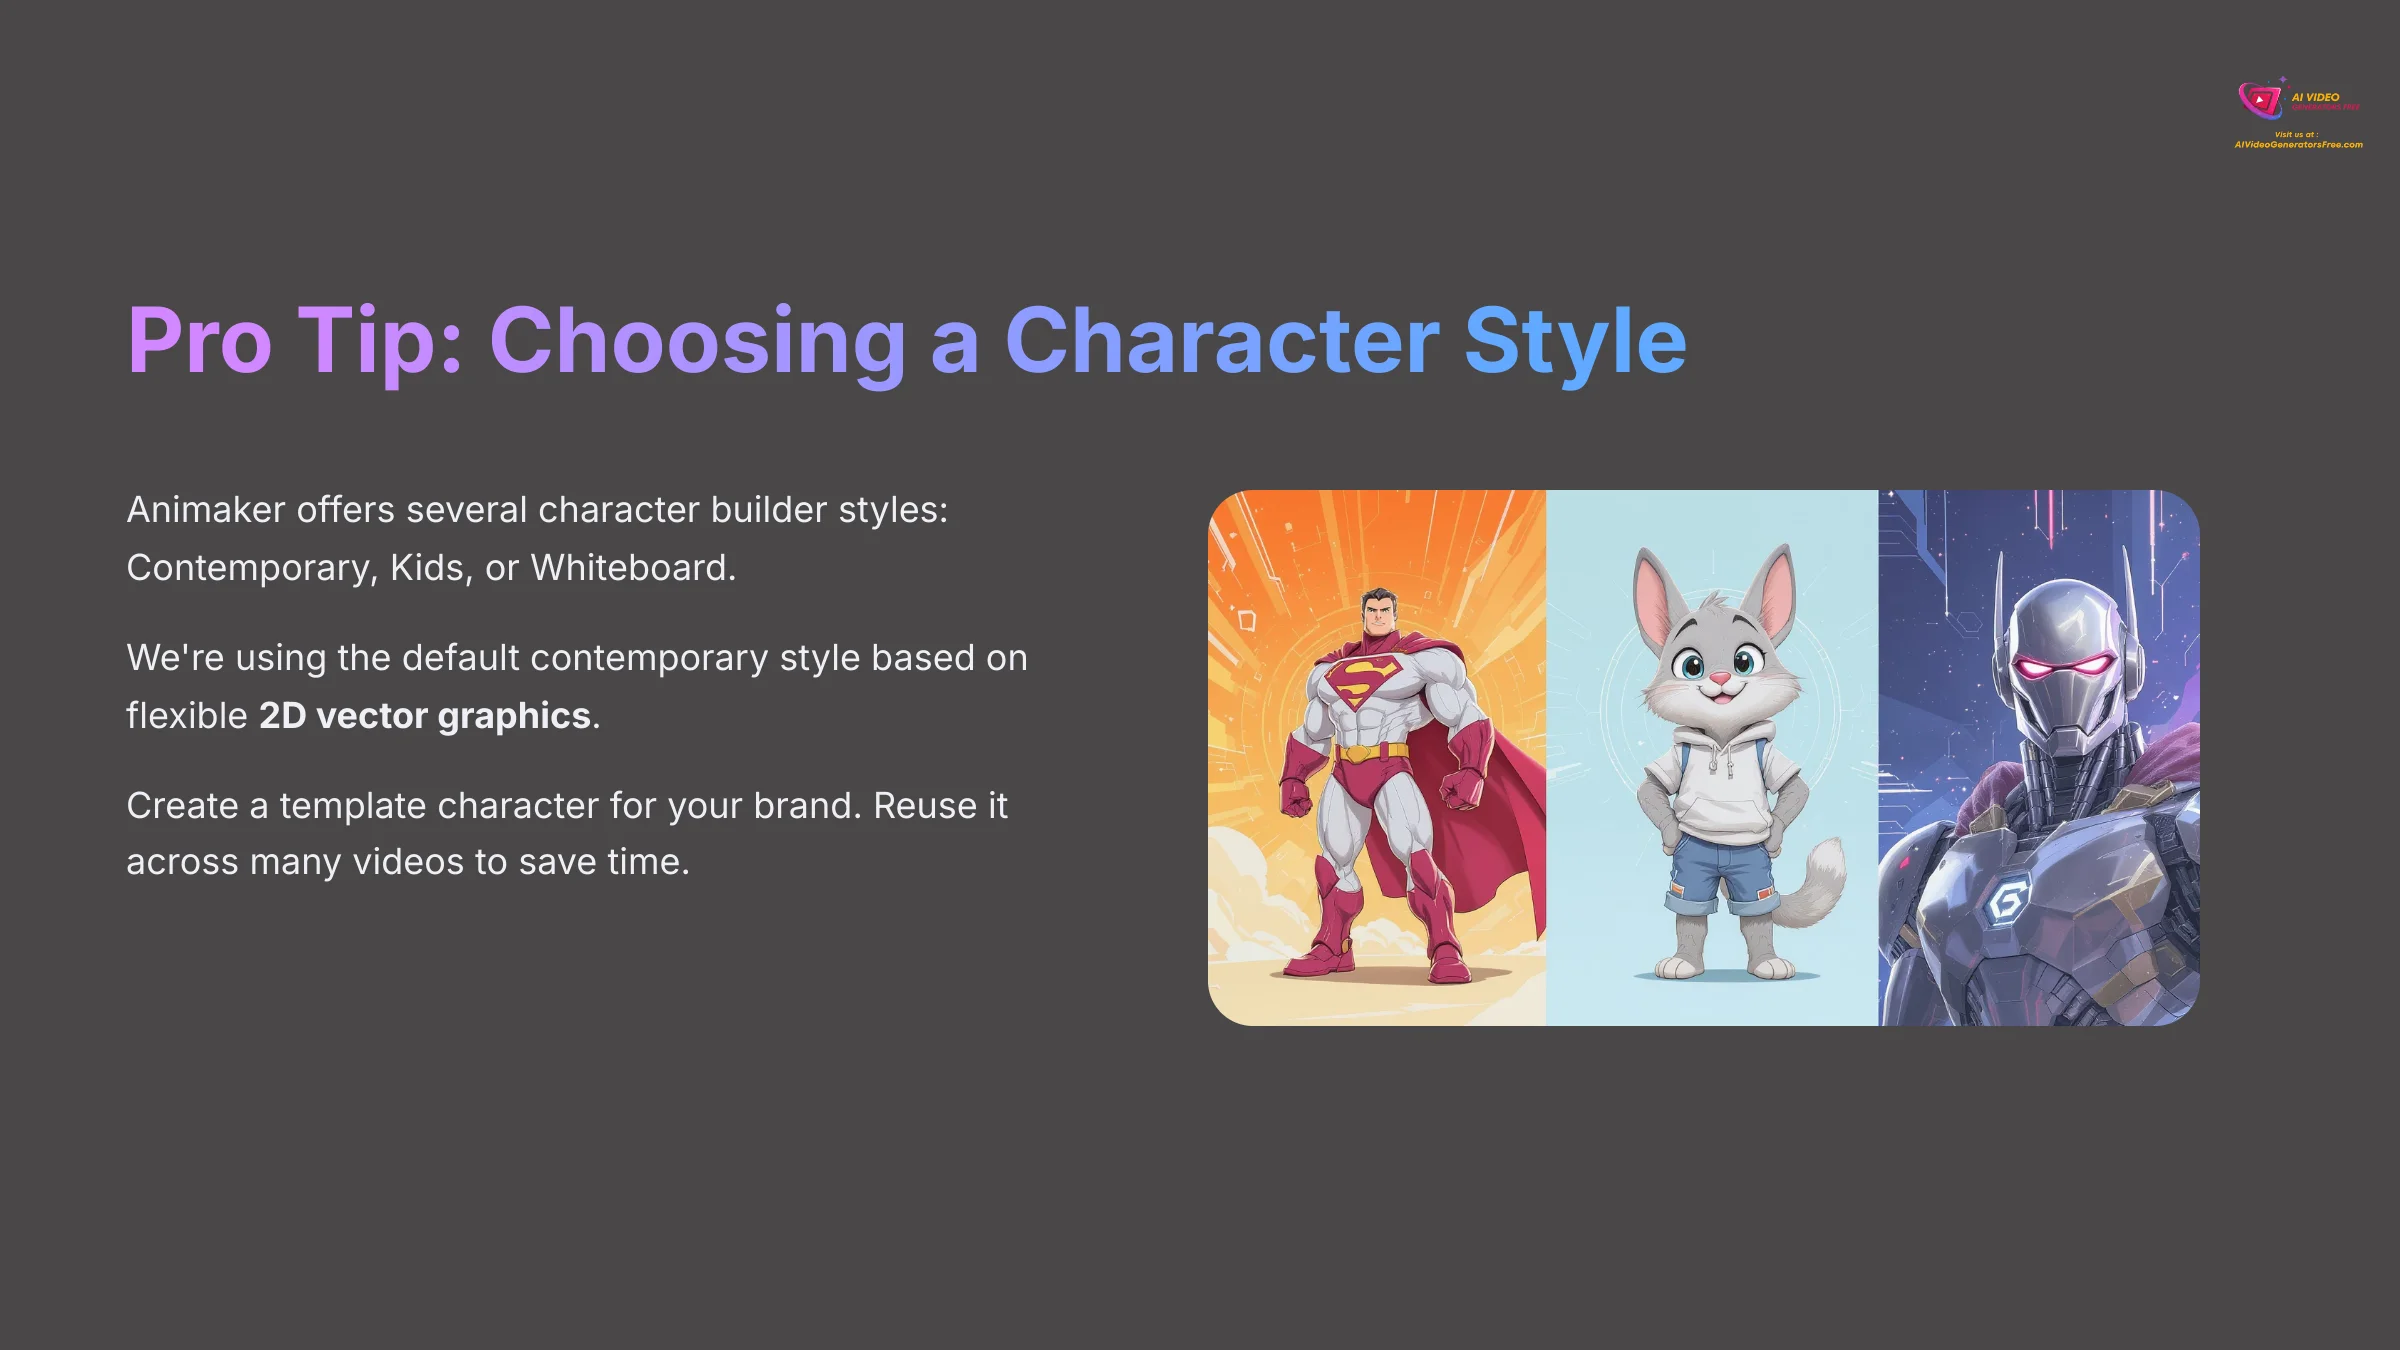
Pro Tip: Choosing a Character Style
Animaker offers several types of character builders (like Contemporary, Kids, or Whiteboard styles). For this tutorial, we are using the default contemporary style, which is based on flexible 2D vector graphics. This means you can resize your character without losing quality. As you get more advanced, you can create a character for each style to match the specific tone of your video, whether it's a professional explainer or a fun social media clip.
Professionals I know often create a ‘template' character for their brand and reuse it across many videos. The time you put in now can save you hours later.
Part 3: Bringing Your Character to Life (Minutes 4:01 – 7:00)
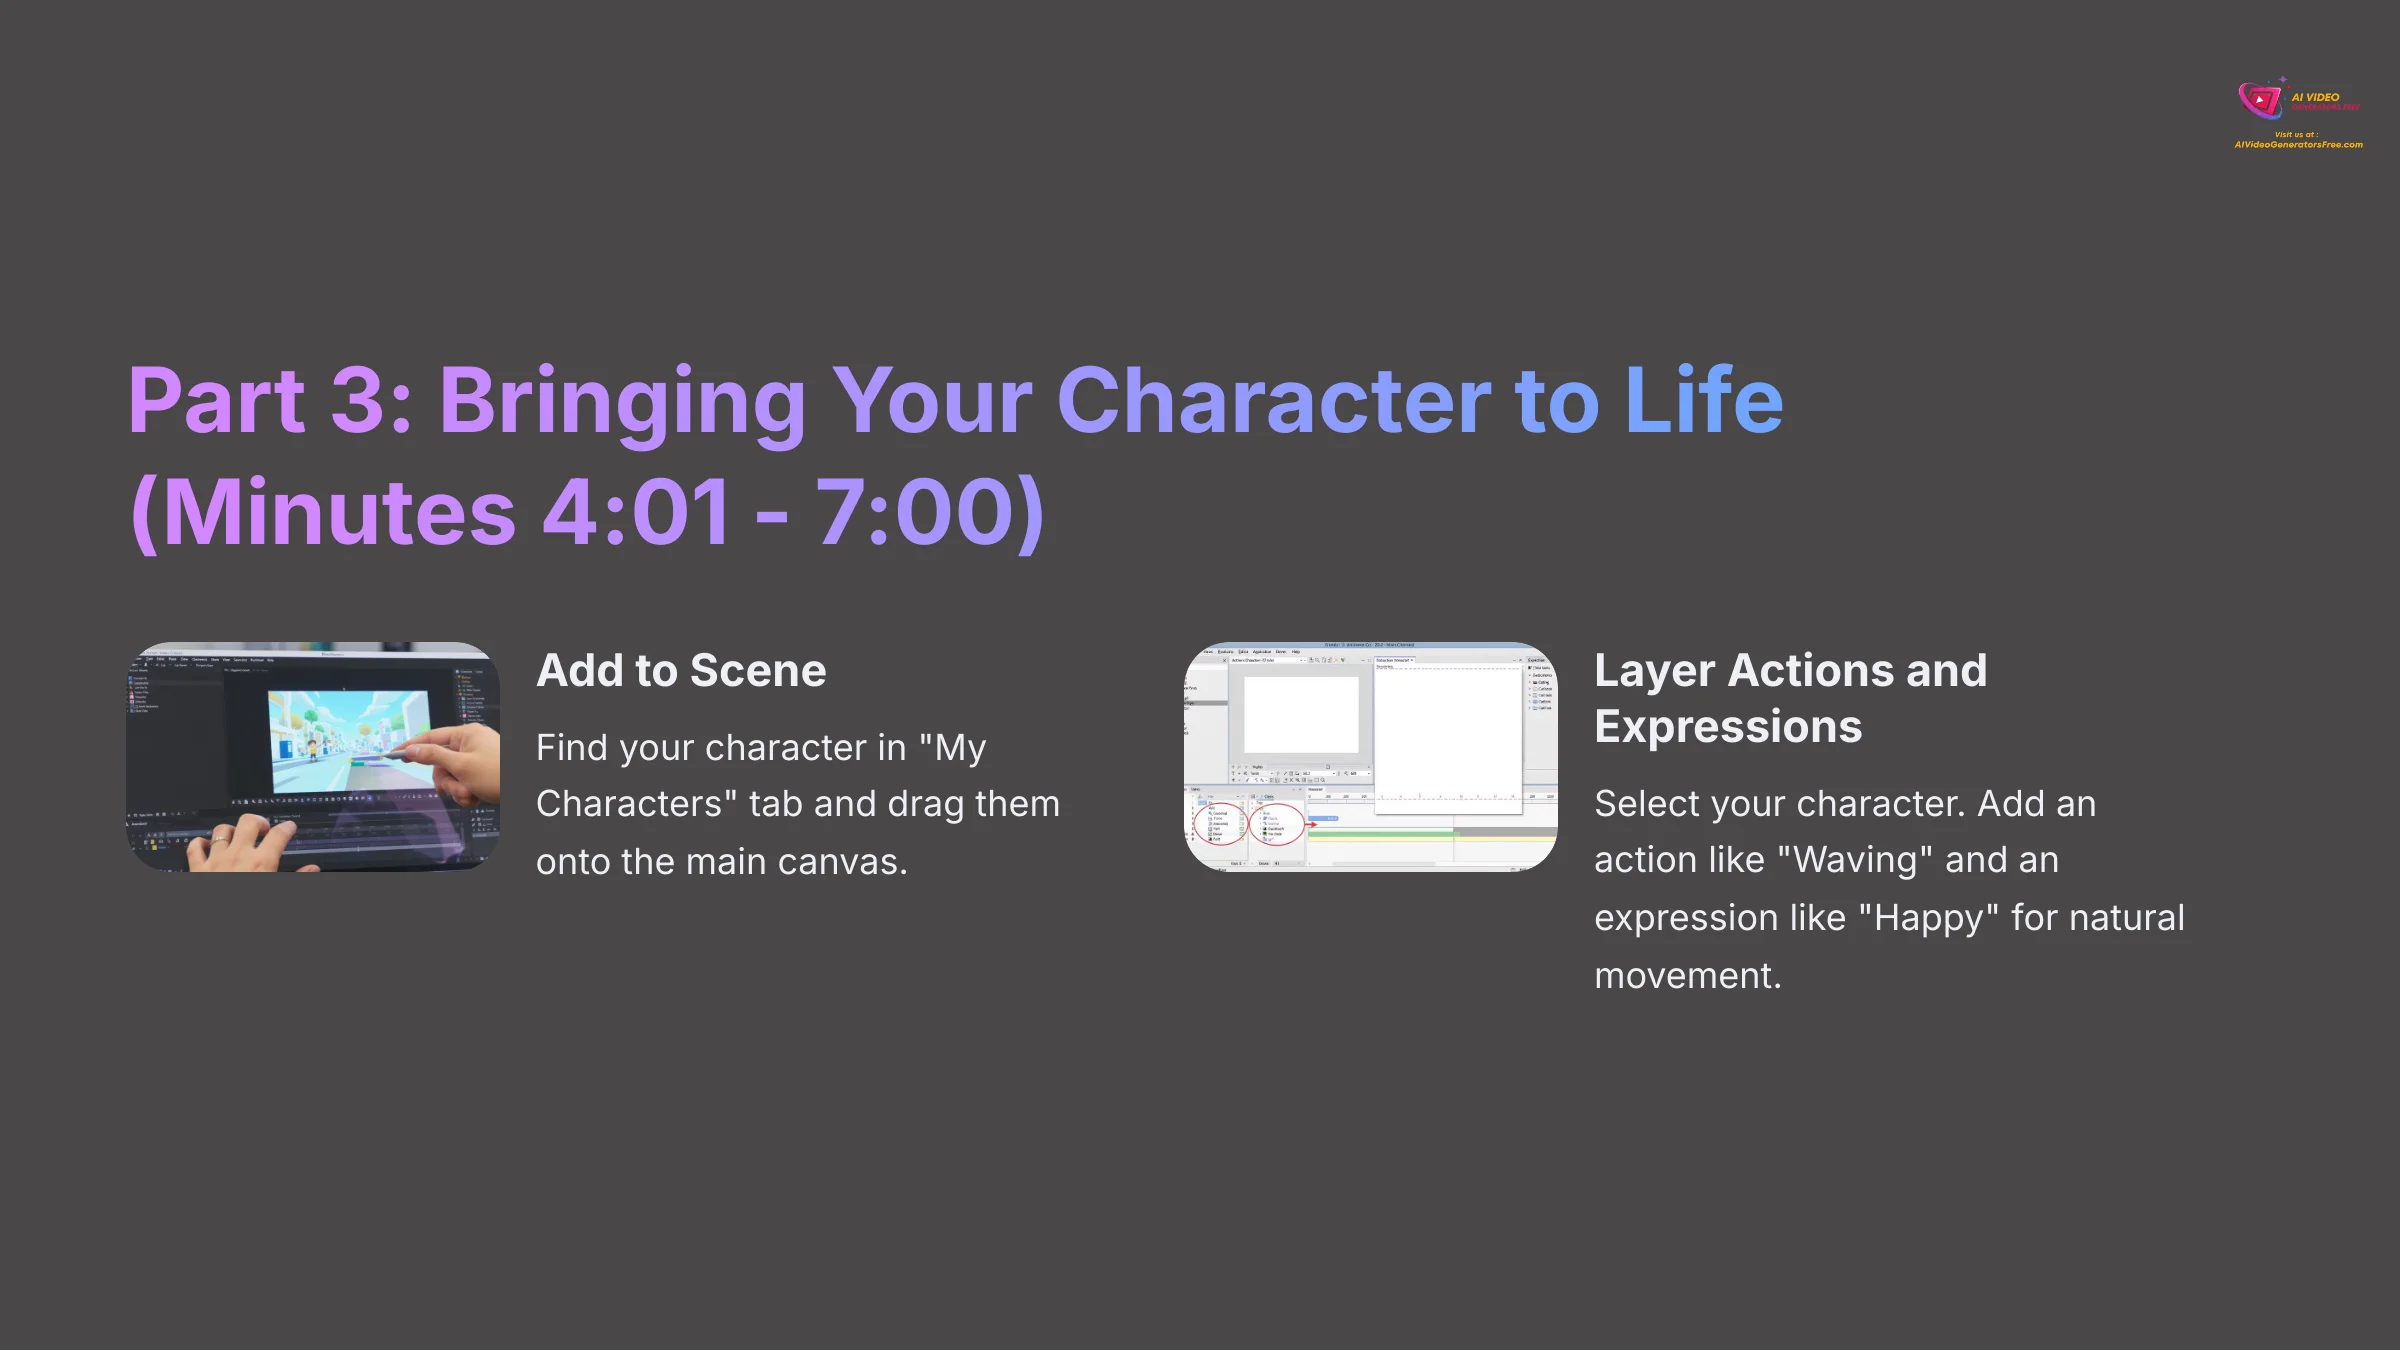
With our character designed, let's put them on stage and make them move. This is where we use a technique that I believe separates good animation from great animation: layering. Layering an action with an expression is like a director telling an actor what to do (the action) and how to feel (the expression). One without the other feels robotic.
- Add to Scene: Find your character in the “My Characters” tab and simply drag them onto the main canvas.
- Layer Actions and Expressions: Click on your character to select them. In the settings panel on the right, click “Actions” and find an action like “Waving.” Next, with the character still selected, click the “Expressions” tab and choose “Happy.” Your character will now perform the action while holding the chosen expression, which looks much more natural.
Part 4: Adding a Voice and Sound (Minutes 7:01 – 9:00)
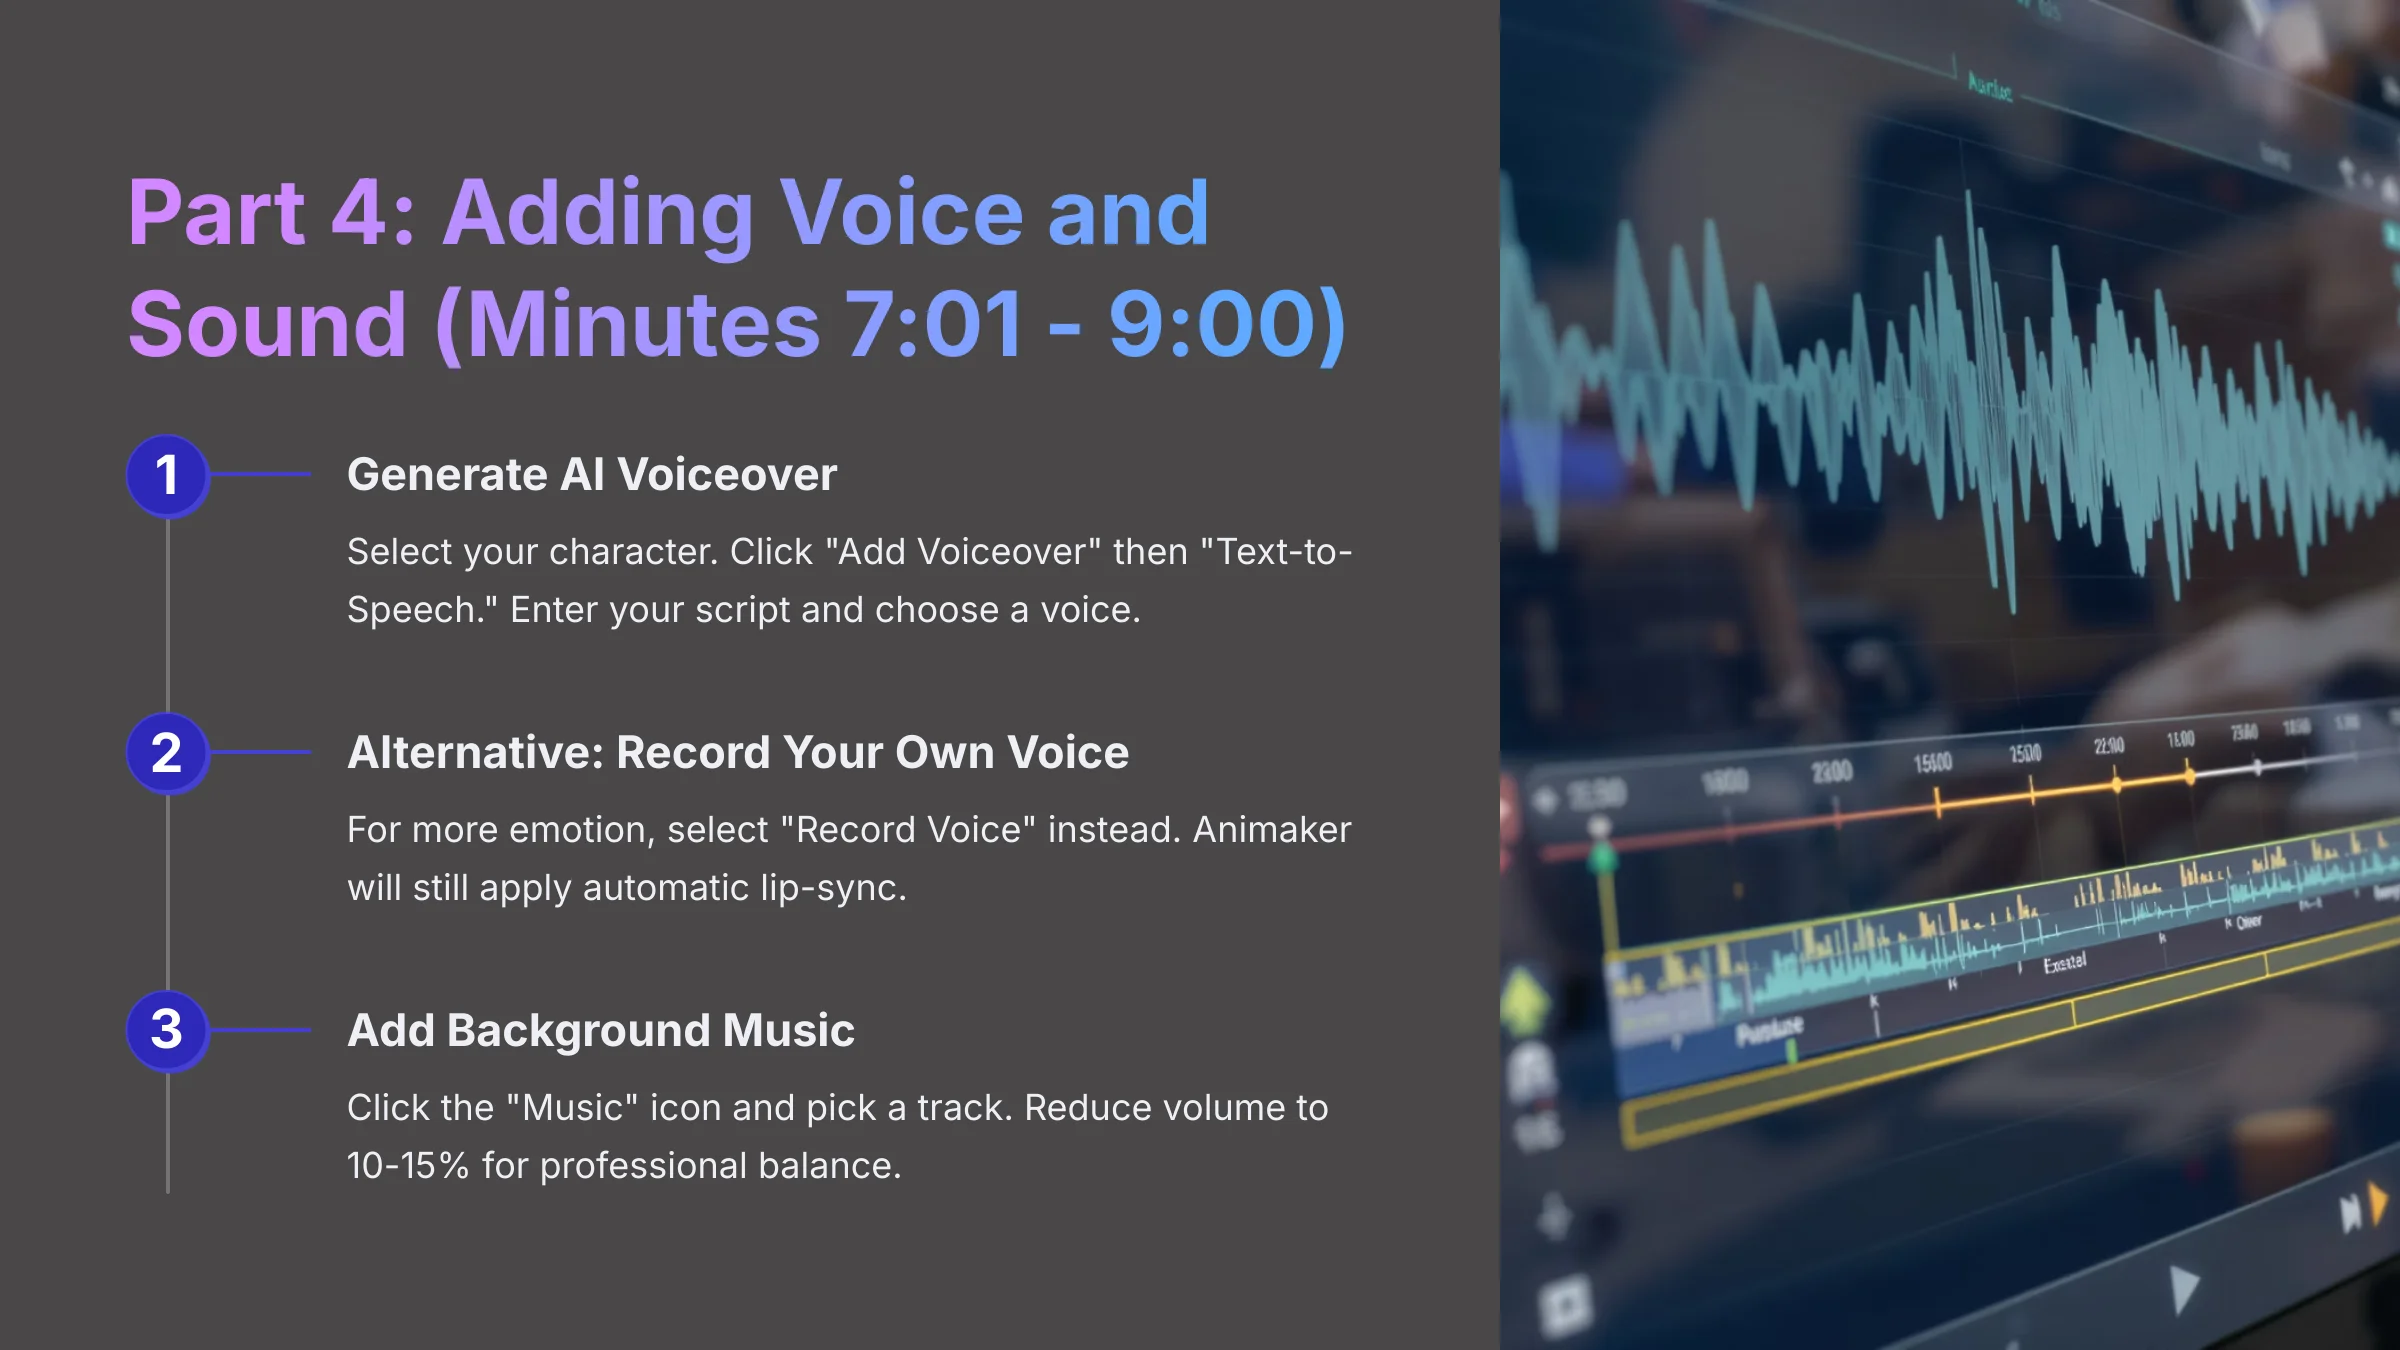
A silent character is not very engaging. So, let's give them a voice using Animaker's A.I. We will also add some background music to complete the scene.
- Generate AI Voiceover: Select your character on the canvas. A menu appears; click “Add Voiceover” and then choose “Text-to-Speech.” In the text box, paste this script: “Hello, world! I was made in under 10 minutes with Animaker.” Choose a voice you like from the over 200 voices available in 40+ languages and click “Apply.” The tool automatically generates the audio and applies perfect lip-sync.
While Text-to-Speech is fast, recording your own voice often provides more emotion and natural pacing. To do this, instead of choosing “Text-to-Speech,” select “Record Voice.” This lets you record directly in your browser. Animaker will still analyze your recording and apply automatic lip-sync, giving you the best of both worlds: personal audio with automated animation. This is the preferred method for creating high-quality marketing or educational videos.
- Add Background Music: In the main Asset Library, click the “Music” icon and pick any track. When you add music, pay attention to the volume slider that appears. The default can be too loud, so drag it down to around 10-15% for a professional balance that does not overpower the voiceover.
Part 5: Final Polish and Export (Minutes 9:01 – 10:00)
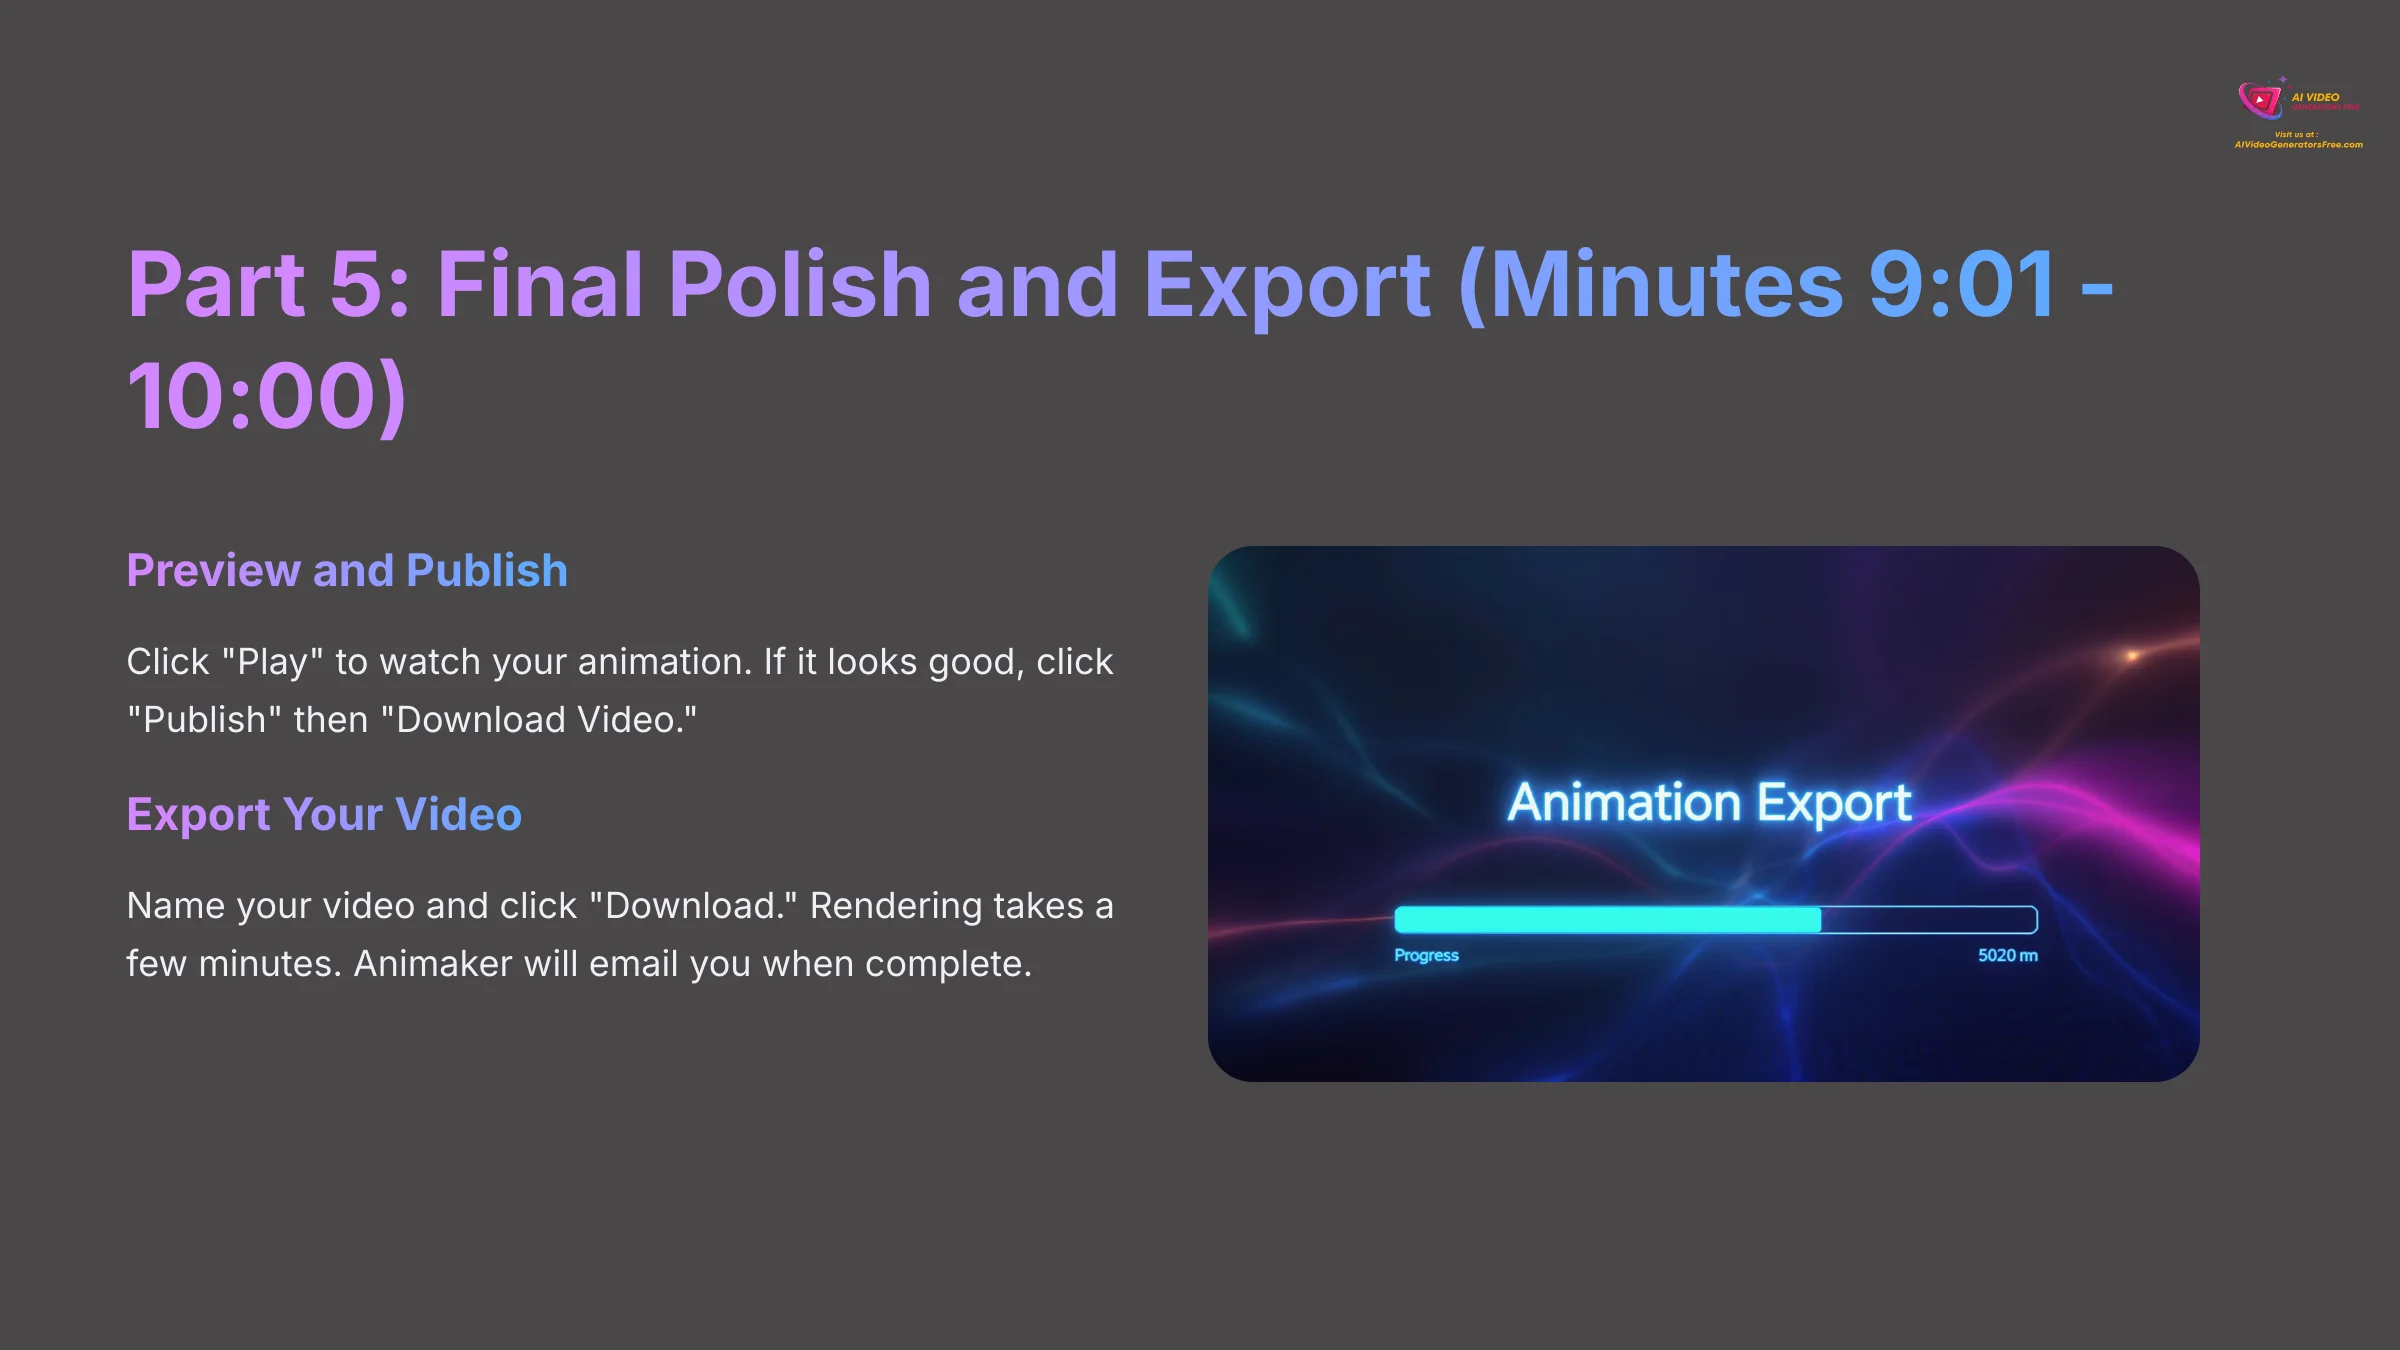
We are in the home stretch! All that is left is to preview our work and send it off for rendering.
- Preview and Publish: Click the “Play” button on the timeline at the bottom to watch your short animation. If it looks good, click the main “Publish” button in the top-right corner, then select “Download Video.”
- Export Your Video: Give your video a name and click the final “Download” button. The video rendering process can take a few minutes depending on server load. This is a great time to grab a coffee, as Animaker will email you a link to the download when it is complete.
While that's the ideal workflow, technology can sometimes throw a curveball. Let's look at how to solve the two most common issues you might face.
Solving Common Problems: A Quick Troubleshooting Guide
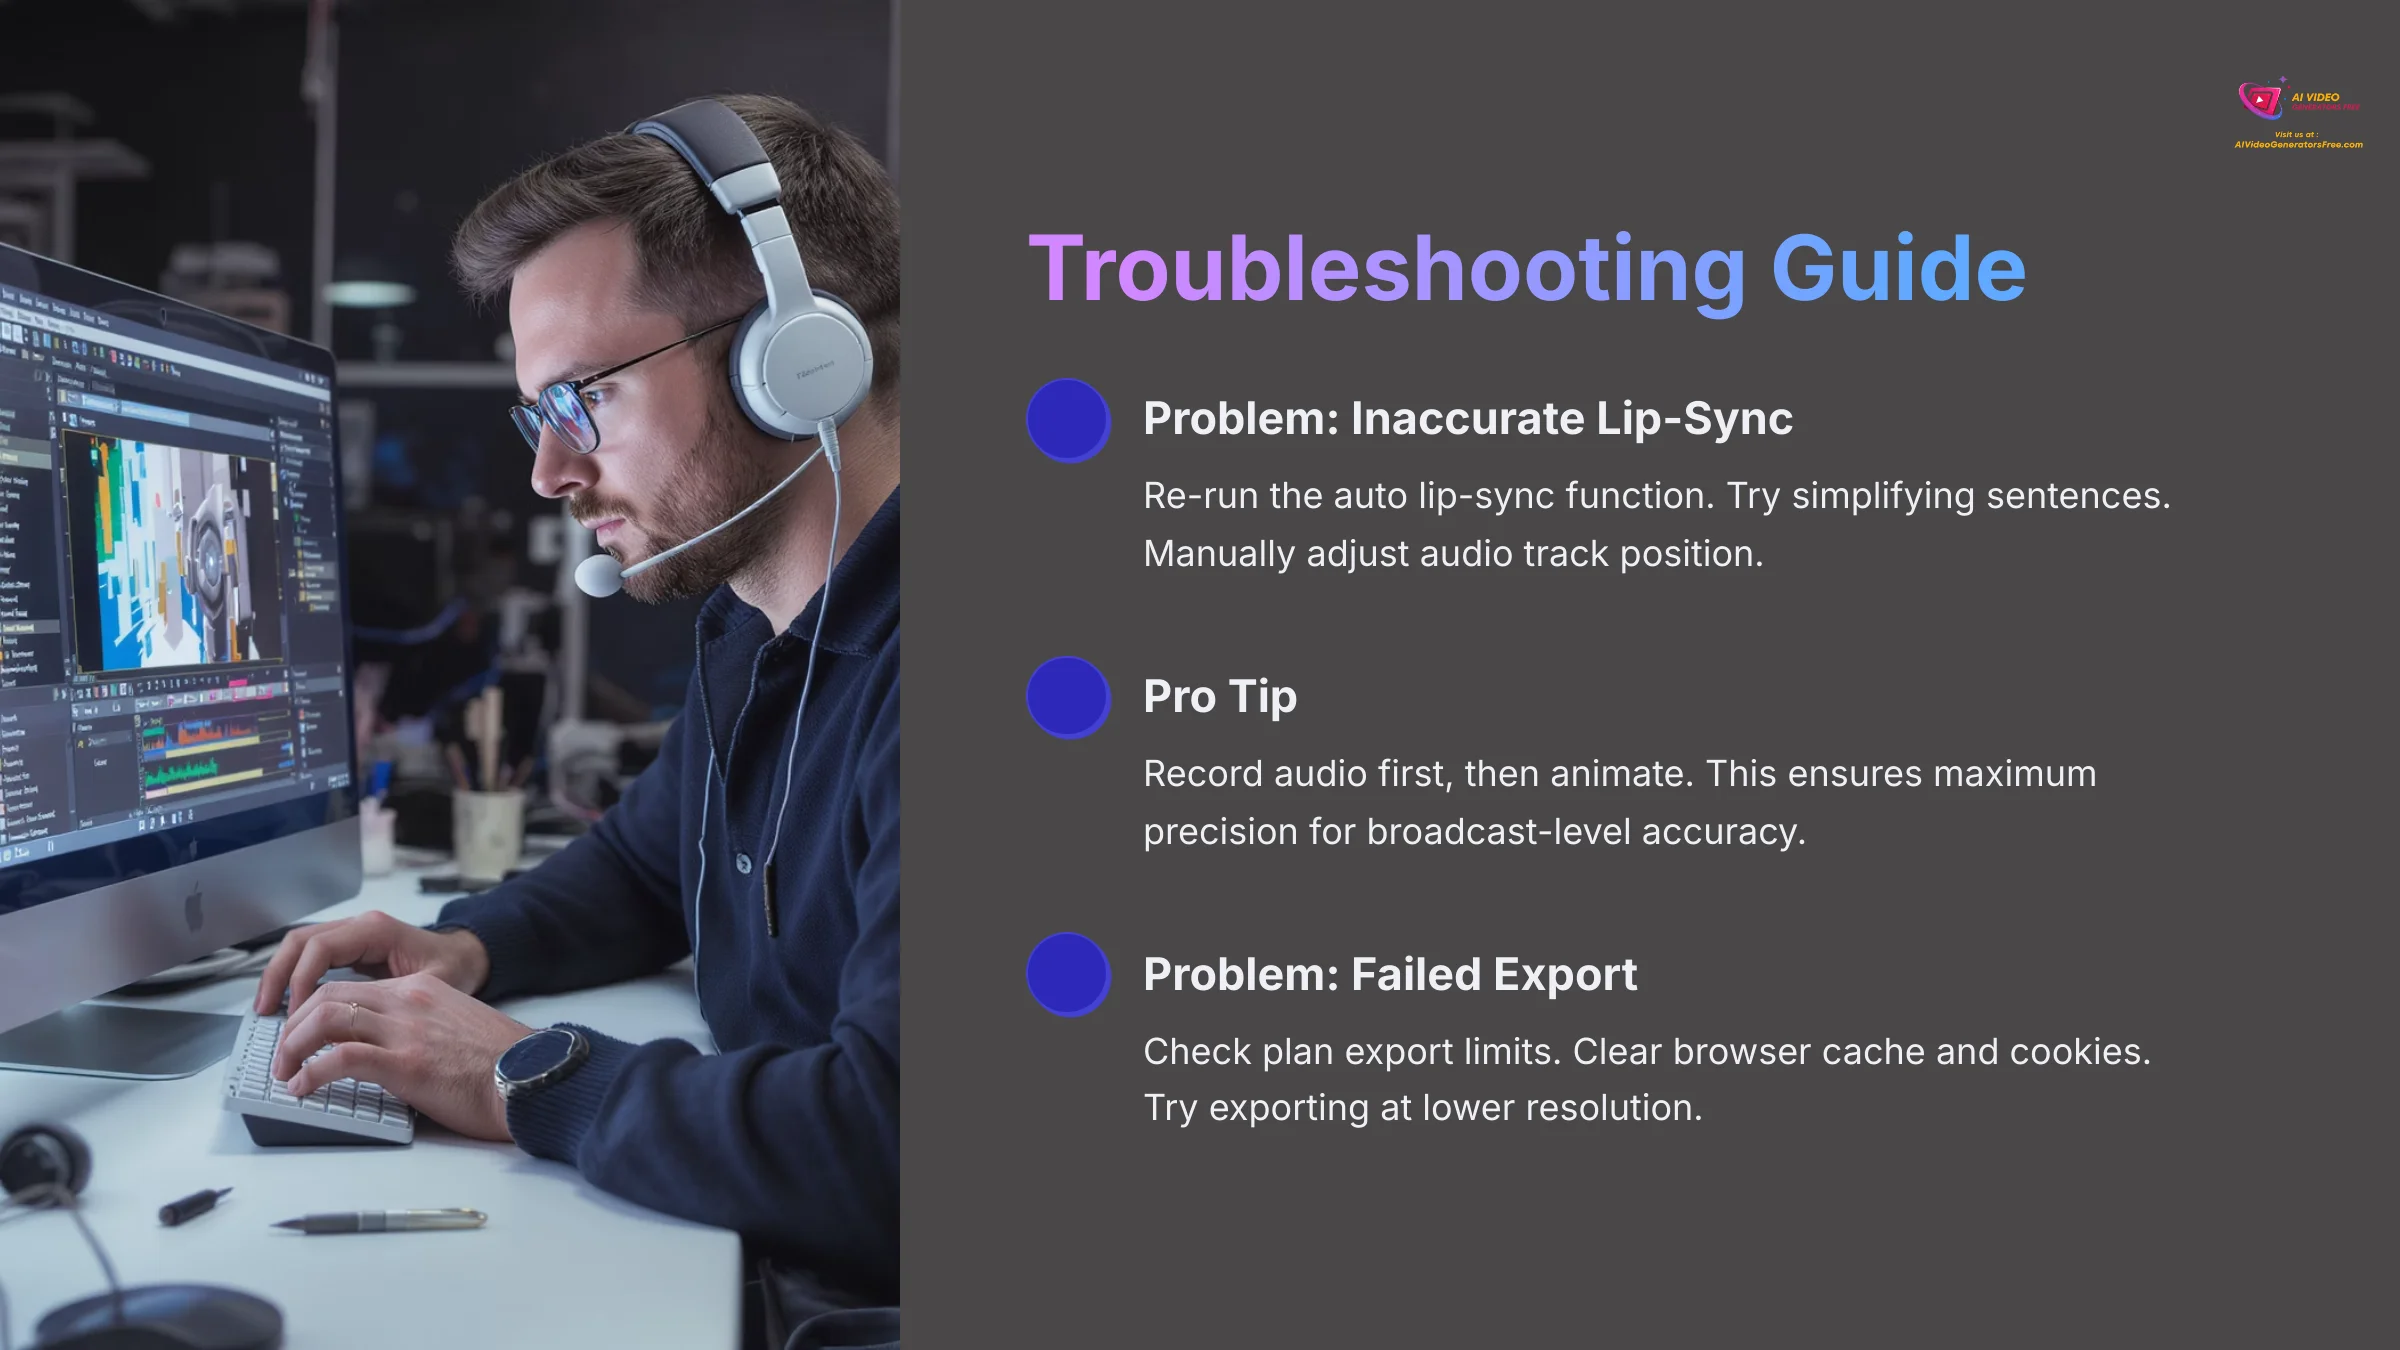
Sometimes things do not go perfectly on the first try. Based on my experience and reports from other users, here are solutions to the two most common issues you might face after the main tutorial.
Problem: The Lip-Sync is Inaccurate
You might find the character's mouth movements do not perfectly match the audio. This often happens when the sentences are too long or spoken too quickly for the A.I. to process accurately.
- Select the character and find the audio settings to re-run the auto lip-sync function.
- Go back to the Text-to-Speech tool and try simplifying the sentence.
- For fine-tuning, you can manually adjust the audio track's position on the timeline to better align with the character's animation.
The A.I. is good, but it's not flawless. For broadcast-level accuracy, professionals I have worked with often record their audio first and then animate the character. This gives them a fixed audio track to perfectly time the character's movements and expressions against, ensuring maximum precision.
Problem: My Video Export Failed or is Stuck
An export can sometimes fail due to browser issues or project complexity. It is frustrating, but the fix is usually simple. My best advice is to clear your cache if an export fails once before trying again.
- First, check your plan's export limits to make sure your video is not too long or complex.
- Next, clear your browser cache and cookies, as this resolves a surprising number of issues.
- If it still fails, try exporting at a lower resolution, like 720p, to see if it is a rendering load problem.
Beyond the Basics: Next Steps and Advanced Techniques
You have successfully created your first animated video. Now you are ready to learn a few more advanced skills. These techniques will open up new creative possibilities.
Advanced Technique: Creating Multi-Action Scenes
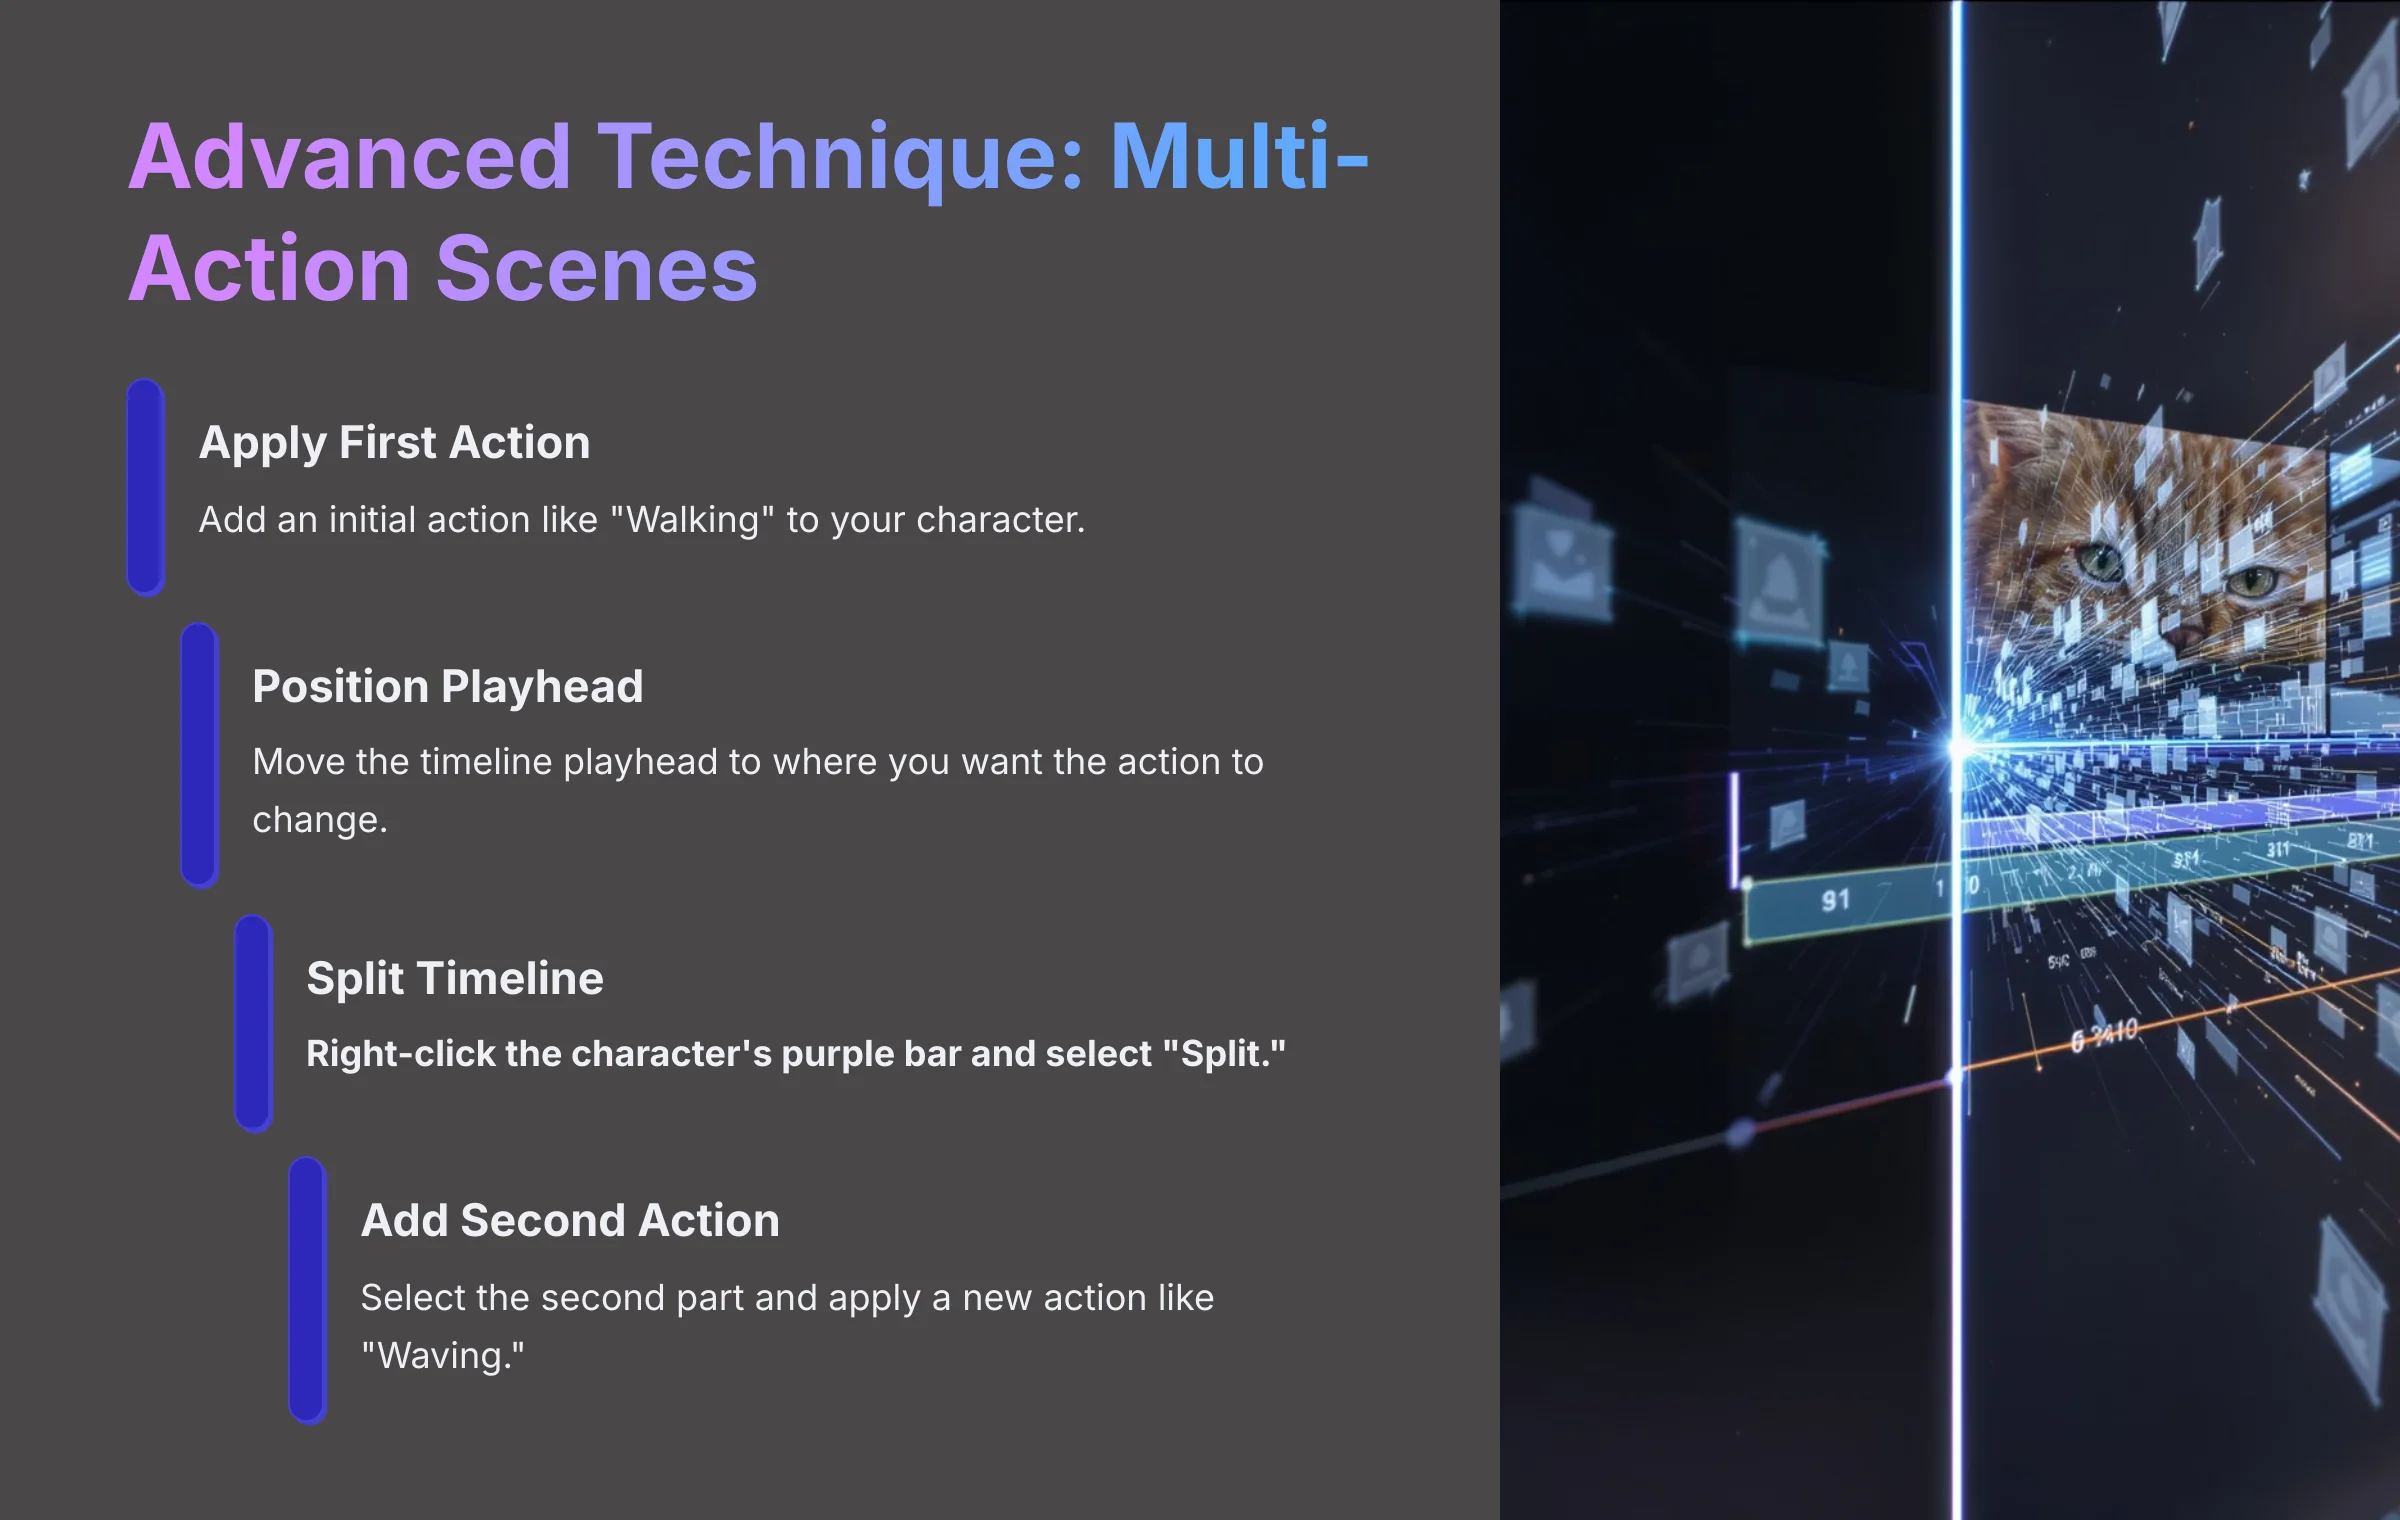
What if you want a character to do two different things in one scene? You can use the “Split” function to stack multiple actions.
- Apply the first action to your character, for example, “Walking.”
- Move the playhead on the timeline to the point where you want the action to change.
- Right-click the character's purple bar on the timeline and select “Split.”
- Select the second part of the split bar and apply a new action, like “Waving.”
Practice Exercise: Create a 15-second scene where your character runs on screen, stops, and then points at a piece of text that appears.
Advanced Technique: Using Camera Effects for a Dynamic Feel
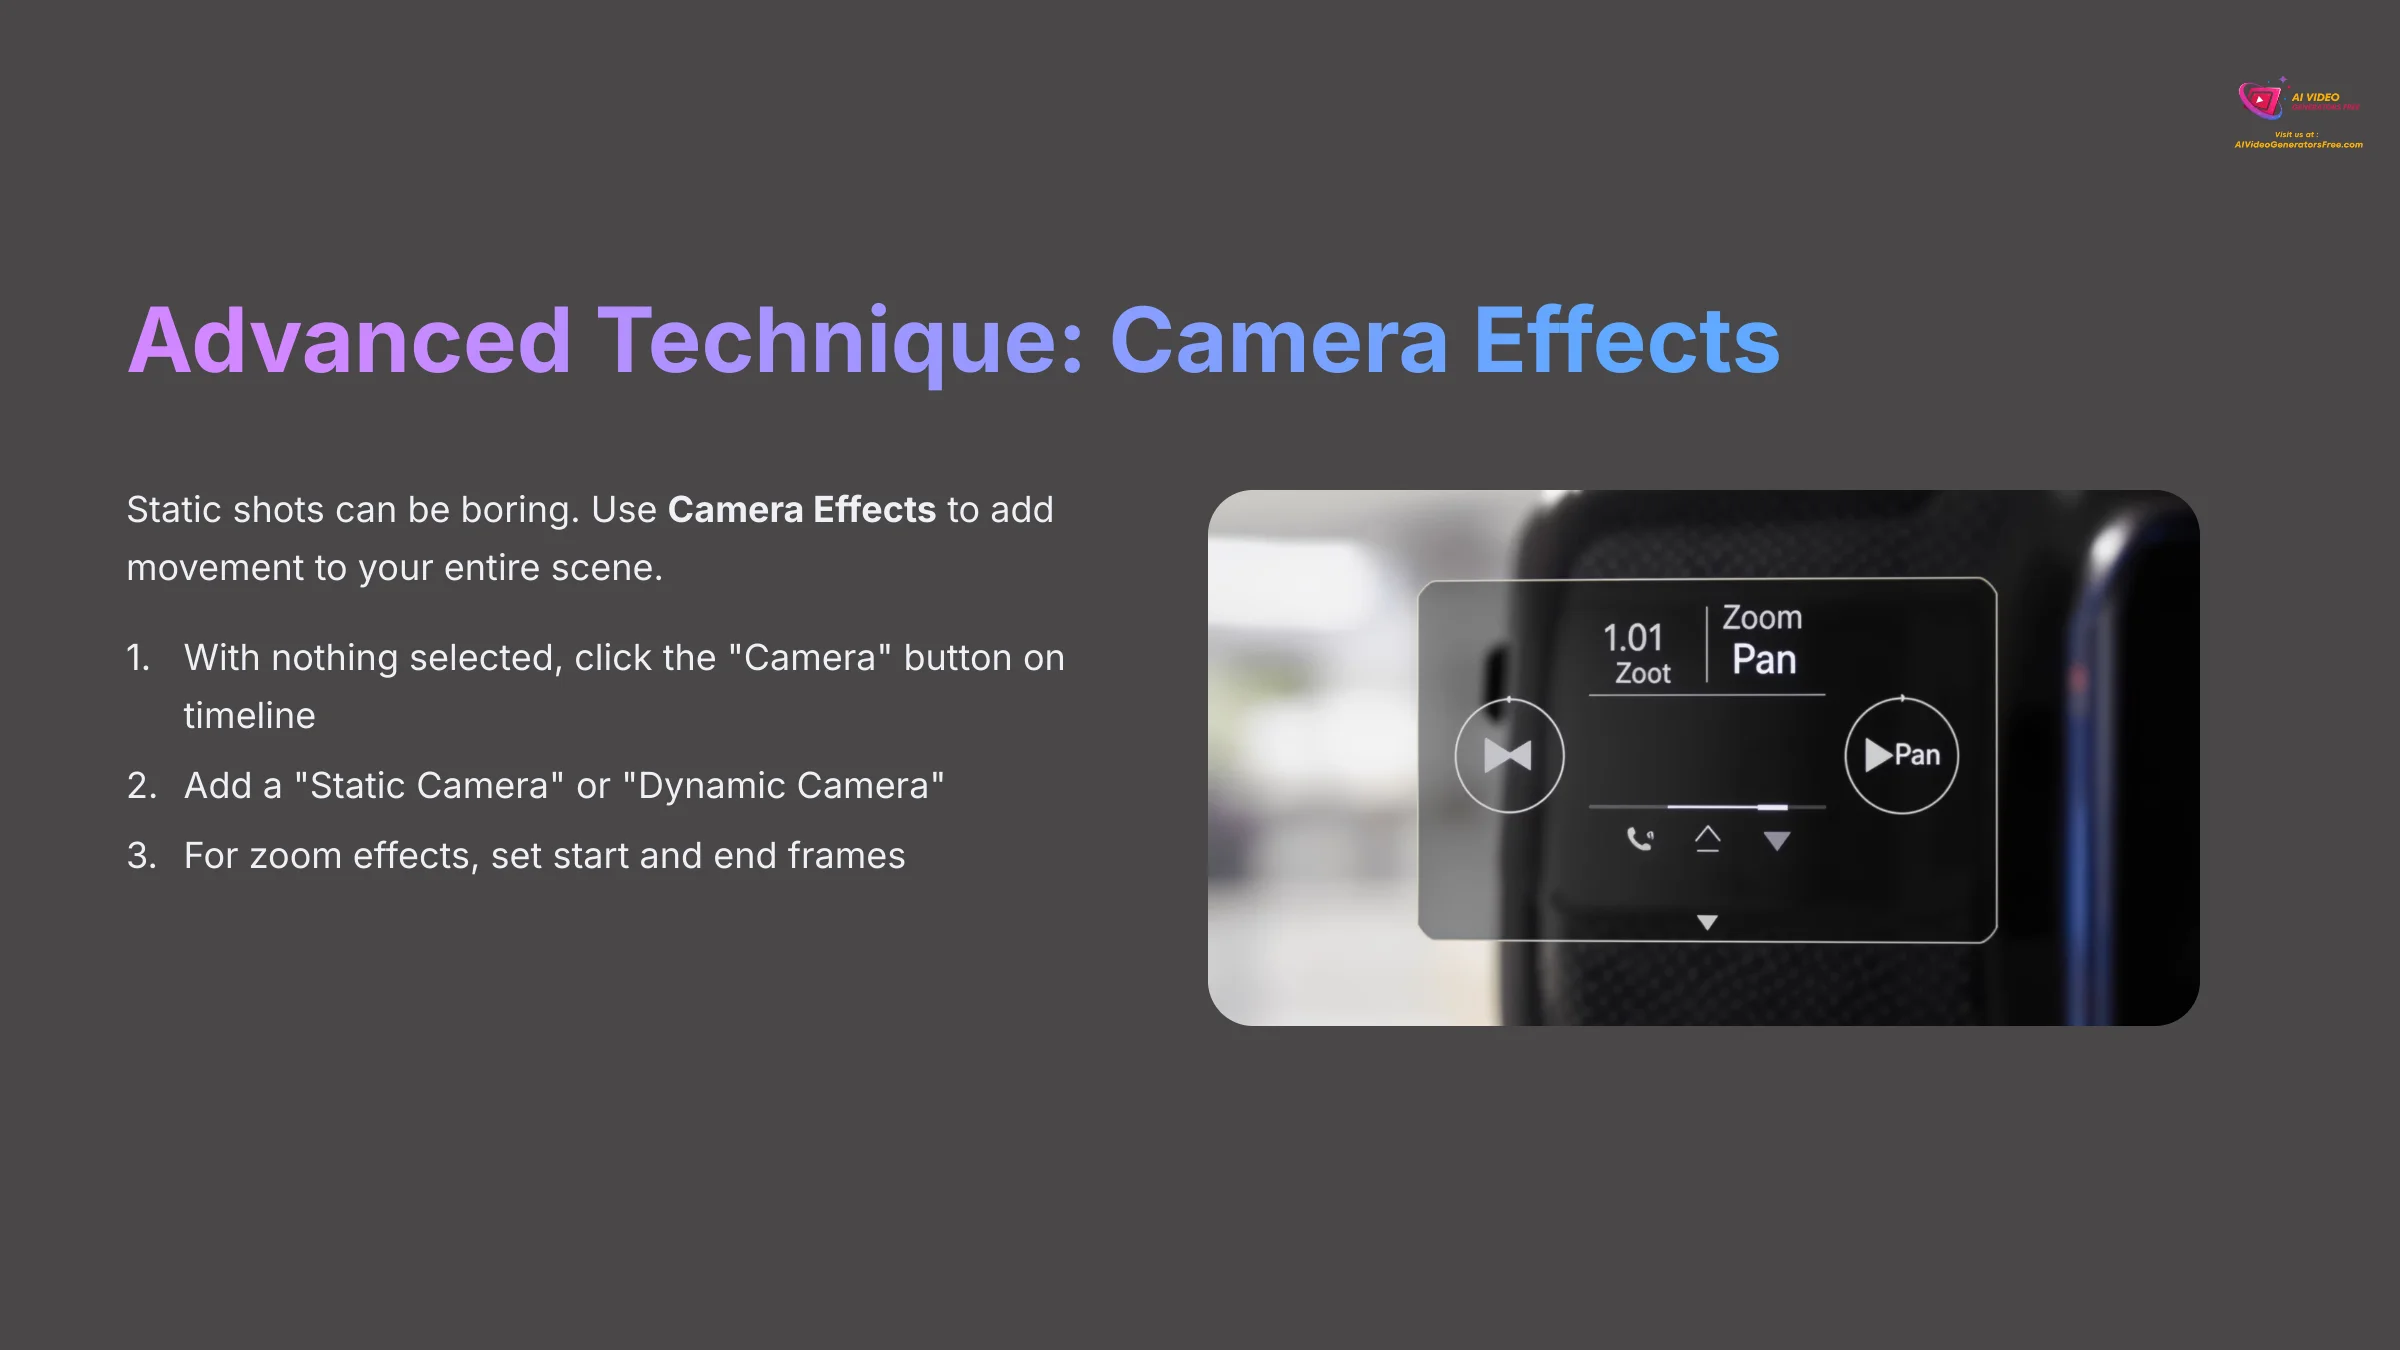
Static shots can be boring. To make your video more professional, use the Camera Effects. This feature allows you to add movement to the entire scene, simulating a real camera operator.
- With no objects selected, you'll see a “Camera” button appear on the timeline. Click it.
- This adds a camera layer. You can now add a “Static Camera” or a “Dynamic Camera.”
- For a simple zoom effect, add a Dynamic Camera at the start of your scene and drag its corners to frame the starting shot. Then, move the playhead on the timeline, add another camera point, and adjust its frame for the end shot. Animaker will automatically create a smooth zoom or pan between the two points.
Practice Exercise: Make your character deliver their line, and as they speak, use the camera to slowly zoom in on their face to emphasize the message.
Advanced Technique: Setting the Scene with Backgrounds and Props
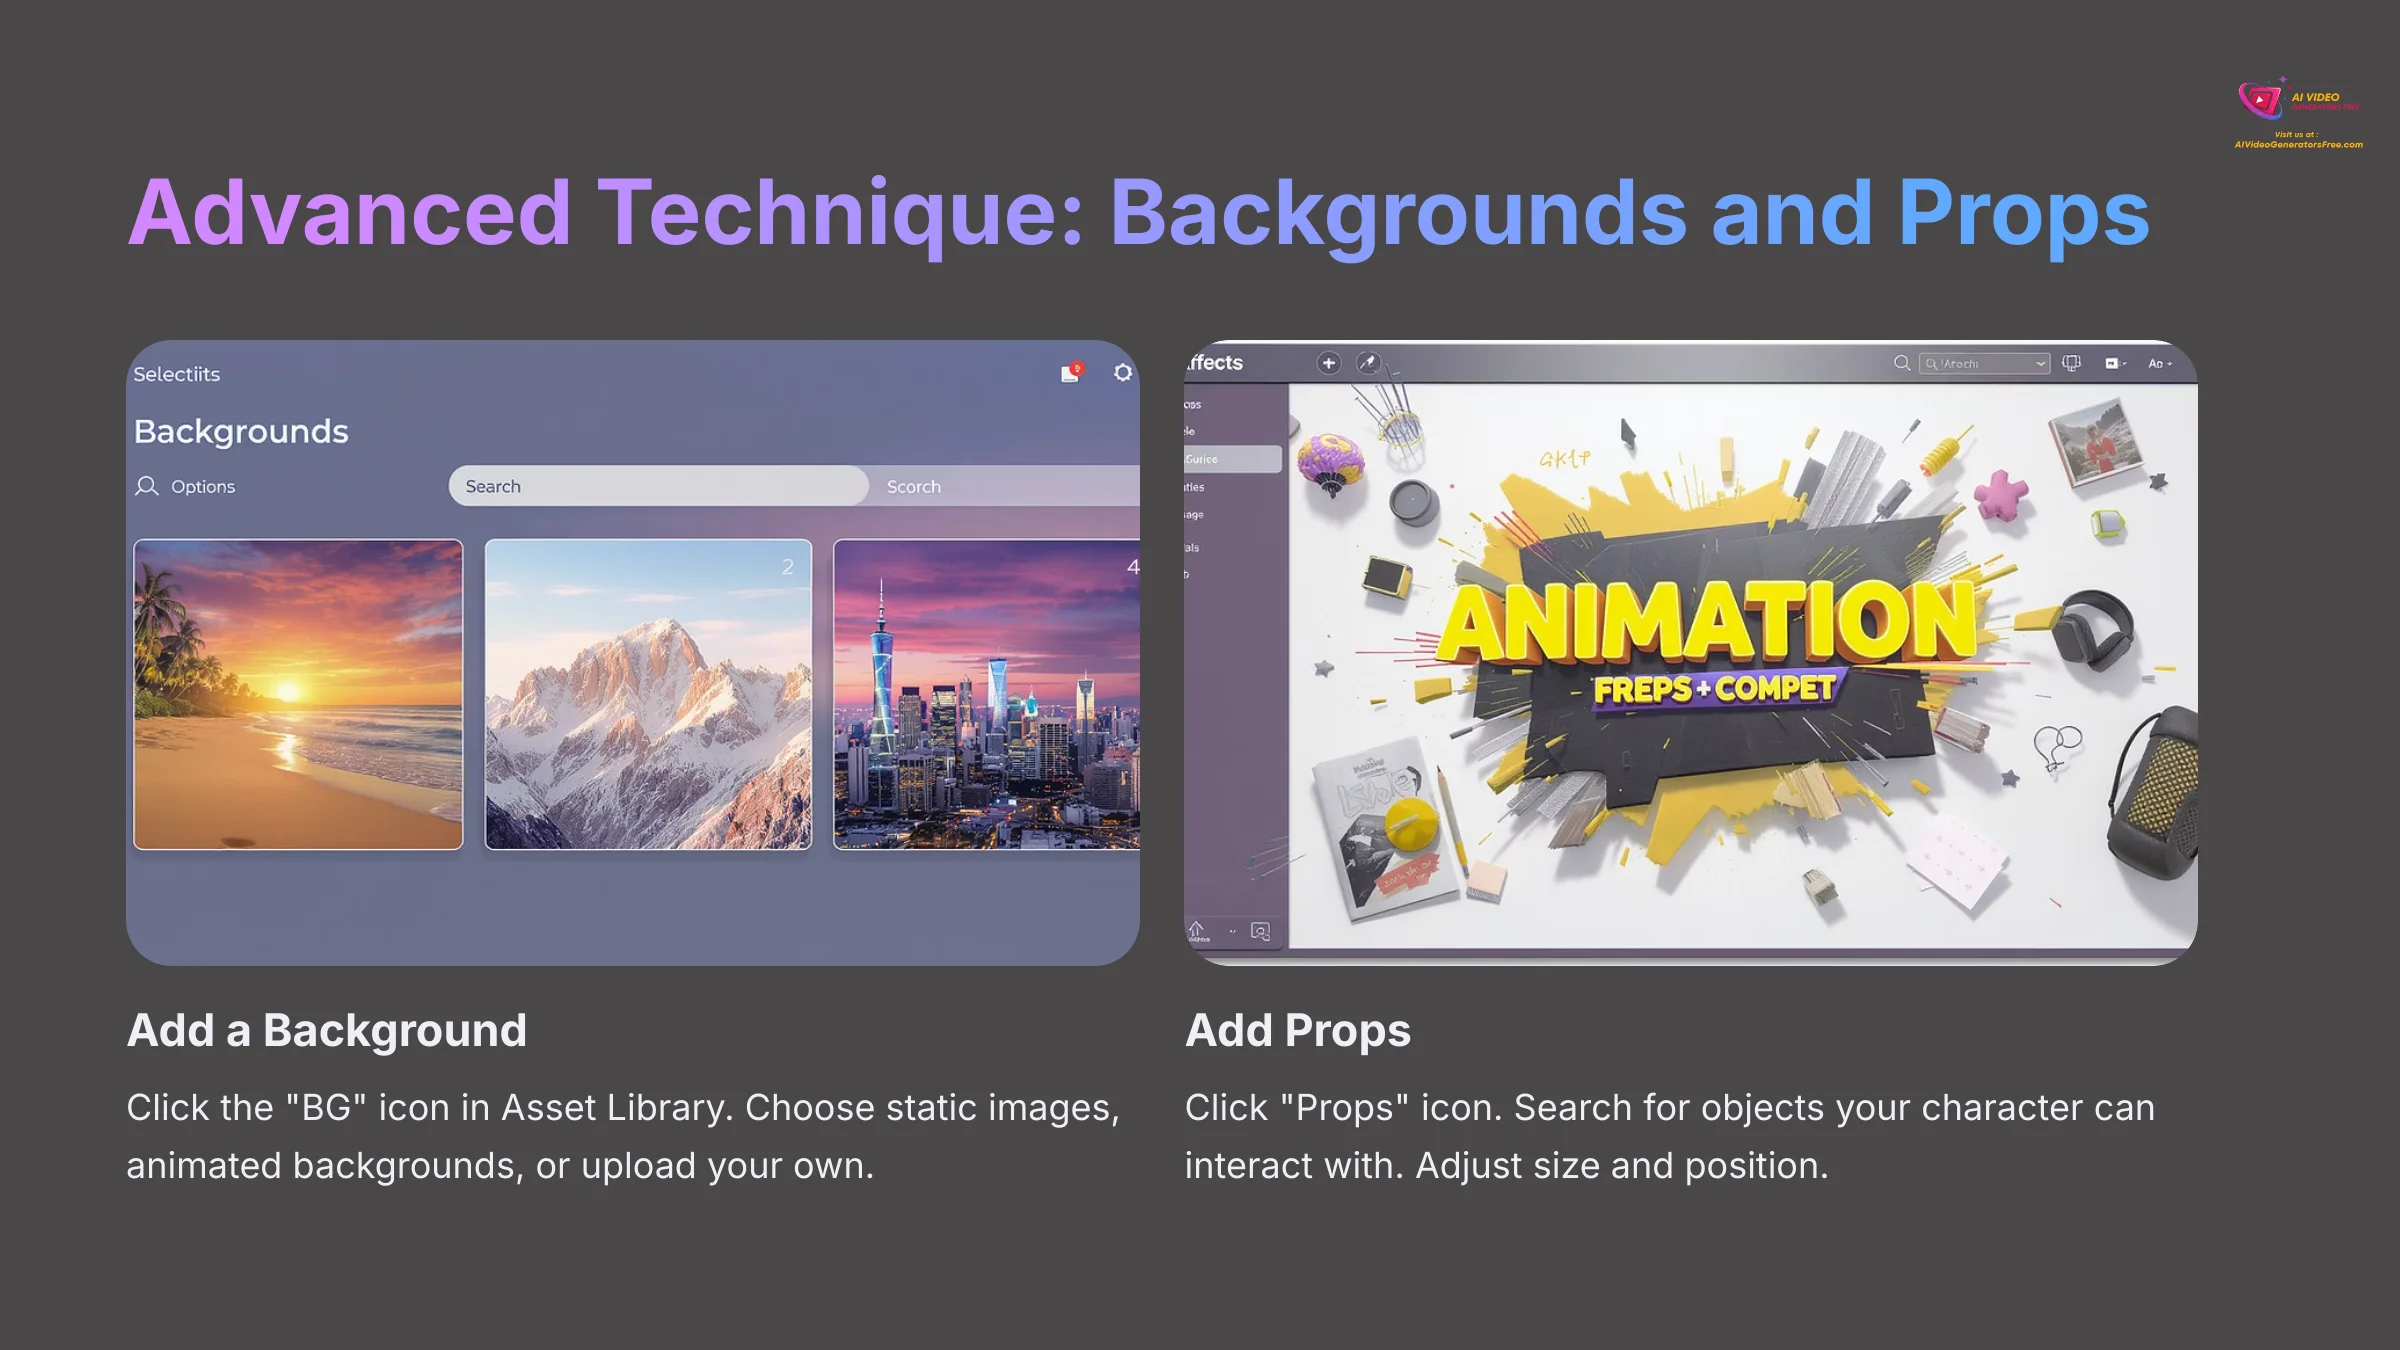
Your character shouldn't exist in a white void! A complete scene requires a setting. Animaker's Asset Library is filled with thousands of backgrounds and props to bring your story to life.
- Add a Background: In the Asset Library on the left, click the “BG” (Background) icon. You can choose from static images, animated video backgrounds, or upload your own.
- Add Props: Click the “Props” icon in the library. Search for an object your character can interact with, like a desk or a computer. Drag it onto the canvas. You can adjust its size and position, and even decide if it appears in front of or behind your character using the layering options.
Project Blueprint: Your First 15-Second Social Media Ad
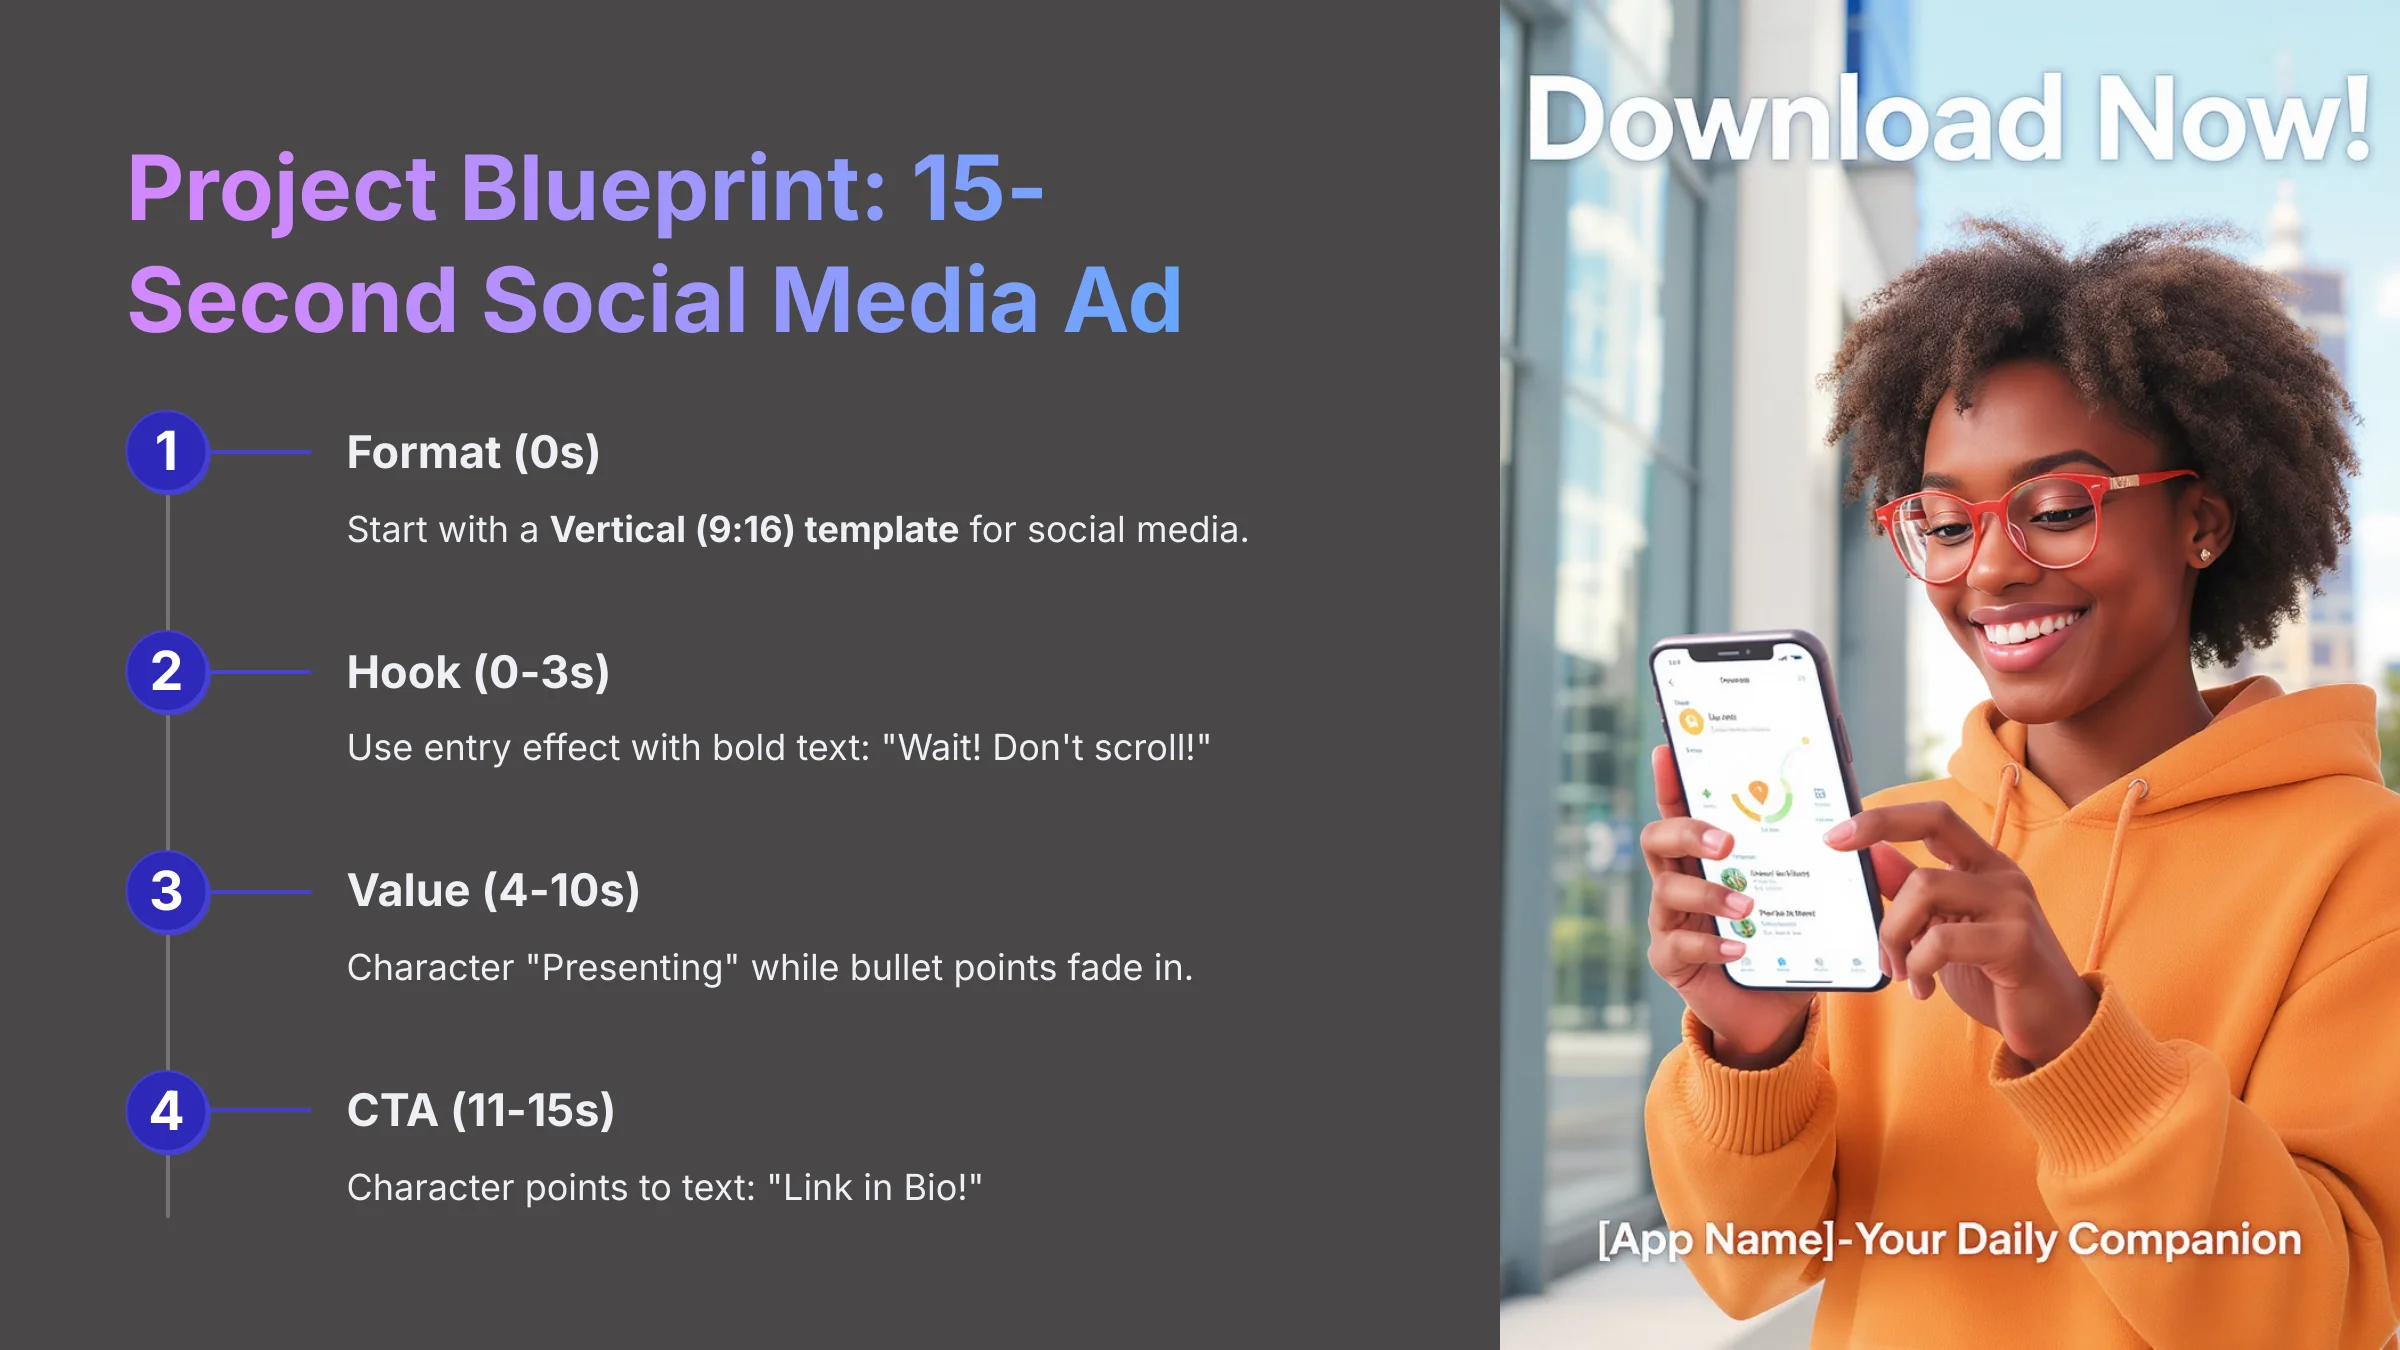
Let's apply these skills to a real-world project. Here is a quick recipe for a social media ad. The key to social media video is speed; each scene should be no more than 3-4 seconds long to hold viewer attention. Use fast cuts and energetic music.
- Format: Start a new project with a Vertical (9:16) template.
- Hook (0-3s): Use an entry effect with bold text like “Wait! Don't scroll!”
- Value (4-10s): Have your character use a “Presenting” action while bullet points about your product fade in.
- CTA (11-15s): Have the character point to a text element that says “Link in Bio!”
Where to Go From Here: Your Learning Roadmap
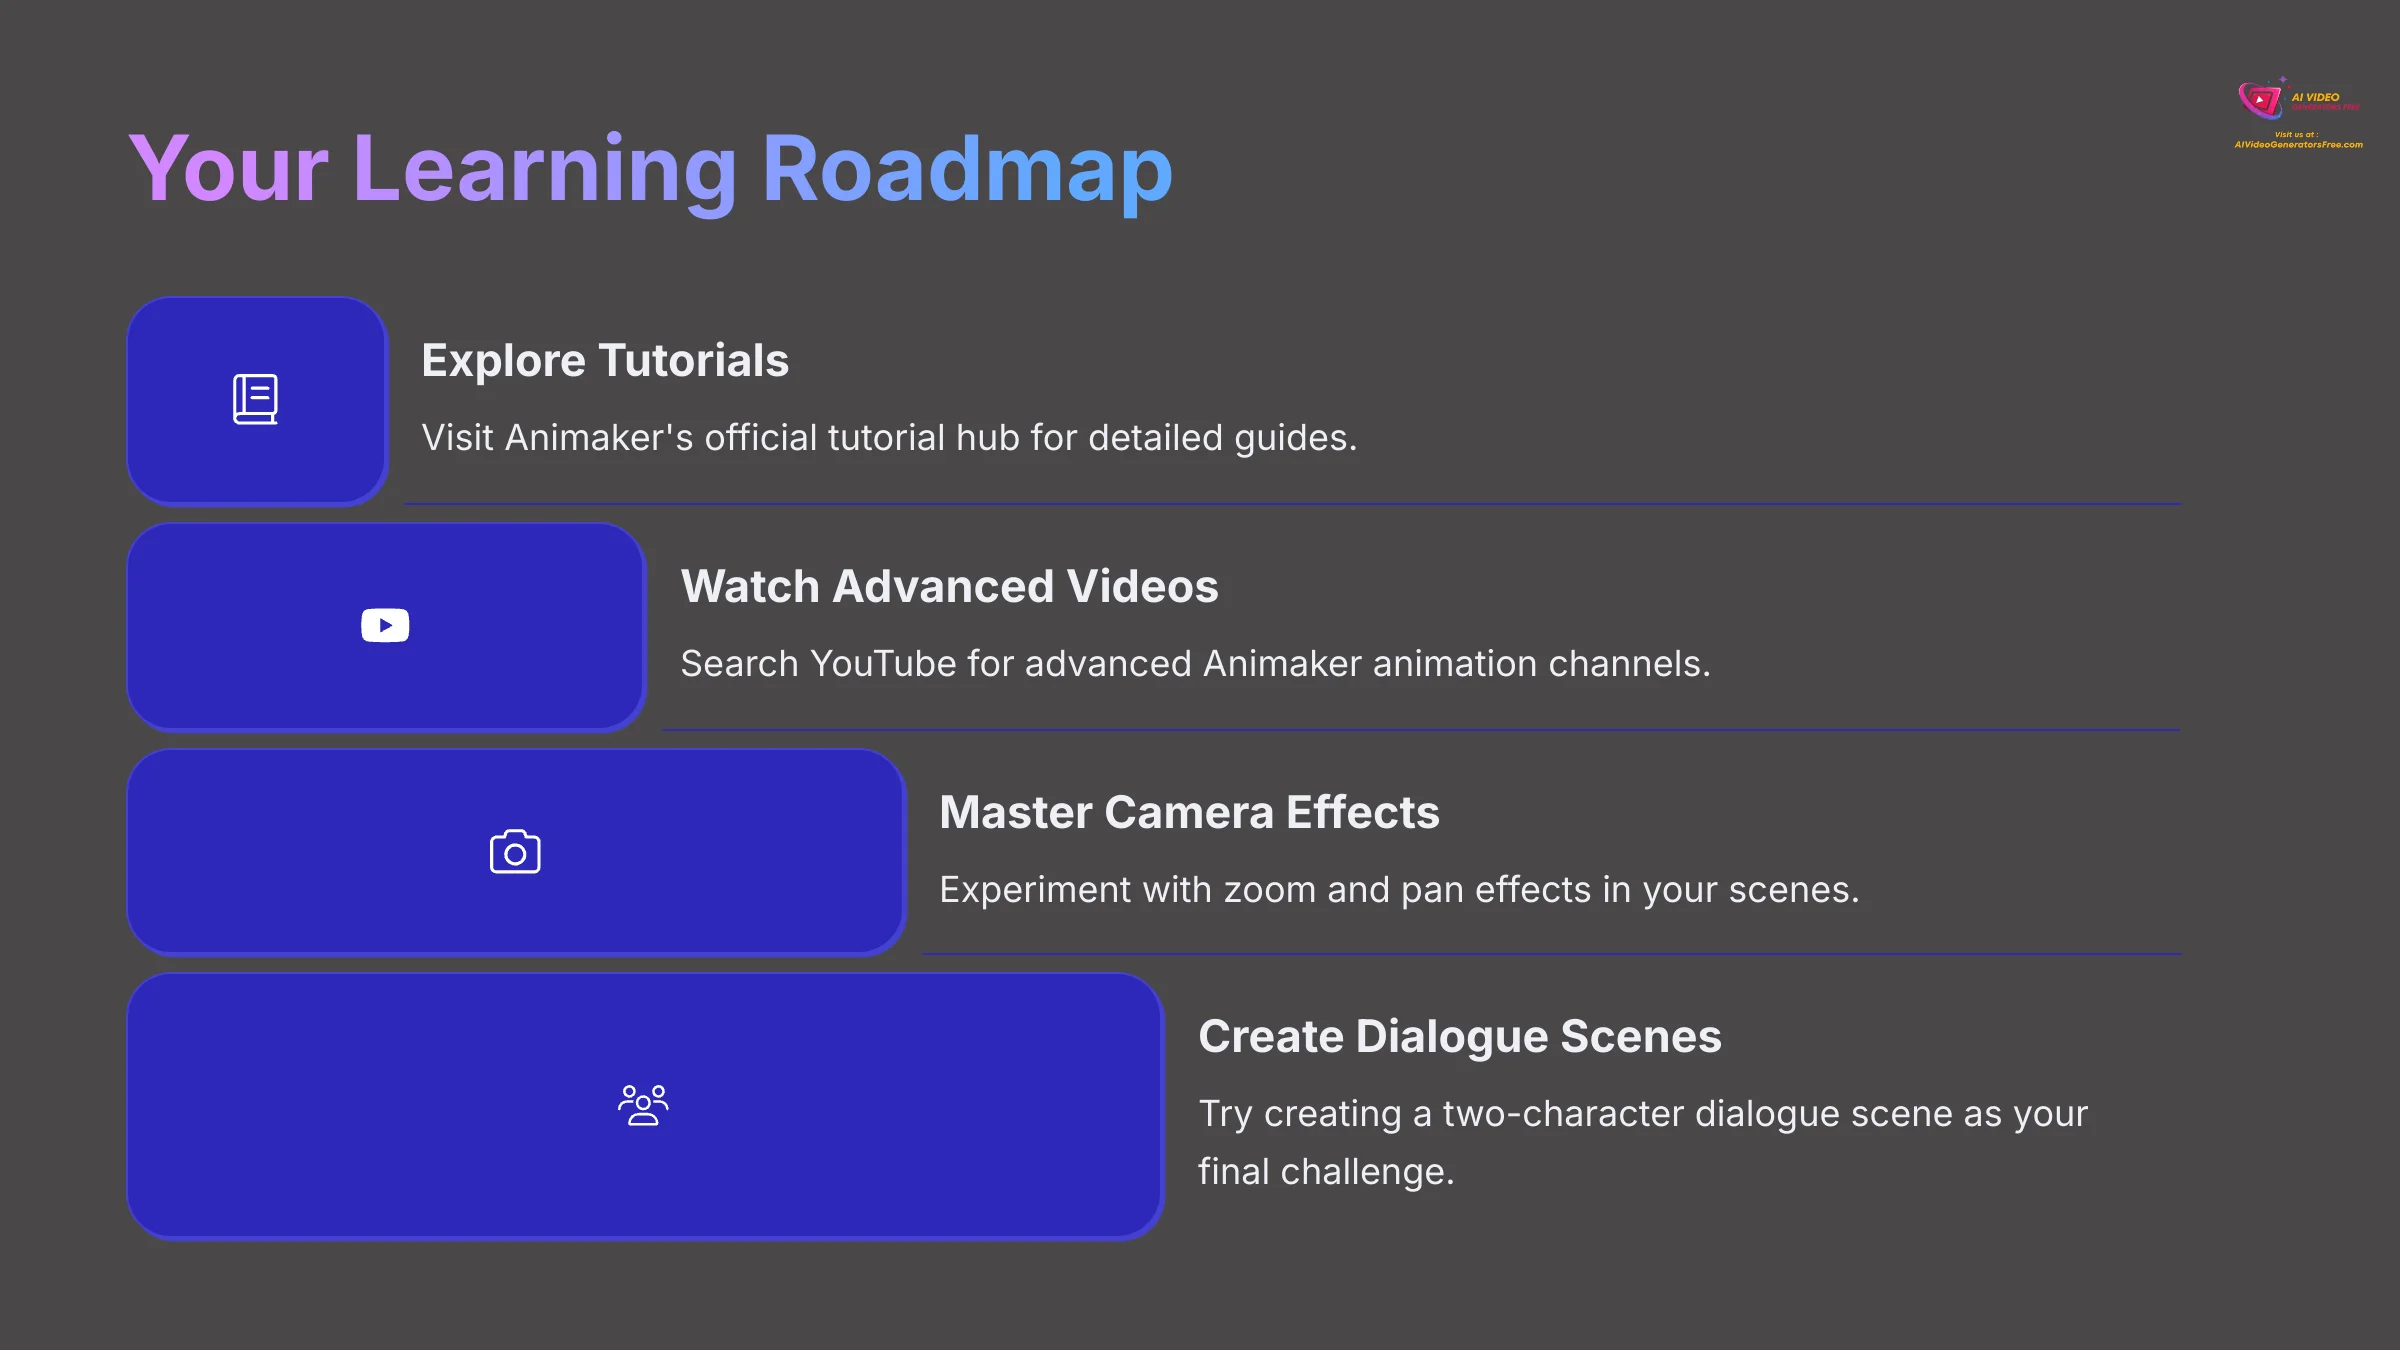
You now have a solid foundation. To continue improving your skills, I recommend exploring these resources. Your next step is to get comfortable with more complex projects.
- Explore Animaker's official tutorial hub for more detailed guides.
- Search YouTube for advanced Animaker animation channels.
- Begin experimenting with the “Camera” feature to add zoom and pan effects to your scenes.
Final Challenge: Now that you have mastered a single character, try creating a two-character dialogue scene. This will challenge you to manage multiple animations and voice tracks on the timeline.
Disclaimer: The information about Animaker AI Tutorial: How to Create Your First Animated Character in 10 Minutes presented in this article reflects our thorough analysis as of 2025. Given the rapid pace of AI technology evolution, features, pricing, and specifications may change after publication. While we strive for accuracy, we recommend visiting the official website for the most current information. Our overview is designed to provide a comprehensive understanding of the tool's capabilities rather than real-time updates.
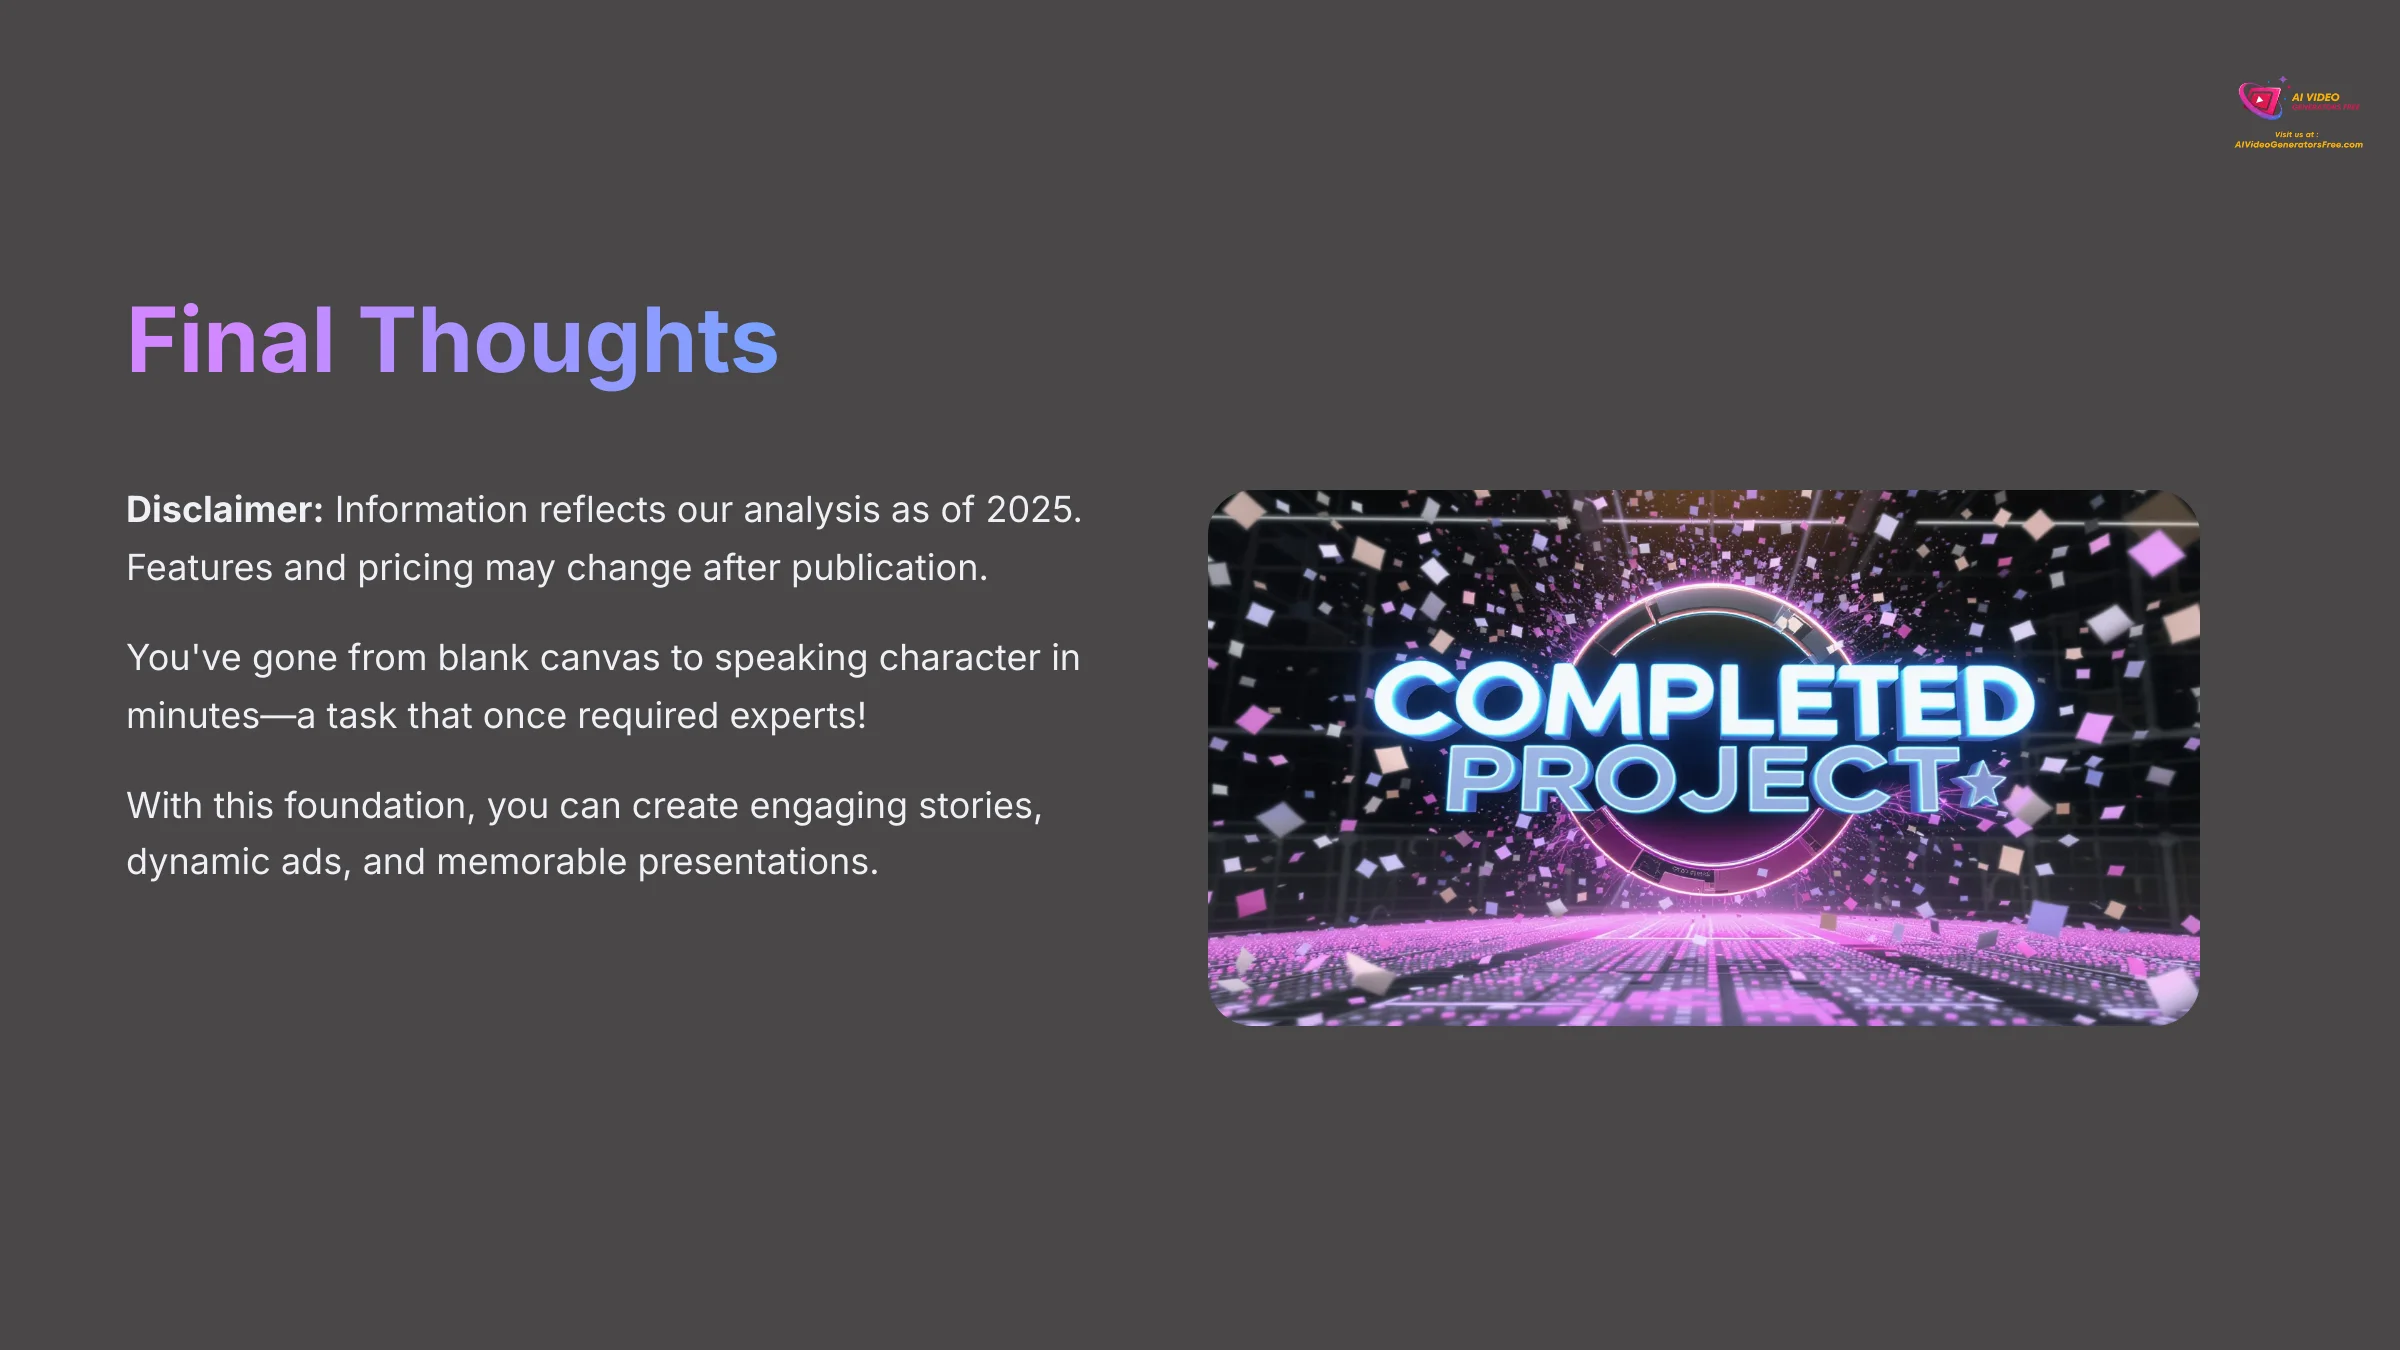
I hope this quick challenge showed you just how incredibly accessible animation has become. Think about it: you went from a blank canvas to a speaking, moving character in just a few minutes—a task that once required a team of experts! With this foundational skill, you're no longer limited by complex software. You can now start creating your own engaging stories, dynamic ads, and memorable presentations. The possibilities are genuinely exciting.
Animaker AI Tutorial: How to Create Your First Animated Character in 10 Minutes


Leave a Reply