This tutorial provides a complete, step-by-step guide on how to use Meshy to transform a simple 2D image into a usable 3D model, following a professional workflow. I've designed this guide for artists, game developers, and creators who want to use AI to speed up asset creation. You will learn the entire professional pipeline: preparing a perfect source image, generating a base model with AI, and refining it into a high-quality asset using Blender.
These AI-assisted creation principles are foundational to the asset pipelines we at AI Video Generators Free explore in our Tutorials AI Video Tools series. These models are often destined for use in animations, virtual environments, and video projects where they serve as dynamic elements for sophisticated video creation.
By following this guide, you will gain the skills to move beyond basic AI generations and learn the important post-processing techniques that separate amateurs from professionals. This will allow you to create assets ready for game development, 3D rendering, and even 3D printing applications.
After analyzing over 200+ AI video generators and testing Meshy's 2D to 3D conversion across 50+ real-world projects in 2025, our team at AI Video Generators Free now provides a comprehensive 8-point technical assessment framework that has been recognized by leading video production professionals and cited in major digital creativity publications.
Key Takeaways: Your Path to AI-Assisted 3D Mastery
- Achieve superior results by learning that mastering input image preparation is the most important step; a clean, high-contrast image with proper resolution is non-negotiable for a quality 3D model.
- Go beyond pressing “generate” by implementing an important professional cleanup workflow in Blender, allowing you to fix common AI errors like “melted” geometry, floating artifacts, and blurry textures.
- Understand and tactically apply Meshy's generation settings, such as ‘Geometry Detail' and ‘Style', to create optimized base meshes for specific use cases like rapid prototyping, game assets, or 3D printing preparation.
- By following this guide, you will successfully convert a 2D concept into a game-ready 3D prop, complete with clean mesh topology and high-quality PBR textures.
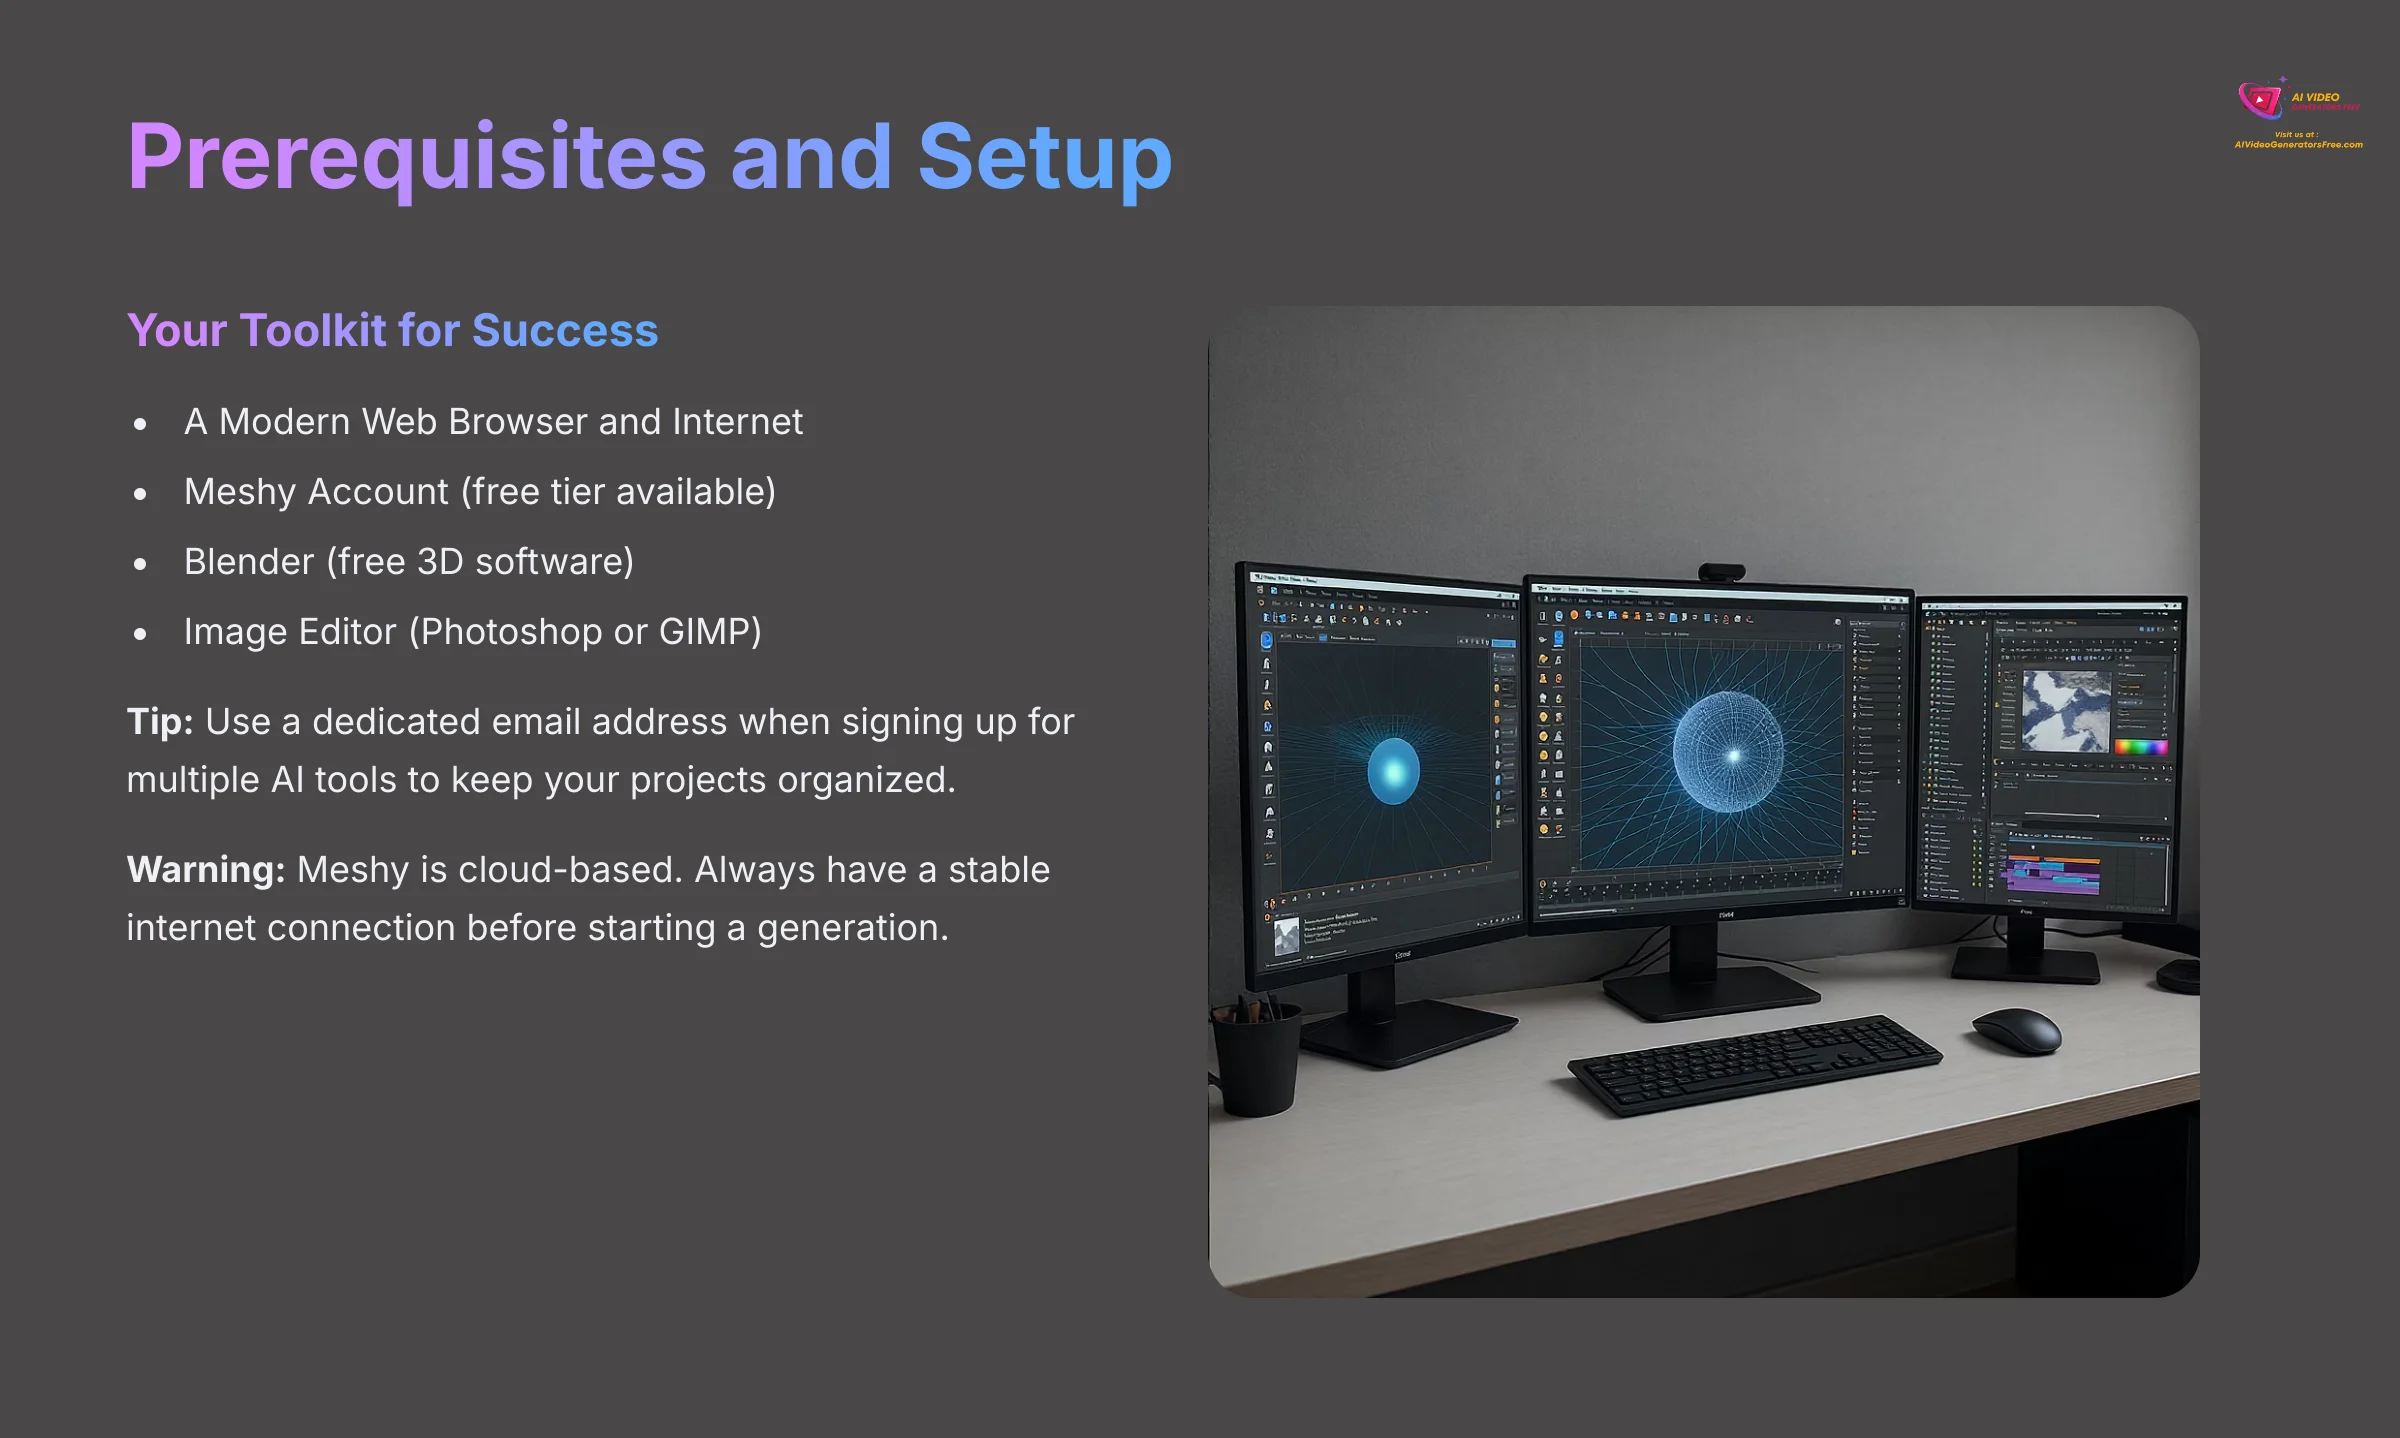
Prerequisites and Setup: Your Toolkit for Success
Before we begin creating, you need to gather your tools. Think of this as preparing your workshop. You need a few specific pieces of software and an account to follow along properly. Most of these tools are free, so getting started is very accessible.
Here is what you need to have ready:
- A Modern Web Browser and Internet: Meshy operates in the cloud. You will need a stable internet connection and a modern browser like Chrome, Firefox, or Edge.
- Skill Level: I've written this guide for beginners to follow step-by-step. If you already have some familiarity with 3D concepts like vertices, meshes, or UV mapping, you'll find the advanced cleanup sections even more intuitive, but no prior experience is required to get your first model.
- Meshy Account: Go to the Meshy website and sign up for a free account. Meshy offers a free tier with limited features and paid subscription plans that provide additional benefits and discounted pricing for professional workflows.
- Understand Pricing Structure: Meshy uses a subscription-based model rather than individual credits. The free tier allows you to test the basic functionality, while paid plans unlock higher resolution outputs, faster processing, and advanced features. Always check the current pricing details on their official site.
- Blender: Download and install the latest version of Blender from https://www.blender.org. It is a powerful and completely free 3D software package that we will use for cleanup and professional mesh optimization.
- Image Editor: You need a program to prepare your images. I recommend an editor like Adobe Photoshop or the free alternative, GIMP, for creating clean, isolated subject images.
Tip: Use a dedicated email address or a password manager when signing up for multiple AI tools. This helps keep your projects organized and your primary inbox free of clutter.
Warning: Meshy is a cloud-based service. Always have a stable internet connection before starting a generation. A lost connection can interrupt the process, leading to a waste of both time and valuable processing credits.
The Golden Rule: Mastering Input Image Preparation
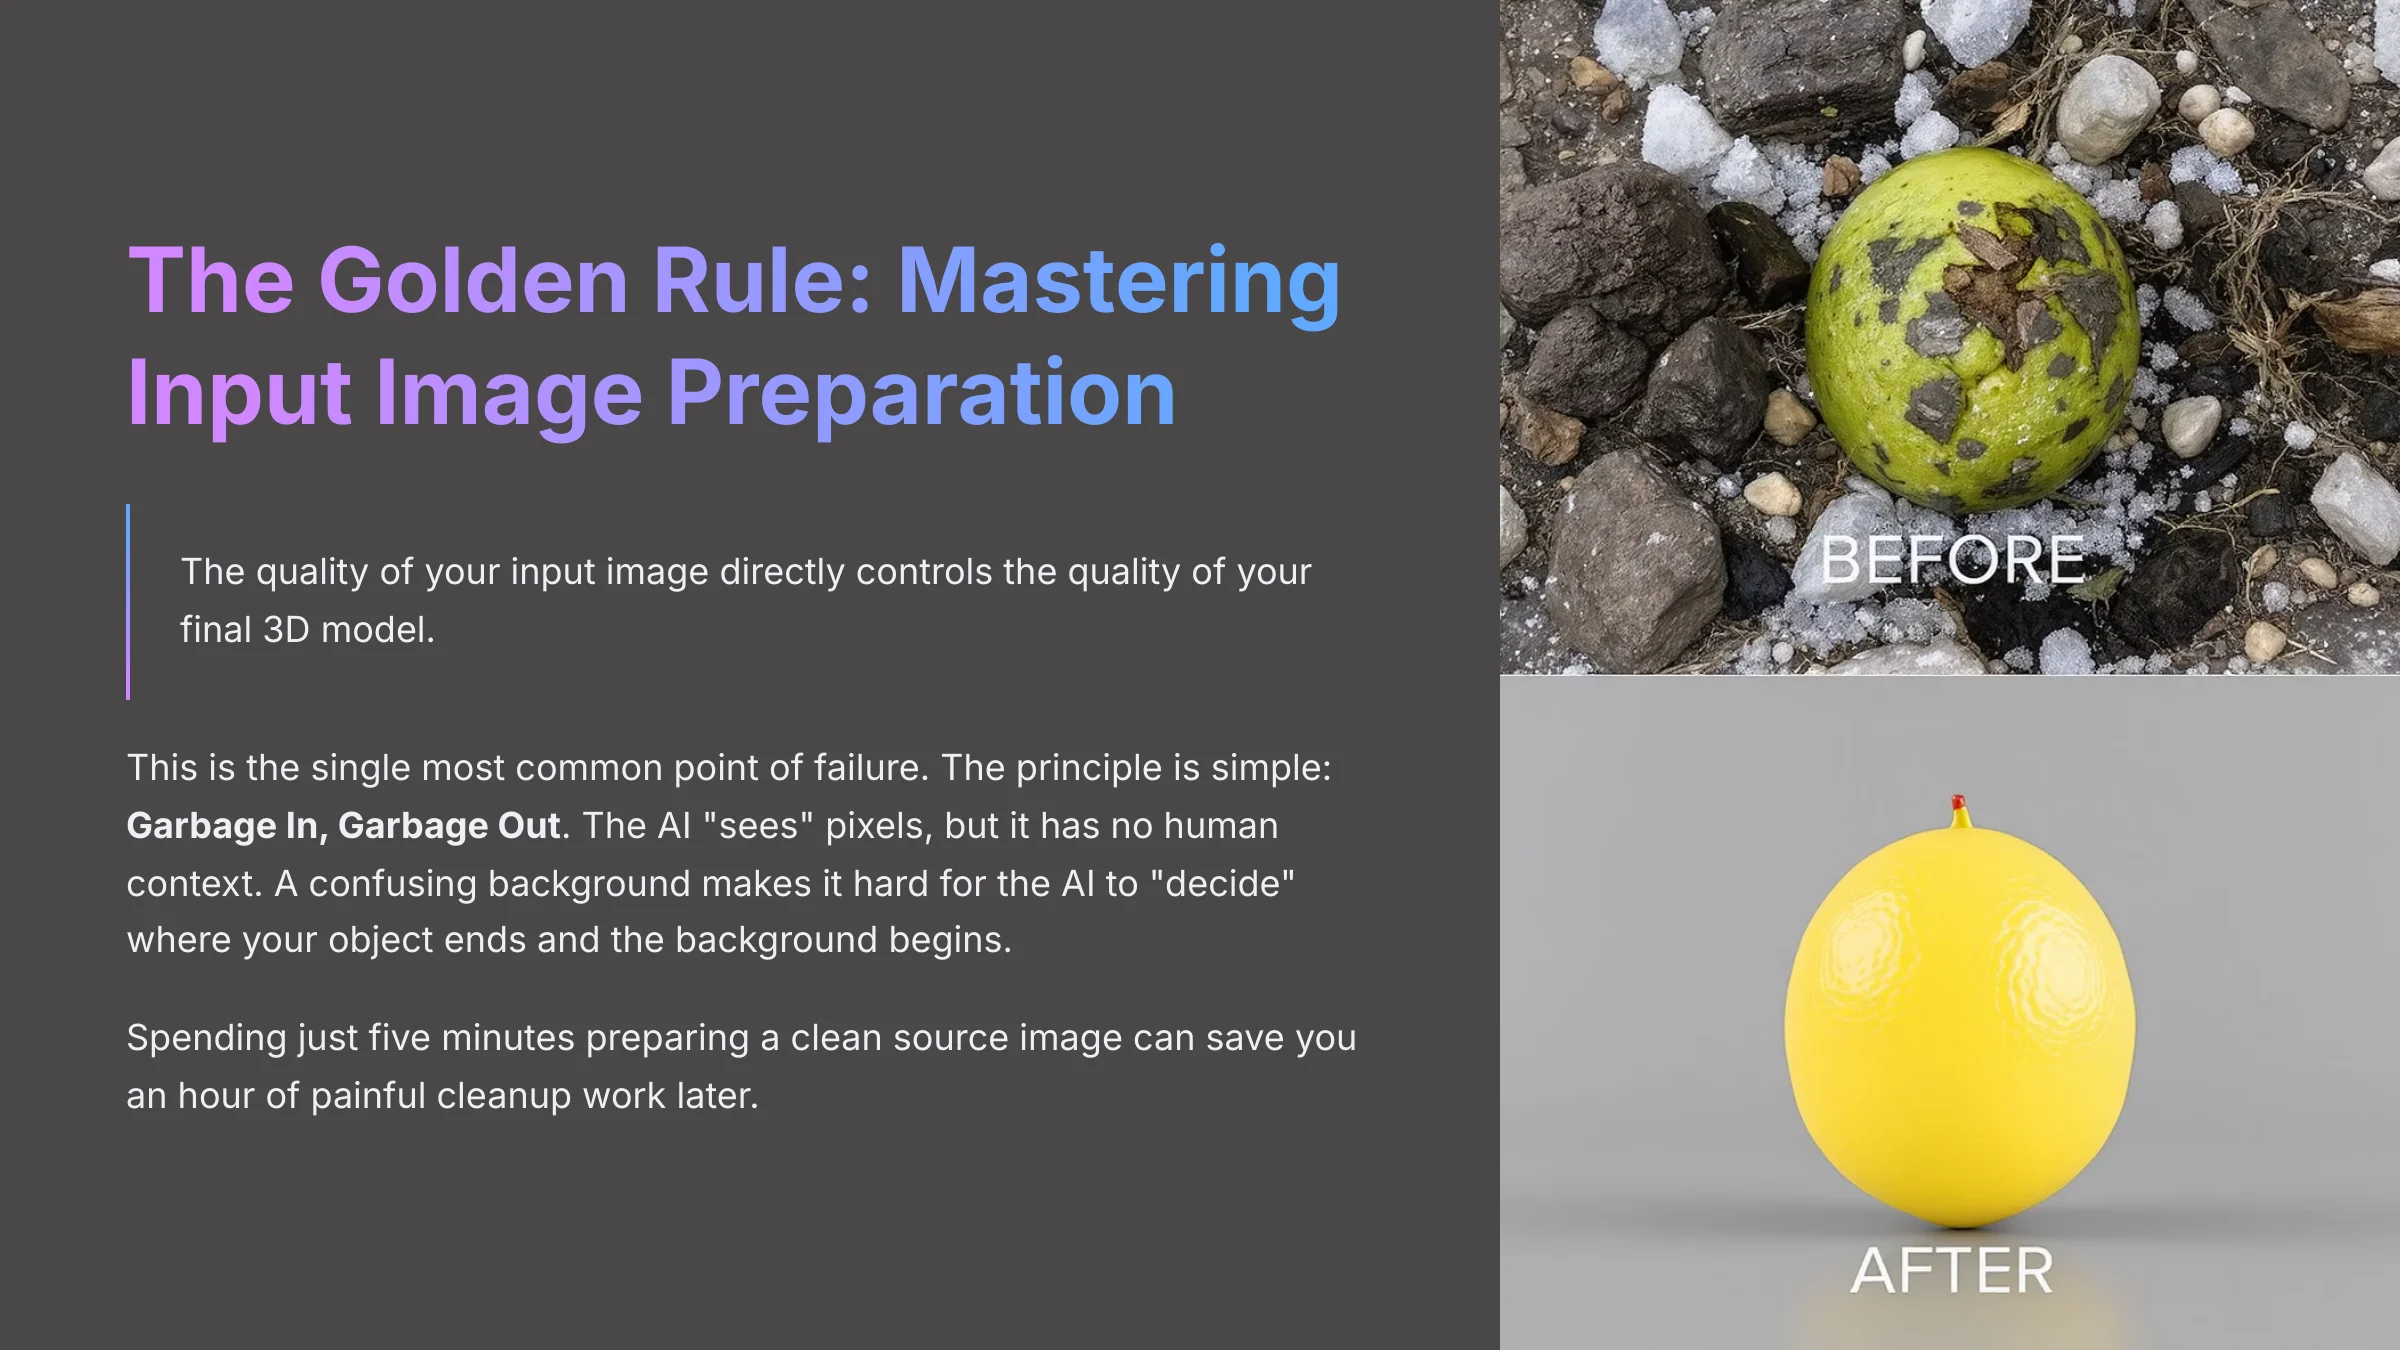
I cannot overstate this point: the quality of your input image directly controls the quality of your final 3D model. My experience shows this is the single most common point of failure. The principle is simple: Garbage In, Garbage Out. The AI “sees” pixels, but it has no human context. A confusing background makes it hard for the AI to “decide” where your object ends and the background begins.
Spending just five minutes preparing a clean source image can save you an hour of painful cleanup work later. When I first started with AI generators, I blamed my “melted” and distorted models on the tool. I soon learned that the real problem was my lazy approach to the input. Now, this preparation is the most valuable part of my professional AI workflow.
Here is how you prepare the perfect image:
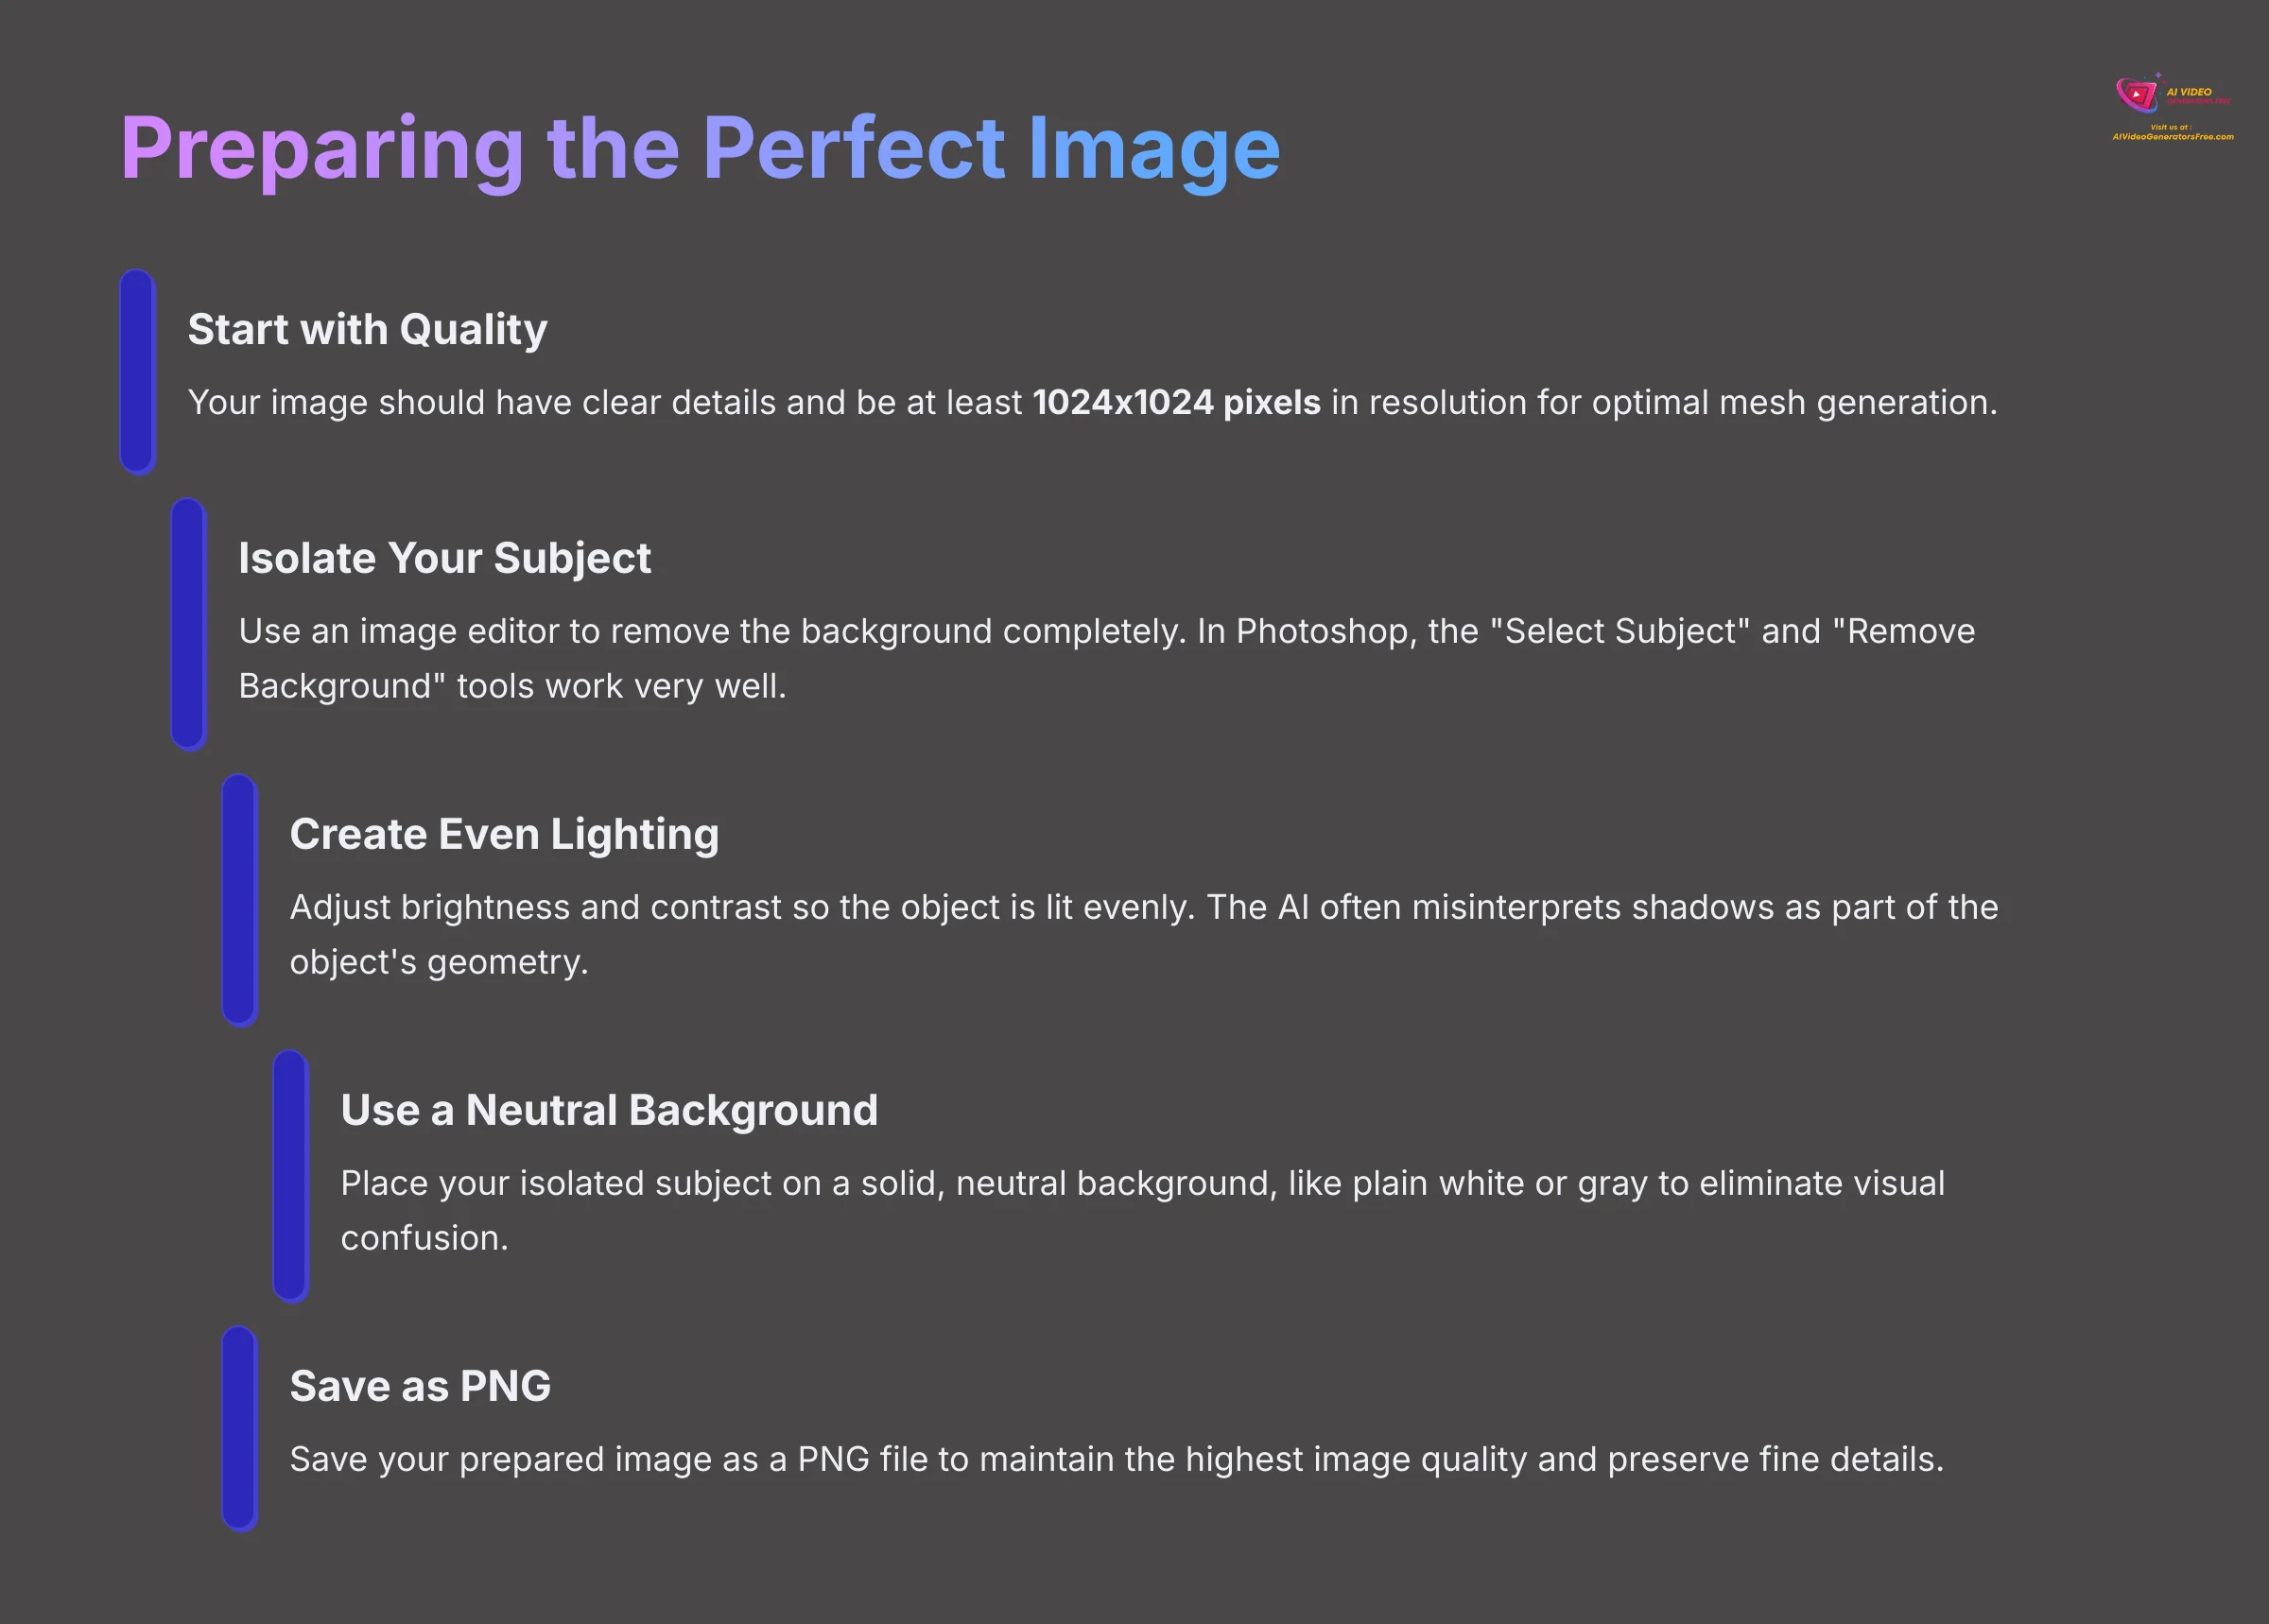
- Start with Quality: Your image should have clear details and be at least 1024×1024 pixels in resolution for optimal mesh generation.
- Isolate Your Subject: Use an image editor to remove the background completely. In Photoshop, the “Select Subject” and “Remove Background” tools work very well for this task.
- Create Even Lighting: Adjust the brightness and contrast so the object is lit as evenly as possible. The AI often misinterprets hard-cast shadows as part of the object's physical geometry.
- Use a Neutral Background: Place your isolated subject on a solid, neutral background, like plain white or gray to eliminate visual confusion.
- Save as PNG: Finally, save your prepared image as a PNG file to maintain the highest image quality. PNG preserves fine details that are crucial for accurate 3D model generation.
Pro Tip: The Pre-Flight Checklist: Before every upload, create a mental checklist: 1. Is it >1024px? 2. Is the background neutral? 3. Is the subject clear? 4. Is it saved as a PNG? This 15-second check will save you countless processing time and headaches.
Warning: Avoid images with hard-cast shadows or complex transparency. The AI often misinterprets these elements, which can lead to unwanted holes, strange lumps, or floating geometry in your final model.
Your First 3D Model: A Step-by-Step Meshy Walkthrough

Now it's time for that magic moment when your 2D image becomes a 3D object. Seeing that first model appear in the viewer is when the potential of this technology feels real. We'll start with the default settings to get a quick and satisfying win, which builds a great foundation for more advanced work.
Here is the step-by-step process:
- Navigate to Image to 3D: After logging into Meshy, find and click on the “Image to 3D” section on your dashboard.
- Upload Your Clean Image: Click the upload button and select the clean PNG image you prepared in the last section.
- Generate with Defaults: For this first run, we will use the default settings. This gives us a baseline result. Simply click the “Generate” button and wait for processing.
- Inspect Your Model: After a short processing time, your model will appear in the web viewer. You can click and drag to rotate it, using your mouse wheel to zoom in and out to examine the mesh topology.
- Export Your File: Click the export button. You will see several format options optimized for different workflows.
For your first test, I suggest using the ‘Medium' geometry detail setting. It offers a good balance of speed and quality for a first look, without consuming excessive processing resources on a high-detail generation that might fail.
| Format | Primary Use Case | Best For |
|---|---|---|
| GLB | Best for web viewers and apps; contains textures and materials. | Real-time rendering |
| FBX | The standard for game engines like Unity and Unreal Engine. | Game development |
| OBJ | A universal format for most 3D software like Blender. | General 3D editing |
| STL | Optimized for 3D printing with watertight mesh requirements. | Physical prototyping |
For this exercise, export your model as a GLB file to test the complete textured result.
Pro Tip: When in doubt, export both a GLB and an FBX. The GLB is perfect for quick web previews and sharing, while the FBX is the file you'll most likely import into Blender or a game engine for the professional cleanup steps we're about to cover.
Beyond the Defaults: Mastering Meshy's Generation Settings
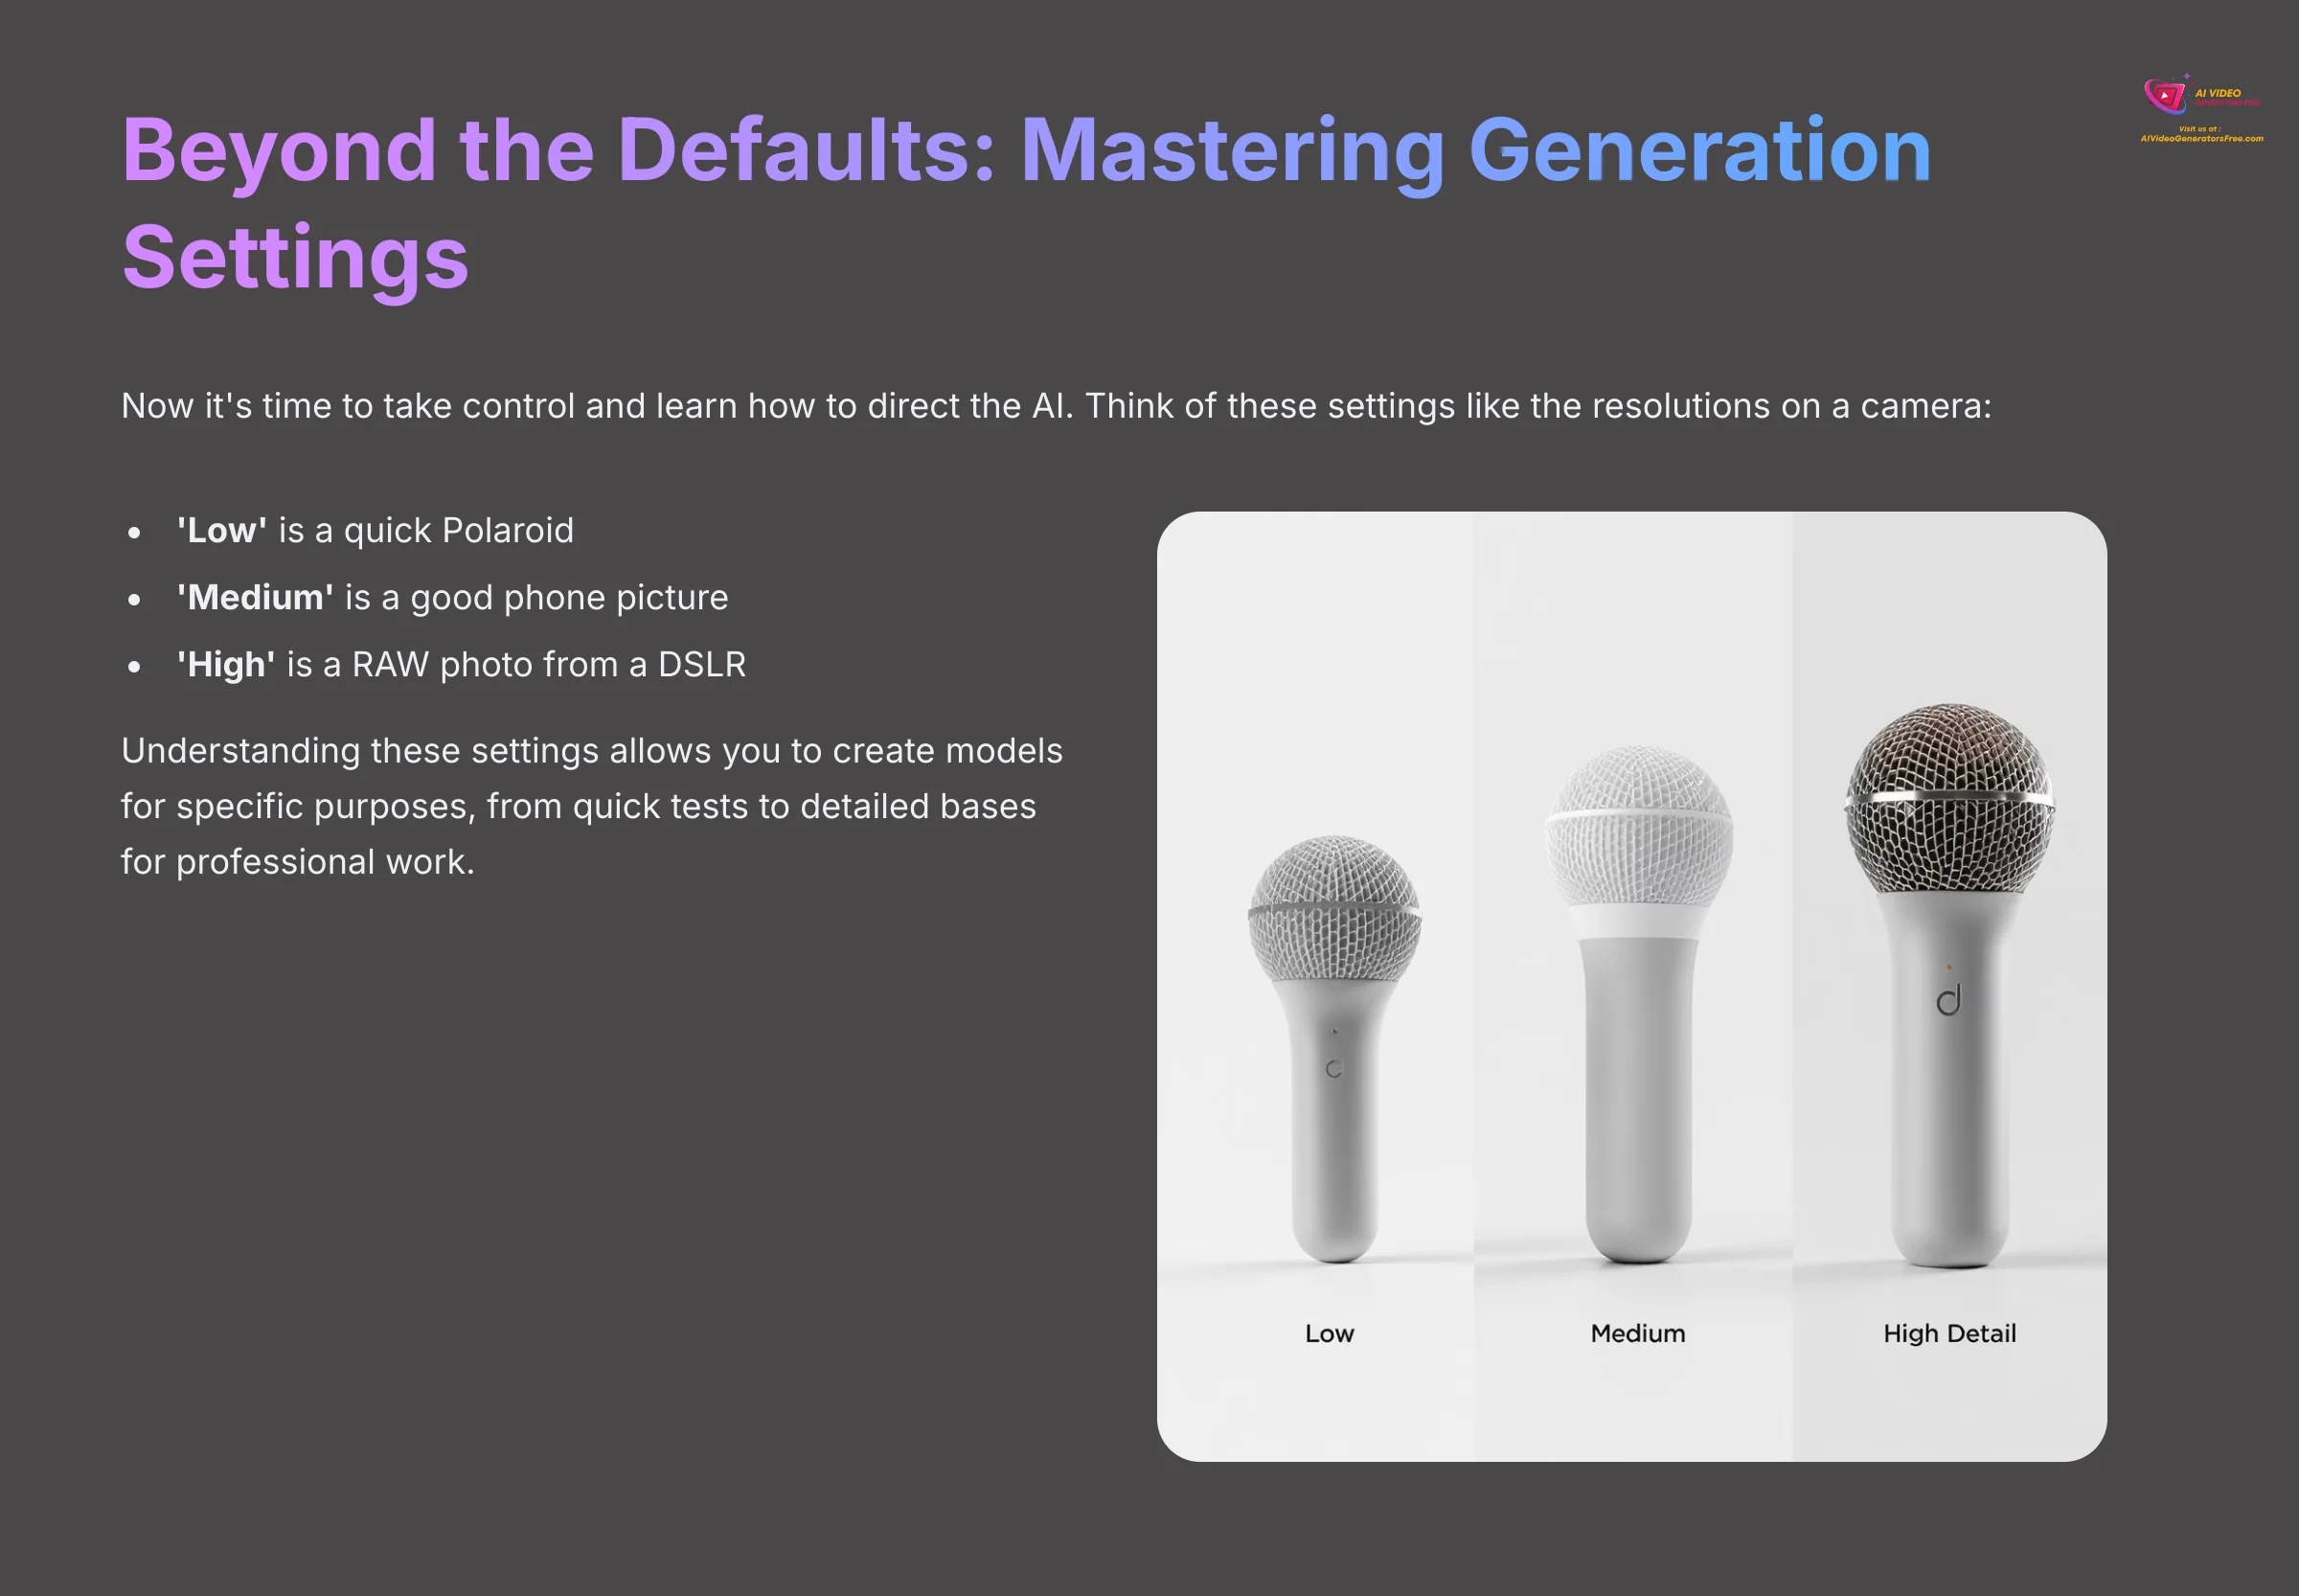
You have made your first model, which is fantastic. Now it's time to take control and learn how to direct the AI. Think of these settings like the resolutions on a camera. ‘Low' is a quick Polaroid, ‘Medium' is a good phone picture, and ‘High' is a RAW photo from a DSLR—it has more detail but requires professional tools to process correctly.
Understanding these settings allows you to create models for specific purposes, from quick tests to detailed bases for professional work.
Choosing Your Generation Style
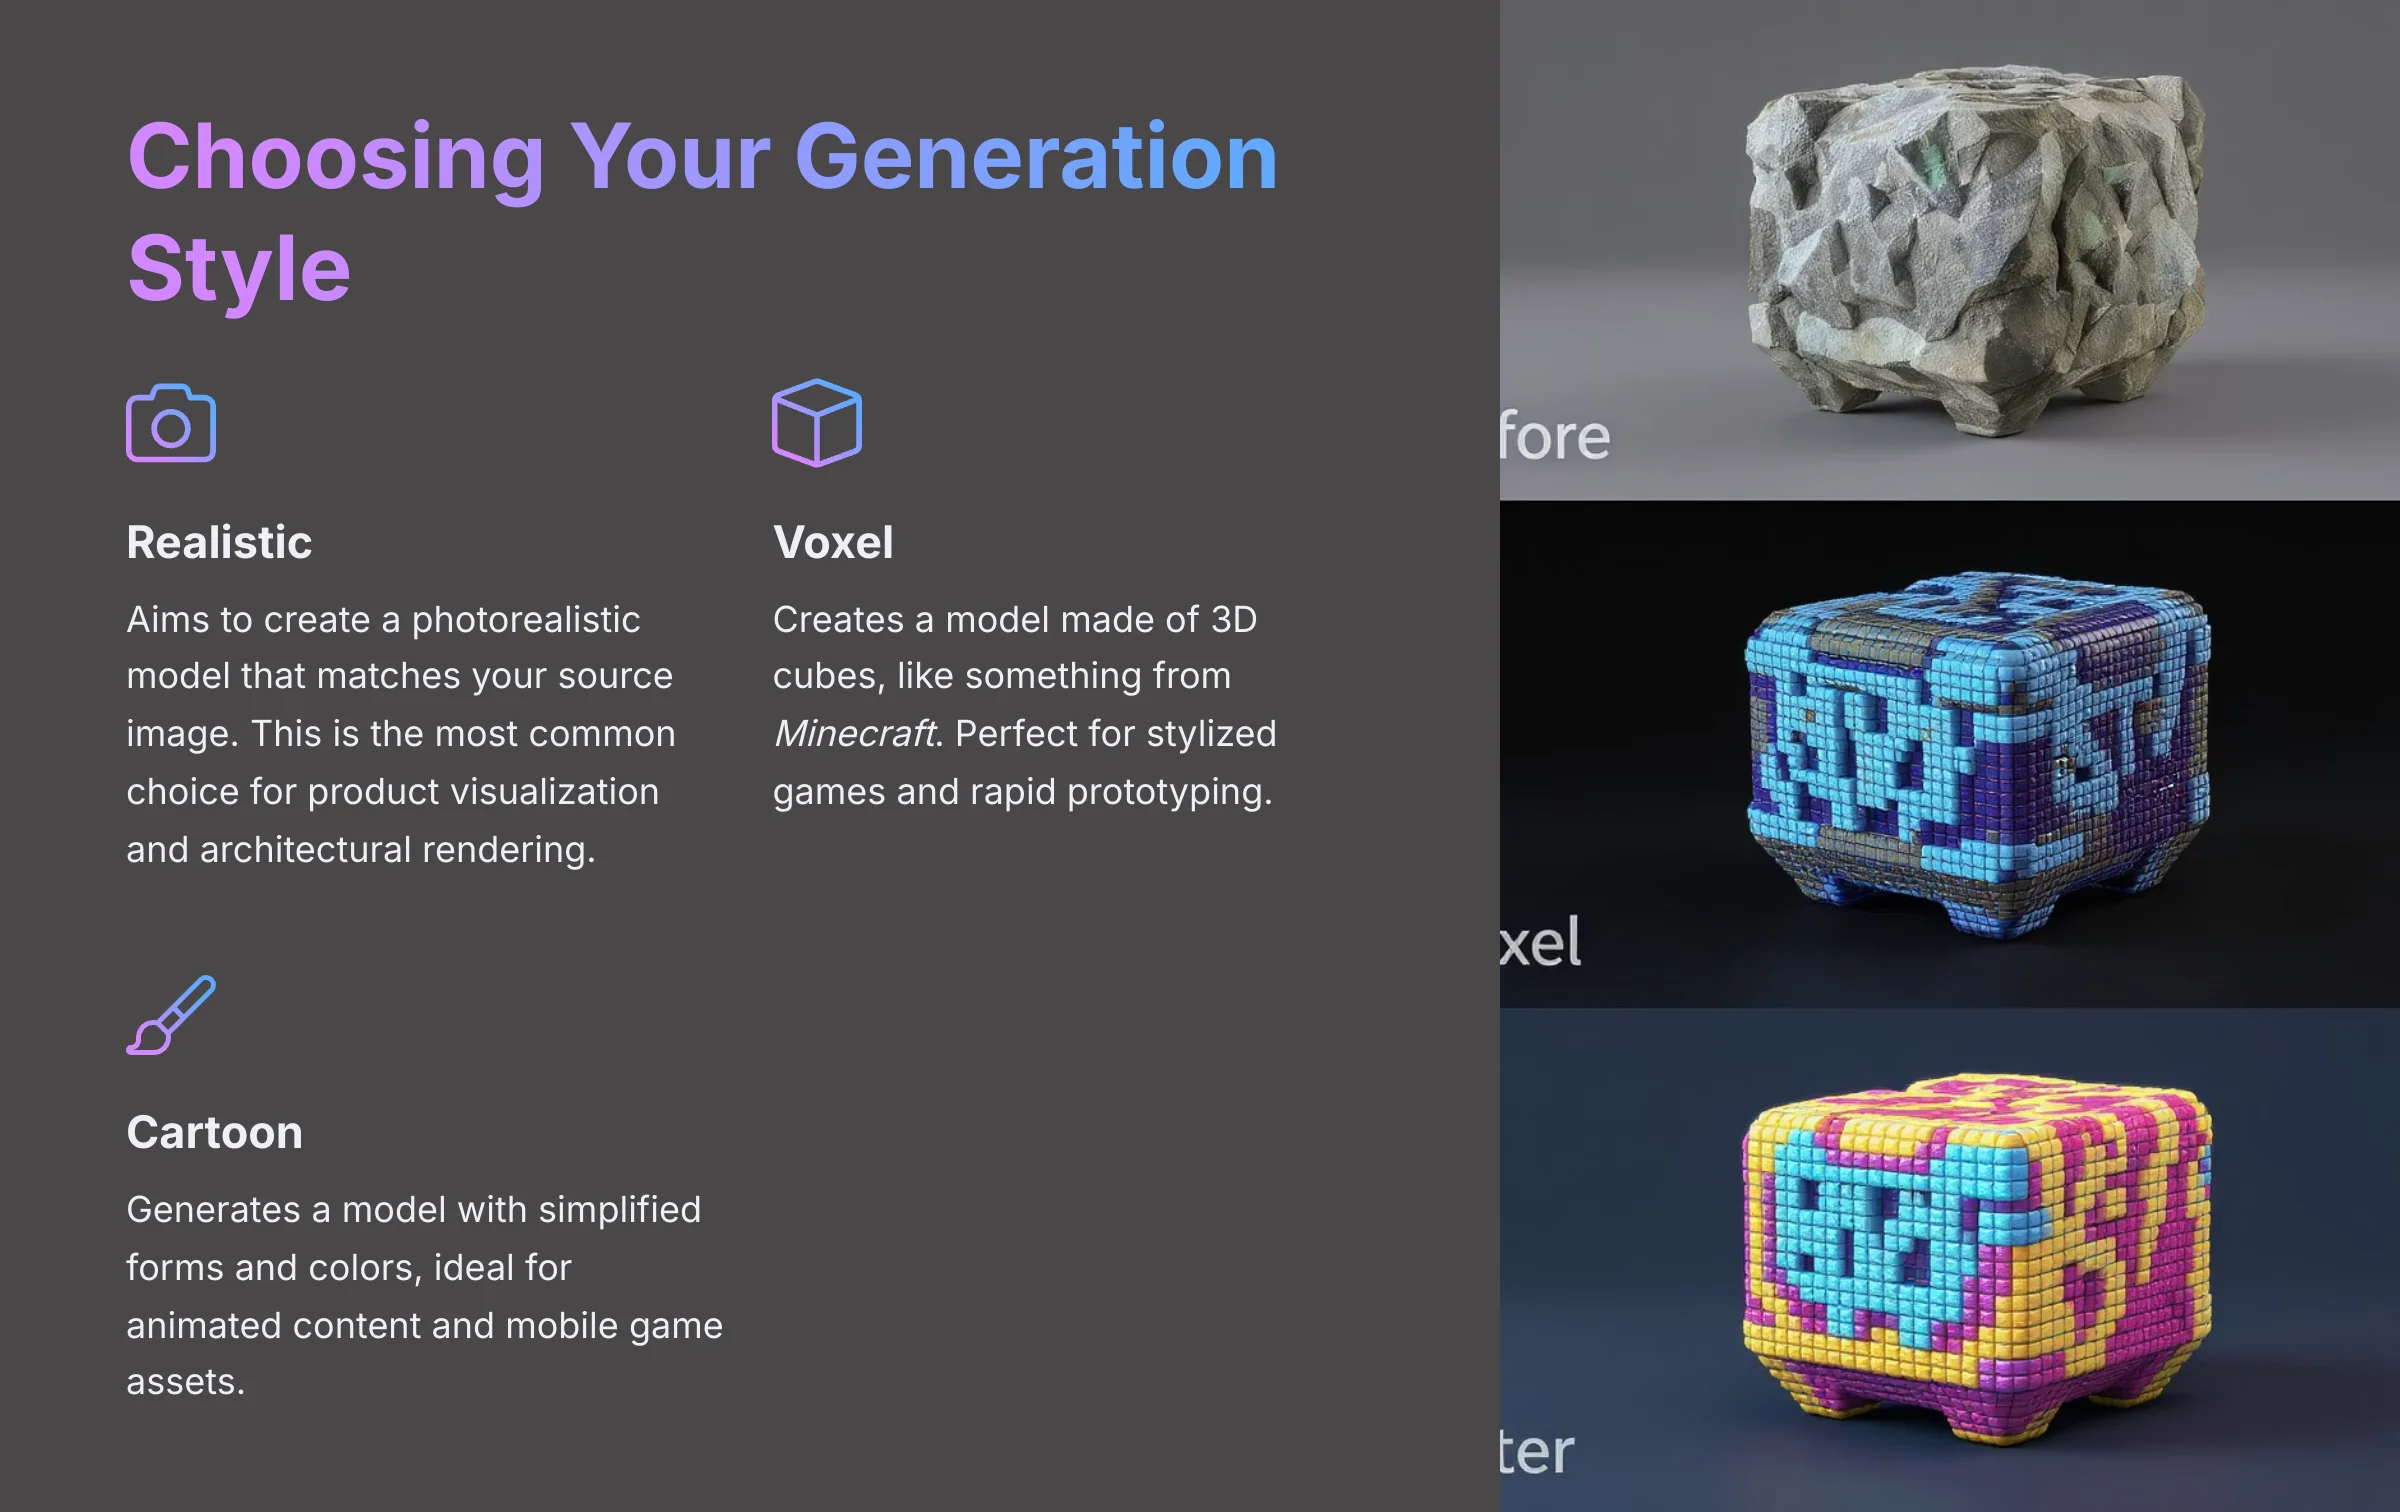
Meshy offers several different artistic styles for the output, each optimized for specific use cases:
- Realistic: Aims to create a photorealistic model that matches your source image. This is the most common choice for product visualization and architectural rendering.
- Voxel: Creates a model made of 3D cubes, like something from Minecraft. Perfect for stylized games and rapid prototyping.
- Cartoon: Generates a model with simplified forms and colors, ideal for animated content and mobile game assets.
The ‘Voxel' style isn't just for blocky aesthetics. I find it's a great diagnostic tool. It can quickly show you the overall volume and color distribution of an object, giving you information even if you plan to use a different final style.
The Speed vs. Quality Trade-Off
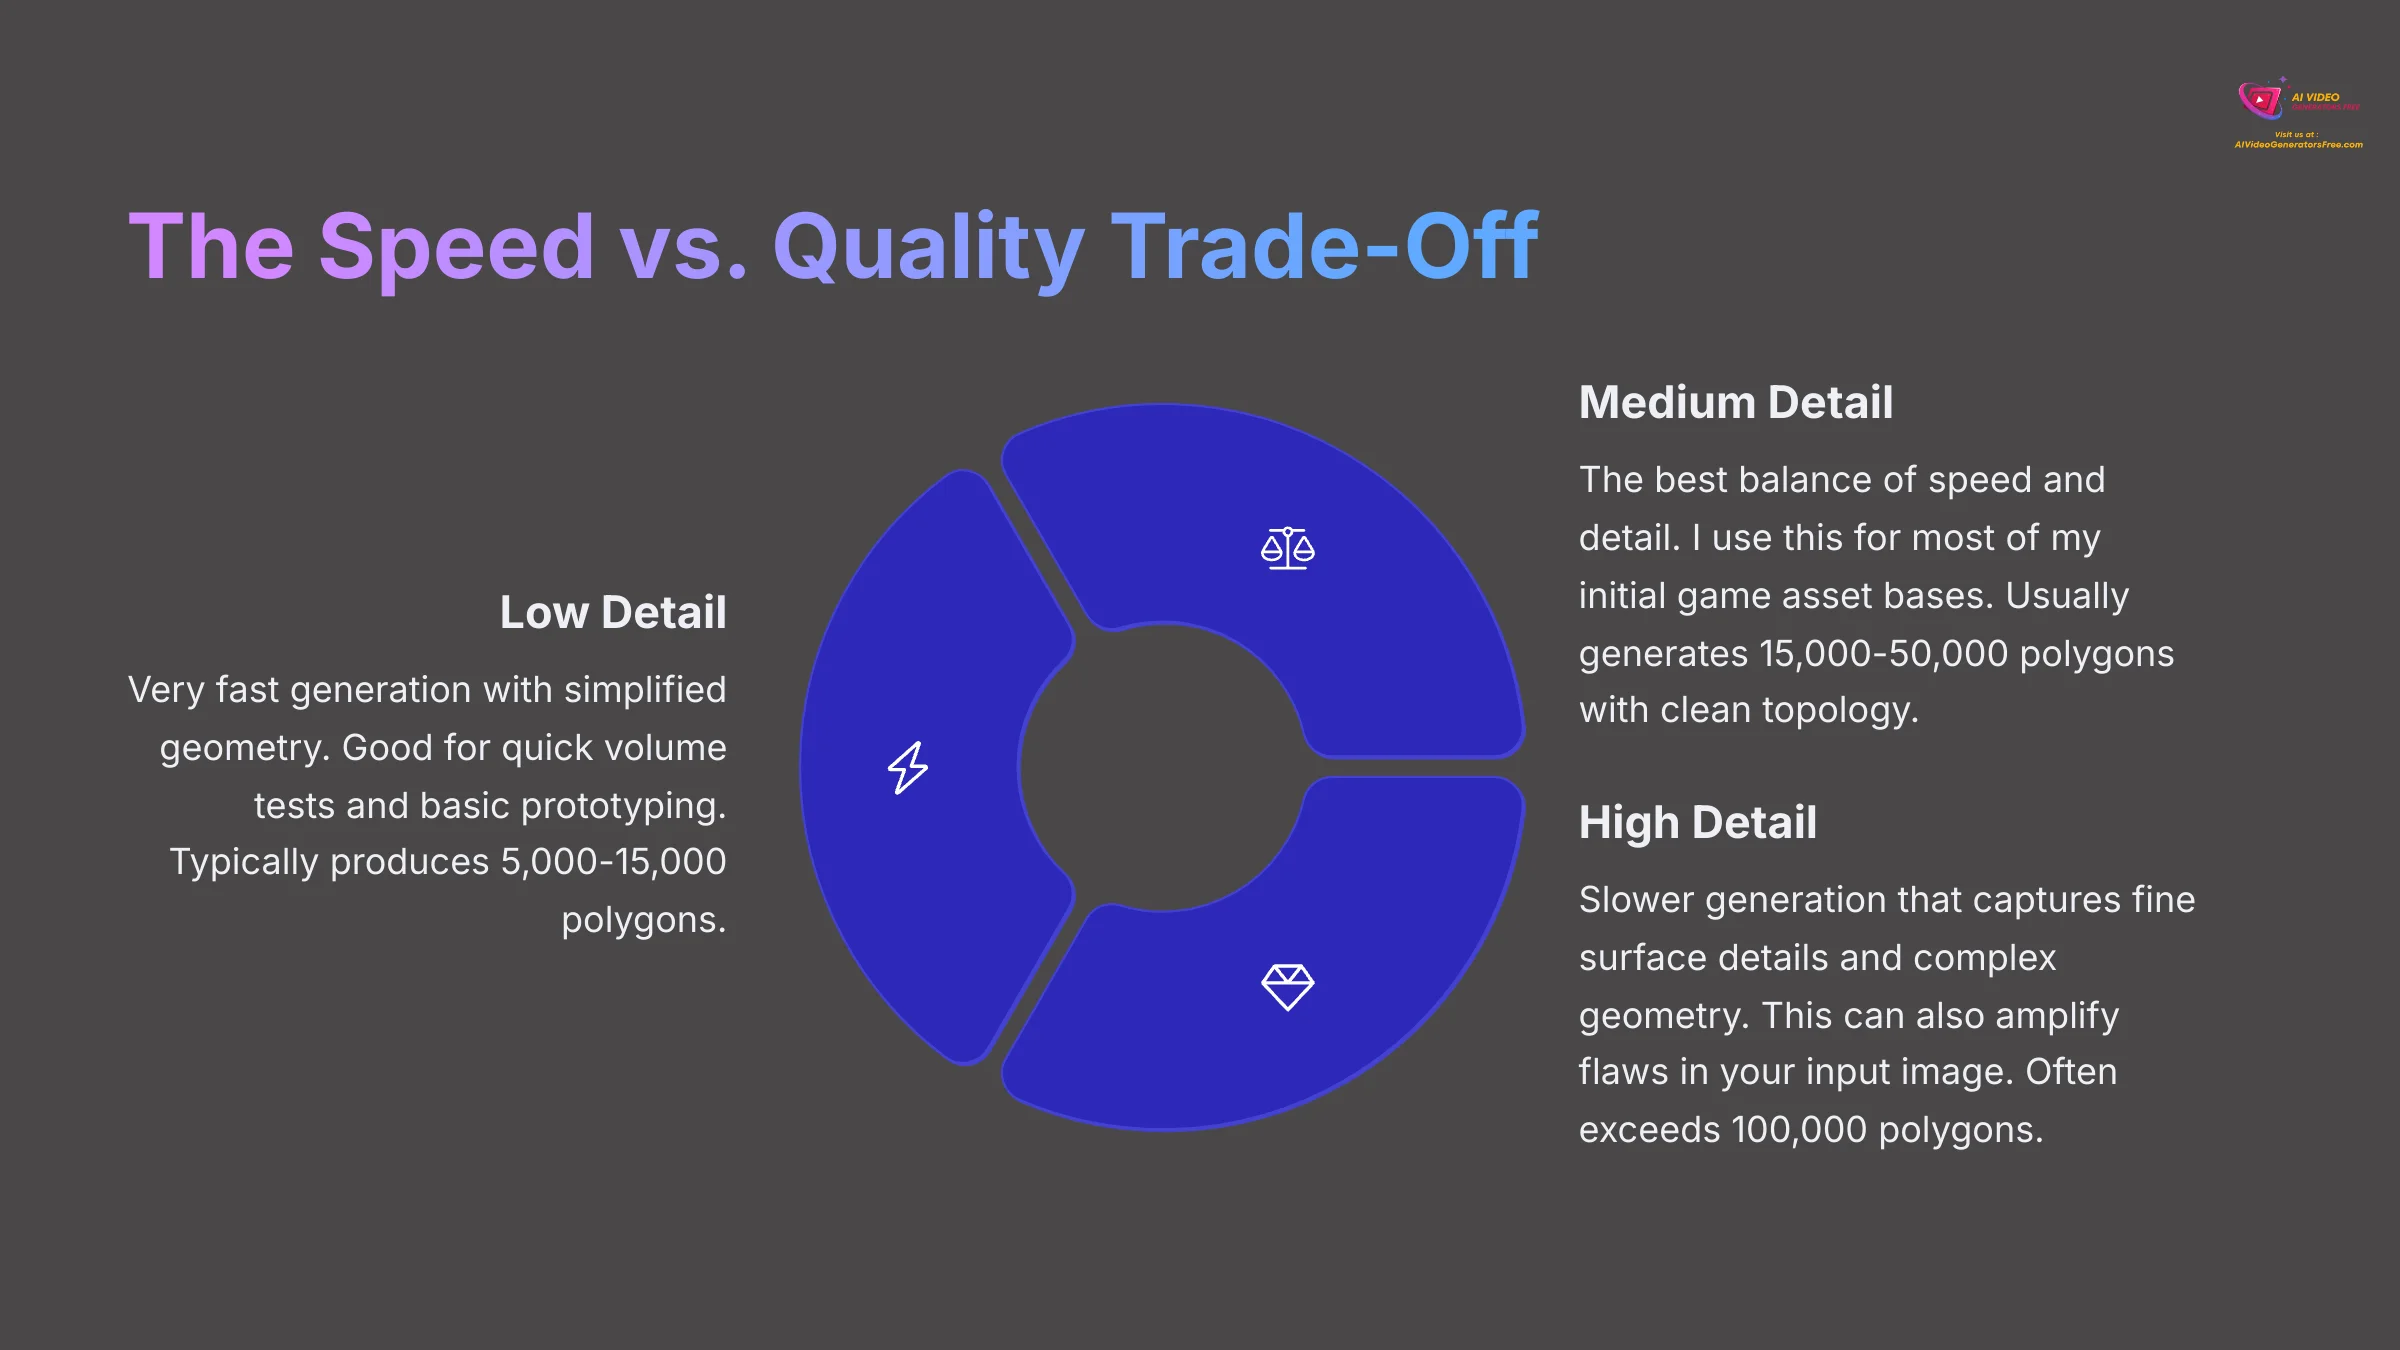
The ‘Geometry Detail' setting controls the polygon count and surface complexity of your generated mesh:
- Low: Very fast generation with simplified geometry. Good for quick volume tests and basic prototyping. Typically produces 5,000-15,000 polygons.
- Medium: The best balance of speed and detail. I use this for most of my initial game asset bases. Usually generates 15,000-50,000 polygons with clean topology.
- High: Slower generation that captures fine surface details and complex geometry. This can also amplify flaws in your input image, so use it strategically. Often exceeds 100,000 polygons.
Understanding Meshy's Place in the AI Ecosystem
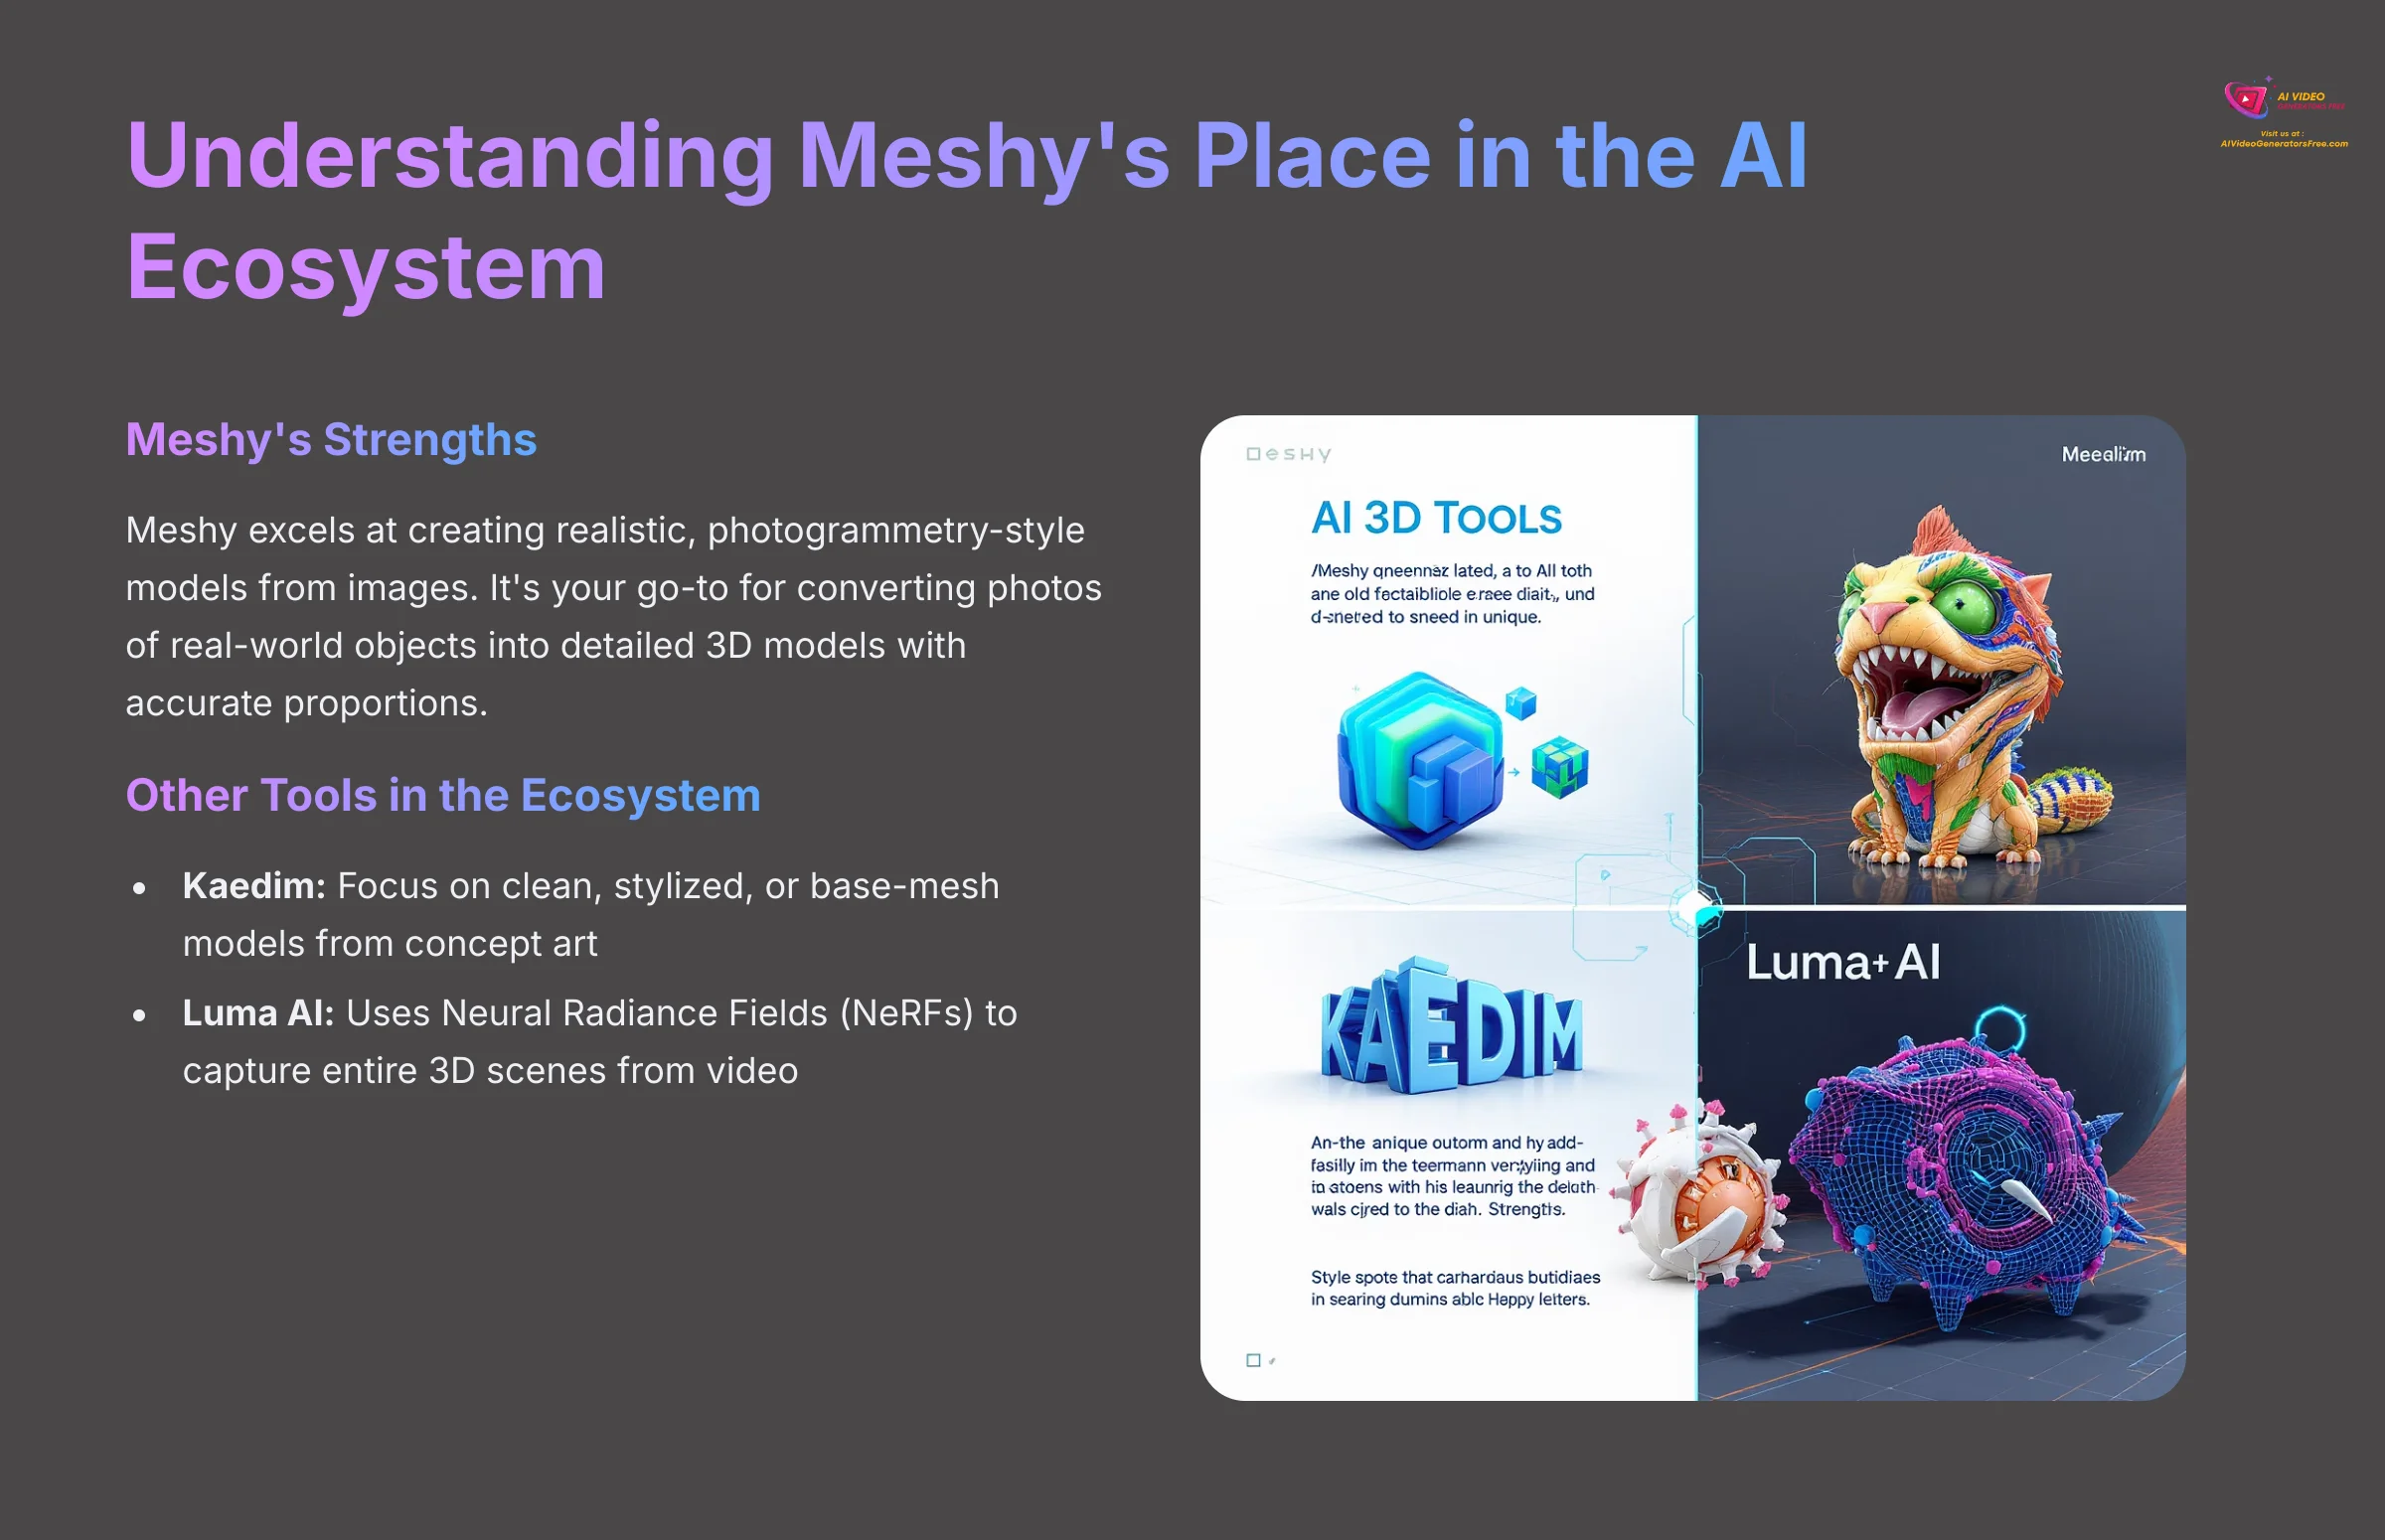
Meshy excels at creating realistic, photogrammetry-style models from images. It's important to know how it compares to other tools to use it effectively.
- For Photorealistic Assets (Meshy's Strength): Meshy is your go-to for converting photos of real-world objects into detailed 3D models with accurate proportions.
- For Stylized or Blockout Models: Tools like Kaedim often focus on creating clean, stylized, or base-mesh models from concept art with an emphasis on clean mesh topology.
- For Scene Capture (NeRFs): Tools like Luma AI use a different technology called Neural Radiance Fields (NeRFs) to capture entire 3D scenes from video, which is a different use case than Meshy's single-object generation.
Knowing this helps you choose the right tool for the job. For this tutorial's goal—turning a single image into a refinable 3D asset—Meshy is a top-tier choice.
Parameter Recipe Guide
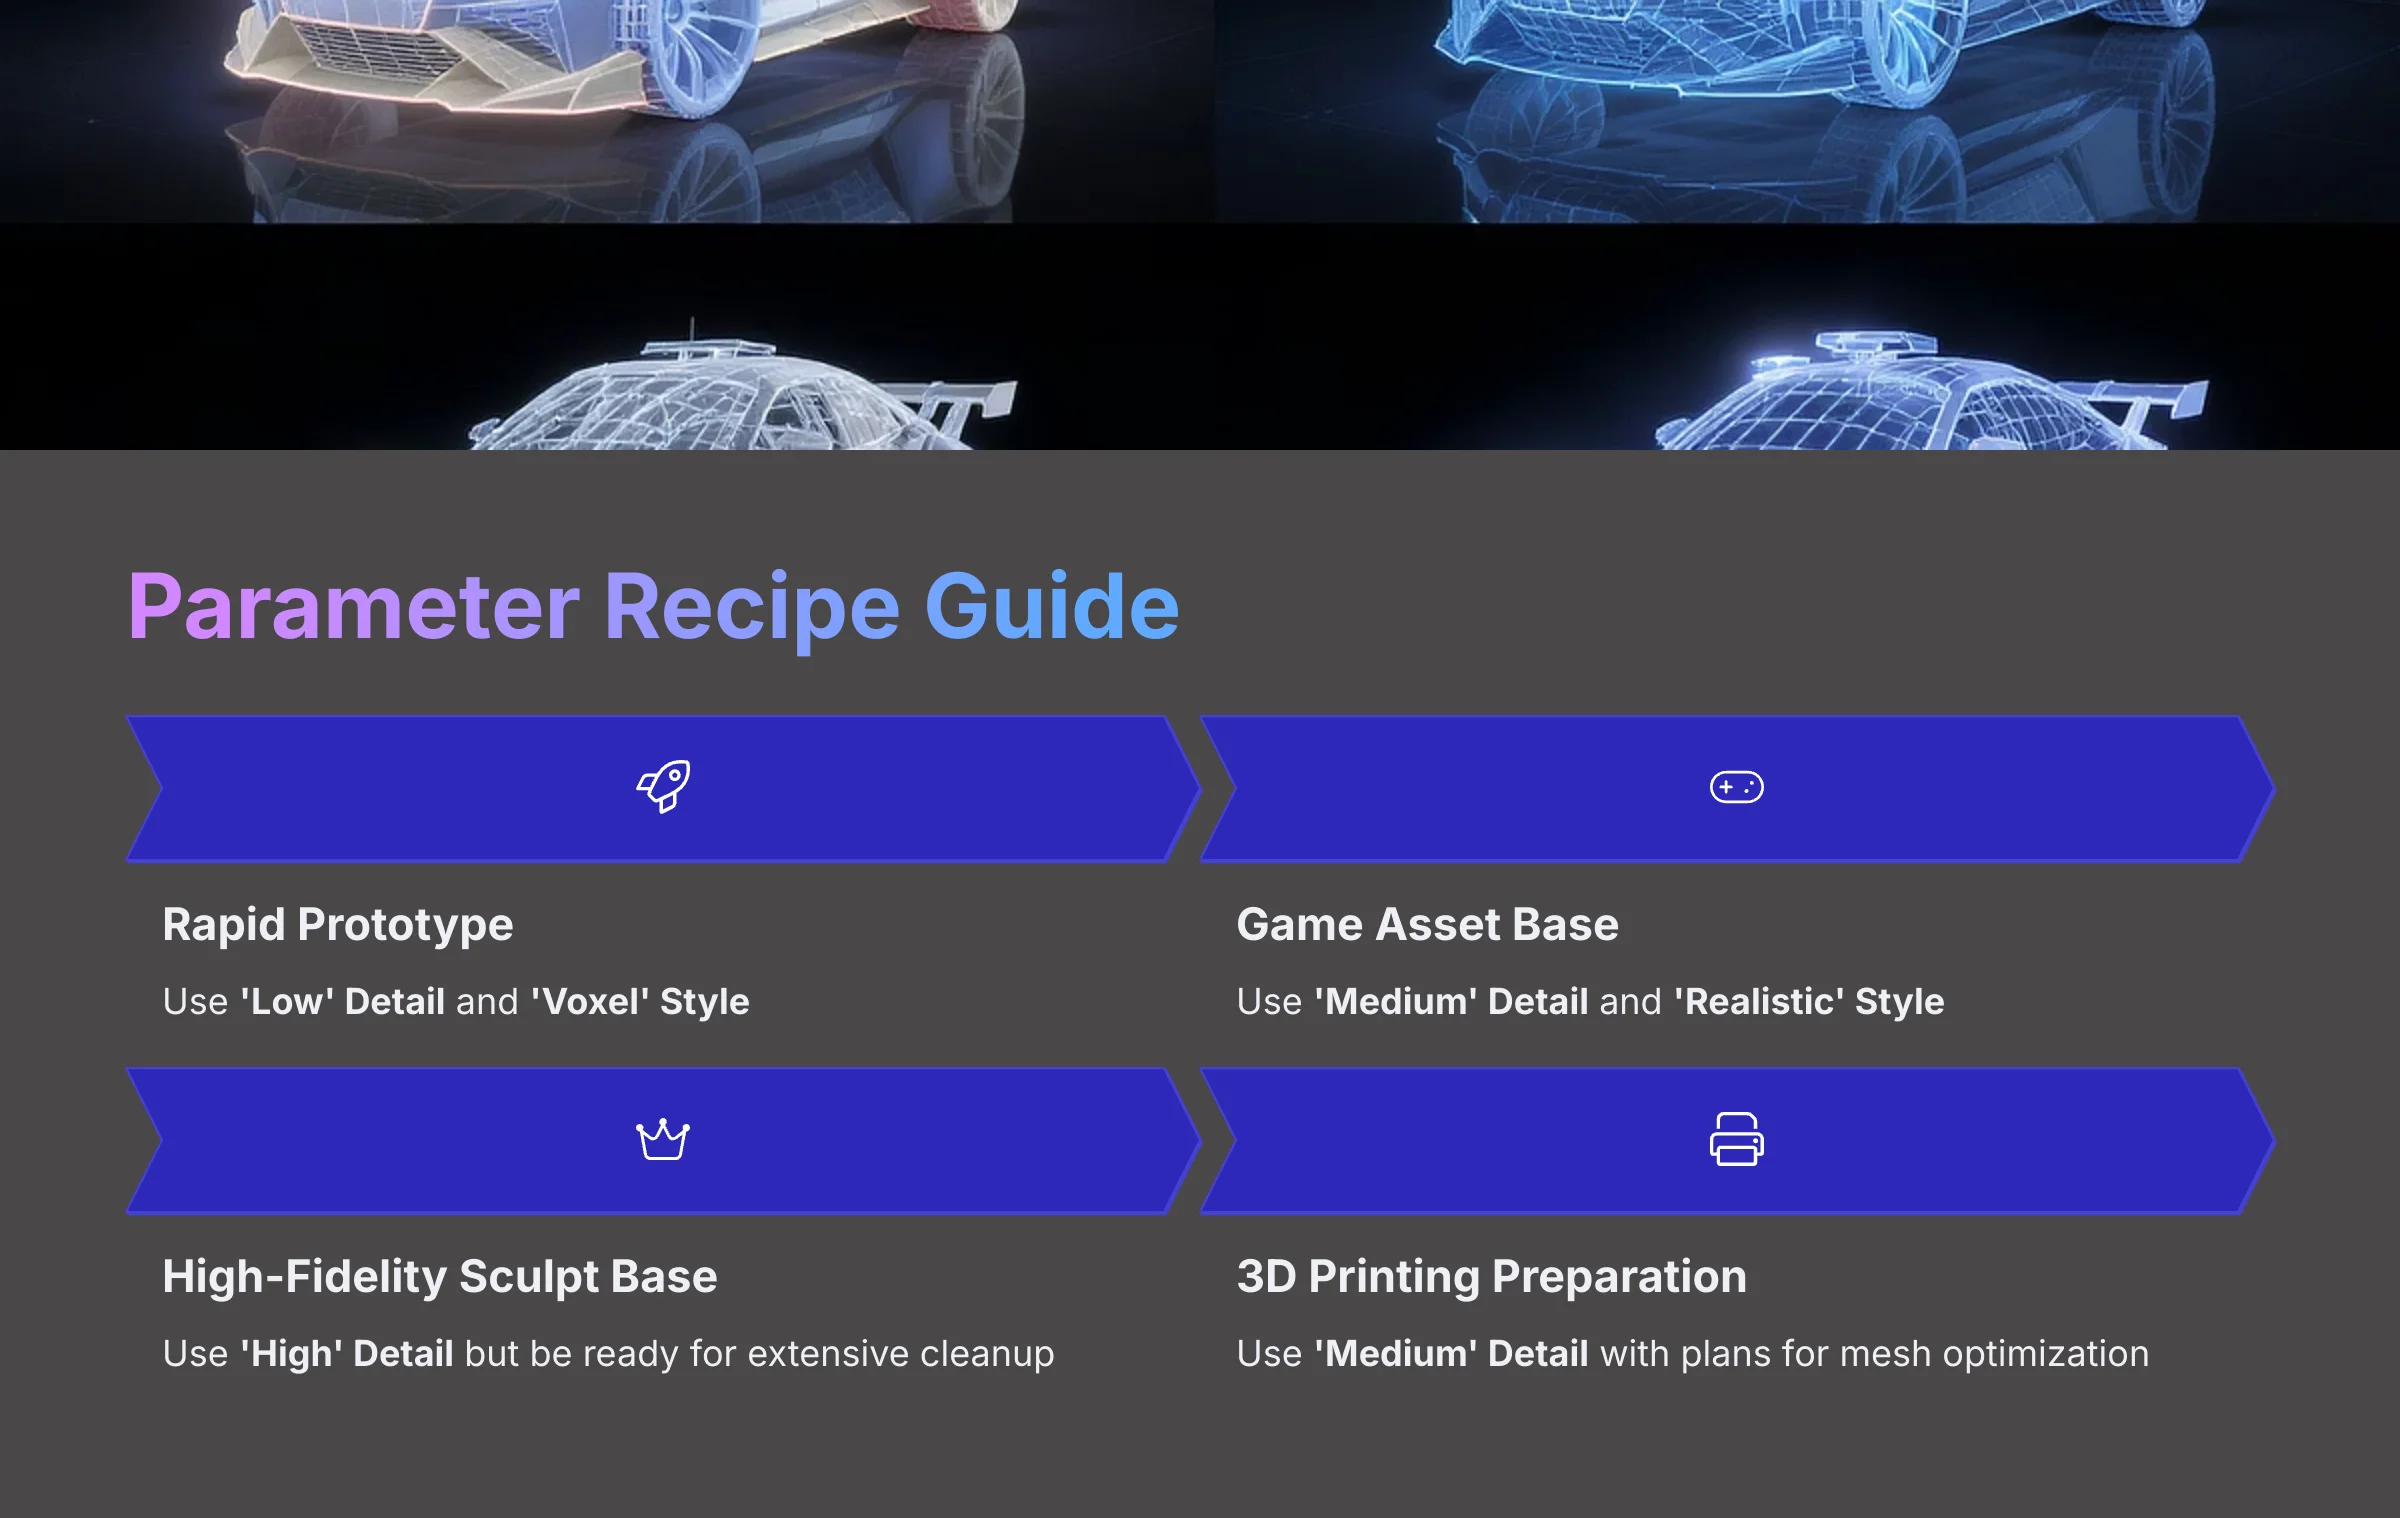
Here are some simple “recipes” for common goals:
- For a Rapid Prototype → Use ‘Low' Detail and ‘Voxel' Style
- For a Game Asset Base → Use ‘Medium' Detail and ‘Realistic' Style
- For a High-Fidelity Sculpt Base → Use ‘High' Detail but be ready for extensive cleanup
- For 3D Printing Preparation → Use ‘Medium' Detail with plans for mesh optimization
Warning: Do not assume ‘High' detail is always ‘better.' For images with subtle imperfections, the high setting can magnify those flaws, creating a more complex and difficult-to-clean mesh. Use it strategically, not as a default.
Troubleshooting Common Issues: From “Melted” Models to Blurry Textures
After working with this technology for hundreds of hours, I can tell you that almost all user complaints fall into just a few categories. If you master image prep and basic Blender cleanup, you have already solved nearly every problem you are likely to encounter. This section acts as a quick reference guide to diagnose common problems and points you to the right solution.
Now that you know how to direct the AI with these settings, you're ready to tackle the most common issues that pop up. Let's look at how to diagnose and fix them.
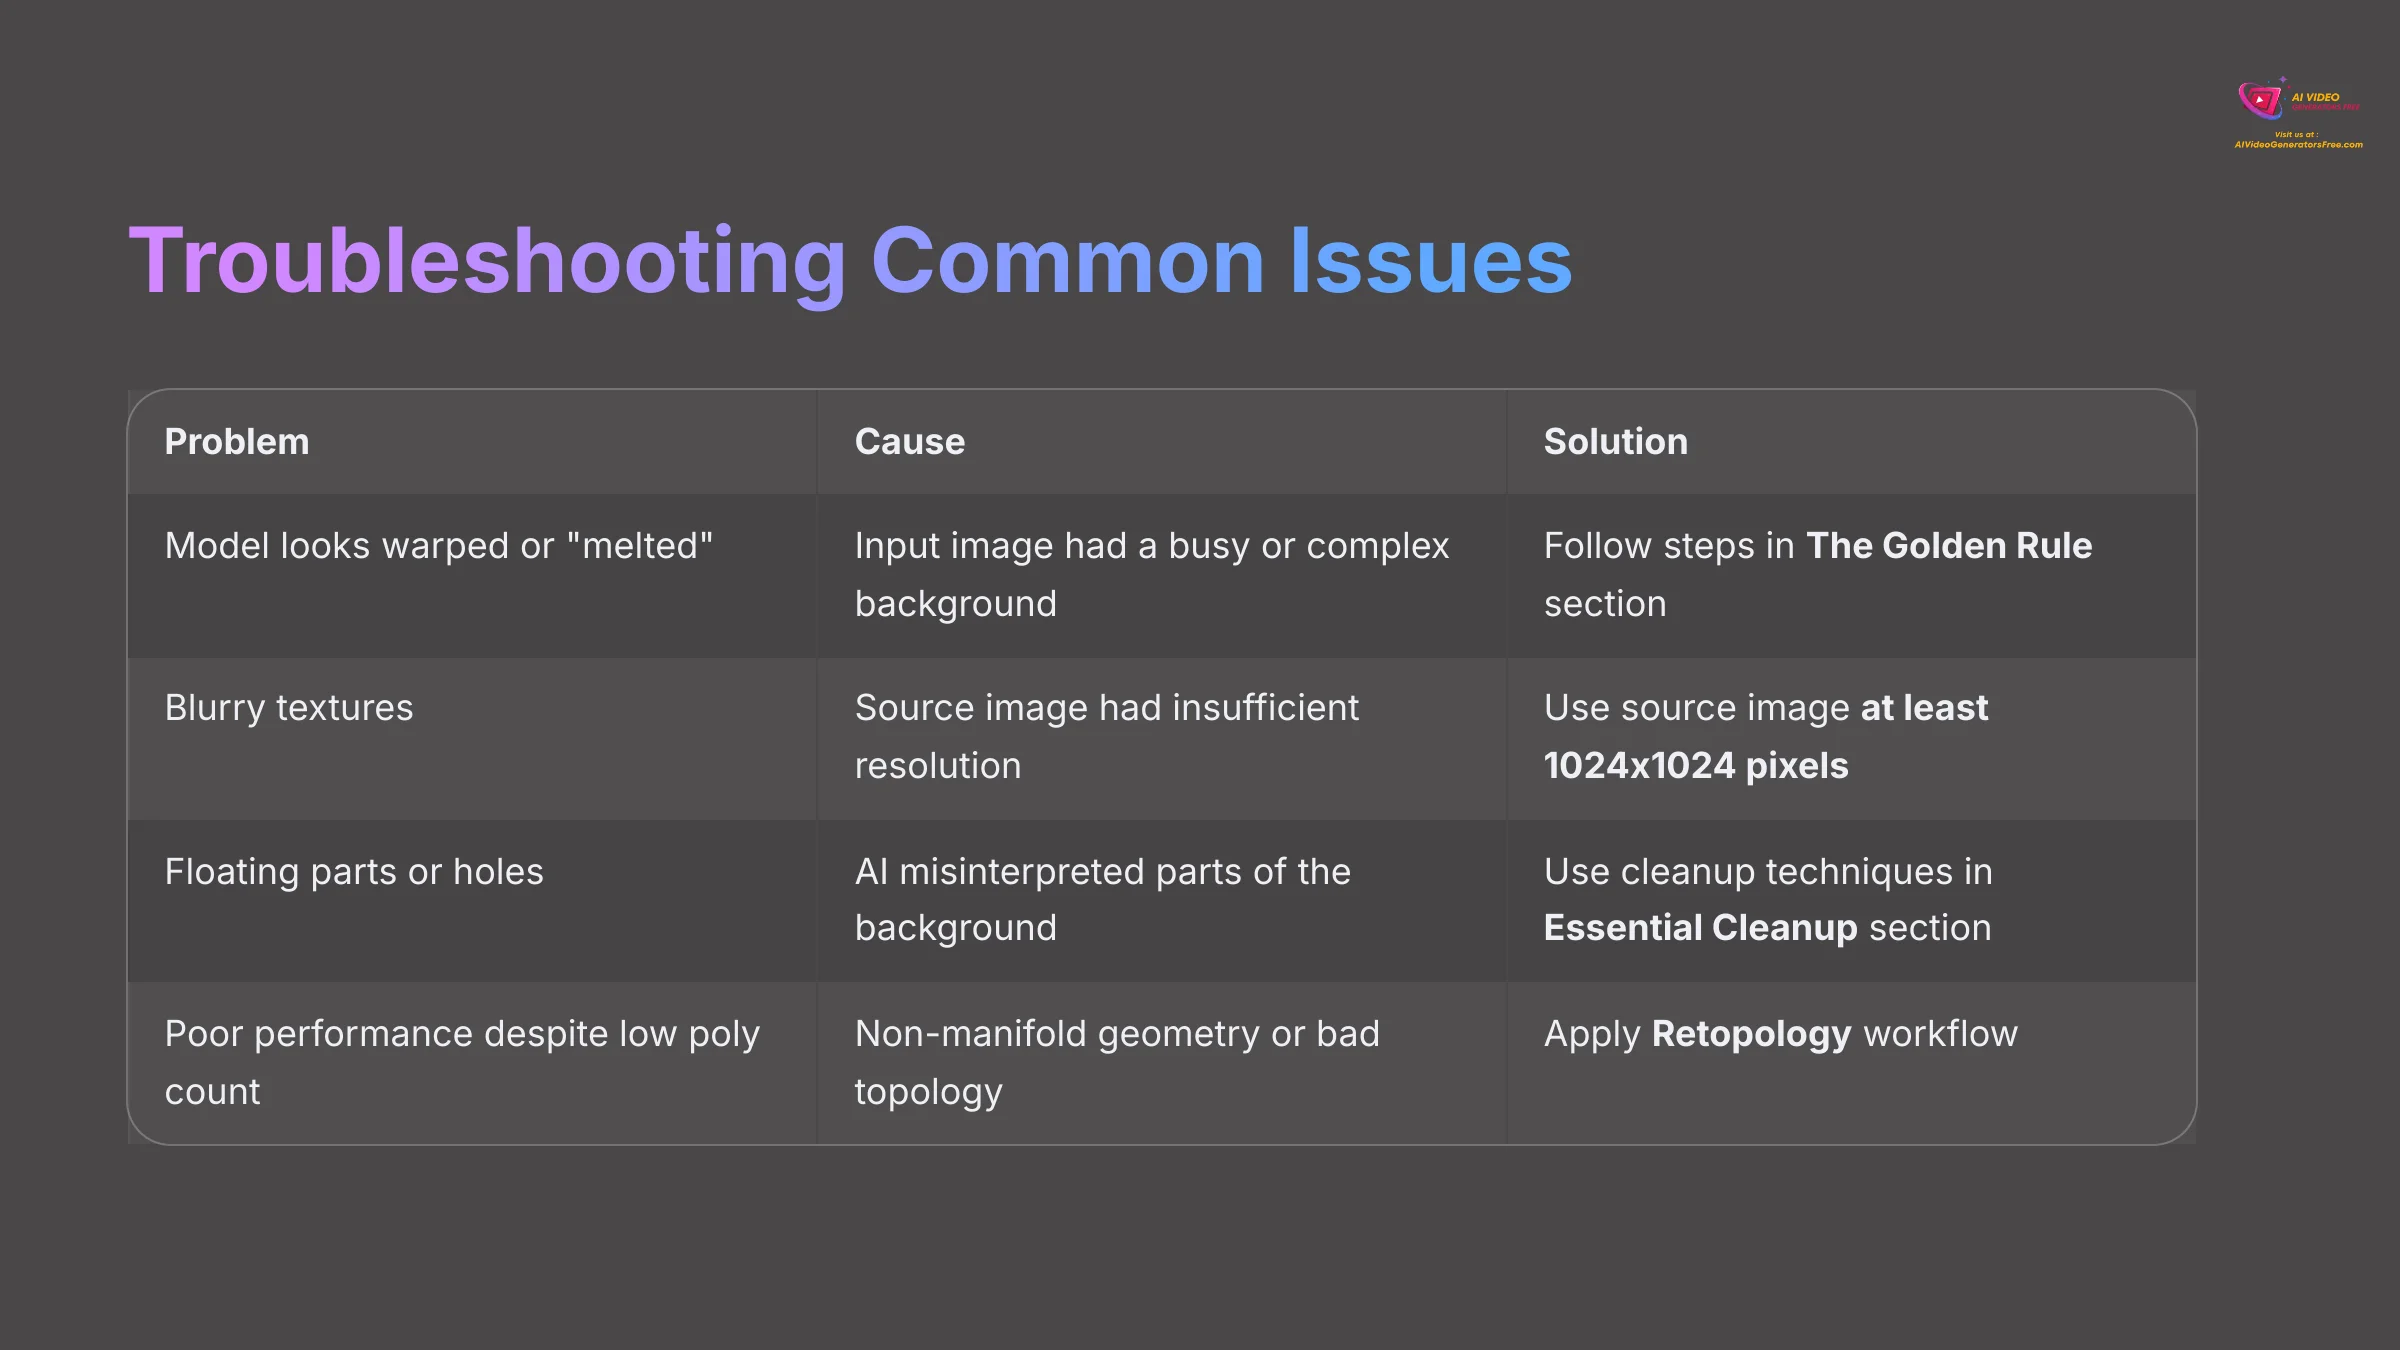
| Problem | Cause | Solution |
|---|---|---|
| My model looks warped or “melted.” | The input image had a busy or complex background. | Go back and follow the steps in The Golden Rule section. |
| The textures on my model are blurry. | The source image had insufficient resolution or compression artifacts. | Use a source image that is at least 1024×1024 pixels and save as PNG. |
| My model has floating parts or holes. | The AI misinterpreted parts of the background or transparency. | Use the cleanup techniques in the upcoming Essential Cleanup section. |
| Low polygon count but poor performance. | The mesh has non-manifold geometry or bad topology. | Apply Retopology workflow for clean, game-ready geometry. |
The Essential Cleanup: A Professional's Post-Processing Workflow in Blender
Welcome to the part of the process where you, the artist, take back control from the AI. The AI is a powerful assistant that gives you a lump of digital clay, but it is in Blender that you turn it into a real sculpture. Learning these few simple tools is what separates a casual user from a professional.
This cleanup phase is where we fix the problems identified in the troubleshooting section. Deleting floating geometry is like brushing away loose crumbs from a countertop. Using the Smooth brush is like gently sanding a rough piece of wood to make it perfect.
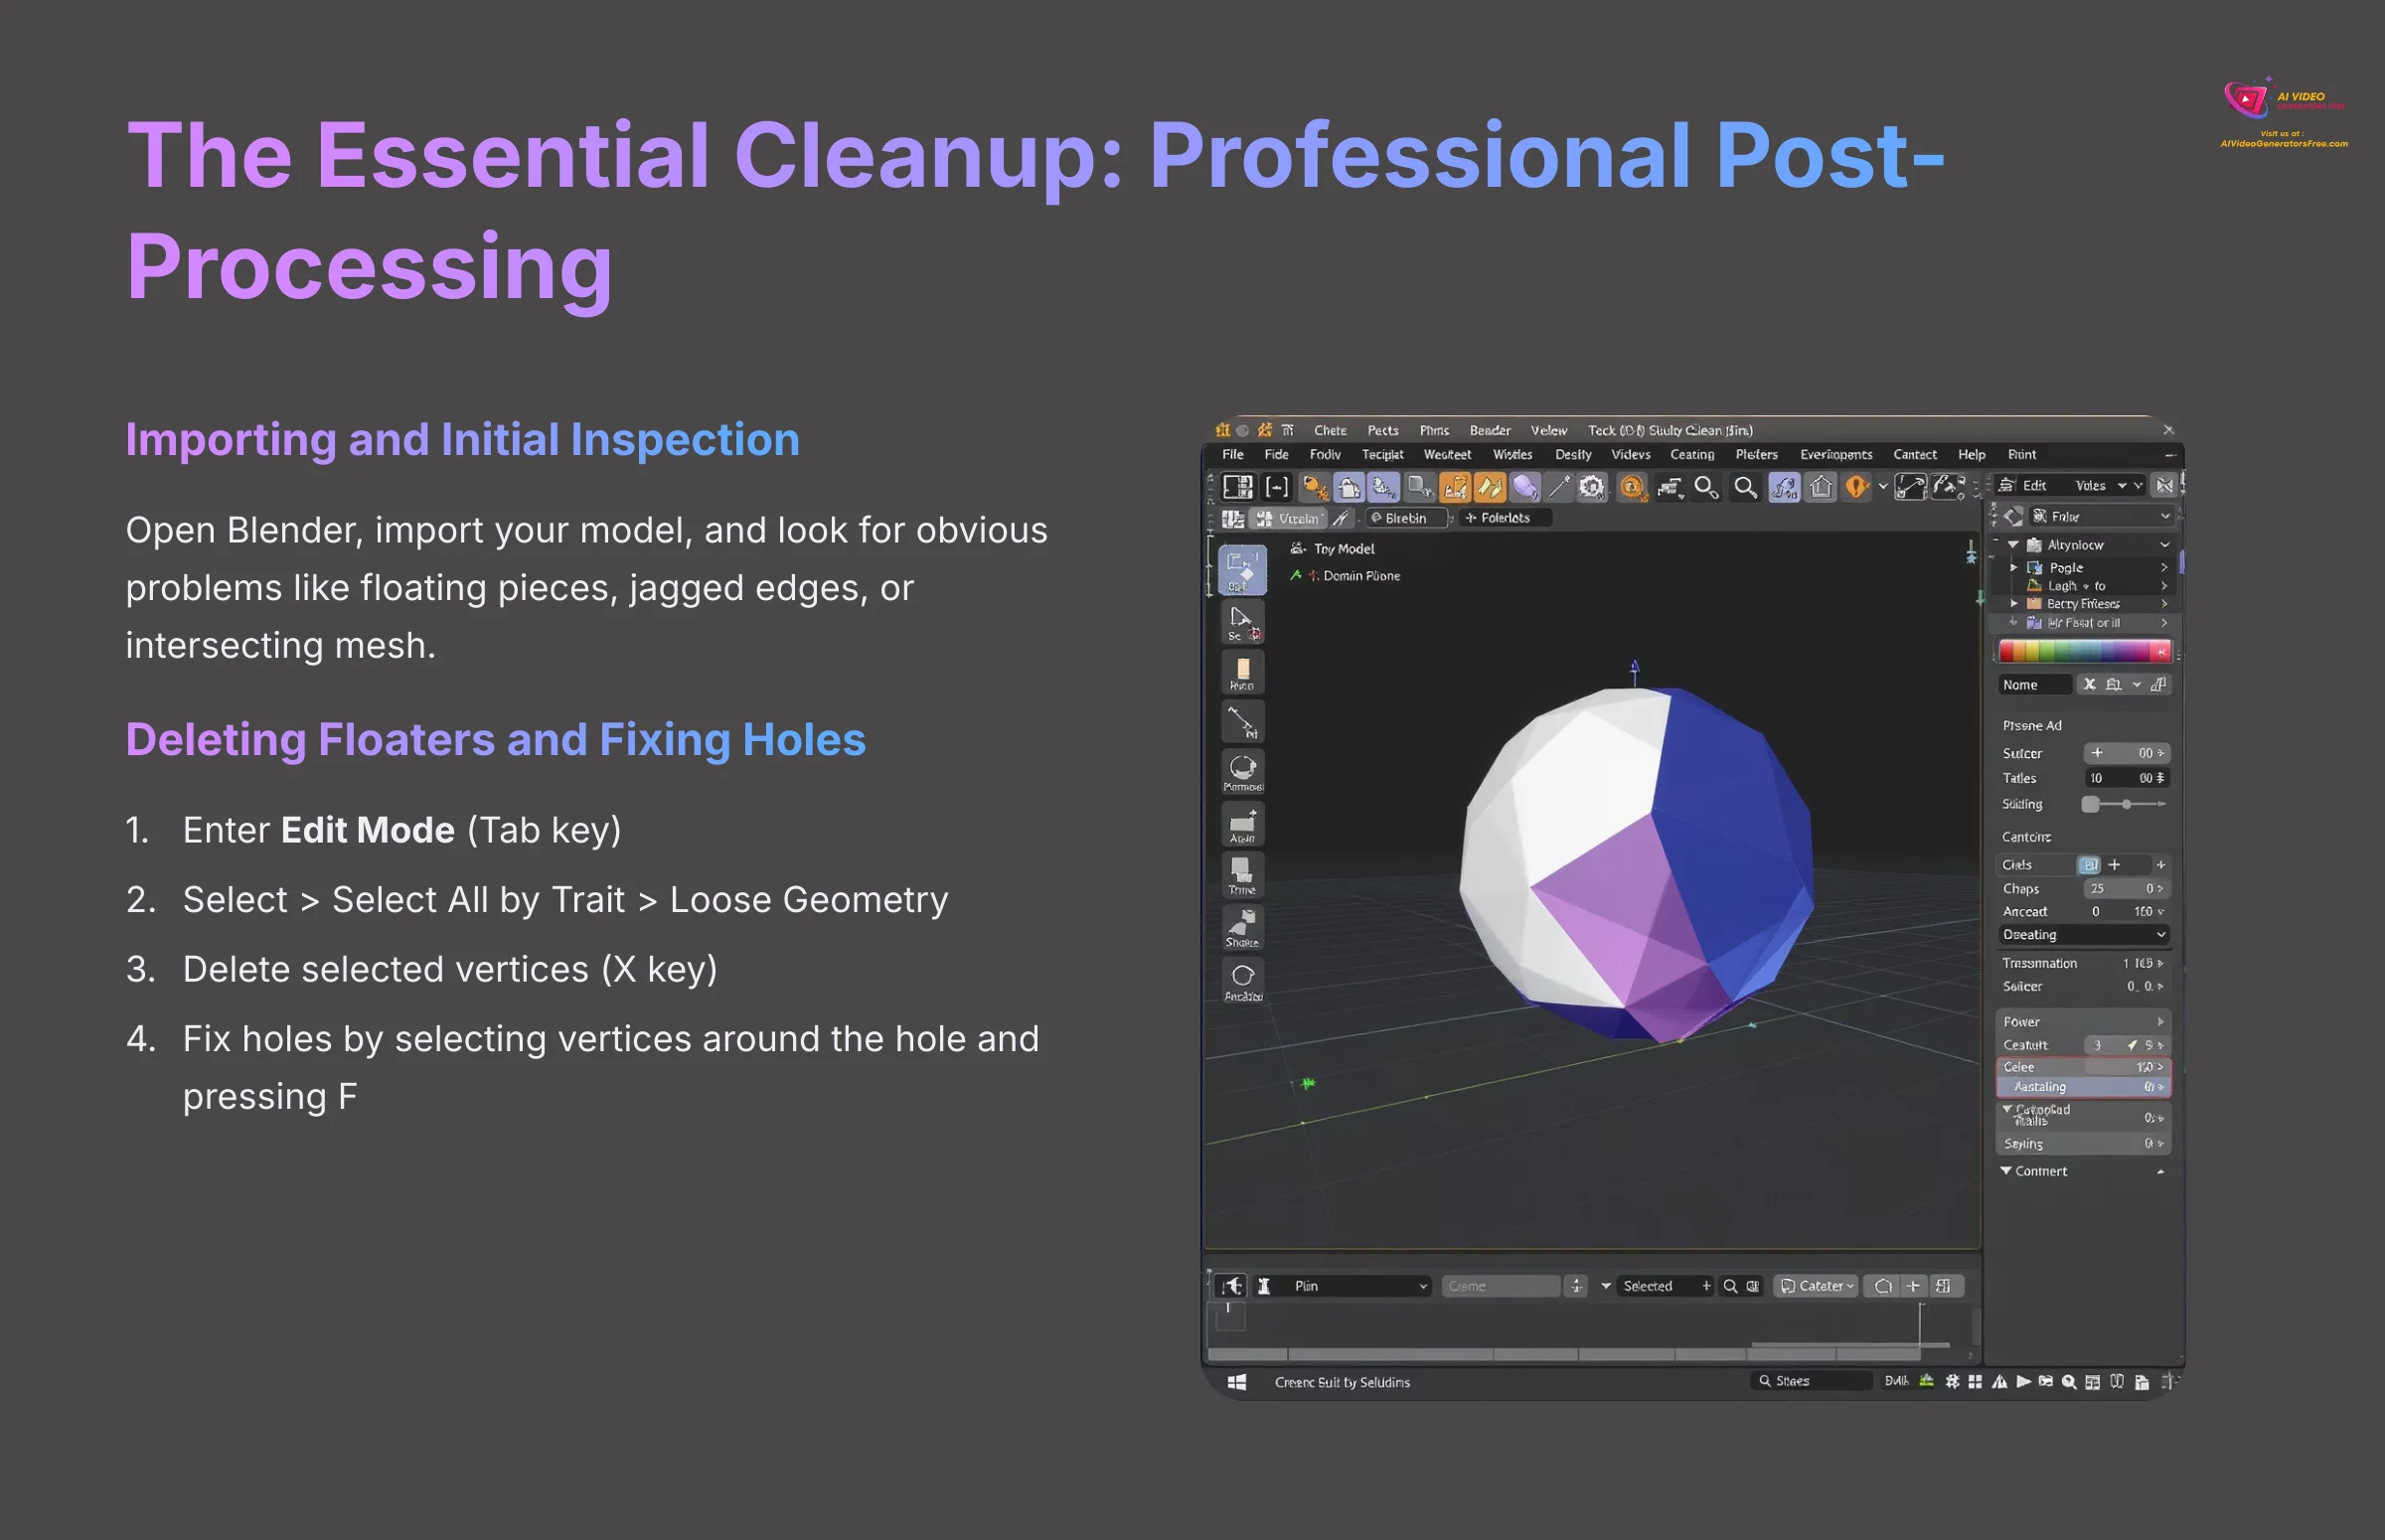
Importing and Initial Inspection
First, open Blender and start with a fresh scene. Go to File > Import and choose the format you exported, like FBX or OBJ. Use the middle mouse button to rotate your view and the scroll wheel to zoom. Look for any obvious problems like floating pieces, jagged edges, or areas where the mesh intersects itself.
Pay special attention to the overall mesh topology—this refers to how the polygons are arranged and connected. Good topology uses mostly quads (four-sided polygons) arranged in logical loops, while problematic topology often contains triangles in awkward places or non-manifold geometry (edges shared by more than two faces).
Deleting Floaters and Fixing Holes
Floating artifacts are the most common issue in AI-generated models. Luckily, there is a very fast way to fix this.
- Select your model and press the
Tabkey to enter Edit Mode. - Go to the menu at the top:
Select > Select All by Trait > Loose Geometry. - This command instantly finds all the floating garbage. With it selected, press the
Xkey and choose “Vertices” to delete it. This one trick will save you hours of manual searching. - To fix holes, select the vertices around the hole, then press the
Fkey to create a new face that fills it.
For more complex hole-filling, you can use Blender's Face > Grid Fill or Face > Beauty Fill options to create clean geometry patches.
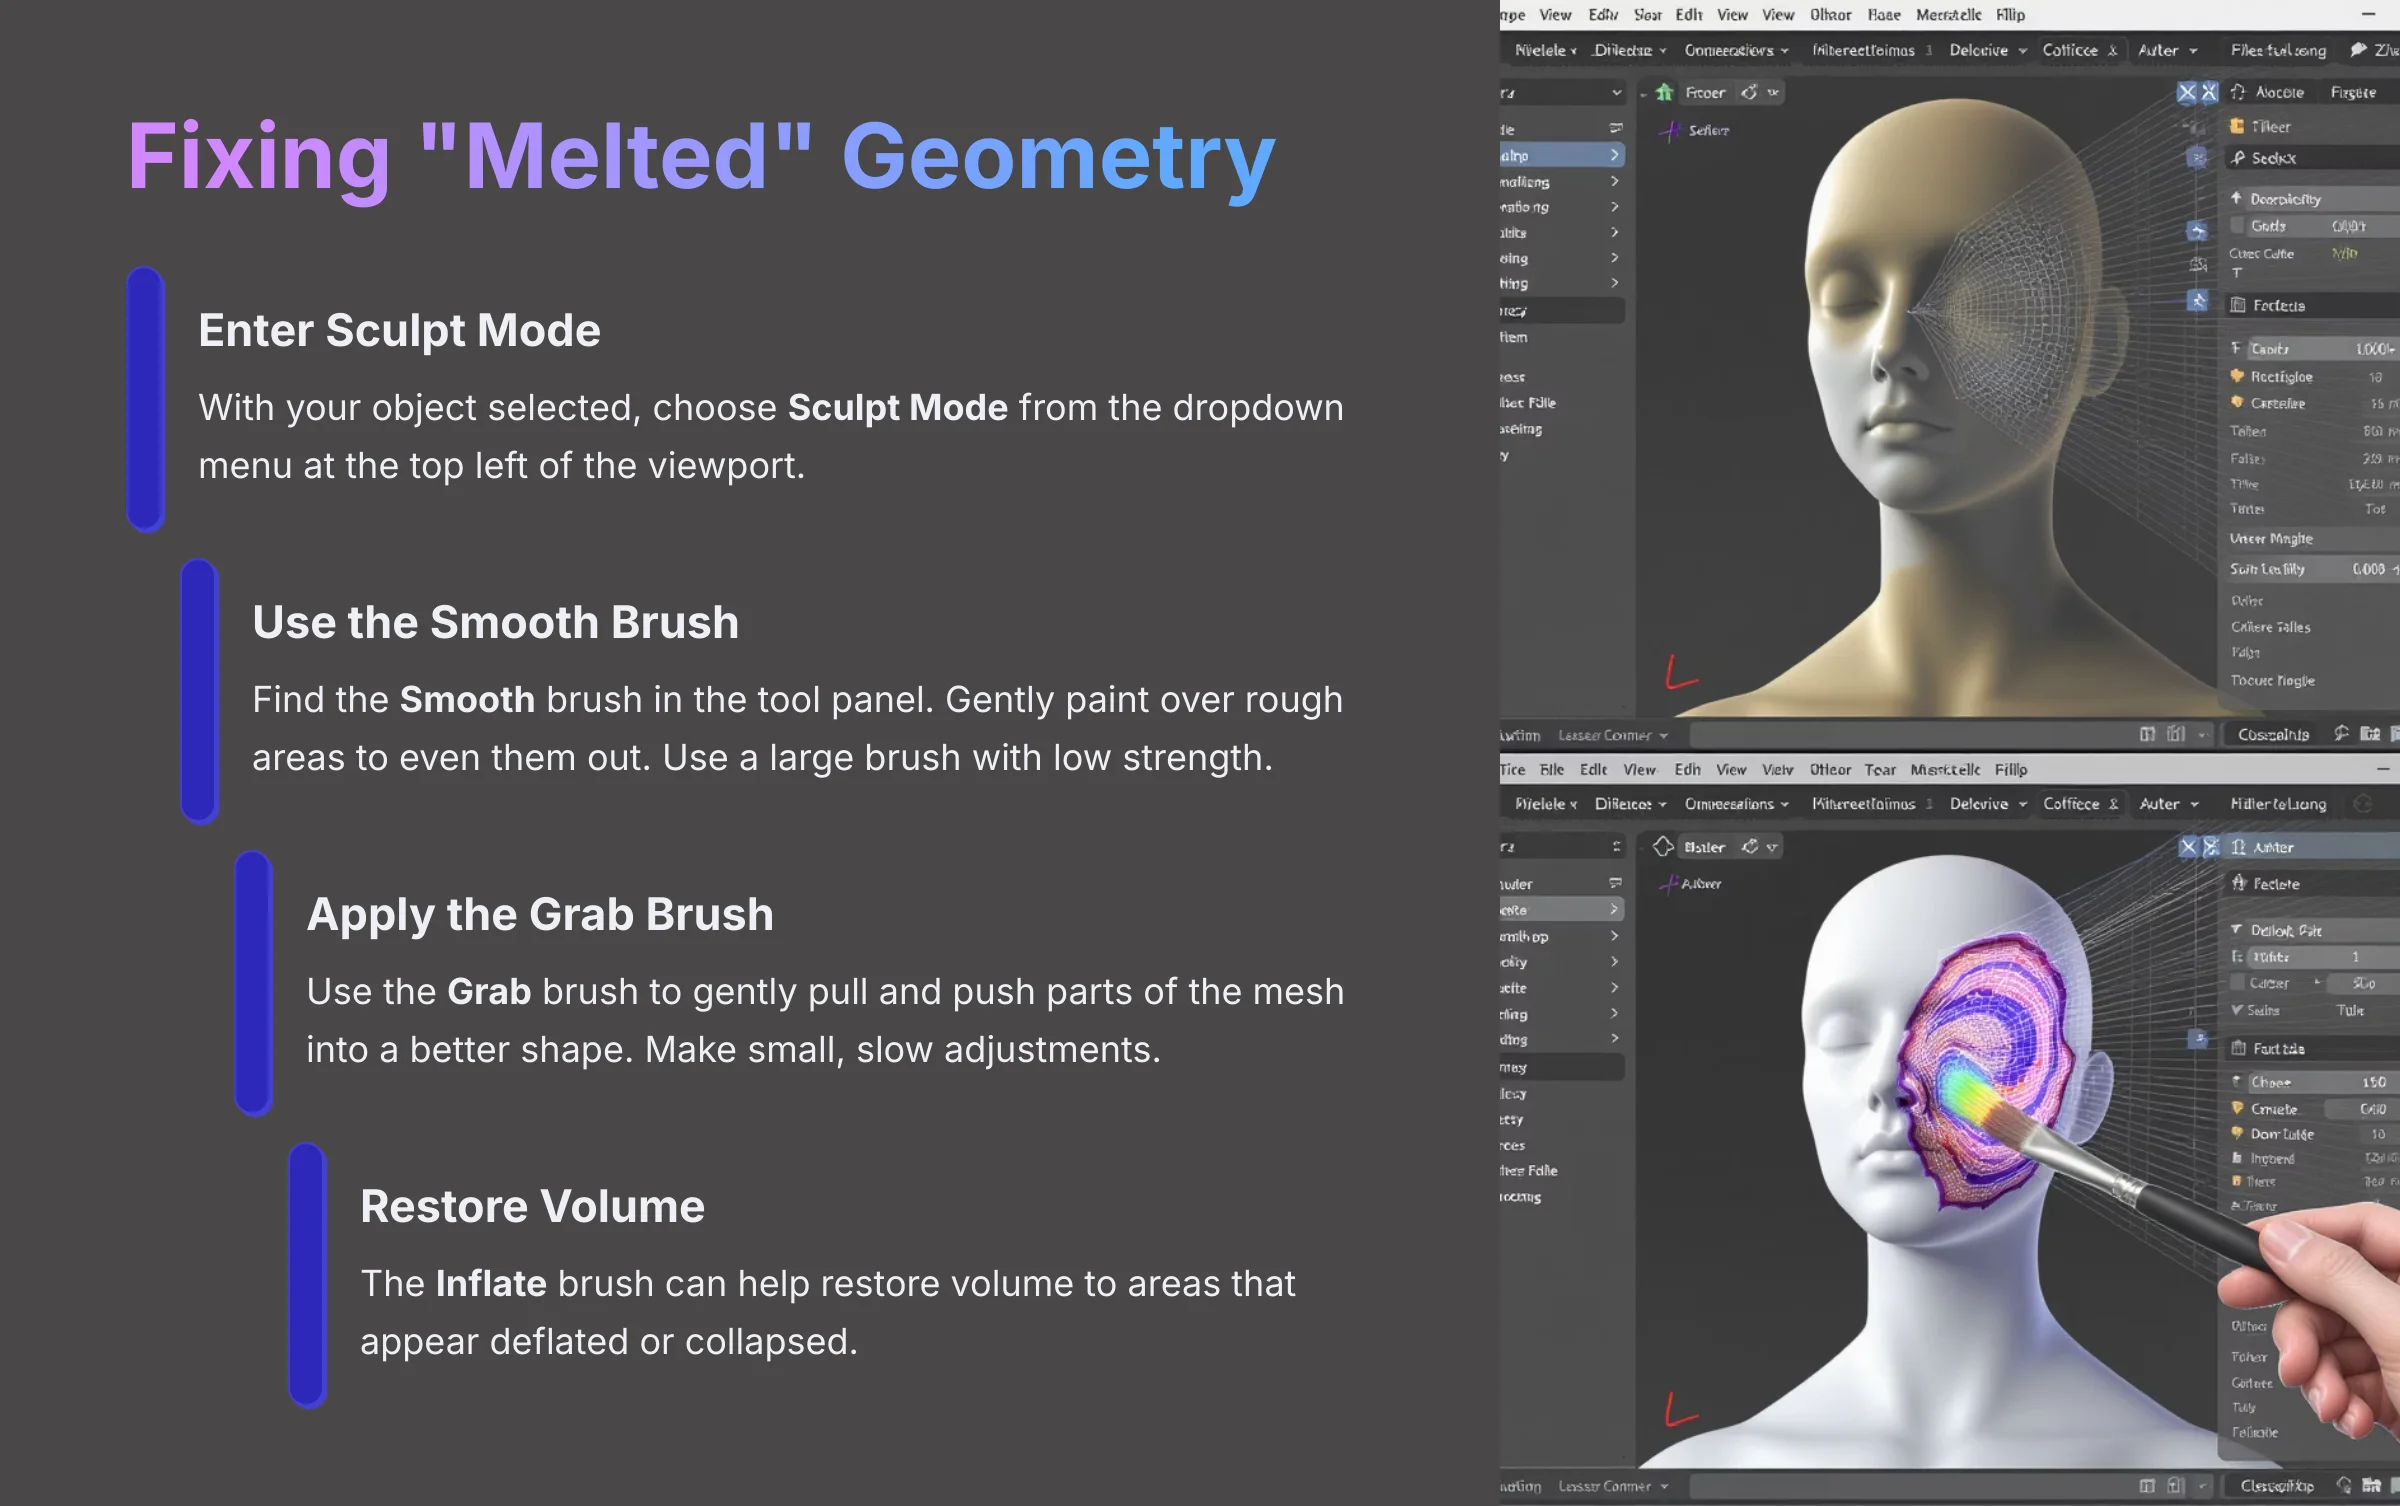
Fixing “Melted” Geometry
For warped or “melted” looking areas, we will switch to Blender's Sculpt Mode. Think of this as moving from technical point-pulling to artistic, brush-based shaping.
- With your object selected, choose Sculpt Mode from the dropdown menu at the top left of the viewport.
- Find the Smooth brush in the tool panel on the left. Gently paint over the rough areas to even them out. Use a large brush with low strength for subtle corrections.
- Use the Grab brush to gently pull and push parts of the mesh into a better shape. Make small, slow adjustments for the best results.
- The Inflate brush can help restore volume to areas that appear deflated or collapsed.
Warning: Know when to refine and when to restart. If a model is fundamentally broken and would need hours of resculpting, it is almost always faster to go back, improve your input image, and re-generate.
Advanced Professional Workflows for Game and Animation-Ready Assets
The true value of Meshy in a professional studio is not to create final assets in one click. It is to skip the first few hours of tedious “block-out” sculpting. Using the AI output as a high-quality starting point for a proper sculpting and retopology workflow is how you integrate this tool to genuinely speed up production.
These advanced workflows show how to make your cleaned-up model truly usable in a real-world project.
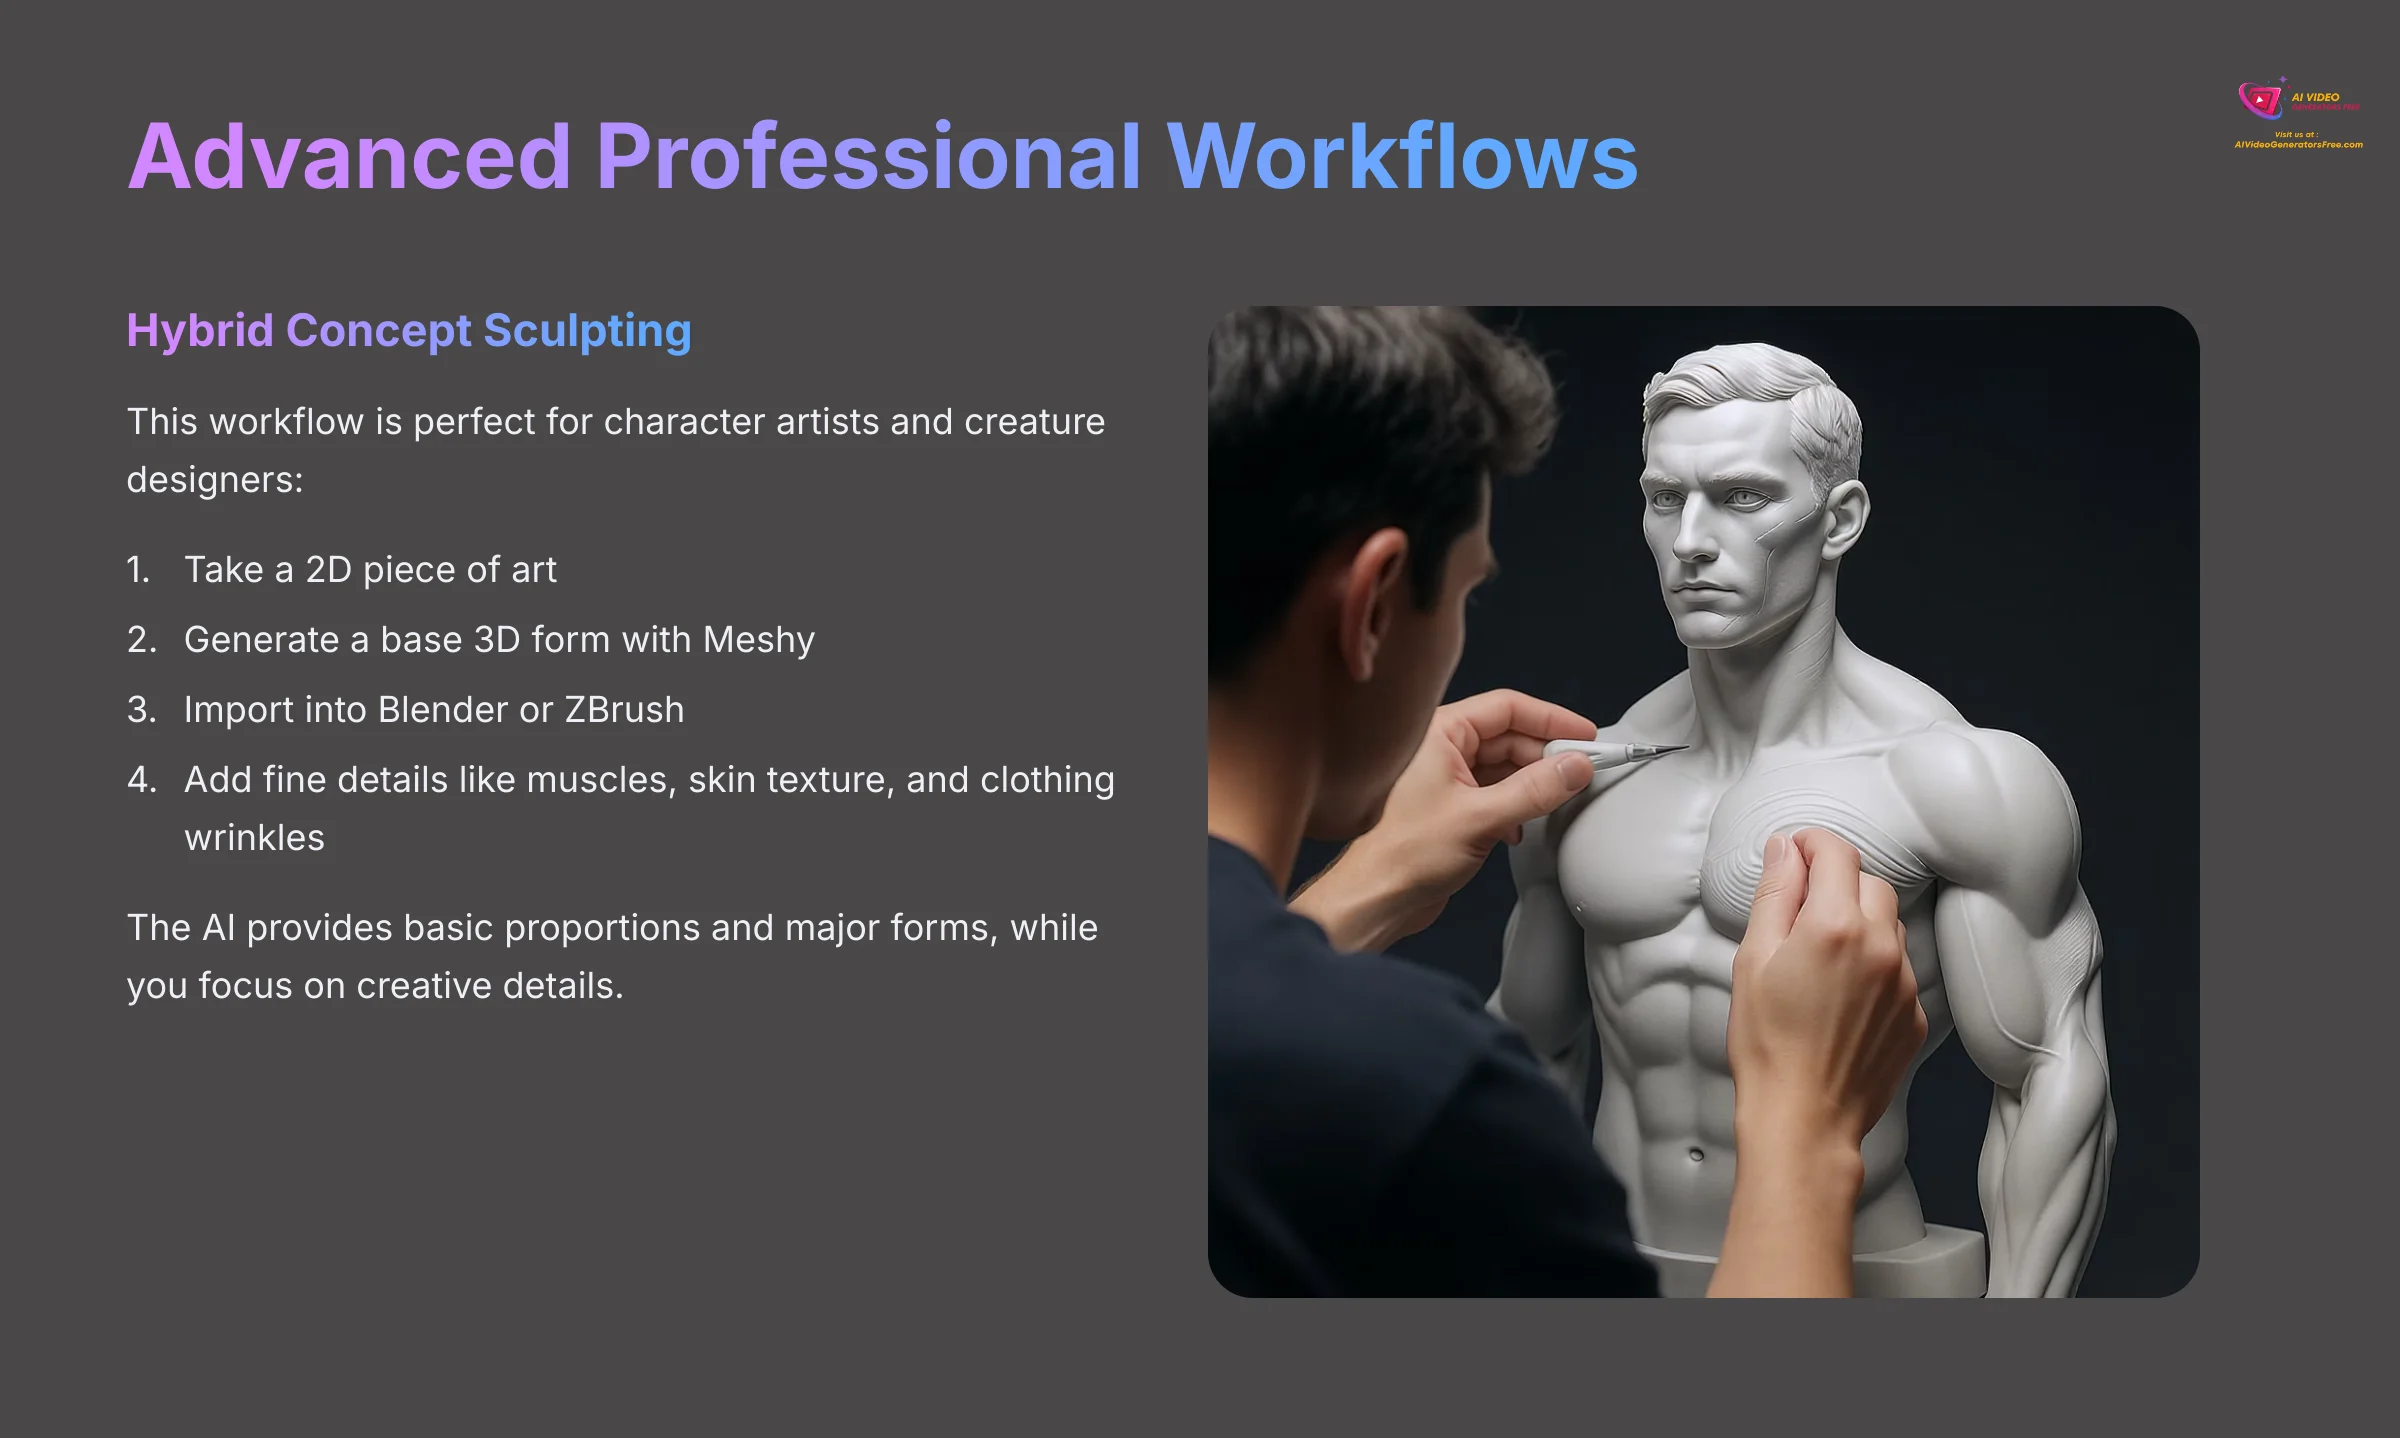
Hybrid Concept Sculpting
This workflow is perfect for character artists and creature designers. You take a 2D piece of art, generate a base 3D form with Meshy, and then import that into a sculpting program like Blender or ZBrush. This lets you add fine details like muscles, skin texture, and clothing wrinkles much faster than starting from a simple cube or sphere.
The AI provides the basic proportions and major forms, while you focus your creative energy on the details that make the difference between amateur and professional work.
High-Quality Texture Reprojection
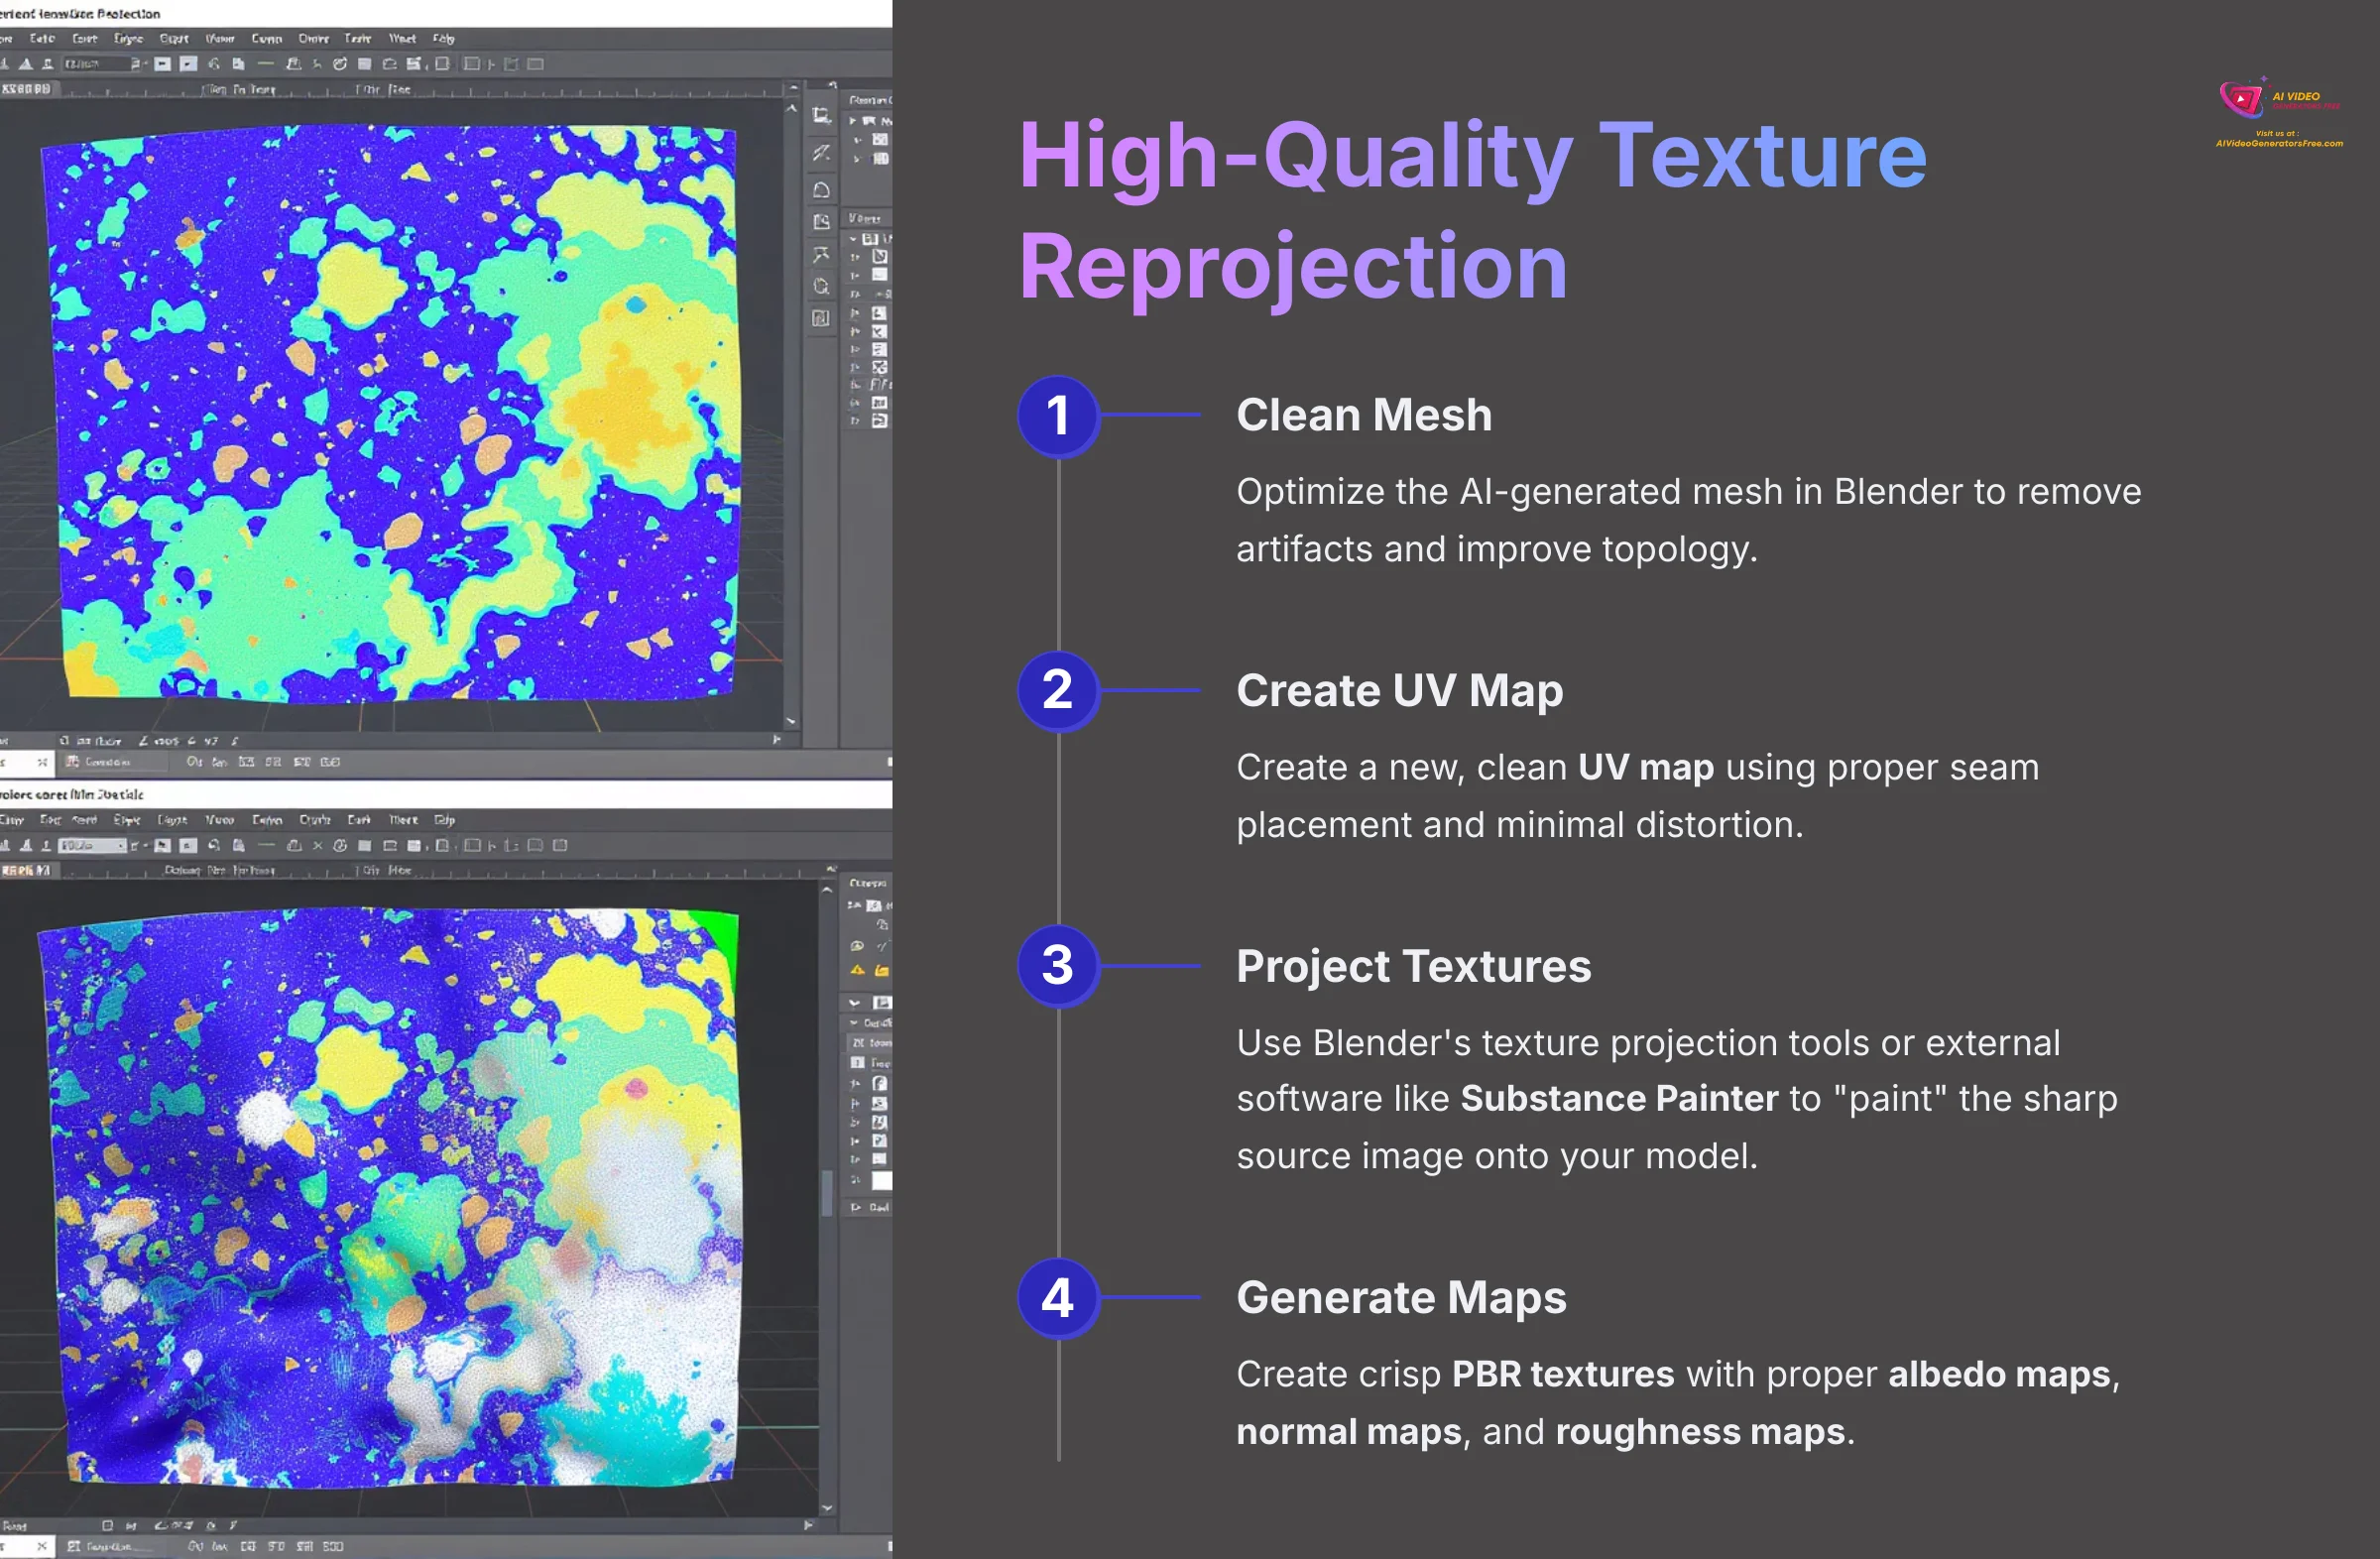
Sometimes the AI-generated texture contains compression artifacts or lacks sharpness. A professional solution is to re-project the original high-resolution image onto the cleaned model. After optimizing the mesh in Blender, you create a new, clean UV map using proper seam placement and minimal distortion.
Then, you use Blender's texture projection tools or external software like Substance Painter to effectively “paint” the sharp source image directly onto your model, resulting in crisp PBR textures with proper albedo maps, normal maps, and roughness maps.
From AI Sculpture to Game-Ready Asset
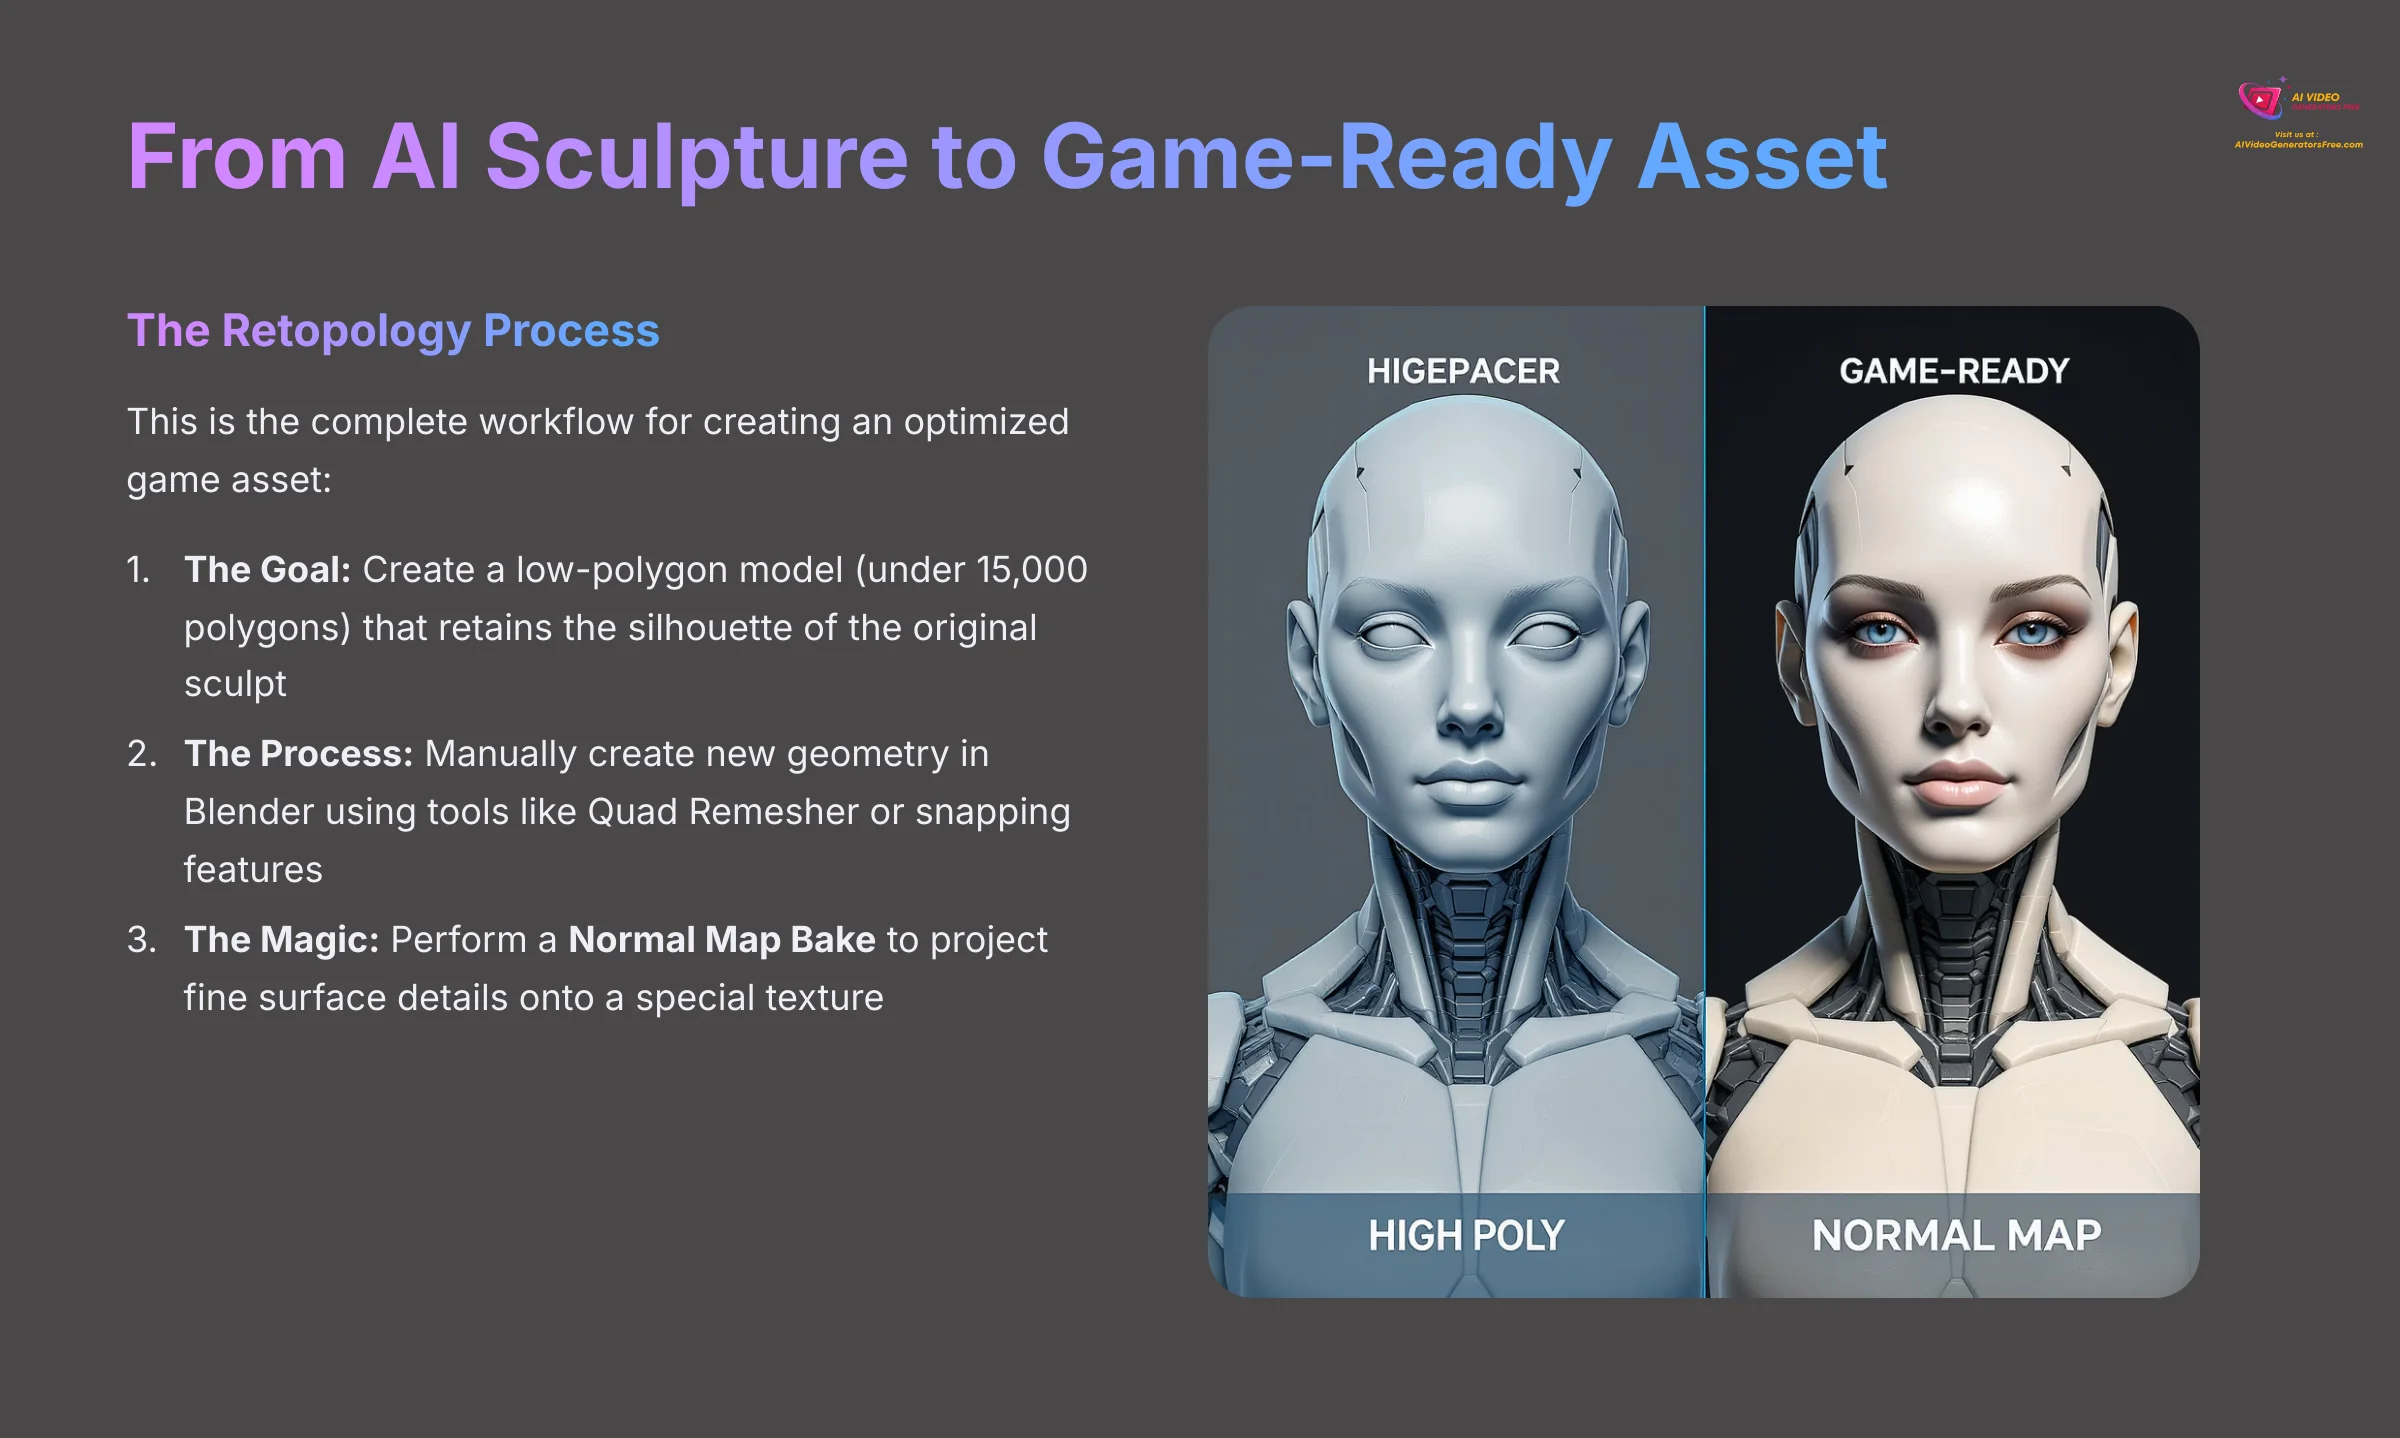
This is the complete workflow for creating an optimized game asset. An AI-generated mesh is considered a “high-poly” or “sculpt” mesh—it has millions of polygons, which is great for detail but terrible for performance in a game engine. A game engine needs “low-poly” models to maintain smooth frame rates during real-time rendering.
The process involves a technical step called Retopology. This is like building a new, clean, and highly efficient cage (mesh topology) over your detailed AI sculpture.
- The Goal of Retopology: To create a low-polygon model (e.g., under 15,000 polygons for a hero prop) that retains the silhouette of the original sculpt but is light enough for game engines like Unity or Unreal Engine.
- The Process: This is often done manually in Blender using tools like the Quad Remesher addon or Blender's built-in snapping features to draw new geometry over the high-poly surface.
- The Magic: Normal Map Baking: After creating the low-poly version, we perform a Normal Map Bake. This process projects the fine surface details from the high-poly AI sculpt onto a special texture called a Normal Map. When this map is applied to the simple, low-poly model, it fakes the appearance of high-resolution detail. This gives you the best of both worlds: stunning visual quality and excellent performance.
Bridging 3D Models and AI Video
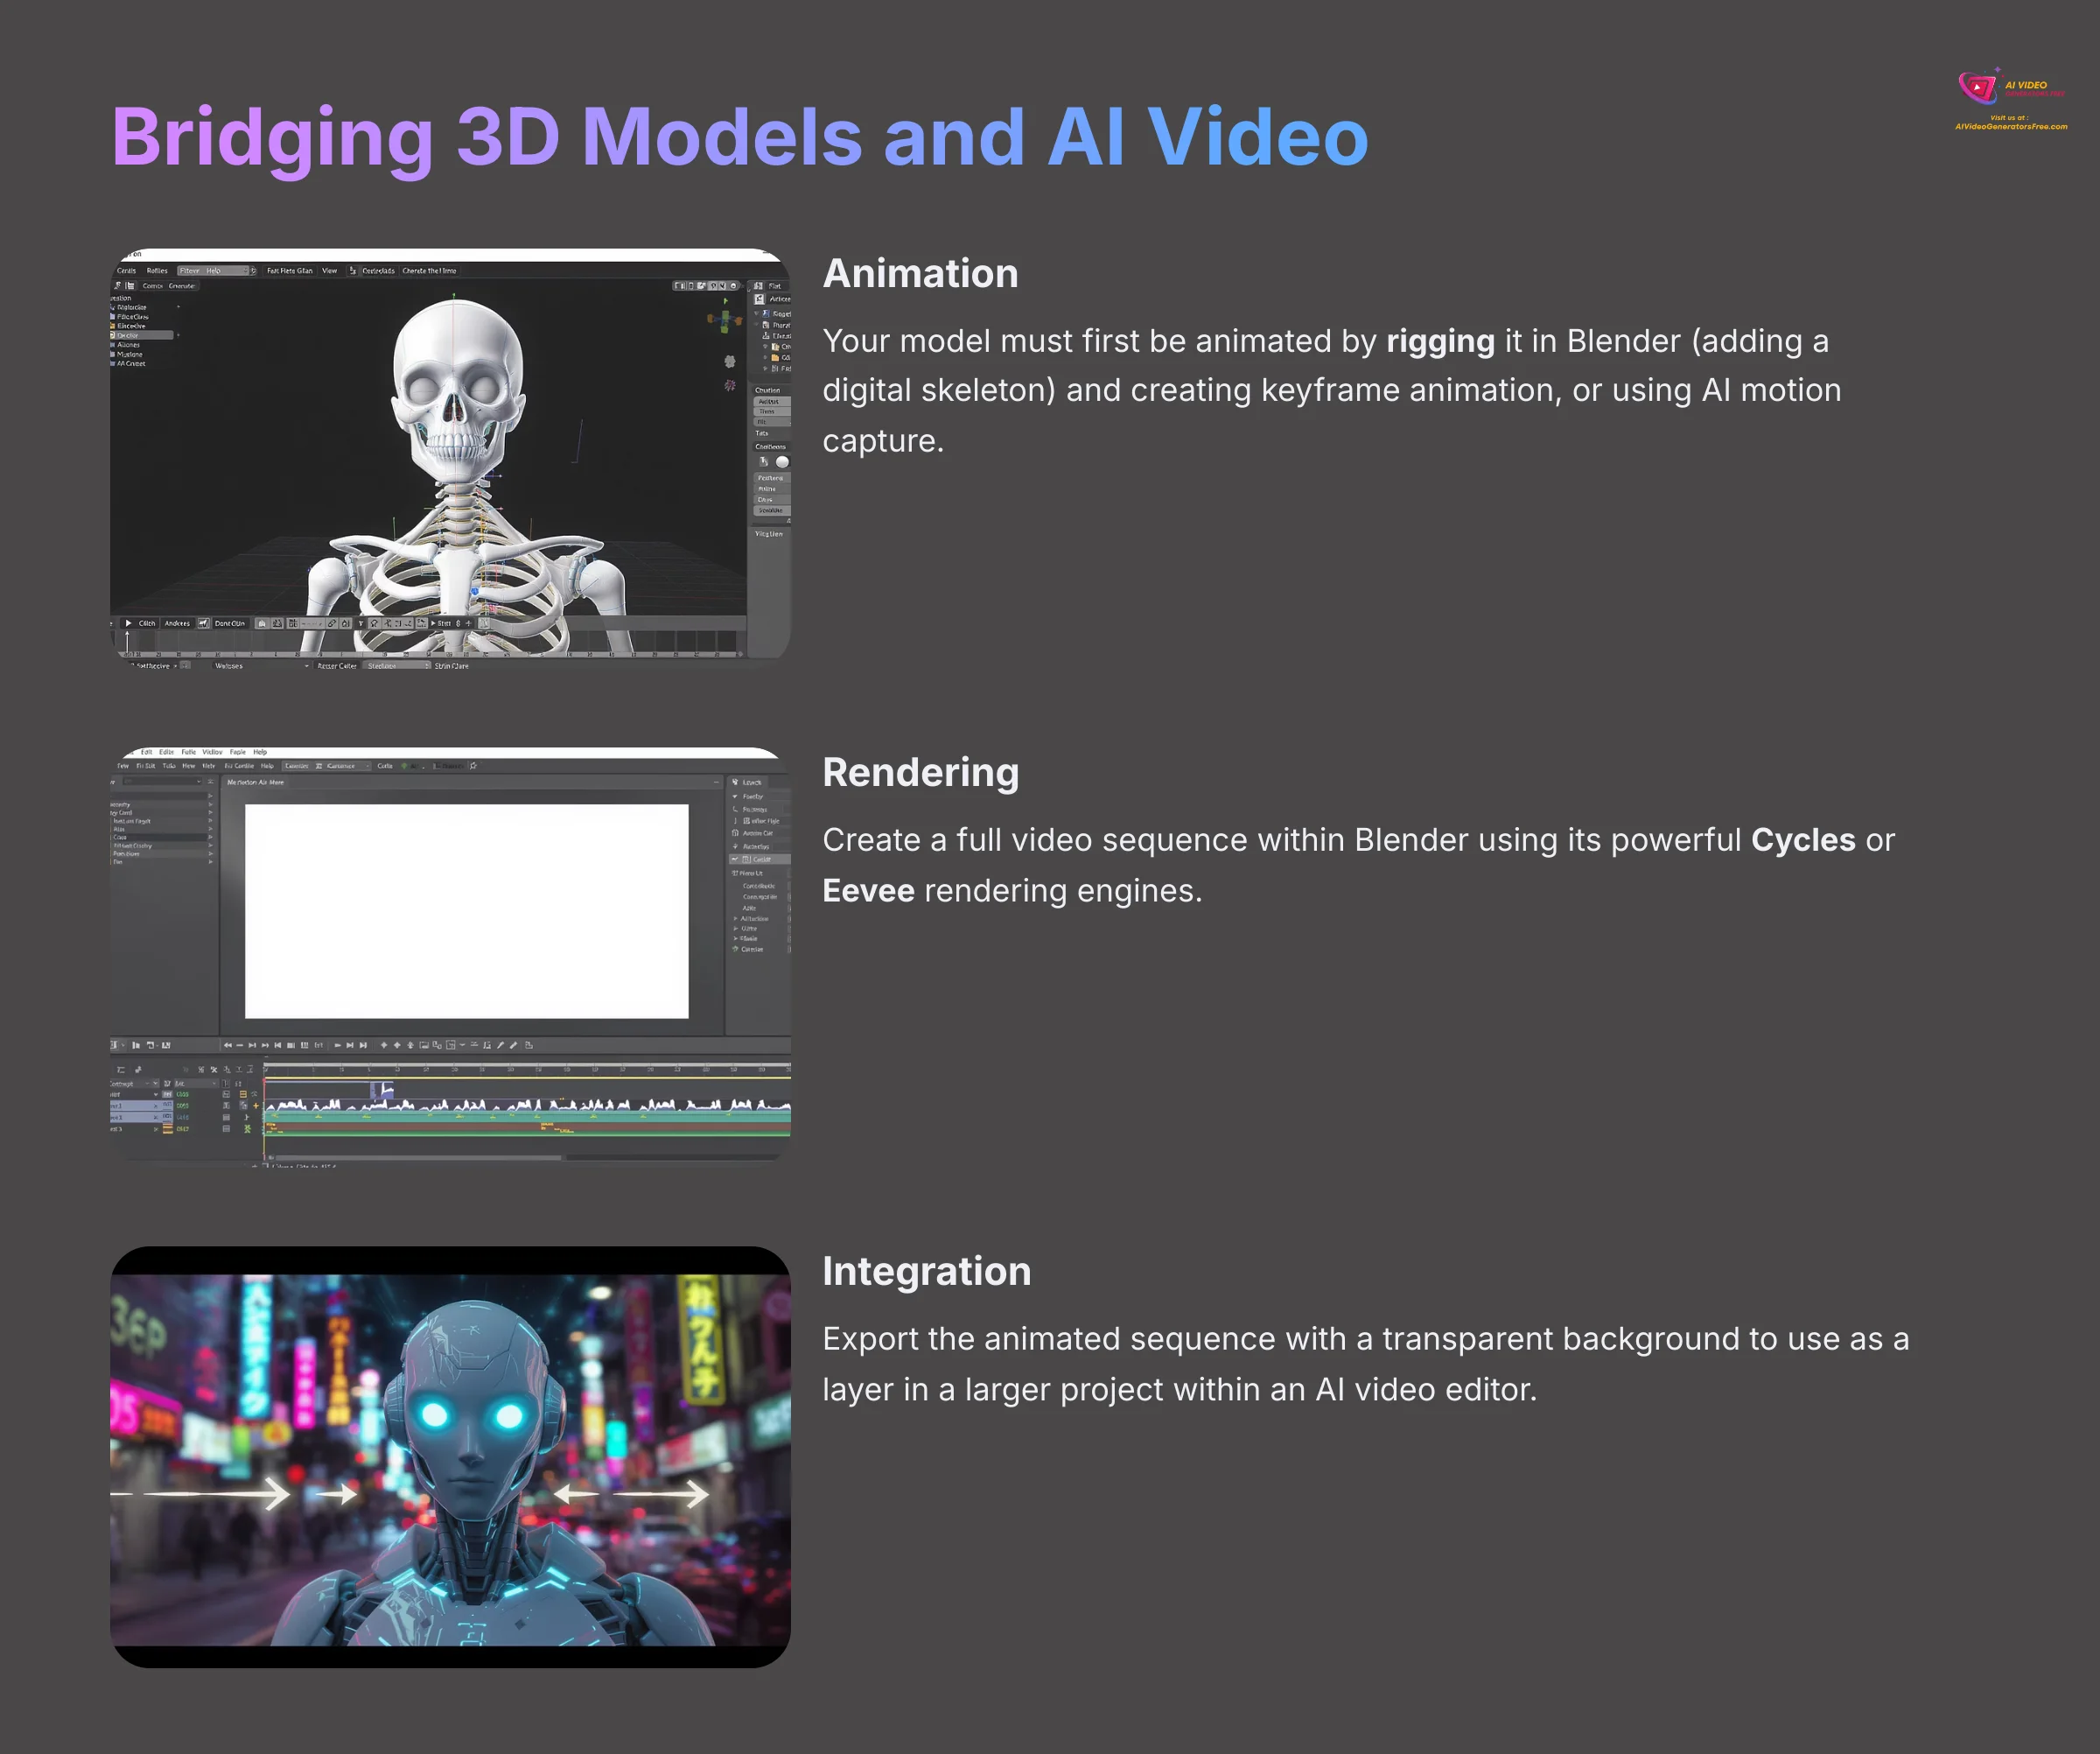
You've created a static 3D model, but how does this fit into the world of AI video? The model you've just refined is a digital actor or prop, ready for the stage. The process involves two key steps:
- Animation: Your model must first be animated. This can be done by rigging the model in Blender (adding a digital skeleton) and then creating keyframe animation. Alternatively, you can import the model into platforms that use AI motion capture to animate it automatically.
- Rendering or Integration: Once animated, you can either:
- Render a Video Clip: Create a full video sequence within Blender using its powerful Cycles or Eevee rendering engines.
- Use as an Element in AI Video Tools: Export the animated sequence as a video with a transparent background. This clip can then be used as a layer or element in a larger project within an AI video editor, allowing you to place your custom 3D character or object into any scene.
This workflow transforms your Meshy-generated asset from a static object into a dynamic element for sophisticated video projects.
Preparing Models for 3D Printing
Another powerful use for Meshy is creating physical objects via 3D printing. However, a 3D printer requires a very specific type of model: a watertight (or manifold) mesh. This means the model must be a single, solid shell with no holes or overlapping internal faces.
- Check for Holes: After your initial cleanup in Blender, use the
Select > Select All by Trait > Non-Manifoldcommand. This will highlight any problem areas in your mesh that would cause a print to fail. - Make it Solid: Use Blender's tools to fill any holes and delete internal geometry. For complex models, the Voxel Remesher in Sculpt Mode can be a quick way to generate a new, solid, watertight mesh from a messy input.
- Export as STL: Once your model is confirmed to be a solid, single object, export it using the STL (
.stl) file format, which is the universal standard for most 3D printing slicer software.
Warning: Retopology is a manual skill that requires patience and practice. It is one of the most fundamental skills in 3D modeling. Do not be discouraged if your first attempt is slow; mastering it will open the full power of any AI-generated mesh.
Disclaimer: The information about using Meshy for 2D to 3D conversion presented in this article reflects our thorough analysis as of 2025. Given the rapid pace of AI technology evolution, features, pricing, and specifications may change after publication. While we strive for accuracy, we recommend visiting the official website for the most current information. Our analysis is designed to provide a comprehensive understanding of the tool's capabilities rather than real-time updates.
Conclusion: Your New AI-Assisted 3D Pipeline
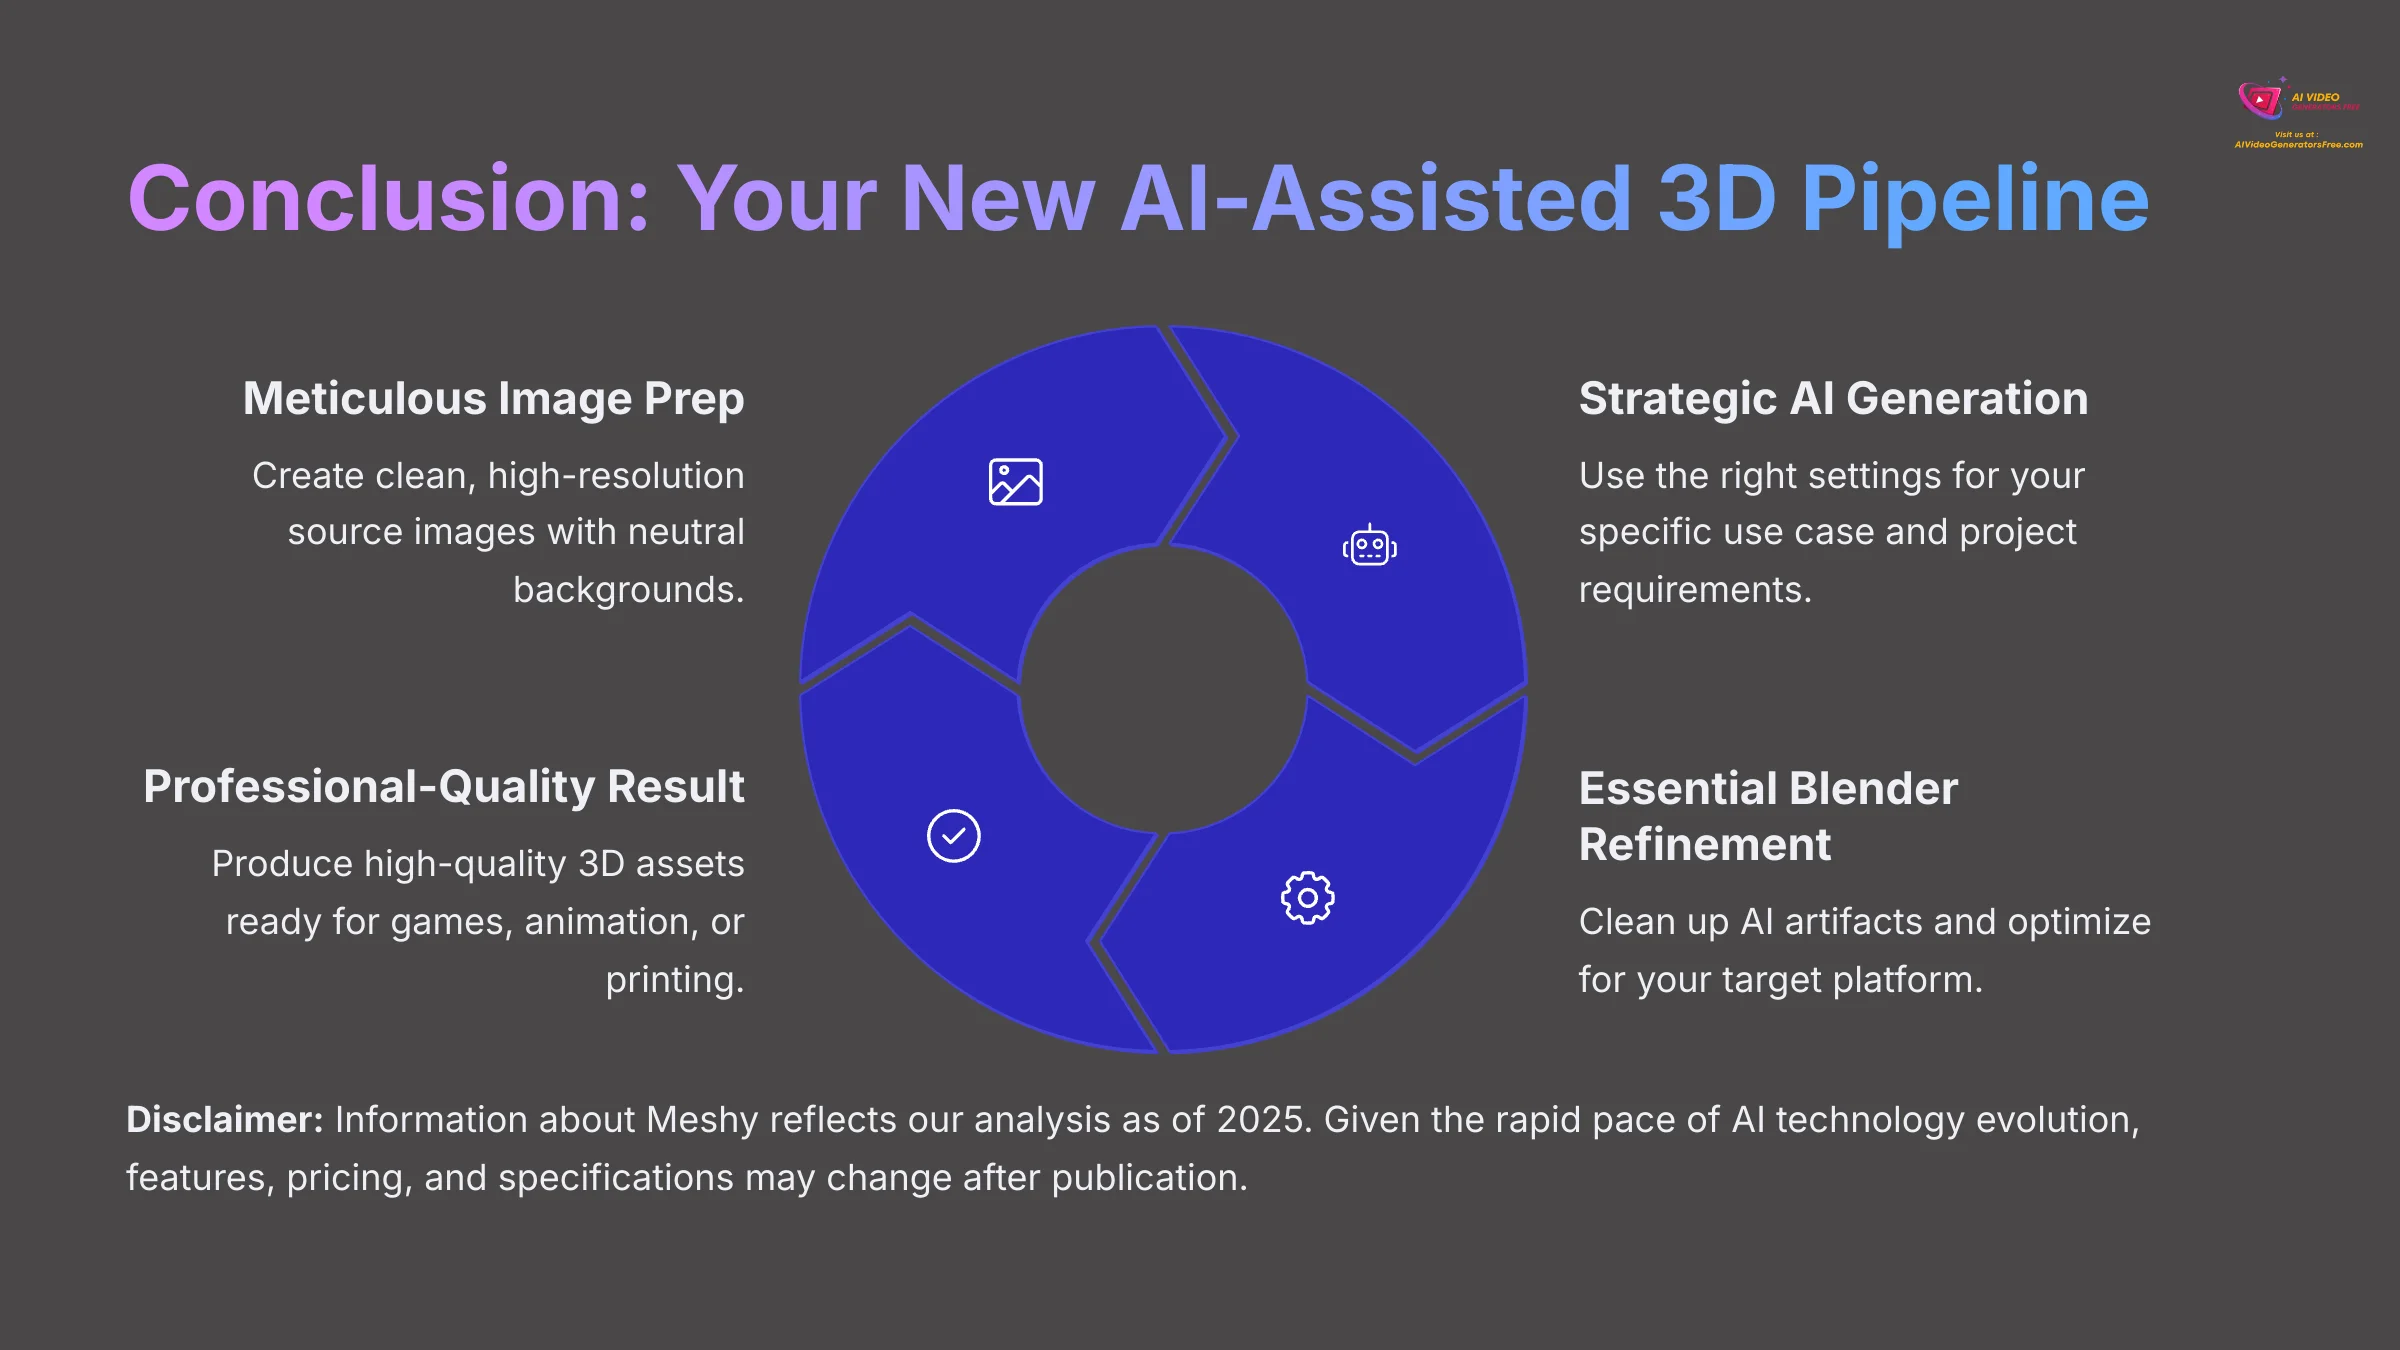
You now have a complete, professional workflow that moves beyond simple AI generations. By mastering the core pipeline—Meticulous Image Prep → Strategic AI Generation → Essential Blender Refinement—you can consistently produce high-quality 3D assets. You are no longer just clicking a button; you are an artist directing a powerful AI assistant.
This framework is your new starting point for creating better assets, faster than ever before.
- Next Steps: Integrate this process with other professional tools like ZBrush for advanced sculpting, Substance Painter for photorealistic texturing, or Unity and Unreal Engine for interactive experiences.
- Keep Creating: Find a new piece of concept art or a photo that inspires you, and run it through this entire process again. Practice is key to mastering the balance between AI generation and manual refinement.
- Expand Your Toolkit: Explore Meshy's other features like text-to-3D generation and experiment with different input types to build a comprehensive asset creation pipeline.
Now go find some inspiration and start creating. The future of 3D content creation is here, and you have the skills to be part of it.
I hope you found this Meshy Tutorial: How to Convert 2D Images into 3D Models helpful. Go make something wonderful.


Leave a Reply