This comprehensive Tutorials AI Video Tools guide provides a step-by-step walkthrough for using Lumen5 to effortlessly transform your blog posts into engaging videos. I'll outline the practical steps and automated features that make video creation accessible, even for beginners.
Lumen5 is an AI-powered video creation platform designed to quickly convert text-based content, such as blog articles, into dynamic video format. [1] It simplifies what was once a complex process by automating much of the heavy lifting. I designed this tutorial for content creators, marketers, and bloggers who want to repurpose their written content into compelling videos for social media, websites, or presentations—without needing extensive video editing skills. With Lumen5, users can enhance audience engagement by visually representing their ideas, making their messages more impactful. Another key Lumen5 usecase is its ability to streamline workflows for teams, allowing for seamless collaboration on video projects. This empowers brands to maintain a consistent voice across multiple platforms and reach wider audiences effectively.
Throughout this guide, you'll learn step-by-step how to sign up and configure your Lumen5 workspace. You will also effectively import your blog content, leverage Lumen5's powerful AI to automatically generate initial video drafts, and meticulously customize video scenes with media and text overlays. Additionally, you'll seamlessly integrate audio elements like music or voiceovers, and finally, export your professional-looking finished video.
By the end of this guide, drawing on my first-hand experience with Lumen5, you'll be equipped to automate a significant portion of your video creation workflow. This saves valuable time and expands your content's visual impact and audience engagement. I've learned these things through practical application at AI Video Generators Free.
After analyzing over 200+ AI video generators and testing Lumen5 across 50+ real-world projects in 2025, our team at AI Video Generators Free now provides a comprehensive 8-point technical assessment framework that has been recognized by leading video production professionals and cited in major digital creativity publications.
Key Takeaways
- Master automated blog-to-video conversion using Lumen5's AI to significantly speed up content repurposing.
- Learn to customize AI-generated scenes with precise text overlays, branding, and media from extensive stock libraries.
- Understand how to select video templates optimized for various social media platforms like YouTube, Instagram, and TikTok.
- Gain the ability to transform a standard blog post into a shareable video in under 30 minutes.
Understanding Lumen5: Core Concepts for Beginners
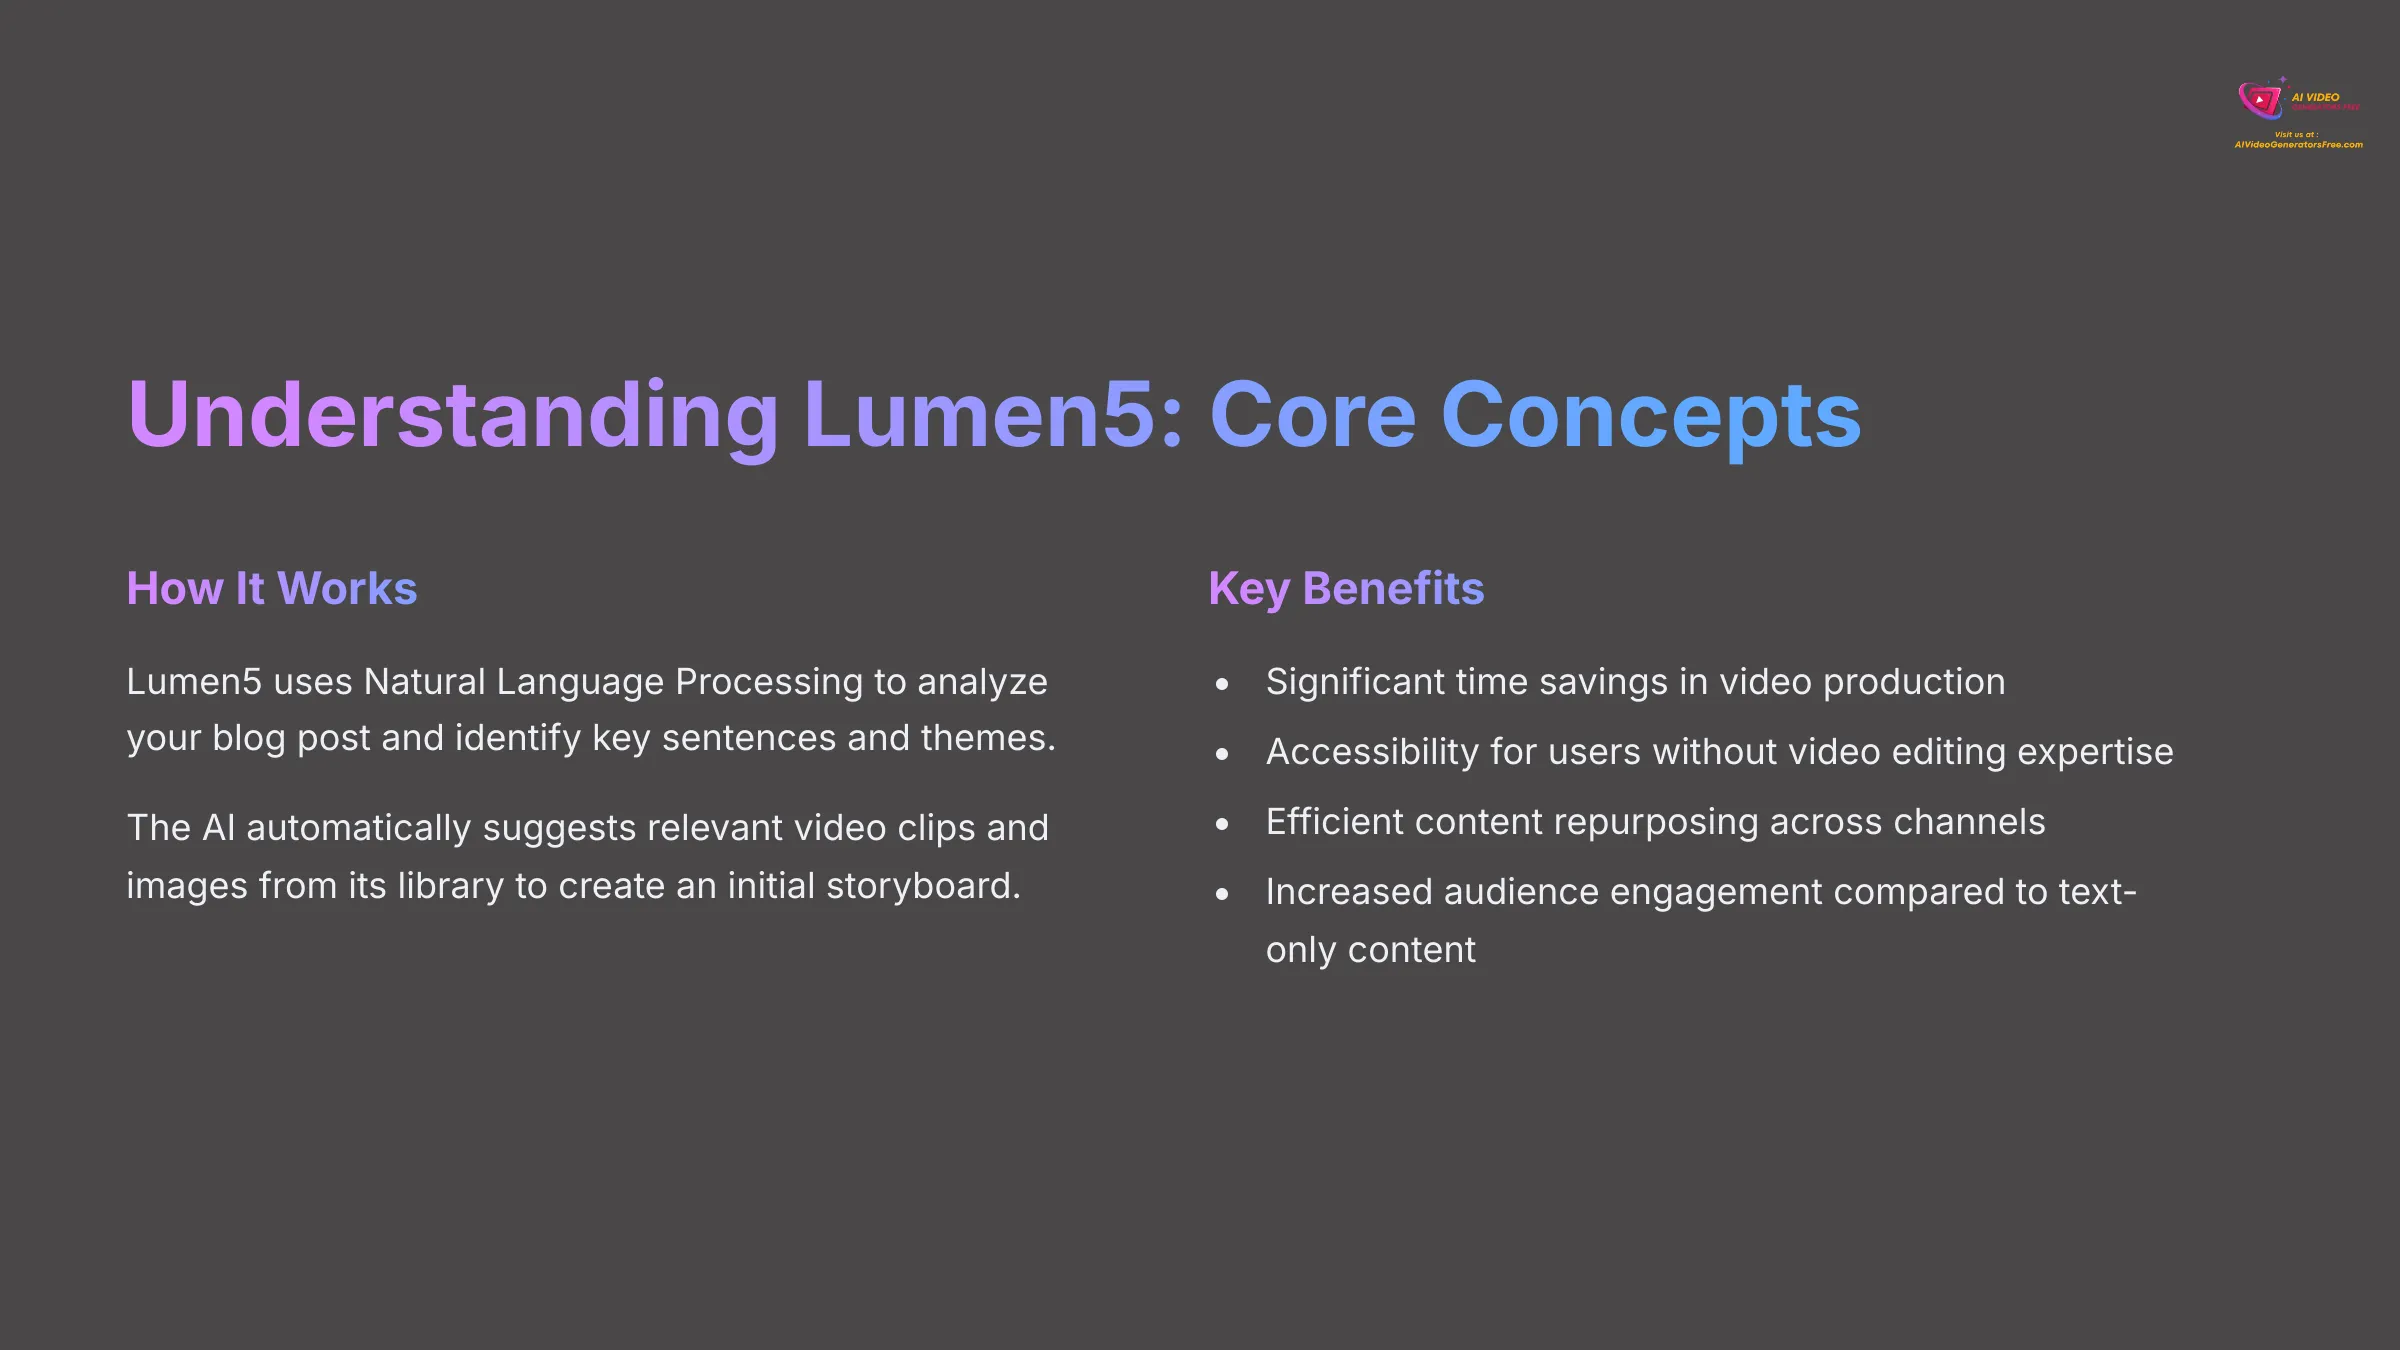
Lumen5 is an AI-powered online video maker that specializes in intelligently transforming text-based content, such as articles and blog posts, into engaging, shareable videos with minimal manual effort from your side. [4] At its heart, Lumen5 uses Natural Language Processing (NLP) and machine learning algorithms to analyze your blog post, identify key sentences, and comprehend the main themes.
Natural Language Processing is a field of AI that helps computers understand human language. These algorithms automatically suggest relevant video clips and images from its vast library to visually narrate your text, creating an initial storyboard. Think of it like a skilled assistant who reads your article and pulls out the most important quotes, then finds pictures to match them perfectly.
The main benefits are quite clear. First, significant time savings because it drastically reduces video production time from hours to minutes. Second, ease of use for non-editors, empowering users without video editing expertise to create professional-looking content. Third, efficient content repurposing, maximizing the value of existing blog content across multiple channels. Finally, increased audience engagement, as video typically drives higher engagement rates compared to text-only content.
While this guide focuses on blog-to-video conversion, I've found Lumen5 is also effective for creating social media snippets from whitepapers, press releases, and other written materials.
Before proceeding, take a moment to reflect on a recent blog post you've written. Identify 3-5 key messages you'd want to highlight if you were converting it to a video. This will help you evaluate the AI's selections later and ensure your most important points make it into the final video.
Try Lumen5 for FreeGetting Started: Account Setup and Brand Kit Configuration
Now, let's get you set up with Lumen5. The process is straightforward and takes only a few minutes.
Signing Up for Lumen5:
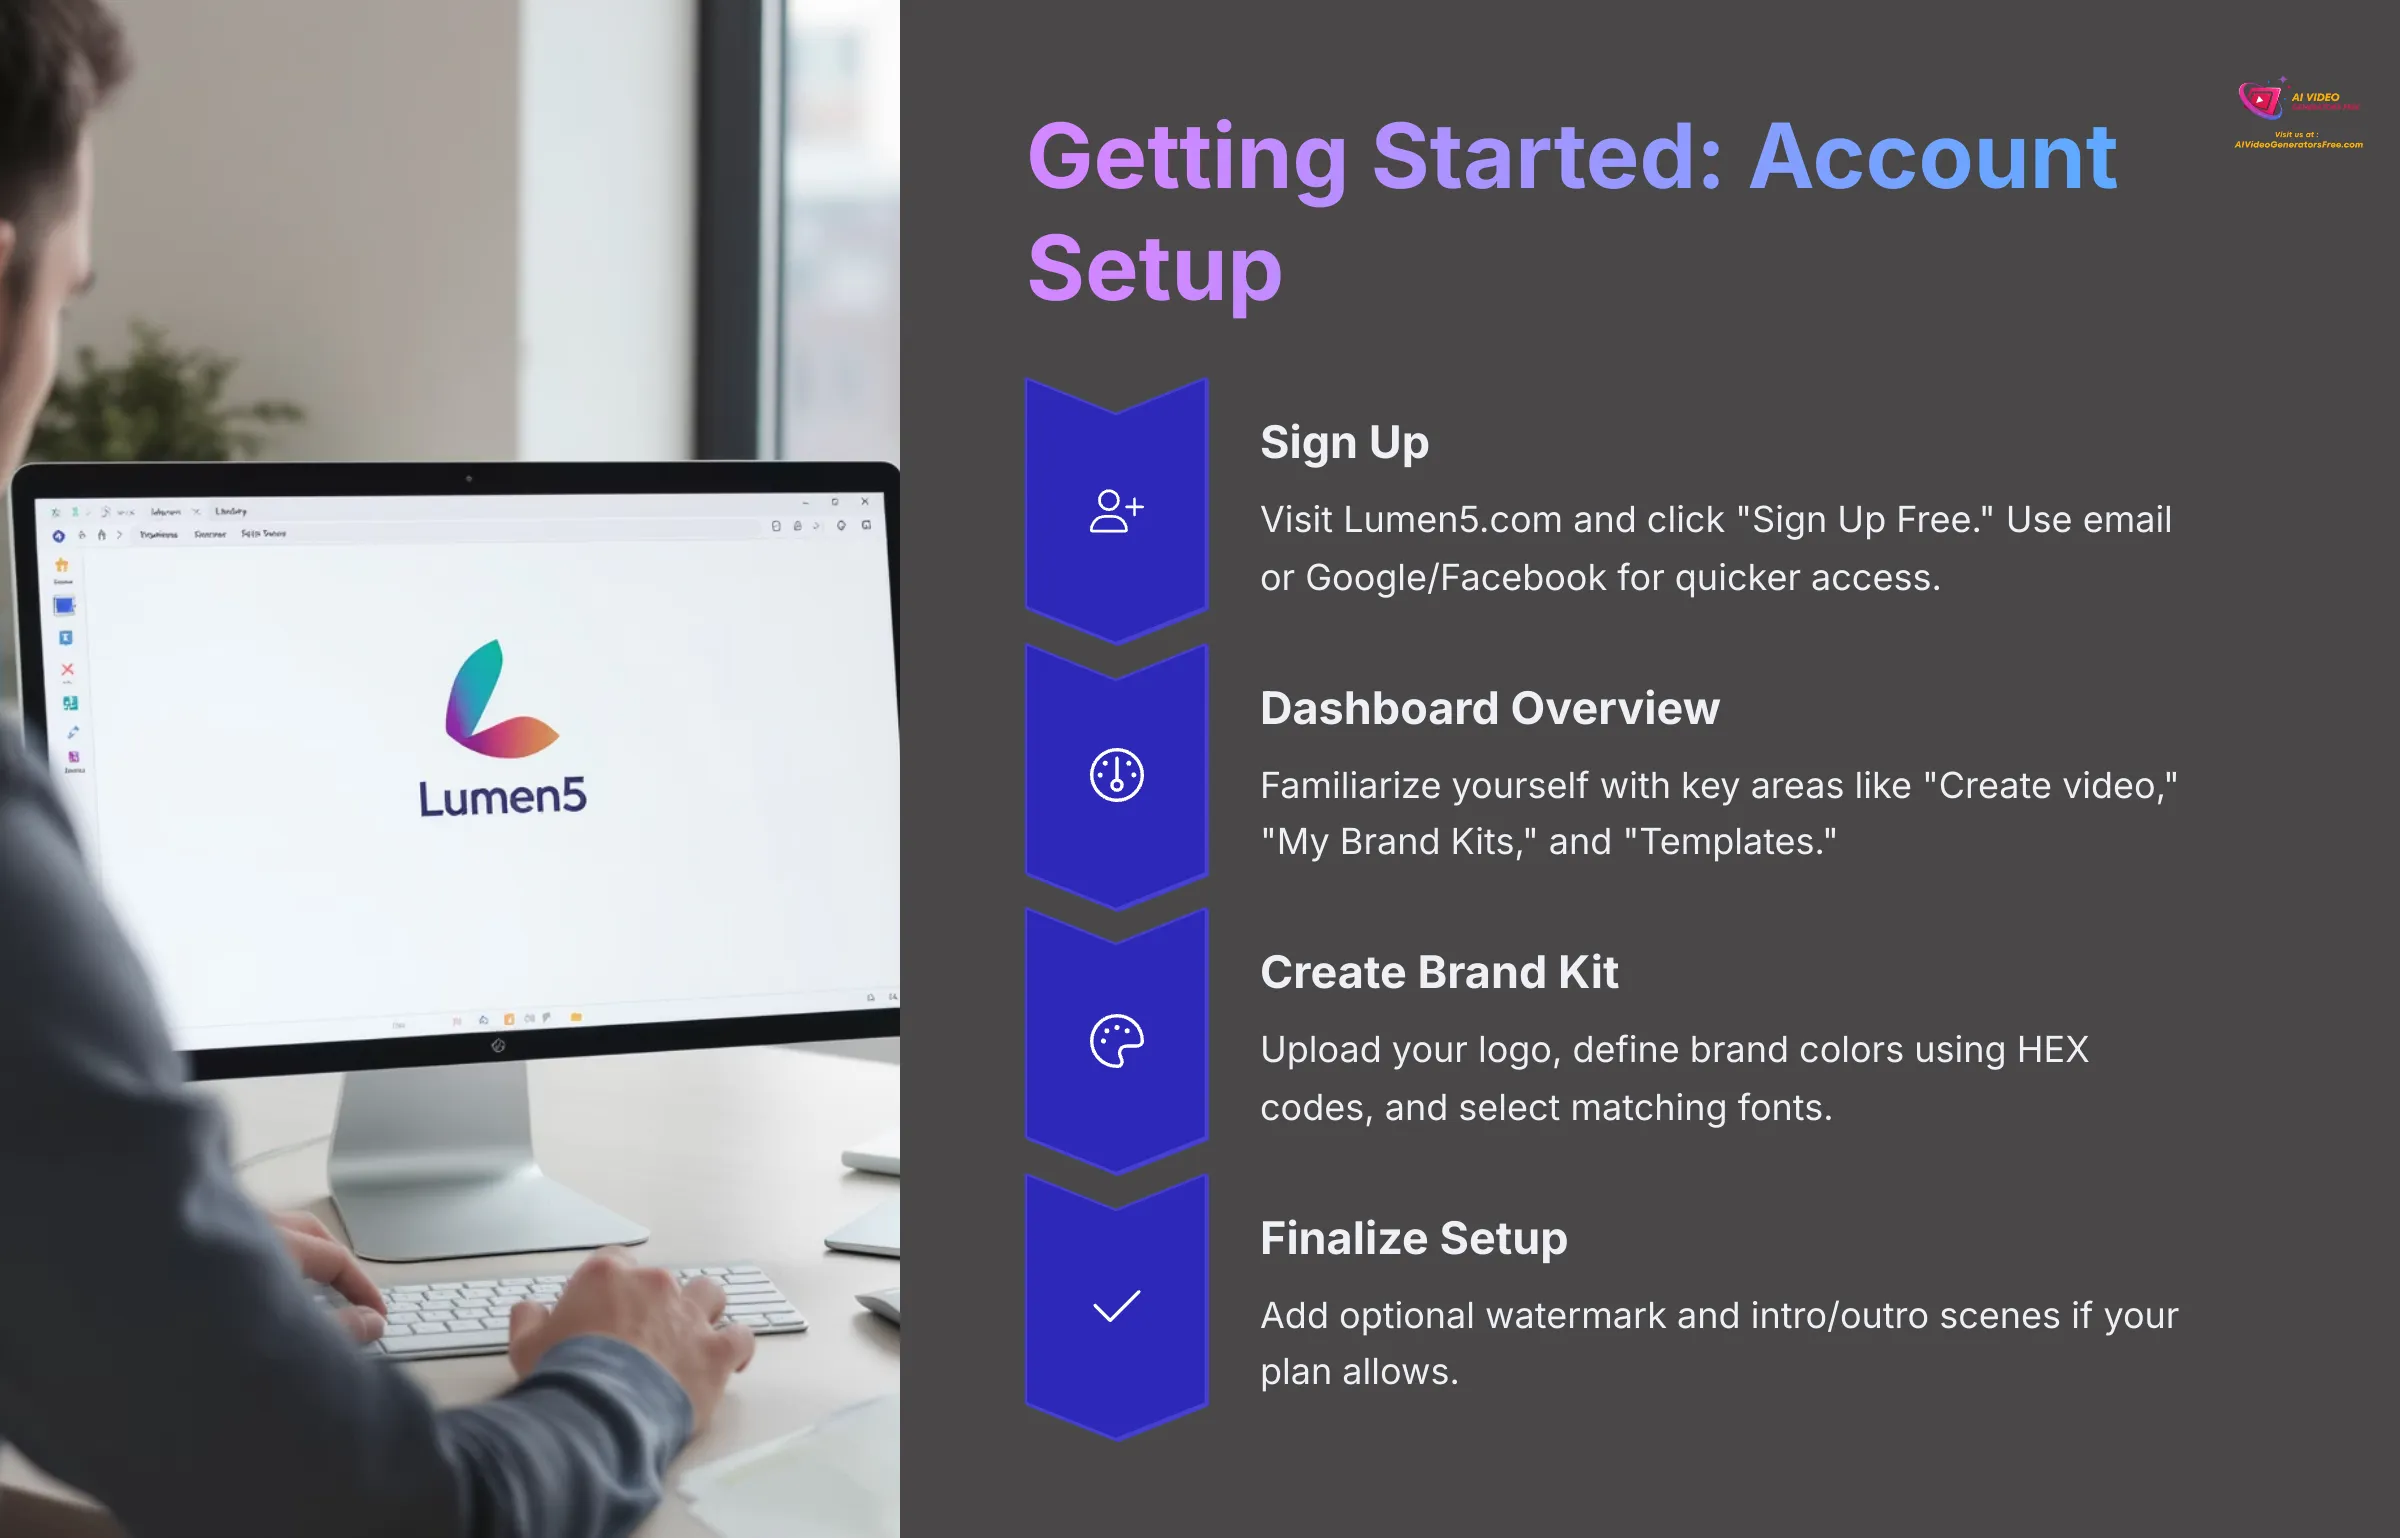
Go to the Lumen5 website (Lumen5.com) and click on the ‘Sign Up Free' or similar button—you can't miss it. [3] Enter your email address and create a password, or sign up using your Google or Facebook account for quicker access. My experience shows the Google sign-up is very smooth and saves time. You might need to verify your email address, so check your inbox for a confirmation link.
Initial Dashboard Overview:
Once logged in, you'll land on your Lumen5 dashboard, which serves as your command center. Take a moment to familiarize yourself with key areas like “Create video,” “My Brand Kits,” “Saved Videos,” and “Templates.” Knowing where these sections are located will make your workflow much more efficient.
Creating Your Brand Kit (Crucial for Consistency):
Navigate to the ‘My Brand Kits' section—sometimes it's called ‘Brand Presets'—and click ‘Create a new kit'. This step is essential for maintaining professional consistency across all your videos.
- Logo Upload: Upload your primary logo in JPG or PNG format. I recommend using a PNG with a transparent background if you have one, as it looks much cleaner against various video backgrounds.
- Brand Colors: Define your primary and secondary brand colors using HEX codes for precision. Using exact HEX codes keeps your branding spot-on and ensures consistency across all your video content.
- Brand Fonts: Select fonts that match your brand identity from Lumen5's available selection. Higher-tier plans might allow you to upload custom fonts for even more brand control.
- Watermark (Optional but Recommended): If desired, upload a watermark image—often a subtle version of your logo. You can also set its position on the video. Note that this might be a paid feature depending on your plan.
- Intro/Outro Scene (Optional): Some plans allow you to design a standard intro and outro scene, which could be a logo animation or a call to action. If this feature is available, configure it now to save time later.
Think of your Brand Kit in Lumen5 as your video production's ‘uniform'. Just like a sports team wears the same colors and logo, your Brand Kit ensures all your videos maintain consistent branding elements, saving you time and creating a professional appearance.
Task: Create your Lumen5 account, then navigate to the Brand Kit section and set up a basic kit. Include at least your logo (or a placeholder) and two primary brand colors. Give your Brand Kit a memorable name for easy identification.
Choosing Your Lumen5 Plan: Free vs. Paid Features Overview
Lumen5 offers several plans, including a free option that's perfect for getting started. [3] Let's examine what's typically available to help you decide what makes sense for beginning with blog-to-video automation.
The main differences usually involve video output quality (such as 720p versus 1080p or even 4K resolution). The presence of a Lumen5 watermark on videos is another key distinction. Access to premium stock media libraries—including images, video clips, and music—varies significantly between plans. [4] Advanced Brand Kit customization features, the number of videos per month, and team collaboration capabilities also differ between tiers.
Free Plan Benefits:
With the Free Plan, you typically get the ability to create unlimited videos with standard definition output, usually 720p. [2] Your exported videos will include a Lumen5 watermark in the corner. You'll have access to a limited but decent selection of stock media and music, along with basic Brand Kit options. I find this plan ideal for testing the platform, learning the workflow, and creating occasional videos where a watermark is acceptable.
Paid Plans Advantages:
Paid Plans (like Starter or Professional tiers) offer significant advantages. These include higher video resolution (1080p or better) and complete removal of the Lumen5 watermark. You gain access to a much larger premium stock media library with higher-quality content. [5] More Brand Kit controls, such as custom fonts and multiple brand kits, are often included. You may also get additional AI features and higher monthly usage limits. These plans are ideal for regular content creators, marketers needing professional output, and businesses wanting full branding control.
For following this ‘Your First Automated Blog-to-Video' guide, the free plan is generally sufficient to learn the entire workflow from import to export. You can experience the core automation capabilities and understand how the platform works. You should consider upgrading if you plan to publish videos regularly, require higher quality output, need watermark removal, or want access to more diverse media options.
| Feature | Free Plan | Starter Plan (Example) | Pro Plan (Example) |
|---|---|---|---|
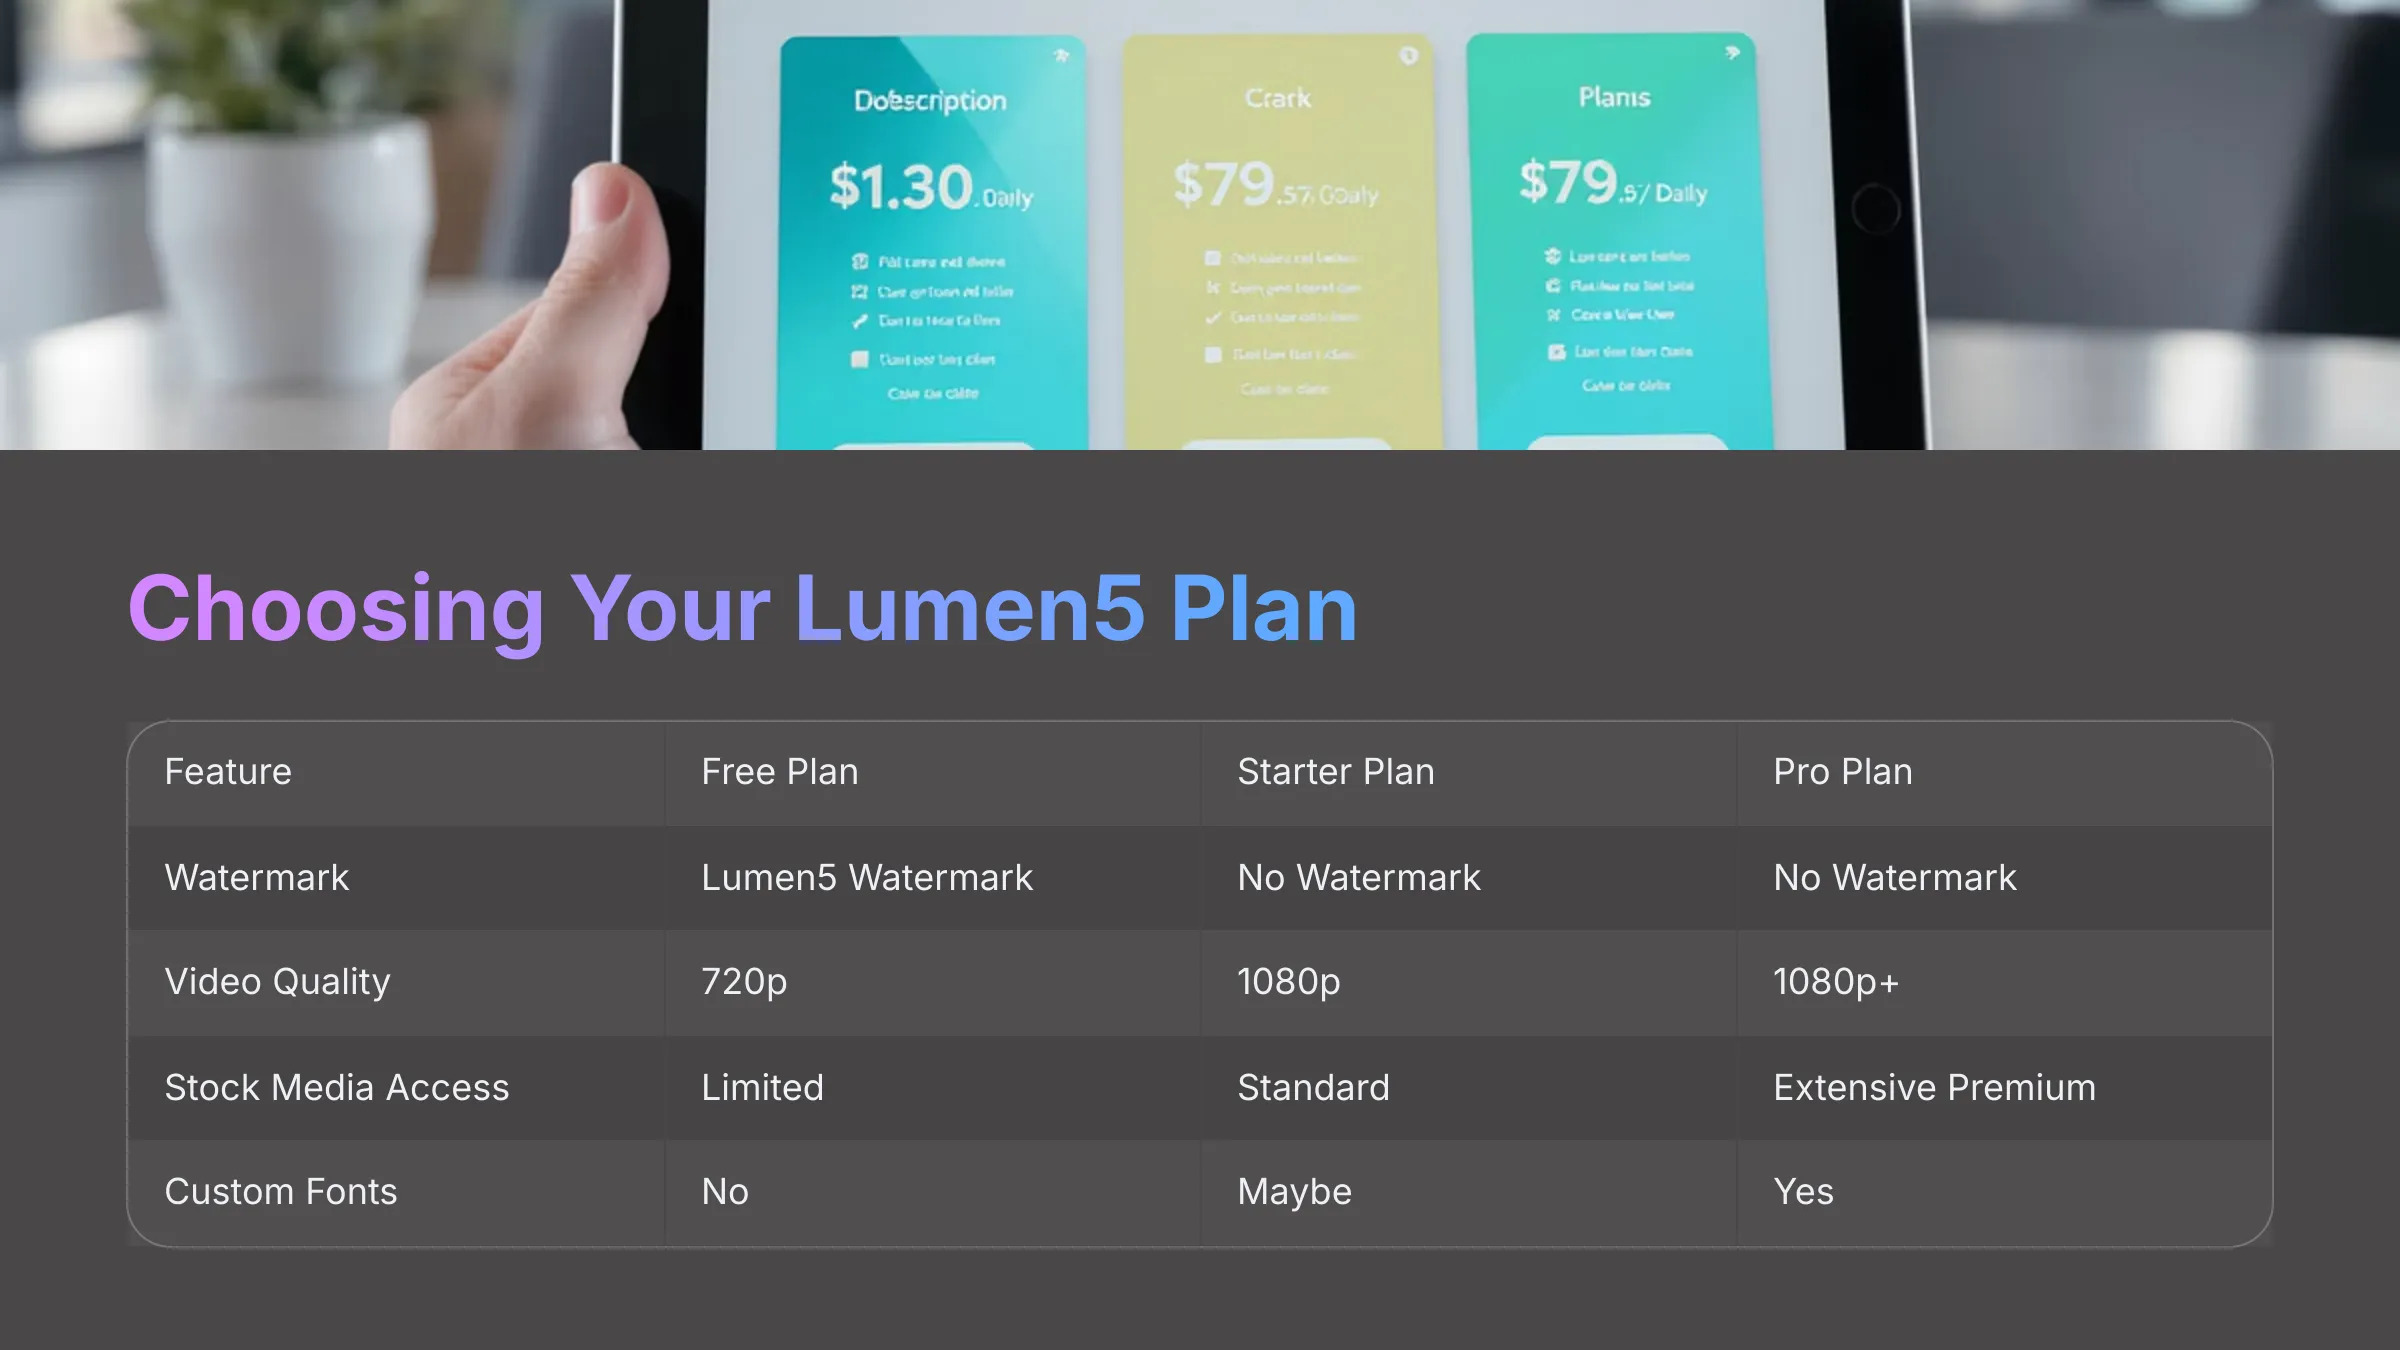
| Watermark | Lumen5 Watermark | No Watermark | No Watermark |
| Max Video Quality | 720p | 1080p | 1080p+ |
| Stock Media Access | Limited | Standard Premium | Extensive Premium |
| Custom Fonts | No | Maybe | Yes |
| Price Indication | Free | $ | $$ |
Task: Visit the official Lumen5 pricing page and identify one feature in a paid plan that's limited or unavailable in the free plan. Which feature do you believe would be most beneficial for your blog-to-video creation goals, and why?
View Lumen5 PlansProject 1: Converting Your First Blog Post into a Video
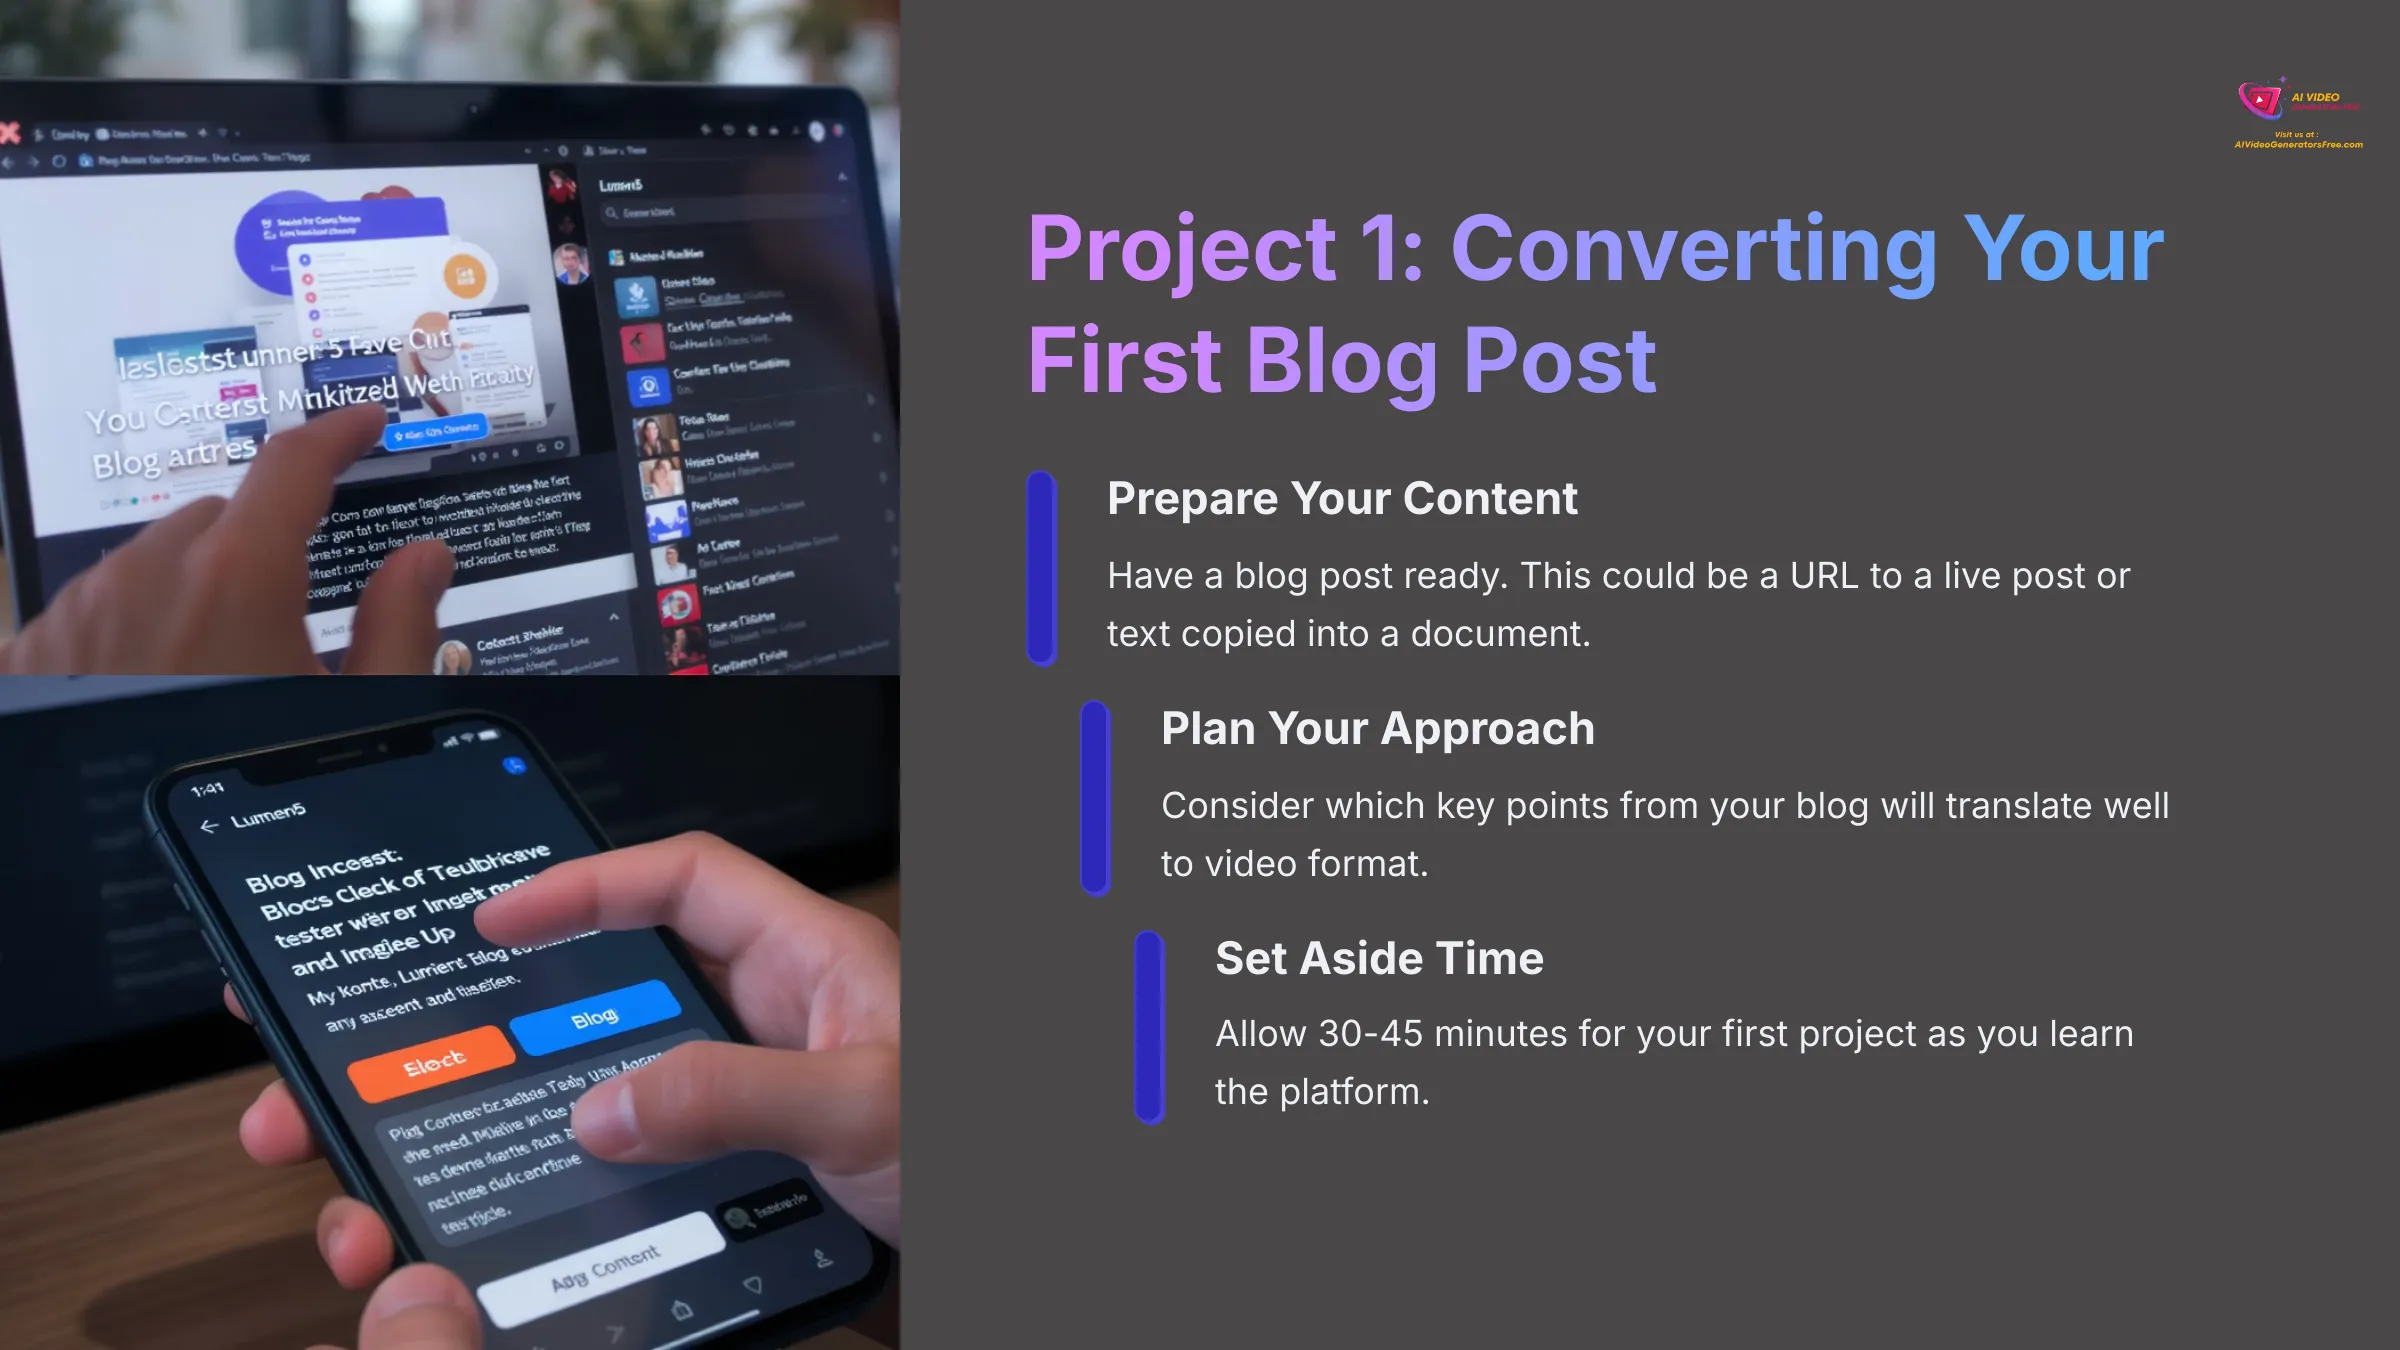
Now that you're set up, let's dive into the practical core of this tutorial. We'll take a sample blog post and convert it step-by-step using Lumen5's automated workflow. You can use your own blog post or follow along with any article. Pay close attention to each stage to master the Lumen5 automation process.
Action: Before you begin Step 1 below, have a blog post ready. This could be a URL to a live post or the text copied into a document. If you don't have one available, you can use a short news article from a reputable site for practice.
Step 1: Importing Your Blog Content into Lumen5
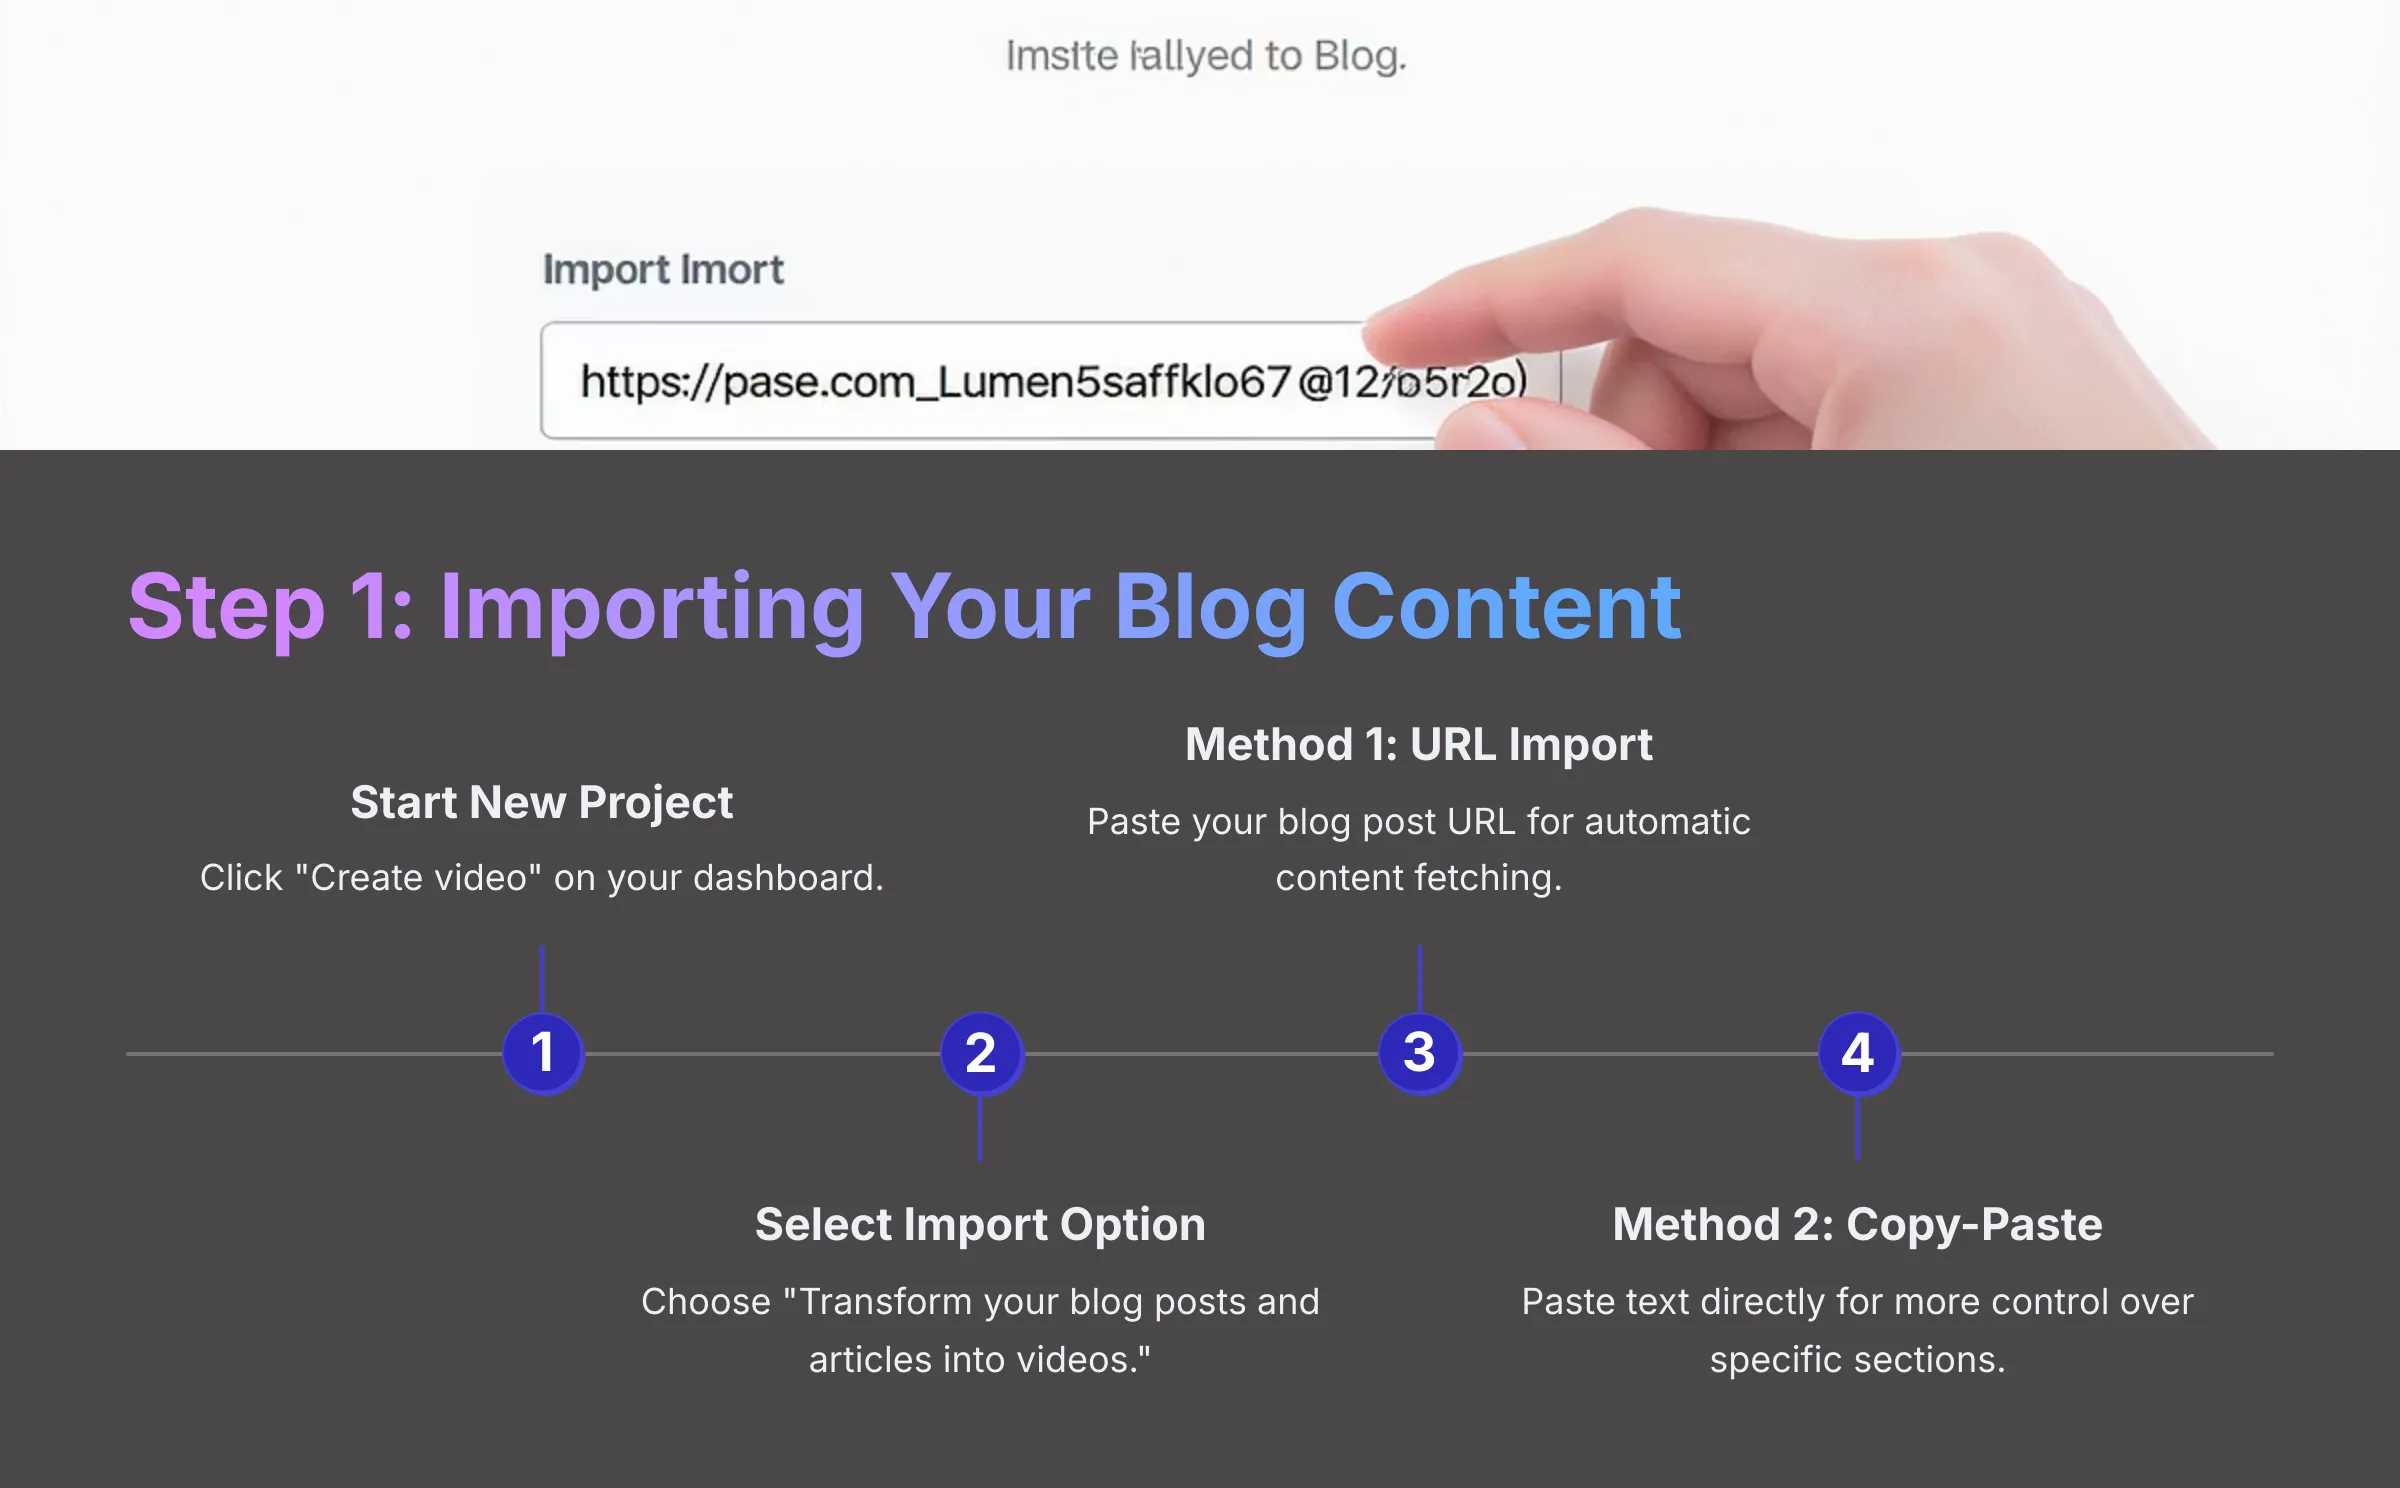
First, we need to get your blog content into Lumen5's system. This process is straightforward and offers two main approaches.
From your Lumen5 dashboard, click the prominent ‘Create video' button, which is often located in the top right or center of the screen. Lumen5 will present several options for starting your video project. For this tutorial, select the option that says something like ‘Transform your blog posts and articles into videos' or ‘Start from an article or blog post'.
Method 1: Importing via URL (Recommended for Speed)
If your blog post is live on the internet, simply copy its URL from your browser's address bar. Paste the URL into the provided field in Lumen5 and click ‘Import' or ‘Go'. [4] Lumen5 will now fetch and analyze the content from your blog post automatically. This process can take a few moments while the AI reads and processes your content.
Method 2: Copy-Pasting Text (Useful for Drafts or Specific Sections)
Alternatively, you can directly copy the text from your blog post, whether it's from a Word document, your blog editor, or any text source. In Lumen5, choose the option to ‘Start with your text content' or ‘Copy and paste your text'. [2] Paste your copied text into the large text field provided and click ‘Go' or ‘Continue'. I find this method gives you more control if the URL import doesn't capture the text perfectly, and it's useful when you only want to use specific excerpts from longer articles.
Lumen5 might ask you to choose a video format or template at this stage, or it might wait until after the script is generated. If prompted now, you can pick a general template for the moment—we'll refine this choice in a later step.
Task: Import your chosen blog post into Lumen5. If it's published online, try the URL method first. If you encounter any issues or want to use only specific text sections, try the copy-paste method instead.
Step 2: Leveraging Lumen5's AI: The Automated Script Composer
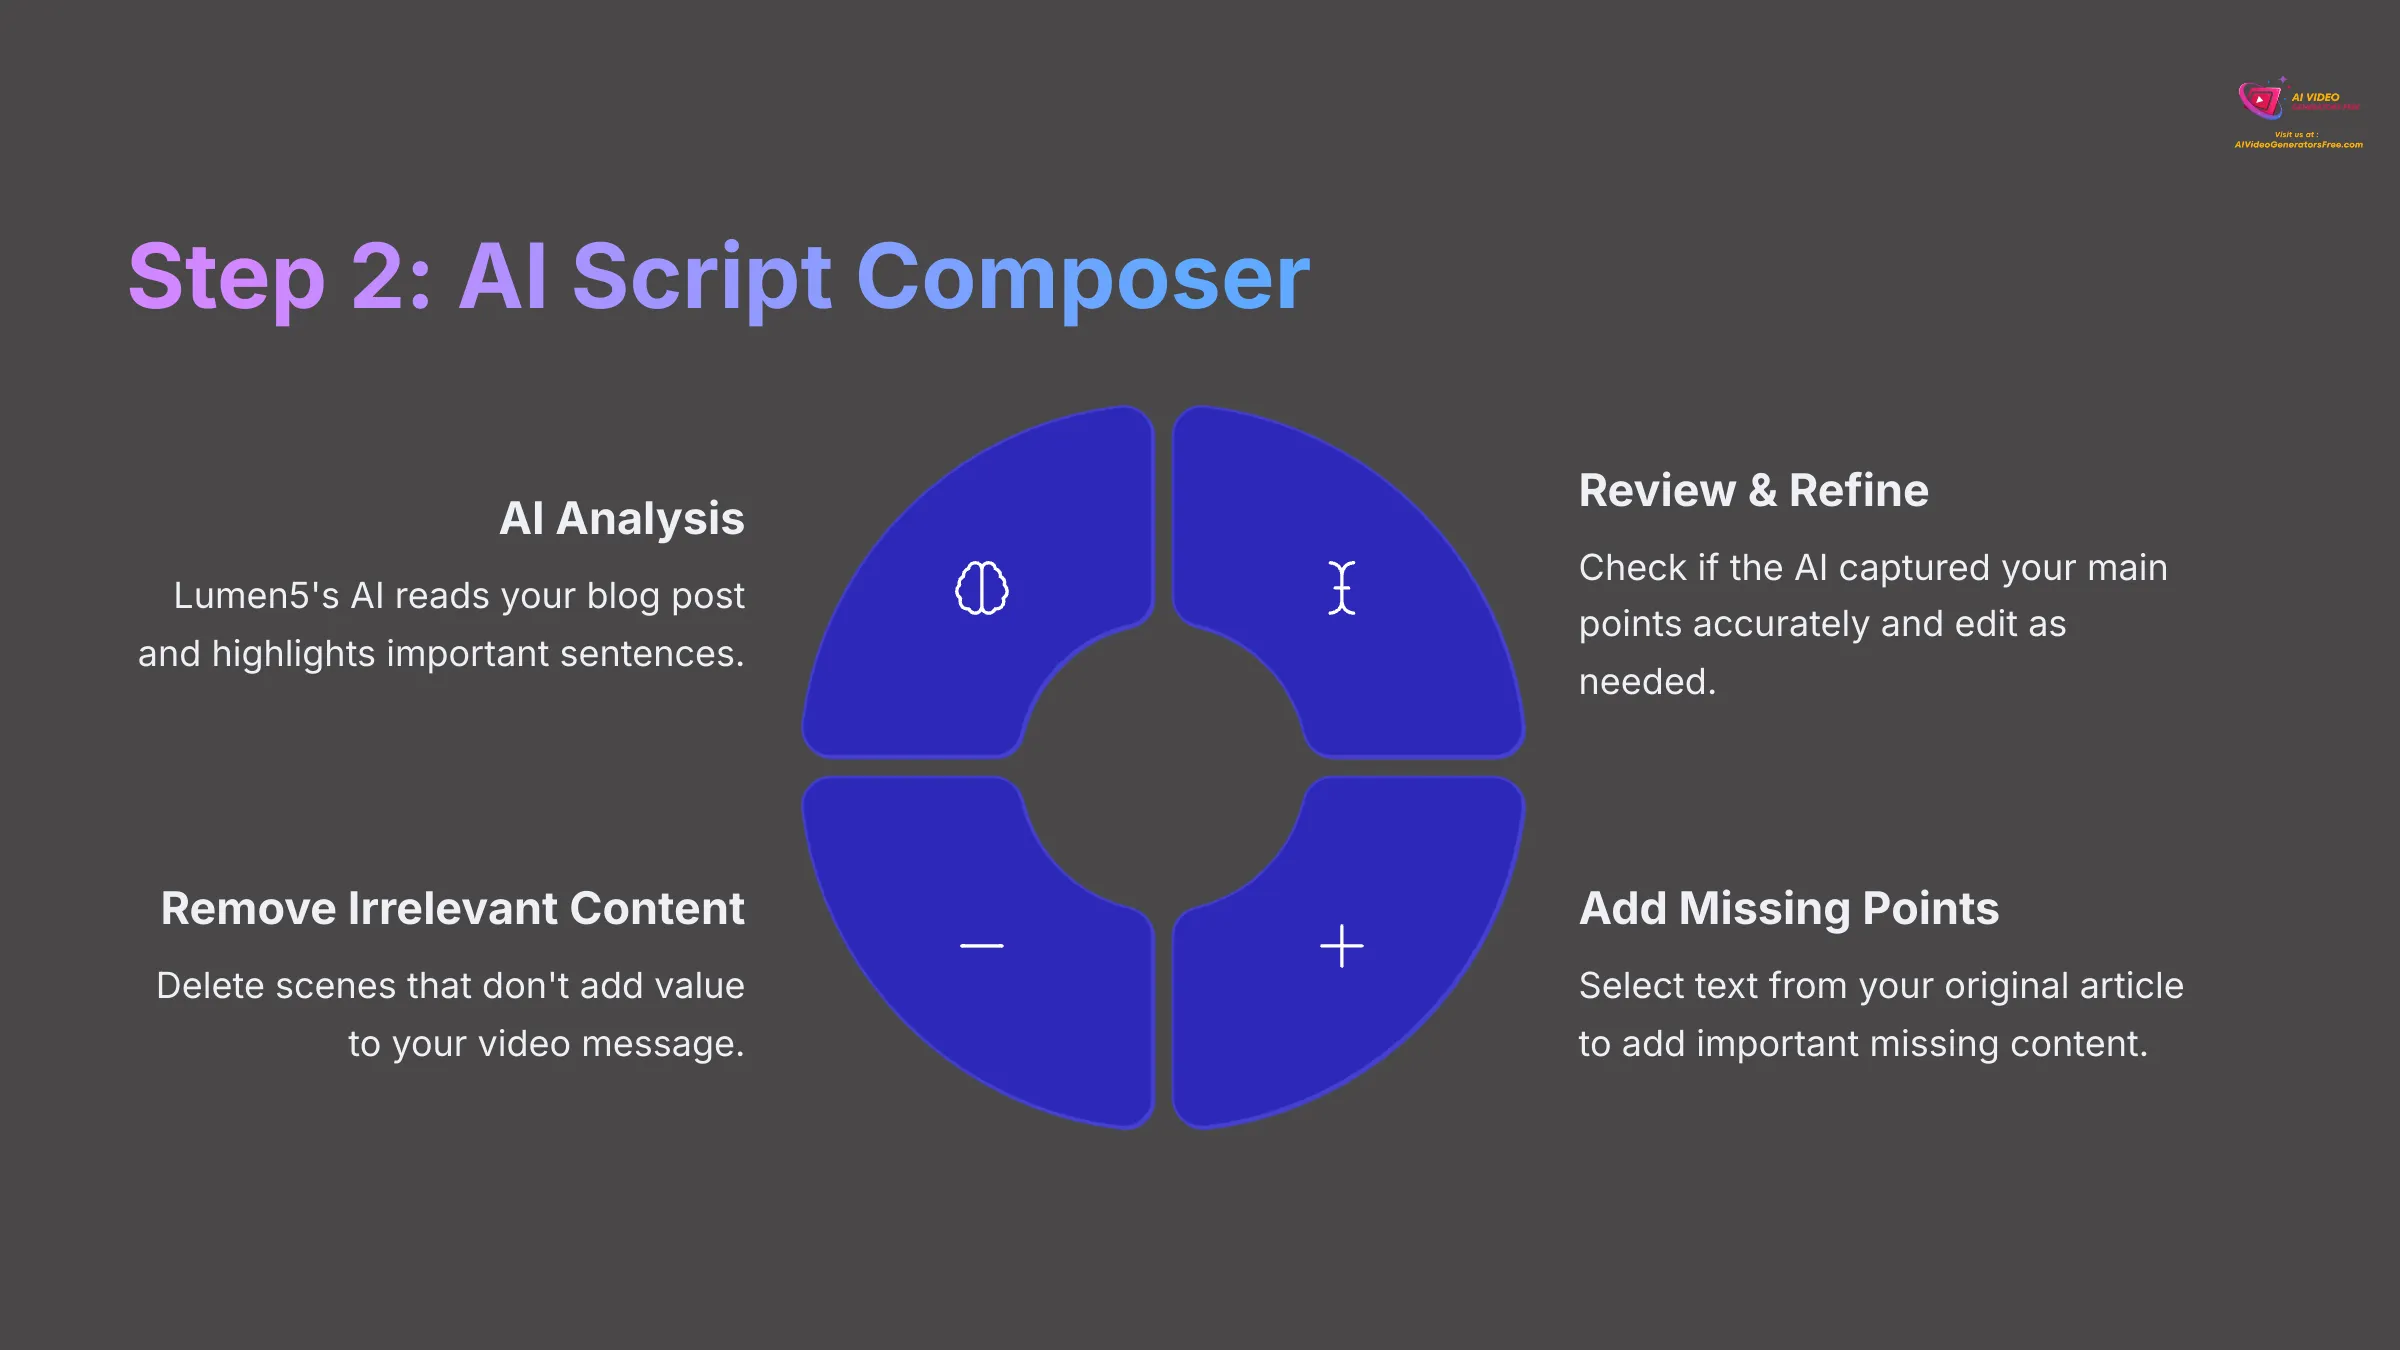
Once your blog content is imported, Lumen5's AI will automatically process it to generate an initial script or storyboard. This is where the ‘automated' aspect really shines, and you'll be taken to the Script Composer (or a similarly named editor).
Typically, you'll see your original text displayed on one side and the AI-selected sentences for video scenes on the other side. Lumen5's AI acts like a skilled editor, quickly reading your blog post and highlighting the most important sentences. It essentially creates a first-draft script for your video, identifying key points that will translate well to visual format.
The AI analyzes your text for important keywords, sentence structure, and overall flow. It aims to select content that's suitable for video scenes, creating a concise summary that captures your main points. Now comes the crucial step: review and refine this AI-selected script.
Carefully read through the generated script and ask yourself: Does it capture the main points accurately? Does it flow logically from one idea to the next? If the AI missed an important sentence, you can often click or select text from your original article to add it as a new scene. If a sentence seems irrelevant or doesn't add value, delete that scene or remove the text entirely.
You can directly edit the text within each proposed scene to make it more concise, impactful, or better suited for video format. If a selected sentence is very long, consider splitting it into two or more shorter scenes to improve readability in the video. Conversely, if two very short, related sentences are in separate scenes, you might combine them into one for better flow.
Once you're reasonably satisfied with the textual content, look for a button labeled ‘Continue', ‘Convert to video', or ‘Go to Storyboard'. Clicking this tells Lumen5 to proceed with matching media content to your refined script.
Task: Review the AI-generated script for your blog post in Lumen5's Script Composer. Make these specific refinements: 1. Edit the text in at least three AI-selected scenes for clarity or conciseness. 2. Add one important sentence from your original blog post that the AI missed. 3. Remove one AI-selected scene that you feel isn't crucial for the video's message.
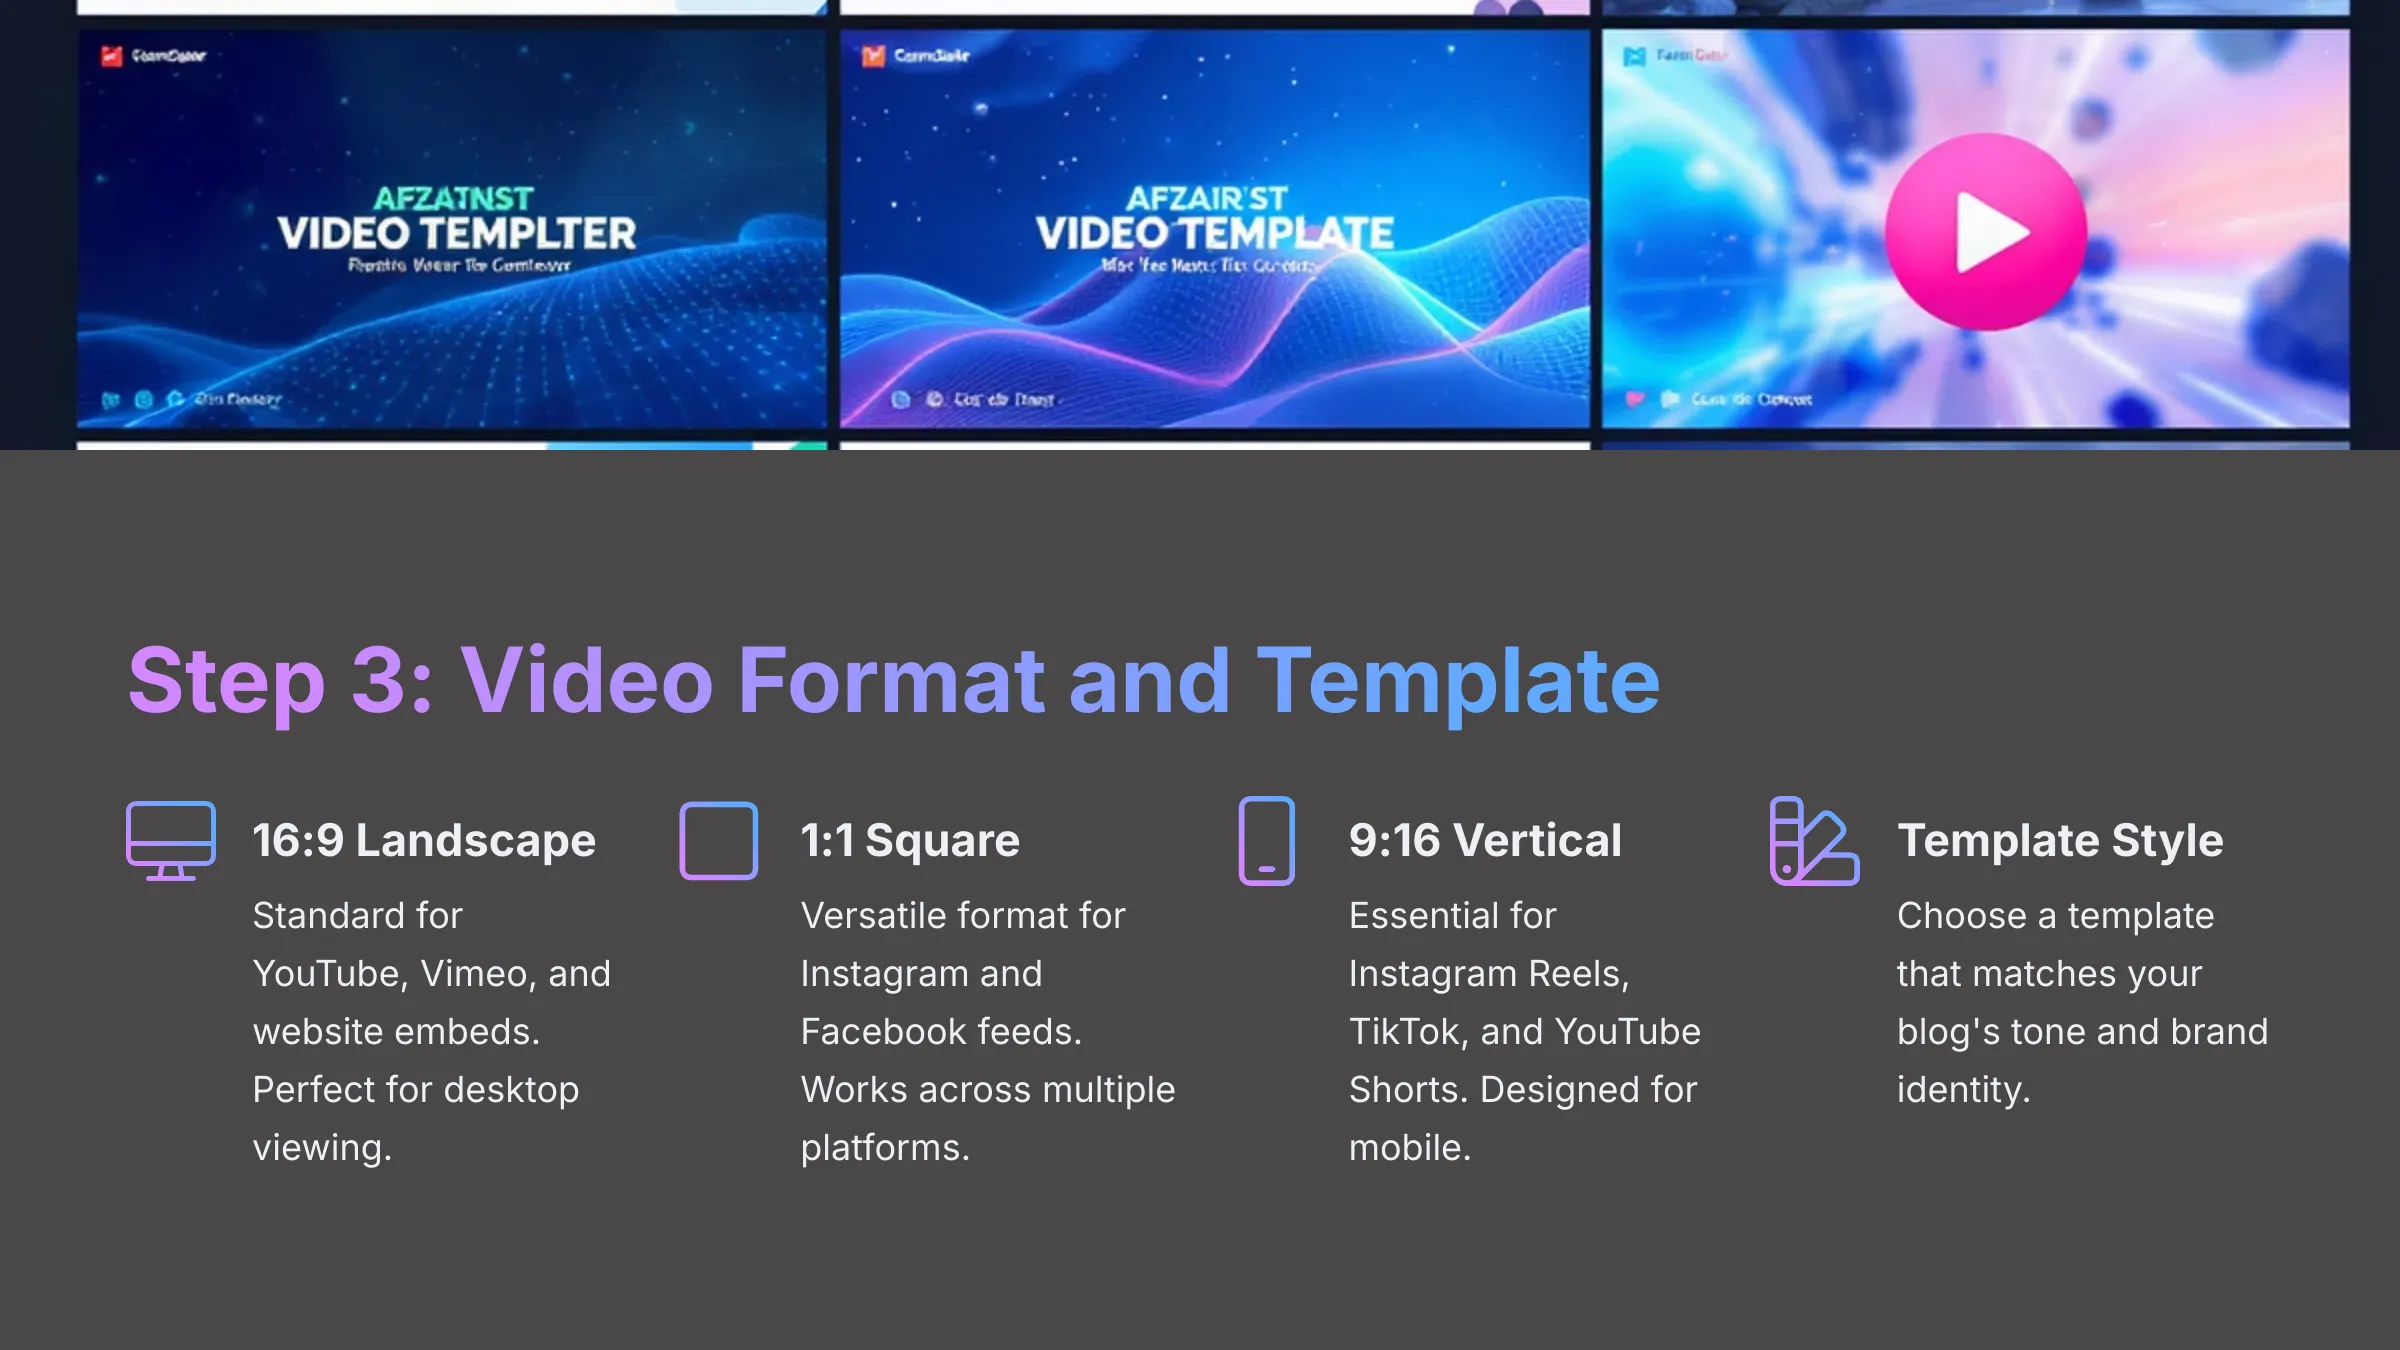
Step 3: Choosing a Video Format and Template
After processing your script, Lumen5 will typically prompt you to choose a video format (aspect ratio) and then select a template. Some versions might ask for the format earlier in the process. The aspect ratio choice is crucial because it determines where your video will look best when published.
Lumen5 offers common aspect ratios that include:
- 16:9 (Landscape): This is the standard format for YouTube, Vimeo, and website embeds. It's perfect for longer-form content and desktop viewing.
- 1:1 (Square): This format is popular for Instagram and Facebook feeds, offering good versatility for social media sharing.
- 9:16 (Portrait/Vertical): This is essential for Instagram Reels, TikTok, and YouTube Shorts, designed specifically for mobile viewing.
Consider where you primarily plan to share this video. For this first tutorial, let's select 1:1 (Square) since it's versatile for general social media use and works well across multiple platforms.
Once you've chosen a format, Lumen5 will display a library of templates organized by style (such as ‘Modern,' ‘Playful,' ‘Professional') or purpose. Templates control the overall visual style, including colors, fonts, animations, and layout patterns. Hover over a template thumbnail to see a quick preview of how it will look. Choose a template that aligns with your blog post's tone and your brand's visual identity.
Pay attention to font styles and color schemes when making your selection. If you set up a Brand Kit earlier, Lumen5 should automatically apply its elements like logo, colors, and fonts to whatever template you choose, ensuring brand consistency.
Task: For your current video project, select the 1:1 (Square) video format to ensure social media compatibility. Then, browse the available templates and choose one that matches the tone and style of your blog post. Preview at least two other templates before making your final selection to understand the differences.
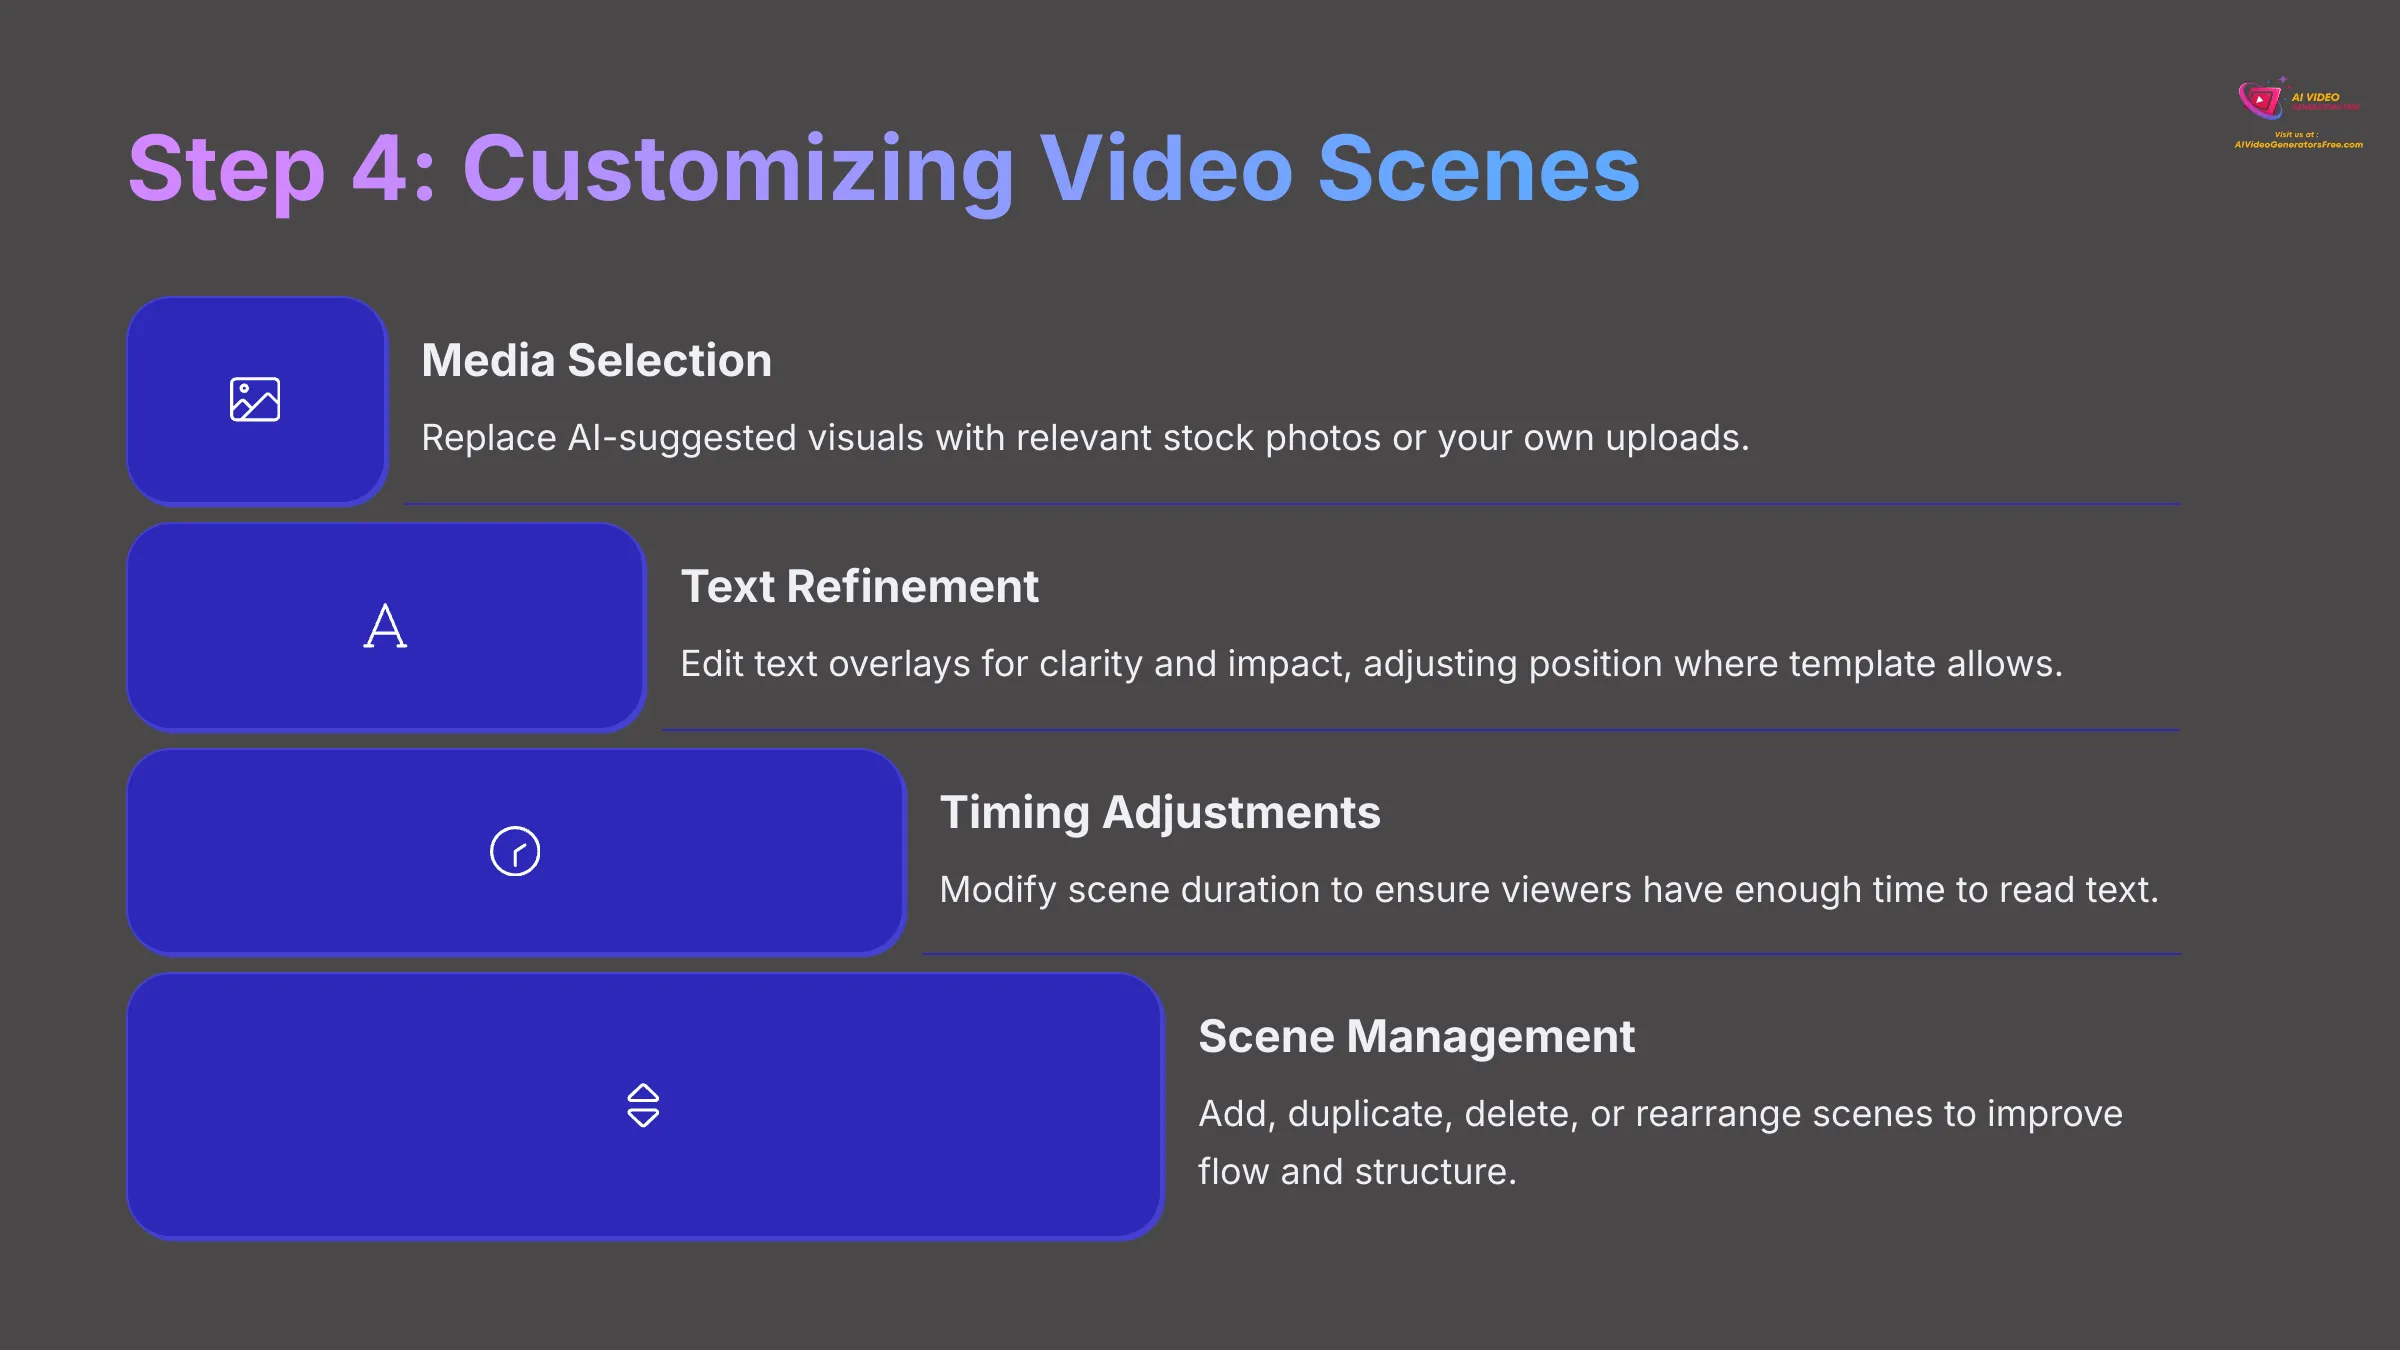
Step 4: Customizing Your Video Scenes – The Storyboard Editor
After selecting your format and template, you'll enter the main Storyboard Editor, where you'll fine-tune each scene to perfection. You'll typically see a Scene Timeline at the bottom, a Preview Window in the center, and various Editing Panels for Media, Text, Style, and Music.
Working with Media (Visuals for Each Scene):
Lumen5 automatically populates each scene with AI-suggested media based on your text content. Review these suggestions carefully, as they may not always perfectly match your vision. If you don't like a suggestion, click on the scene and navigate to the ‘Media' tab.
- Search Stock Media: Use the search bar in the ‘Library' section to find relevant stock photos or videos using specific keywords related to your content. Click on any new media item to replace the existing selection.
- Uploading Your Own Media: Navigate to the ‘Uploads' section and click ‘Upload Media' to select files from your computer. This is particularly valuable for adding authentic, brand-specific visuals.
- Adjusting Media: For images, you might be able to reposition the focal point to highlight specific areas. For video clips, look for options to ‘Trim' or ‘Edit' to select the most relevant segment. I find this trimming feature particularly handy for creating dynamic B-roll footage.
Editing Text Overlays:
Click on any scene, then locate the text input field to make modifications. Modify Text Content by rephrasing, shortening, or adding text, but keep it concise for video readability. Text Positioning varies by template—some allow dragging the text box, while others have fixed positions. Highlighting Keywords is available in some templates, allowing you to emphasize important words. Font Size and Style are often tied to your Brand Kit or template settings.
Adjusting Scene Timing (Duration):
Lumen5 automatically sets scene duration based on text length and reading speed. To manually adjust scene duration, select the scene and look for a timer icon or duration field. You might want a scene with an impactful image or important message to last longer than others.
Managing Scenes:
- Adding New Scenes: Look for a ‘+' icon or ‘Add Scene' button to insert additional content.
- Duplicating Scenes: This feature is useful for reusing a successful layout with different text or media.
- Deleting Scenes: Select any scene and click the ‘Delete Scene' icon to remove it entirely.
- Rearranging Scenes: Most editors allow you to drag and drop scenes in the timeline to change their order.
Exploring Layouts (If Available):
Some templates offer different pre-designed layouts for text and media positioning within individual scenes. Check the ‘Layout' or ‘Style' tab to experiment with various arrangements. Different layouts can dramatically change the feel and impact of a scene.
Task: For your current Lumen5 video project, perform these customizations: 1. In at least three different scenes, replace the AI-suggested media by searching the stock library for more relevant content. 2. In two of those scenes, edit the text overlay to improve clarity or impact. 3. Adjust the duration of one scene to be longer and another to be shorter based on content importance. 4. Add one completely new scene with custom text. 5. Try reordering two scenes to improve the logical flow.
Step 5: Adding Audio: Music and Enhancing with Voiceovers
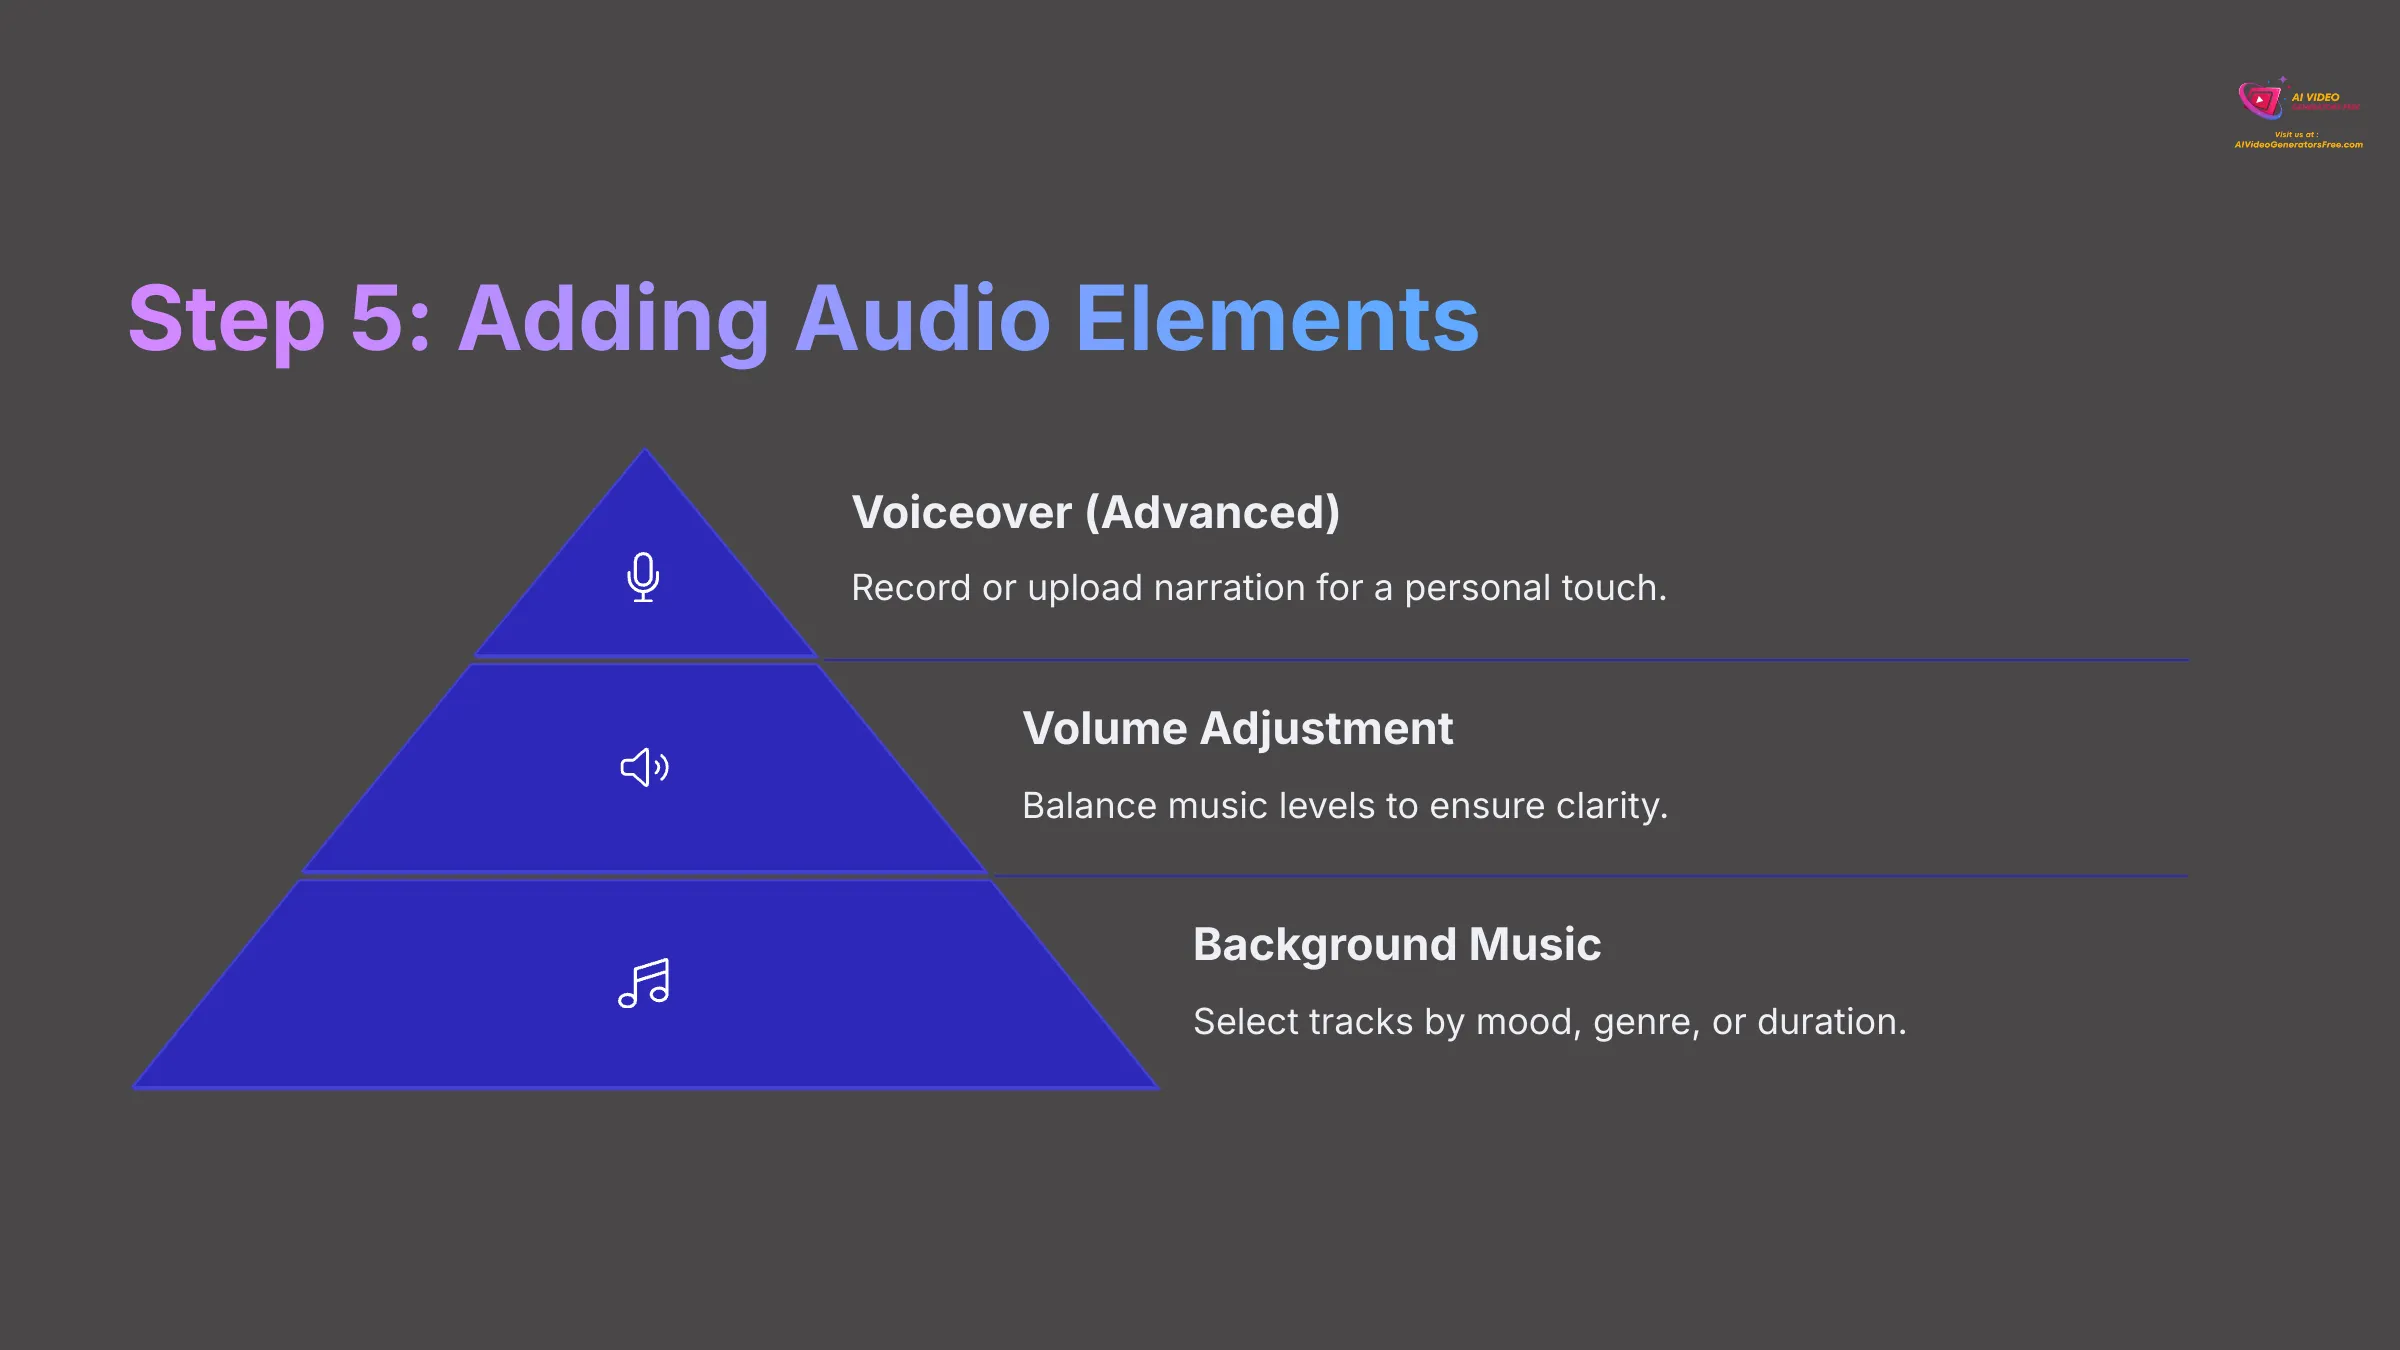
With your scenes visually customized, it's time to add audio elements that will bring your video to life. In the Lumen5 editor, navigate to the ‘Music' or ‘Audio' tab to access audio options.
Adding Background Music (Essential for Engagement):
Most Lumen5 plans include a library of royalty-free music tracks. [4] Browse by Mood (upbeat, calm, dramatic), Genre (electronic, acoustic, corporate), or Duration to find suitable options. Click on any music track to preview it and hear how it might complement your content. Once you find a track that matches your video's tone and energy, select it to apply it to your entire video.
If you have custom music that better represents your brand, look for an ‘Upload Music' option and select the audio file from your computer. Always ensure you have the legal rights to use any uploaded music to avoid copyright issues. After adding music, you can usually adjust its volume to ensure it doesn't overpower other audio elements.
Adding Voiceovers (VO) – For a More Personal Touch:
A voiceover can significantly enhance your video, especially for tutorials or explanations. Check if your current Lumen5 plan supports voiceover features.
- Option 1: Record Directly in Lumen5 (If Available): Some versions offer a built-in voice recorder that requires microphone access from your browser. This is convenient but may have quality limitations.
- Option 2: Upload Pre-recorded VO Files: Record your voiceover using external tools like Audacity, GarageBand, or your phone's voice recorder. Then, in Lumen5, find the ‘Upload Voiceover' option to add your audio file.
- Syncing VO with Scenes: Ensure your recording timing aligns with each scene's duration and content. You may need to adjust scene timing to match your voiceover pace.
- Automatic Music Ducking: Quality platforms often automatically lower background music volume when voiceover is present. Check if Lumen5 provides this feature to maintain audio clarity.
My recommendation for beginners is to master background music first before attempting voiceovers. Good background music is often sufficient for creating engaging videos, and voiceovers add complexity that you can explore once you're comfortable with the basic workflow.
Task: 1. Browse Lumen5's stock music library and select a background music track that complements your video's tone. Apply it to your project. 2. Preview your video with the added music to ensure it enhances rather than distracts from your content. 3. If your plan allows, try recording a short voiceover for one scene as an experiment (optional).
Step 6: Previewing, Publishing, and Downloading Your Video
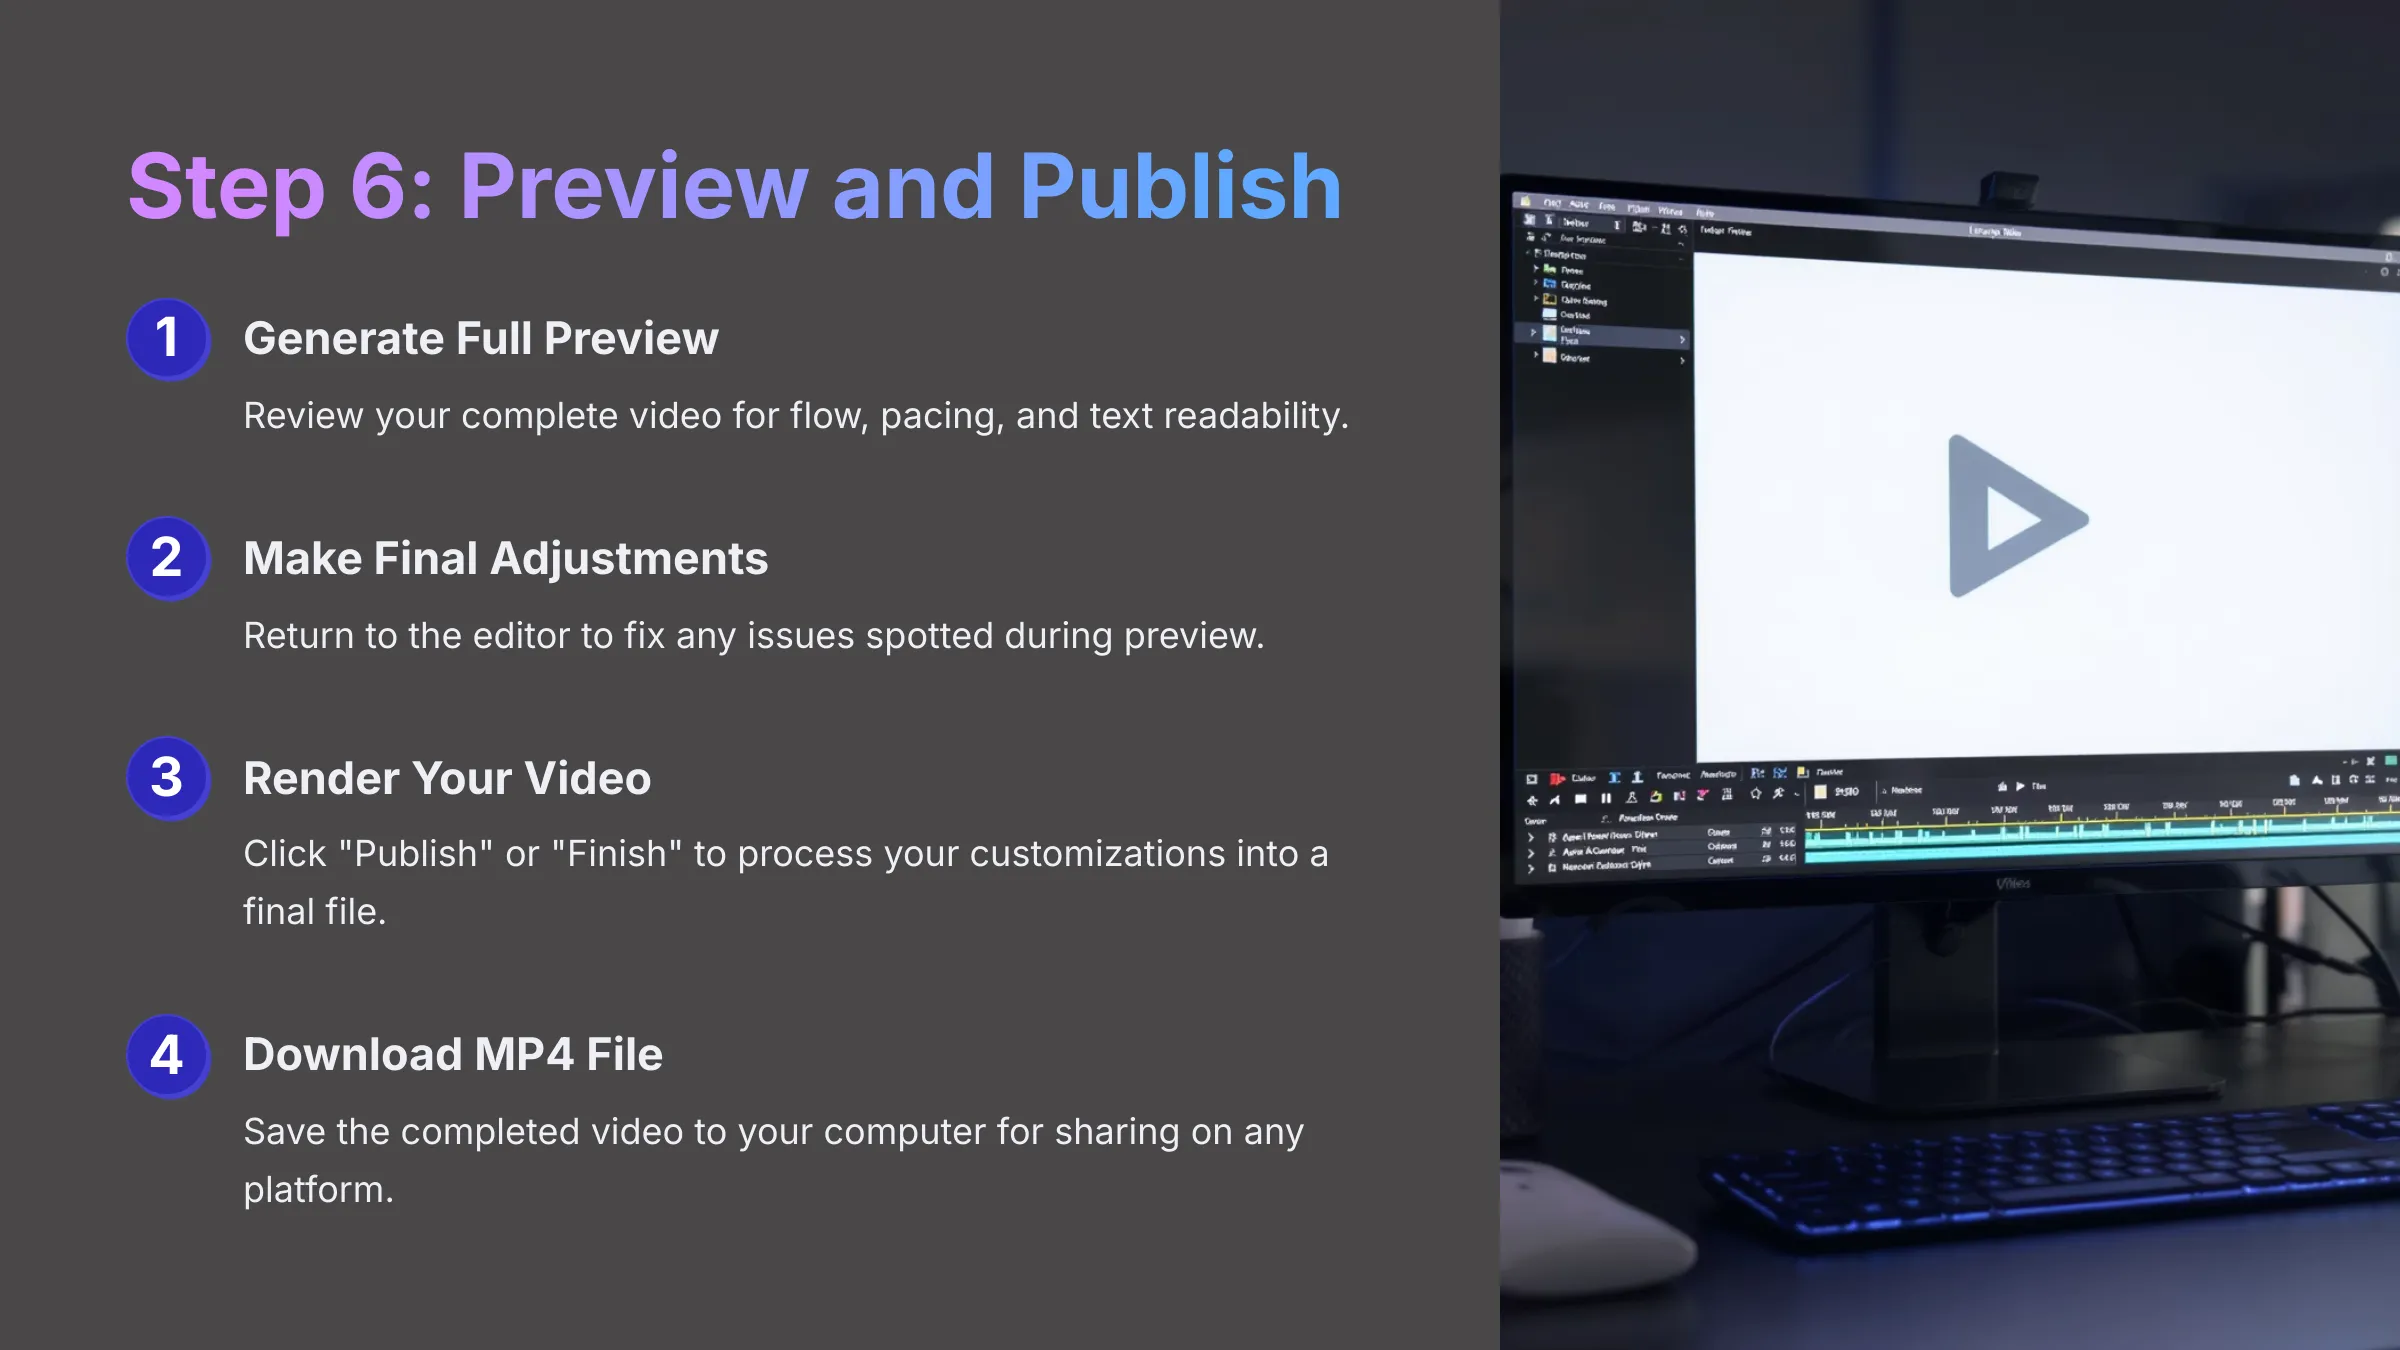
Once you've customized your scenes and added audio elements, it's time for the final review process. Click the ‘Preview' button to generate a complete preview of your video from start to finish.
What to Check in the Full Preview:
- Overall Flow and Pacing: Does the video transition smoothly between scenes? Is the pace engaging without feeling rushed or too slow?
- Text Readability: Is all text clearly visible and on screen long enough for viewers to read comfortably? Consider that mobile viewers may need more time.
- Visual Alignment: Do images and video clips align well with their corresponding text? Are there any mismatches that could confuse viewers?
- Audio Levels: Is the background music at an appropriate volume? If you included voiceover, is it clear and not competing with background music?
- Branding Consistency: Is your logo or watermark positioned correctly? Do the colors and fonts match your brand guidelines?
- Scene Timing: Are individual scene durations appropriate for their content? Important scenes might need more time, while transitional scenes can be shorter.
If you spot any issues during the preview, return to the Storyboard Editor and make necessary adjustments. Don't hesitate to preview multiple times—it's better to catch problems now than after publishing.
When you're satisfied with the preview, click ‘Publish', ‘Finish', or ‘Render Video'. Lumen5 will now ‘render' your video, which means it's processing all your customizations into a final video file. Rendering time varies depending on video length, complexity, and current platform load. You may receive an email notification when the process is complete.
Once rendering finishes, you'll be able to download the video file, typically as an MP4 format that's compatible with most platforms. Look for a ‘Download' button in your project dashboard. Some plans might offer direct sharing options to social media platforms, but downloading the MP4 file gives you maximum flexibility for future use.
Task: 1. Generate a complete preview of your Lumen5 video and watch it carefully from beginning to end. 2. If you notice any issues, return to the editor and make adjustments, then preview again. 3. Once you're satisfied with the result, click ‘Publish' to begin the rendering process. 4. After rendering completes, download your first automated blog-to-video creation!
Publish Your First VideoBeyond the Basics: Tips for Better Automated Videos
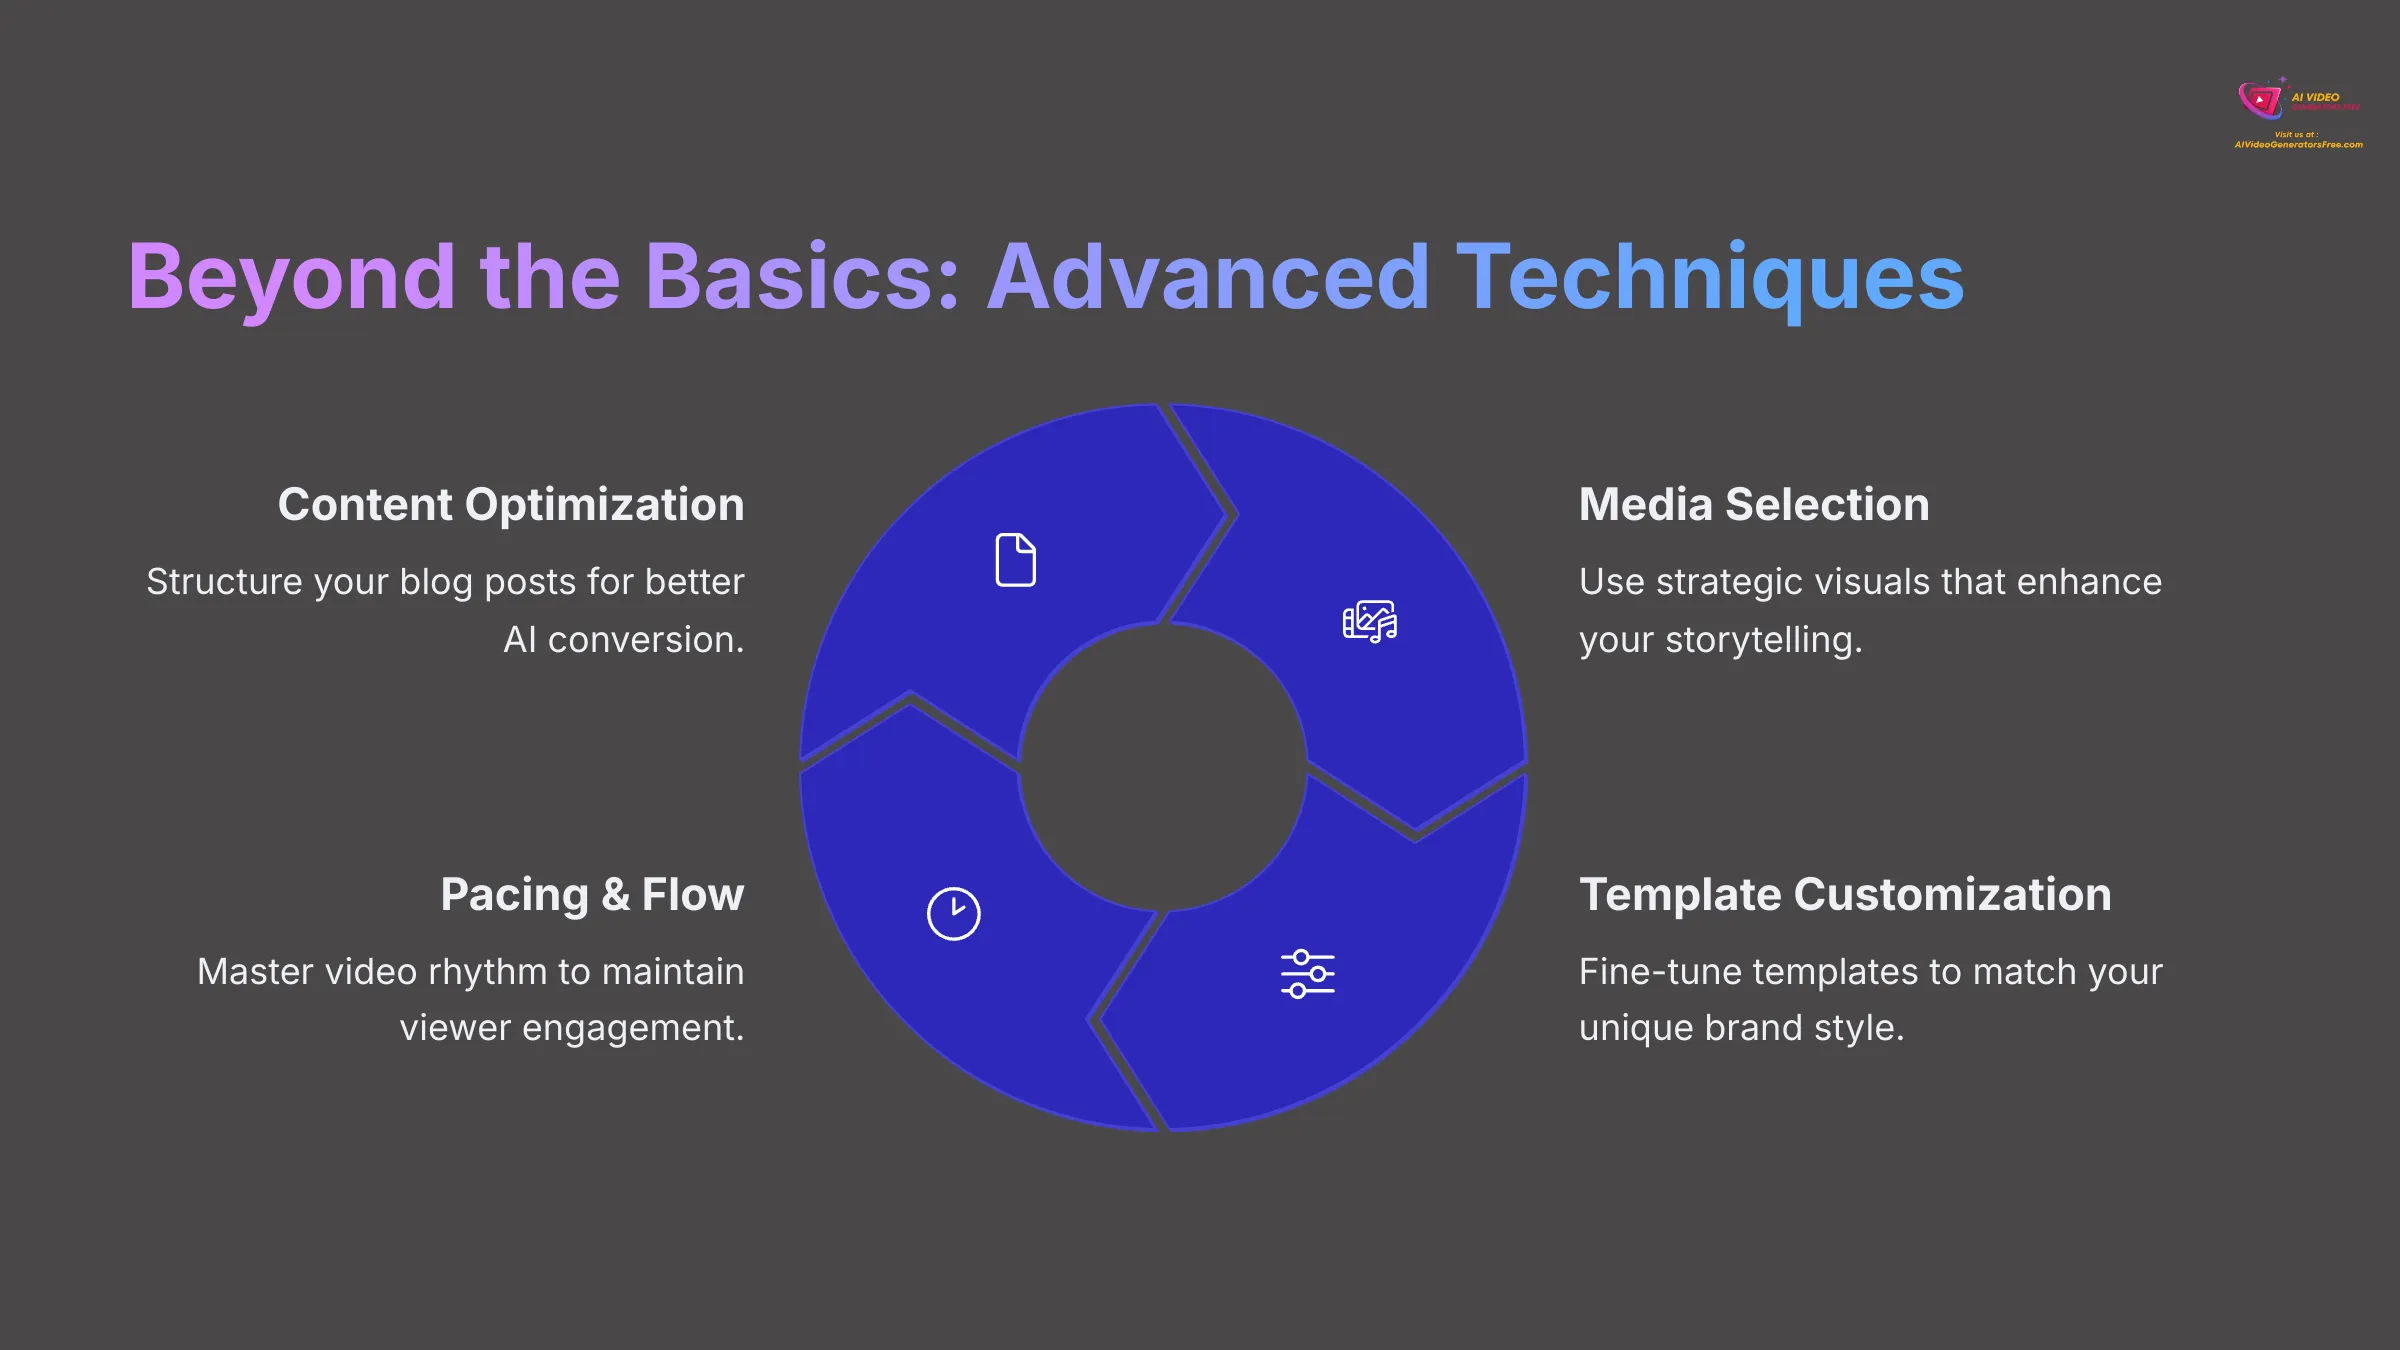
Congratulations on creating your first automated video! Now that you understand the basic workflow, let's explore advanced techniques that will help you refine your process and achieve more professional results.
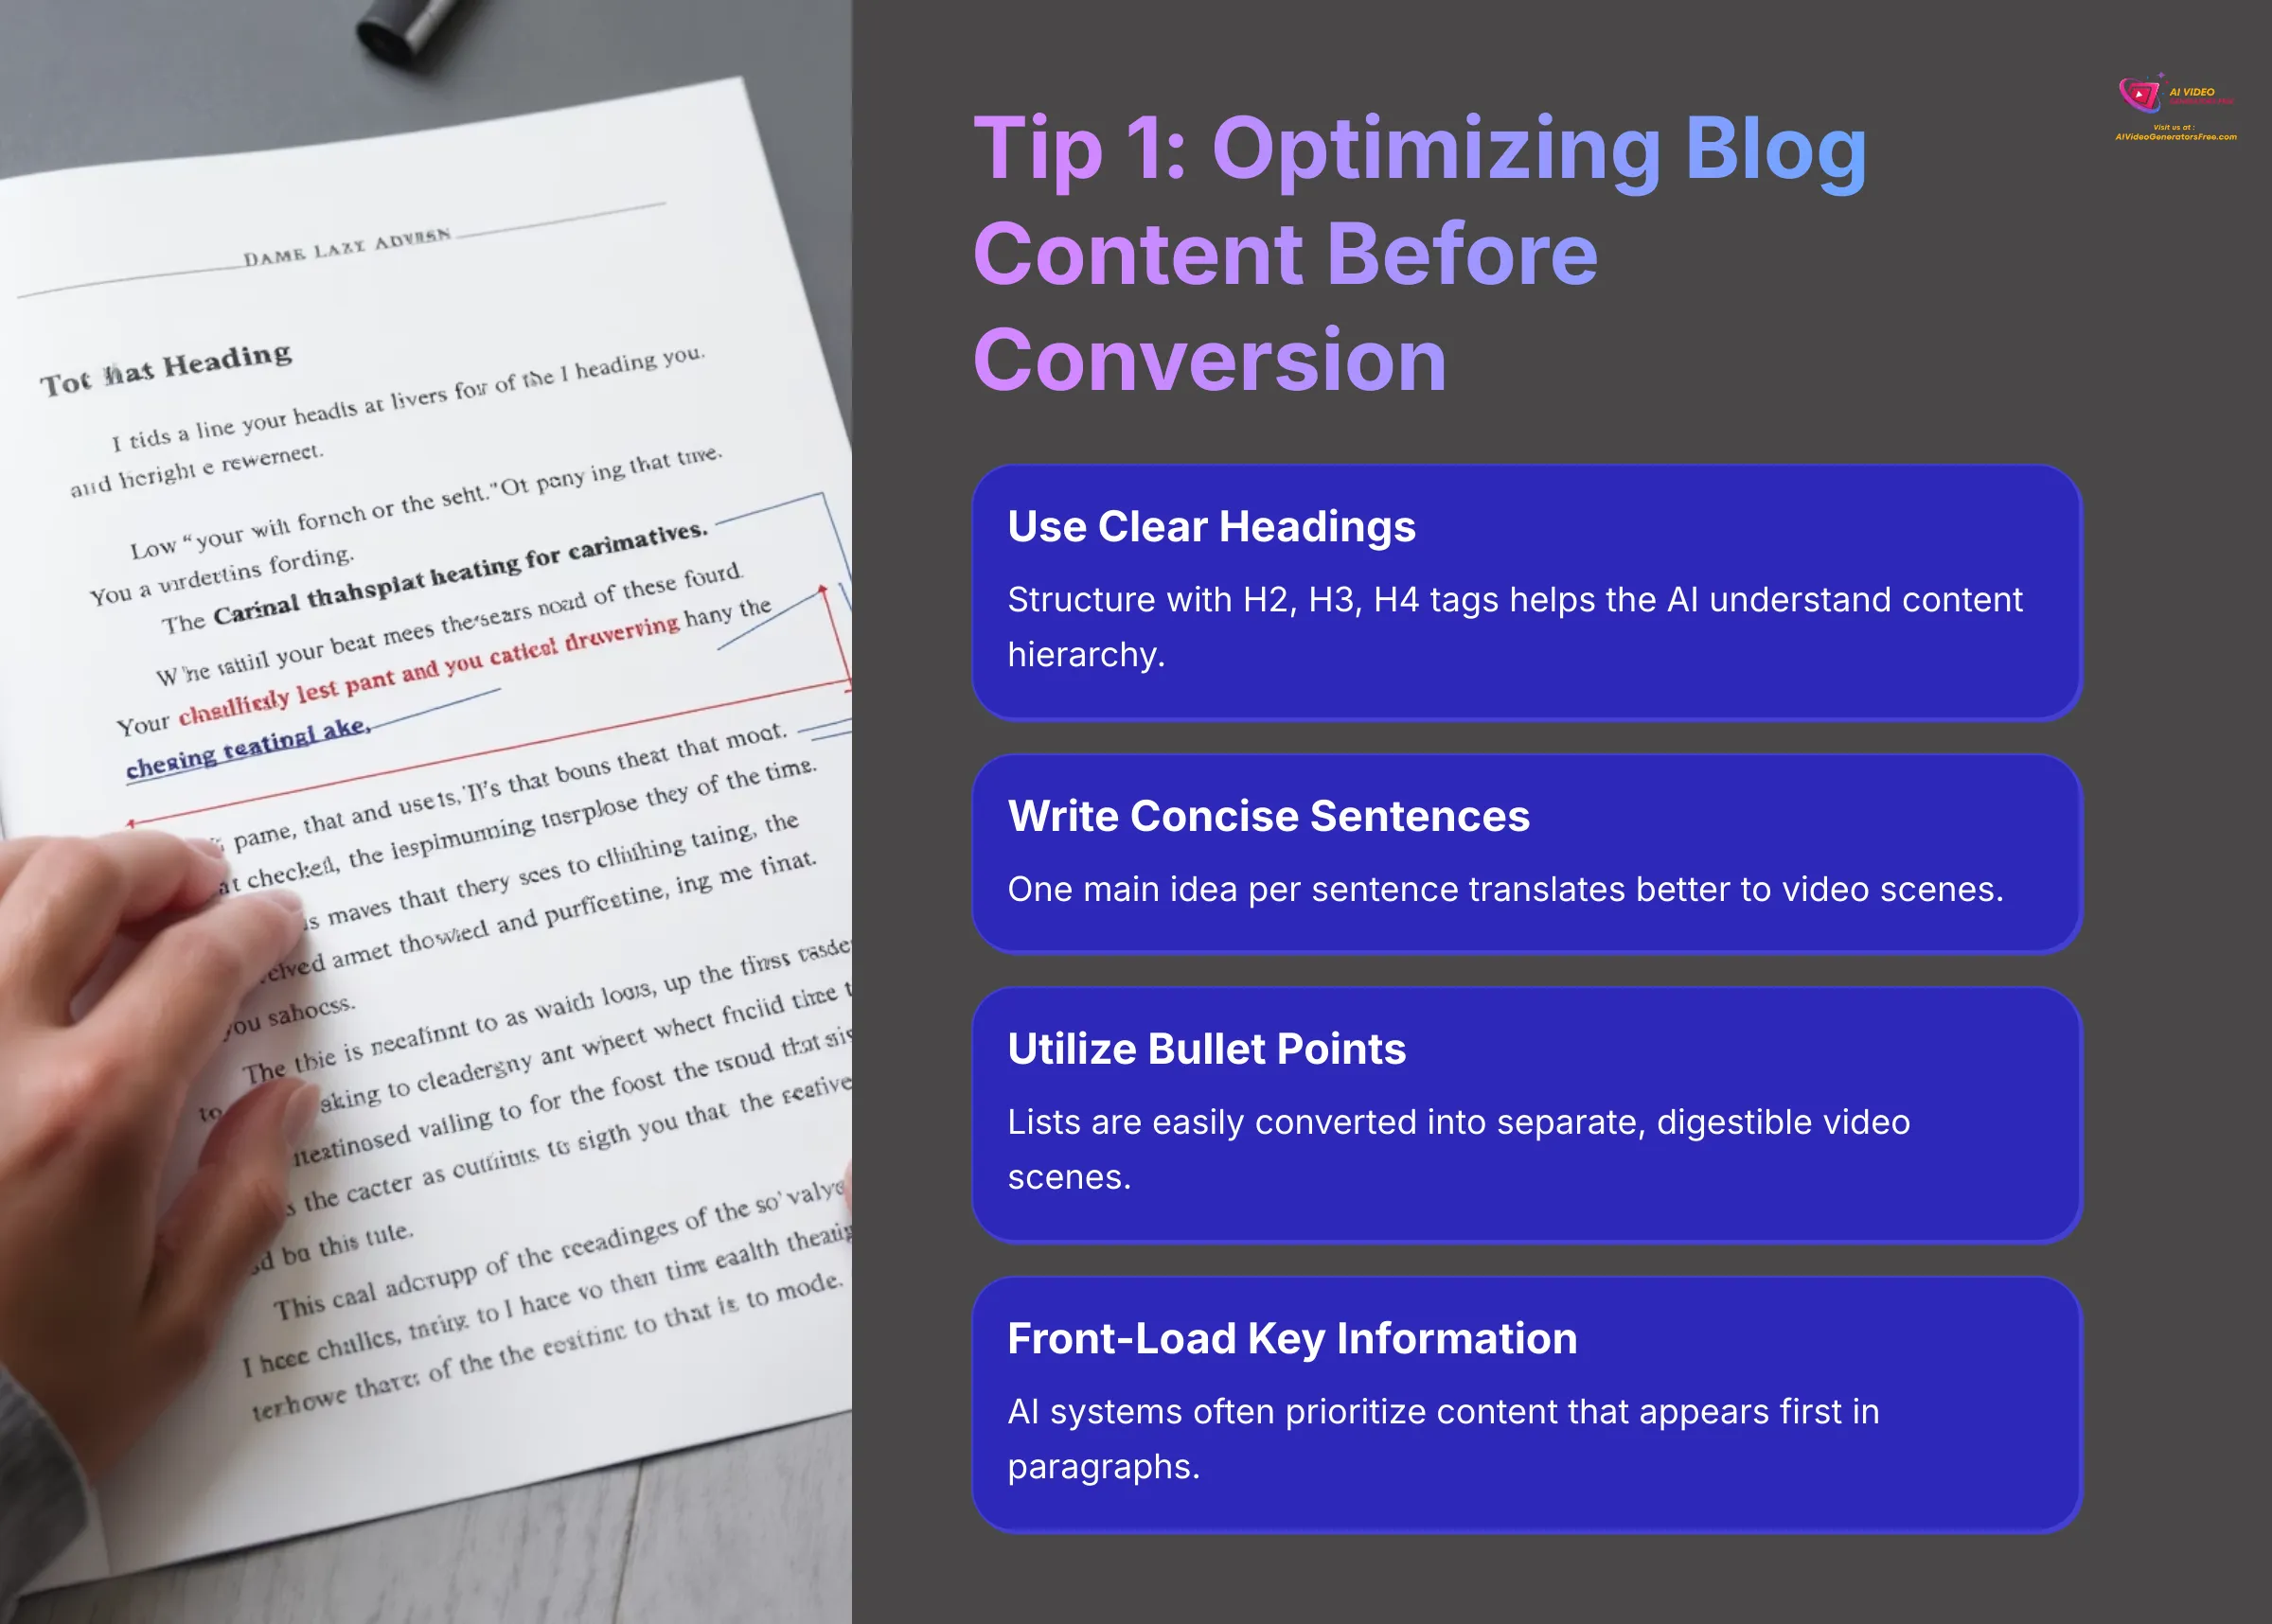
Tip 1: Optimizing Your Blog Content Before AI Conversion
Strategically preparing your blog content before importing it into Lumen5 helps the AI make better initial selections and reduces the amount of manual editing required later. Think of it as giving a chef high-quality ingredients—better input leads to better output.
- Use Clear, Descriptive Headings (H2, H3, H4): Lumen5's AI uses heading structure to understand your content's organization and hierarchy. Well-structured headings help the AI identify main topics and supporting points.
- Write Concise, Focused Sentences: Aim for one main idea per sentence, as these translate better to video scenes. Long, complex sentences often need to be broken down anyway.
- Utilize Bullet Points or Numbered Lists: Lumen5 can often convert these formatting elements effectively into separate video scenes, making your content more digestible.
- Ensure Logical Flow and Short Paragraphs: A well-organized post with clear progression helps the AI understand the natural sequence of ideas.
- Front-Load Important Information: Place critical information early in sentences and paragraphs, as AI systems often prioritize content that appears first.
- Define Key Terms Clearly: When you explain technical terms or concepts clearly, it aids the AI in selecting appropriate visuals and understanding context.
- Proofread for Clarity and Errors: Clean, error-free copy leads to cleaner AI output and reduces the need for extensive manual corrections.
Task: Take the blog post you used for Project 1 and review its structure. Identify at least two specific changes you could make to the original blog post that would likely improve Lumen5's AI conversion results.
Tip 2: Effective Use of Stock Media and Your Own Uploads
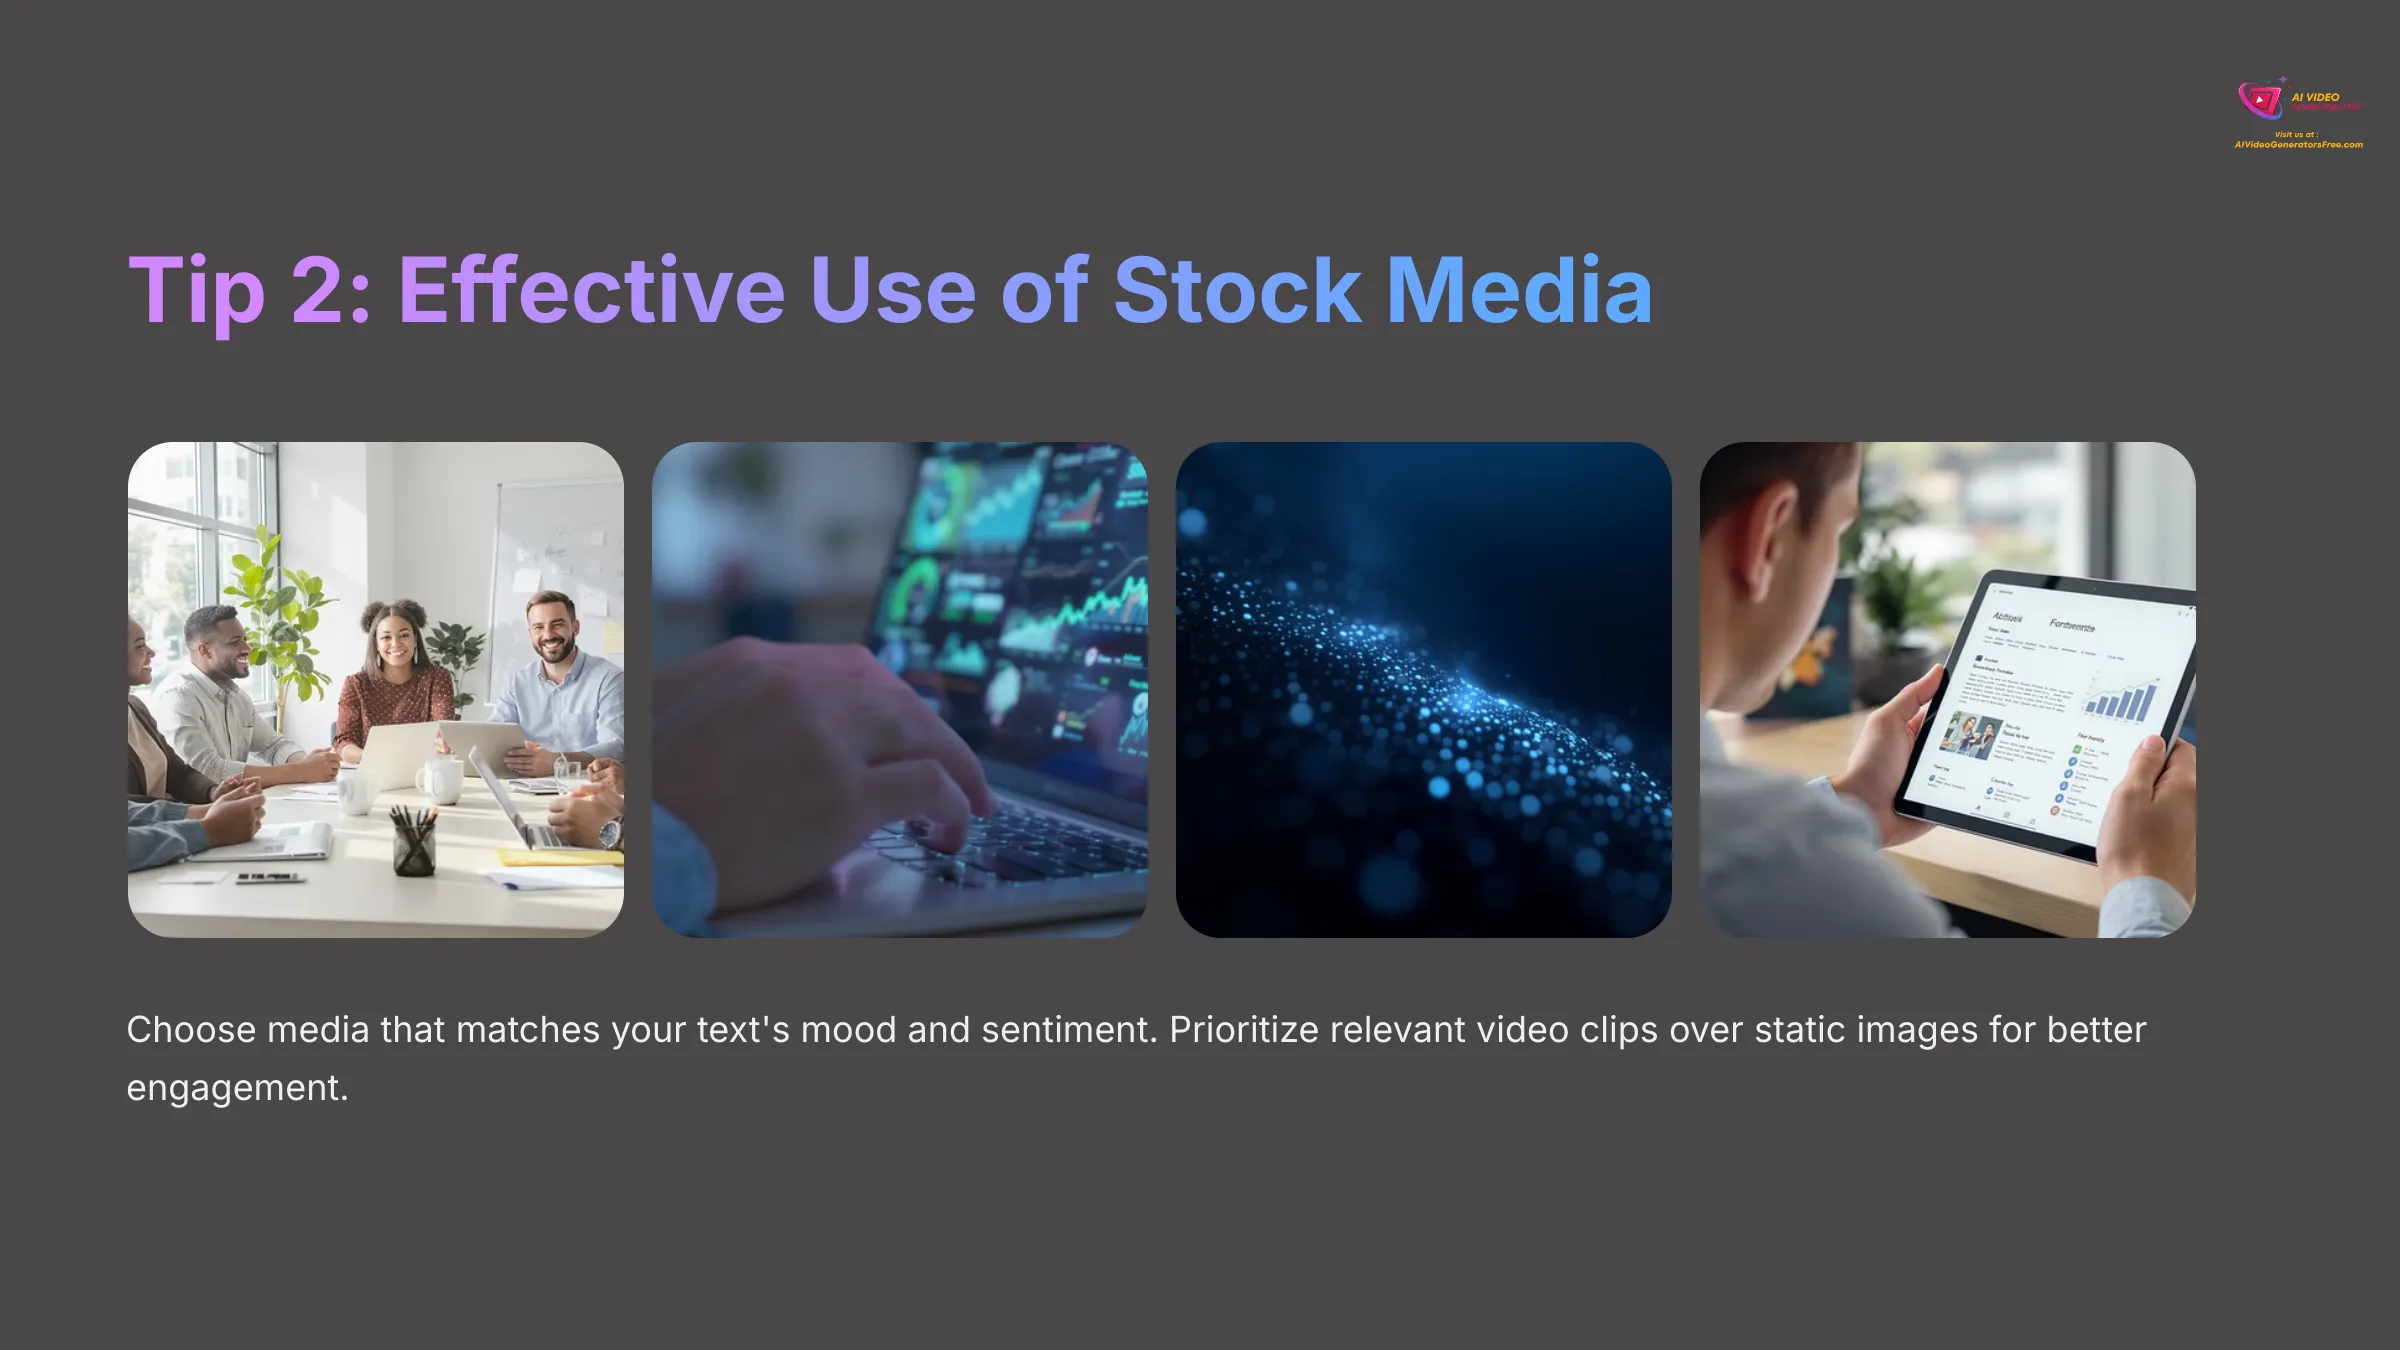
Making deliberate visual choices enhances storytelling and viewer engagement. Remember, you're not just filling space—you're adding meaning and emotional impact to your content.
- Match Media Mood to Text Sentiment: If your text conveys excitement or positivity, choose bright, energetic visuals. For serious or professional content, select more subdued, authoritative imagery.
- Prioritize Relevant Video Clips Over Static Images: Video clips add movement and dynamism to your scenes, keeping viewers more engaged than static images alone.
- Maintain a Consistent Visual Style: Select media with similar color palettes, lighting styles, or aesthetic approaches to create visual cohesion throughout your video.
- Ensure High Quality and Avoid Clichés: Opt for crisp, high-resolution media and steer clear of overused stock images that viewers have seen countless times.
- Leverage Your Own Uploads for Authenticity: Your original photos, graphics, or video clips make your content unique and more authentic to your brand.
- Think Abstractly and Metaphorically: Sometimes the best visual doesn't directly show what you're discussing but represents the underlying concept or emotion.
- Use ‘Favorites' or ‘Recently Used' Features: These tools help you maintain consistency across multiple videos and save time in future projects.
- Don't Be Afraid to Override AI Suggestions: The AI provides a starting point, but your human judgment and brand knowledge are invaluable for making the best choices.
Task: In your next Lumen5 project: 1. Replace at least 50% of AI-suggested media with your own carefully selected alternatives. 2. Upload and incorporate at least one piece of your own original visual media (photo, graphic, or video clip).
Tip 3: Exploring Advanced Template Customization & Styles
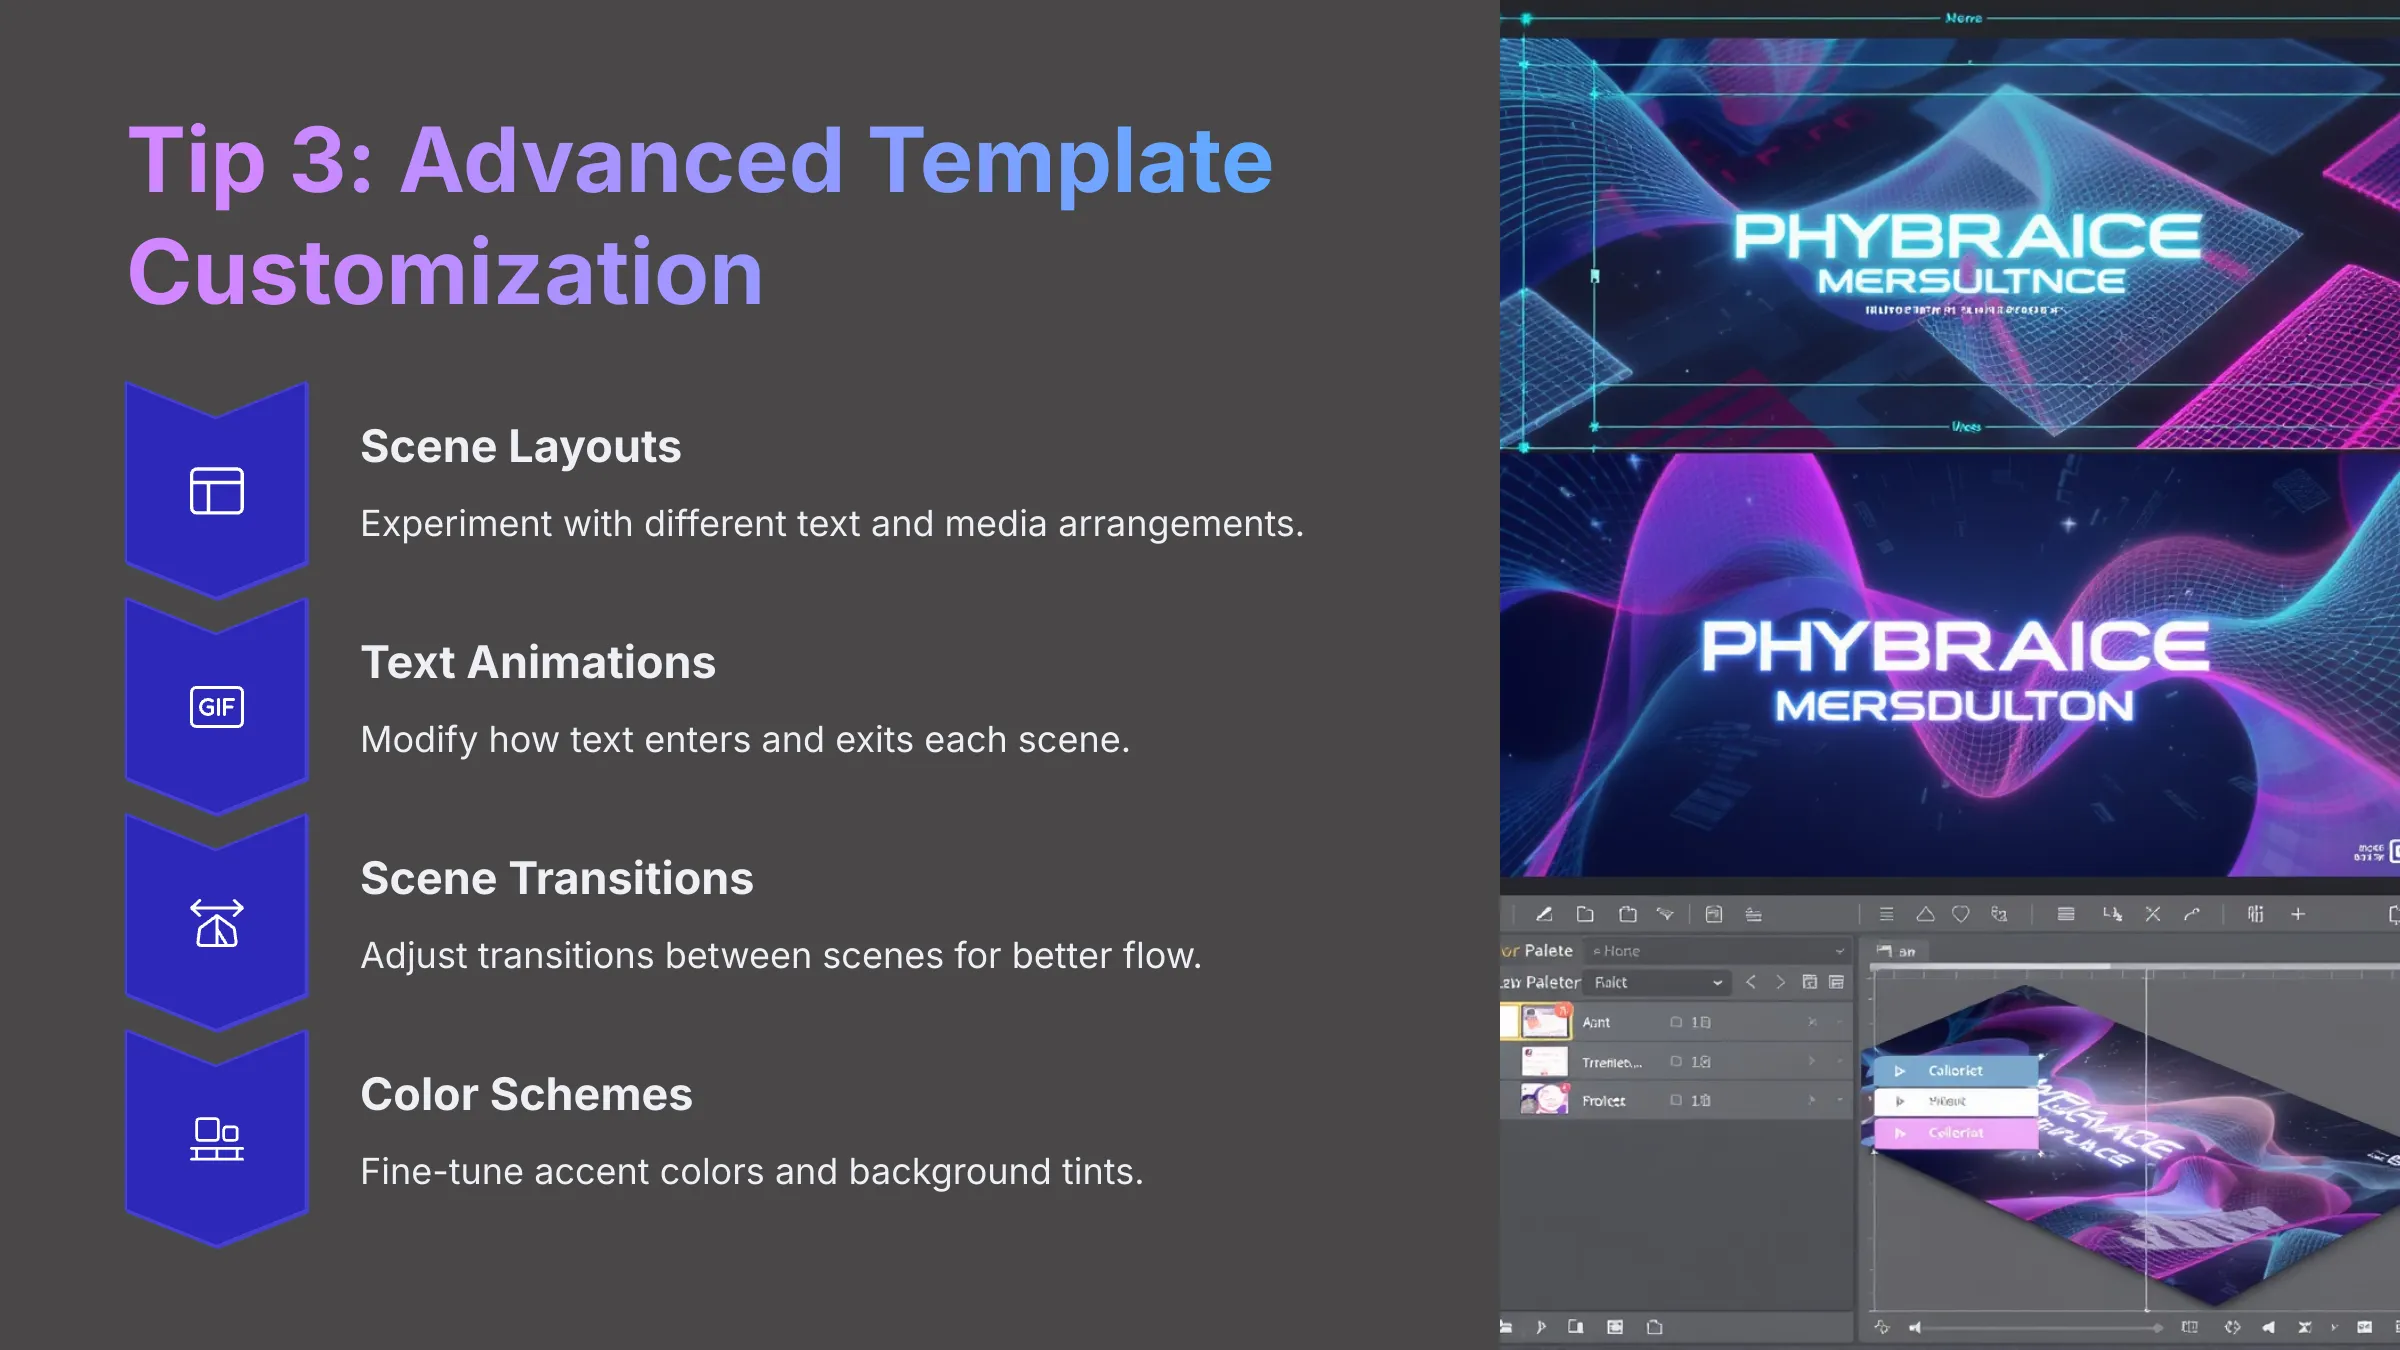
Move beyond basic template selection to explore finer control over scene layouts, text animations, transitions, and color schemes. This is where you can truly make a template reflect your unique brand personality.
- Dive Deeper into Scene Layouts: Many templates offer multiple layout options for each scene type. Experiment with different arrangements of text and media to find what works best for your content.
- Customize Text Animations: Some templates allow you to modify how text enters, exits, or behaves during the scene. Subtle animations can add professionalism without being distracting.
- Adjust Scene Transitions: Check if you can modify the transitions between scenes—smooth fades, quick cuts, or creative wipes can all affect your video's rhythm and feel.
- Fine-Tune Color Schemes: Beyond your Brand Kit colors, some templates allow tweaking accent colors, background tints, or overlay transparency for more nuanced control.
- Master Text Styling Options: Look for options to highlight keywords, add background colors to text boxes, or adjust text positioning for maximum impact.
- Save Customized Templates (If Possible): If Lumen5 allows saving modified templates as presets, create your own custom templates for consistent future use.
- Consider ‘Instant Videos' with a Critical Eye: While these automated options provide quick results, always review and customize them to ensure they align with your brand and message.
Task: In a new Lumen5 project, select one template and experiment with customization. For three different scenes, try alternative layouts. Explore whether you can modify text animations or scene transitions for at least one scene.
Tip 4: Understanding Video Pacing, Flow, and Engagement
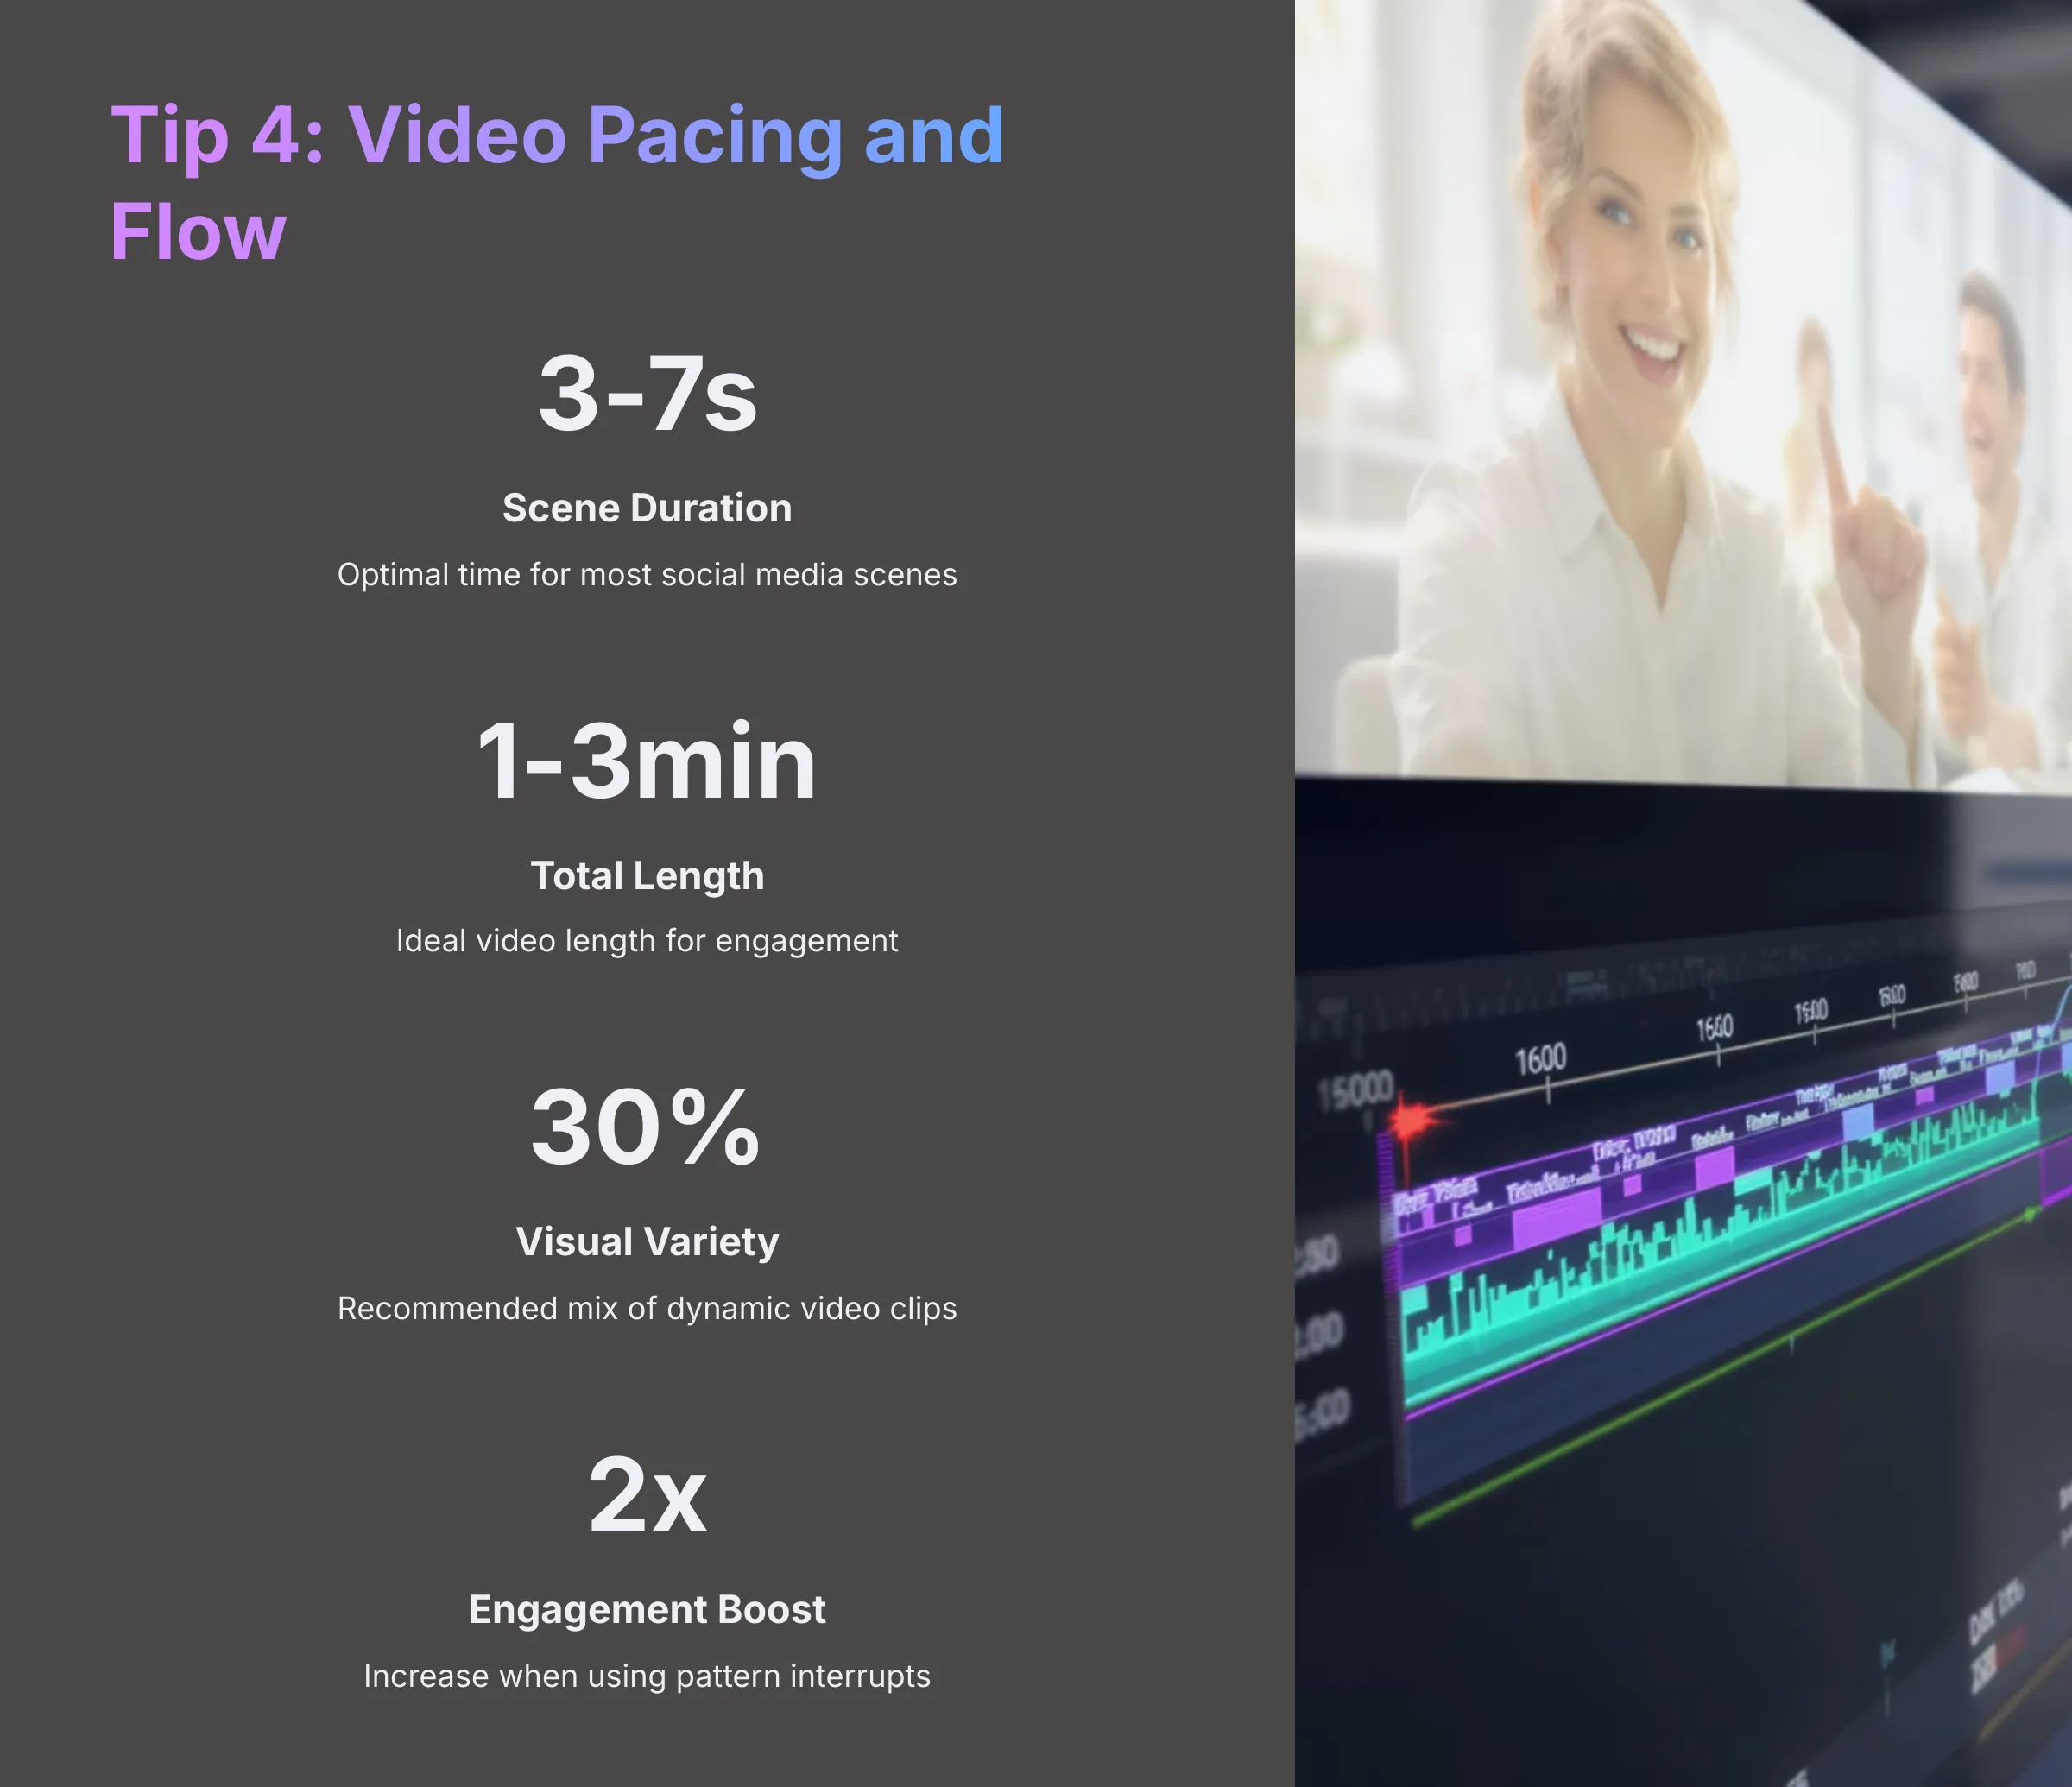
Strategically manipulating scene duration, text density, media selection, and audio choices controls pacing and maintains viewer engagement. Think of pacing as the rhythm of a song—it needs to feel natural and appropriate for your content.
- Vary Scene Durations Intentionally: Keep most scenes relatively short for social media (3-7 seconds) to maintain attention, but use longer durations for complex or key messages that need more processing time.
- Balance Text and Visuals: Avoid cramming too much text into a single scene, which can overwhelm viewers. Instead, break complex ideas into multiple scenes with supporting visuals.
- Create Visual Variety: Alternate between video clips, static images, and text-only scenes to maintain visual interest and prevent monotony.
- Use Music to Drive Pace: Fast-tempo music creates energy and urgency, while slower music allows for reflection and deeper processing of information.
- Incorporate “Pattern Interrupts”: Occasionally introduce something unexpected—a different visual style, a pause, or a change in rhythm—to recapture attention.
- Watch Your Video Without Sound: This test helps you assess whether the visual flow and pacing work purely on a visual level, which is important for social media viewing.
- Get Feedback from Others: Ask colleagues or friends to watch your video and identify any parts that feel too slow, too fast, or confusing.
Task: Take your Project 1 video and preview it with a focus on pacing. 1. Identify one scene that feels too long and shorten its duration. 2. Find one scene that feels rushed and extend its duration to allow for better comprehension.
Troubleshooting Common Lumen5 Issues
Even with excellent tools, you might encounter occasional challenges. Here's how I tackle the most common Lumen5 issues based on my extensive experience with the platform.
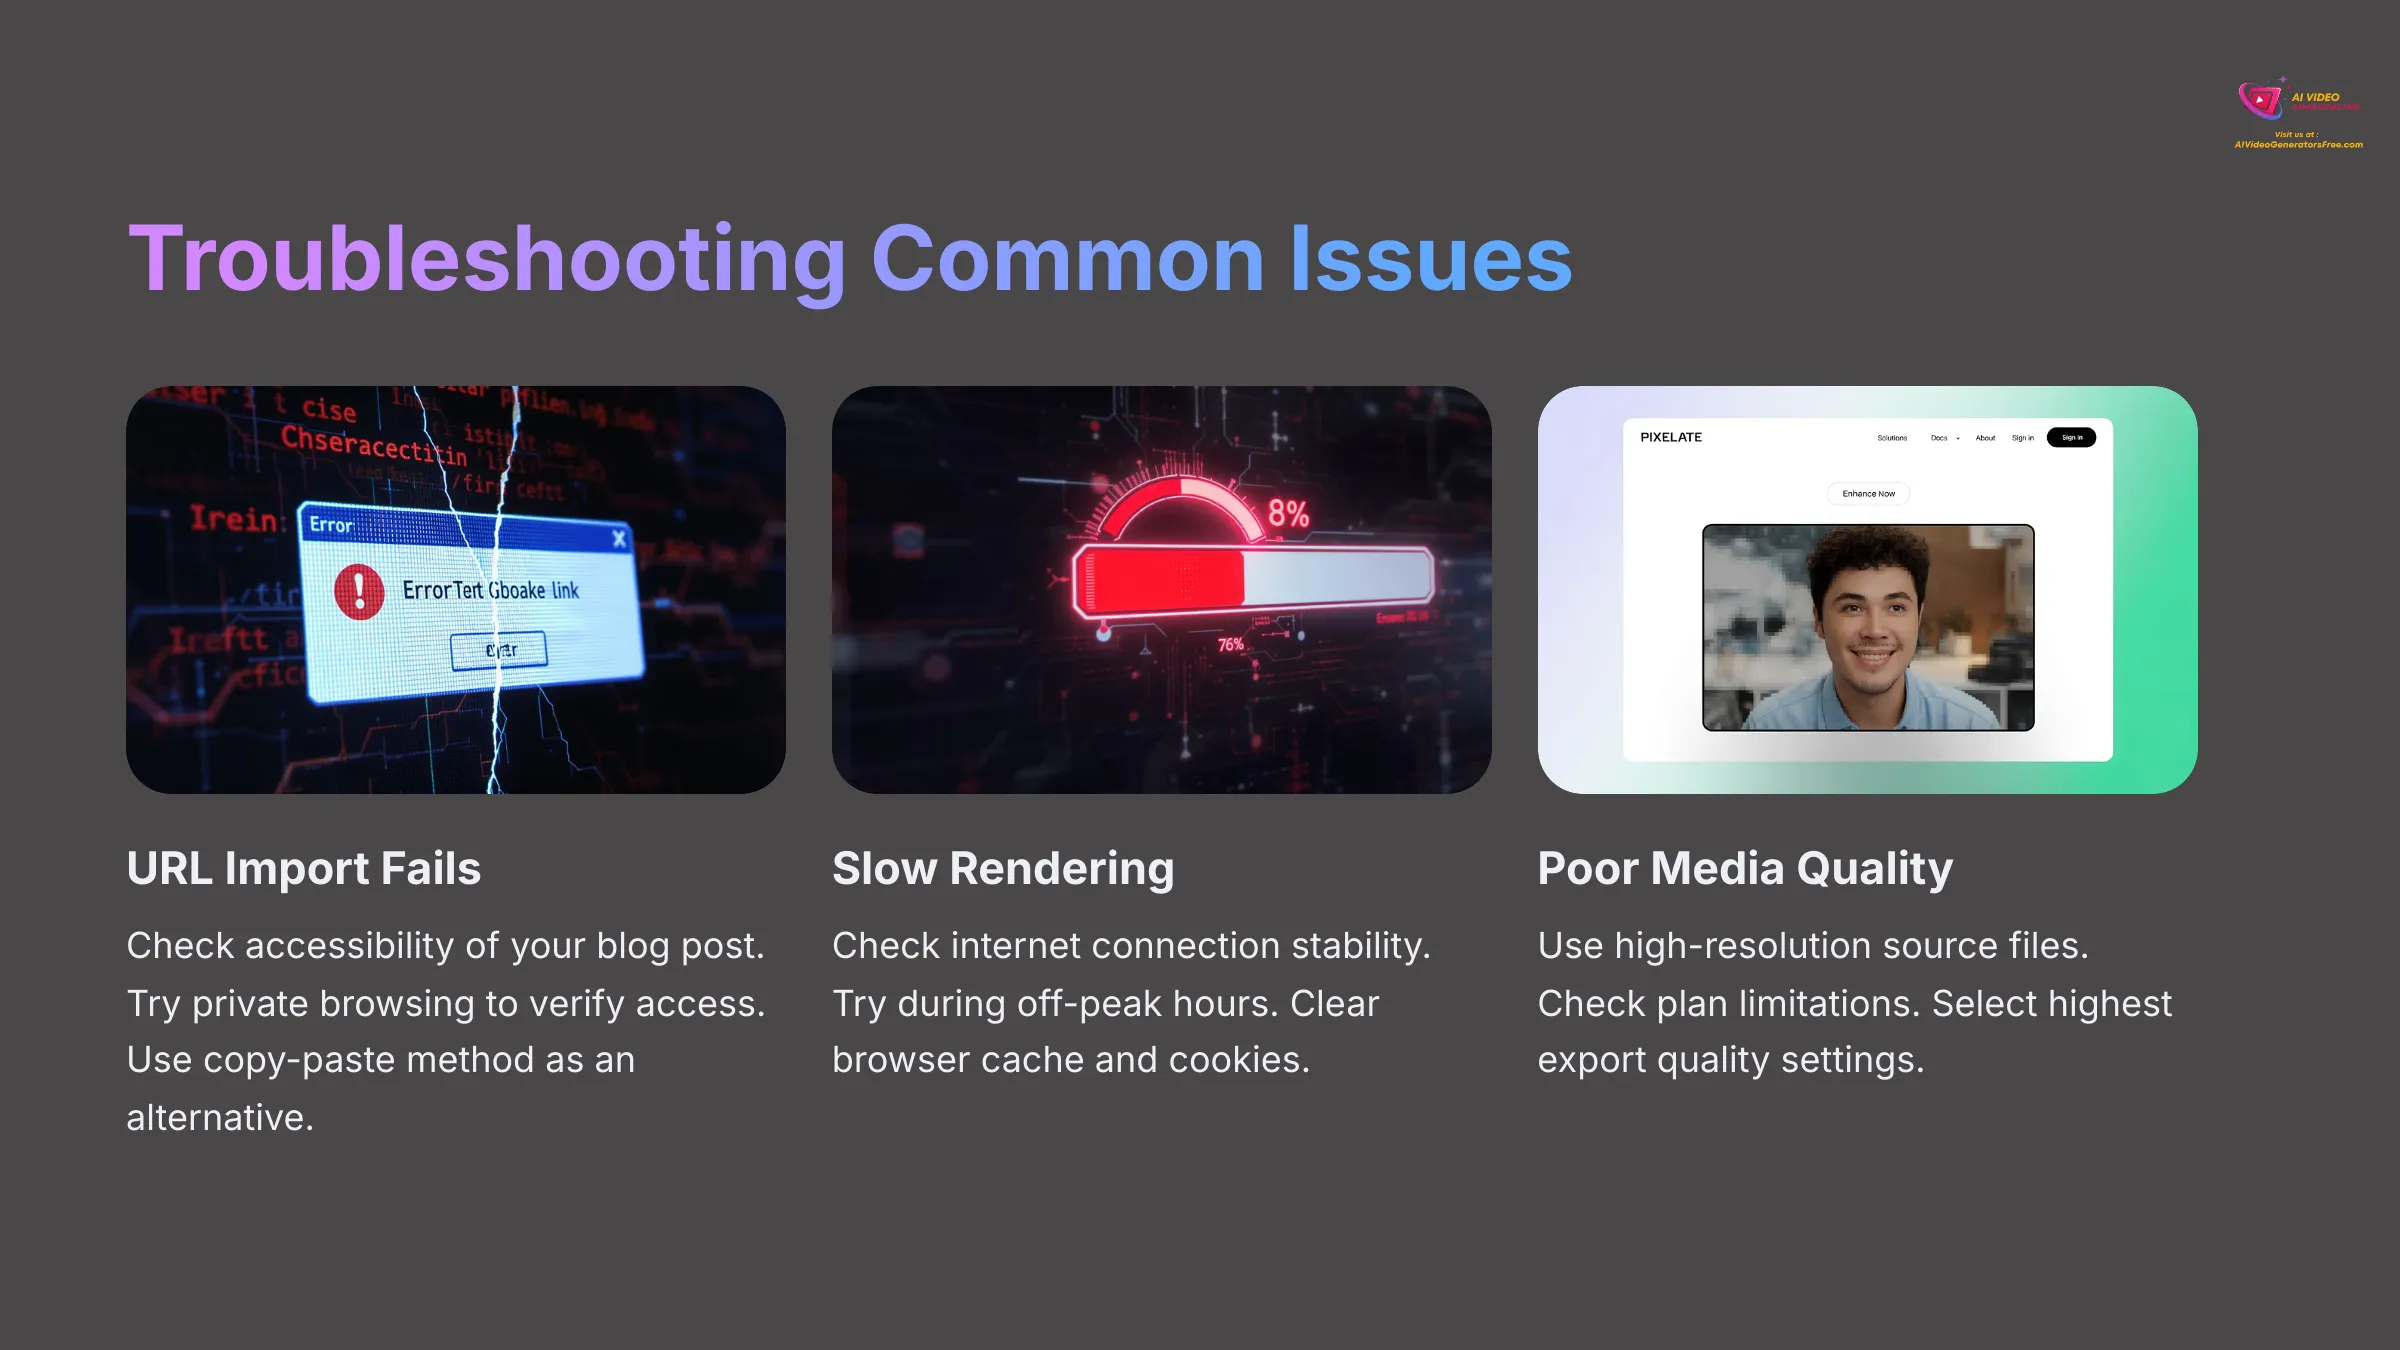
Issue: Blog Post URL Import Fails or Pulls Incorrect/Incomplete Text.
Solution(s): Double-check that the URL is correct and that the blog post is publicly accessible. Try browsing to the URL in an incognito or private browser window to ensure there are no access restrictions. If problems persist, use the copy-paste text method instead of URL import. Ensure the blog post is fully published and not in draft mode, as some content management systems restrict access to unpublished content.
Issue: Video Rendering is Very Slow or Fails Completely.
Solution(s): Check your internet connection stability, as rendering requires consistent connectivity. Try again during off-peak hours when servers are less busy. Keep in mind that shorter videos typically render faster than longer ones. Clear your browser cache and cookies, then restart your browser. If the problem persists, contact Lumen5 support with specific details about your project.
Issue: Media Quality (Images/Videos) Looks Poor in the Final Video.
Solution(s): Ensure that your original uploaded media files are high-resolution to begin with. Check your Lumen5 plan's output quality limitations, as free plans may have lower maximum resolution. When exporting, always select the highest available output quality option. Consider upgrading your plan if you consistently need higher quality output for professional use.
Issue: AI-Selected Media/Scene Summaries are Consistently Irrelevant.
Solution(s): Refine your blog content structure before importing by using clearer headings, more descriptive language, and better organization. Manually edit the AI-generated script extensively, removing irrelevant sections and adding missed important points. Utilize the ‘Swap Media' feature extensively to replace AI suggestions with more appropriate choices from the stock library or your uploads.
Issue: Brand Kit (Logo, Colors, Fonts) Not Applying Correctly.
Solution(s): Return to your Brand Kit settings and verify all elements are properly configured and saved. Ensure the correct Brand Kit is selected for your current project. Some templates might override certain Brand Kit elements, so try switching to a different template that's more compatible with your branding needs.
Issue: Audio (Music/Voiceover) Sounds Muffled or Levels are Incorrect.
Solution(s): Ensure that your source audio files are high quality before uploading. Check and adjust volume levels within Lumen5's audio controls. If recording voiceovers directly in the platform, verify that the correct microphone is selected in your browser settings and that you're recording in a quiet environment with minimal background noise.
Disclaimer
Disclaimer: The information about Lumen5 Tutorial: Your First Automated Blog-to-Video Creation Guide presented in this article reflects our thorough analysis as of 2025. Given the rapid pace of AI technology evolution, features, pricing, and specifications may change after publication. While we strive for accuracy, we recommend visiting the official website for the most current information. Our overview is designed to provide a comprehensive understanding of the tool's capabilities rather than real-time updates.
Conclusion: Your Journey with Automated Video Creation
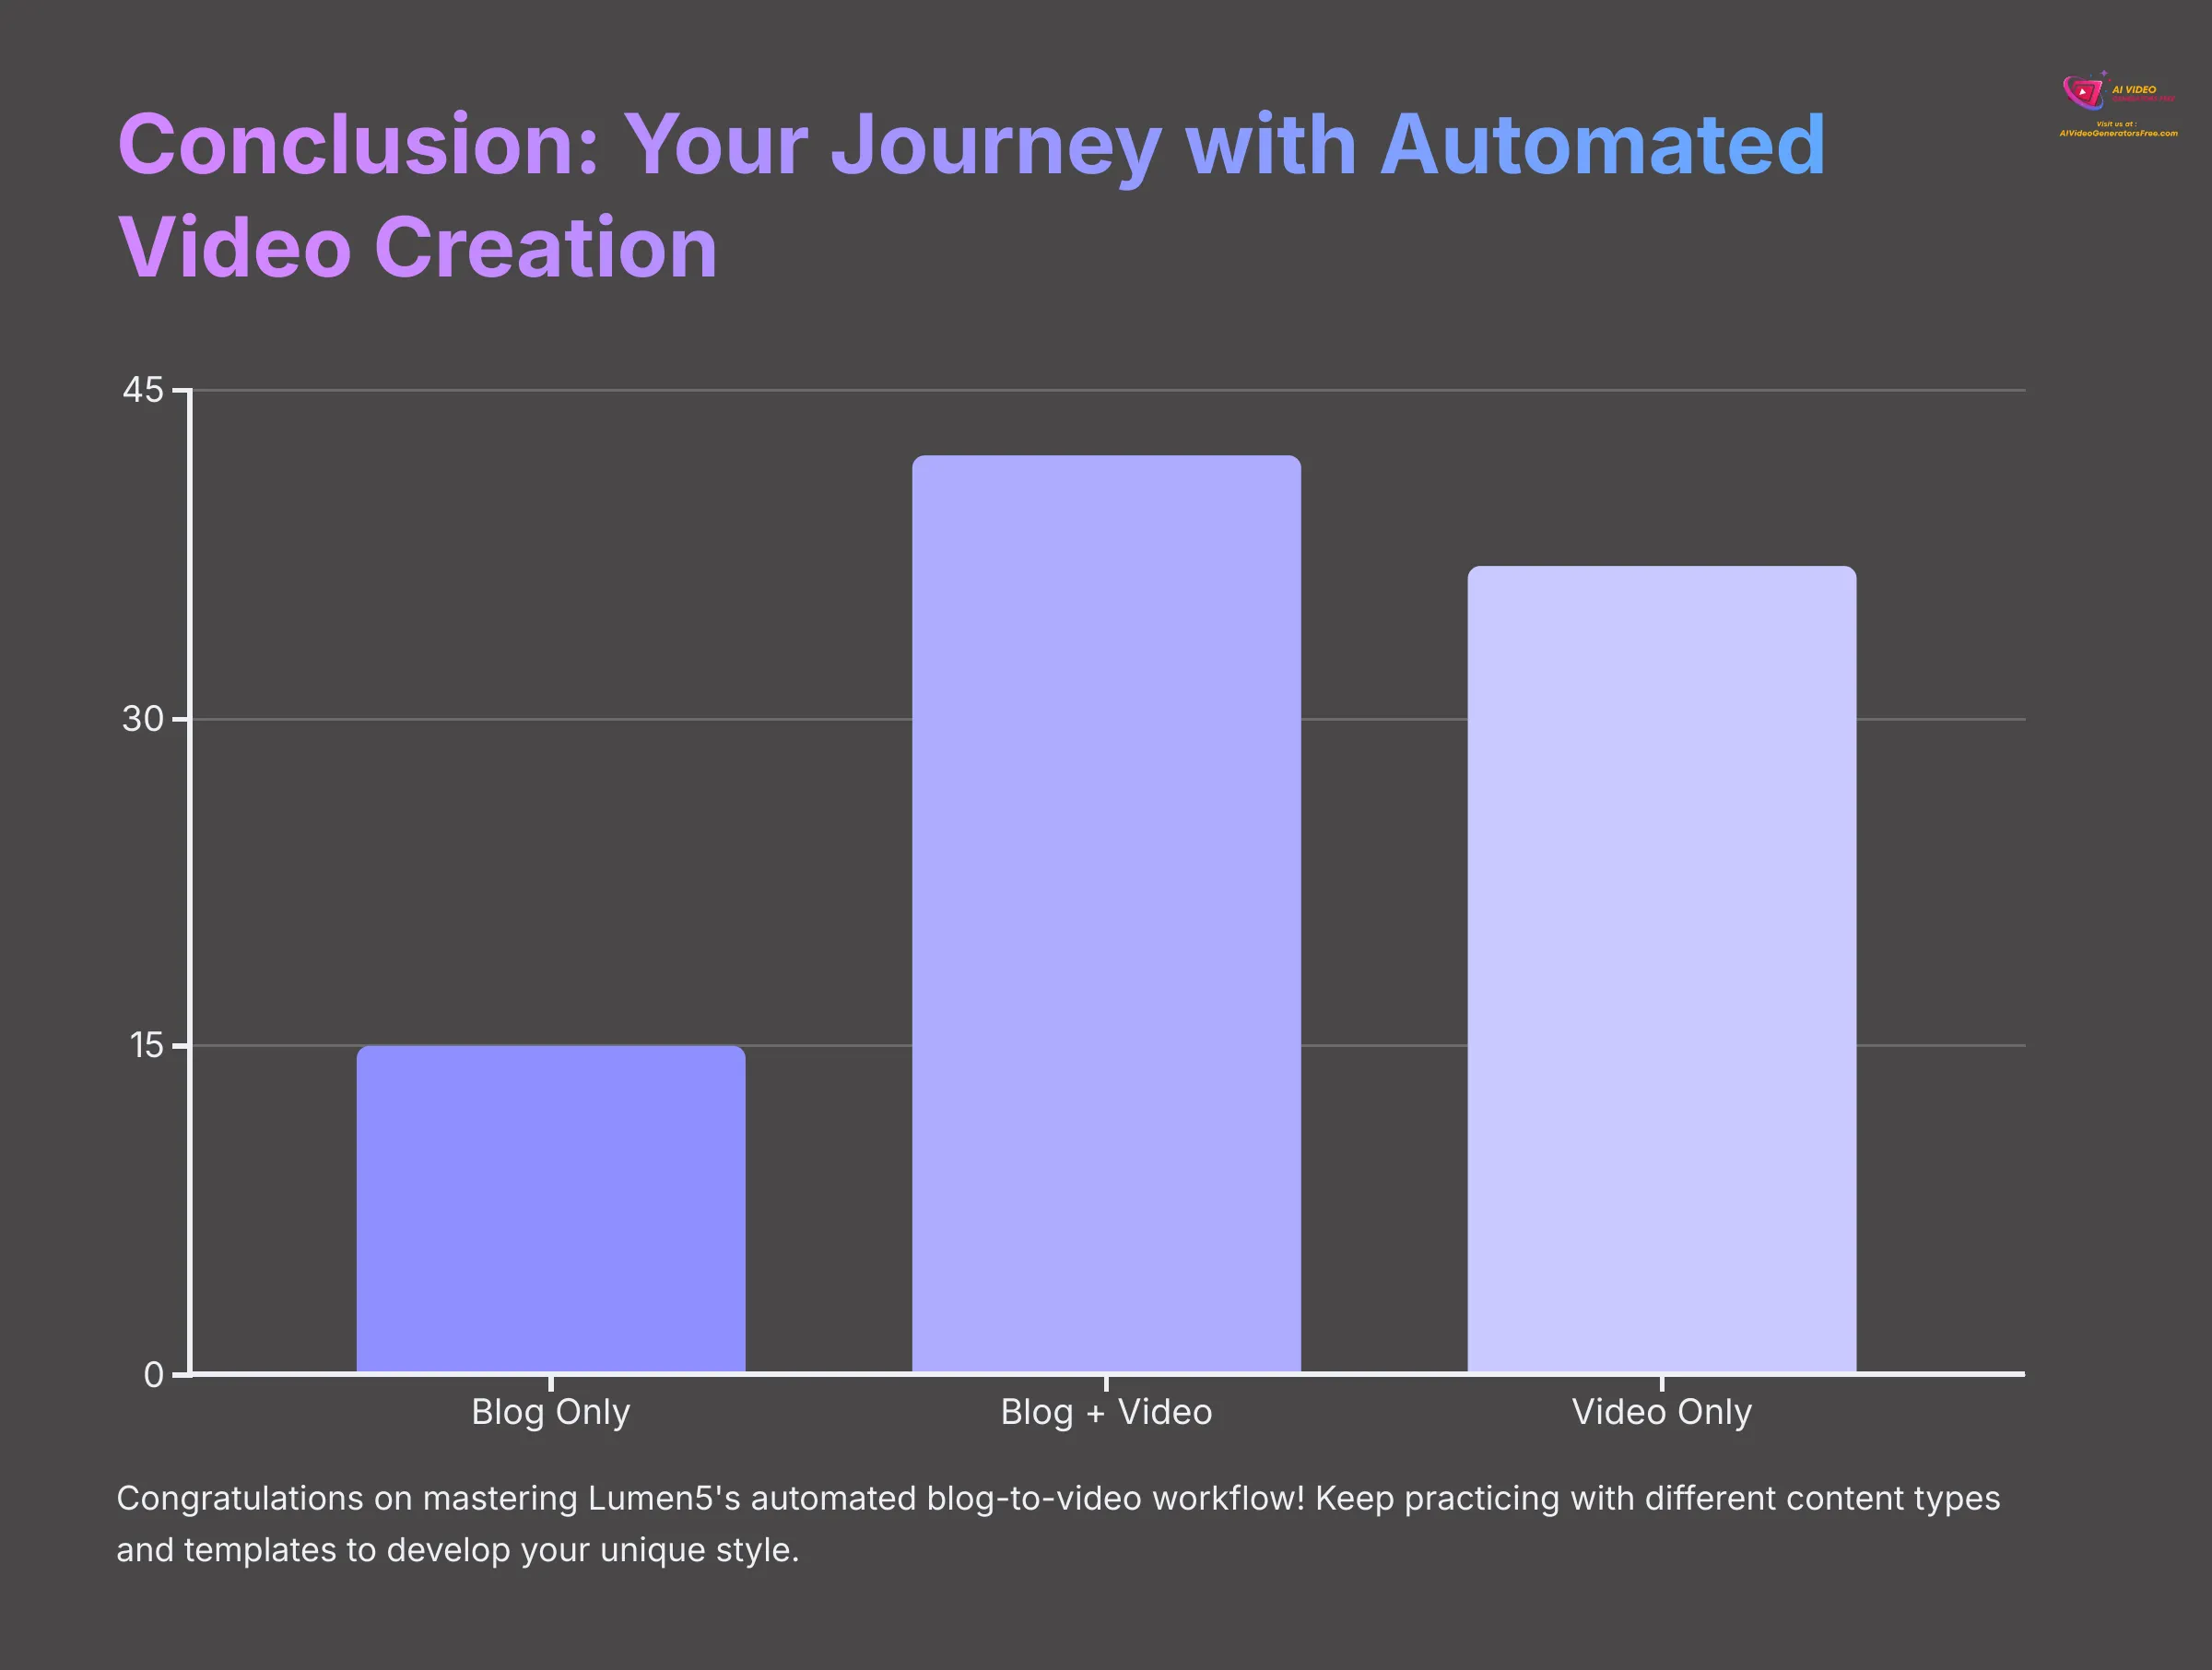
Congratulations! You've successfully navigated your first automated blog-to-video creation using Lumen5 and now possess the fundamental skills to transform written content into engaging video narratives with AI assistance. By mastering this workflow, you're equipped to save significant time, effectively repurpose blog content across multiple channels, and dramatically boost audience engagement rates.
Repurposing blog content into video with Lumen5 is like transforming a well-written book into an engaging movie trailer—you're capturing the essential elements and presenting them in a new format designed to reach and engage a different audience segment.
Proficiency with Lumen5 develops through consistent practice and experimentation. I encourage you to convert different types of blog posts, explore various templates and styles, and experiment with media choices to discover what resonates best with your audience. Each project will teach you something new about effective video creation and help you develop your unique style.
Ready to explore further possibilities? Dive into Lumen5's more advanced features like custom animations, team collaboration tools, and analytics dashboards. For broader insights into the AI video creation landscape, browse our Overview AI Video Tools section. To find the perfect tool for your specific needs, check out our Comparison AI Video Tools guide. Looking for creative inspiration? Explore Usecases AI Video Tools for innovative application ideas.
At AI Video Generators Free, my mission is to provide clear, honest, and practical guidance that empowers creators to harness AI technology effectively. I hope this Lumen5 Tutorial: Your First Automated Blog-to-Video Creation Guide has given you the confidence and knowledge to begin your video creation journey successfully.
Challenge for the Week: Convert two additional blog posts into short videos using Lumen5. For each project, experiment with a different template style and implement at least one advanced technique from the ‘Beyond the Basics' section. Compare your results and note which approaches work best for your content and audience.
Frequently Asked Questions (FAQs) about Lumen5 Blog-to-Video
Q: How long should my blog post ideally be for the best results when converting to video with Lumen5?
A: While Lumen5 can handle various content lengths, blog posts between 500-1500 words often work best for creating concise, engaging videos (typically 1-3 minutes in length). Focus on posts with clear sections, well-defined main points, and logical structure for optimal AI processing results.
Q: Can I easily edit a Lumen5 video after I've published and downloaded it?
A: Yes! Lumen5 automatically saves your projects in your dashboard. You can return to your project library, find your completed video, and re-open it in the editor to make any changes or updates. After editing, you'll need to re-publish and download the updated version.
Q: Does Lumen5 offer options for direct sharing to social media platforms?
A: Lumen5's primary output method is a downloadable MP4 video file that works universally across platforms. While some plans may offer direct sharing capabilities to certain social networks, downloading the MP4 file provides the most flexibility and control over where and how you publish your content.
Q: What is the generally recommended video length for maximizing engagement on social media?
A: Optimal video length varies by platform, but general guidelines include: Instagram and Facebook feed videos should be 30-90 seconds for maximum engagement. For Instagram Reels, TikTok, and YouTube Shorts, aim for under 60 seconds with many successful videos being just 15-30 seconds long.
Q: Can Lumen5 automatically generate subtitles or closed captions for my videos?
A: Lumen5 generates text overlays that appear directly on your video scenes, which function like open captions that are always visible. For separate closed caption files (such as .SRT files) that viewers can toggle on and off, you typically need to generate these after downloading your video using third-party captioning tools or services.
Leave a Reply