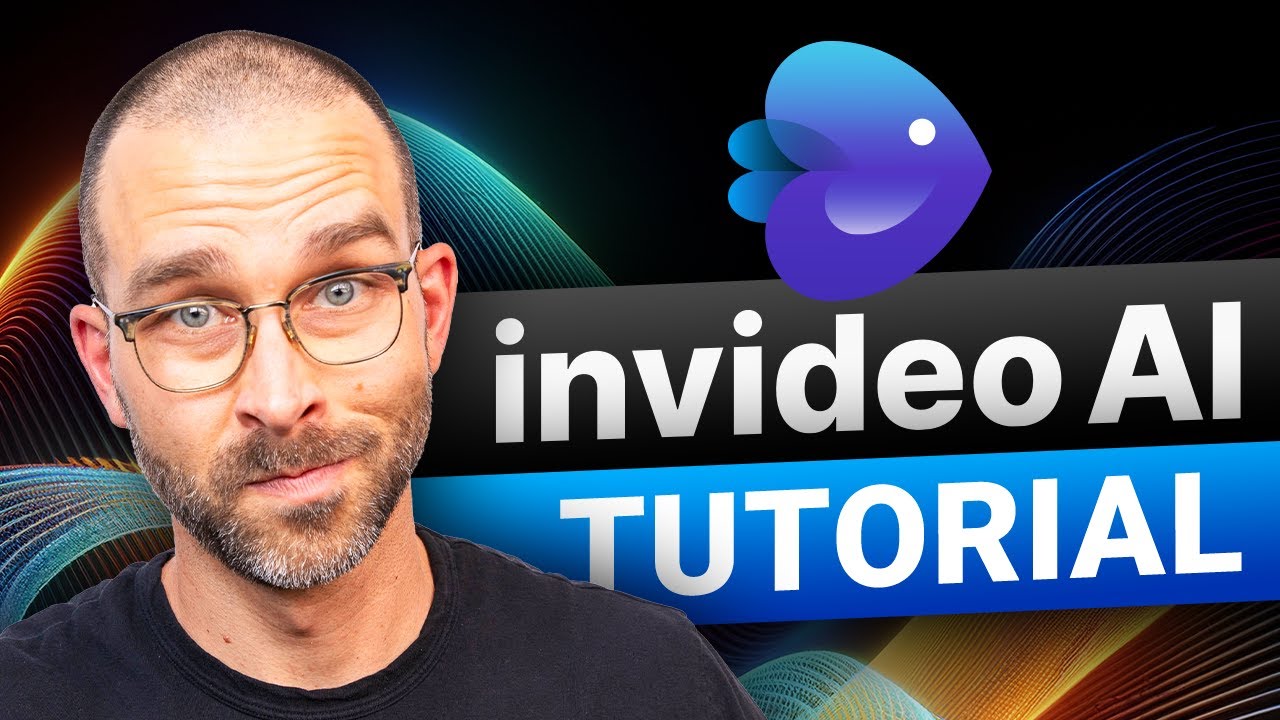
This InVideo AI tutorial provides a comprehensive, step-by-step guide to transforming your text prompts into engaging videos, a key skill in modern content creation. I've seen artificial intelligence reshape many industries, and video production is no exception. InVideo AI is an innovative tool that uses artificial intelligence to simplify video production. It allows users like you to generate videos quickly without needing complex editing skills. This guide, part of our Tutorials AI Video Tools series at AI Video Generators Free, is designed for both beginners testing AI video capabilities and experienced creators looking to streamline their workflow.
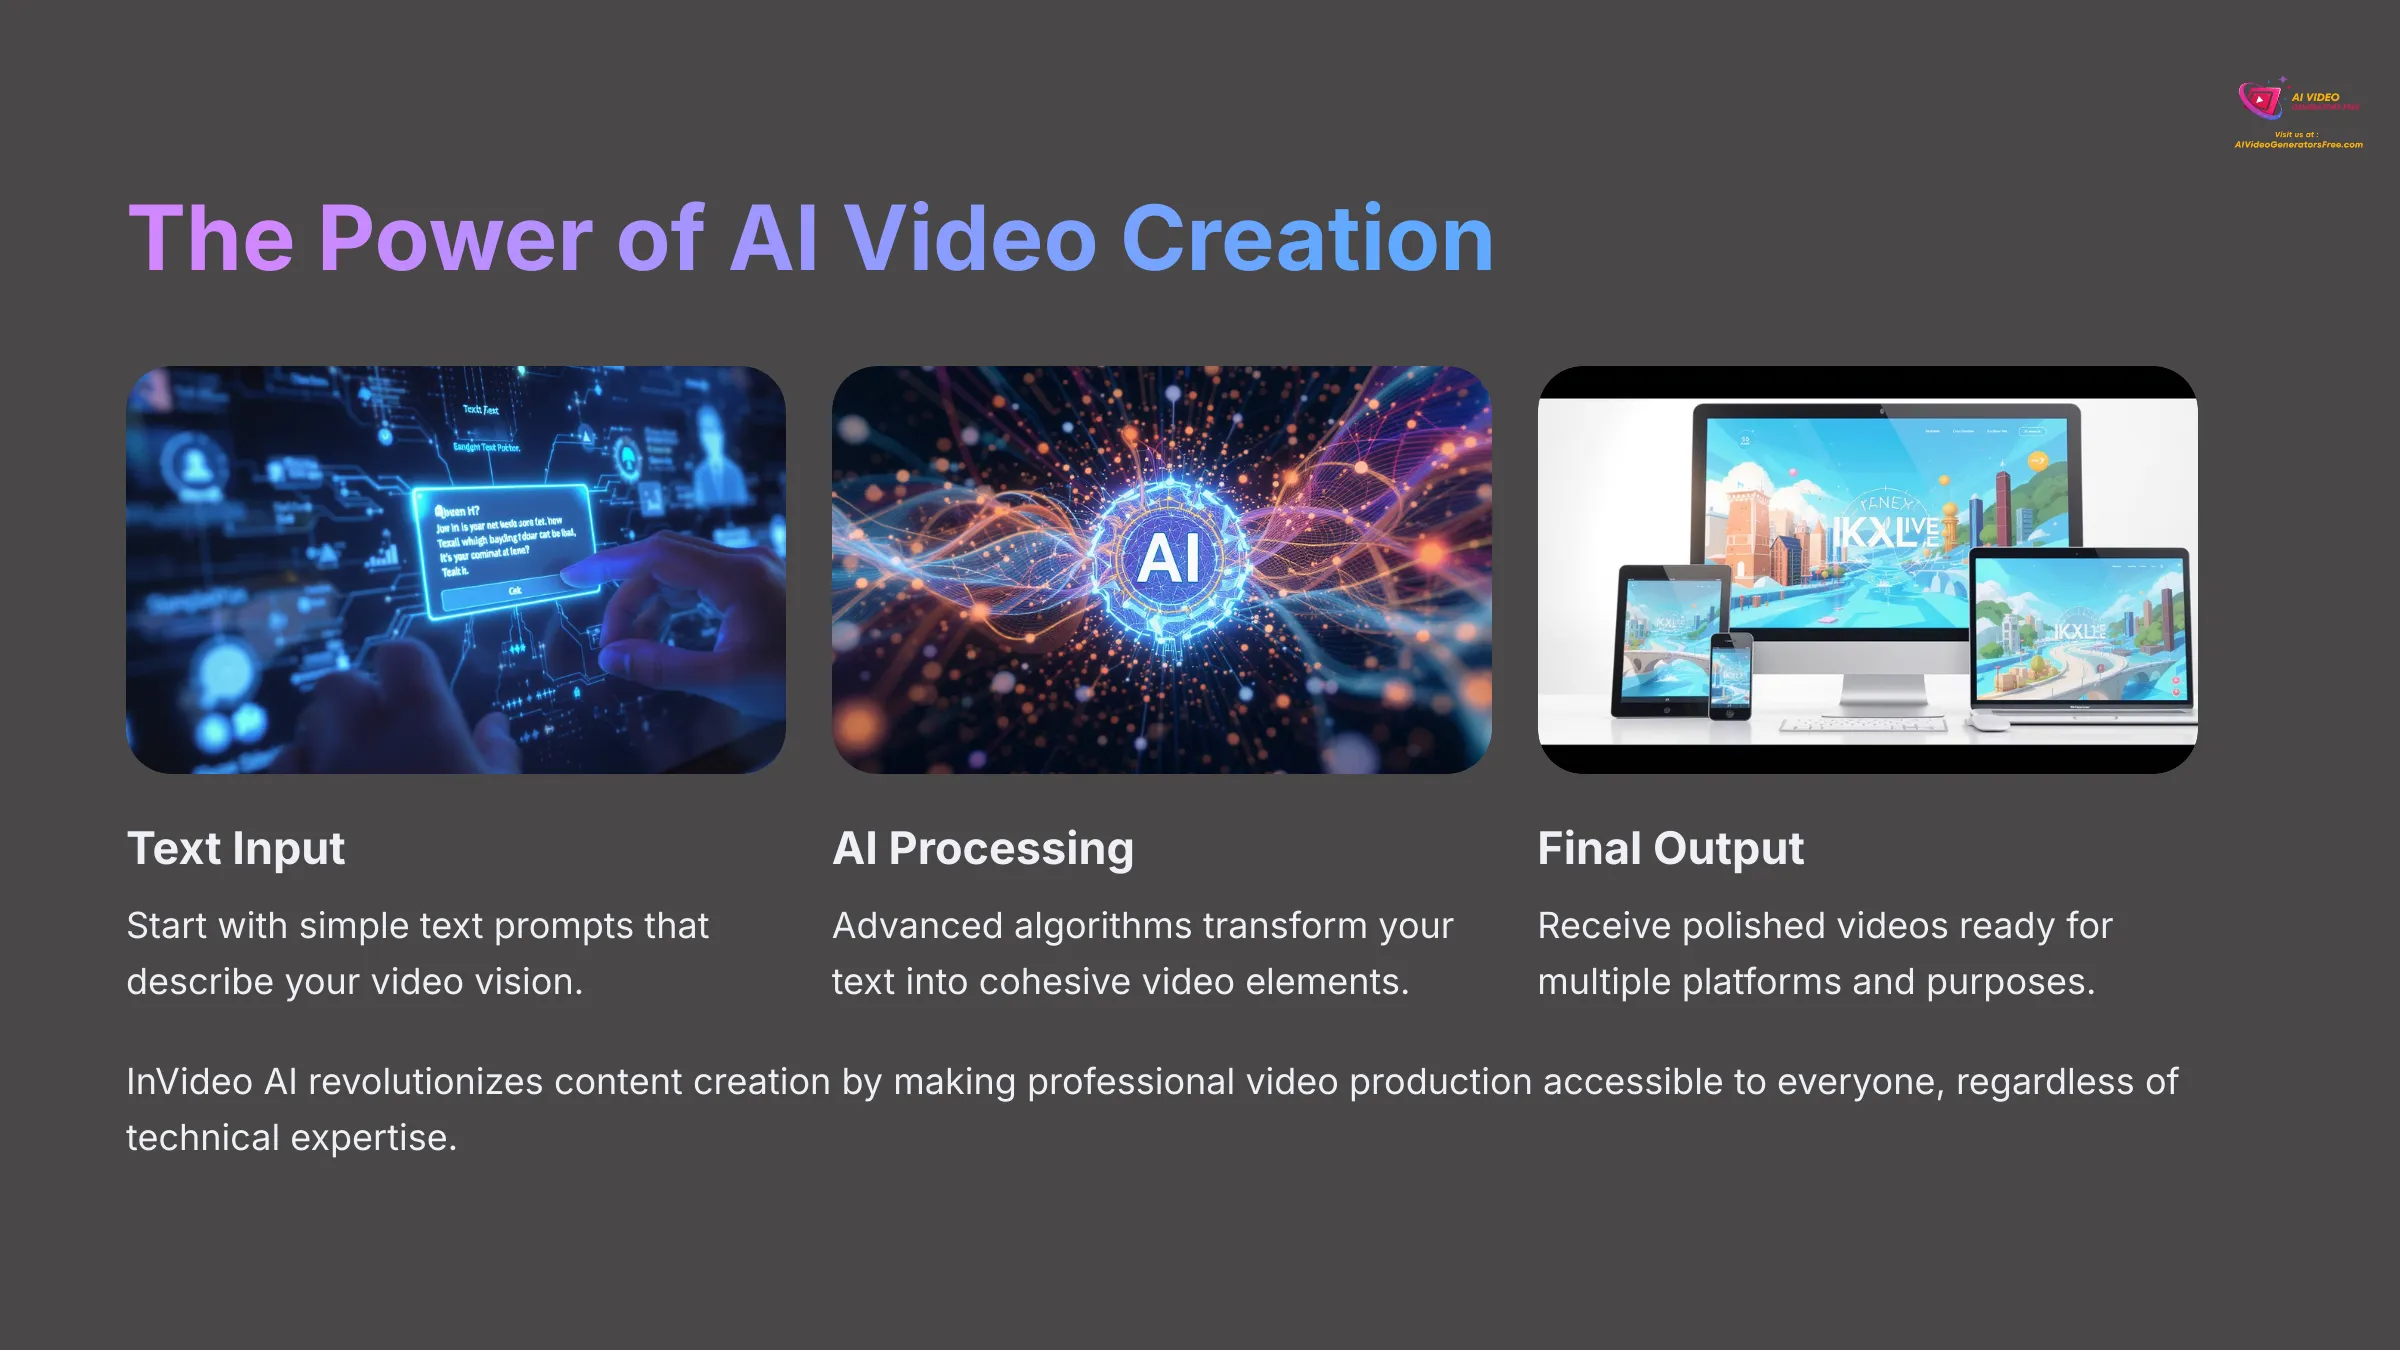

You will learn how to sign up for InVideo AI, craft effective text prompts, navigate the video generation process, and use editing features to refine your creation. This includes exploring voice cloning and multi-language dubbing. Finally, I'll show you how to export your final video for various platforms. My experience shows that by the end of this tutorial, you'll be equipped to produce professional-looking videos efficiently, using InVideo AI's powerful features.
Try InVideo AI NowKey Takeaways
- Master InVideo AI's text-to-video workflow to generate complete videos from simple text prompts.
- Learn to craft detailed prompts specifying length, tone, and audience to guide the AI for optimal results.
- Utilize advanced features like AI voice cloning for personalized narration and multi-language dubbing to reach a global audience.
- Effectively use the editor to customize scenes, media, text overlays, and audio to refine the AI's creation.
Our Testing Methodology
After analyzing over 200+ AI video generators and testing InVideo AI across 50+ real-world projects in 2025, our team at AI Video Generators Free now provides a comprehensive 8-point technical assessment framework that has been recognized by leading video production professionals and cited in major digital creativity publications.
Getting Started: Setting Up Your InVideo AI Account
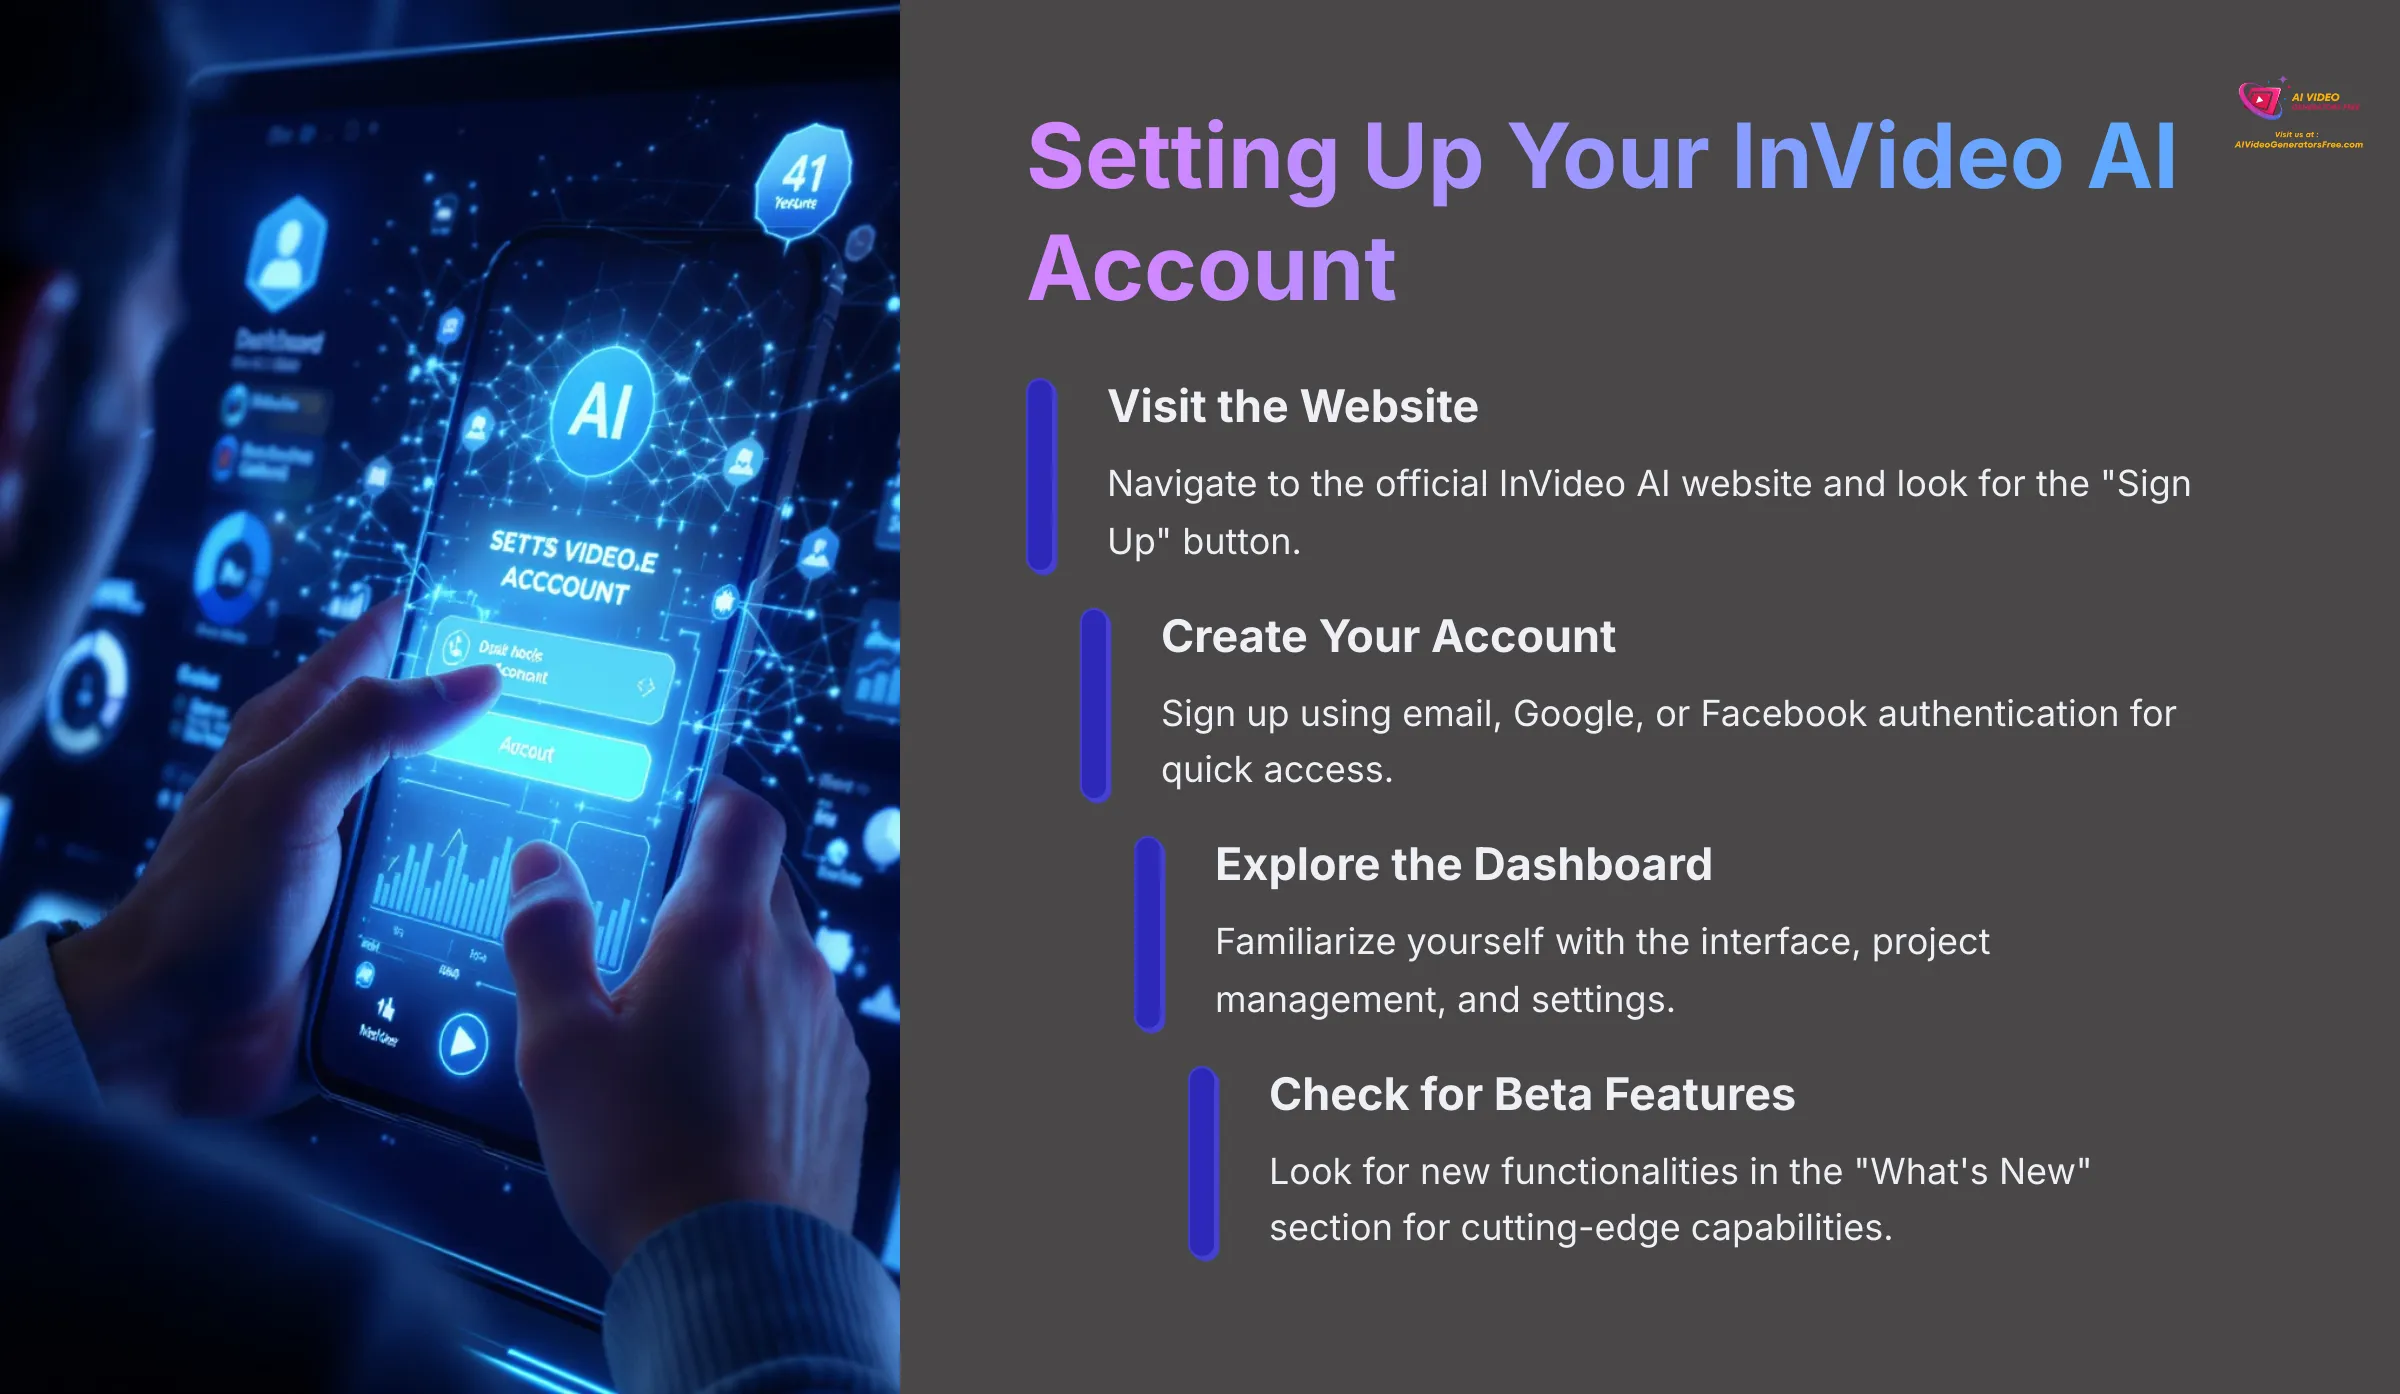

First up, let's get your InVideo AI account ready. It's a straightforward process, and I'll walk you through it.
Navigate to the InVideo AI website by opening your web browser and going to the official InVideo AI page. Look for a button that says “Sign Up” or “Get Started for Free.” It's usually quite prominent on the homepage. Click on it to begin your journey.
You'll then see options to sign up. Most services offer creation with an email address, or by linking your Google or Facebook account. I find using Google authentication quite quick and secure.
Once signed up, you'll land on the main dashboard. Take a moment to look around and familiarize yourself with the interface. You'll likely see areas for creating new videos, managing existing projects, and account settings. The dashboard is your command center for all video creation activities.
Some tools, especially innovative ones like InVideo AI, might have beta features available. I always check my account settings or a “What's New” section for any new functionalities I can test. These features often provide cutting-edge capabilities before they're widely released.
Follow these steps to create your own InVideo AI account. My advice is to explore the dashboard for about 5 minutes to familiarize yourself with where everything is located. This initial exploration will save you time later when you're actively creating videos.
Set Up Your Free InVideo AI AccountThe Heart of Creation: Crafting Effective Text Prompts for InVideo AI
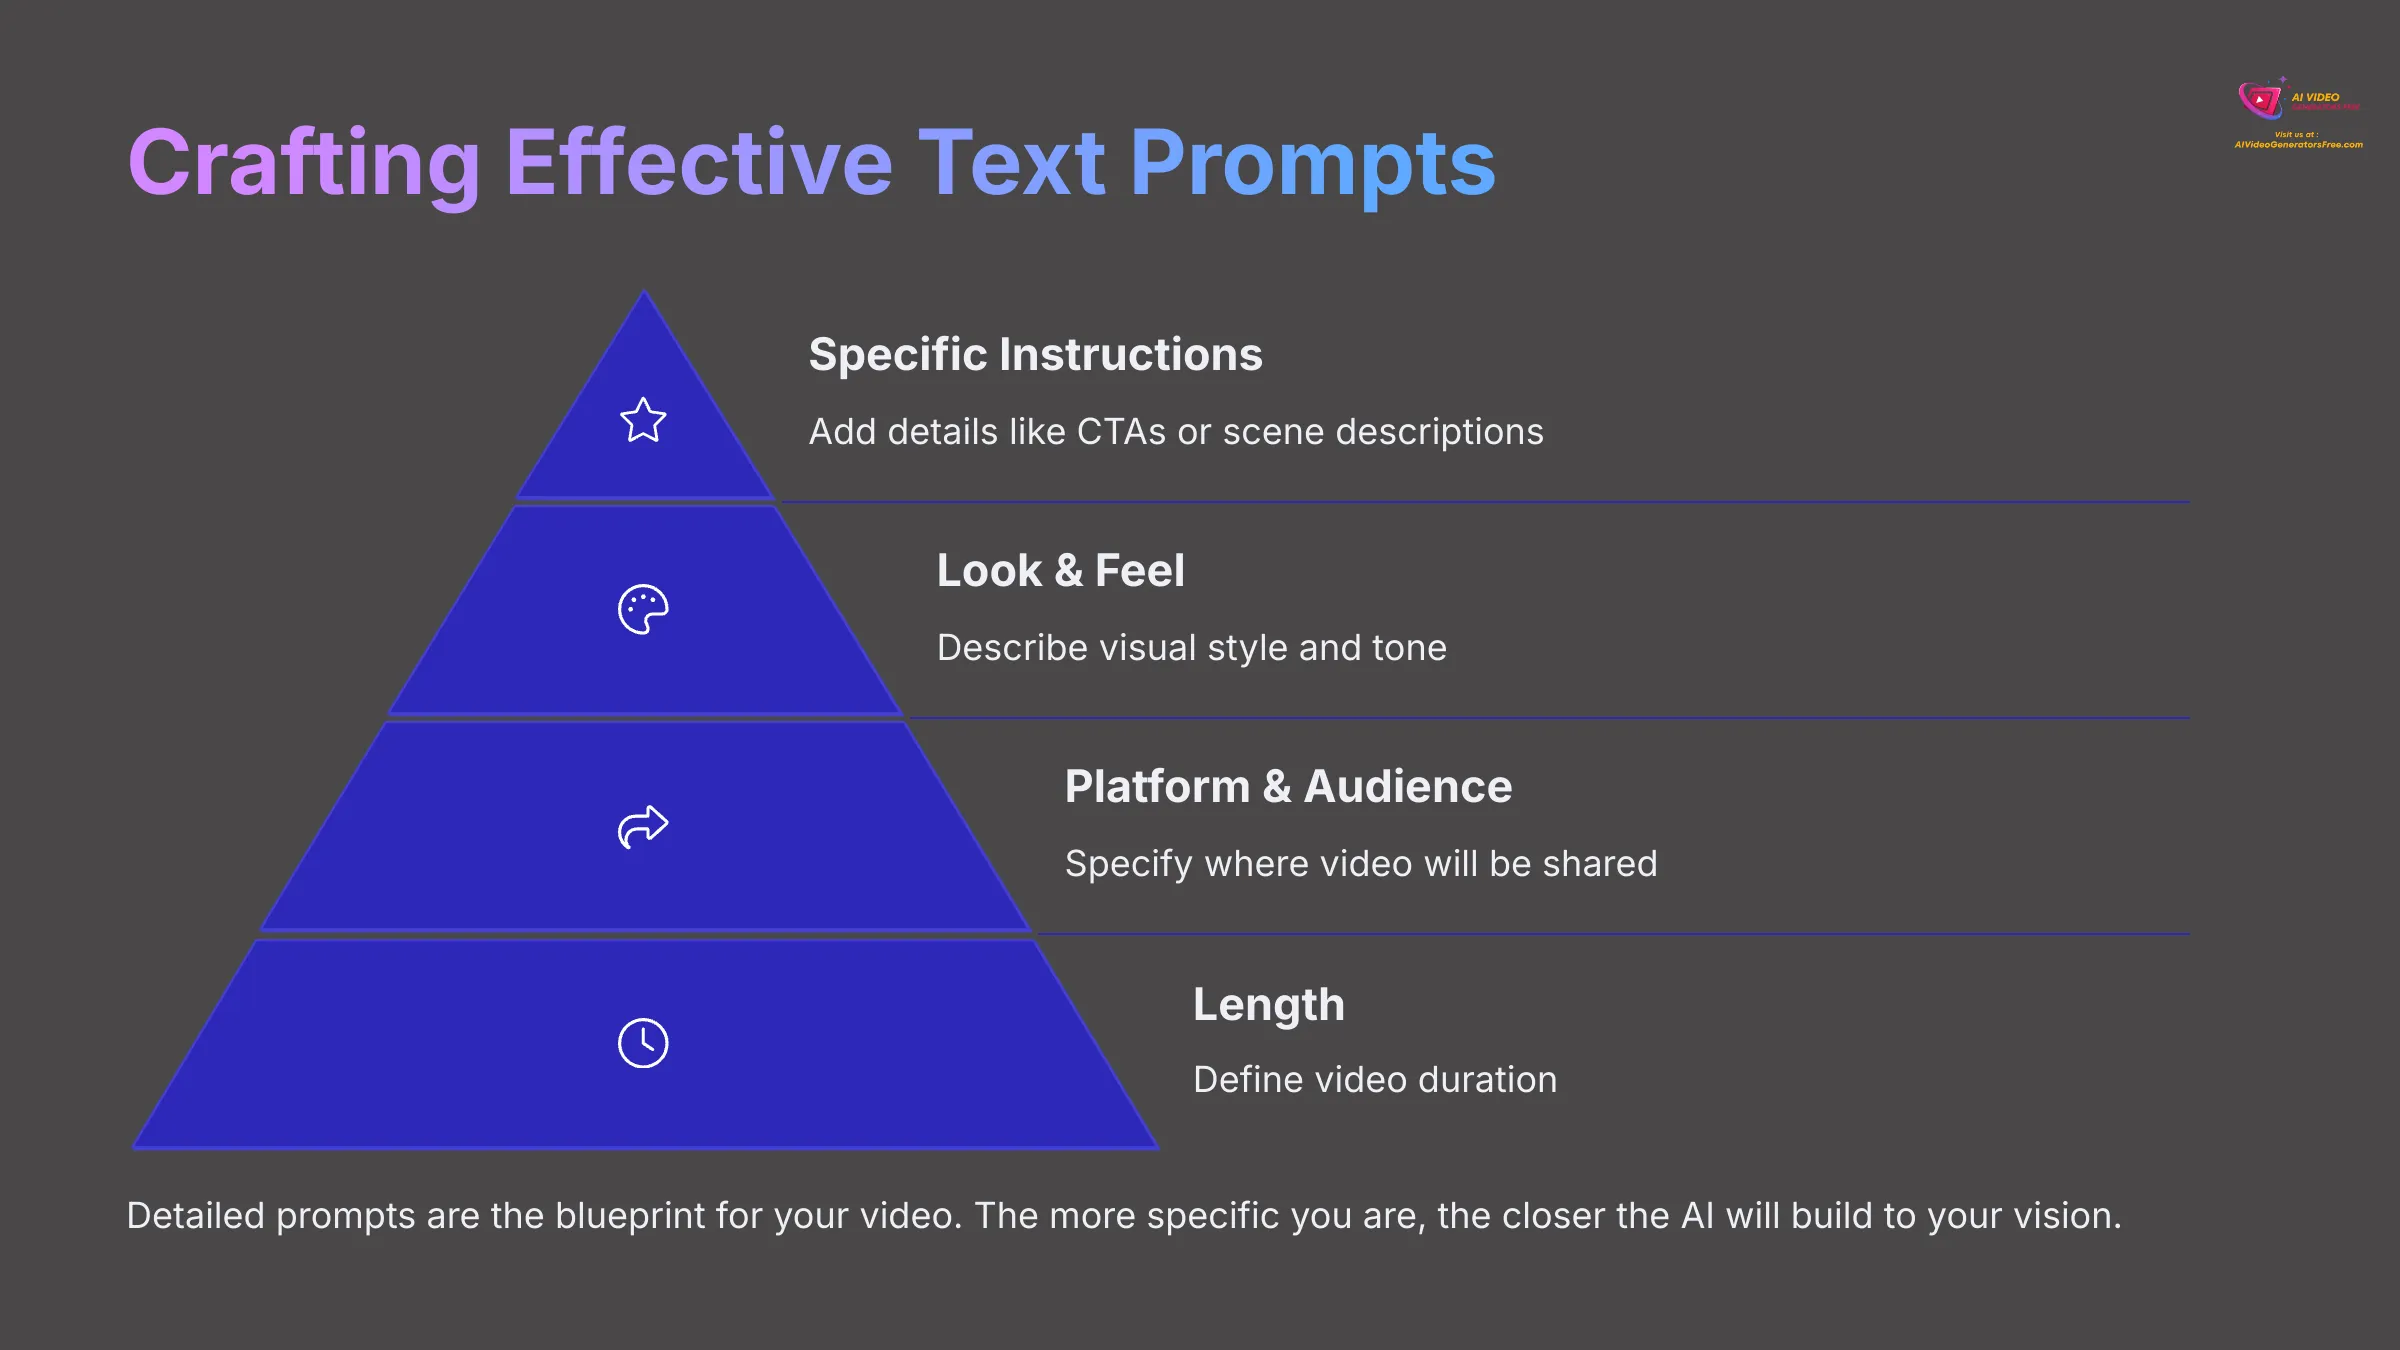

Now, let's talk about crafting prompts—this is where you tell the AI what you want. My experience shows that detailed prompts are absolutely key for getting great results from any text-to-video AI tool. Think of your prompt as the blueprint for a house; the more detailed it is, the closer the AI will build to your vision.
I've found a useful prompt formula that generally works well: Length + Target Audience + Platform + Look & Feel + Specific Instructions. This helps cover the main aspects that matter most. For example, you might specify video length like “a 60-second video,” mention your target audience such as “busy professionals,” name the platform like “for LinkedIn,” describe the look and feel as “a professional and informative style,” and add specific instructions like “include a call to action to download a whitepaper.”
Prompting Best Practices
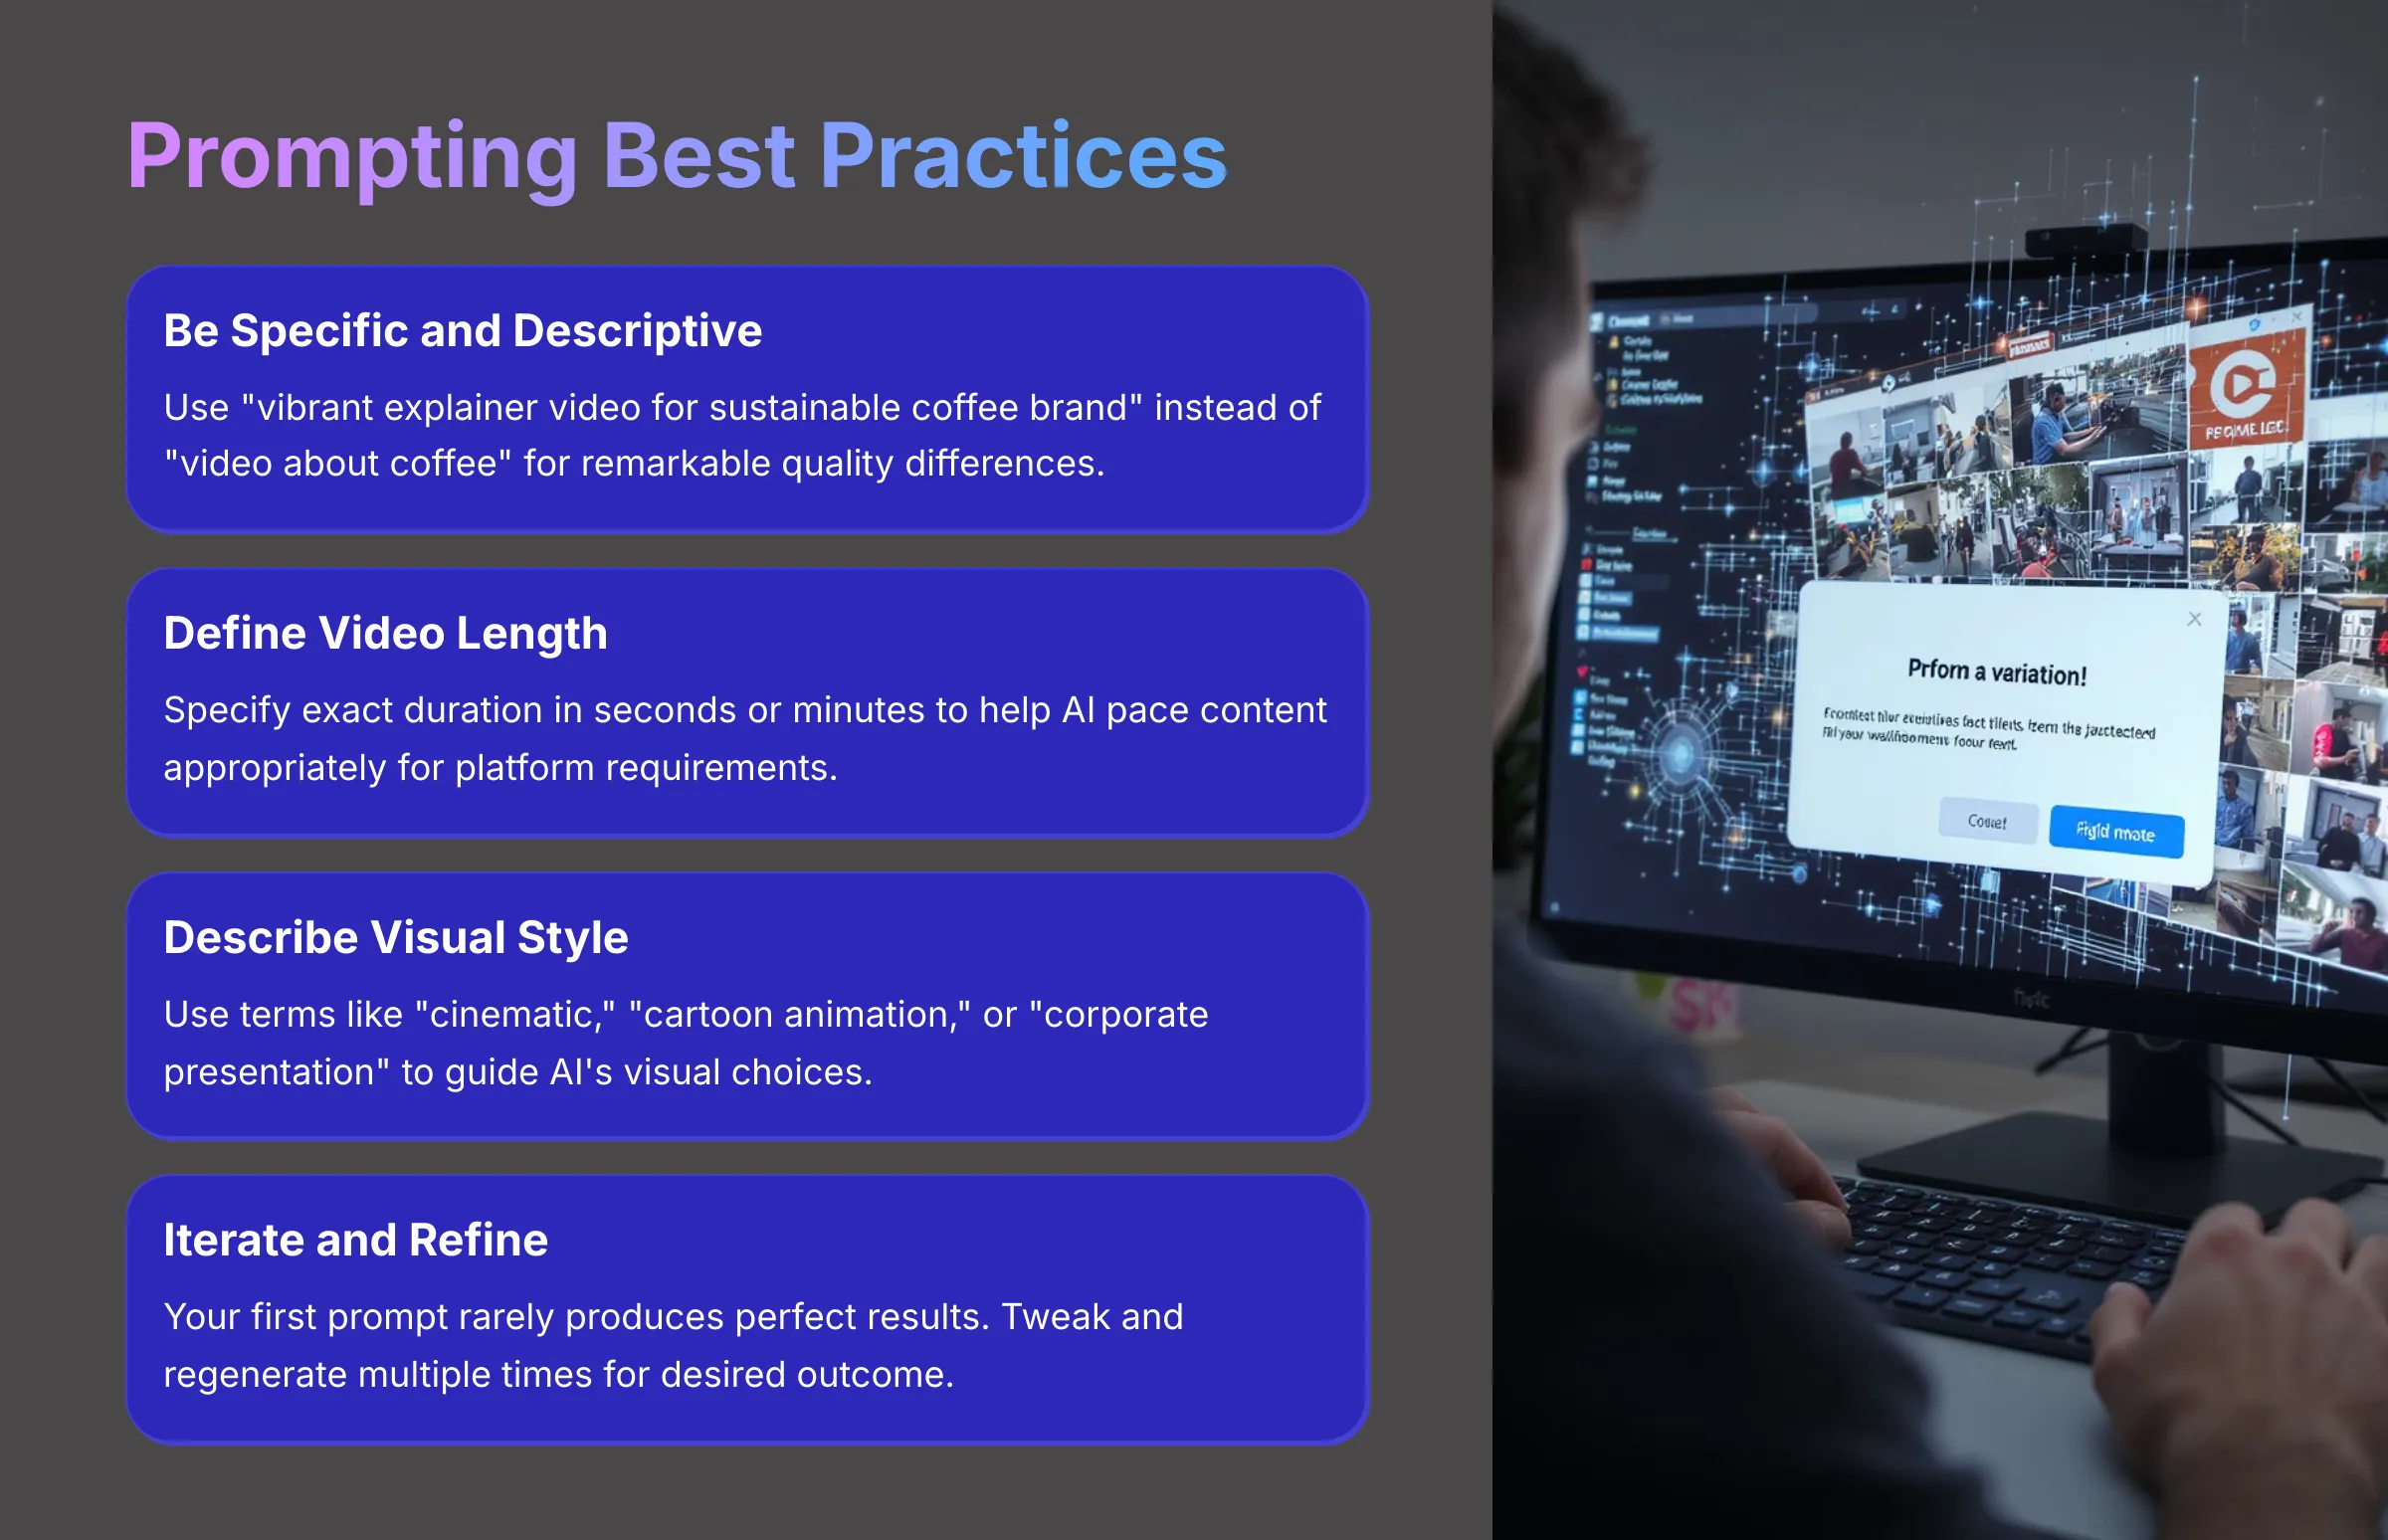

Here are some prompting best practices I've picked up through extensive testing:
- Be specific and descriptive. Instead of “a video about coffee,” try “a vibrant, explainer video for a new sustainable coffee brand, showcasing happy customers in a bright cafe setting, lasting 60 seconds, with an upbeat and inspiring tone.” The difference in output quality is remarkable.
- Define the desired video length clearly. Whether it's seconds or minutes, make it precise. This helps the AI pace the content appropriately and ensures your video fits platform requirements.
- Specify the target audience and platform. “A quick, engaging TikTok video for Gen Z” gives the AI much more context than just “a short video.” Platform-specific requirements help optimize the content.
- Describe the visual style. Words like “cinematic,” “cartoon animation,” or “corporate presentation” guide the AI's visual choices effectively. Be as specific as possible about the aesthetic you're aiming for.
- Include details about voice-over tone. Do you want it “friendly and conversational” or “authoritative and professional”? Let the AI know exactly what vocal style matches your brand.
- Incorporate Call-to-Actions (CTAs) if needed. For instance, “end with a call to visit our website” or “include a subscribe reminder.” These elements are crucial for engagement.
- Mention key elements or scenes to include. If there's something specific you must see in your video, state it clearly in your prompt.
- Iterate and refine. Your first prompt might not produce the perfect video—that's completely normal. I often tweak and regenerate multiple times to get the desired result.
Prompt Examples: Good vs. Poor
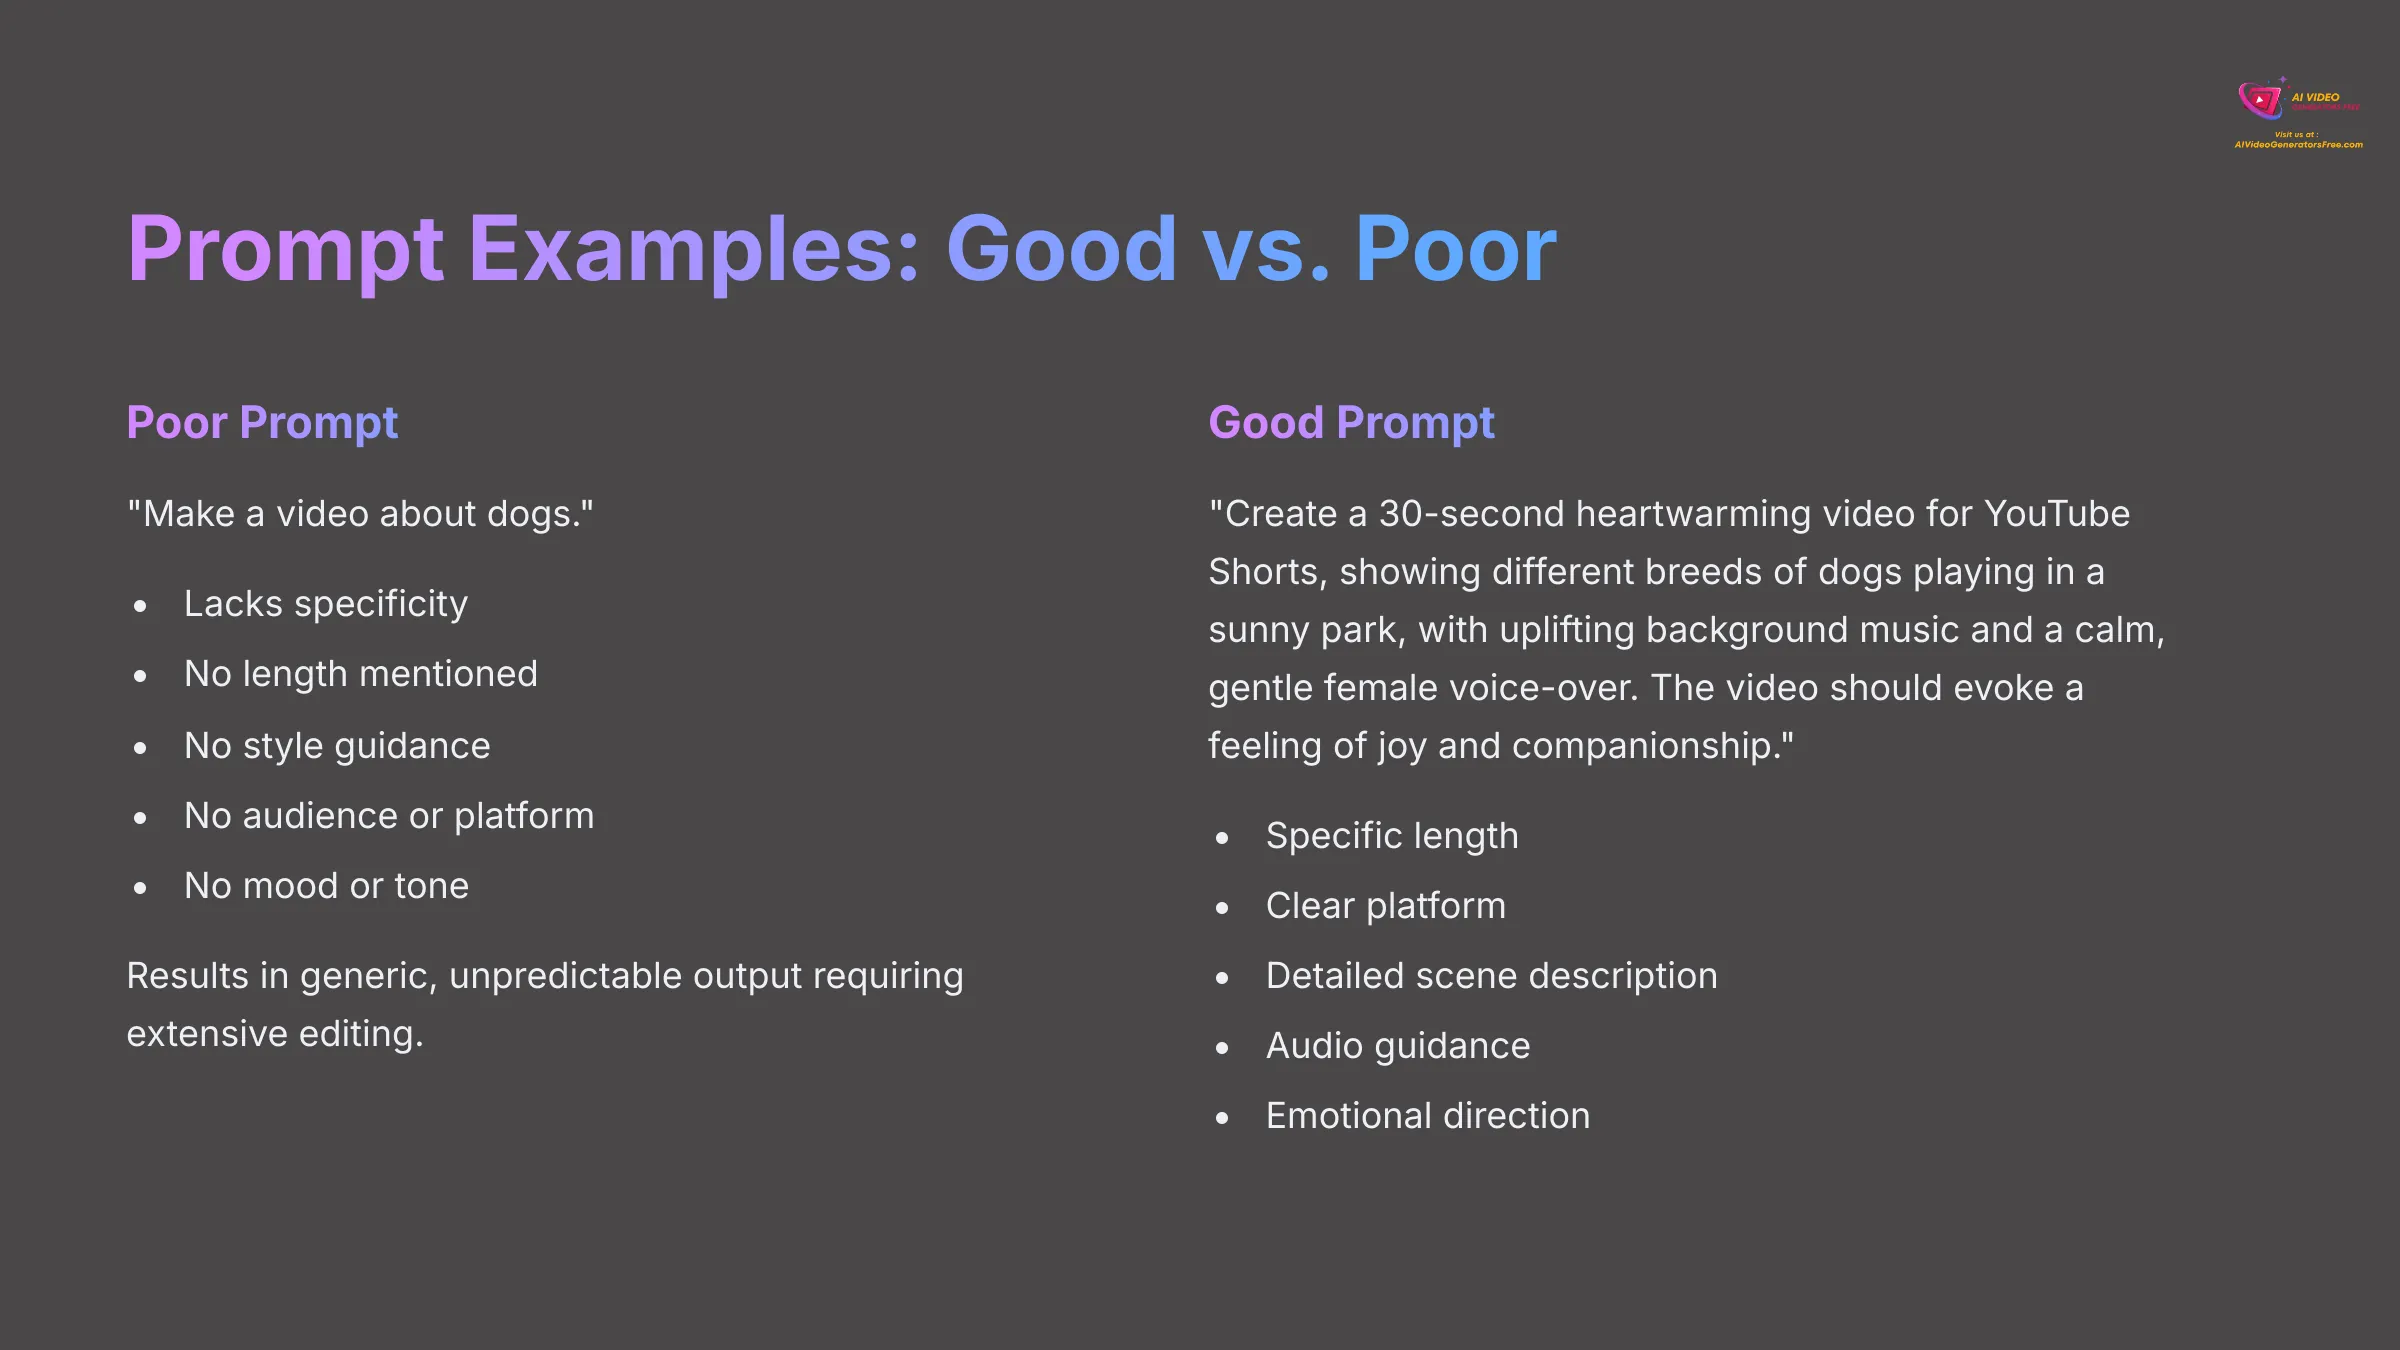

Let's look at some concrete examples to illustrate these principles.
| Prompt Quality | Example |
|---|---|
| Poor Prompt | “Make a video about dogs.” |
| Good Prompt | “Create a 30-second heartwarming video for YouTube Shorts, showing different breeds of dogs playing in a sunny park, with uplifting background music and a calm, gentle female voice-over. The video should evoke a feeling of joy and companionship.” |
Common errors I see include being too vague, not specifying video length, or forgetting to mention the desired mood and tone. Avoiding these pitfalls will save you significant time and frustration.
Generating Your First Video: The Text-to-Video Process in InVideo AI
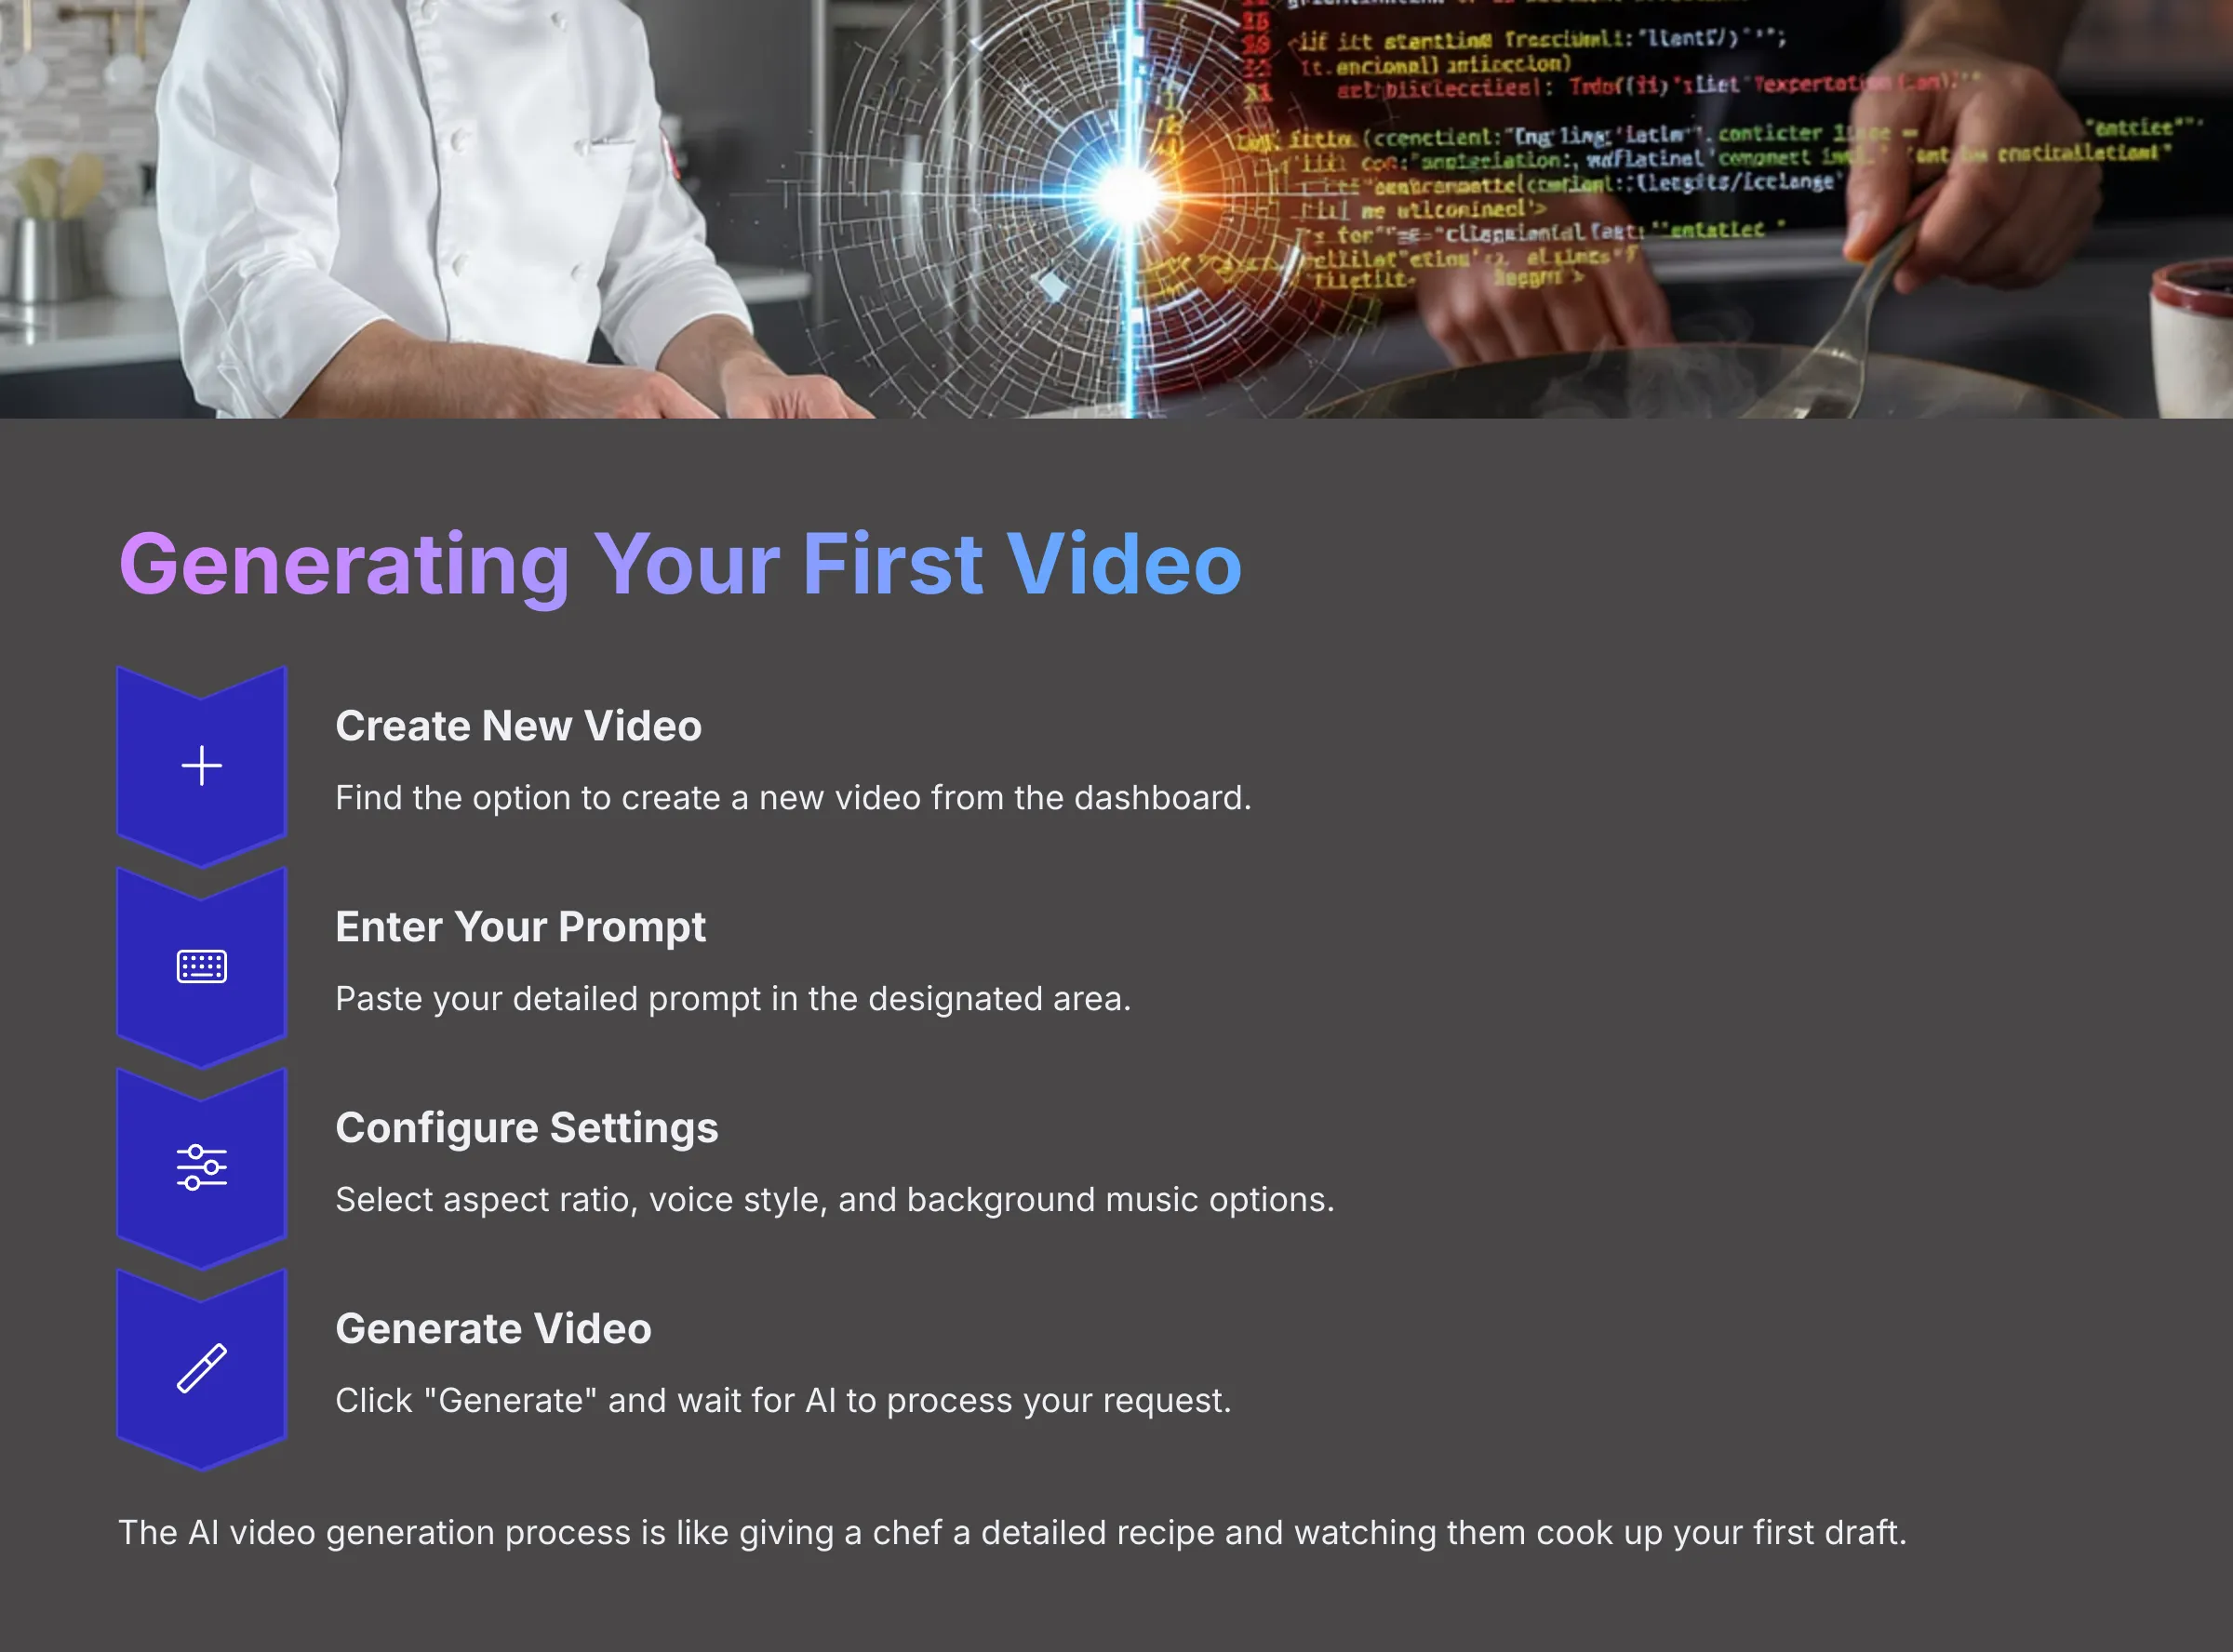

Once you have a well-crafted prompt, it's time for the exciting part: generating your video. The AI video generation process is like giving a chef a detailed recipe (your prompt) and a pantry full of ingredients (AI's media library); it then cooks up the first version of your dish (the video).
Here's how you typically do it in InVideo AI:
From the dashboard, find the option to create a new video or access the text-to-video feature. It's usually very clear and prominently displayed. Click on this option to begin the generation process.
You'll find a designated area to paste or type your crafted prompt. This is where all your careful prompt engineering pays off. Make sure to paste your complete, detailed prompt here.
Selecting AI Model and Configuration
Selecting AI Model (if applicable): Some platforms, like InVideo AI, might offer different AI models or versions. In my testing of various tools, sometimes you find versions like V1, V2, or V3, each with slight differences in output style or capability. If InVideo AI presents such options, I generally recommend beginners start with the latest or recommended model for the best results.
Configuring Generation Settings:
- You'll likely need to choose video orientation or aspect ratio. Common choices are 16:9 for YouTube and desktop viewing, 9:16 for TikTok or Instagram Reels, and 1:1 for Instagram posts. Choose based on where you plan to publish your content.
- You can often select the voice style, gender, and accent for the AI narrator if you haven't specified it fully in the prompt. This gives you additional control over the final audio output.
- There might be options for background music style, or even uploading your own custom music. Consider your brand's audio identity when making these choices.
After configuring everything according to your needs, click the “Generate Video” button and let the AI work its magic.
Understanding Generation Time
Understand the generation time expectations. Depending on video length and complexity, this can take anywhere from a few minutes to longer periods. Be patient during this process—good things take time, and the AI is processing significant amounts of data to create your video.
Once generated, you'll be able to preview the first draft of your AI-generated video. Don't expect perfection at this stage; it's a starting point that you can refine and customize.
My suggestion is to take one of your drafted prompts and generate your first video now. Observe how the AI interprets your instructions—it's a fantastic learning experience that will inform your future prompt crafting.
Generate Your First Video with AIRefining Your Creation: Editing Your AI-Generated Video in InVideo AI
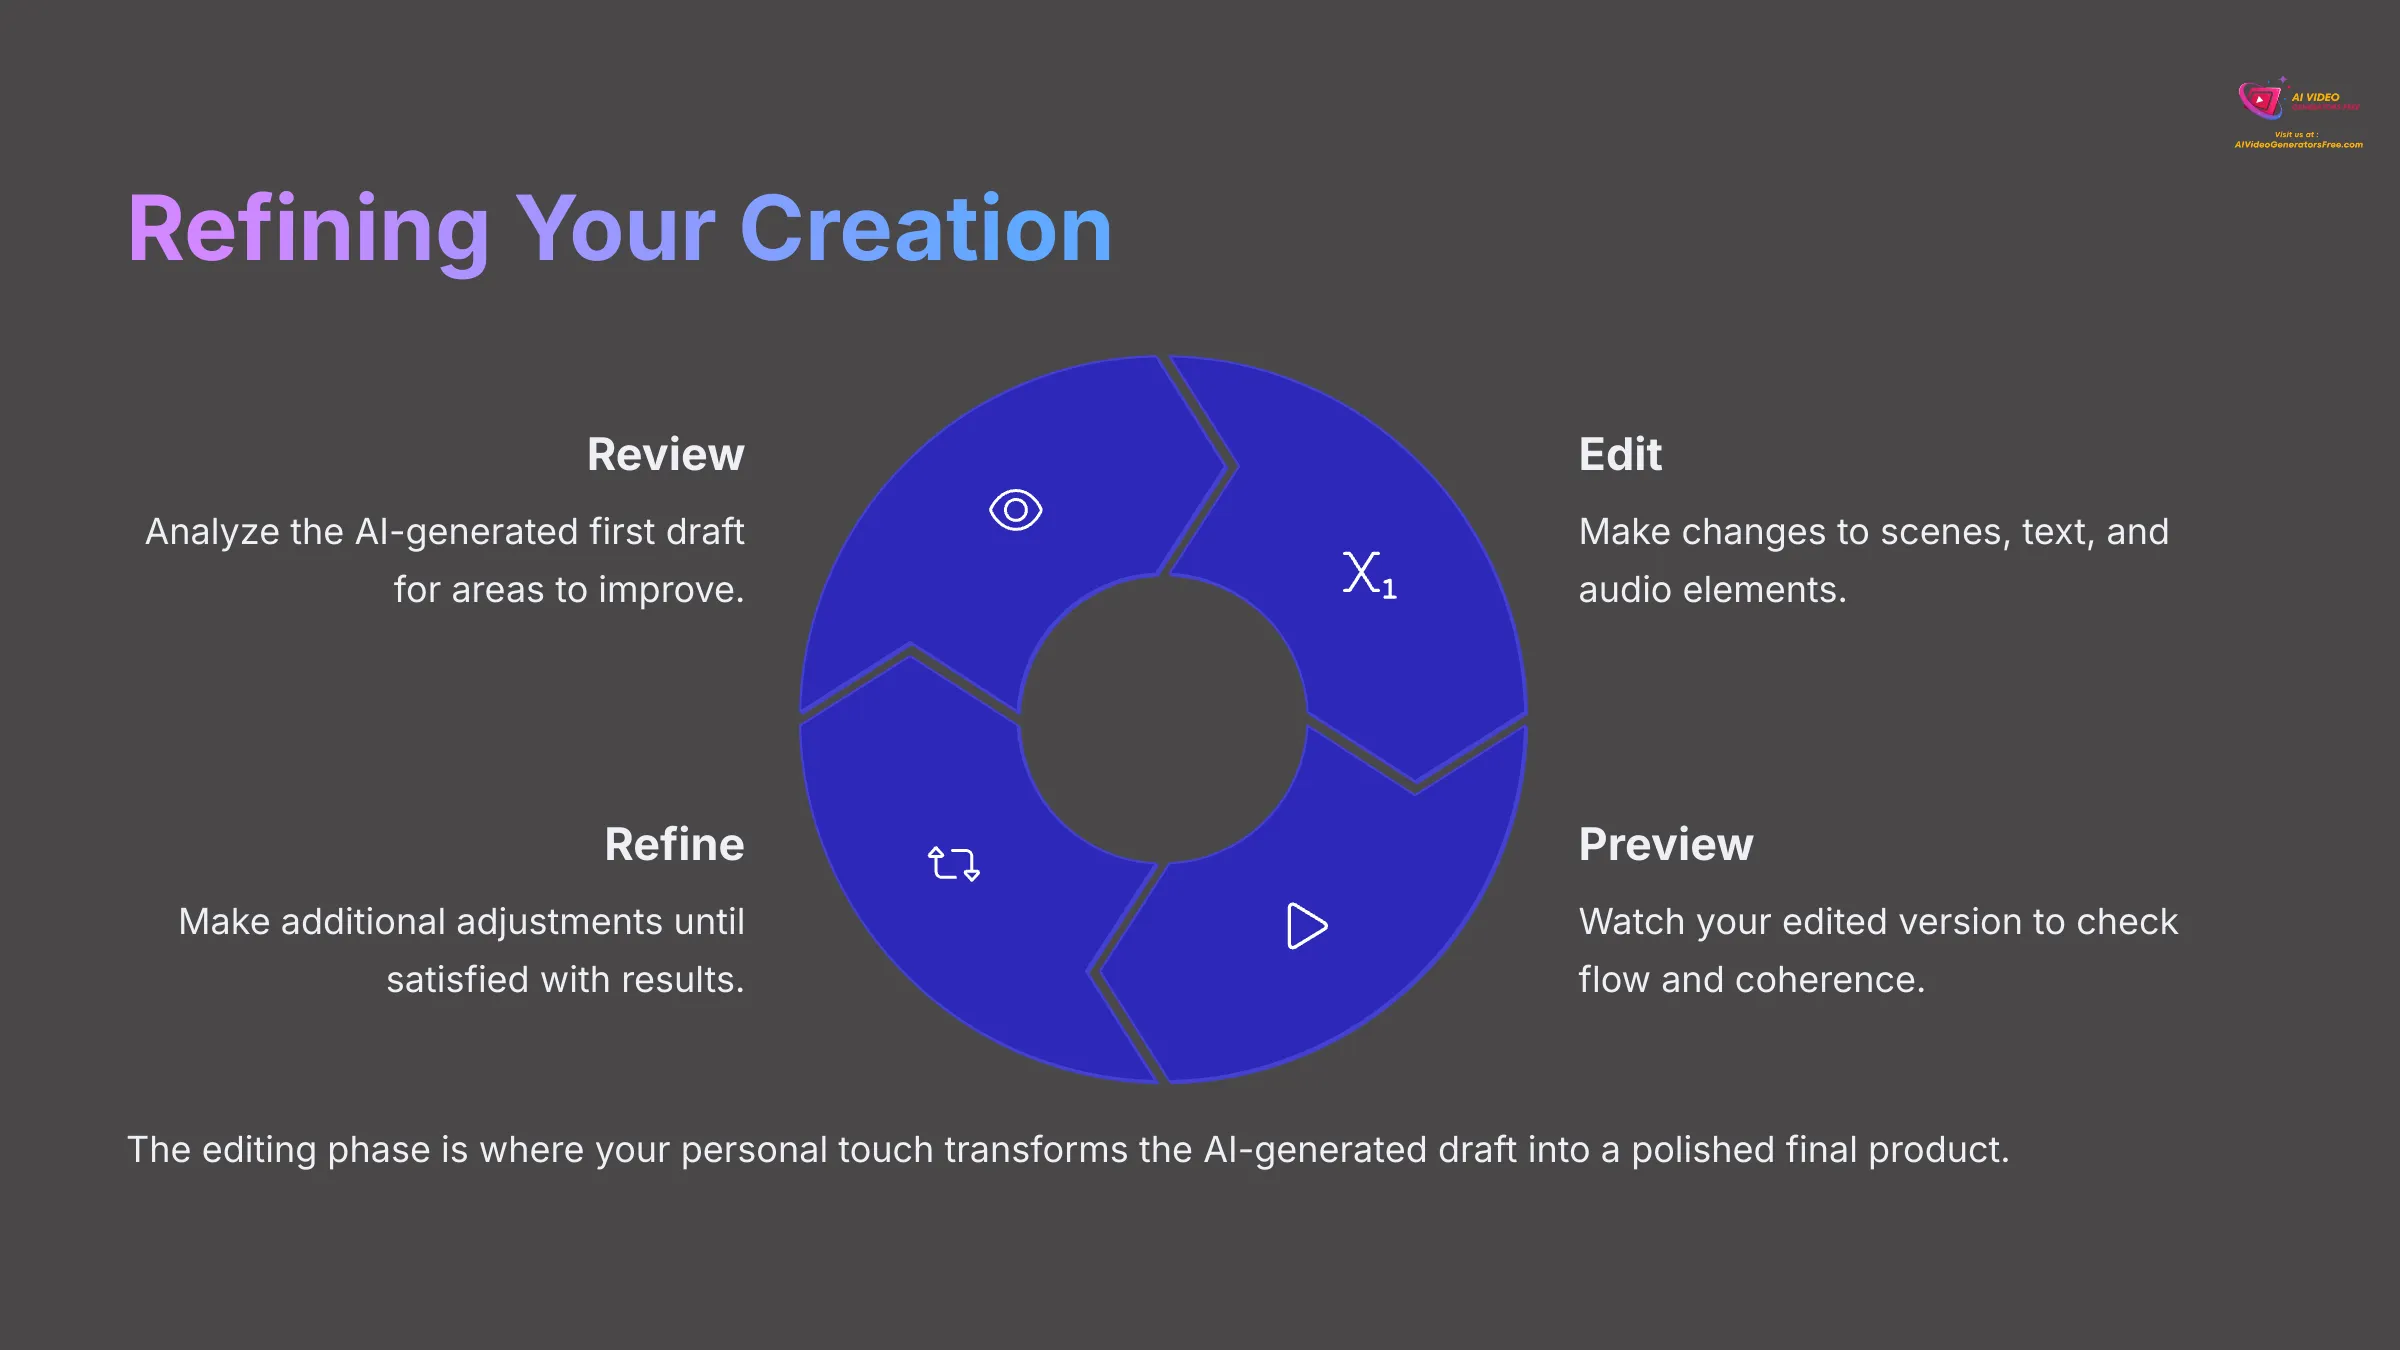

The AI gives you a great starting point, but the real magic often happens in the editing suite. InVideo AI provides a comprehensive editor to polish your creation. Let's explore how you can refine your AI-generated video to meet your exact specifications.
Understanding the InVideo AI Editing Interface & Timeline
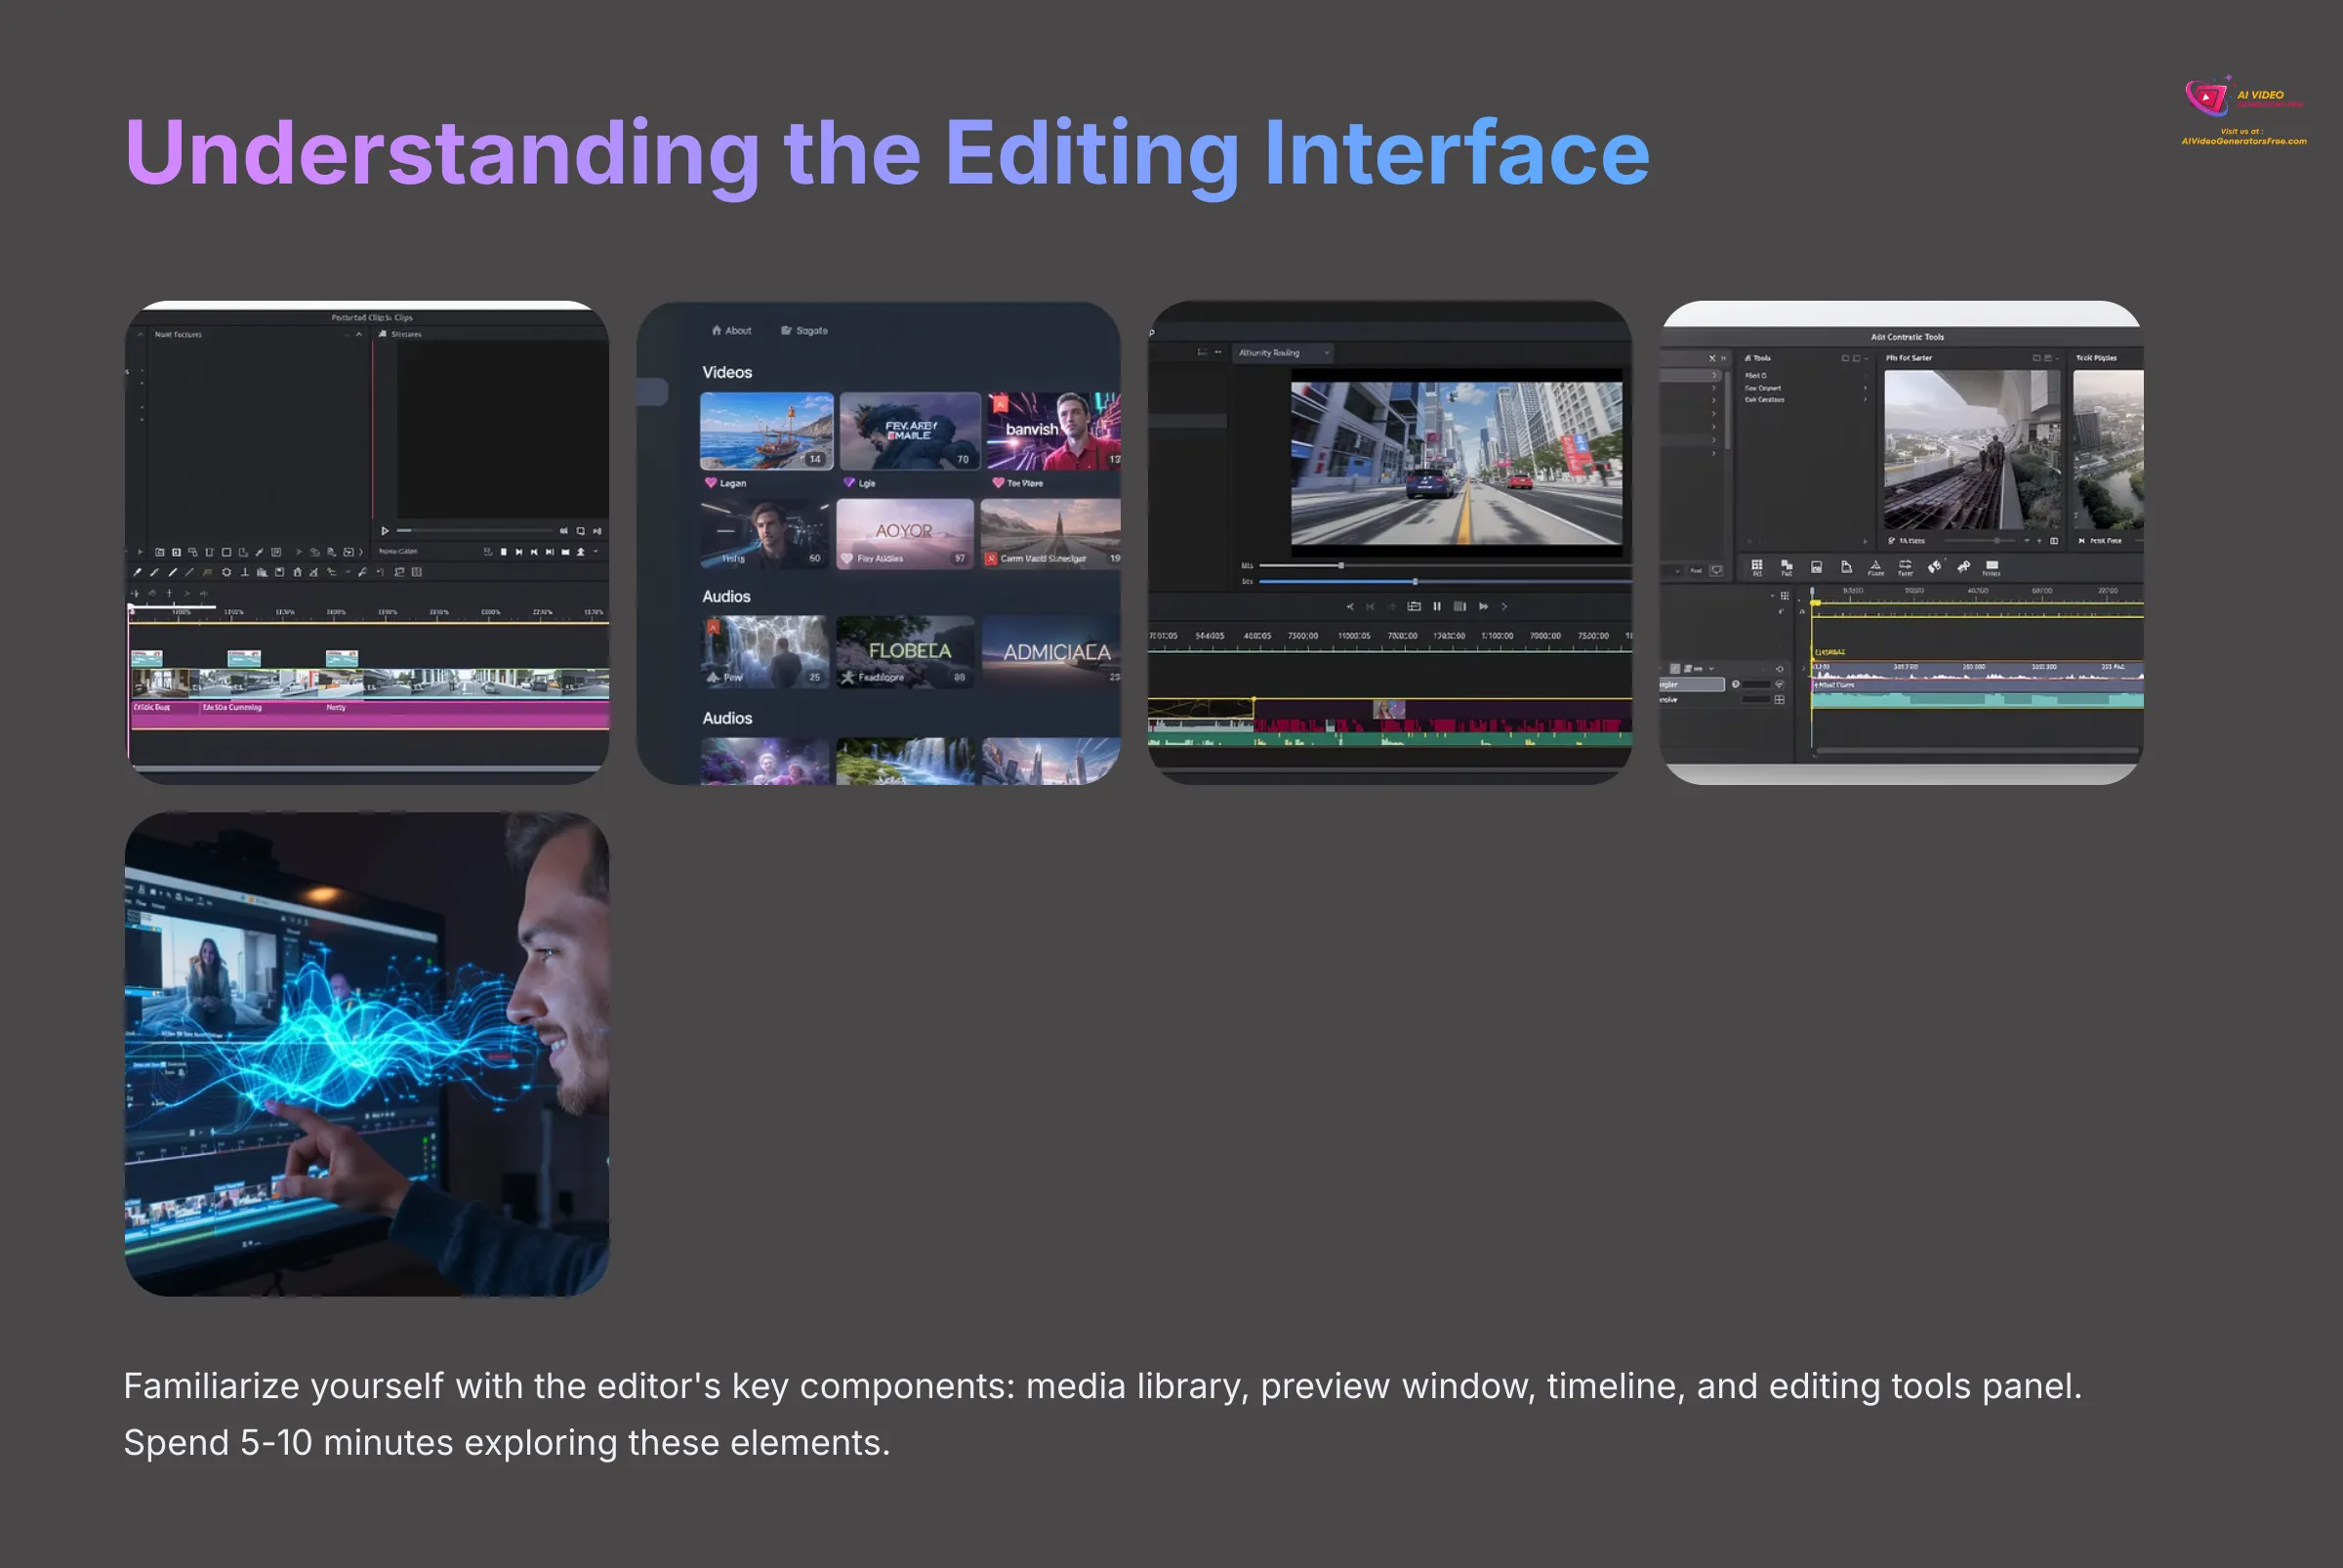

First, let's get comfortable with the editor interface. When you open your generated video for editing, you'll typically see several main areas that work together seamlessly.
- There's usually a media library where you can find stock footage, images, and audio files, or upload your own custom content. This is your resource hub for additional elements.
- A canvas or preview window shows your video as it currently stands. This is where you'll see all your changes in real-time, allowing you to make informed editing decisions.
- The timeline appears at the bottom, showing scenes or clips arranged in sequence. This is perhaps the most important area for editing, as it gives you granular control over timing and content flow.
- There will be an editing tools panel with various options for customization. These tools let you modify everything from text to transitions to audio levels.
Playing and pausing the video preview is straightforward—use these controls frequently to review your changes. On the timeline, you'll see how scenes or individual clips are laid out chronologically. I find that learning to zoom, scroll, and select items on the timeline is the first step to efficient editing.
Spend 5-10 minutes clicking around the editor interface. Try to identify each component I've described and understand how they work together. This initial familiarization will make the editing process much smoother.
Modifying Scenes and Media
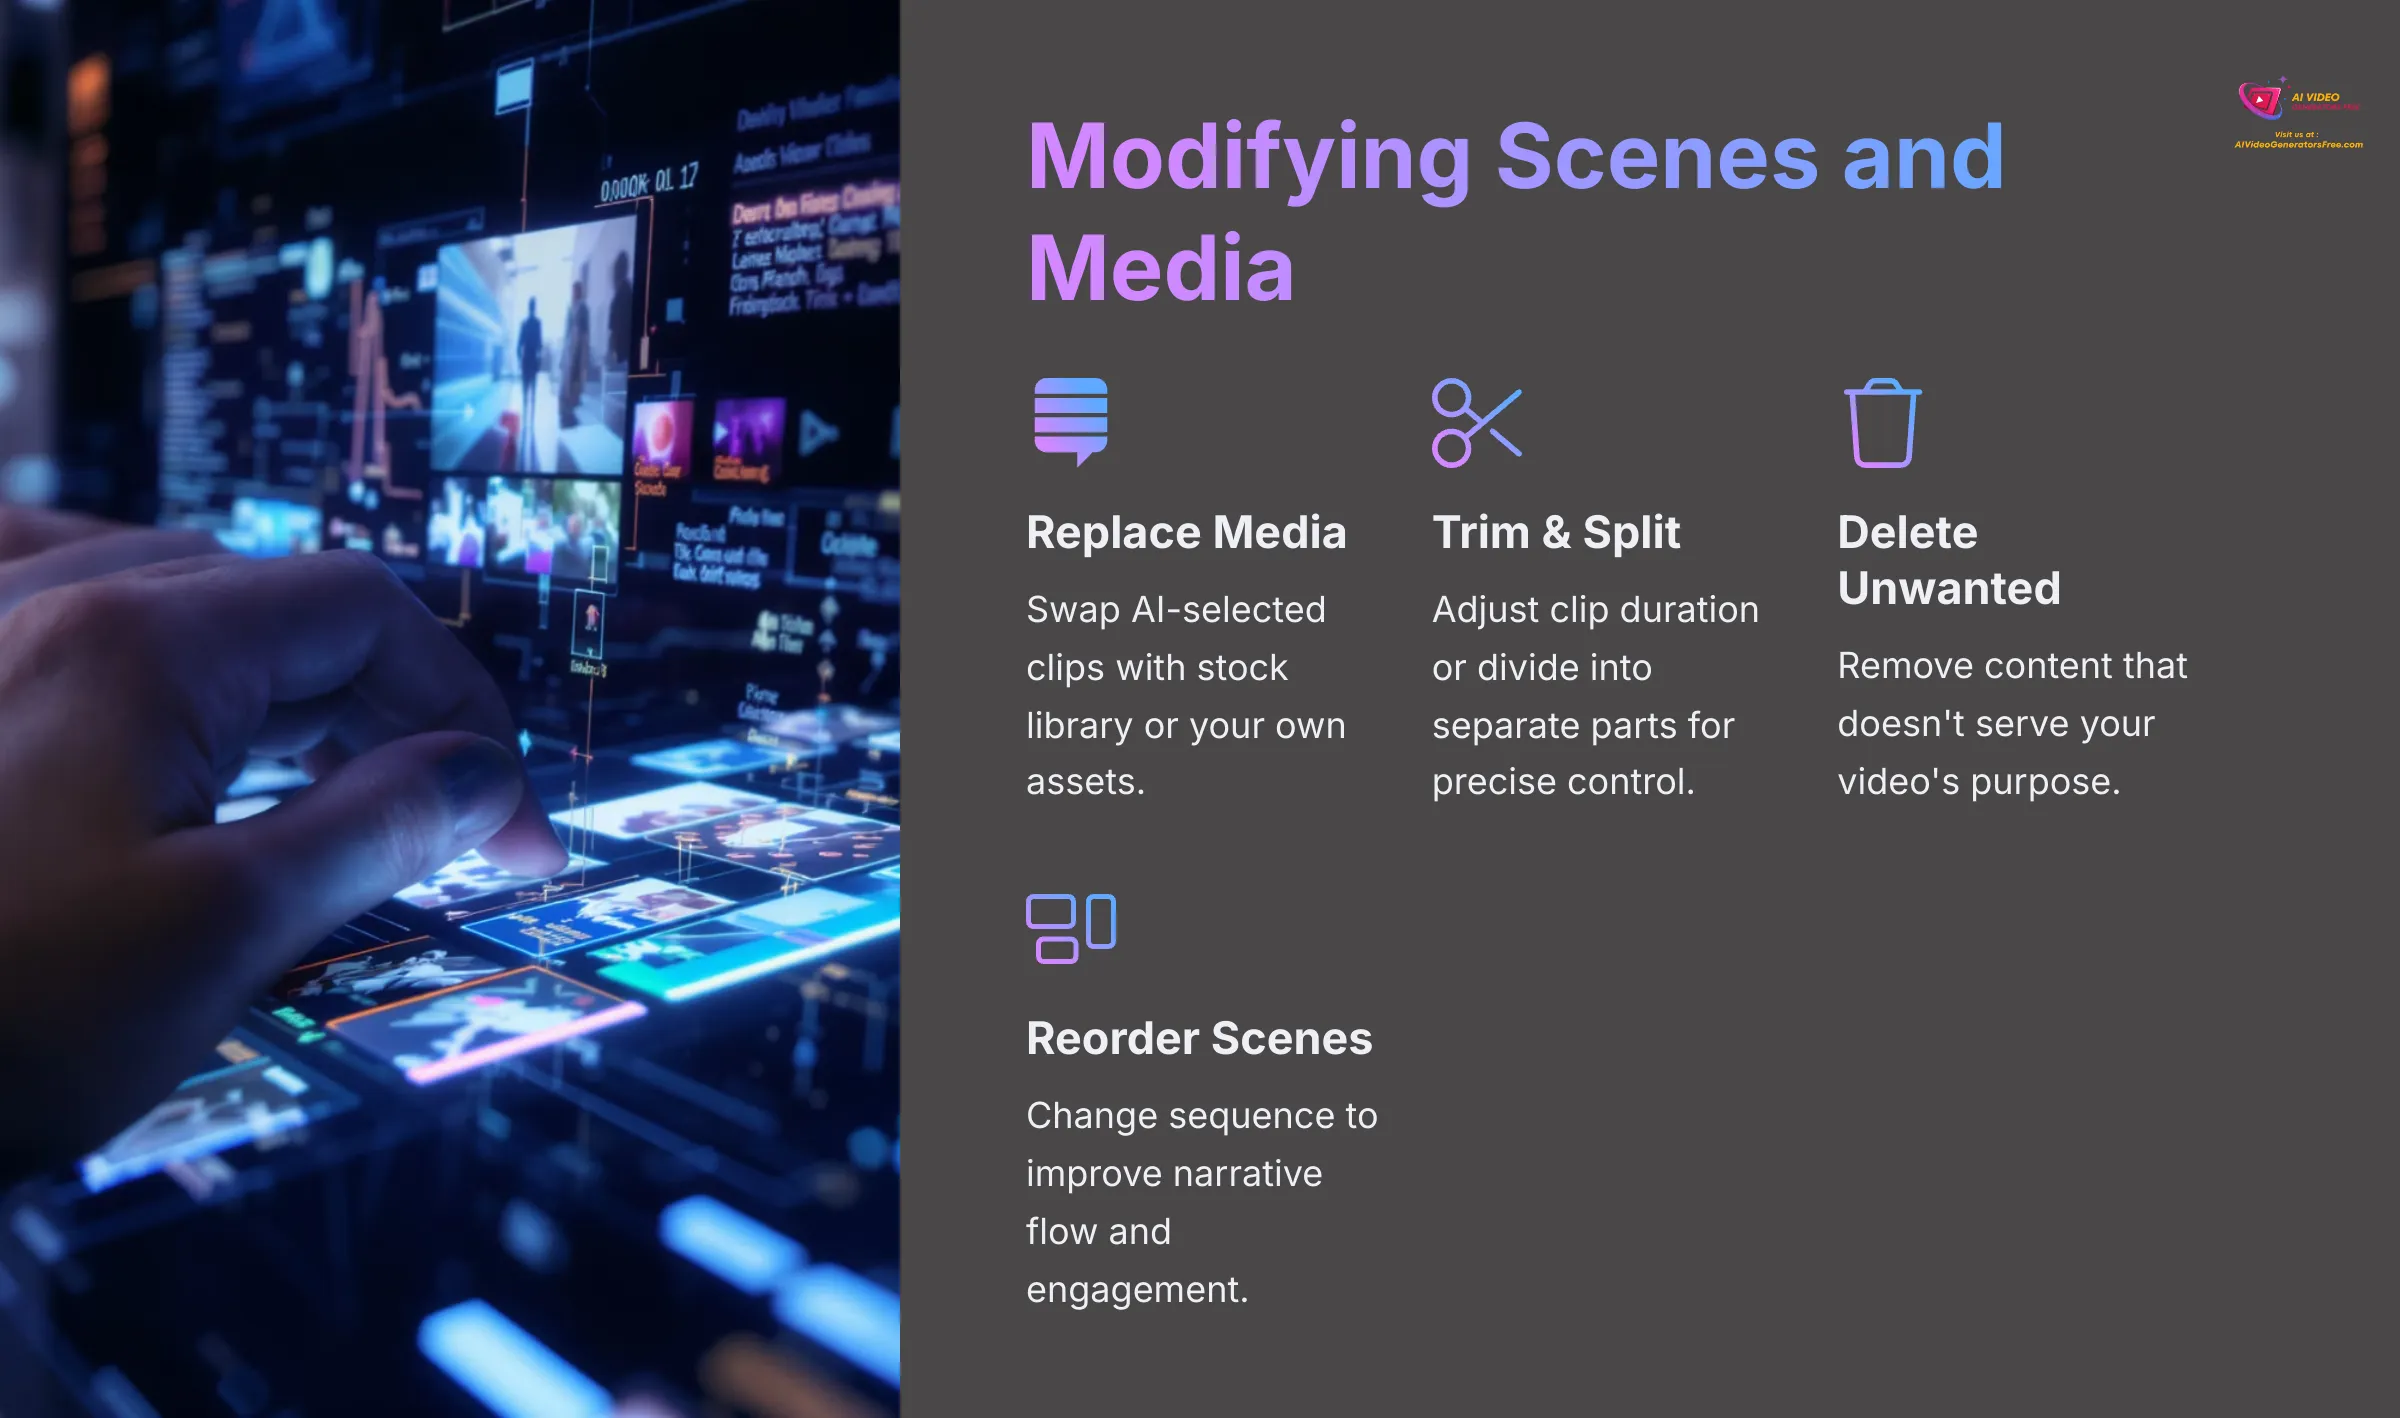

Now, let's change things up and customize your video content. What if the AI picked an image or video clip you don't like? Here's how to fix that:
- Select the scene or clip on the timeline that you want to change. Most interfaces make this simple with clear visual indicators when something is selected.
- There should be an option to replace the existing image or video clip. You can usually choose from InVideo's extensive stock library or upload your own media files. I often use my own branded assets here to maintain consistency.
- You can also trim the duration of a clip to make it shorter, which is useful for pacing adjustments. Alternatively, you might want to split a longer clip into two separate parts for more precise control.
- Deleting unwanted scenes or clips is usually a simple select-and-delete action. Don't be afraid to remove content that doesn't serve your video's purpose.
- You can also add new scenes or insert additional media elements where needed. This flexibility allows you to expand on the AI's initial creation.
- Look for options to adjust transitions between scenes. A smooth transition can make a significant difference in the overall viewing experience and professional appearance of your video.
In your generated video, try replacing two AI-selected clips with different media from the library. Also, experiment with reordering one scene to see how it affects the flow. This hands-on practice is invaluable for building your editing skills.
Editing Text Overlays and Script Adjustments
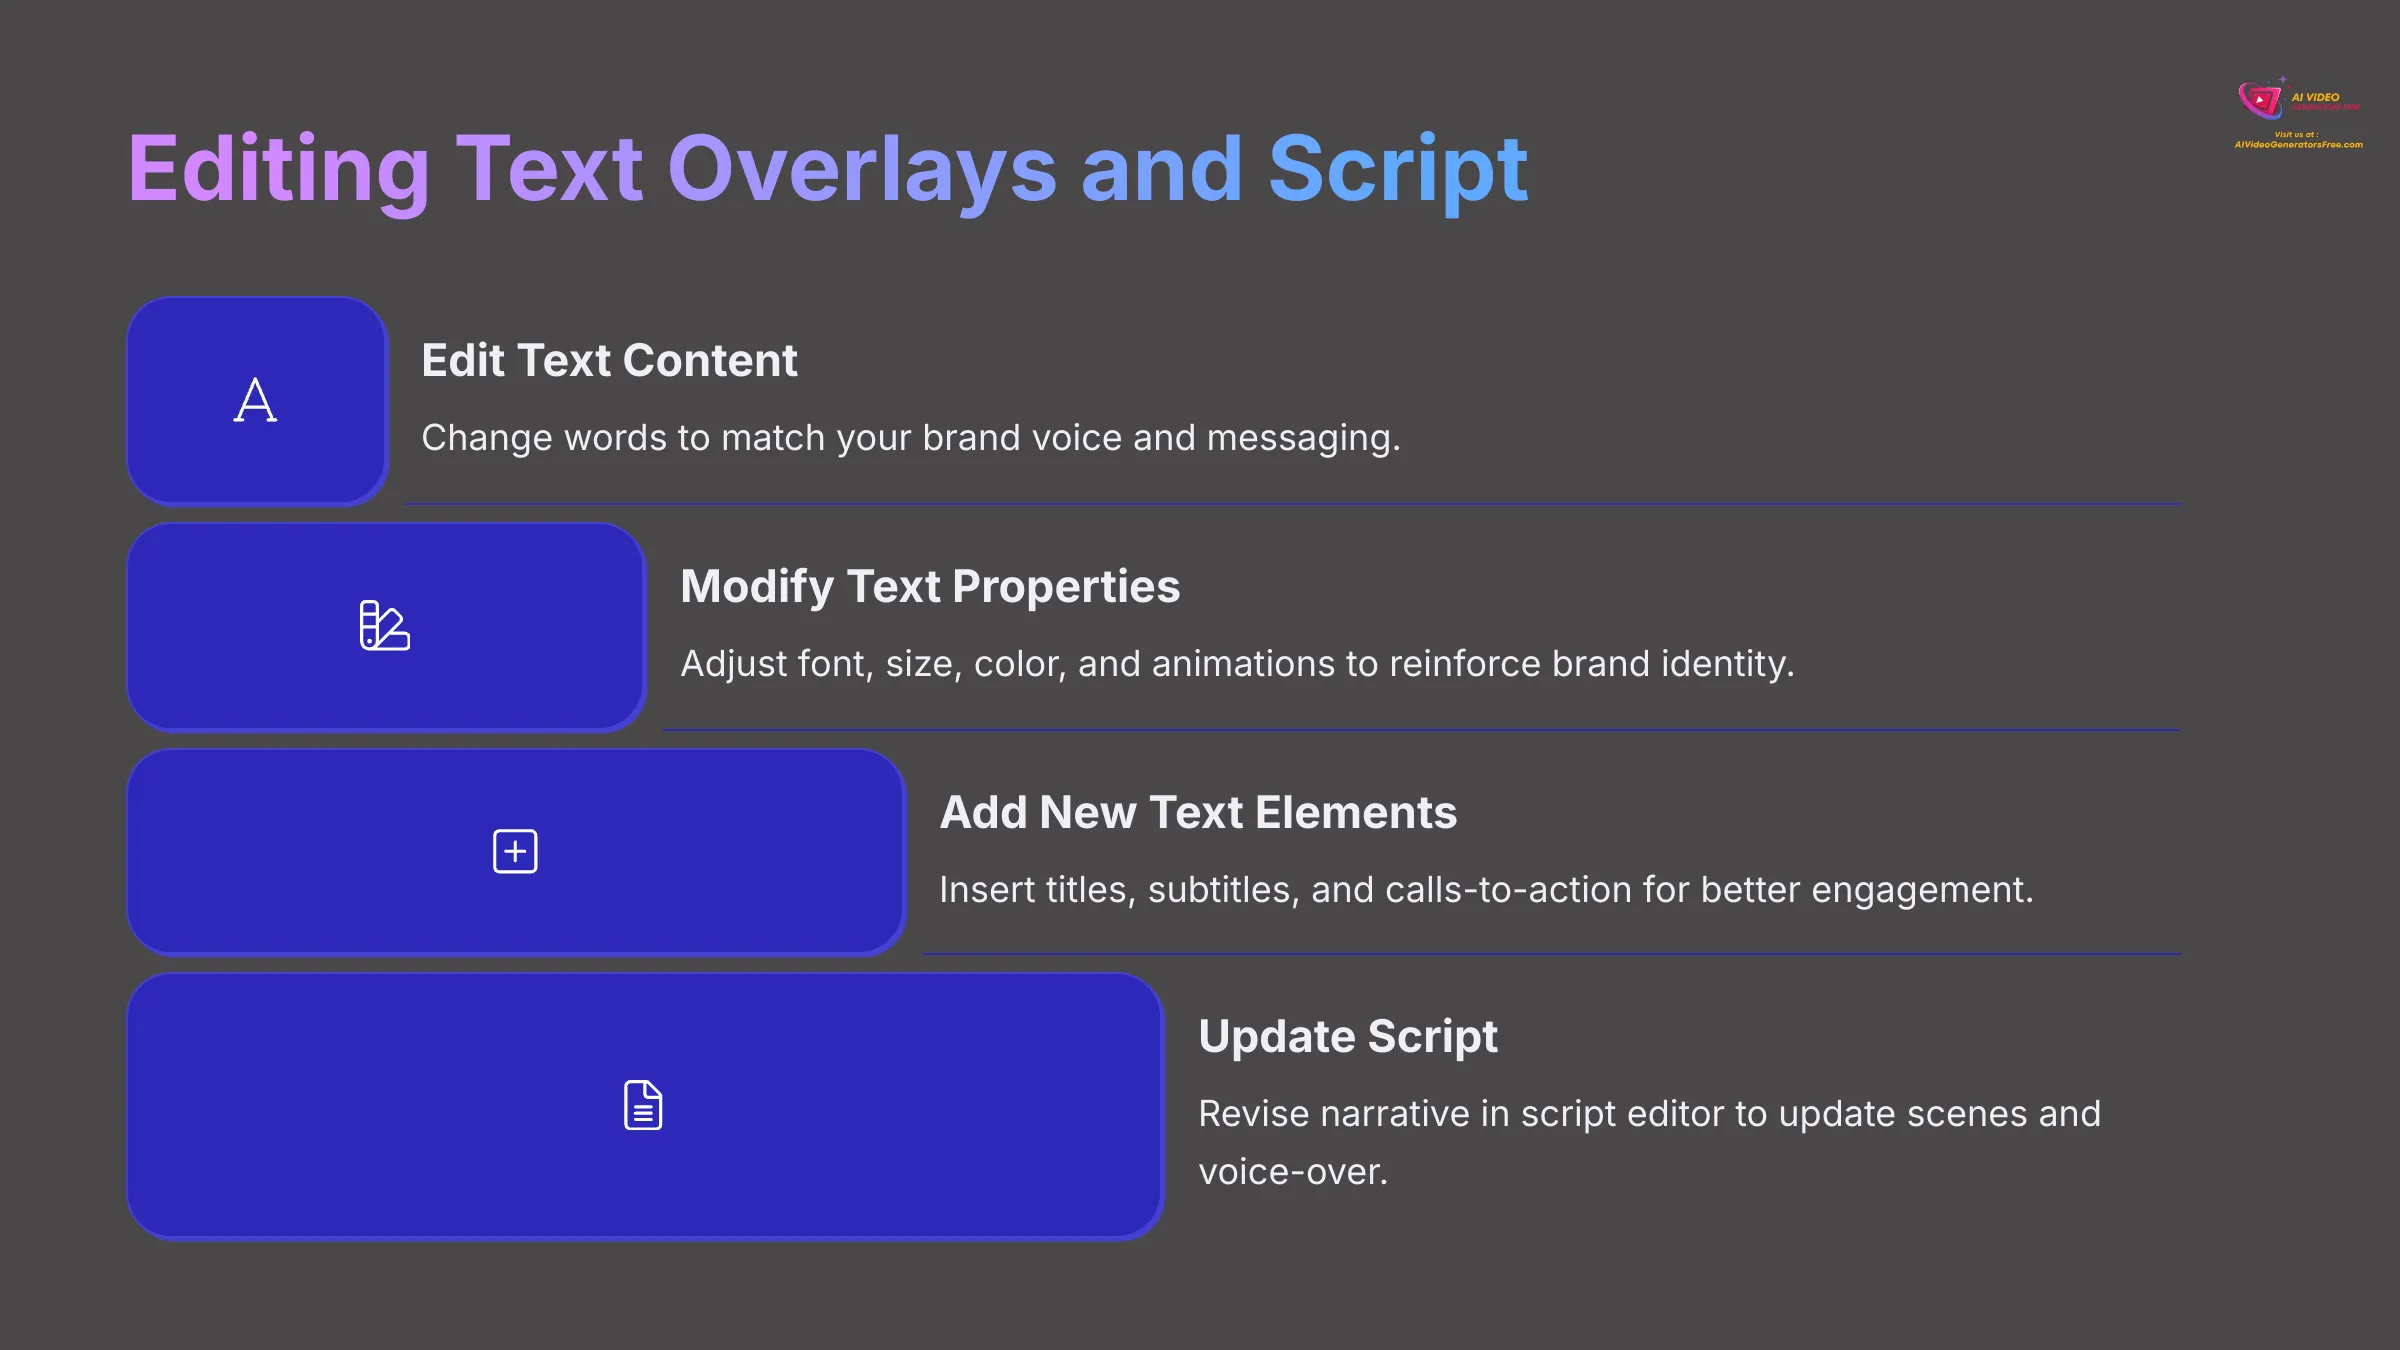

Text overlays play a crucial role in conveying messages effectively, especially for social media content where viewers often watch without sound.
- You can select and edit any text that the AI has generated. Look for options to change the actual text content to better match your brand voice or messaging.
- You should also be able to change text properties comprehensively. This includes the font family, size, color, and sometimes even text animations or effects. These visual elements help reinforce your brand identity.
- Adding new text boxes for titles, subtitles, or calls to action is typically straightforward. Strategic text placement can significantly improve viewer engagement and comprehension.
- A powerful feature in many AI video tools, including what I've seen in InVideo AI, is a script editor. Here, you can make changes to the narrative directly. These changes then often update the scenes or the AI voice-over automatically, which is incredibly handy for maintaining consistency.
Try changing the text in one of your scenes to match your brand's tone. Then, experiment with adding a new title card at the beginning of your video as a practice exercise. These small changes can have a big impact on the final result.
Working with Audio: Voice-overs, Music, and Sound Effects
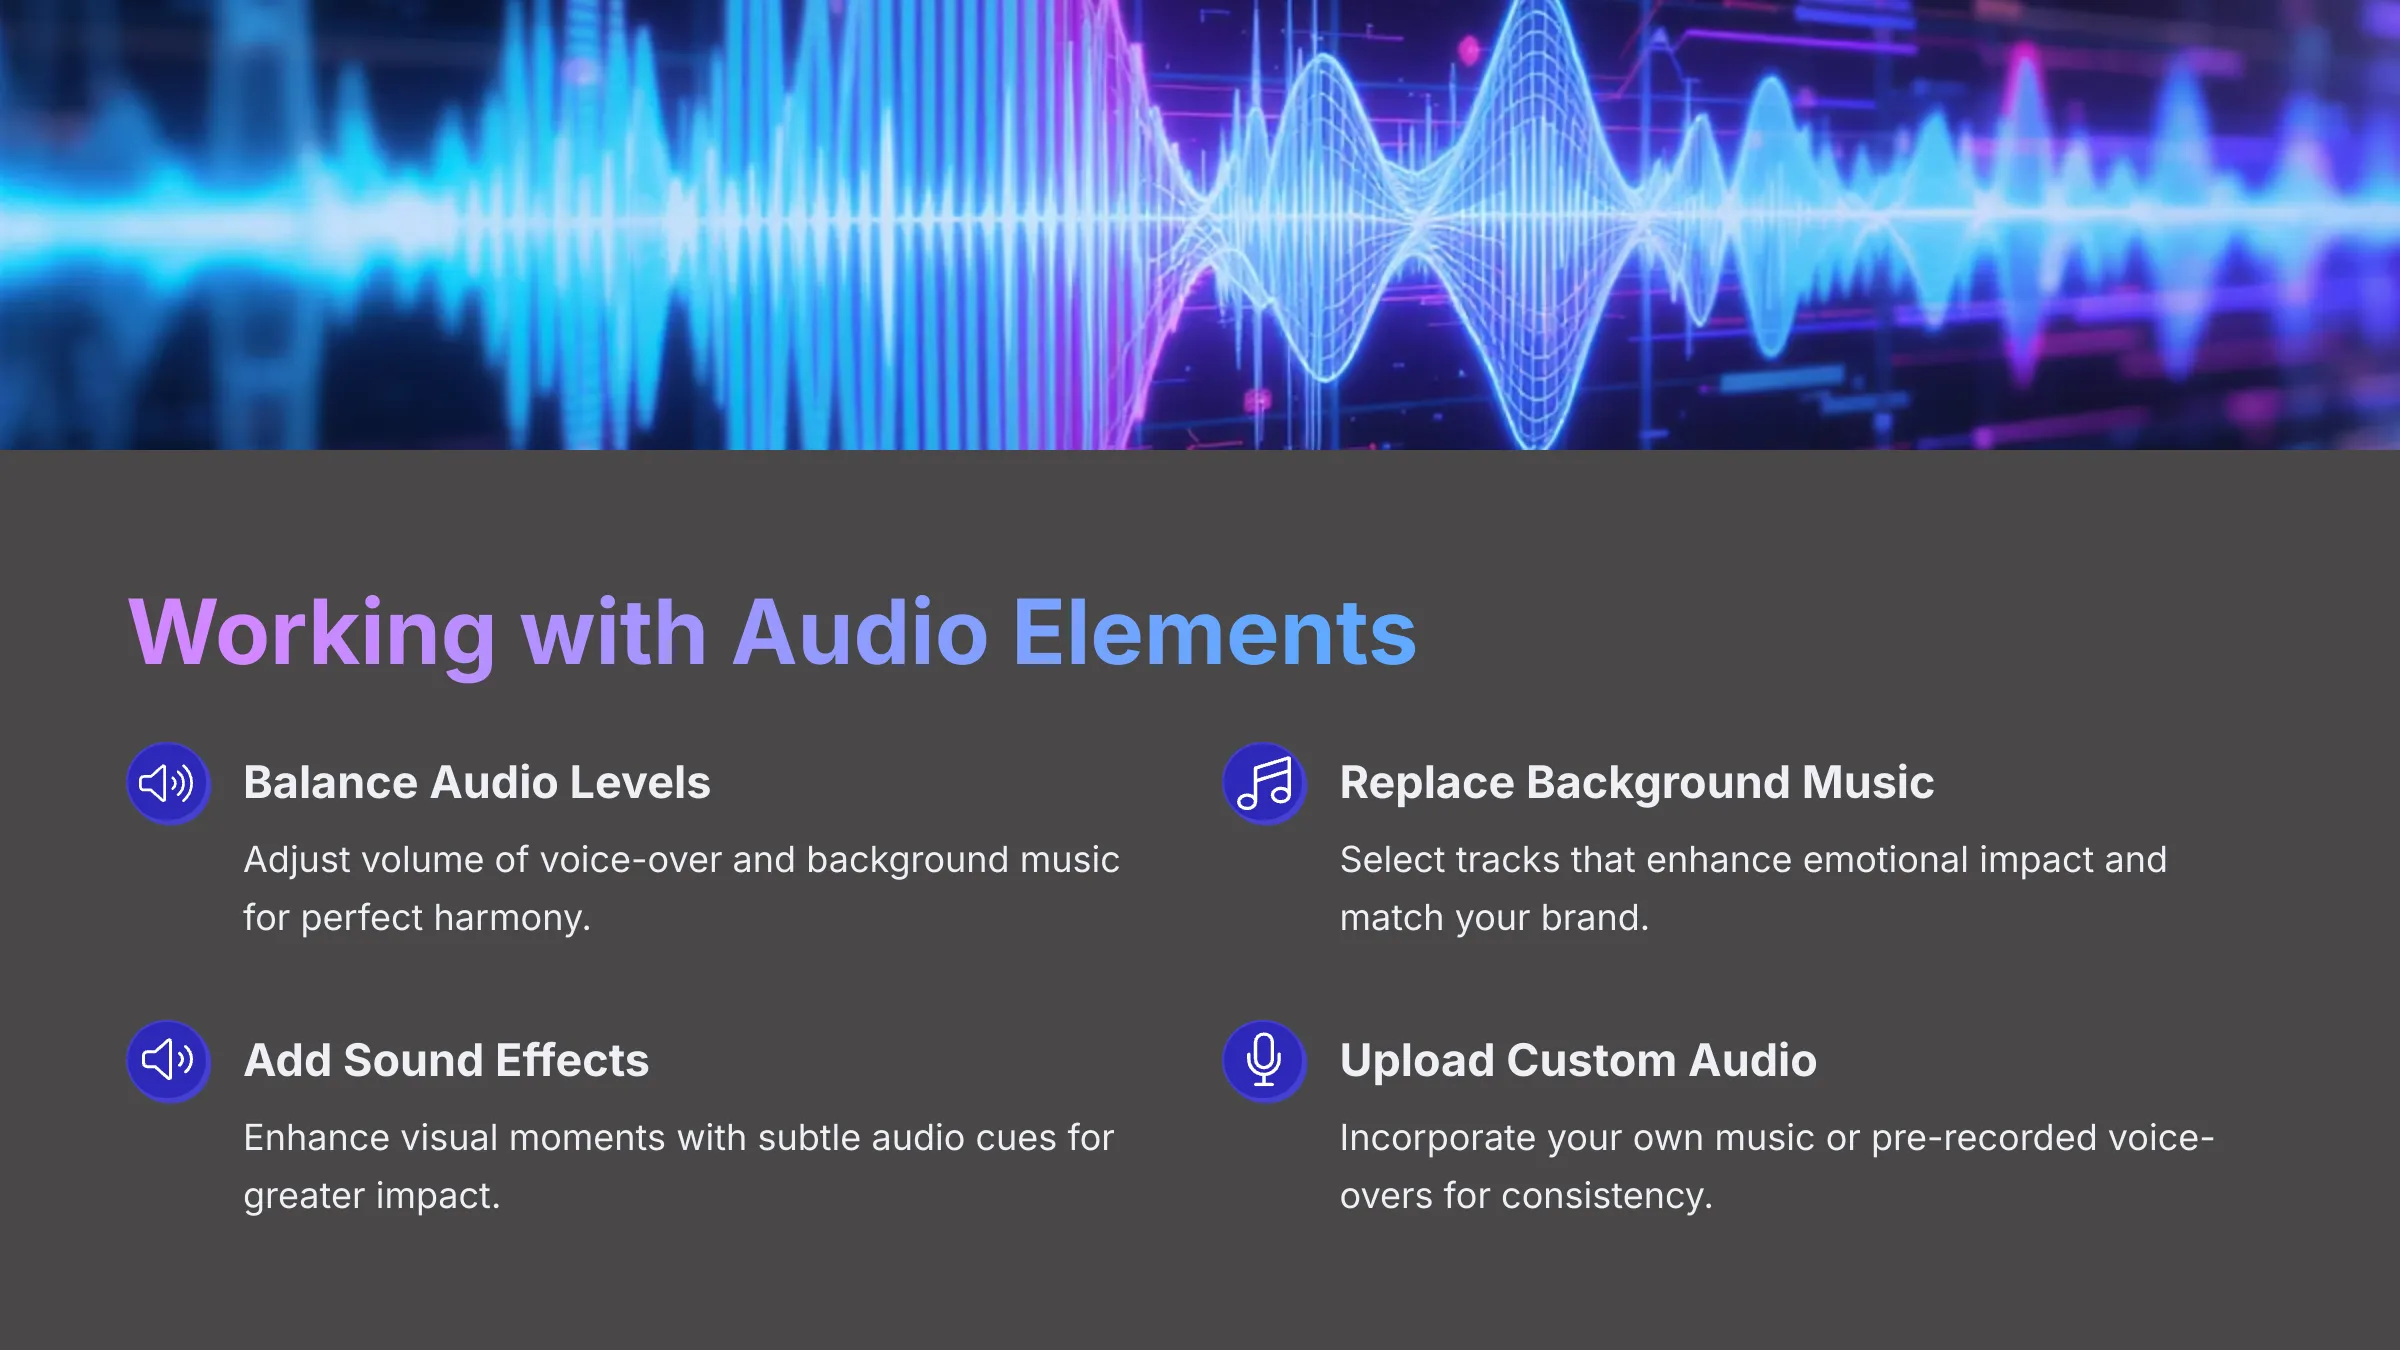

Audio elements set the mood and deliver key information effectively, making them critical to your video's success.
- You'll want to adjust the volume levels of different audio tracks carefully. This means balancing the AI voice-over with the background music so that both are audible and complement each other rather than competing.
- You can typically replace or remove the background music if it doesn't quite fit your brand or message. The right music can dramatically enhance the emotional impact of your content.
- Some editors offer extensive libraries of sound effects. Adding a subtle sound effect can enhance a visual moment significantly. I use these sparingly but effectively—less is often more.
- Importantly, you can usually upload and add your own music track or a pre-recorded voice-over file. This is particularly valuable for maintaining brand consistency across all your content.
For practical experience, try changing the background music of your video to something that better fits your brand. Also, experiment with adding a simple sound effect to one of your scenes to see how it enhances the viewing experience.
Beyond the Basics: Unlocking Advanced InVideo AI Features
Now that you've mastered the fundamentals of creating and editing videos from text prompts in InVideo AI, let's explore some advanced features that can truly elevate your content. These tools offer powerful ways to personalize your videos and expand their reach to global audiences. Techniques like AI voice cloning and multi-language dubbing represent the cutting edge of video personalization technology.
Personalize Your Narrative: Using InVideo AI's Voice Cloning Feature
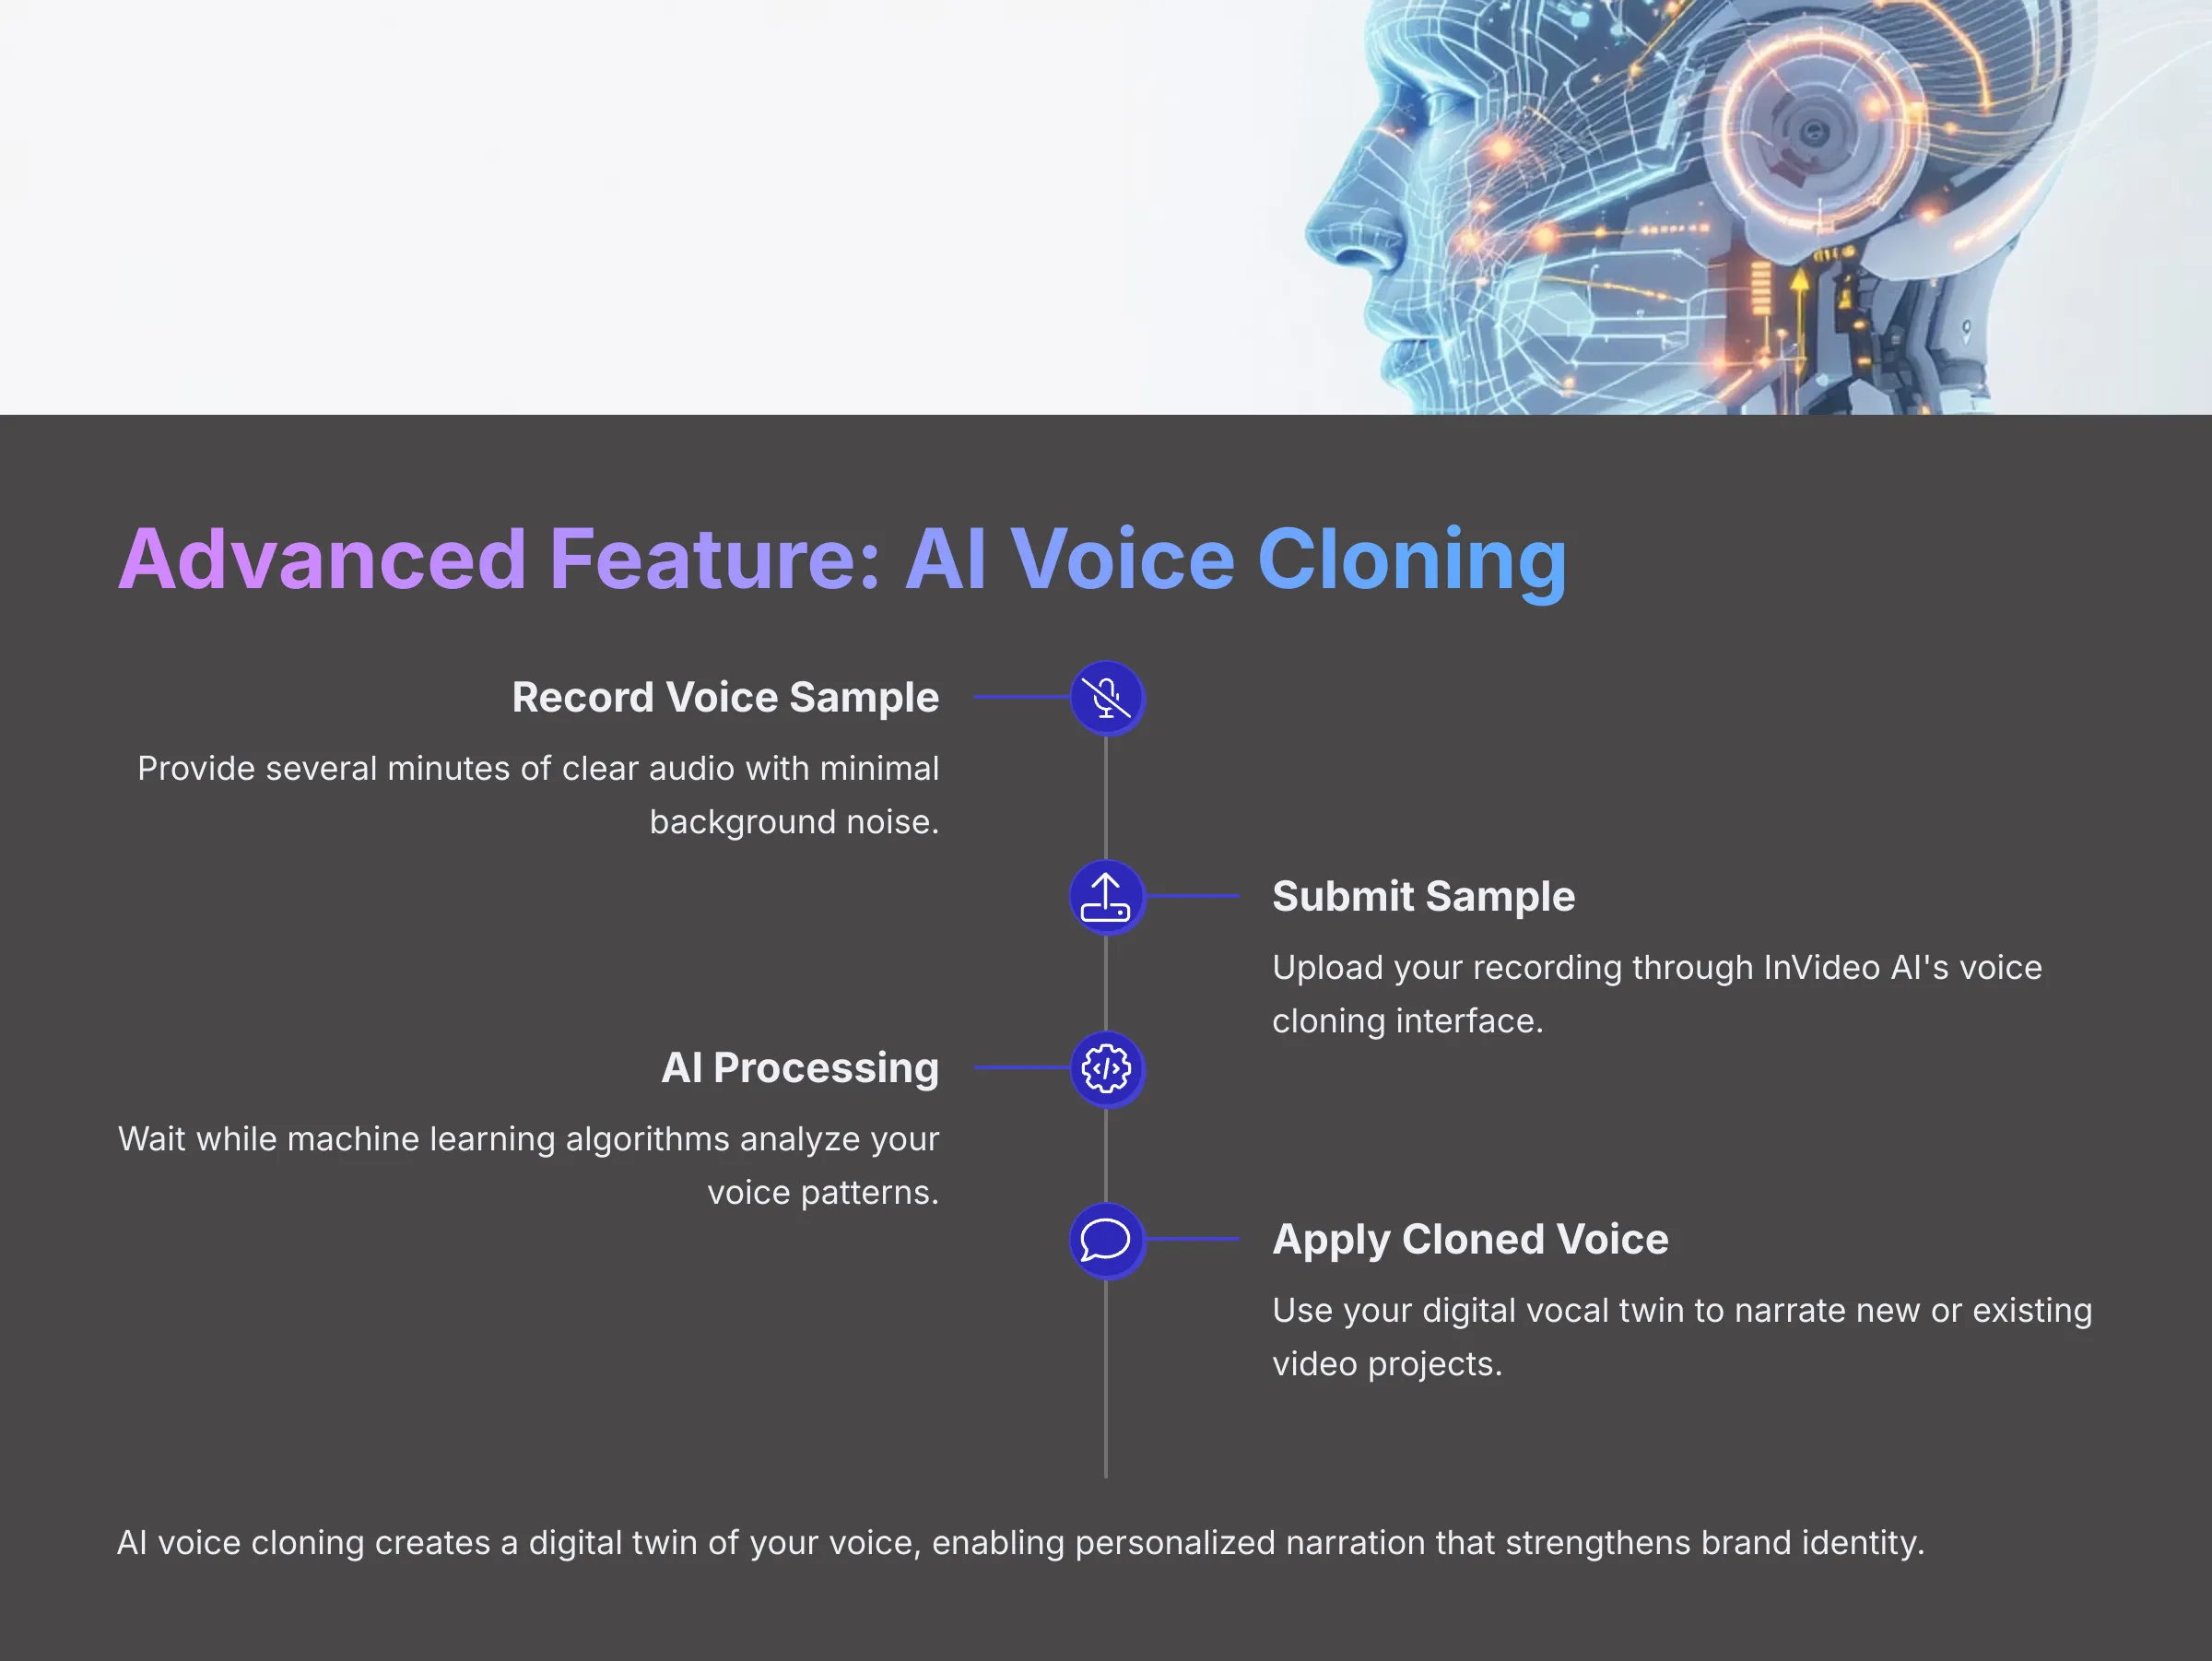

AI voice cloning is like creating a digital vocal twin—it learns your unique way of speaking and can then narrate scripts as if it were you. This represents a fantastic opportunity for brand consistency and personalization that I've seen used very effectively across various industries.
Understanding what AI voice cloning offers is the first step. It can make your videos feel much more personal and authentic if the voice is yours or a recognized brand voice. This technology creates a stronger connection with your audience.
You'll need to find the voice cloning feature within InVideo AI. It might be located in your account settings, profile area, or as part of the video creation workflow. The exact location can vary, so explore the interface thoroughly.
Voice Cloning Requirements and Process
There are usually specific requirements for submitting a voice sample that will produce the best results. This often includes a certain length of clear audio—typically several minutes of speaking. Good recording quality is essential, with minimal background noise and consistent volume levels. Importantly, you must have consent if it's not your own voice, as ethical considerations are paramount.
The platform will guide you through uploading or recording your voice sample directly. The quality of this initial sample significantly impacts the final cloned voice quality, so take time to get it right.
Once submitted, the AI processes your voice sample using sophisticated machine learning algorithms. This process can take some time, depending on the system's current load and the complexity of your voice characteristics.
Once your cloned voice is ready, you can apply it to new video projects or even update existing ones. This flexibility allows you to maintain consistent branding across all your content.
Ethical Considerations
It's very important to address ethical considerations around voice cloning technology. Always ensure you have the right to clone a voice, whether it's your own or someone else's. Responsible use is key with powerful technology like this, and most platforms have clear guidelines about acceptable use.
If you're comfortable with the process and after checking InVideo AI's specific guidelines, try the voice cloning feature with a short sample of your own voice. Hearing an AI speak in a voice that sounds like yours is quite an experience and opens up numerous creative possibilities.
Go Global: AI-Powered Multi-Language Dubbing in InVideo AI
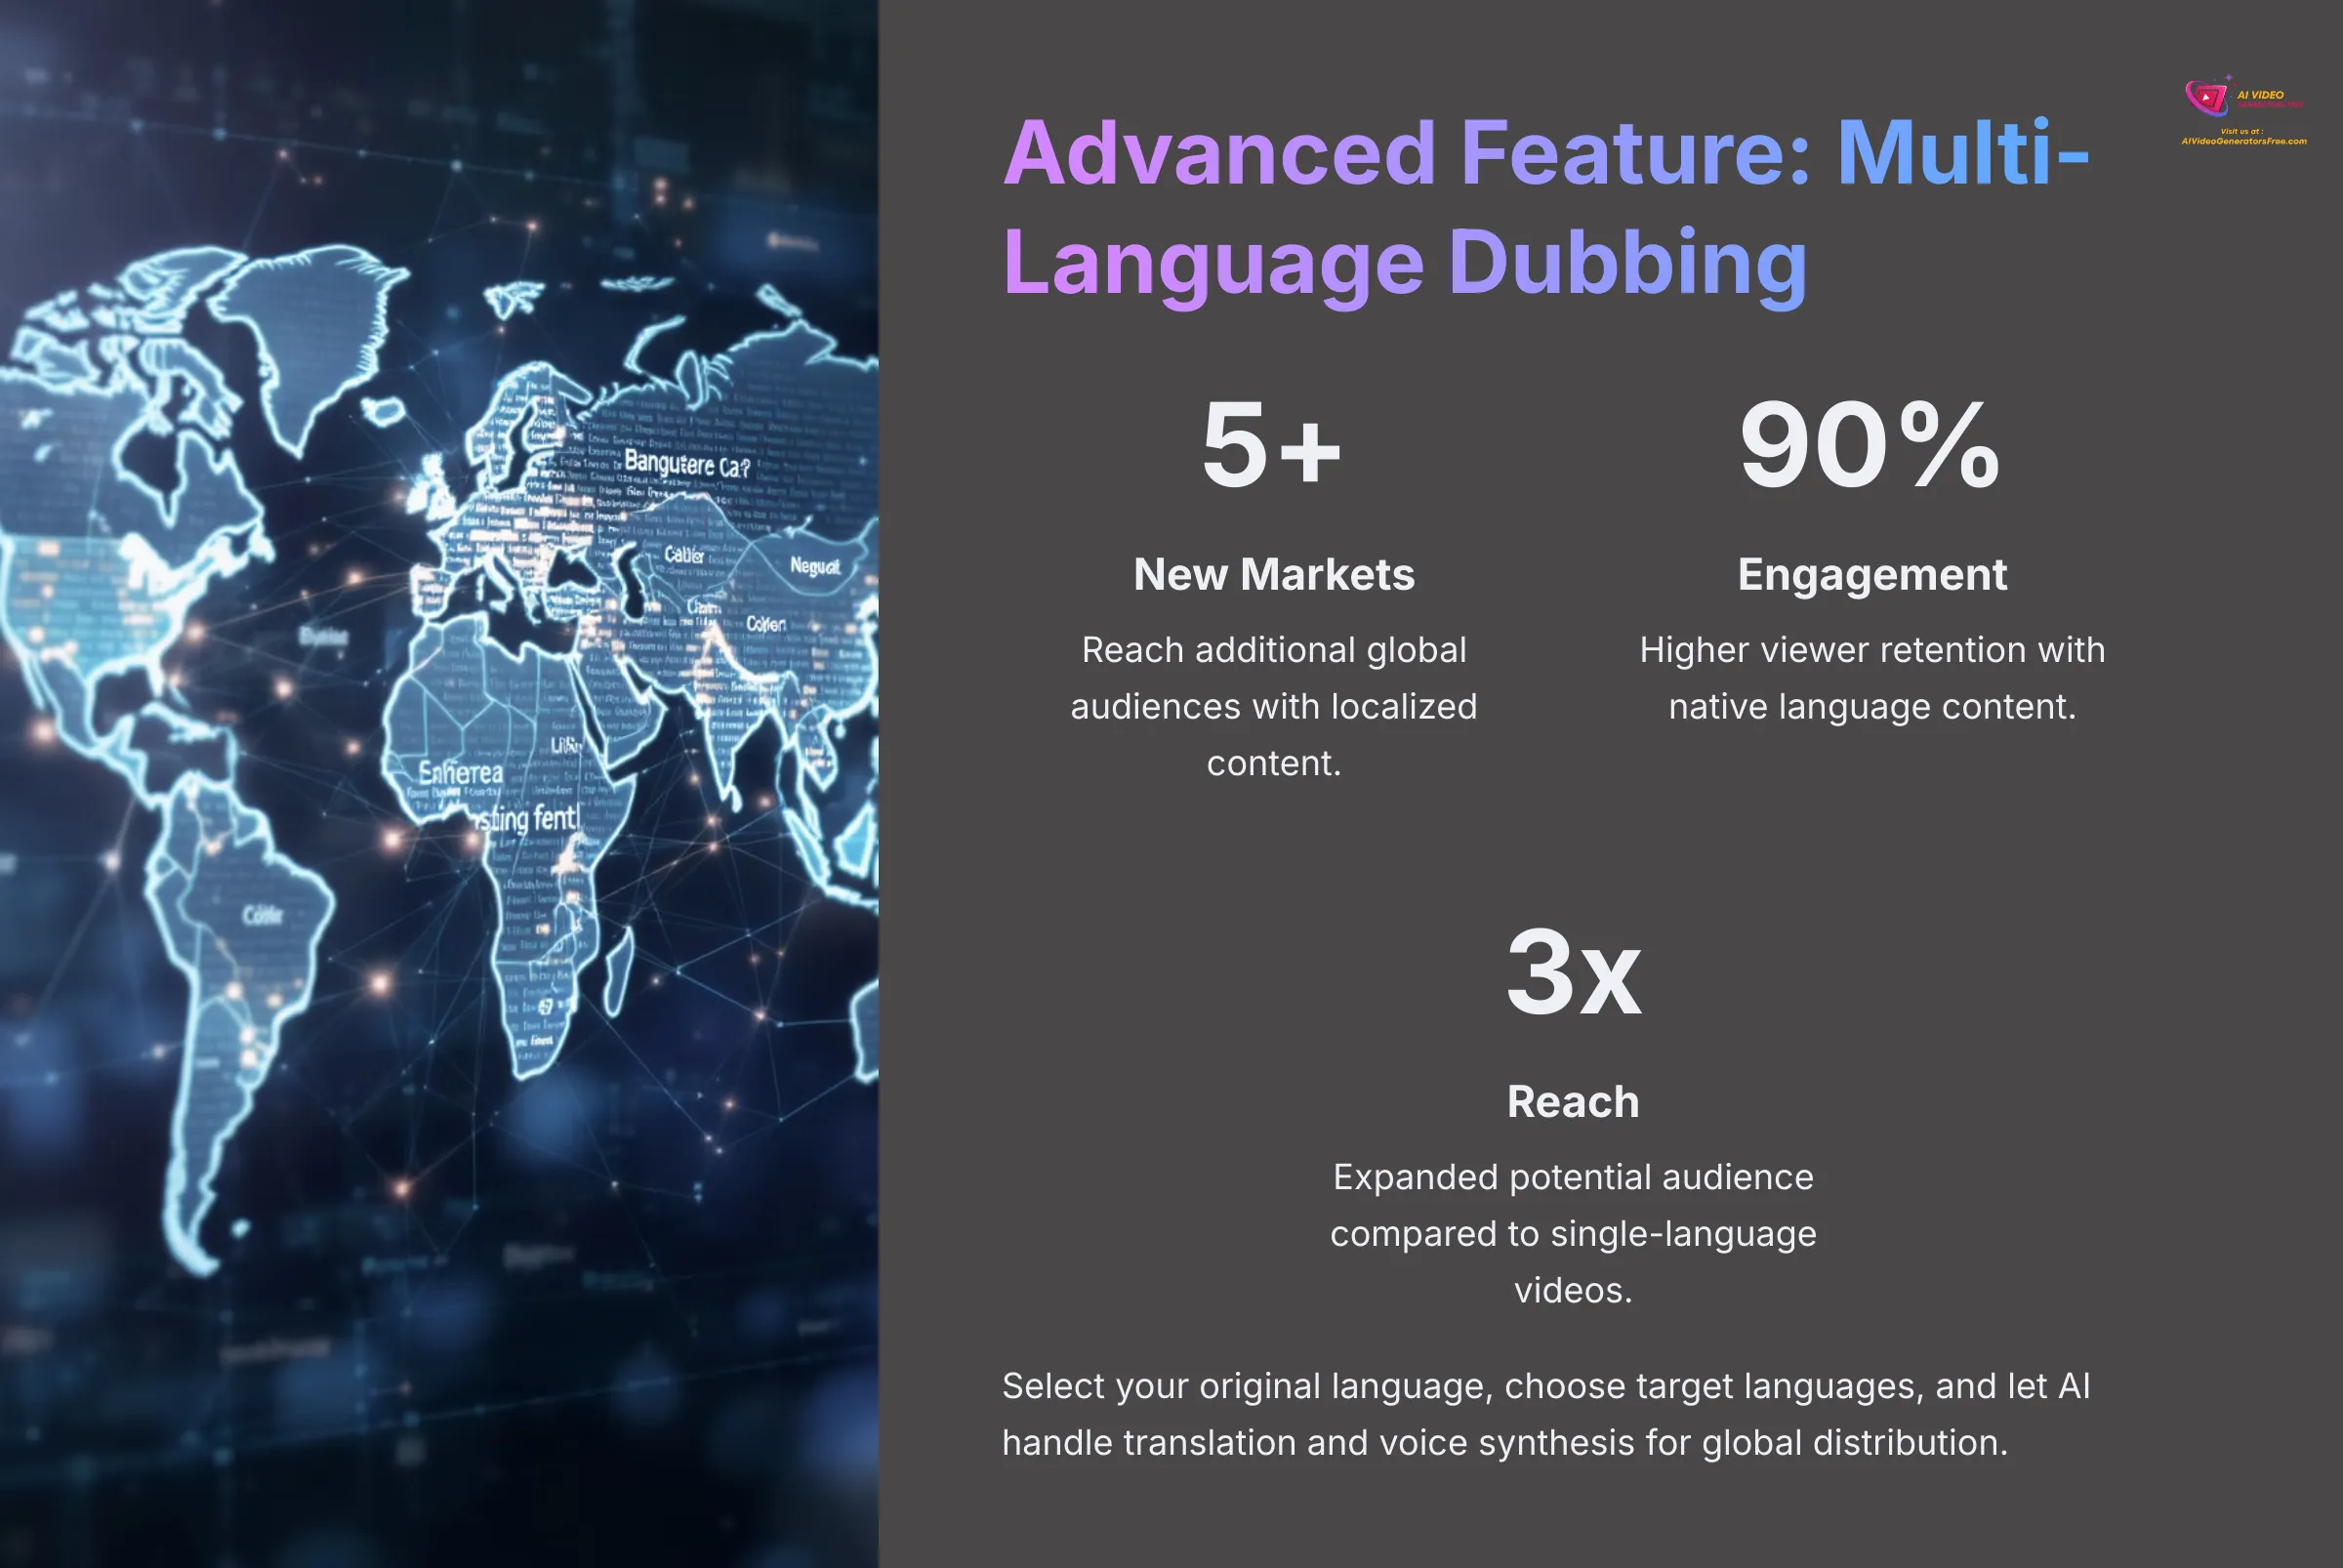

Reaching a global audience often means speaking their language—literally. AI-powered multi-language dubbing represents a game-changing feature for content creators looking to expand their reach internationally. I've found this capability incredibly useful for businesses targeting multiple markets.
Benefits of Multi-Language Content
Think about the benefits first. Multi-language content can open up entirely new markets for your videos, dramatically expanding your potential audience and engagement opportunities.
Locate the dubbing feature within InVideo AI's interface. It might be available as an option during video setup or as part of the editing phase, depending on how the platform structures its workflow.
Multi-Language Dubbing Workflow
You'll need to select the original language of your video first. This tells the AI what it's working with as the base for translation and dubbing.
Then, choose the target languages you want to dub your video into. The list of available languages can be quite extensive, covering major global markets and regional dialects.
Initiate the AI dubbing process, and the system will translate your script and generate new voice-overs in the selected languages. This process combines translation, voice synthesis, and timing synchronization.
You should be able to preview the dubbed versions before finalizing them. Sometimes, minor adjustments might be needed if the platform allows for script editing post-dubbing, particularly for cultural nuances or regional preferences.
Finally, you can export your video with different language audio tracks, or as separate video files for each language. This flexibility allows you to distribute content appropriately for different markets.
Take a short segment of your video and try dubbing it into one other language available in InVideo AI. This practical experience will show you the potential for global content distribution and help you understand the workflow for future projects.
Exporting and Sharing Your Masterpiece
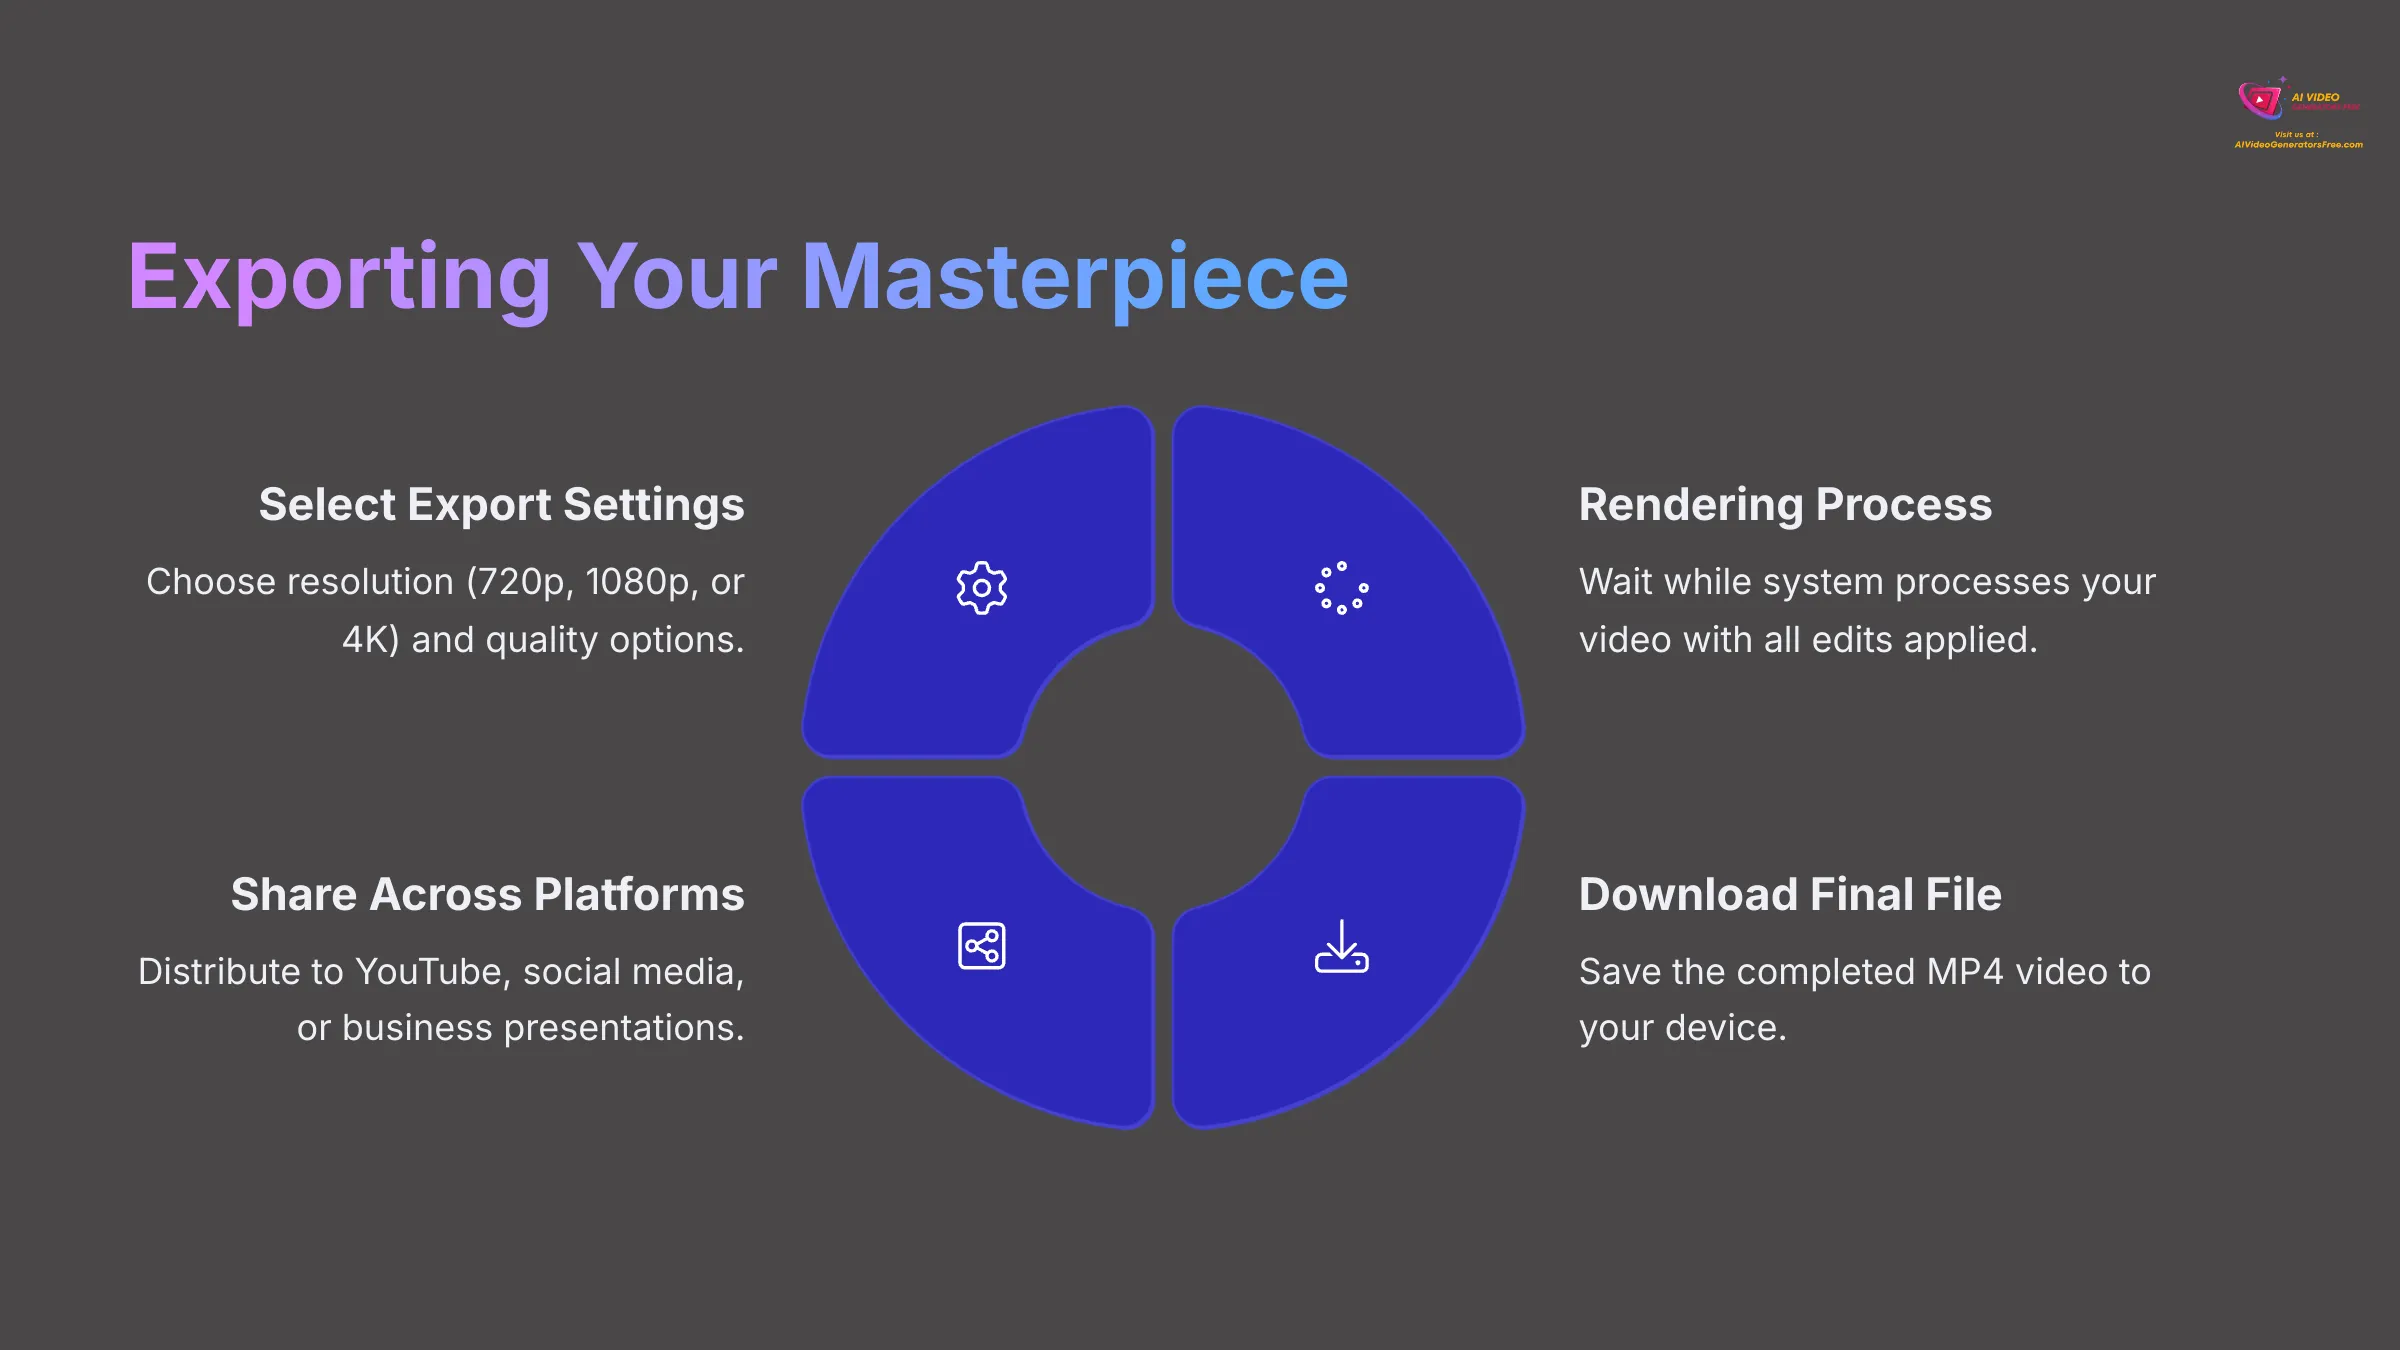

You've prompted, generated, and edited your video to perfection. Now, it's time to get your creation out into the world and share it with your audience.
Look for the “Export” button, which is usually prominently displayed in the editor interface. This button is your gateway to the final video file that you can share across platforms.
Export Settings and Quality Options
You'll need to choose your video resolution carefully. Options often include 720p for basic quality, 1080p (Full HD) for most professional uses, and sometimes 4K for premium content. Keep in mind that higher resolutions might be restricted to paid plans, but they offer superior visual quality.
There might be additional quality settings too, such as “standard” or “high” compression options. Higher quality settings result in larger file sizes but better visual fidelity.
Once you've selected your preferred settings, initiate the export process. This can take some time, similar to the initial generation phase, as the system renders your final video with all edits and effects applied.
After the export completes successfully, you'll be able to download the final video file, typically in MP4 format which is compatible with virtually all platforms and devices.
Platform-Specific Recommendations
Here are some quick tips from my experience with different platforms: For YouTube, 1080p or 4K resolution provides excellent quality that showcases your content professionally. For Instagram Reels or TikTok, a 9:16 aspect ratio at 1080p works best and fits the mobile-first viewing experience. For LinkedIn or professional presentations, 16:9 at 1080p maintains a polished appearance.
Go ahead and export your edited video in the highest resolution available on your plan. This ensures you have a high-quality master file that you can use across multiple platforms or repurpose for future content needs.
Troubleshooting Common InVideo AI Issues & Quick Fixes
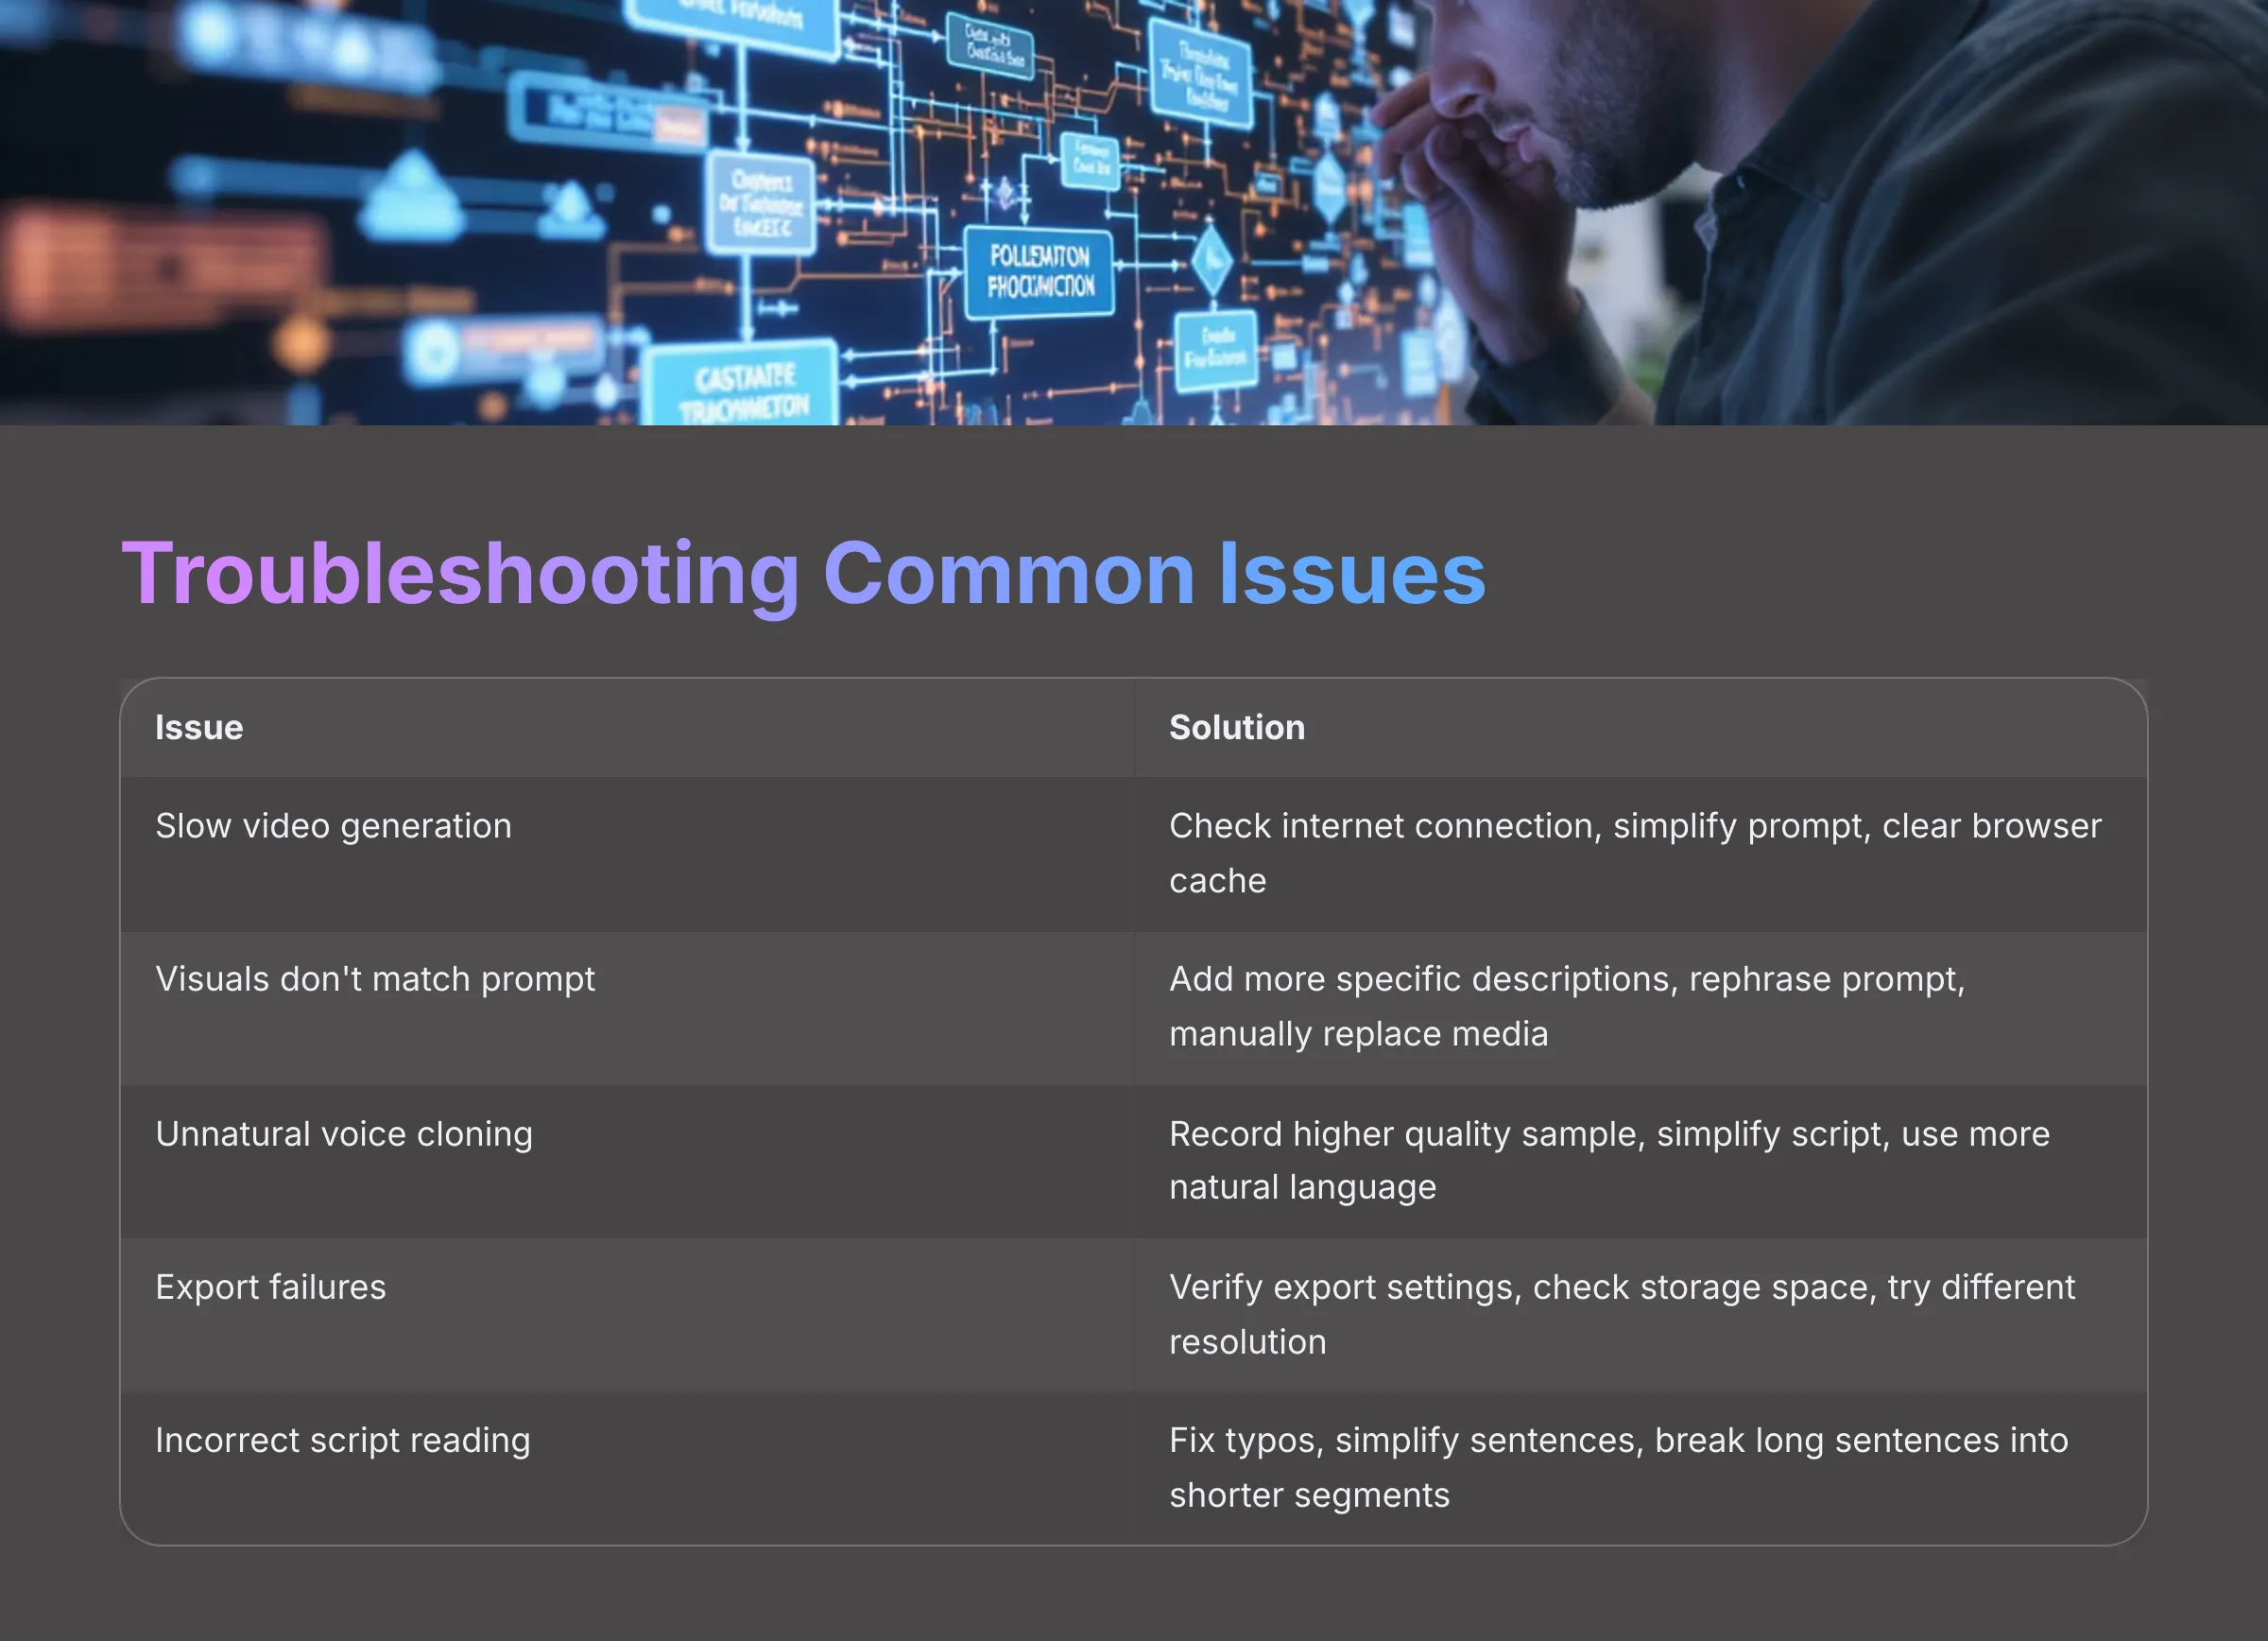

Even with the best AI tools available, you might encounter occasional challenges. Here are some common issues I've experienced with AI video platforms and practical solutions that work.
Generation and Performance Issues
Issue: Video generation is very slow or appears to get stuck during processing.
Solution: First, check your internet connection stability, as a reliable connection is crucial for cloud-based AI processing. Try using a shorter or simpler prompt, as very complex requests can take significantly longer to process. Sometimes, clearing your browser cache helps resolve technical glitches, or check if InVideo AI has a server status page for any ongoing maintenance issues.
Issue: AI-generated visuals don't match your prompt effectively or seem random.
Solution: This is where prompt refinement becomes crucial. Add more specific, detailed descriptions to your prompt, including visual style, mood, and specific elements you want to see. Try rephrasing certain parts of your prompt or breaking complex requests into simpler components. Sometimes, regenerating a specific problematic section or scene provides better results. Alternatively, you can manually replace unsatisfactory media in the editor, which I often do for key visuals that need to be perfect.
Audio and Voice Issues
Issue: Voice cloning doesn't sound natural or authentic.
Solution: The quality of your audio sample is absolutely paramount here. Ensure your recording is high-quality, crystal clear, and completely free from background noise. You might need to re-record the sample in a quieter environment or with better equipment. Also, review your script—sometimes simplifying sentence structure and using more natural language helps the AI voice deliver content more convincingly.
Issue: Export fails or the final video quality is poor.
Solution: Double-check your export settings to ensure they're appropriate for your needs. Verify you have sufficient storage space on your device for the download, as video files can be quite large. Try exporting at a different resolution or quality setting to isolate the issue. If problems persist, contacting InVideo AI's support team directly is often the most effective solution.
Script and Content Issues
Issue: “My script isn't being read correctly by the AI voice.”
Solution: Look carefully for typos, unusual punctuation, or complex sentence structures in your typed script within InVideo AI's script editor. Simplifying sentence structure and using common words often resolves pronunciation issues quickly. Consider breaking long sentences into shorter, more digestible segments.
These troubleshooting steps should resolve most common issues you might encounter. Remember, AI technology is constantly improving, and many temporary issues resolve themselves with platform updates.
Pro Tips: Maximizing Your Efficiency and Creativity with InVideo AI
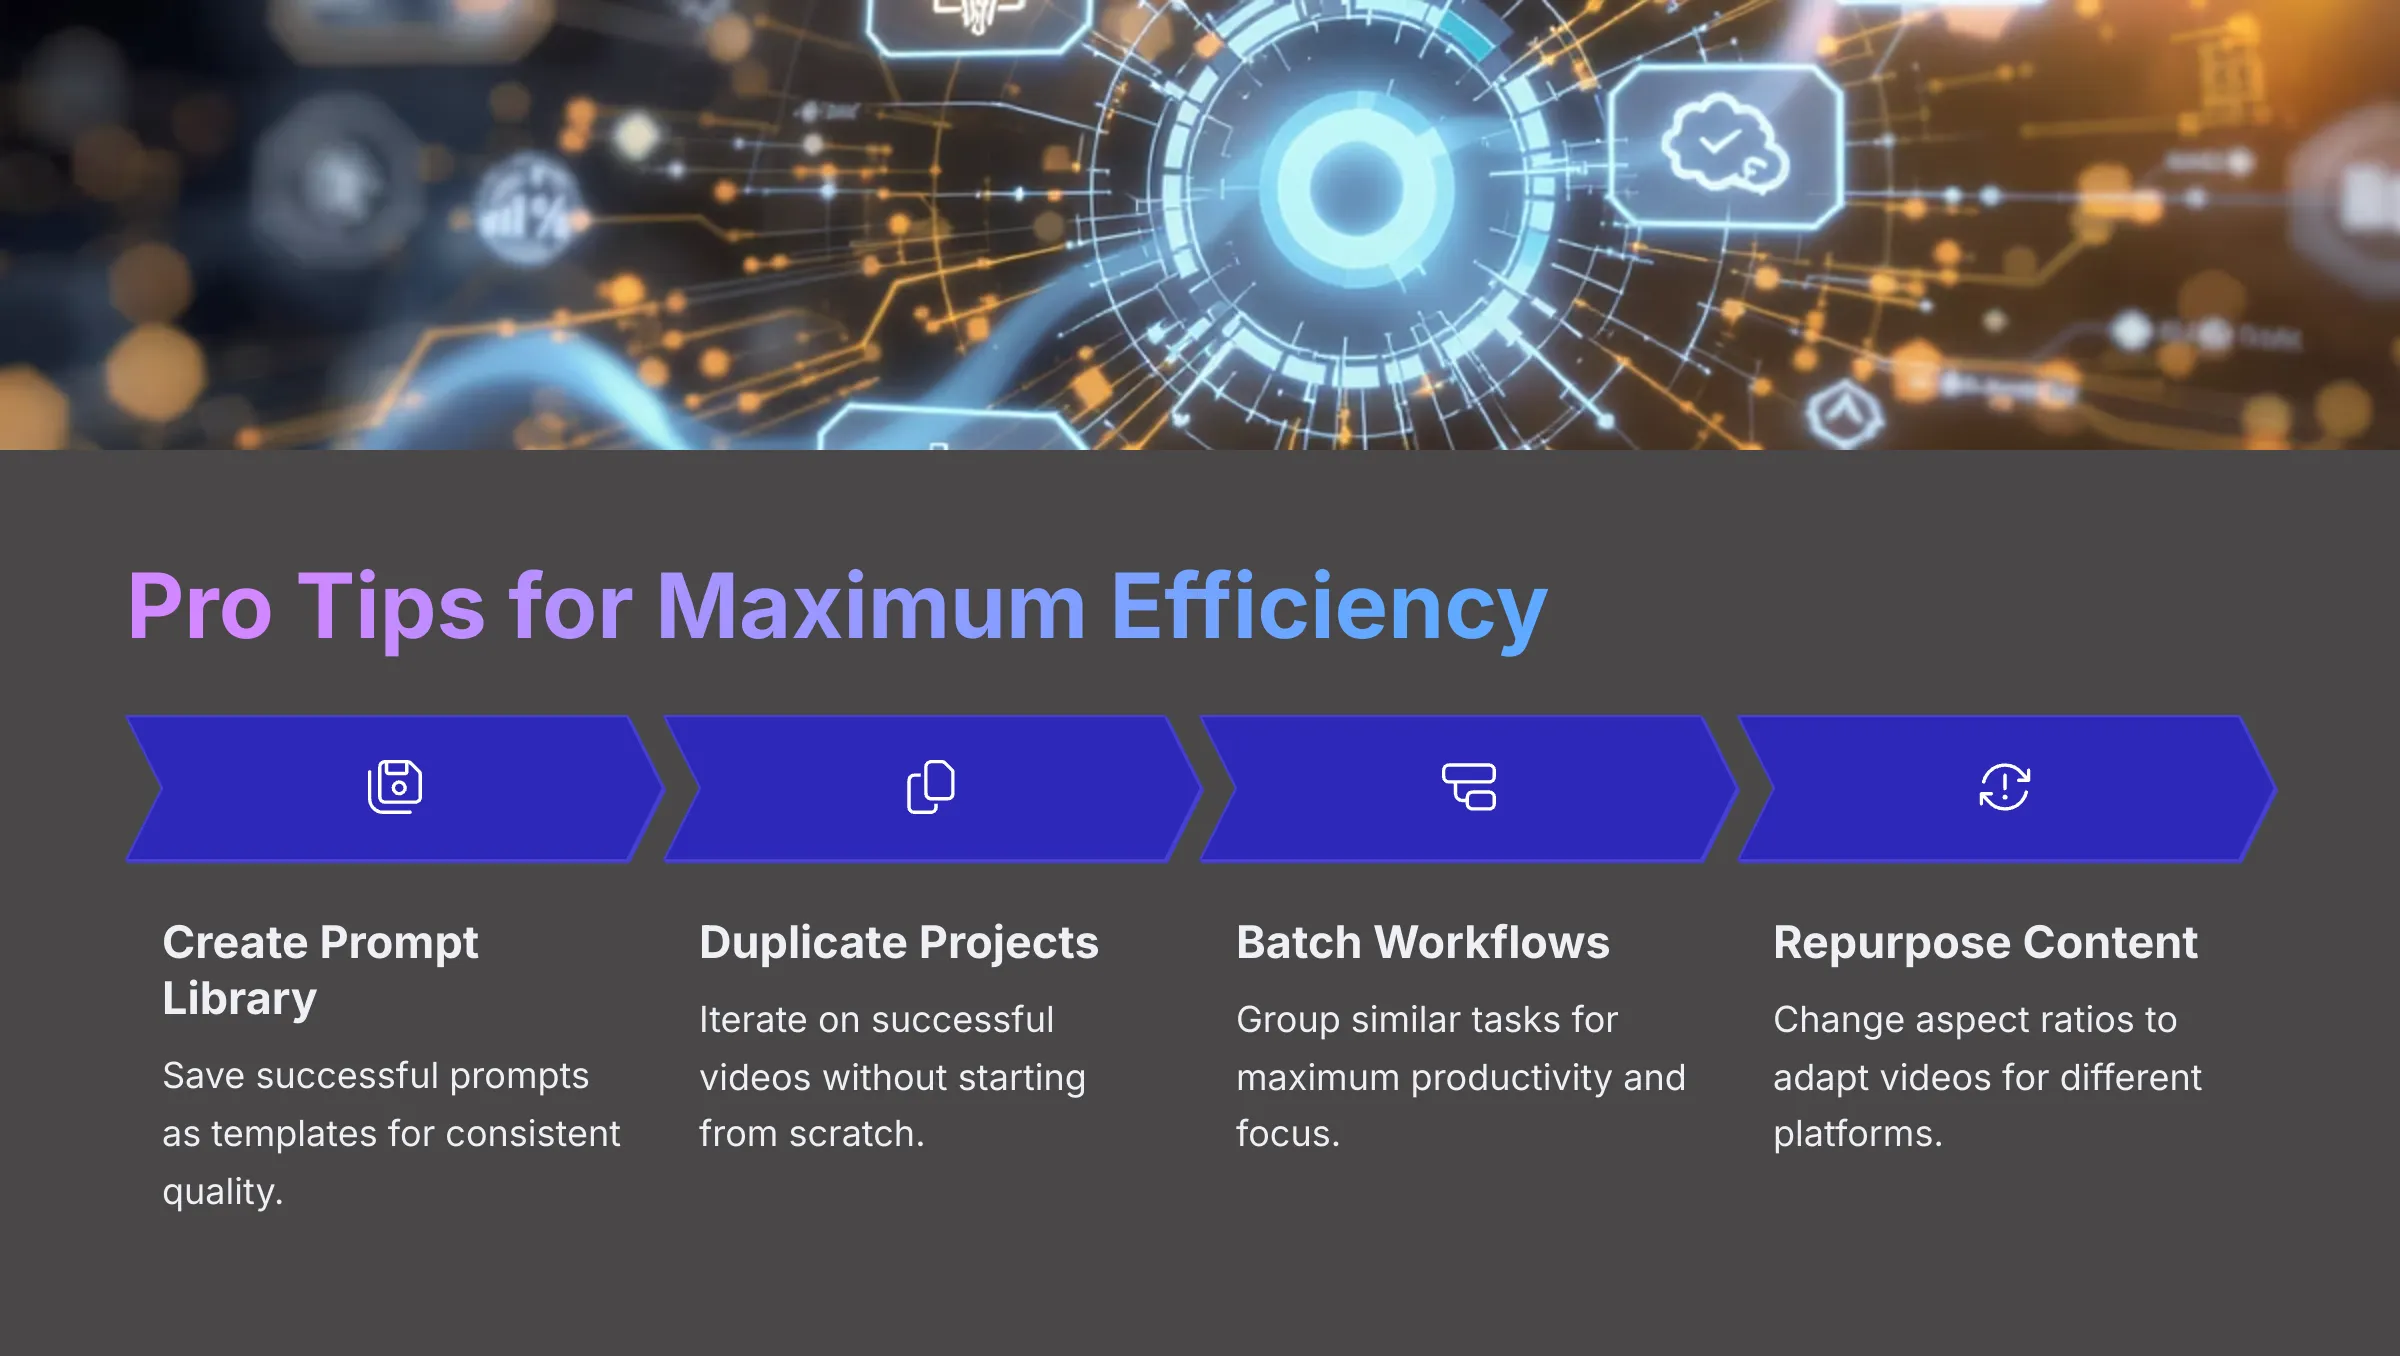

After extensively using many AI video tools and working with InVideo AI across numerous projects, I've gathered valuable tips that can help you work faster and achieve more creative results.
- Tip 1: Create a comprehensive library of your best-performing prompts. If you regularly make similar types of videos, having go-to prompt templates saves enormous amounts of time and ensures consistent quality across your content.
- Tip 2: If InVideo AI offers a “Duplicate Project” feature, use it strategically. It's fantastic for iterating on video ideas by making minor tweaks without starting from scratch, allowing you to test different approaches efficiently.
- Tip 3: Experiment with combining different AI voices creatively. You might use your cloned voice for main narration and standard AI voices for other segments, creating dynamic audio experiences that maintain listener engagement.
- Tip 4: Batch your video creation workflow for maximum efficiency. I find it highly effective to dedicate focused time blocks: one for writing several prompts, another for generating multiple videos, and a final block for editing and refinement.
- Tip 5: Many AI tools offer pre-set templates or style guides. If InVideo AI provides these resources, explore them as starting points and then customize them heavily to match your unique brand requirements.
- Tip 6: Look for features that allow you to change the aspect ratio of existing projects. This capability provides a fast way to repurpose successful videos for different social media platforms without recreating content from scratch.
- Tip 7: Keep an eye on InVideo AI's blog, community forums, or update announcements. These resources often contain information about new features, helpful tutorials, and optimization techniques that can improve your workflow.
- Tip 8: For very specific visual needs that AI struggles with, generate the bulk of your video using AI tools, then plan to insert your own custom-shot footage for those key scenes during the editing phase. I regularly do this for precise product demonstrations or branded elements that require exact specifications.
Pick two tips from this section and try to apply them to your next video project. You'll likely see a noticeable boost in your workflow efficiency and output quality.
Conclusion: Your Journey to Effortless Video Creation with InVideo AI
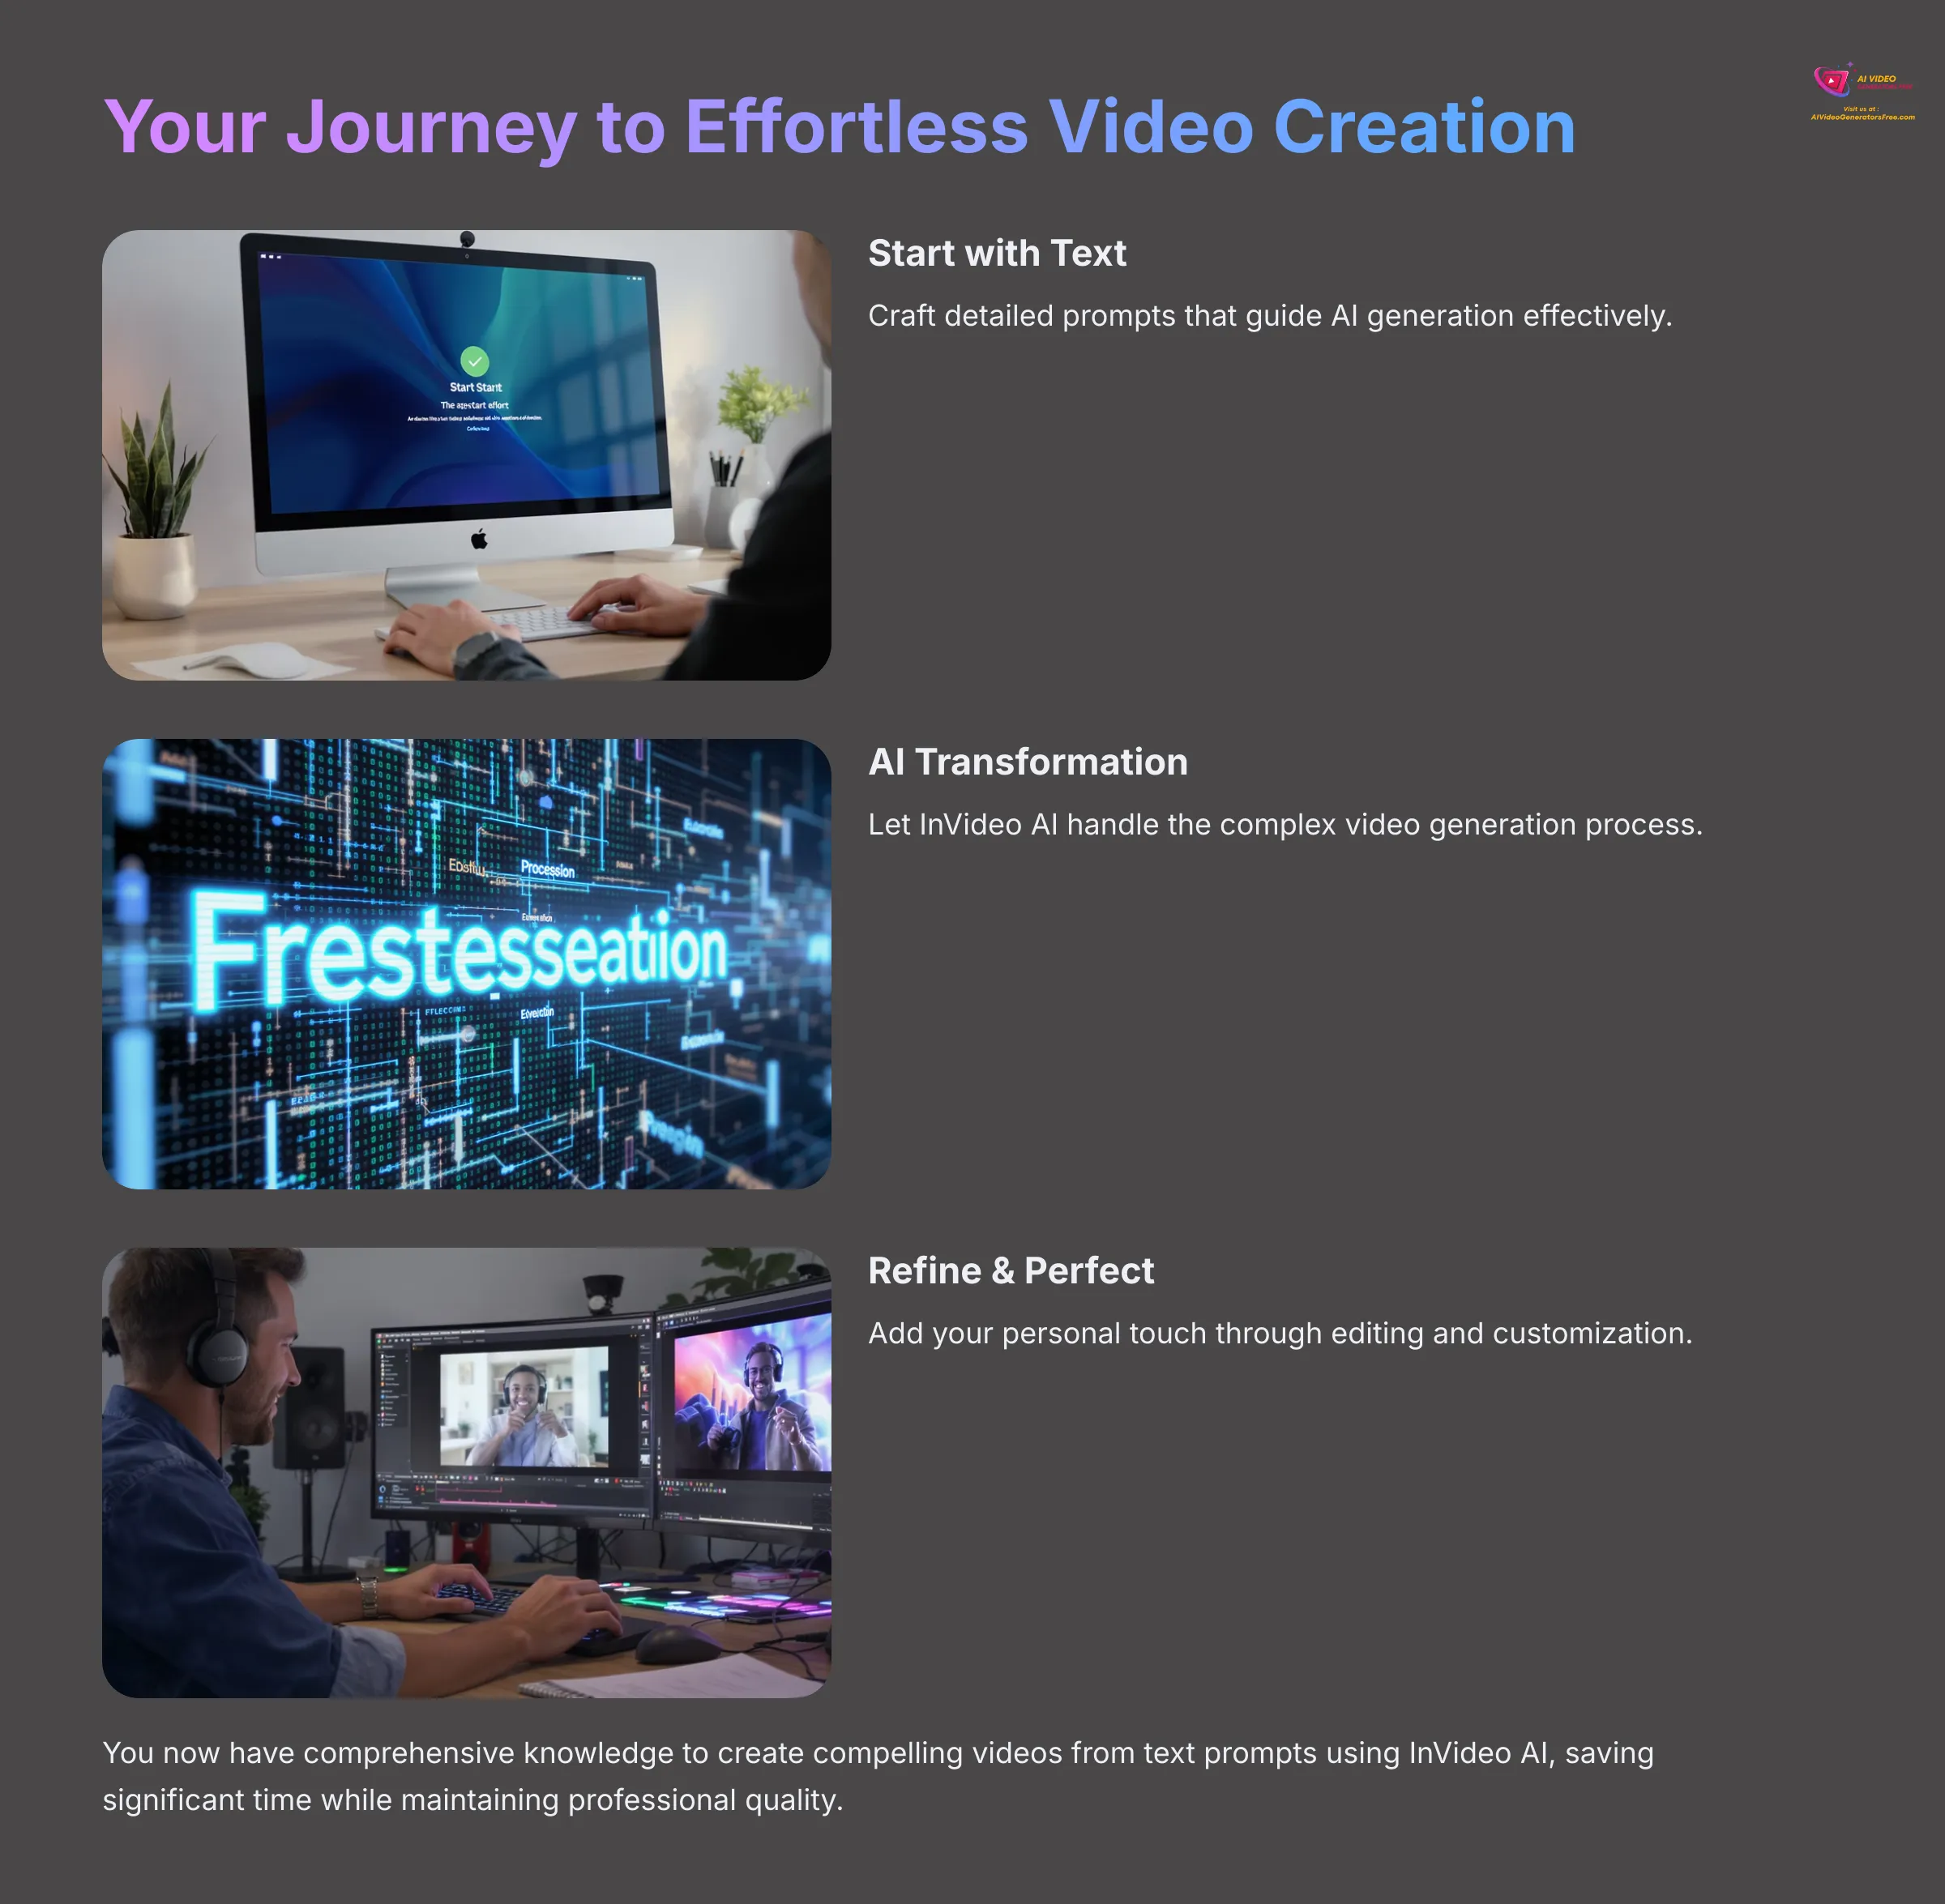

You are now equipped with comprehensive knowledge to create compelling videos from text prompts using InVideo AI. We've covered the complete workflow: signing up for the platform, crafting effective prompts that guide AI generation, navigating the video creation process, editing and refining your content, and exploring advanced features like voice cloning and multi-language dubbing.
This knowledge can genuinely save you significant time and resources in your content creation efforts while maintaining professional quality standards. My experience consistently shows that the key to mastering any AI tool is consistent practice and experimentation.
Continue experimenting with different prompt styles and approaches. Explore all the editing features available to you, and don't hesitate to apply the advanced techniques you've learned. The AI video creation landscape is rapidly evolving, and staying current with new features will keep you ahead of the curve.
At AI Video Generators Free, we're dedicated to providing clear, practical tutorials that help you harness the power of AI in your creative projects. I hope this guide has empowered you with the skills and confidence to create professional videos efficiently. You can explore more of our ‘Tutorials AI Video Tools' for other exciting AI solutions and stay updated with the latest developments in the field.
Further Learning & Resources
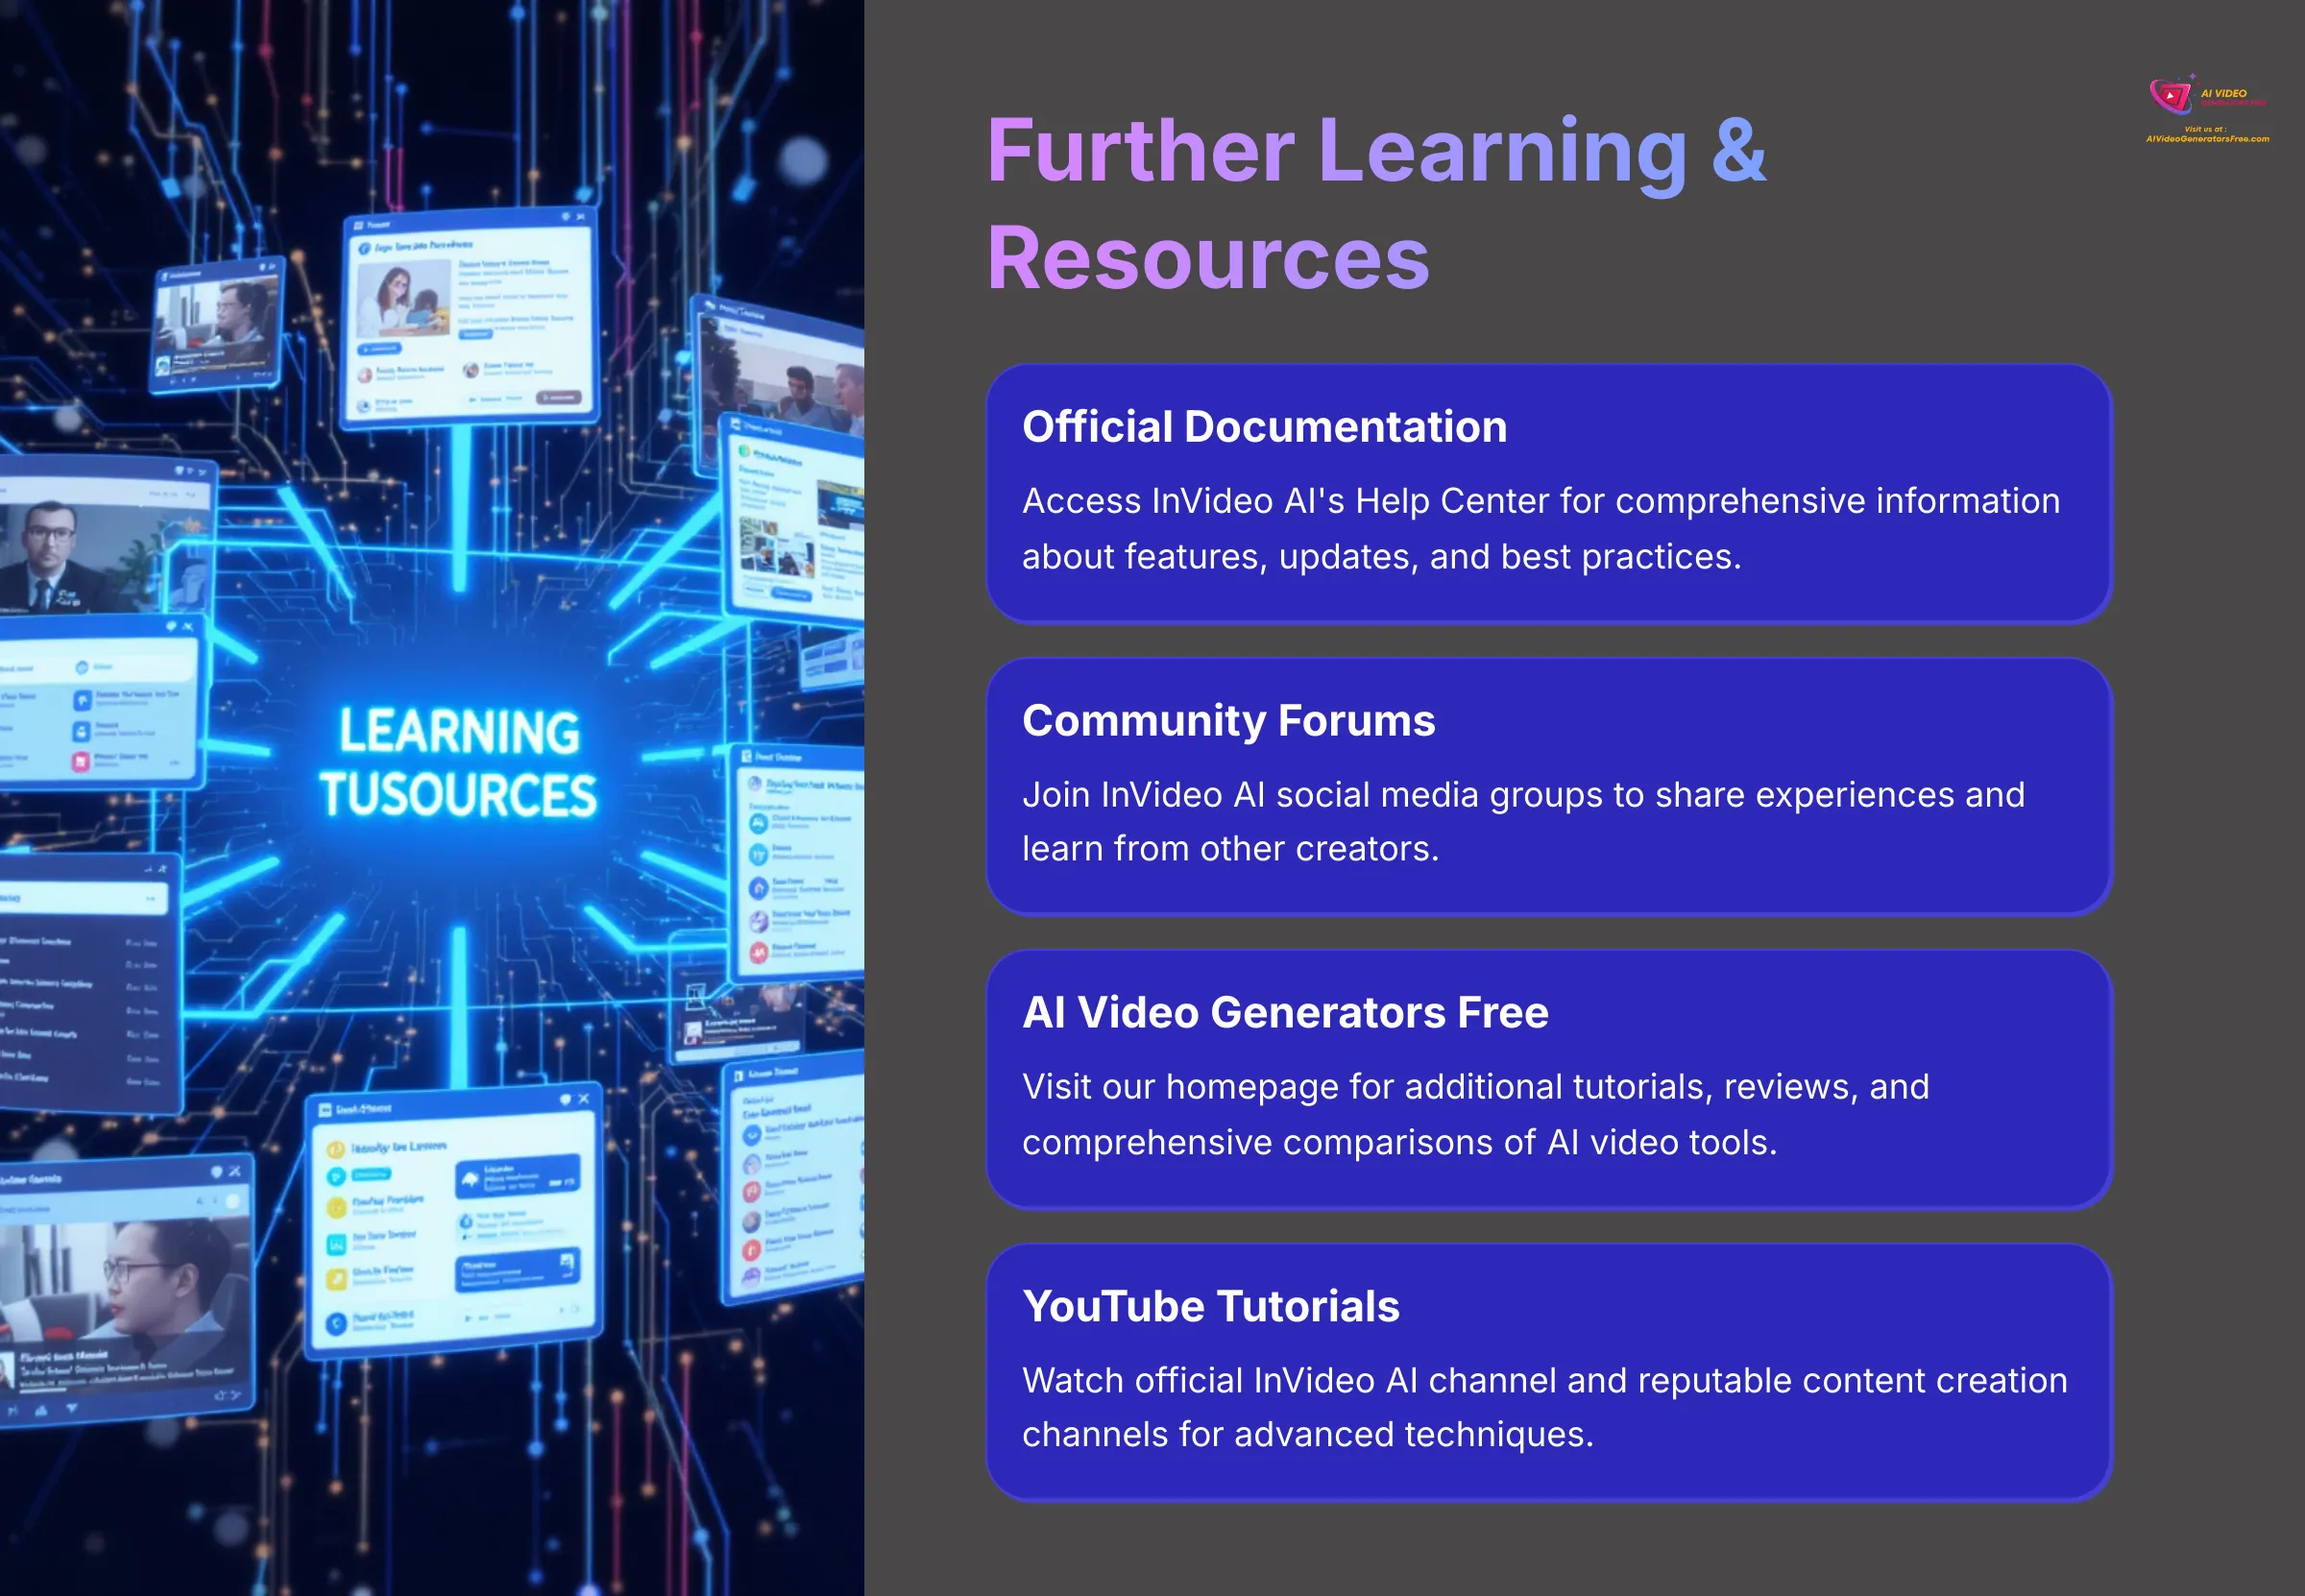

To continue your learning journey with InVideo AI and AI video creation, here are valuable resources I recommend for ongoing skill development:
- The Official InVideo AI Help Center and Documentation (available directly through their website) provides the most current and comprehensive information about features, updates, and best practices.
- InVideo AI Community Forums or Social Media Groups can be excellent resources for seeing how other creators use the tool, sharing experiences, and asking specific questions about challenges you encounter.
- Visit the AI Video Generators Free homepage for additional tutorials, detailed reviews, and comprehensive comparisons that help you make informed decisions about AI video tools.
- Explore relevant comparison articles on our site, such as “Best AI Video Generators for Small Businesses” or “Top Free AI Video Tools,” which provide broader context for your tool selection process.
- The official InVideo AI YouTube channel and other reputable content creation channels often offer valuable tutorials and showcase advanced techniques that complement this written guide.
Bookmark these resources for future reference and check them regularly. Continuous learning is extremely beneficial in the rapidly evolving field of AI-powered content creation.
Frequently Asked Questions (FAQs) about InVideo AI Text-to-Video
Q1: Is InVideo AI free to use for text-to-video generation?
A1: InVideo AI typically offers a free plan that allows you to test the platform's capabilities. However, free plans often come with certain limitations, such as watermarks on exported videos, lower export resolutions, or restricted access to premium features and stock media libraries. Paid subscription plans unlock the full range of capabilities and remove these restrictions. I always recommend checking their current pricing page for the most up-to-date details on free tier limitations and paid plan benefits.
Q2: How long can the videos I create with InVideo AI be?
A2: Video length limits vary depending on your InVideo AI subscription plan and sometimes the complexity of the content you're trying to create. Free plans typically have shorter maximum video lengths compared to premium plans, which may offer extended duration options. The detail and complexity in your prompt can also influence what the AI can effectively generate within platform constraints.
Q3: Can I use my own images and video clips in InVideo AI?
A3: Yes, from my experience with platforms like InVideo AI, you can typically upload your own media assets, including images, video clips, and audio files. You can then incorporate these custom elements into your projects, either alongside AI-generated content or to replace AI-selected media entirely. This capability is particularly valuable for maintaining brand consistency and including specific visual elements that represent your business or message.
Q4: What kind of AI technology does InVideo AI use for video generation?
A4: InVideo AI utilizes advanced generative AI models that combine several sophisticated technologies. This generally includes natural language processing (NLP) to understand and interpret your text prompts effectively. For creating visual content, it likely employs technologies similar to generative adversarial networks (GANs) or diffusion models, which represent the current state-of-the-art in AI image and video synthesis technology.
Q5: How does InVideo AI compare to other text-to-video tools available in the market?
A5: InVideo AI is often recognized for its user-friendly interface and comprehensive set of editing features that integrate seamlessly with the AI generation workflow. Different AI video tools have varying strengths—some excel at particular visual styles, others at specific use cases or pricing models. For a detailed comparison with other leading AI video generators currently available, I recommend checking out our “Best AI Video Generators of 2025” article on the AI Video Generators Free website, which provides comprehensive side-by-side analysis and insights.
Disclaimer: The information about InVideo AI presented in this tutorial reflects our thorough analysis and testing as of 2025. Given the rapid pace of AI technology evolution, features, pricing structures, and technical specifications may change after publication. While we strive for accuracy based on current information, we recommend visiting the official InVideo AI website for the most current details. Our guide is designed to provide comprehensive understanding of the tool's capabilities and workflow rather than real-time feature updates.



Leave a Reply