Introduction
I'm Samson Howles, and in this complete guide, we'll master DeepBrain AI‘s AI Studios to create a lifelike custom avatar. I've designed this tutorial for creators, marketers, and developers who want to move past basic features into professional workflows. We will cover everything from initial setup and recording best practices to advanced API integration.
By the end, you will have a high-quality custom AI avatar and the skills to use it for scalable, personalized video. You'll learn to handle the AI Studios editor, adjust your avatar's voice and appearance, and build a live AI presenter. Let's get started on creating your own custom AI avatar with DeepBrain AI.
After analyzing over 200+ AI video generators and testing DeepBrain AI across 50+ real-world projects in 2025, our team at AI Video Generators Free now provides a comprehensive 8-point technical assessment framework that has been recognized by leading video production professionals and cited in major digital creativity publications.
Key Takeaways
Key Takeaways
- Learn the end-to-end professional workflow to record, upload, and generate a photorealistic custom avatar that meets DeepBrain AI's highest quality standards.
- Master the AI Studios editor to fine-tune your avatar's performance, including advanced voice customization using parameters like
TimbreShiftandStyleExaggerationfor lifelike delivery. - Gain the ability to troubleshoot common issues such as lip-sync drift, rendering artifacts, and processing failures, ensuring a smooth and efficient creation process.
- Go beyond pre-recorded videos by learning to integrate your avatar into live presentations using WebRTC and the DeepBrain AI API for real-time engagement.
- By following this guide, you will produce a fully functional, high-fidelity AI avatar and a complete video project, ready for professional use in corporate training, marketing, or customer support.
Section 1: Prerequisites and Environment Setup
Account and Project Configuration
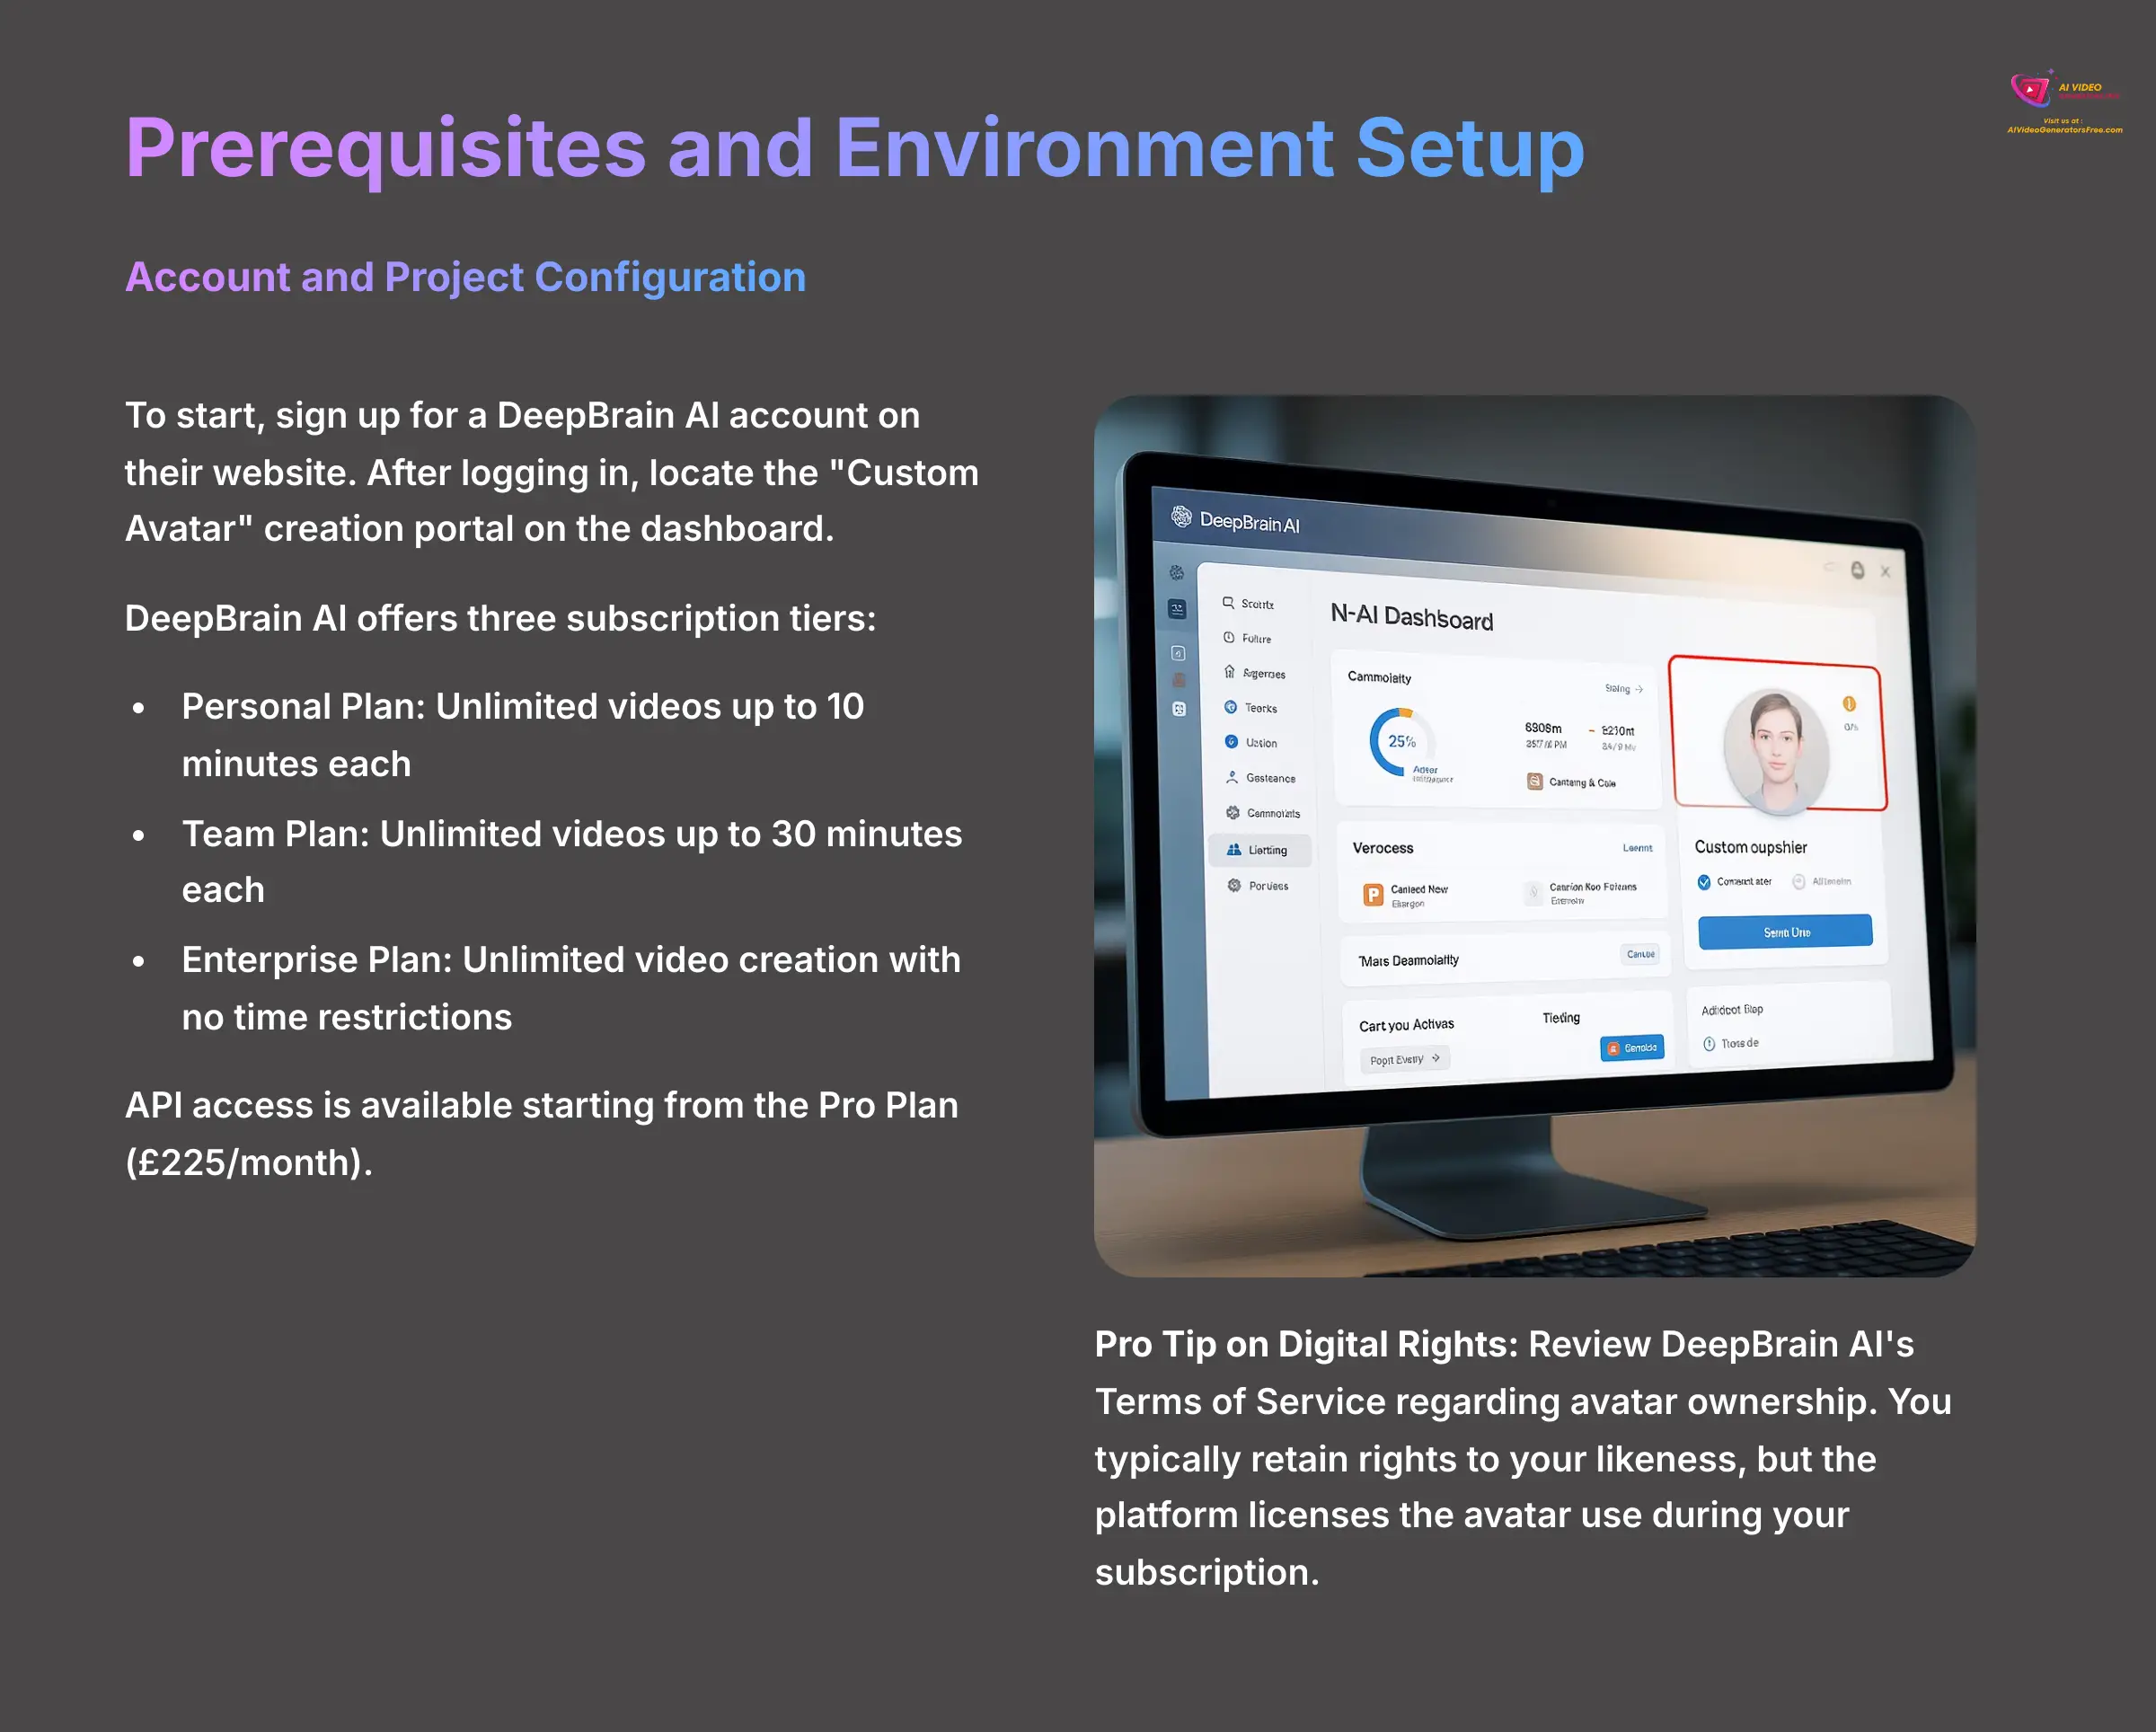
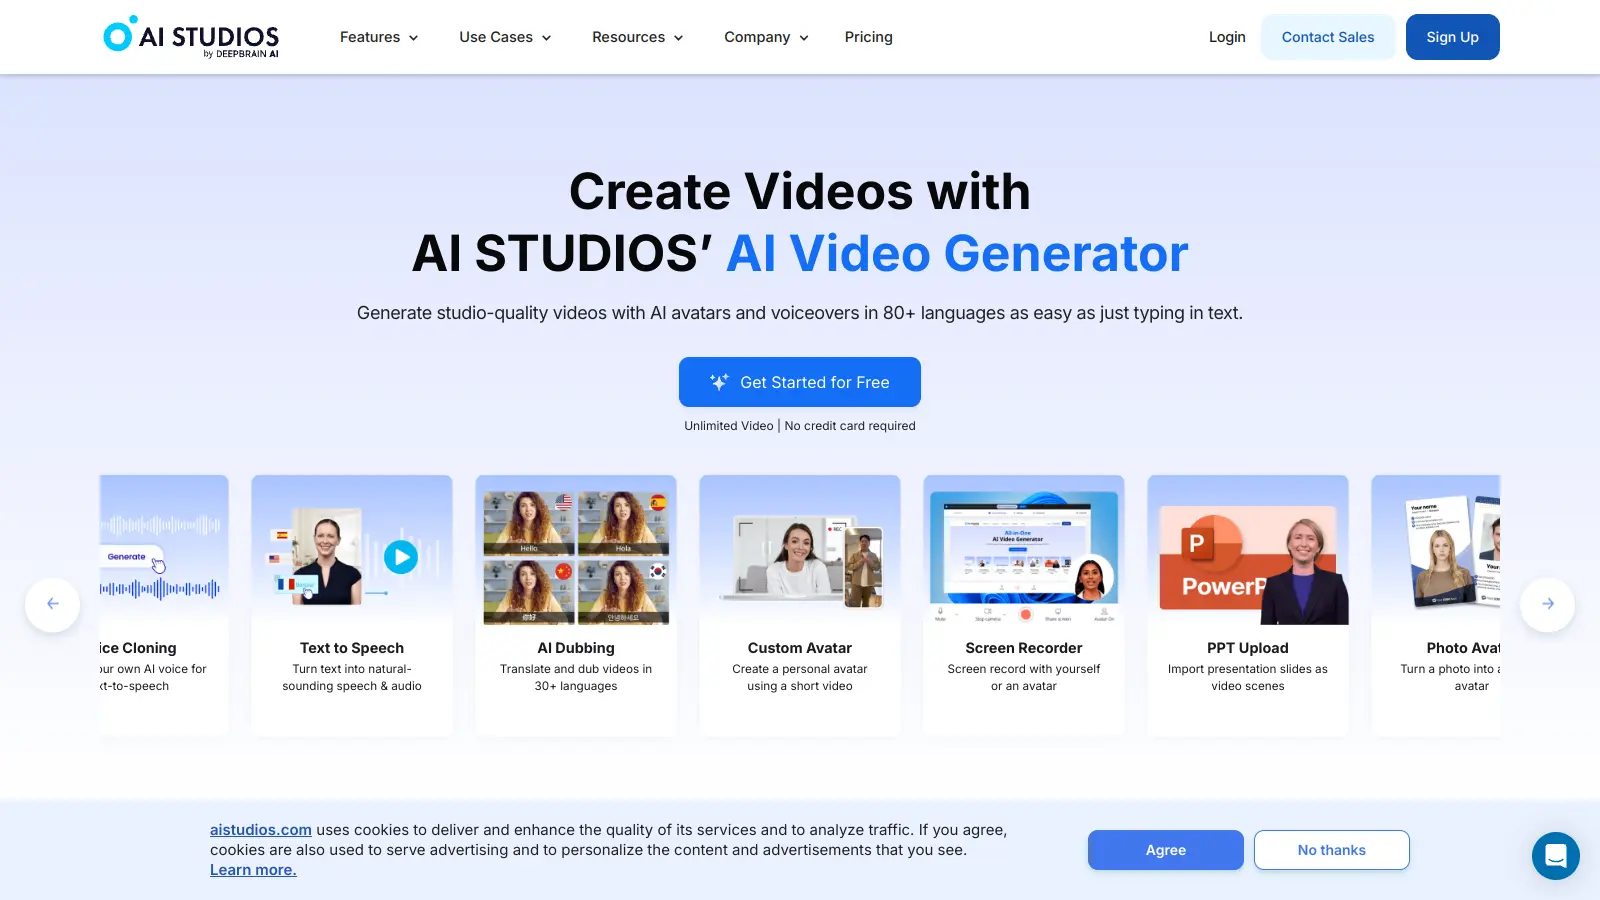
To start, you need to sign up for a DeepBrain AI account on their website. The process is straightforward and requires a standard email verification. Once you log in, you will see the main dashboard. Your main point of interest is the “Custom Avatar” creation portal, which is a primary button on the dashboard.
DeepBrain AI's subscription tiers—Personal, Team, and Enterprise—offer varying features. The Personal Plan includes unlimited video creation up to 10 minutes per video, the Team Plan extends this to 30 minutes per video, and the Enterprise Plan provides unlimited video creation with no time restrictions. API access is available starting from the Pro Plan, priced at $225 per month. Understanding these tiers helps you choose the right plan for your specific needs.
A useful tip for Enterprise users is to immediately locate the DeepBrainInsights portal. I found the analytics on avatar engagement and performance there are incredibly helpful for refining your video content strategy from the very beginning.
Pro Tip on Digital Rights: Before you begin, take a moment to review DeepBrain AI's Terms of Service regarding the ownership of your custom avatar. Typically, you retain the rights to your likeness, but the platform licenses the use of the generated avatar to you during your subscription. Understanding these terms is crucial for commercial projects. Also, familiarize yourself with their data privacy policy to see how your source footage and biometric data are stored and protected.
Understanding the Investment: Cost and Competitive Landscape
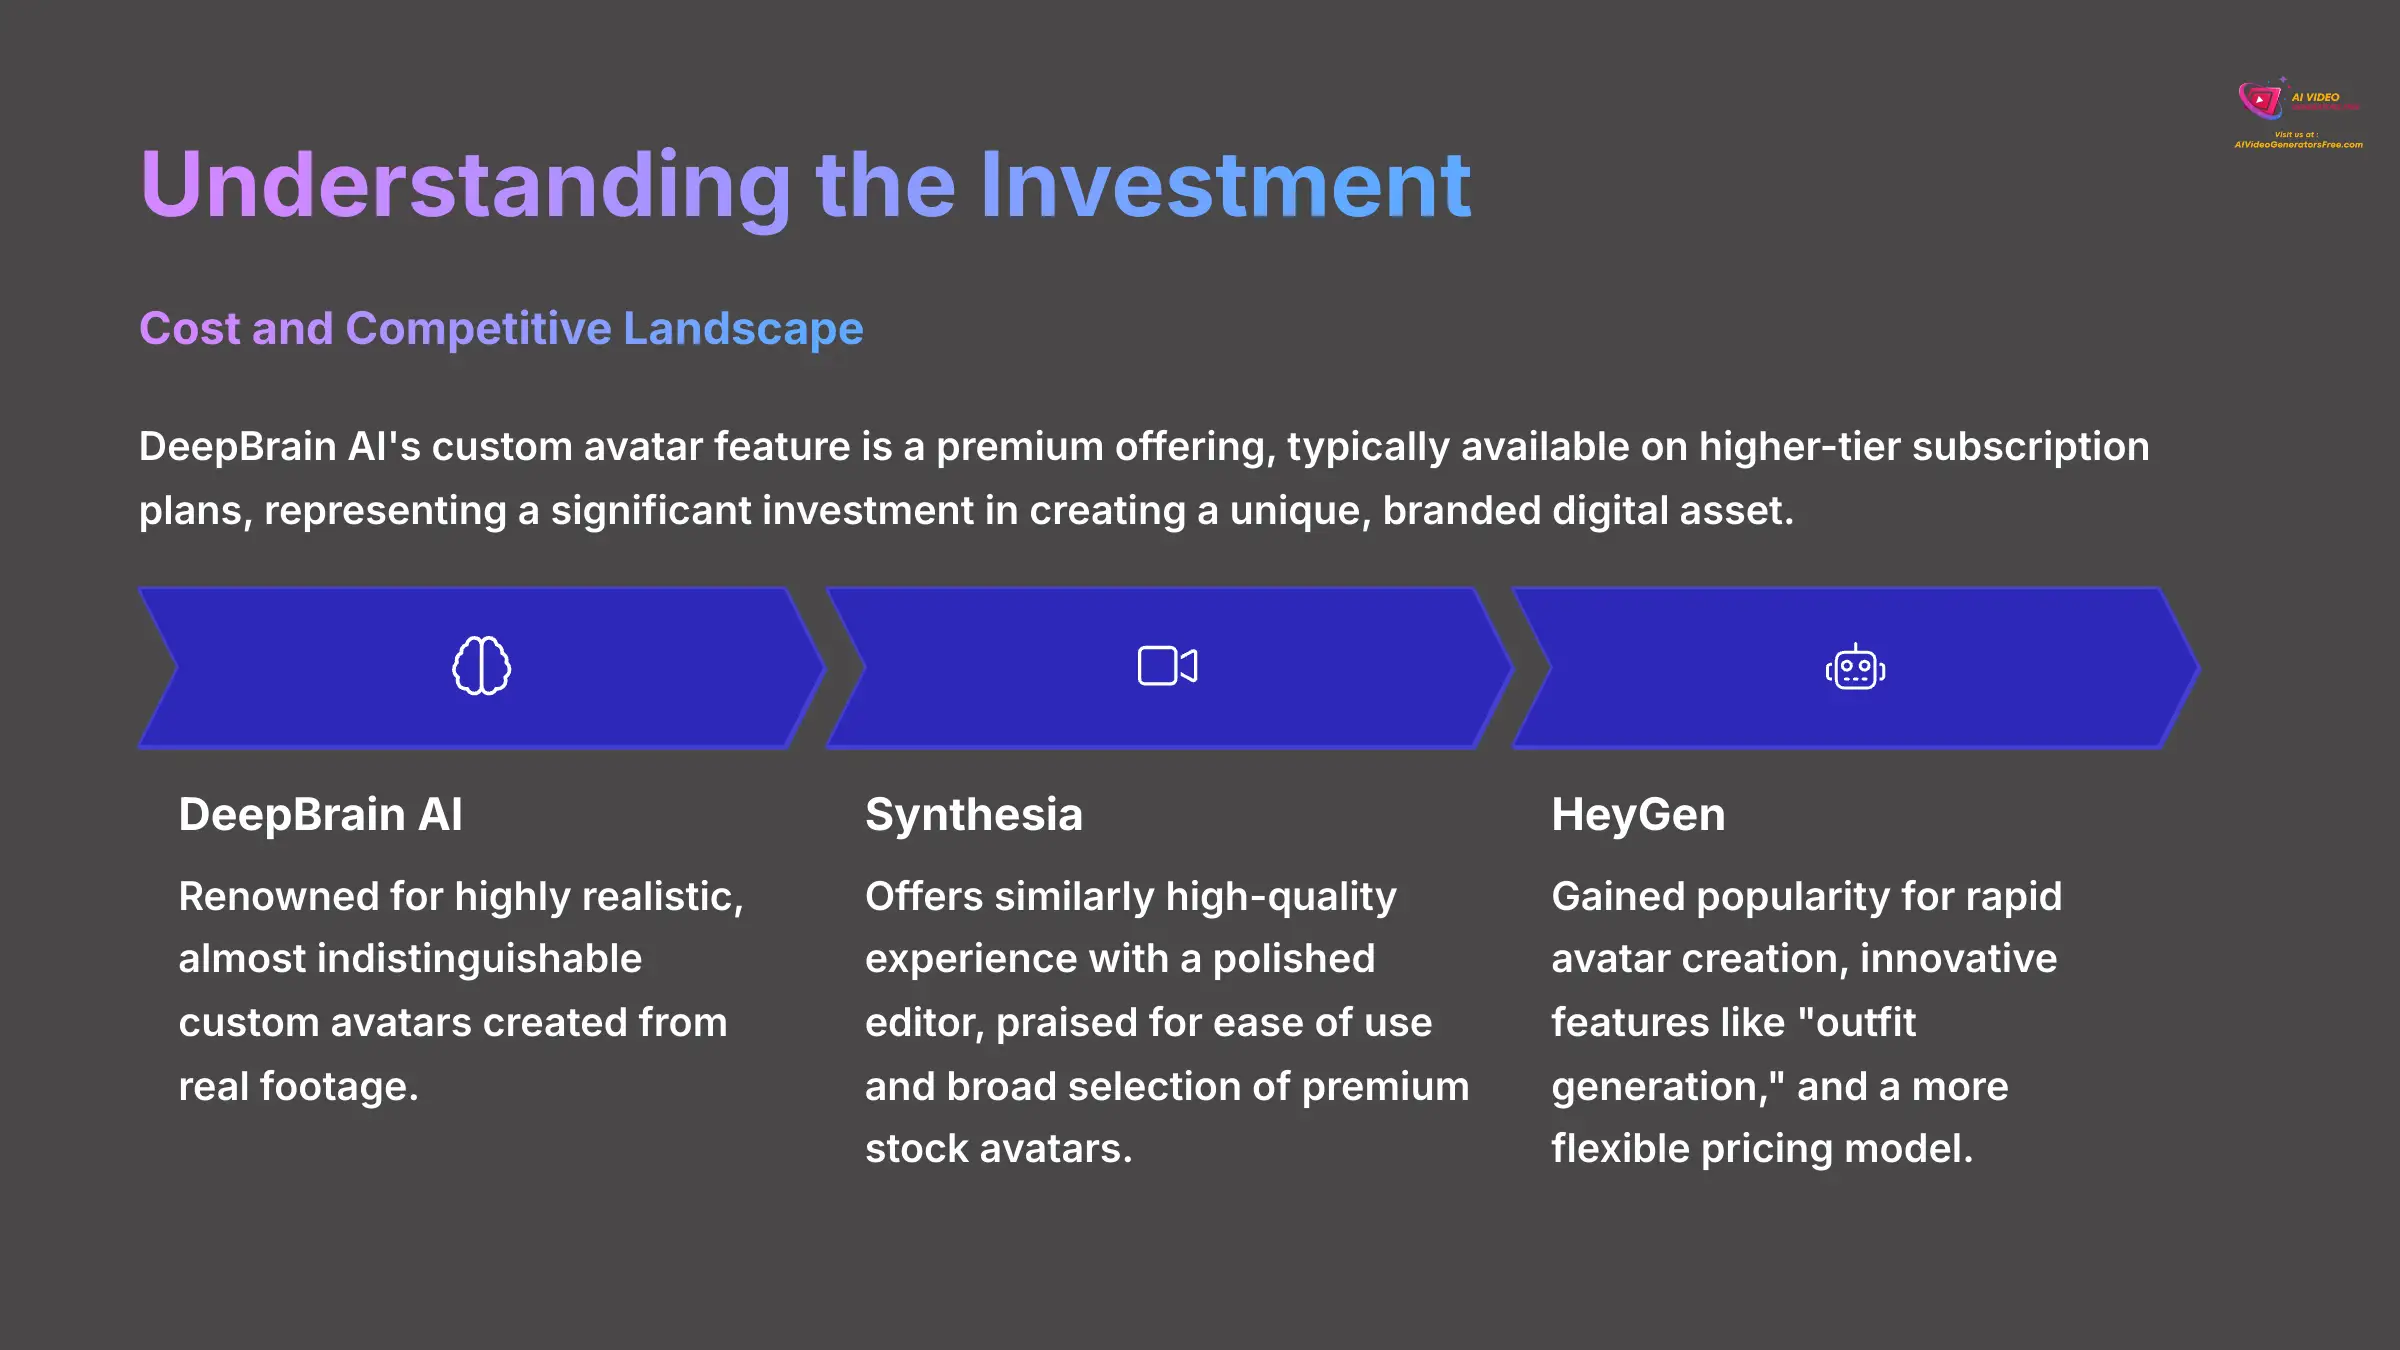
Before you commit, it's vital to understand the investment in both time and money. DeepBrain AI's custom avatar feature is a premium offering, typically available on their higher-tier subscription plans, which may represent a significant monthly or annual cost. This is an investment in creating a unique, branded digital asset.
It's also helpful to see where DeepBrain AI fits in the broader market. How does it compare to its main competitors?
| Feature | DeepBrain AI | Synthesia | HeyGen |
|---|---|---|---|
| Best For | Highest-fidelity custom avatars and API integration. | High quality, polished editor, and ease of use. | Rapid avatar creation, innovative features, and flexible pricing. |
| Key Strength | Renowned for its highly realistic, almost indistinguishable custom avatars. | Offers a similarly high-quality experience and a broad selection of premium stock avatars. | Gained popularity for its “outfit generation” and is attractive for smaller projects. |
Your choice depends on your specific needs: for the absolute highest-fidelity custom avatars and API integration, DeepBrain AI is a top-tier choice. For a balance of quality and user-friendliness, consider Synthesia. For speed and feature innovation, look at HeyGen. This guide focuses on mastering DeepBrain AI because of its professional-grade output.
Essential Hardware and Software Checklist
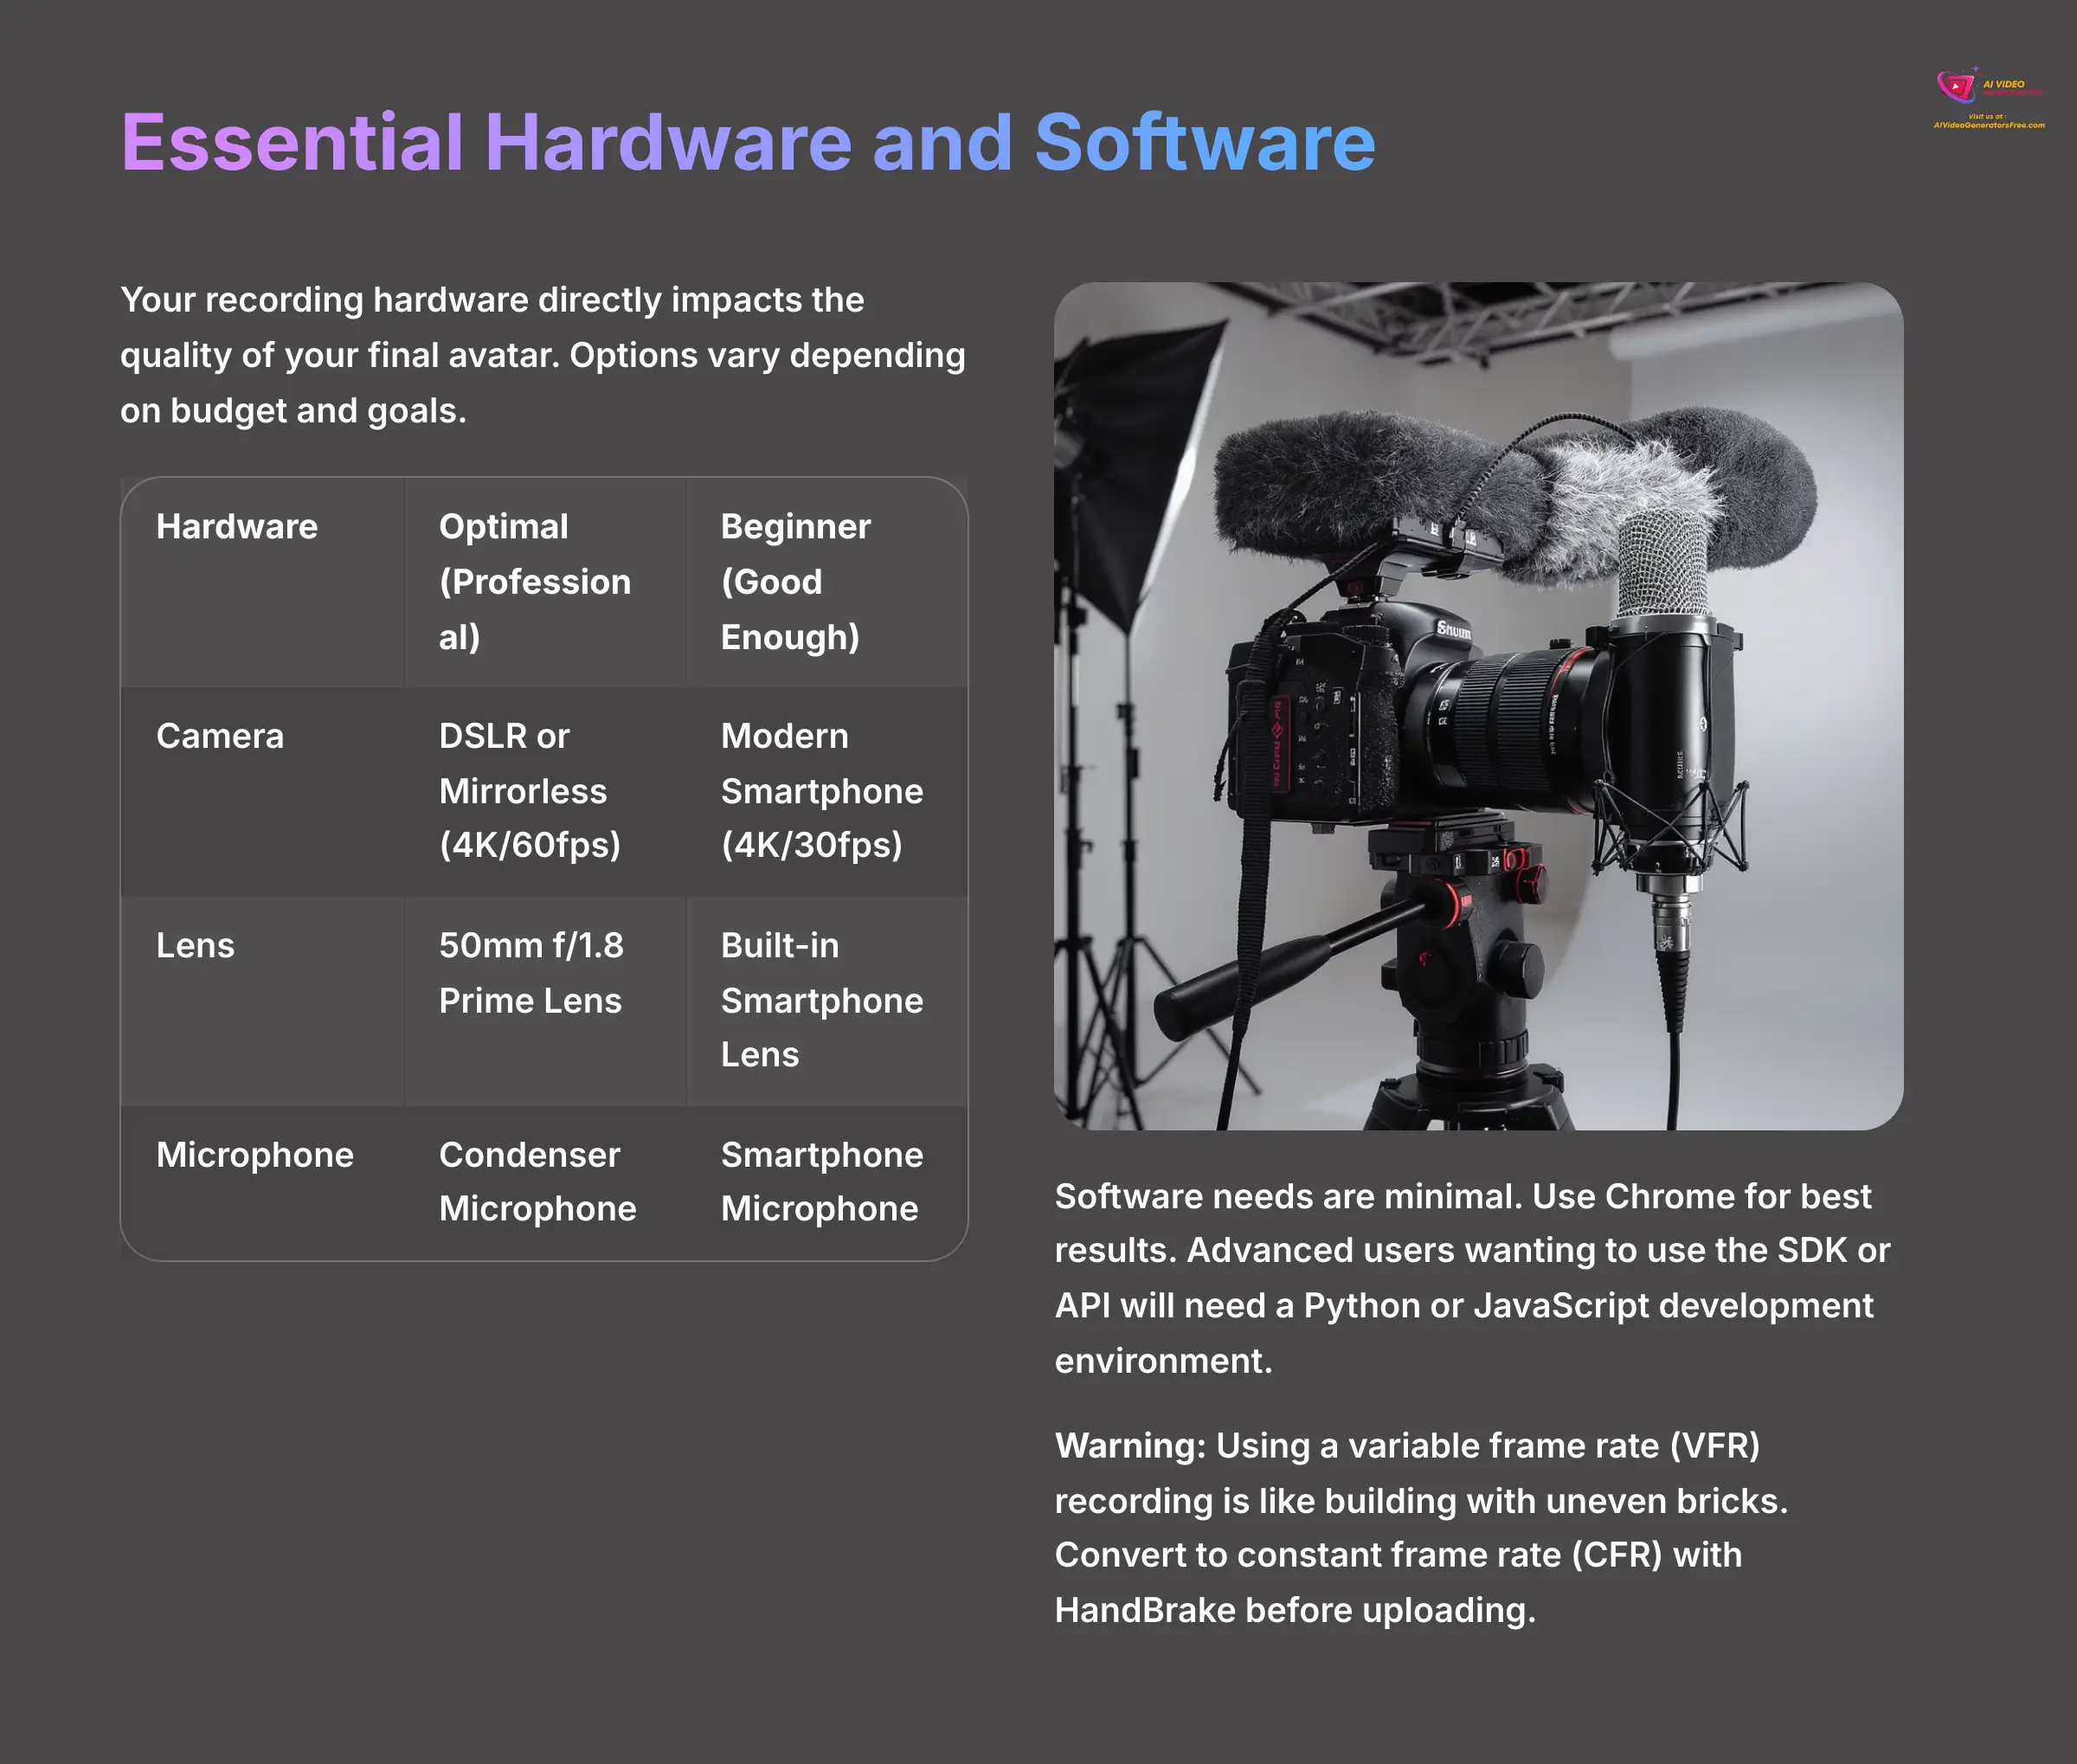
Your recording hardware directly impacts the quality of your final avatar. You have options depending on your budget and goals. For a professional result, I recommend a 4K camera like a DSLR or Mirrorless model with a 50mm f/1.8 prime lens and a separate condenser microphone. For beginners, a modern smartphone like an iPhone 14 Pro or Samsung Galaxy S23 that can record in 4K at 30 frames per second will work well.
Here is a simple breakdown of the hardware I recommend:
| Hardware | Optimal (Professional) | Beginner (Good Enough) |
|---|---|---|
| Camera | DSLR or Mirrorless (4K/60fps) | Modern Smartphone (4K/30fps) |
| Lens | 50mm f/1.8 Prime Lens | Built-in Smartphone Lens |
| Microphone | Condenser Microphone | Smartphone Microphone |
Software needs are minimal for basic use. You just need a modern web browser, and I've found Chrome works best. For advanced users wanting to use the SDK or API, you will need a Python or JavaScript development environment set up on your machine.
The biggest mistake I see beginners make is using a variable frame rate (VFR) recording. Using a VFR is like trying to build a wall with bricks of different sizes; the foundation will be uneven, and things won't line up properly later. You must convert your video to a constant frame rate (CFR) with a tool like HandBrake before uploading to avoid lip-sync issues.
Setting Up Your Recording Studio
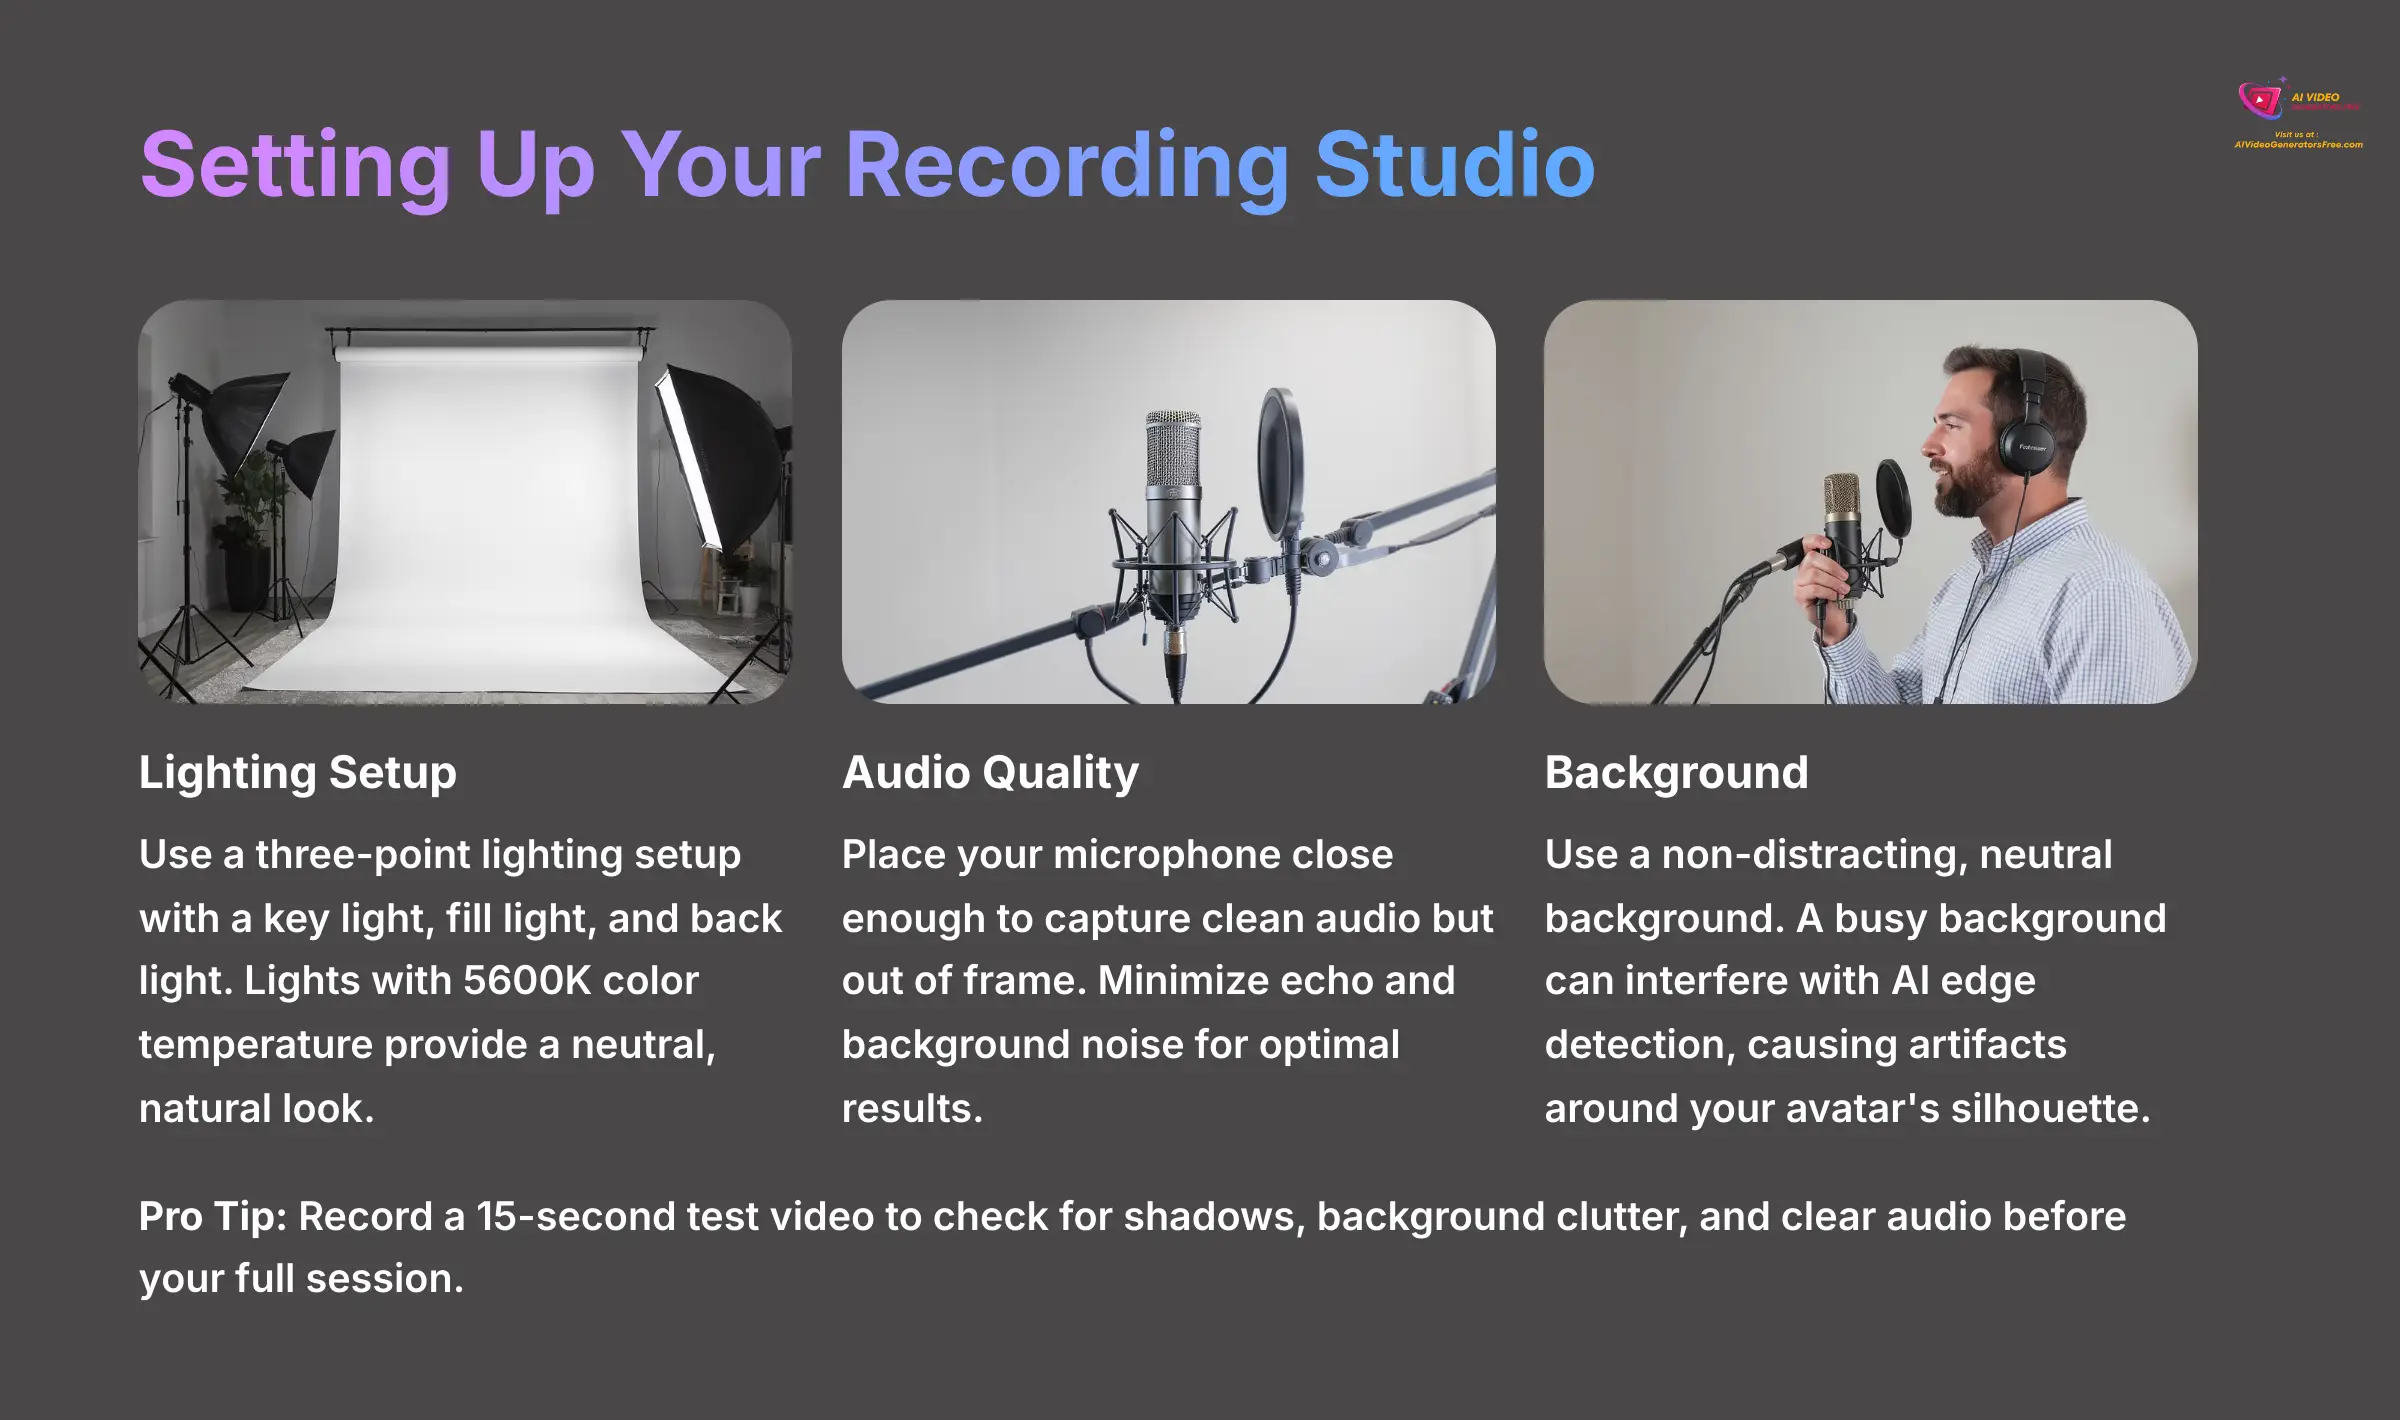
A proper recording space is fundamental to getting a high-quality avatar. You need a three-point lighting setup, which includes a key light, a fill light, and a back light. I suggest using lights with a 5600K color temperature for a neutral, natural look.
Your audio quality is just as important as your video. Place your microphone close enough to capture clean audio but out of the frame. You want to minimize any echo or background noise. Aim to record your audio with the best quality possible for optimal results. Finally, use a non-distracting, neutral background like a plain wall. This is critical because a busy or patterned background can interfere with the AI's edge detection and segmentation models, potentially causing artifacts around your avatar's silhouette.
I once had to re-shoot an entire session because of a simple mistake. A nearby window cast a slight shadow across my face, which the AI interpreted as part of my facial structure. This created a persistent, weird artifact in the final avatar. So, before you start, record a 15-second test video to check for shadows, background clutter, and clear audio. This simple check will save you hours.
With your environment now properly configured, you are ready to create your first avatar directly in the browser.
Section 2: The Foundation – Your First Avatar via Direct Record
Navigating the Direct Record Interface
To create your first avatar, you'll use the direct record feature inside AI Studios. Click “Custom Avatar” on the dashboard and then select the “Record Directly” option. Your browser will ask for permission to use your camera and microphone, which you must grant.
An on-screen calibration overlay will appear. Your goal is to position your face inside this guide. As you position yourself correctly, the overlay will turn green to confirm you are in the right spot for the system to capture your facial data properly.
Recording the Calibration Script: Performance Best Practices
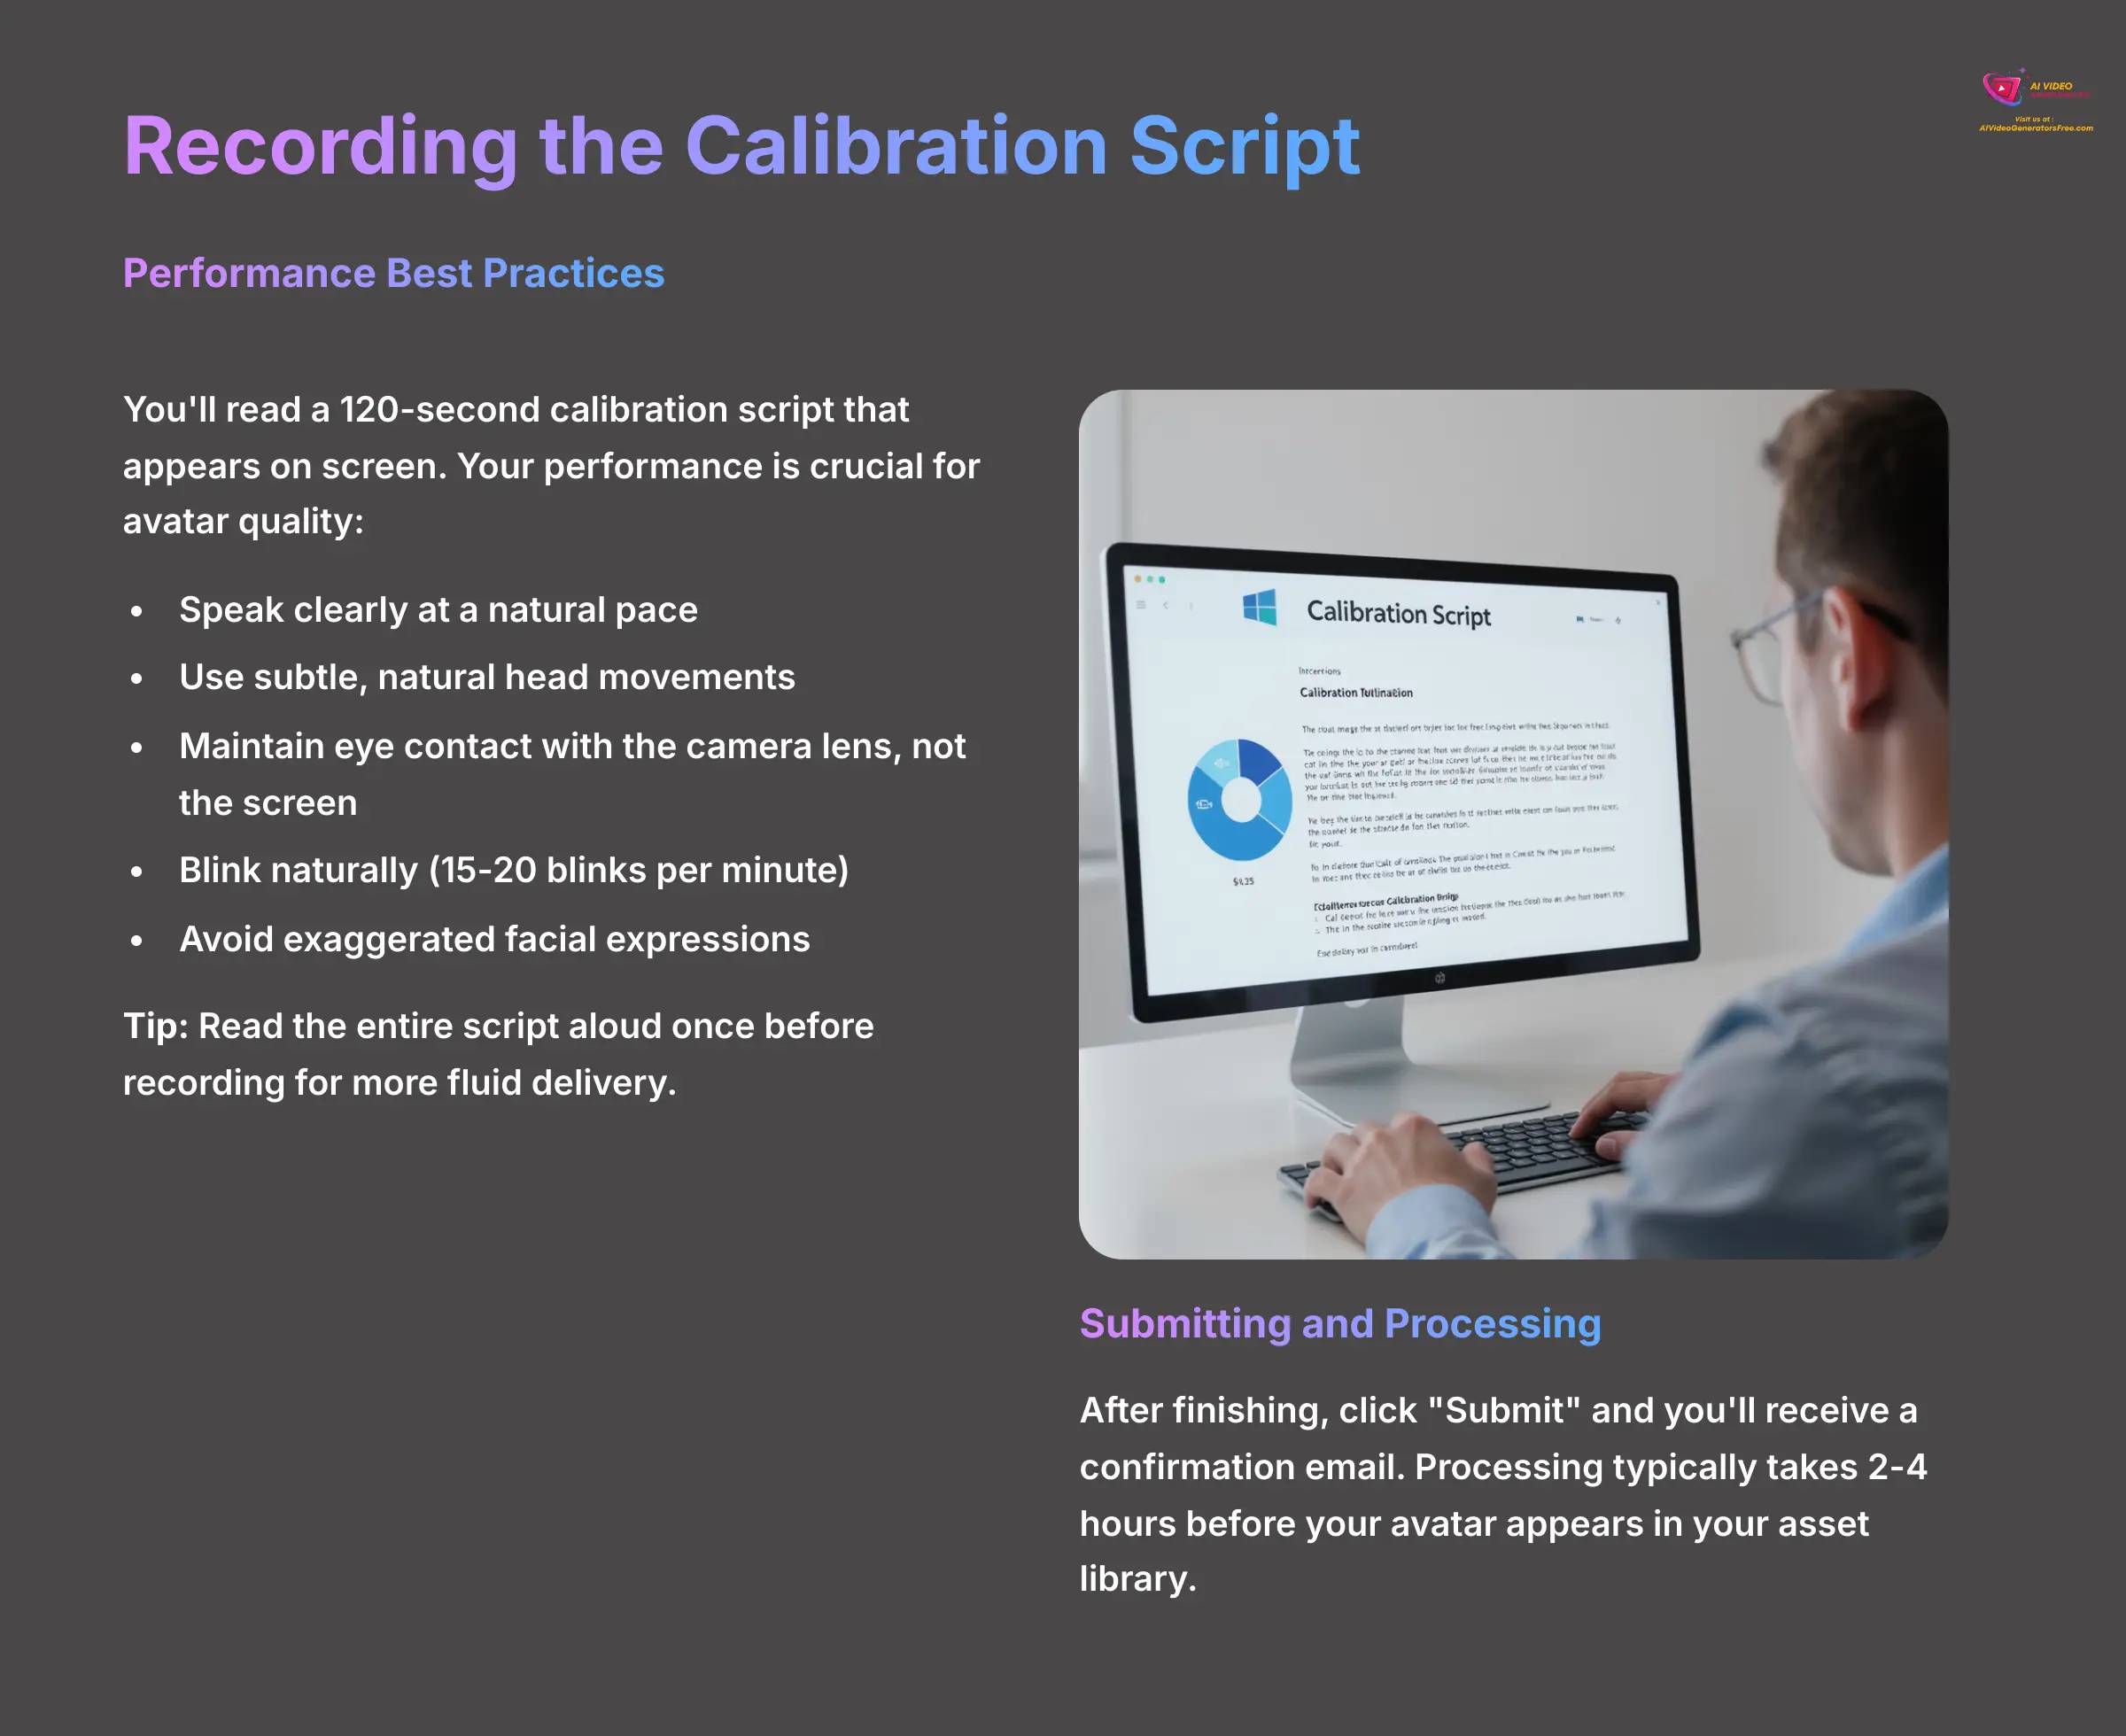
Next, you will read a 120-second calibration script that appears on the screen. Your performance here is very important for the final quality of the avatar. Speak clearly at a natural pace, and use subtle, natural head movements.
Make sure you maintain eye contact with the camera lens, not the screen. It is also important to blink naturally. I've found that aiming for about 15 to 20 blinks per minute gives the AI a good baseline. A helpful tip is to read the entire script aloud once before you hit record. This helps your delivery sound more fluid and less like you are reading from a script.
A key warning: do not make exaggerated facial expressions. You are trying to give the AI a neutral emotional baseline. The system needs to learn your natural, subtle range of motion, not your most extreme faces.
Submitting and Processing Your Recording
After you finish reading the script, stop the recording and click the “Submit” button. You will receive a confirmation email, and then the AI begins its work. The processing typically takes between 2 to 4 hours.
Once the processing is complete, your new avatar will appear in your asset library inside the AI Studios dashboard. Now is a good time to record and submit your 2-minute video. While the AI processes your avatar, you can move on to the next section to learn the professional workflow.
Section 3: The Professional Workflow – Uploading Pre-Recorded Footage
Technical Specifications for Uploaded Video and Audio
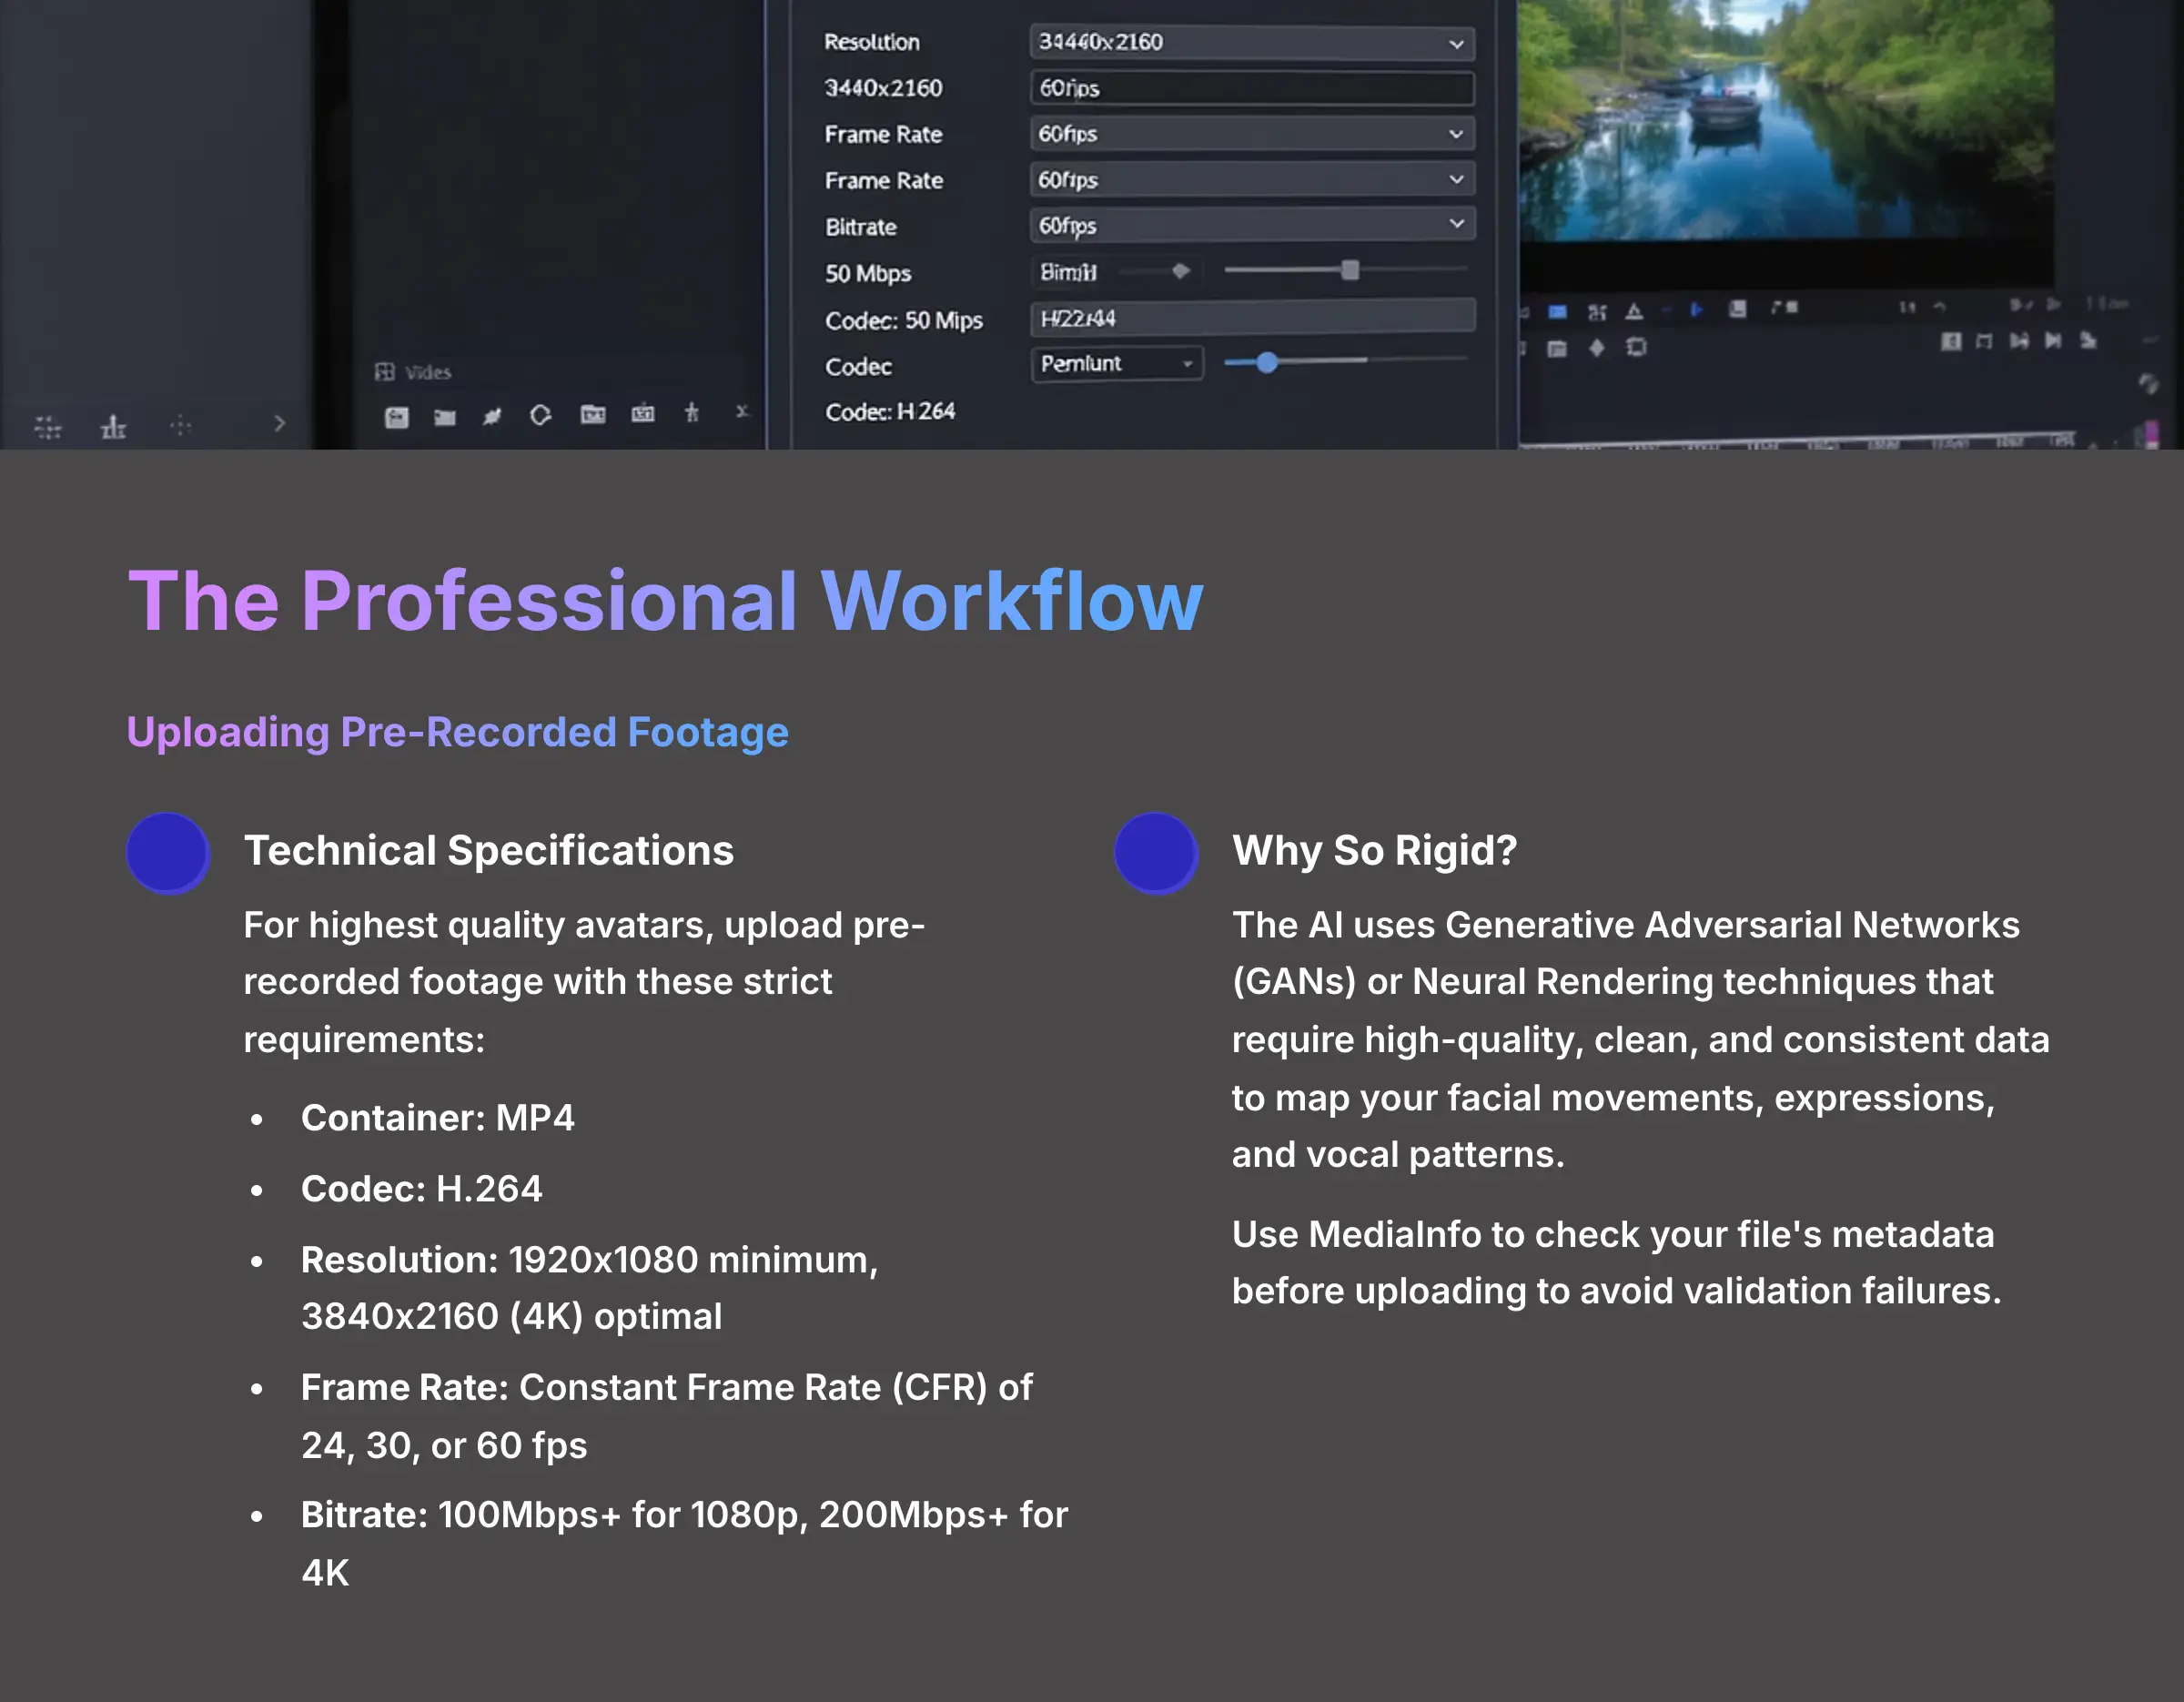
For the highest quality avatar, you should upload pre-recorded footage from a professional camera. The system has very strict technical requirements for these files. Your video must be in an MP4 container using the H.264 codec. The AI pipeline is optimized for these specific data structures.
You need a resolution of at least 1920×1080, but 3840×2160 (4K) is optimal for the best detail. The frame rate must be a constant 24, 30, or 60 fps. Your video bitrate should be high, around 100Mbps for 1080p footage and over 200Mbps for 4K. For audio, ensure you use high-quality recording settings for optimal results.
Here is a checklist of the specifications:
- Container: MP4
- Codec: H.264
- Resolution: 1920×1080 minimum, 3840×2160 (4K) optimal
- Frame Rate: Constant Frame Rate (CFR) of 24, 30, or 60 fps
- Bitrate: 100Mbps+ for 1080p, 200Mbps+ for 4K
- Audio: High-quality recording settings recommended
Why are these specifications so rigid? It's because the AI relies on a process often involving Generative Adversarial Networks (GANs) or Neural Rendering techniques. These models learn to map your facial movements, expressions, and vocal patterns from a massive dataset—your video. High-quality, clean, and consistent data (like CFR video and high-bitrate codecs) is the bedrock for training a successful model. Any deviation can confuse the AI, leading to the errors we'll discuss later.
The system's file validator can be unforgiving and often gives little feedback. If your upload fails, it is almost definitely due to an incorrect codec, variable frame rate, or audio format. I recommend using a free tool like MediaInfo to check your file's metadata before you upload.
Uploading, Validation, and Creation
To upload your file, navigate to the “Upload Video” option in the Custom Avatar portal. Select your compliant video file and begin the upload. The system will then validate the file.
If an error occurs, the system will provide a diagnostic message, like “InvalidFrameRateError.” This tells you exactly what to fix. In my own work, I've created a dedicated export preset in Adobe Premiere Pro called “DeepBrain AI Upload.” This small step removes human error and makes sure every export is perfectly compliant, saving me from the frustration of failed uploads.
If you have a professional camera, try this. Record a new 1-minute video following all the performance and technical best practices. Export it correctly and upload it to AI Studios. Once it's processed, make a short video with it and compare the quality to the avatar you created in the previous section.
Section 4: Fine-Tuning Your Creation – Avatar Customization

Customizing Voice and Delivery
After your avatar is created, you can fine-tune its voice and delivery in the AI Studios editor. You'll find three key parameters that control the vocoder, which is the AI component that generates the voice. These parameters are TimbreShift, Stability, and StyleExaggeration.
Think of TimbreShift as a ‘voice similarity' slider. It controls how closely the generated voice matches your original recording's vocal quality. Stability affects the emotional consistency of the voice; lower values can introduce more variation. StyleExaggeration increases or decreases the expressiveness and intonation of the speech.
When you are tuning the voice, I suggest using a short, neutral test sentence like, “The quick brown fox jumps over the lazy dog.” This makes it much easier to hear the subtle changes from each parameter without being distracted by the content of your script.
Modifying Appearance and Background
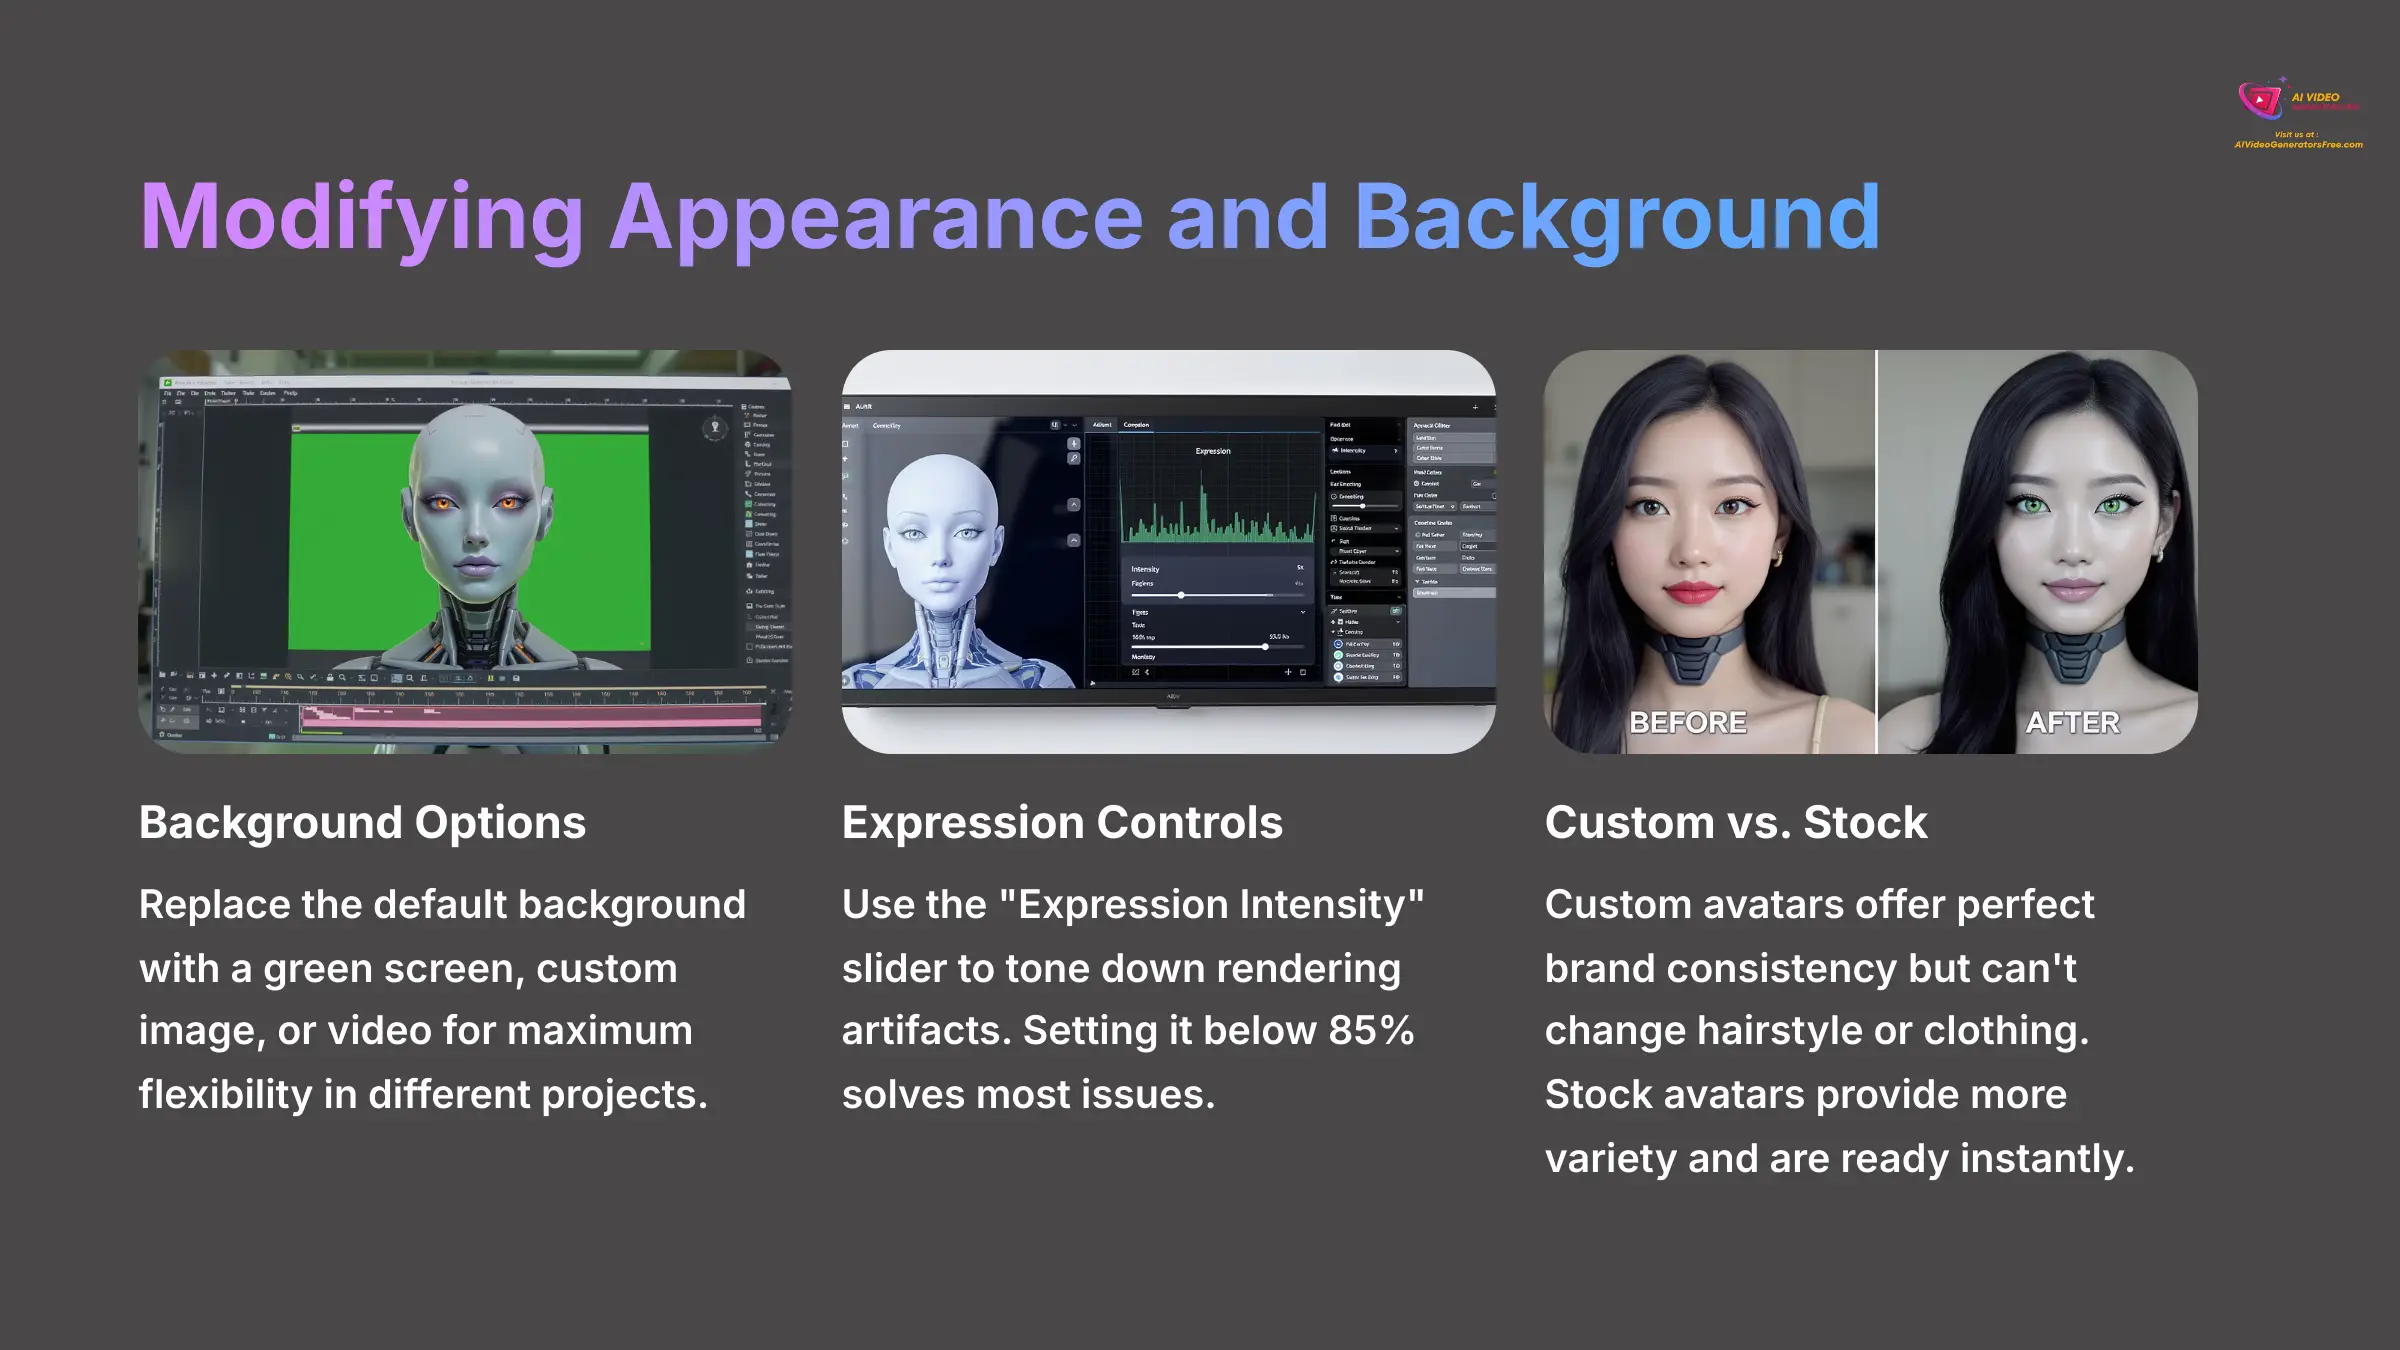
You can also modify your avatar's appearance and background in the editor. The tool lets you replace the default background with a green screen, a custom image, or even a video. This gives you a lot of flexibility for different video projects.
You will also find an “Expression Intensity” slider. This control can be very useful. If you notice any rendering artifacts during certain expressions, you can use this slider to tone them down. Usually, setting it below 85% solves most issues.
You may also see beta features like gesture controls or virtual wardrobe options appear in the editor. As these are experimental, refer to the official DeepBrain AI documentation for the latest on their functionality.
Understanding Customization Limits vs. Stock Avatars
While you have powerful control over delivery and background, it's important to know what you can't change. The custom avatar is a digital clone of the person in the source video. You cannot fundamentally change its hairstyle, facial structure, or the clothing it was recorded in (though some platforms like HeyGen are experimenting with AI outfits).
This is the key difference between a custom avatar and the stock avatars available in the AI Studios library.
- Custom Avatars offer perfect brand consistency and personal connection.
- Stock Avatars provide more variety in appearance and are ready to use instantly, making them a great option for projects that don't require a specific person to be on screen.
For maximum brand identity, custom is the way to go. For speed and flexibility, stock avatars are an excellent resource.
Take the professional avatar you created in the last section. Generate three identical 15-second video clips. For the first clip, use the default settings. For the second, adjust StyleExaggeration to be highly expressive. For the third, change the background to a custom image. Comparing the results will give you a feel for these controls.
Section 5: Solving Common Problems – A Troubleshooting Guide
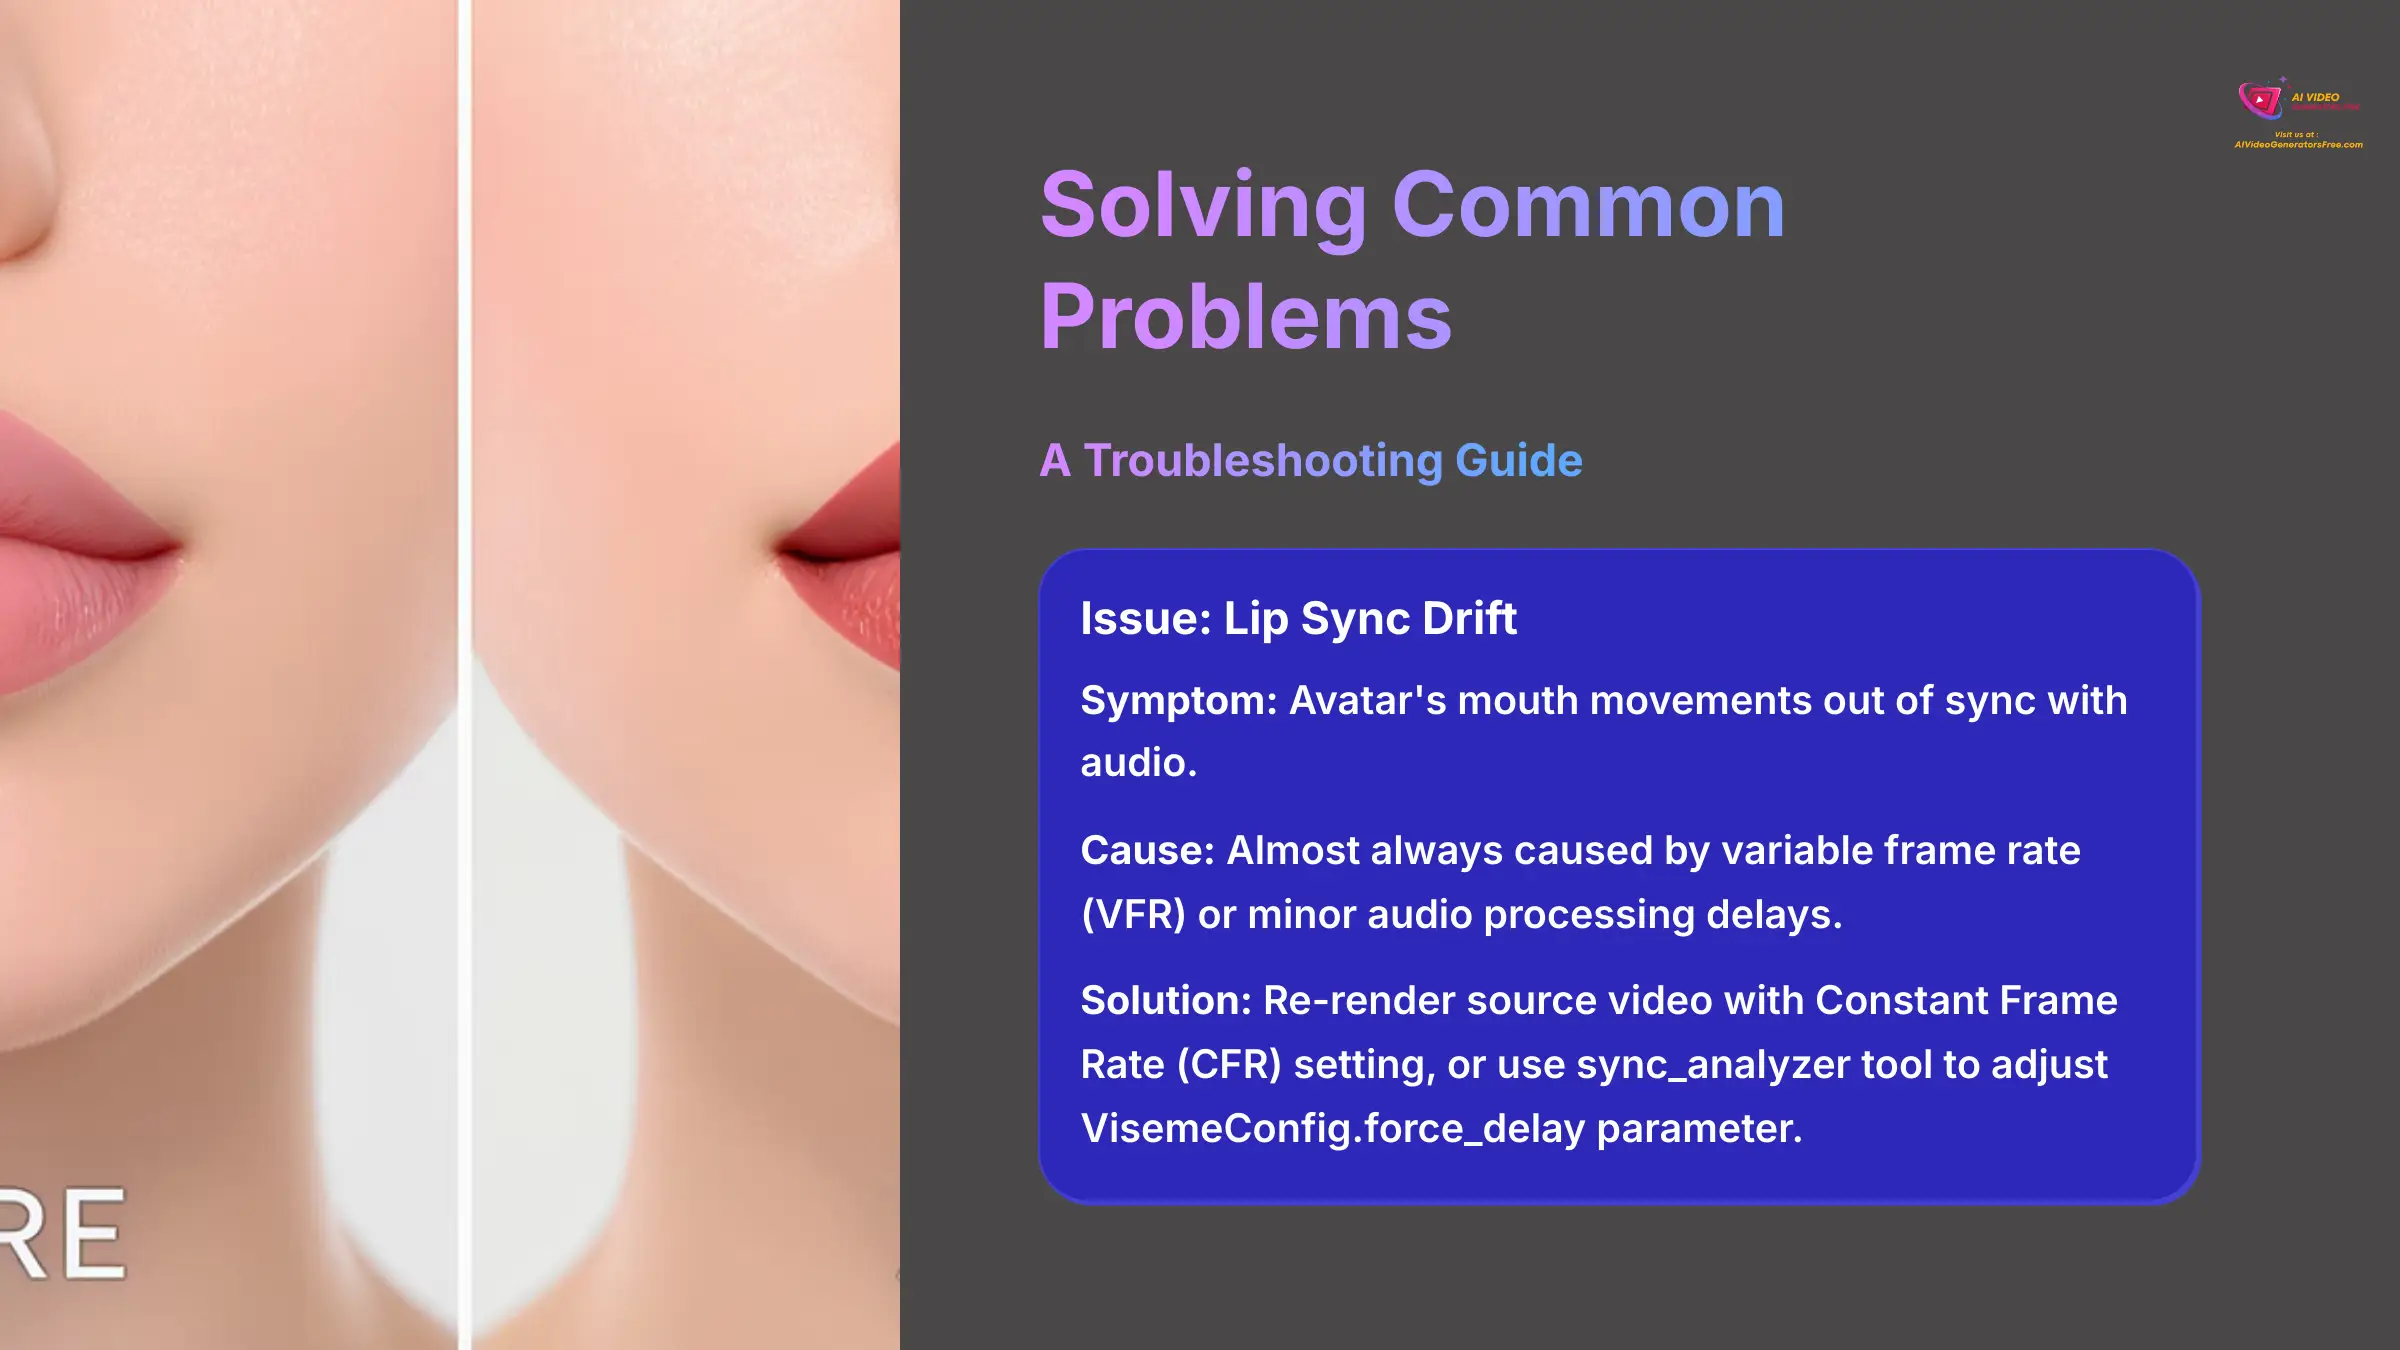
Issue: Lip Sync Drift
Symptom: The avatar's mouth movements are out of sync with the audio.
Cause: This is almost always caused by using a source video with a variable frame rate (VFR) or minor audio processing delays.
Solution: The simplest solution is to re-render your source video in your editor, making sure you select a Constant Frame Rate (CFR) setting.
For a more advanced fix, you can access the developer settings, typically found under a ‘Project Configuration' or ‘Advanced Tools' tab in the editor, and use the sync_analyzer tool. This allows you to adjust the VisemeConfig.force_delay parameter in small, 5-millisecond increments. This manually shifts the video timing to perfectly match the audio.
Issue: Uncanny Valley and Rendering Artifacts
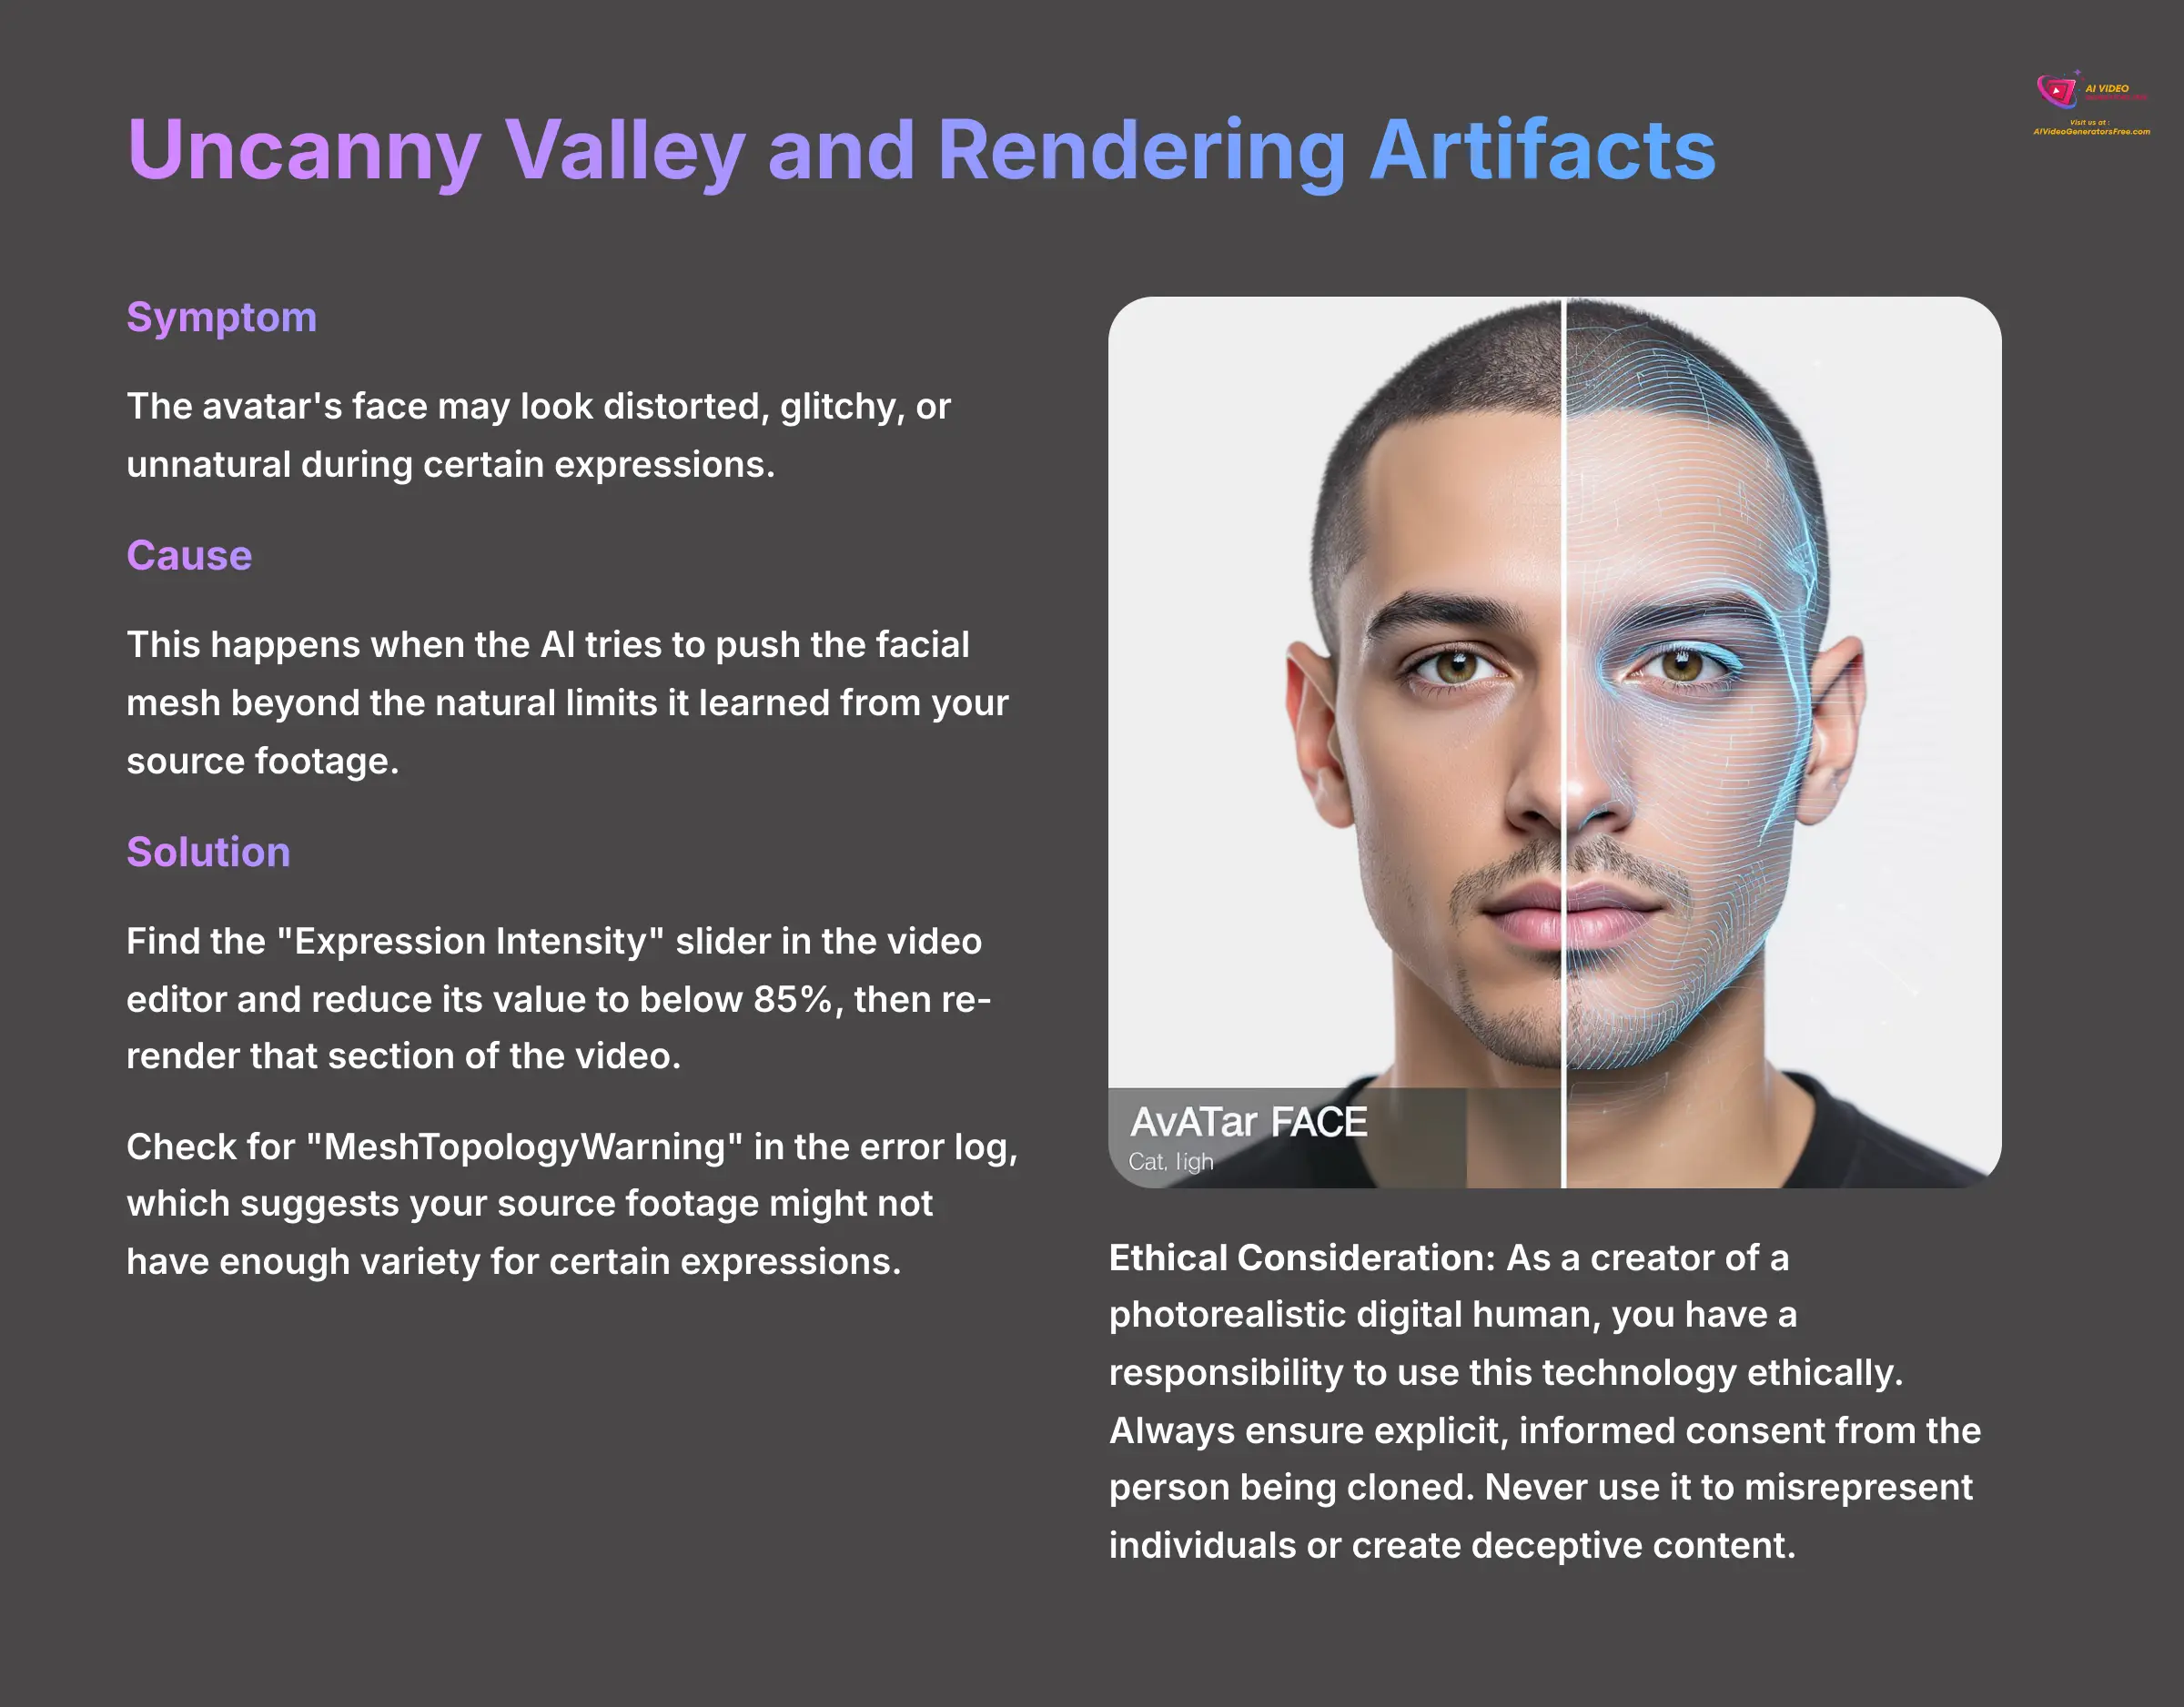
Symptom: The avatar's face may look distorted, glitchy, or just unnatural during certain expressions.
Cause: This happens when the AI tries to push the facial mesh beyond the natural limits it learned from your source footage.
Solution: The easiest fix is to find the “Expression Intensity” slider in the video editor and reduce its value to below 85%, then re-render that section of the video.
If the problem persists, you can check the project's error log for a “MeshTopologyWarning.” This warning suggests that your source footage might not have enough variety for certain expressions. In that case, you may need a re-shoot with more nuanced facial movements.
This “uncanny valley” issue touches on a wider ethical point. As a creator of a photorealistic digital human, you have a responsibility to use this technology ethically. The same technology that creates your avatar is related to deepfake technology. Always ensure you have explicit, informed consent from the person being cloned. Never use it to misrepresent individuals or create deceptive content. Using your avatar for authentic communication in training, marketing, or support builds trust; using it to deceive erodes it.
Issue: Avatar Processing Failure
Symptom: The creation process gets stuck or fails completely.
Cause: The most common cause is a non-compliant source file.
Solution: The first step is to meticulously re-verify your source video file against every technical specification listed in Section 3. Use a tool like MediaInfo to be certain.
The problem could also be a temporary issue on DeepBrain AI's servers. Before you spend hours troubleshooting on your end, always check the official DeepBrain AI status page or their community forums. If the issue is on their side, you can save a lot of time. For developers using the API, you can also verify your system's CUDA capability with the nvidia-smi command and even force a CPU fallback to diagnose whether the issue is GPU-related.
Section 6: Project-Based Implementation and Advanced Use Cases
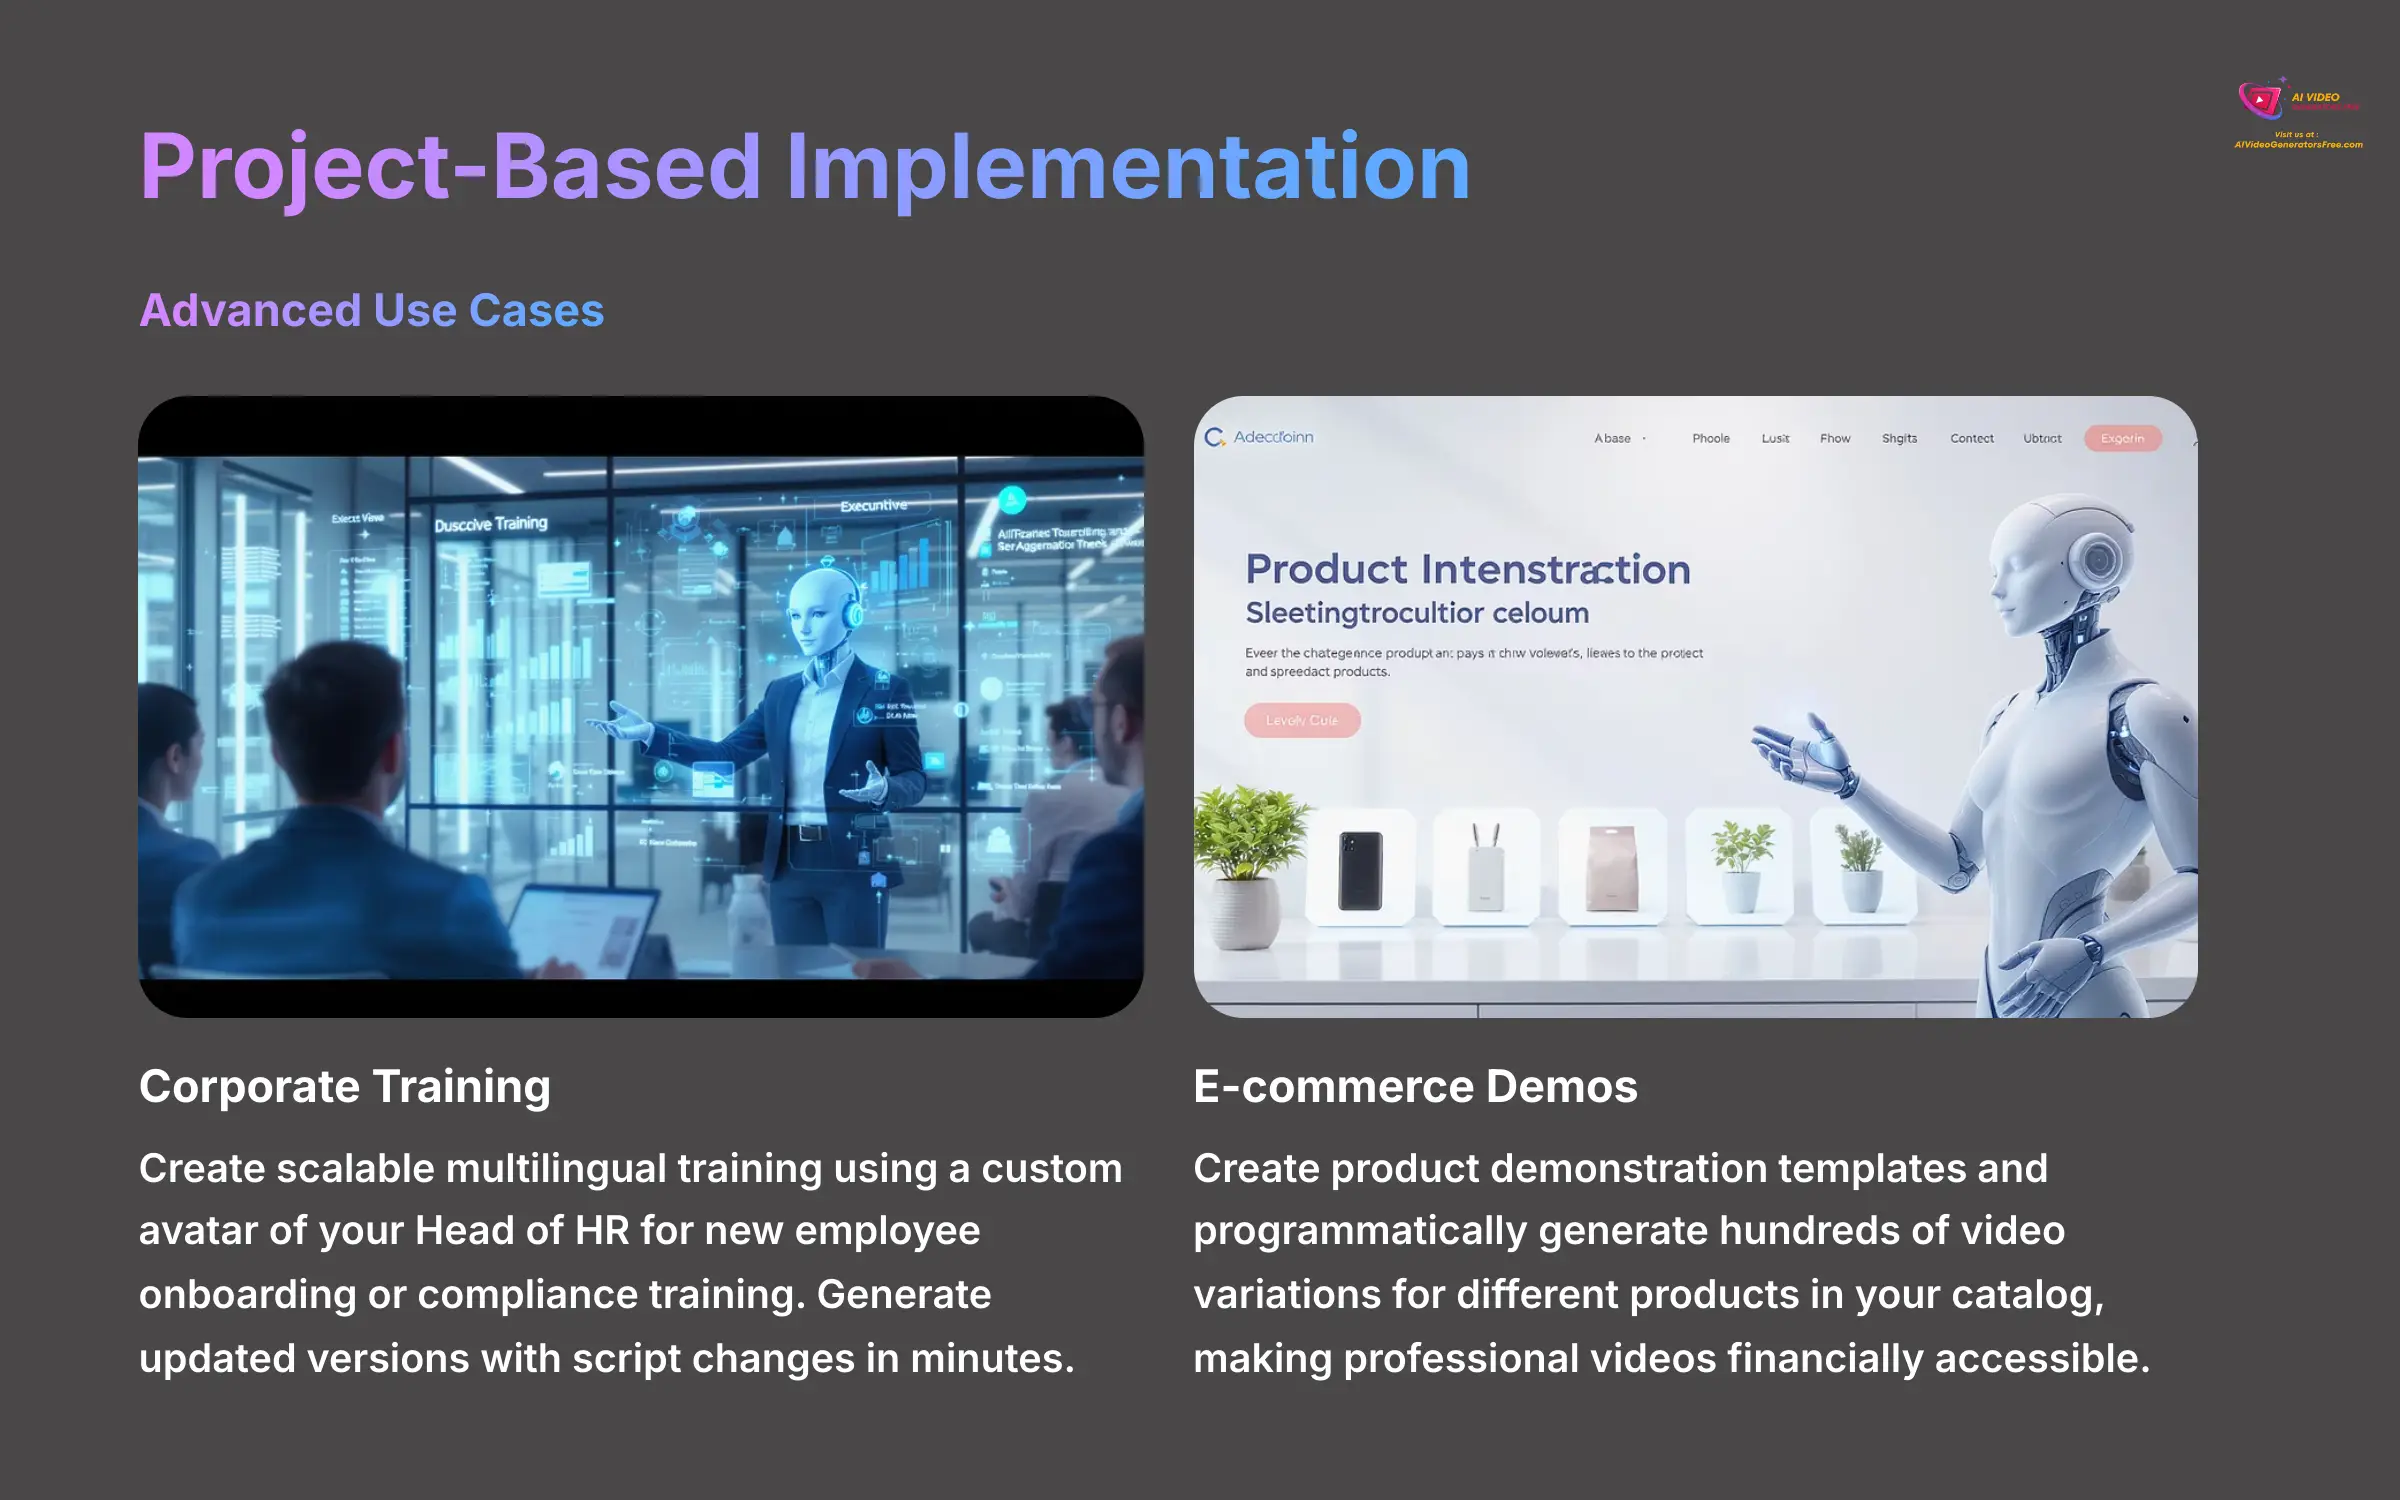
Project 1: Creating a Scalable Corporate Onboarding and Training Module
A great first project is to create a multilingual corporate training video. Imagine using a custom avatar of your Head of HR for a new employee onboarding module or a compliance expert for annual safety training. This ensures consistency and authority.
First, build the video in English. The key benefit here is scalability; once the initial project is built, you can generate updated versions with script changes in minutes, without needing to book studio time with the executive. Then, use the one-click auto-translation feature to create Spanish, German, and Japanese versions. This provides a massive return on investment (ROI) by allowing a single video asset to serve a global workforce with a consistent, branded message.
Project 2: E-commerce Product Demonstrations at Scale
Another powerful application is in e-commerce. You can create a short, engaging video template for product demonstrations. Using your custom avatar, you can programmatically generate hundreds of video variations for different products in your catalog.
Simply change the background to a product image, update the text-to-speech script with the product's features and benefits, and render. This allows a small business to have a polished, human-led demonstration video for every single item they sell, a task that would be financially prohibitive with traditional video production.
Project 3: Building a Live AI Presenter with WebRTC
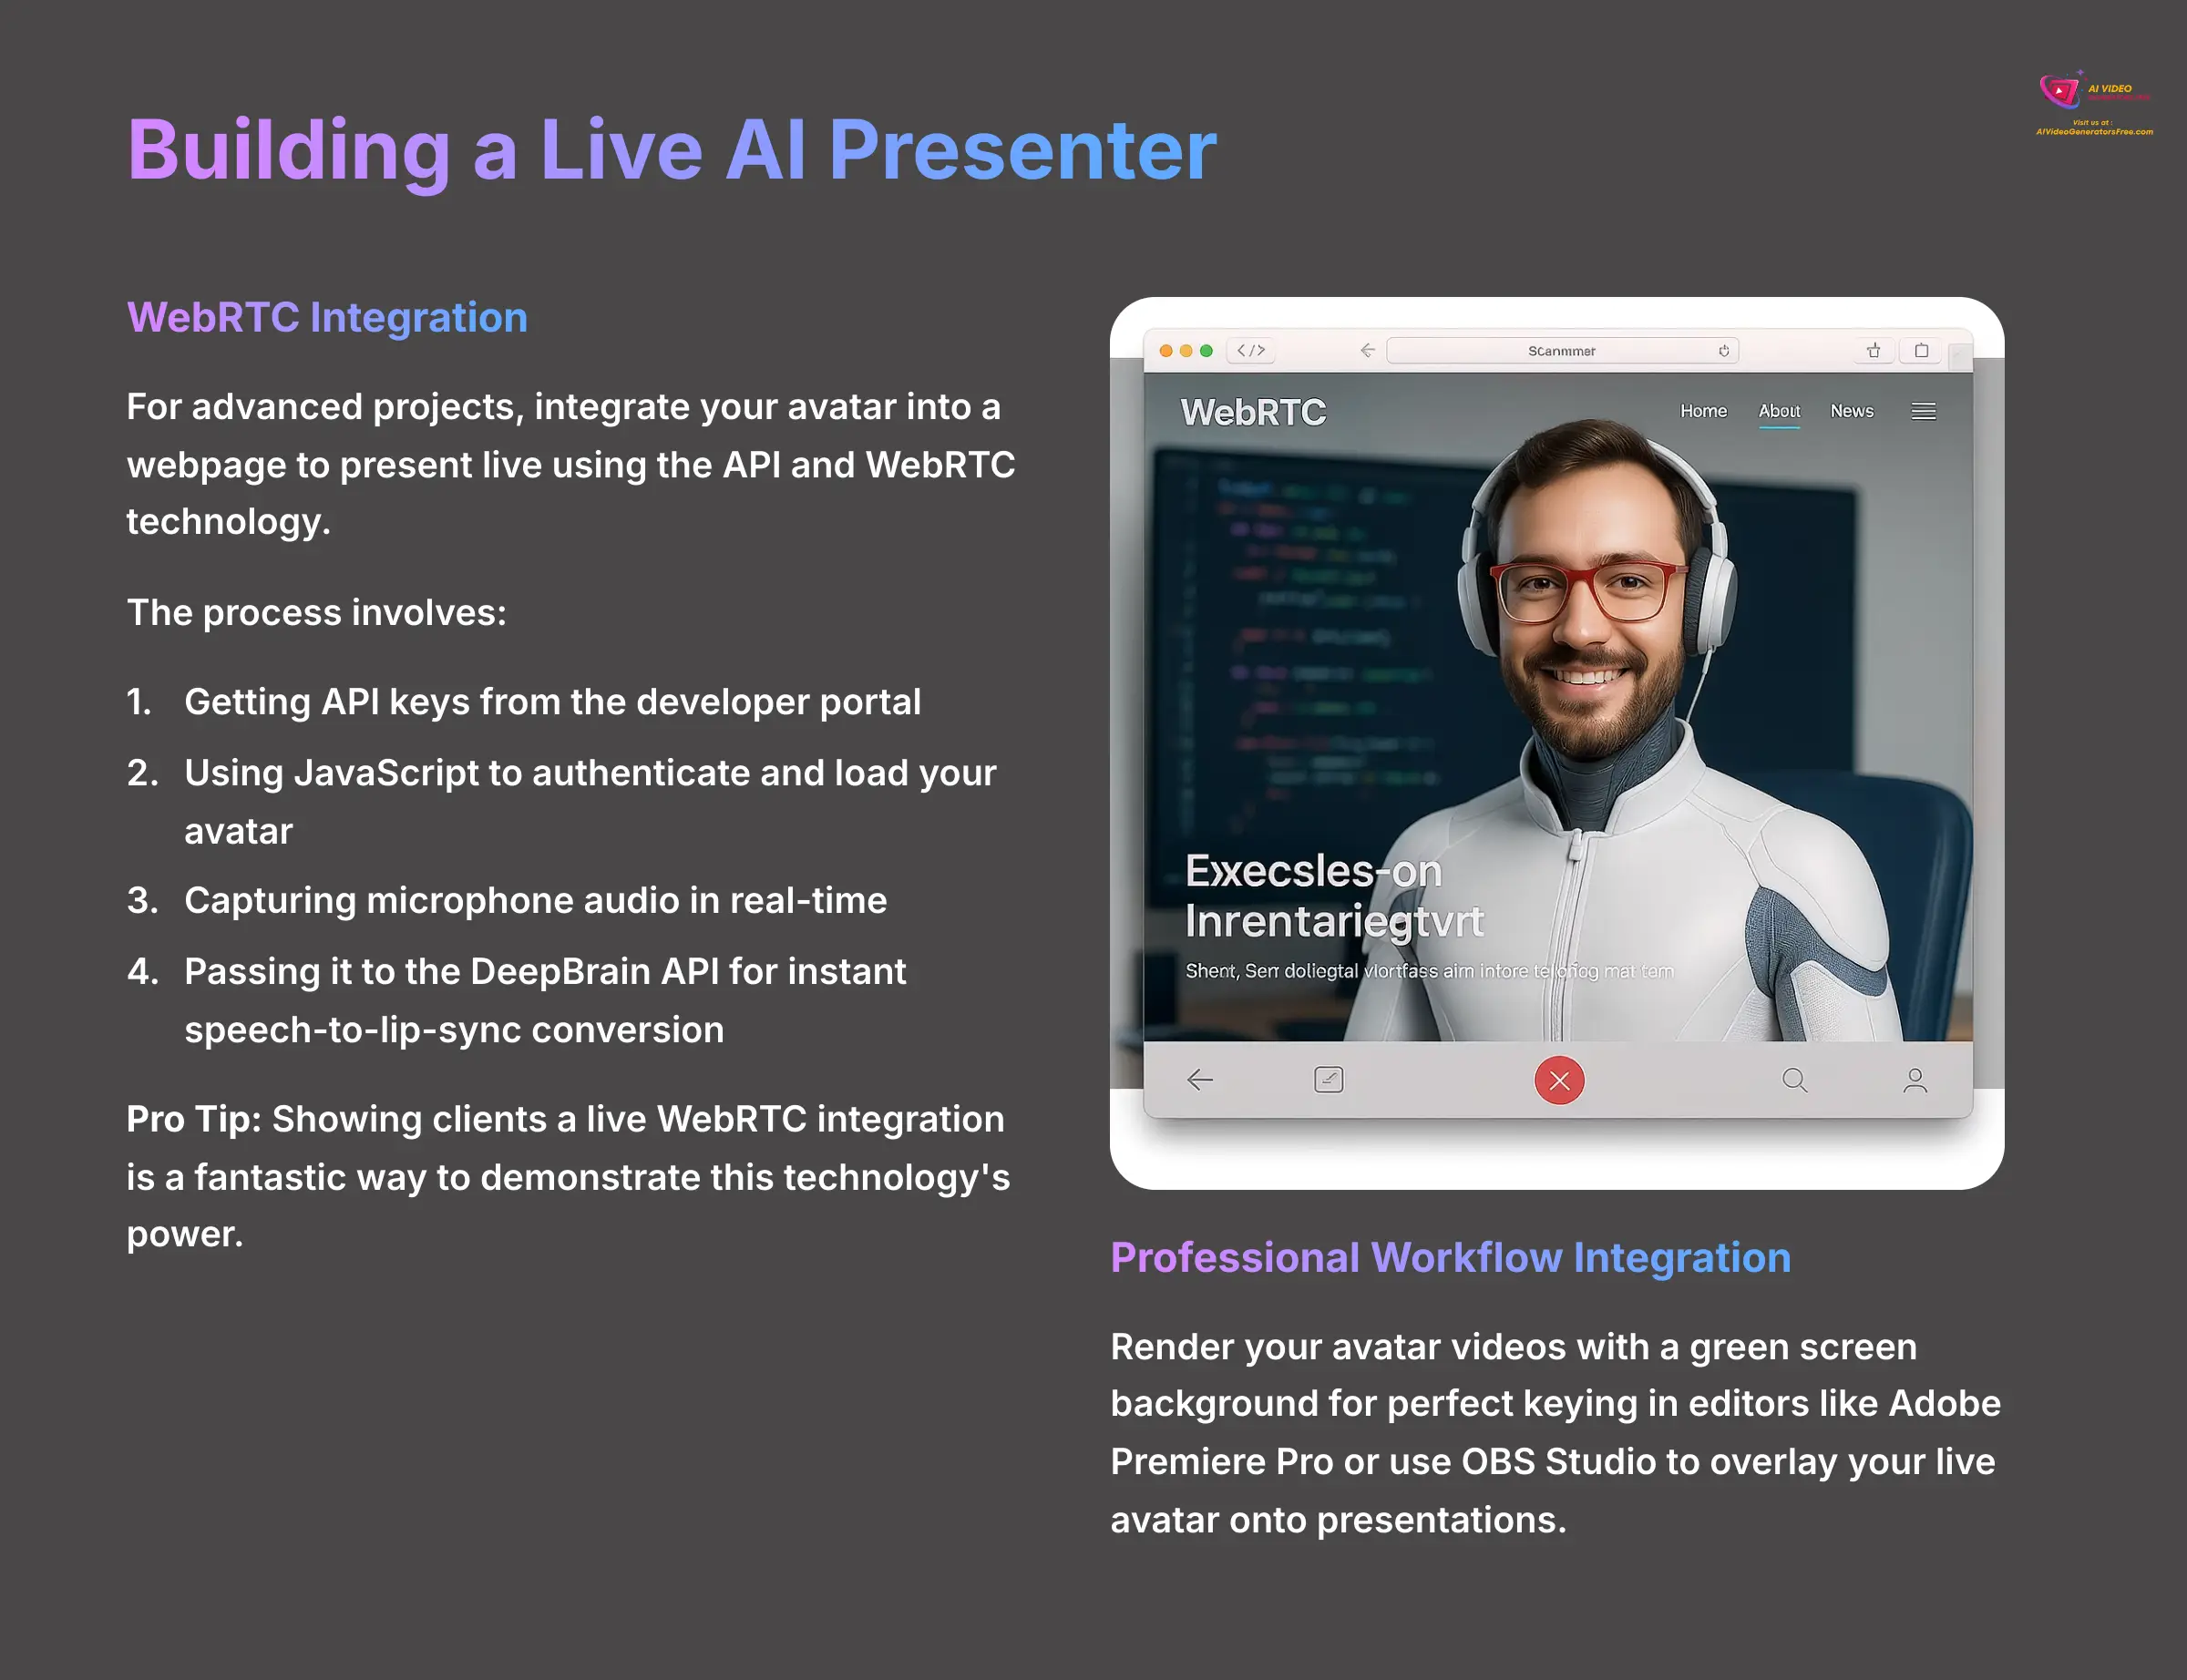
For a more advanced project, you can integrate your avatar into a webpage to present live. This requires some basic knowledge of HTML and JavaScript. Using the API is like getting access to the building's raw materials and blueprints instead of just buying the finished model home. You can construct something completely custom.
The process involves getting API keys from the developer portal. Then, you use a JavaScript snippet to authenticate and load your avatar. The core function captures your microphone audio in real-time and passes it to the DeepBrain API for instant speech-to-lip-sync conversion, making your avatar talk live on the webpage. From my experience, showing clients a live WebRTC integration is a fantastic way to demonstrate the power of this technology.
Integration with Your Professional Workflow
Your custom avatar can be integrated into many professional workflows. You can render your avatar videos with a green screen background from AI Studios. This provides a perfect, clean key in video editors like Adobe Premiere Pro or Final Cut Pro, giving you maximum flexibility for post-production work like color grading or sound mixing.
You can also use tools like OBS Studio to key out the green screen background. This lets you overlay your live avatar onto presentations or even game streams for a unique and engaging experience.
Disclaimer: The information about DeepBrain AI presented in this article reflects our thorough analysis as of 2025. Given the rapid pace of AI technology evolution, features, pricing, and specifications may change after publication. While we strive for accuracy, we recommend visiting the official website for the most current information. Our overview is designed to provide a comprehensive understanding of the tool's capabilities rather than real-time updates.
Section 7: Conclusion and Your Next Steps
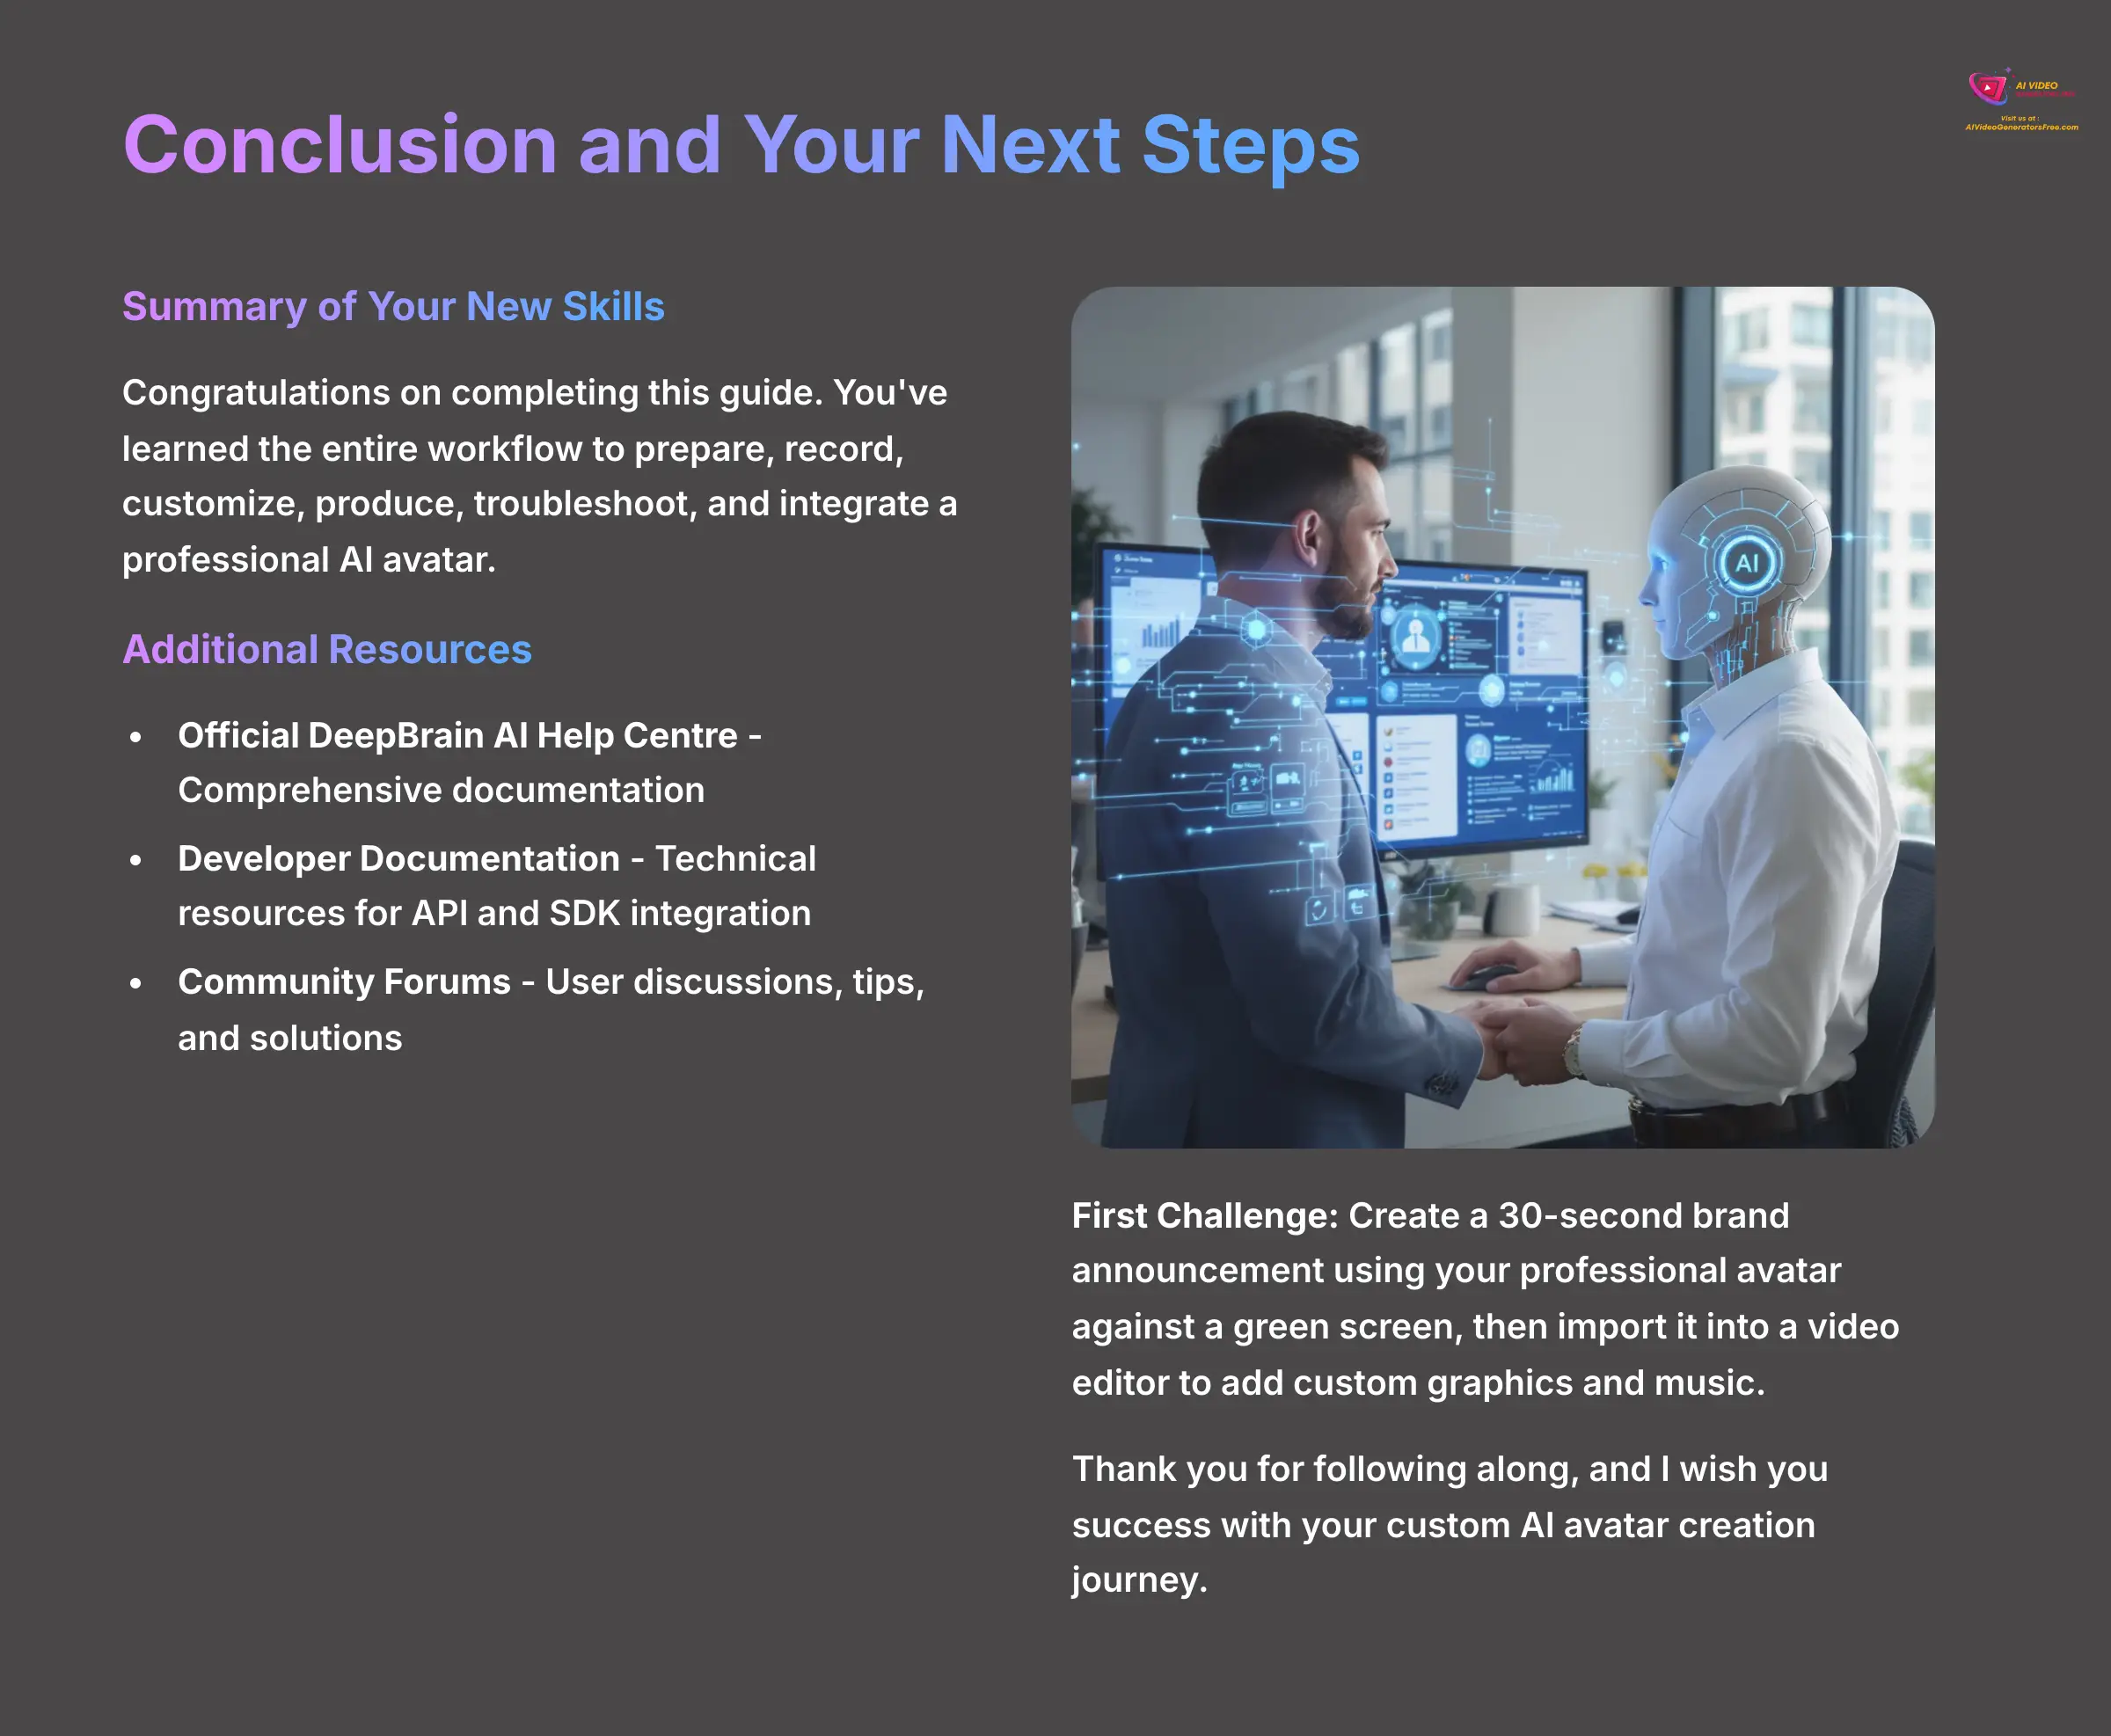
Summary of Your New Skills
Congratulations on making it through this guide. You have now learned the entire workflow to prepare, record, customize, produce, troubleshoot, and integrate a professional AI avatar. You have successfully created your first complete AI avatar and video project.
Additional Resources and Continued Learning
Your learning journey doesn't have to end here. There are many great resources to help you continue to build your skills. I highly recommend checking out the official DeepBrain AI documentation and community forums.
Here are some helpful links with descriptions:
- Official DeepBrain AI Help Center – Comprehensive documentation covering all platform features and troubleshooting guides
- DeepBrain AI Developer (API and SDK) Documentation – Technical resources for integrating avatars into custom applications and workflows
- Official DeepBrain AI Community Forums – User discussions, tips, and solutions for common challenges
The official community forum is an excellent place to solve unique challenges and see how other professionals are using the tool. As your first challenge, try creating a 30-second brand announcement using your professional avatar against a green screen, then import it into a video editor to add custom graphics and music. Thank you for following along, and I wish you success with your custom AI avatar creation journey.

Leave a Reply