You'll learn how to use AI-powered image generation and maintain character consistency. You'll also build a timed animatic and manage team approvals. All of this happens within a single platform.
After analyzing over 200+ AI video generators and testing Boords across 50+ real-world projects in 2025, our team at AI Video Generators Free now provides a comprehensive 8-point technical assessment framework that has been recognized by leading video production professionals and cited in major digital creativity publications.
Key Takeaways
- Go from Script to Storyboard in Minutes: Learn to import a script and use Boords' AI to automatically generate a visual storyboard, providing a quick and impressive first draft.
- Achieve Visual Consistency with AI Tools: Master the Character Library and Style Lock features to create reusable characters and maintain a consistent look across all frames.
- Streamline Team Feedback: Use shareable links, user roles, and frame statuses (Approved, Revise) to manage feedback efficiently and eliminate confusing email chains.
- Create a Timed Animatic with Audio: Convert your static storyboard into a dynamic, timed animatic complete with a synchronized soundtrack and automated subtitles.
MAIN CONTENT
Before You Begin: Prerequisites for Success in Boords
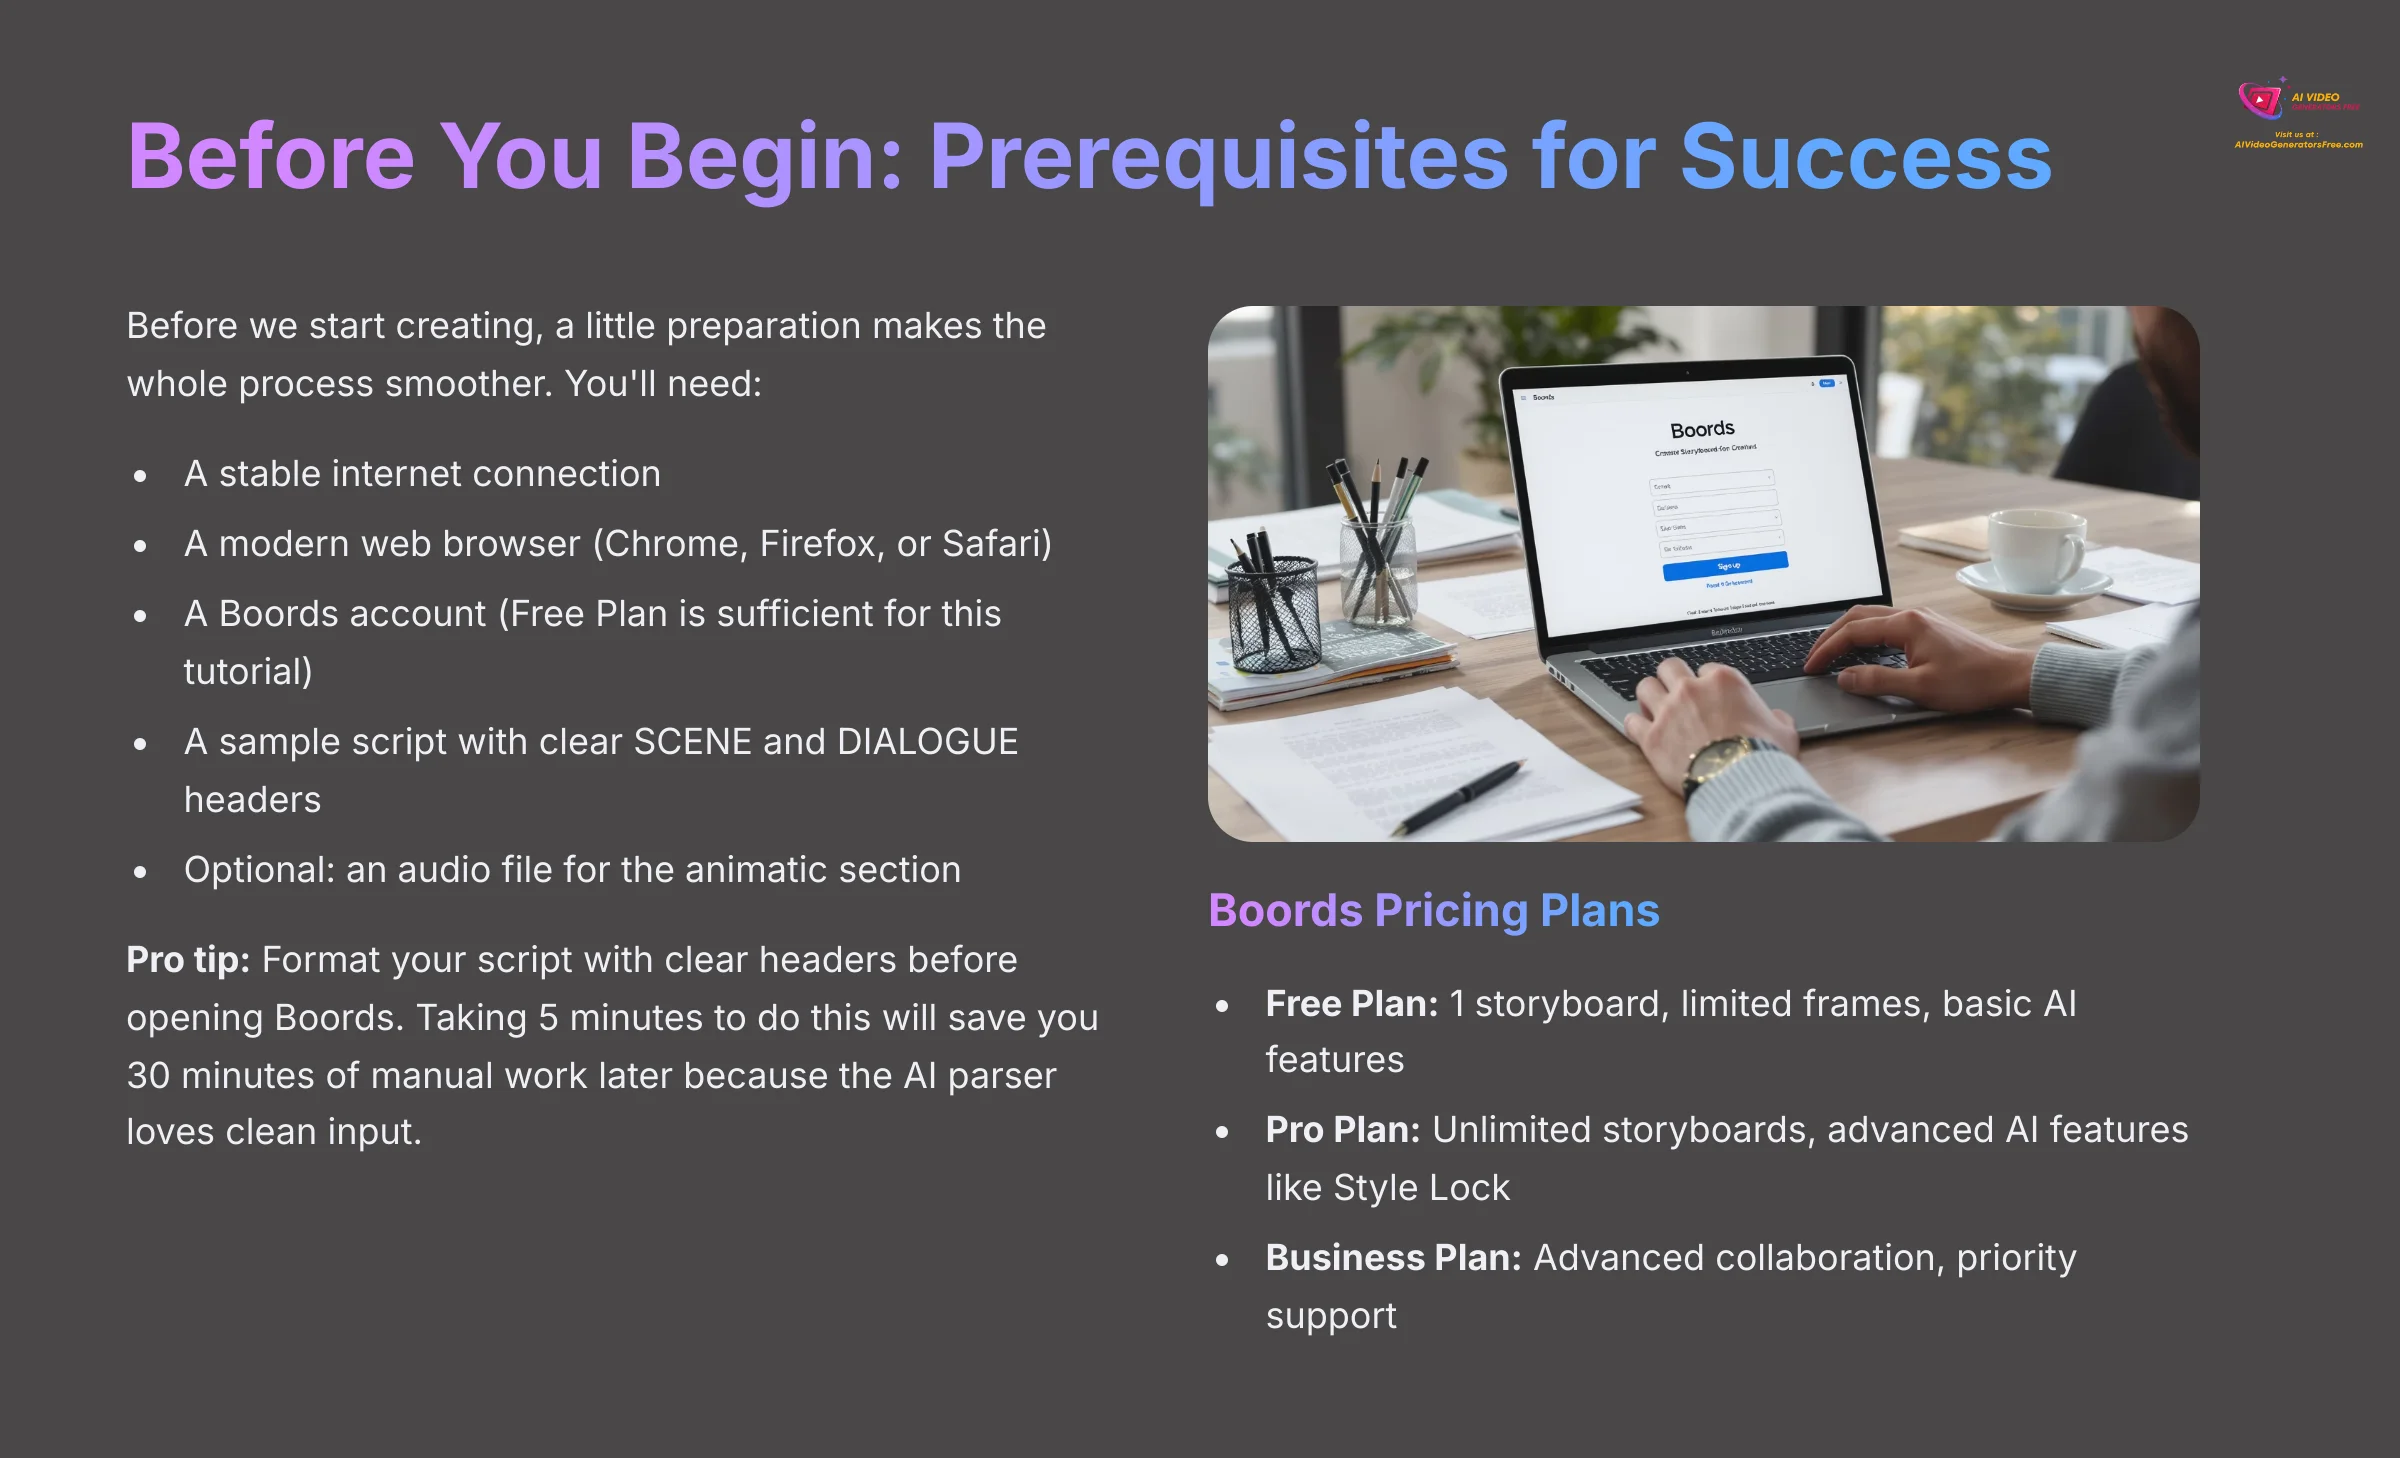
Before we start creating, a little preparation makes the whole process smoother. This section ensures you have the accounts, assets, and basic knowledge needed to follow along without any interruptions. Proper setup is the foundation for a successful project.
First, you need a few technical things in place. Boords is a cloud-based tool, and while it auto-saves, a weak internet connection can interrupt AI image generation. Always ensure your connection is stable before starting a session to avoid losing creative momentum. Also, you need a modern web browser like Chrome, Firefox, or Safari.
Choose Your Boords Plan
Before you sign up, it's helpful to know about Boords pricing. Boords operates on a subscription model with several tiers, including a free plan that's perfect for following this tutorial.
- Free Plan: Ideal for small projects or learning the tool. It typically includes 1 storyboard with a limited number of frames and basic AI features.
- Pro Plan: Aimed at freelancers and small teams, this plan unlocks unlimited storyboards, advanced AI features like Style Lock, and removes watermarks.
- Business Plan: Designed for larger teams and agencies, offering advanced collaboration controls, priority support, and enhanced security features.
For this guide, the Free Plan is all you need. You can always upgrade later as your projects grow in complexity.
Next, you'll create your Boords account.
- Go to the Boords website.
- Click the signup button. You can use a Google account or an email and password.
- Confirm your account through the email they send.
It's also helpful to understand a few core storyboarding terms. Think of it like this: a Scene is the location, a Shot is a single camera setup, and a Frame is one image within that shot. Knowing this hierarchy helps you organize your story. Finally, prepare a sample script—just a short paragraph is fine—and have an optional audio file (like a voiceover or music clip) ready for the animatic section later.
A great professional tip is to format your script with clear SCENE and DIALOGUE headers before you even open Boords. Taking 5 minutes to do this will save you 30 minutes of manual work later because the AI parser loves clean input.
Your First AI Storyboard in 15 Minutes (Quick Win)
The first time I pasted a script and saw it instantly become a set of structured frames, I knew my workflow would never be the same. That ‘Aha!' moment is what we're aiming for here. This section gives you a quick success by guiding you through the core workflow, from script to a shareable link.
Follow these steps to create your first storyboard.
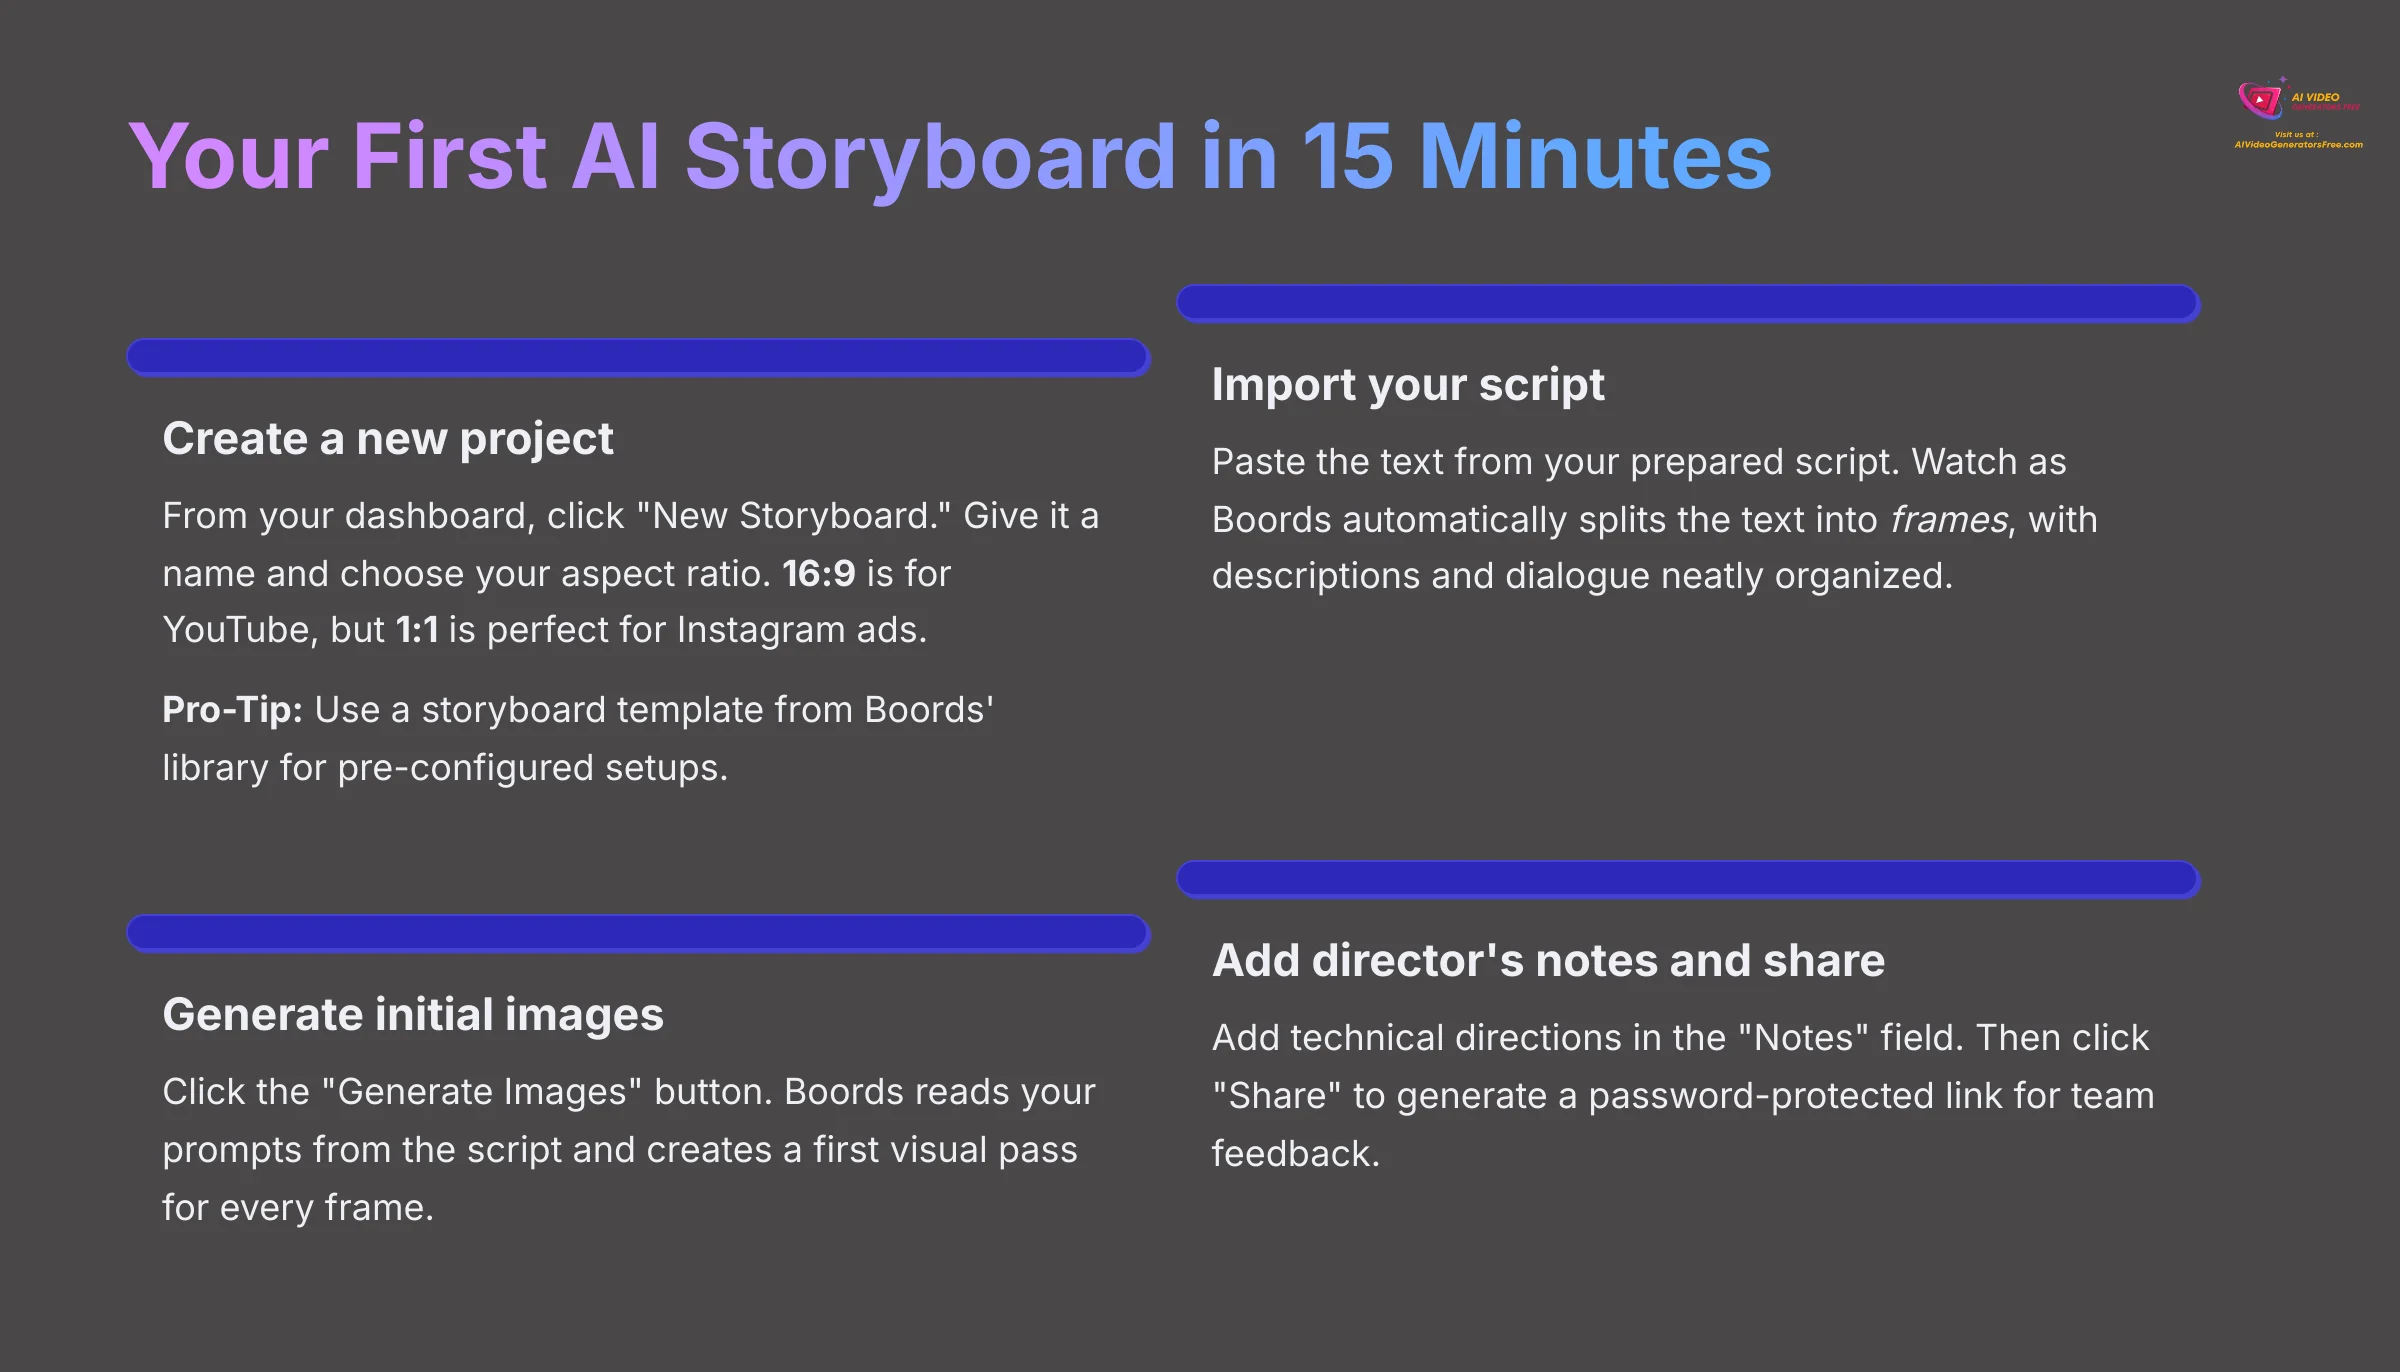
- Create a new project. From your dashboard, click “New Storyboard.” Give it a name and choose your aspect ratio. Think about your final platform now; 16:9 is for YouTube, but 1:1 is perfect for Instagram ads.
Pro-Tip: Use a Storyboard Template If you're unsure about your aspect ratio or frame fields, check out Boords' storyboard template library. They offer pre-configured setups for common projects like YouTube videos, social media ads, and film treatments. Starting with a template can save you time on initial setup.
- Import your script. You can paste the text from the script you prepared earlier. Watch as Boords automatically splits the text into frames, with descriptions and dialogue neatly organized.
- Generate initial images. Click the “Generate Images” button. Boords reads your prompts from the script and creates a first visual pass for every frame. The first set of AI images are just a starting point, so don't worry if they're not perfect.
- Add a director's note. Click on any frame and find the “Notes” field. This is where you put your technical directions. Type something like “Slow push-in on character's face” or a lighting note like “Key light from the left.”
- Create a share link. Click the “Share” button at the top. You can generate a link that's password-protected for security.
- Review the feedback process. When someone opens your link, they can click on any frame and leave a comment. This is how you'll collect feedback from your team or clients.
And just like that, you have a complete storyboard. But those first AI images are just a rough draft. Now for the fun part: let's take creative control and make these visuals look exactly how you imagined.
Mastering Visuals: AI Image Generation and Character Consistency
Now that you have a basic storyboard, it's time to take creative control. This part of the tutorial is all about refining those initial AI images into exactly what you envision. From my experience, the features here are what separate a rough draft from a professional-grade visual plan.
Geek Out Corner: How Does the AI Work? The AI image generation in Boords is powered by advanced generative AI, likely a fine-tuned diffusion model. Think of it like this: the model has learned from billions of images and text descriptions. When you provide a prompt, it ‘diffuses' digital noise into a coherent image that matches your text, style, and character inputs. Understanding this helps you write better prompts, as you're essentially guiding a powerful but literal-minded visual artist.
Set a Consistent Aesthetic with Style Lock
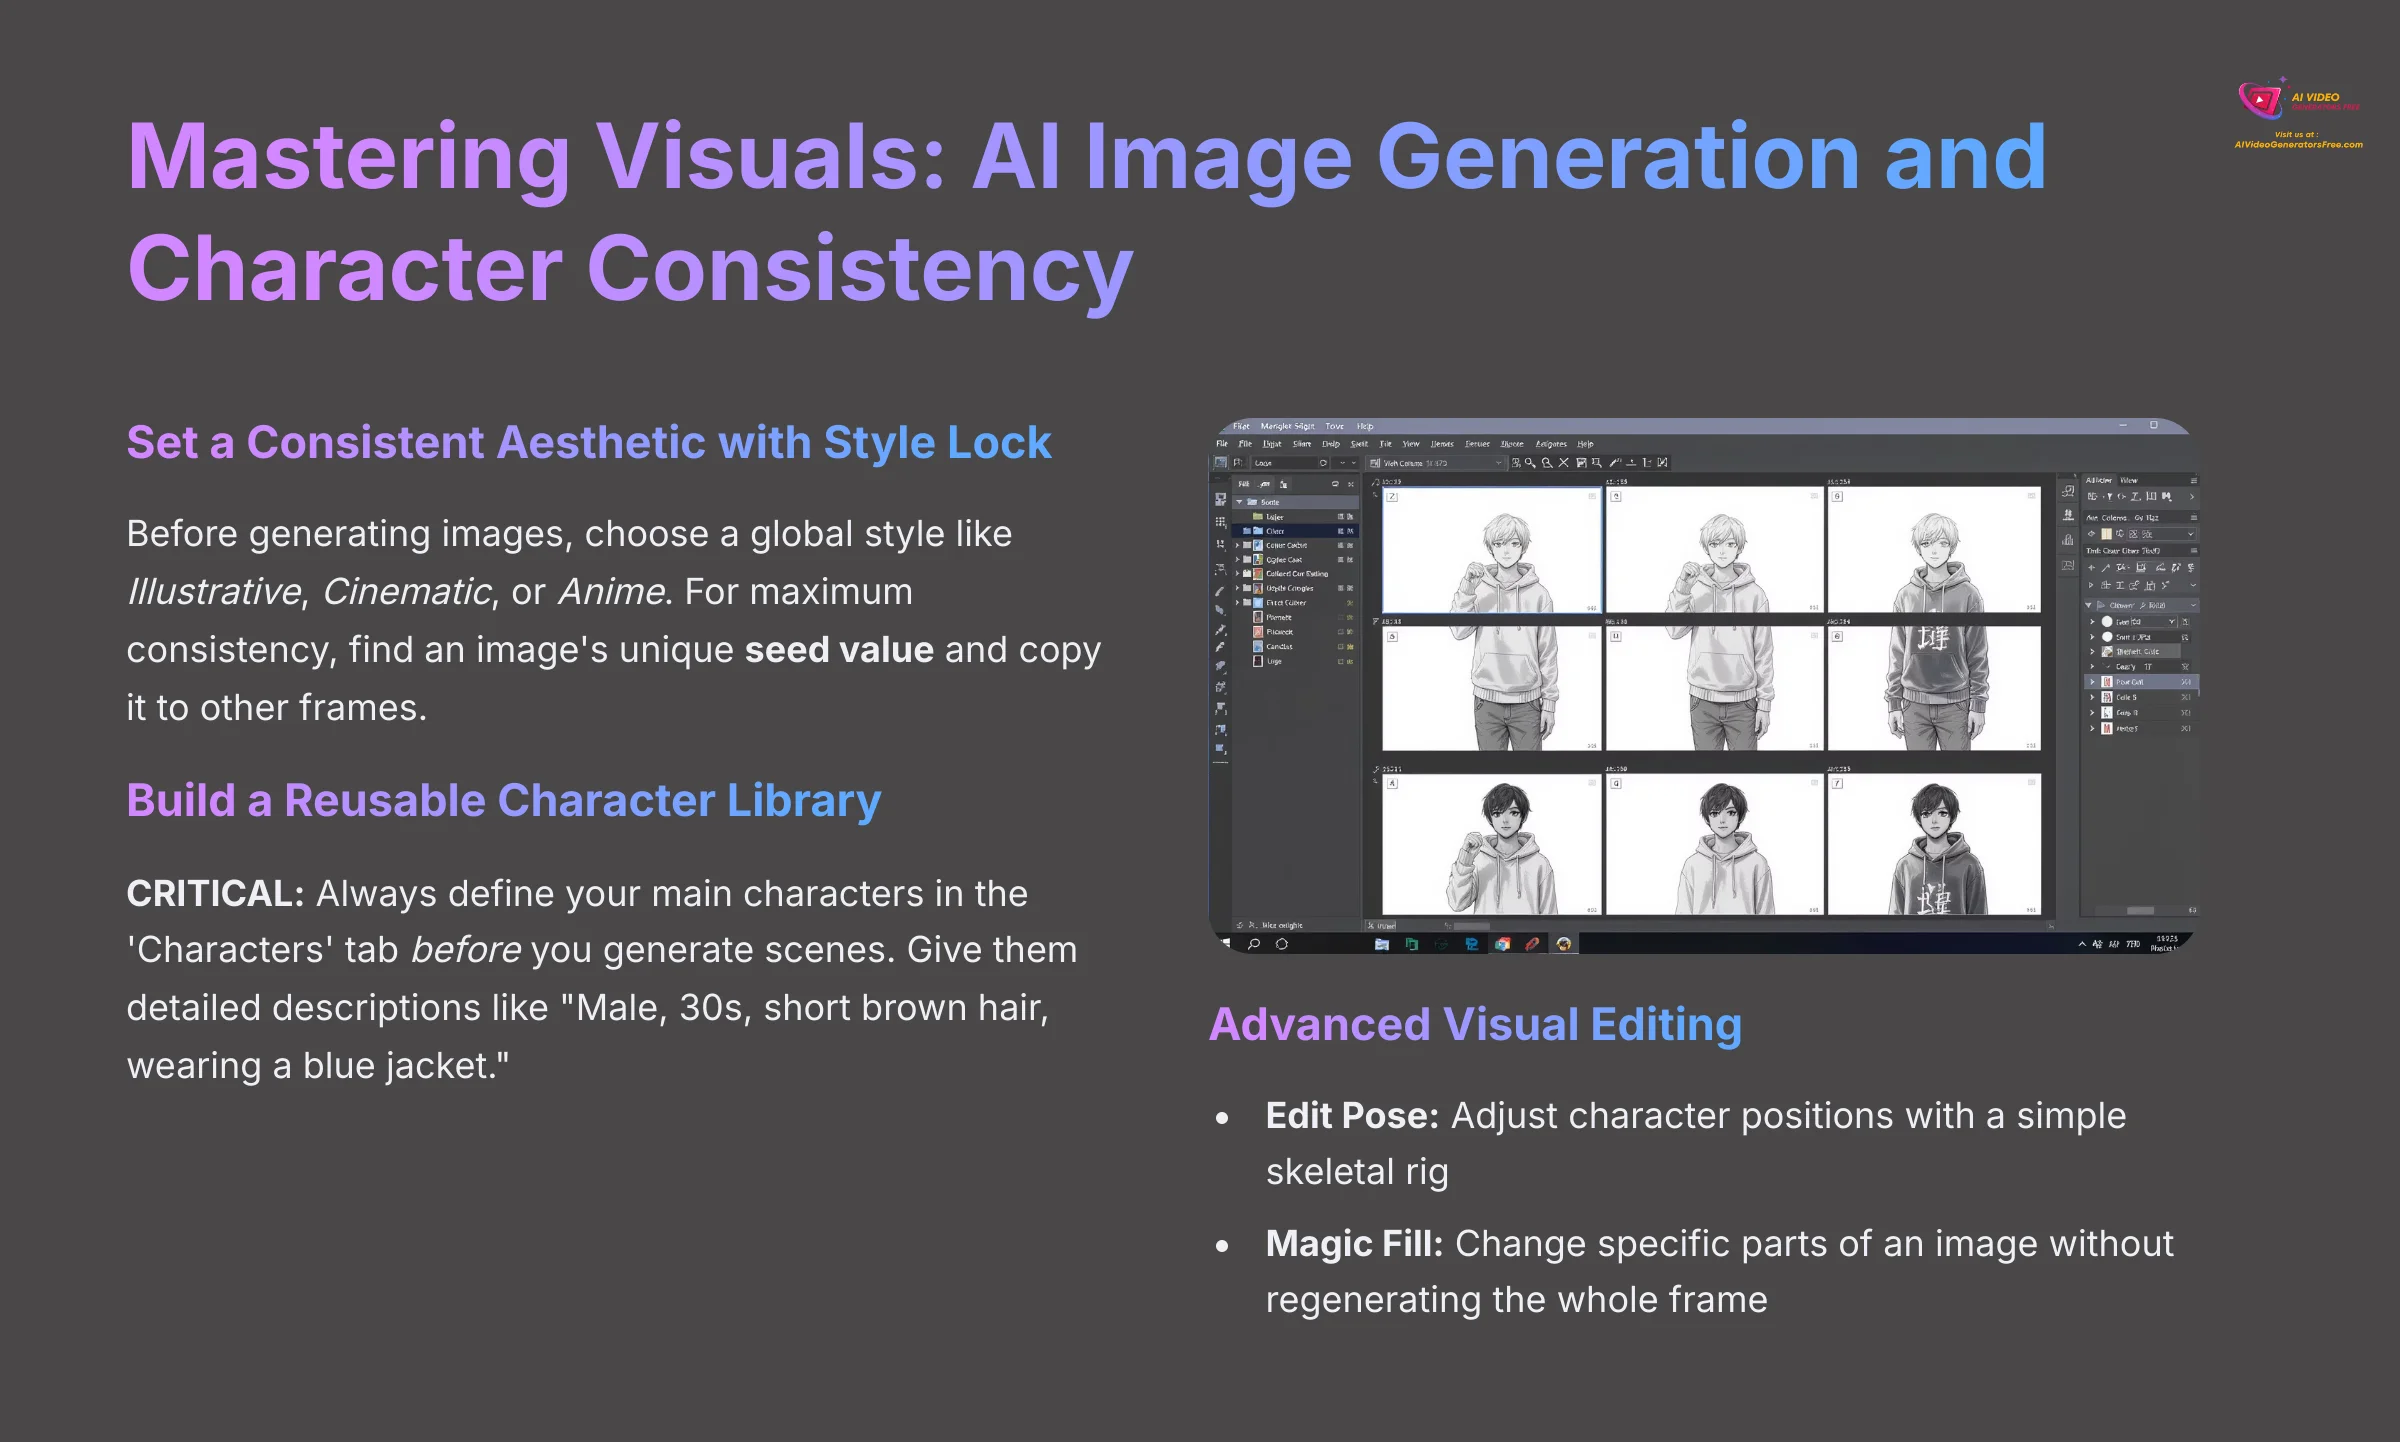
Consistency is what makes a storyboard feel like a single, cohesive story. The Style Lock feature is your best tool for this. Before you generate images, you can choose a global style, such as Illustrative, Cinematic, or Anime. Once you get an image you absolutely love, find its unique seed value in the frame options. Copy and paste that seed into other frames. This tells the AI to use a very similar starting point for composition, texture, and lighting, which is the secret to getting that professional, unified look.
Build a Reusable Character Library
CRITICAL: Always define your main characters in the ‘Characters' tab before you generate scenes. Trying to fix an inconsistent character later is ten times more work than setting them up correctly at the start. Navigate to the “Characters” tab and create a new character. Give them a name and a detailed description, like “Male, 30s, short brown hair, wearing a blue jacket.” Now, you can drag this character into any frame for perfect consistency every time.
Adjust Poses and Expressions Instantly
The ‘Edit Pose' feature is an absolute game-changer. I used to spend hours trying to prompt a character to slightly turn their head. Now it's a 5-second adjustment. After you drag your character into a frame, click Edit Pose. This brings up a simple skeletal rig over the character. You can drag the joints to change their arms, legs, and head position without having to write a new prompt and re-generate the entire image.
Make Surgical Edits with Magic Fill
What if you only want to change one small part of an image? That's where Magic Fill comes in. It's a tool that works in two simple steps. First, YOU select the ‘what' by scribbling over the area you want to change, like a character's shirt. Second, YOU tell the AI ‘how' to change it by writing a new, focused prompt, such as “a red flannel shirt.” Boords will then redraw only that selected area, leaving the rest of the image untouched.
Collaborative Workflows: Sharing, Feedback, and Approvals
Our team used to live in endless email chains with annotated screenshots. The first project we used Boords' built-in commenting and status tracking cut our revision time in half. This section covers how to manage team and client feedback loops efficiently and professionally.
Inviting Your Team and Defining Roles
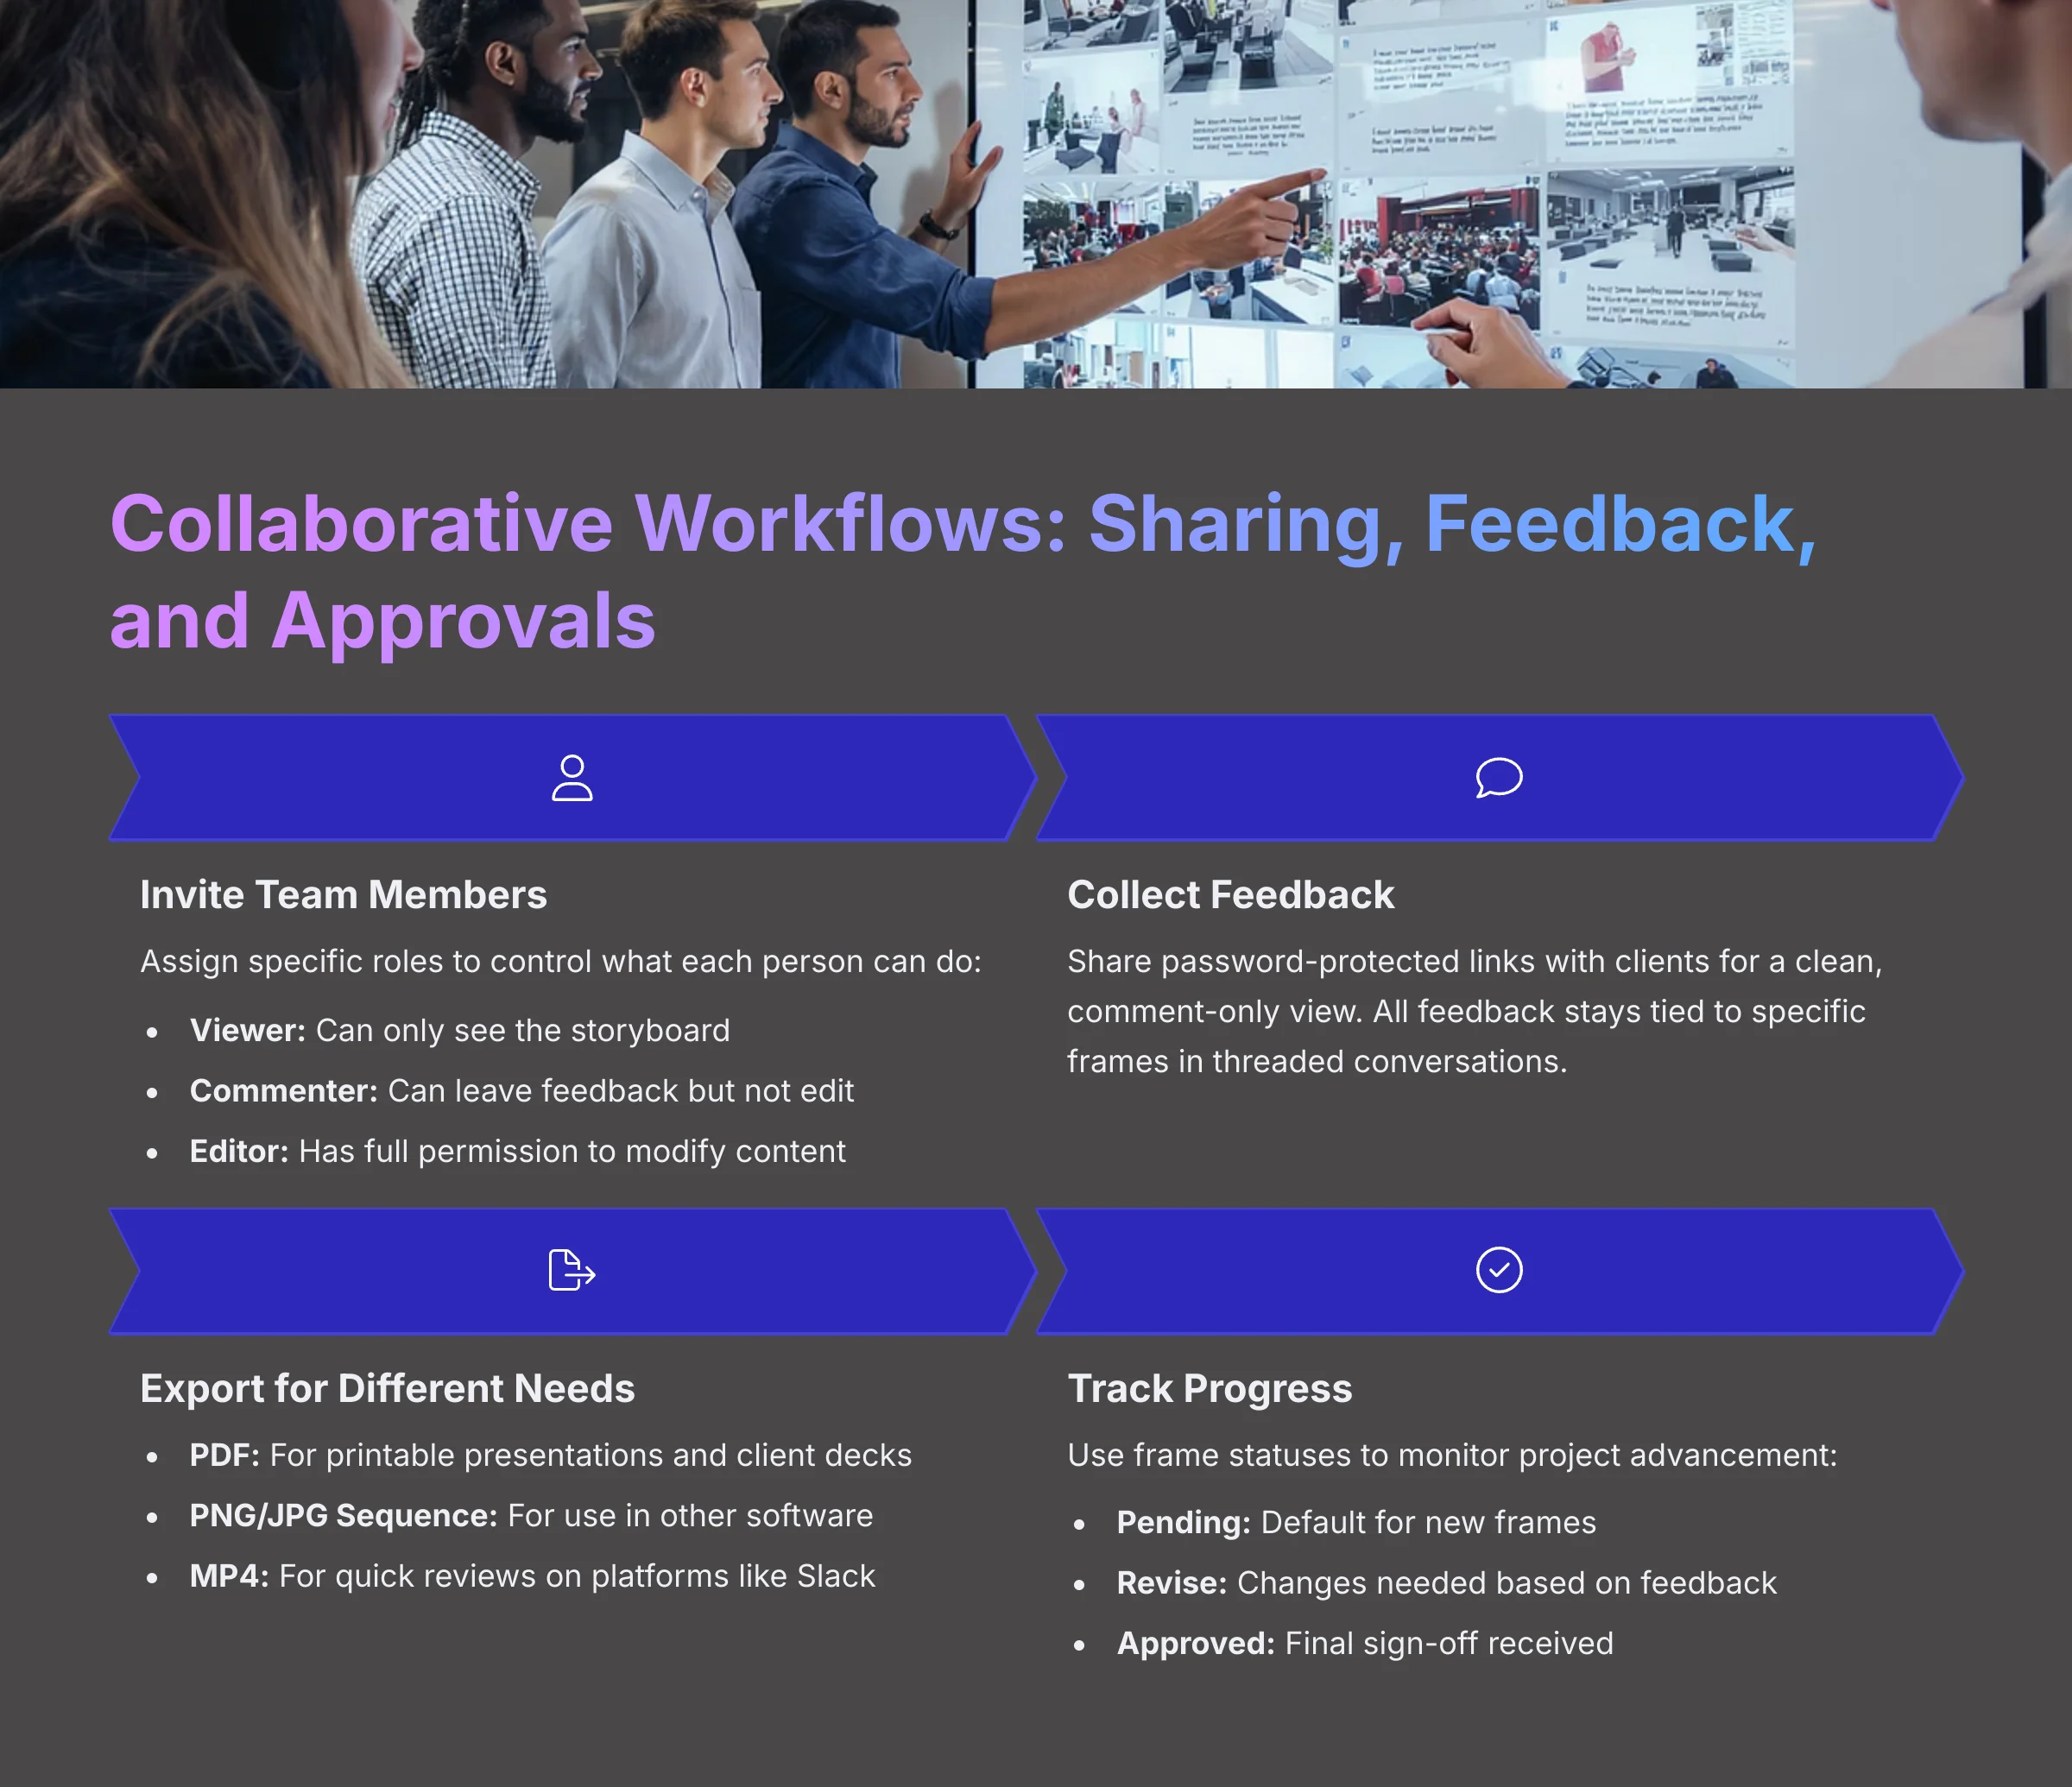
You can invite people to your project directly from the “Share” panel. When you invite a team member, you assign them a role, which controls what they can do. It's like giving out keys to a house: a Viewer can look through the windows, a Commenter can leave notes on the door, and an Editor has the master key to go inside and redecorate.
- Viewer: Can see the storyboard but cannot make changes or leave comments.
- Commenter: Can leave comments on frames but cannot edit the content.
- Editor: Has full permission to add, delete, and modify frames. Be very cautious when assigning this role.
Managing Client Feedback with Share Links
For formal client sign-offs, always use the password-protected share link. This gives them a clean, comment-only view of the storyboard. They can click on any frame to leave feedback in a threaded conversation. This process keeps all communication tied to specific frames and in one central place.
Sharing Beyond a Link: Exporting for Presentations and Archives
While shareable links are great for live collaboration, you often need physical files for presentations, client decks, or archives. Boords provides several key export formats:
- Export as PDF: This is the universal standard for sharing with clients who need a printable or offline version. You can customize the layout, choosing how many frames appear per page and which fields (like notes and dialogue) are included. This is perfect for creating a formal pitch deck storyboard.
- Export as PNG/JPG Sequence: For animators who need individual, high-quality frames to use in other software without the full XML workflow.
- Export Video (MP4): From the animatic tool, you can directly export an MP4 video file, complete with audio and subtitles, which is ideal for quick reviews or sharing on platforms like Slack.
Tracking Progress with Frame Statuses
To keep a project moving, you need to know where each frame stands. Boords uses simple statuses for this. Each frame can be marked as:
- Pending: The default status for new frames.
- Revise: This signals that changes are needed based on feedback.
- Approved: The frame is signed off and considered final.
Using these statuses creates a clear paper trail for approvals. It also gives everyone on the project a quick visual overview of what work is done and what still needs attention.
From Static to Dynamic: Creating a Timed Animatic with Audio
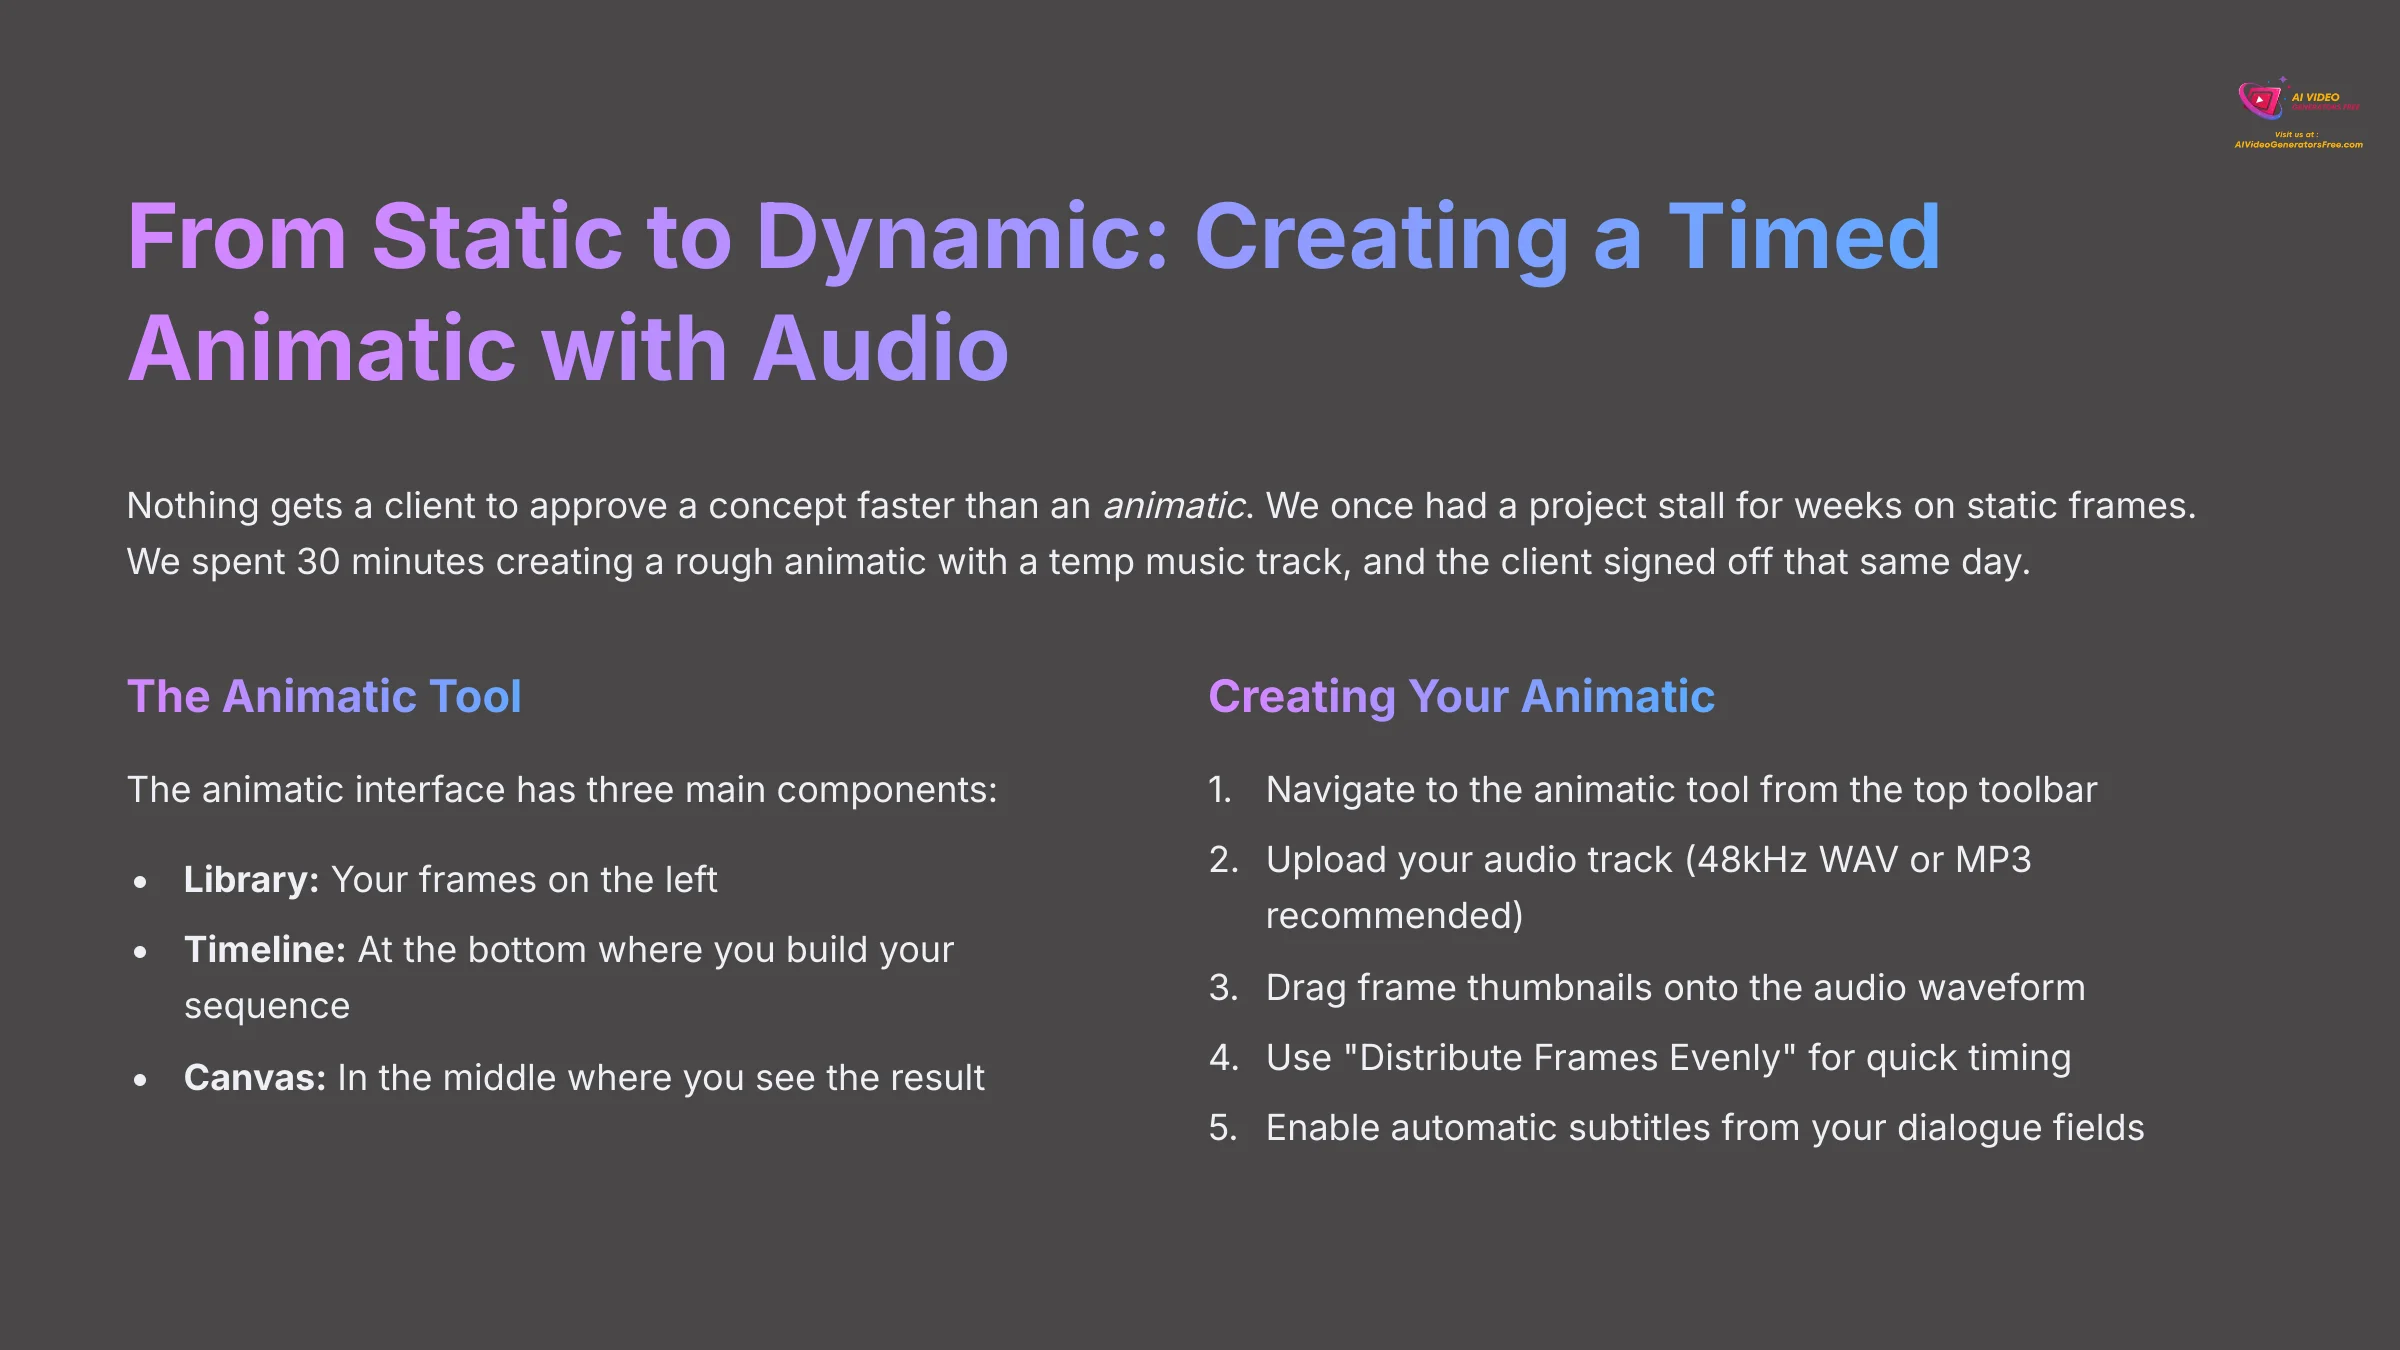
Nothing gets a client to approve a concept faster than an animatic. An animatic is a preliminary version of a film, produced by shooting successive sections of a storyboard and adding a soundtrack. We once had a project stall for weeks on static frames. We spent 30 minutes creating a rough animatic with a temp music track, and the client signed off that same day.
The animatic tool in Boords has three main parts: your Library of frames on the left, the Timeline at the bottom where you build your sequence, and the Canvas in the middle where you see the result.
- Navigate to the animatic tool. From the storyboard editor, click the “Animatic” button in the top toolbar to switch to the timeline view.
- Upload your audio track. You can upload a pre-recorded voiceover or music track. The recommended sample rate for animatics is typically 48kHz, but users should also ensure that their audio files are in a compatible format (e.g., WAV or MP3) and check playback settings to avoid sync issues.
- Time your frames. This is the creative part. Drag frame thumbnails from your library and drop them onto the audio waveform in the timeline. You can time cuts to specific words in a voiceover or beats in a music track.
- Use automatic timing. For a quick first pass, you can select multiple frames and use the “Distribute Frames Evenly” option to automatically set their duration.
- Enable and style subtitles. If your frames have dialogue, you can enable subtitles with a single click. The text is automatically generated from your dialogue fields and timed to appear when the corresponding frame is on screen.
Pro-Tip: When timing frames to a music track, use the ‘Loop Playback' feature on a small section of the timeline. This lets you perfect the rhythm of a few cuts without having to re-watch the entire animatic from the beginning.
CONTEXTUAL BRIDGE
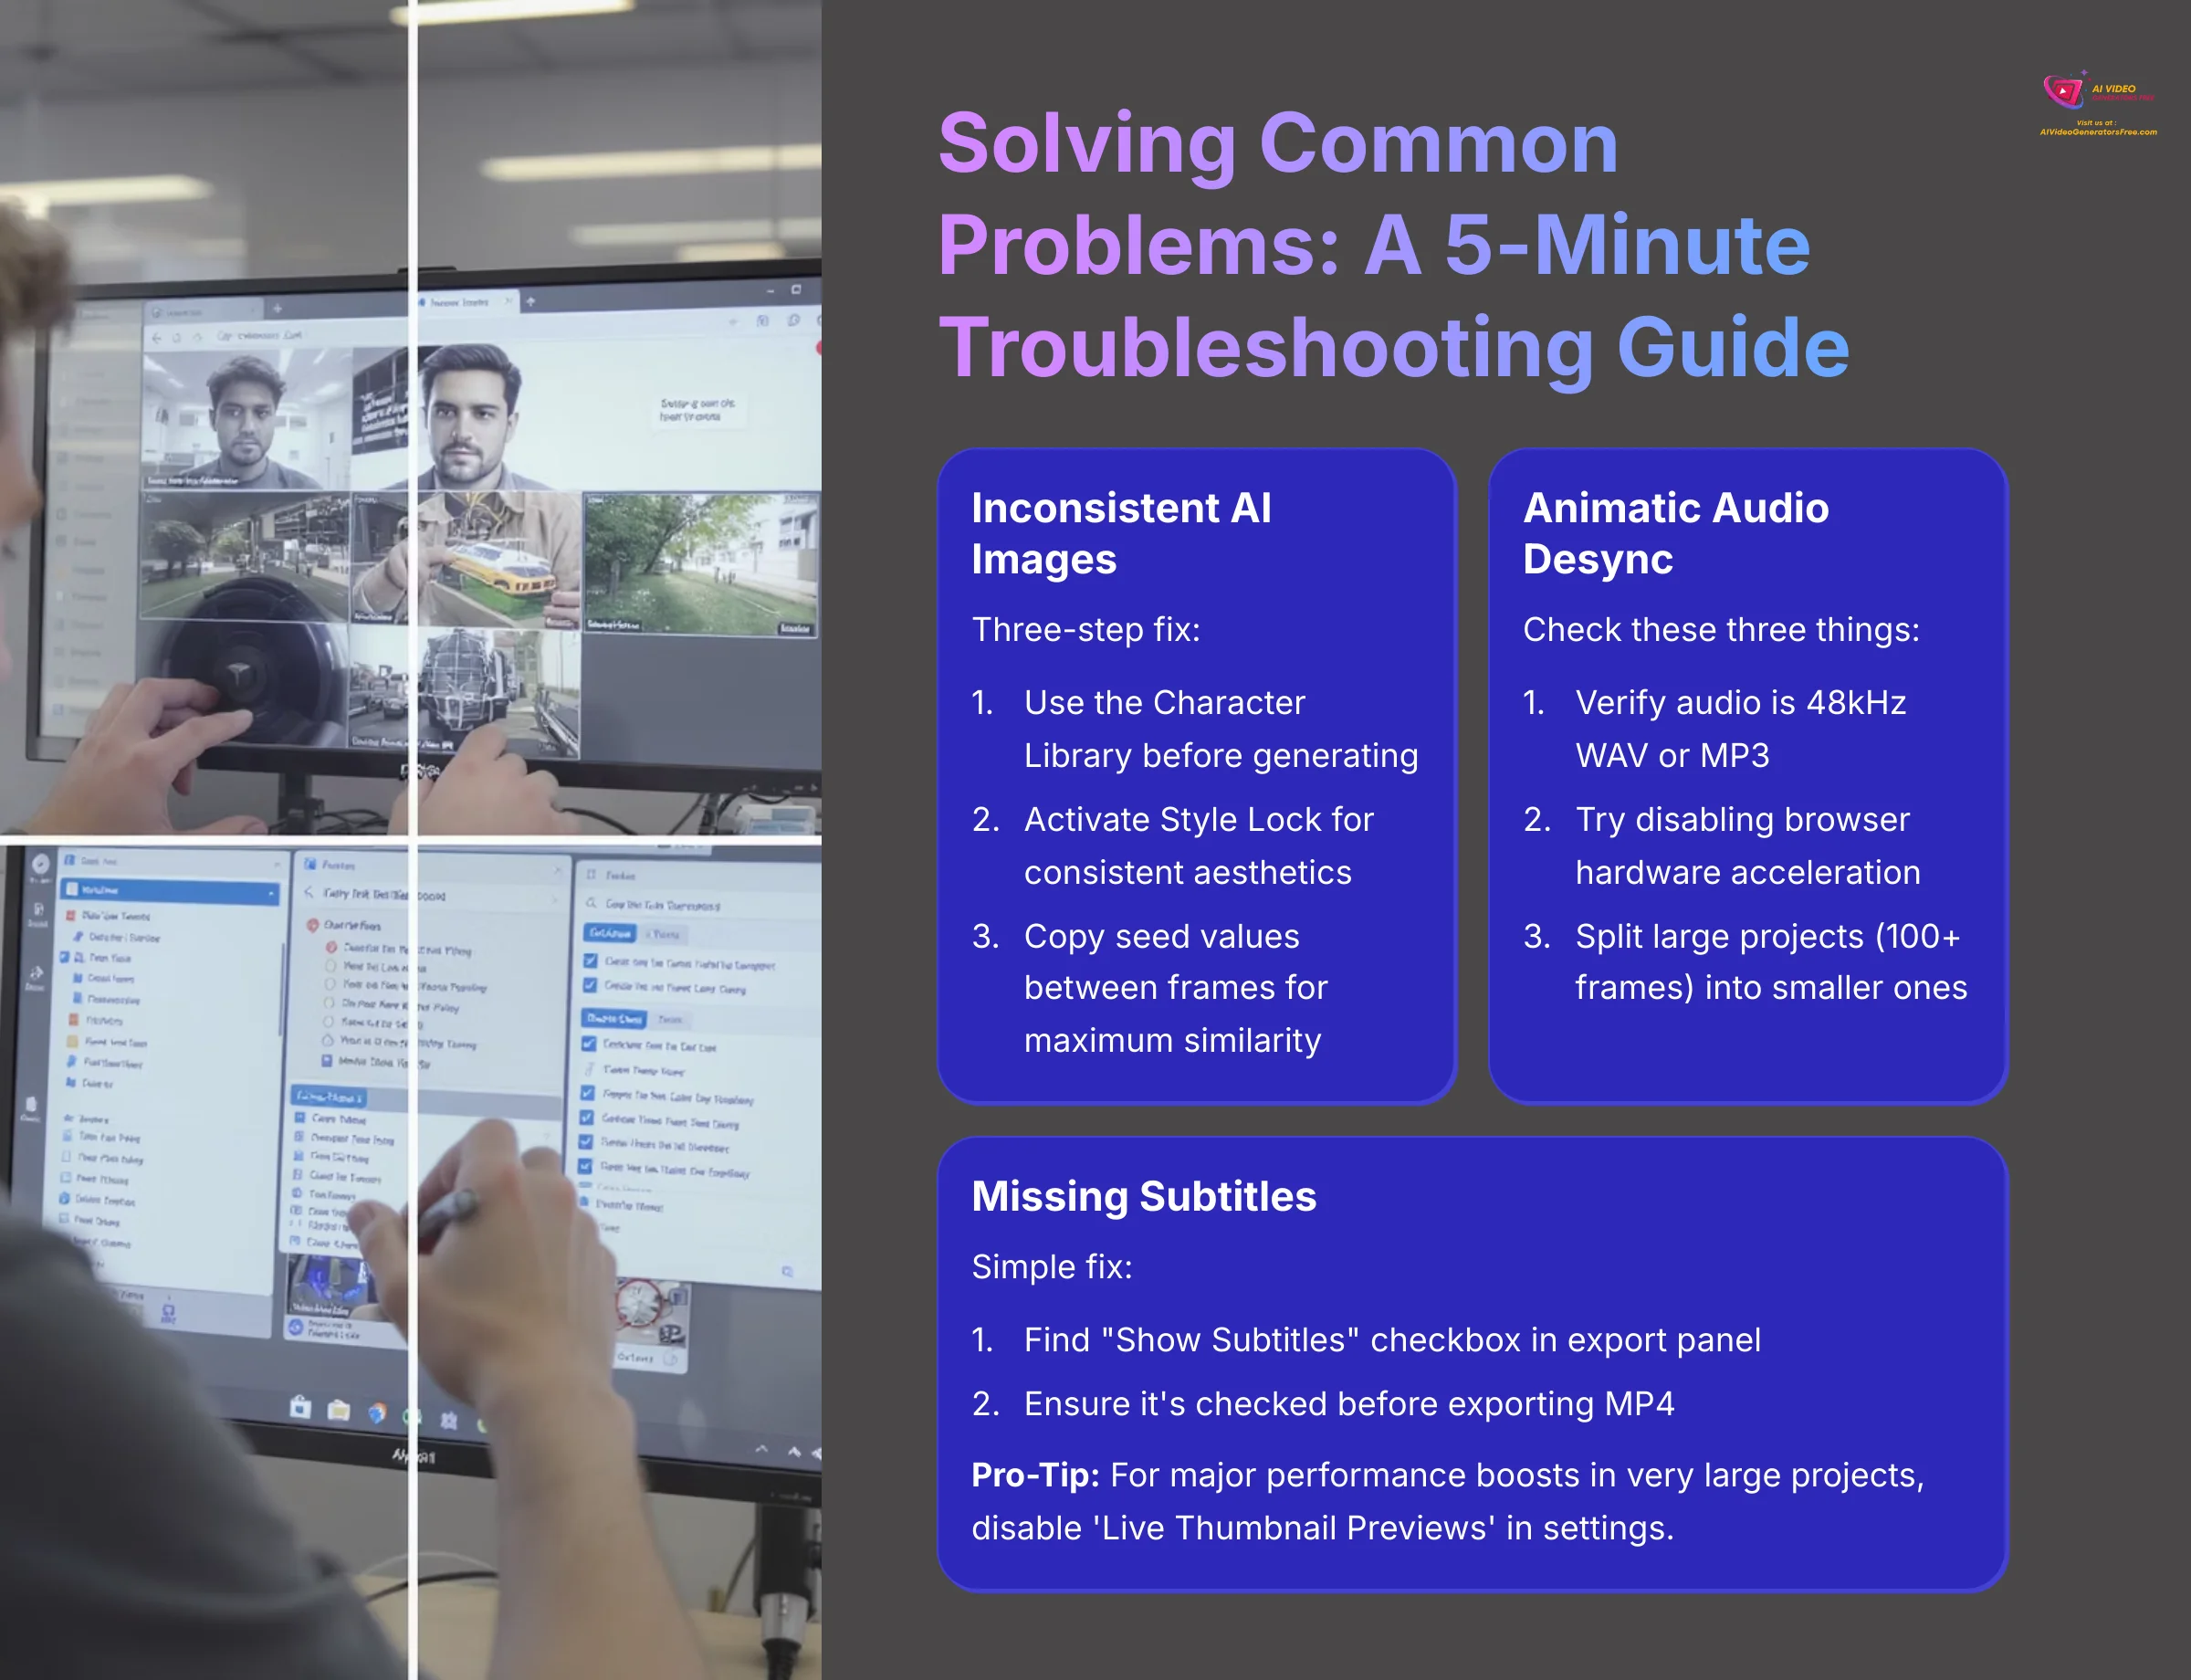
Solving Common Problems: A 5-Minute Troubleshooting Guide (2025)
Every tool has its quirks. This section is a quick guide to solving the most frequent issues you might face in Boords. It acts as a summary of the most important warnings from previous sections, framed as actionable solutions.
Issue: Inconsistent AI Images
Do your characters look like complete strangers in every frame? It's a common AI problem, and it's incredibly frustrating. To fix inconsistent images, you must use the Character Library, Style Lock, and seed values. Here's the three-step fix I use on every project:
- Use the Character Library: Make sure your main characters are defined and saved in the Character Library before you start.
- Activate Style Lock: Set a global project style to maintain a consistent aesthetic and color palette.
- Copy the Seed Value: For maximum consistency, find the seed value of an image you like. Copy and paste it into other frames to get a similar result.
Issue: Animatic Audio Desync
When your audio and video are out of sync in the animatic, check these three things.
- Verify Sample Rate and Format: Check your source audio file and make sure it's encoded at 48kHz and in a compatible format (WAV or MP3).
- Check Browser Settings: Sometimes, a browser's hardware acceleration can cause playback issues. Try disabling it in your browser's settings.
- Split Large Projects: If your storyboard has over 100 frames, it can become slow. Consider splitting it into smaller, more manageable projects.
Issue: Missing Subtitles
If you have dialogue in your frames but subtitles aren't appearing in your exported video, there's a simple fix.
- Find the Export Setting: In the Animatic export panel, there's a checkbox labeled “Show Subtitles.”
- Enable Subtitles: Make sure this box is checked before you export your MP4 file.
Pro-Tip: For major performance boosts in very large projects (100+ frames), go to your Boords settings and disable ‘Live Thumbnail Previews.' The editor will feel much snappier.
SUPPLEMENTAL CONTENT
Advanced Workflow: Integrating Boords with Your Animation Pipeline
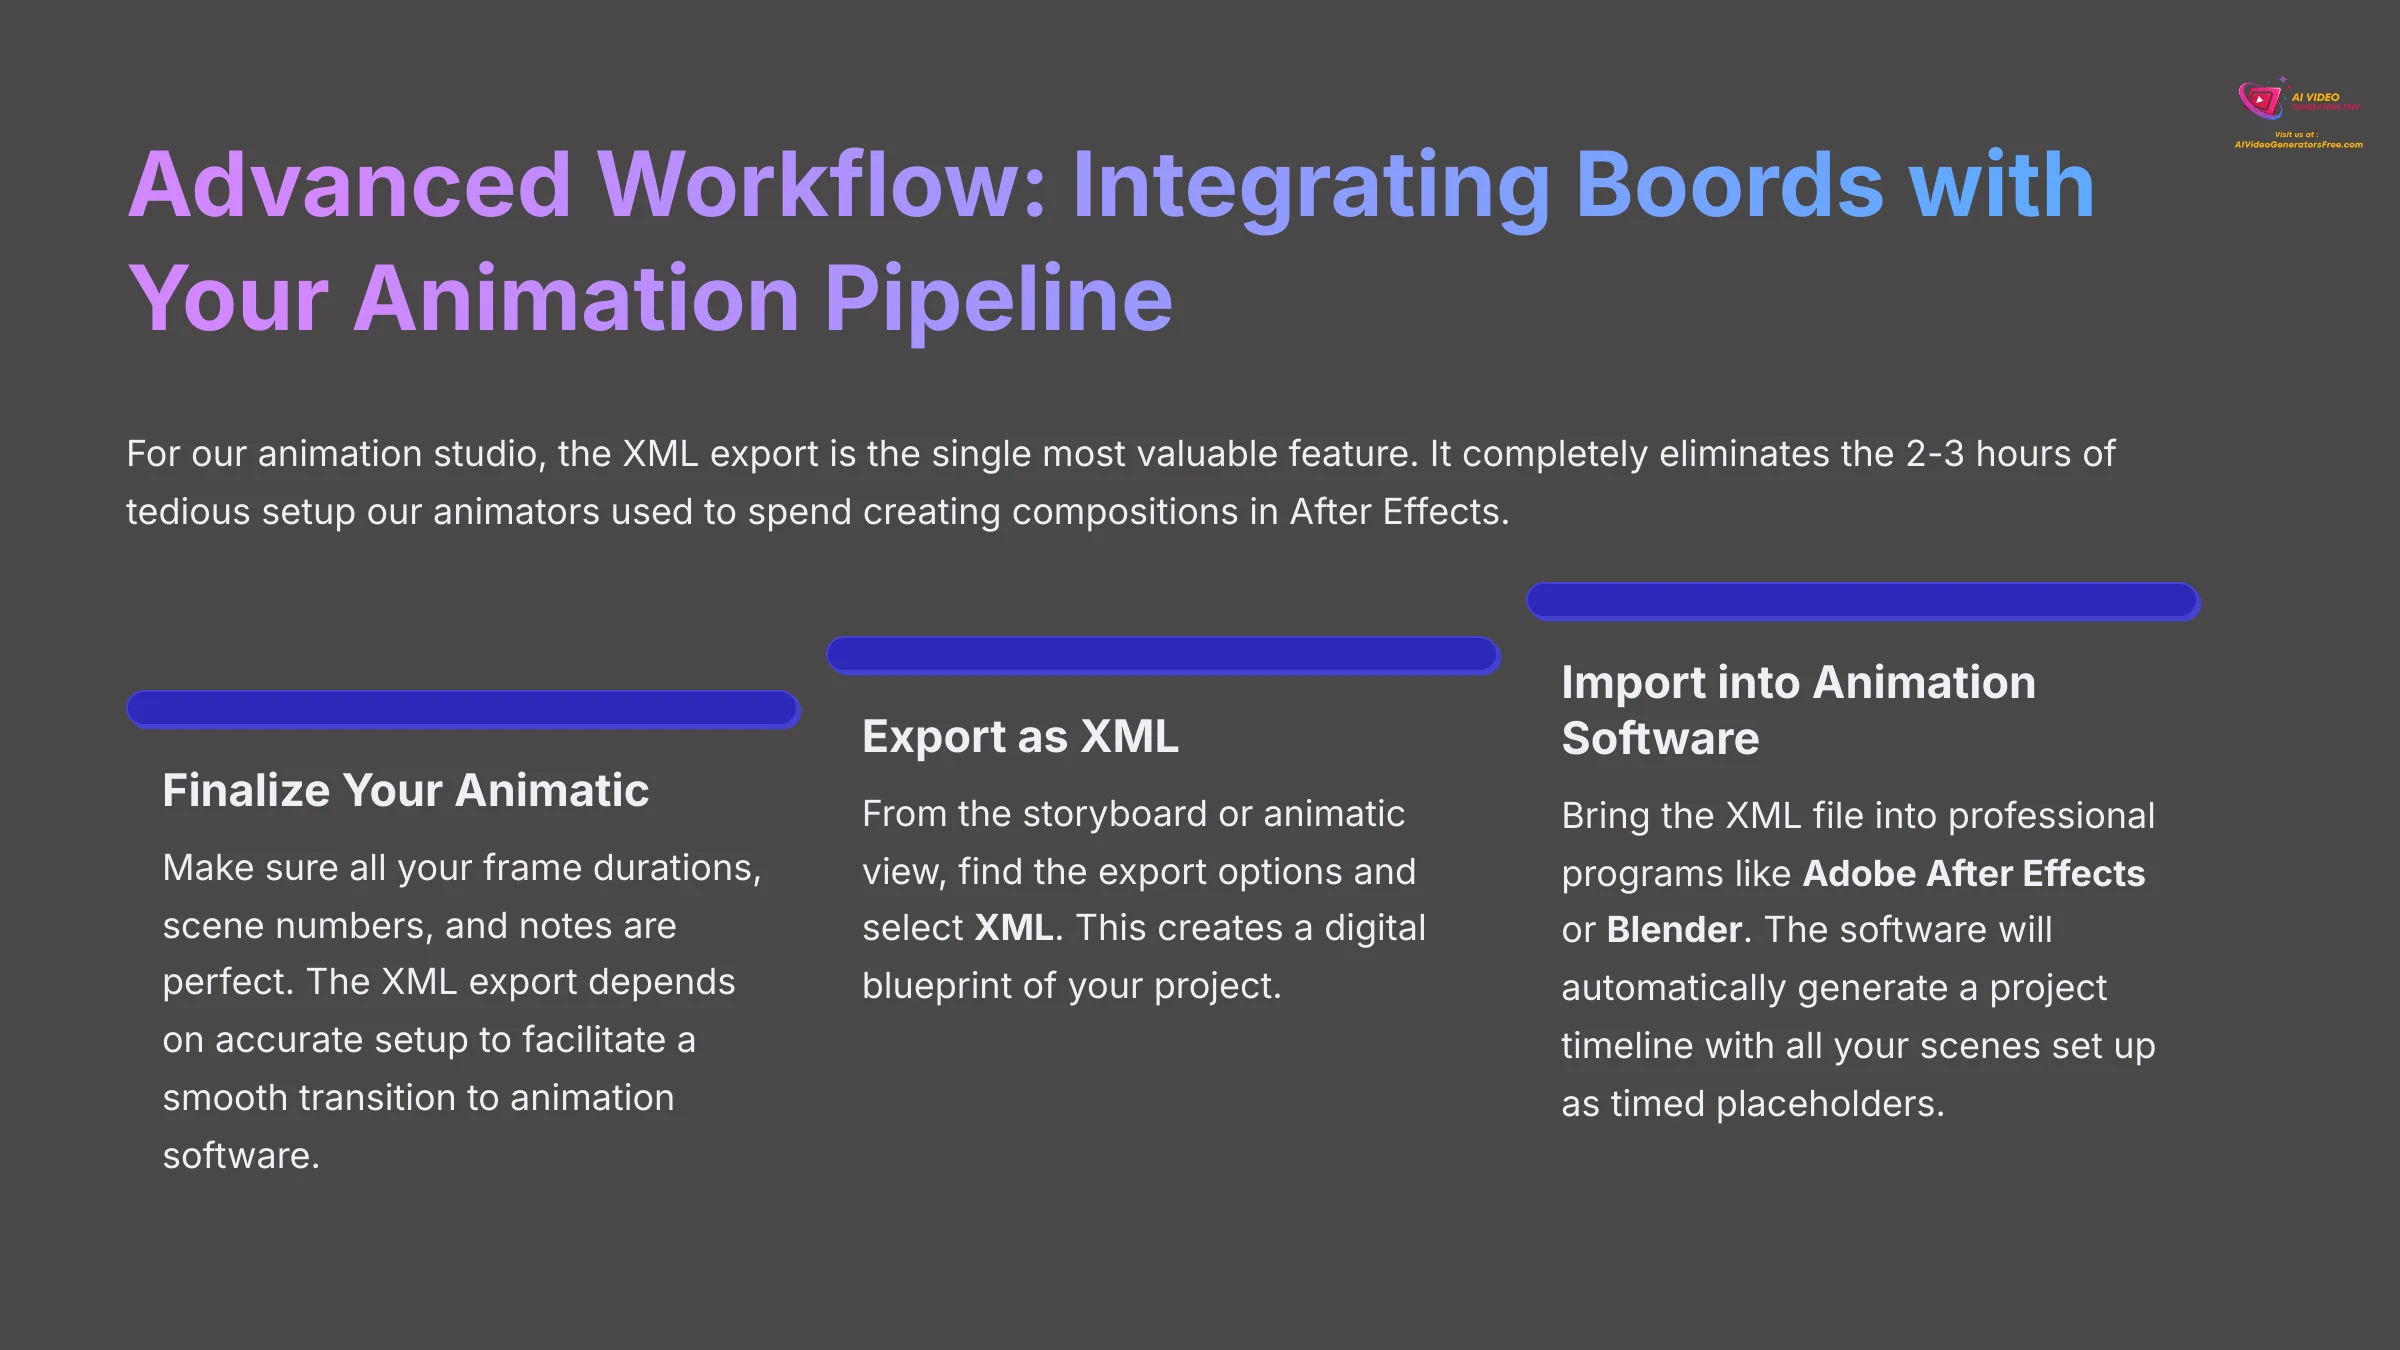
For our animation studio, the XML export is the single most valuable feature. It completely eliminates the 2-3 hours of tedious setup our animators used to spend creating compositions in After Effects. This section shows how to use Boords not just as a creation tool, but as the central hub of a professional production pipeline.
The key to this workflow is a file type called XML. Think of the XML file as a digital blueprint. It doesn't contain the images themselves. Instead, it tells other software exactly where each shot should go, how long it should last, and what dialogue or notes go with it.
Here's how you export the XML from Boords and use it.
- First, finalize your animatic in Boords. Make sure all your frame durations, scene numbers, and notes are perfect. The XML export feature allows for accurate project setup in animation software, but it's essential to ensure that all frame durations, scene numbers, and notes are correctly set up to facilitate a smooth transition to animation software.
- Next, from the storyboard or animatic view, find the export options and select XML.
- Finally, you import this XML file into a professional animation program like Adobe After Effects or Blender. The software will read the file and automatically generate a project timeline with all your scenes set up as timed placeholders. This prepares your project for the animation phase instantly.
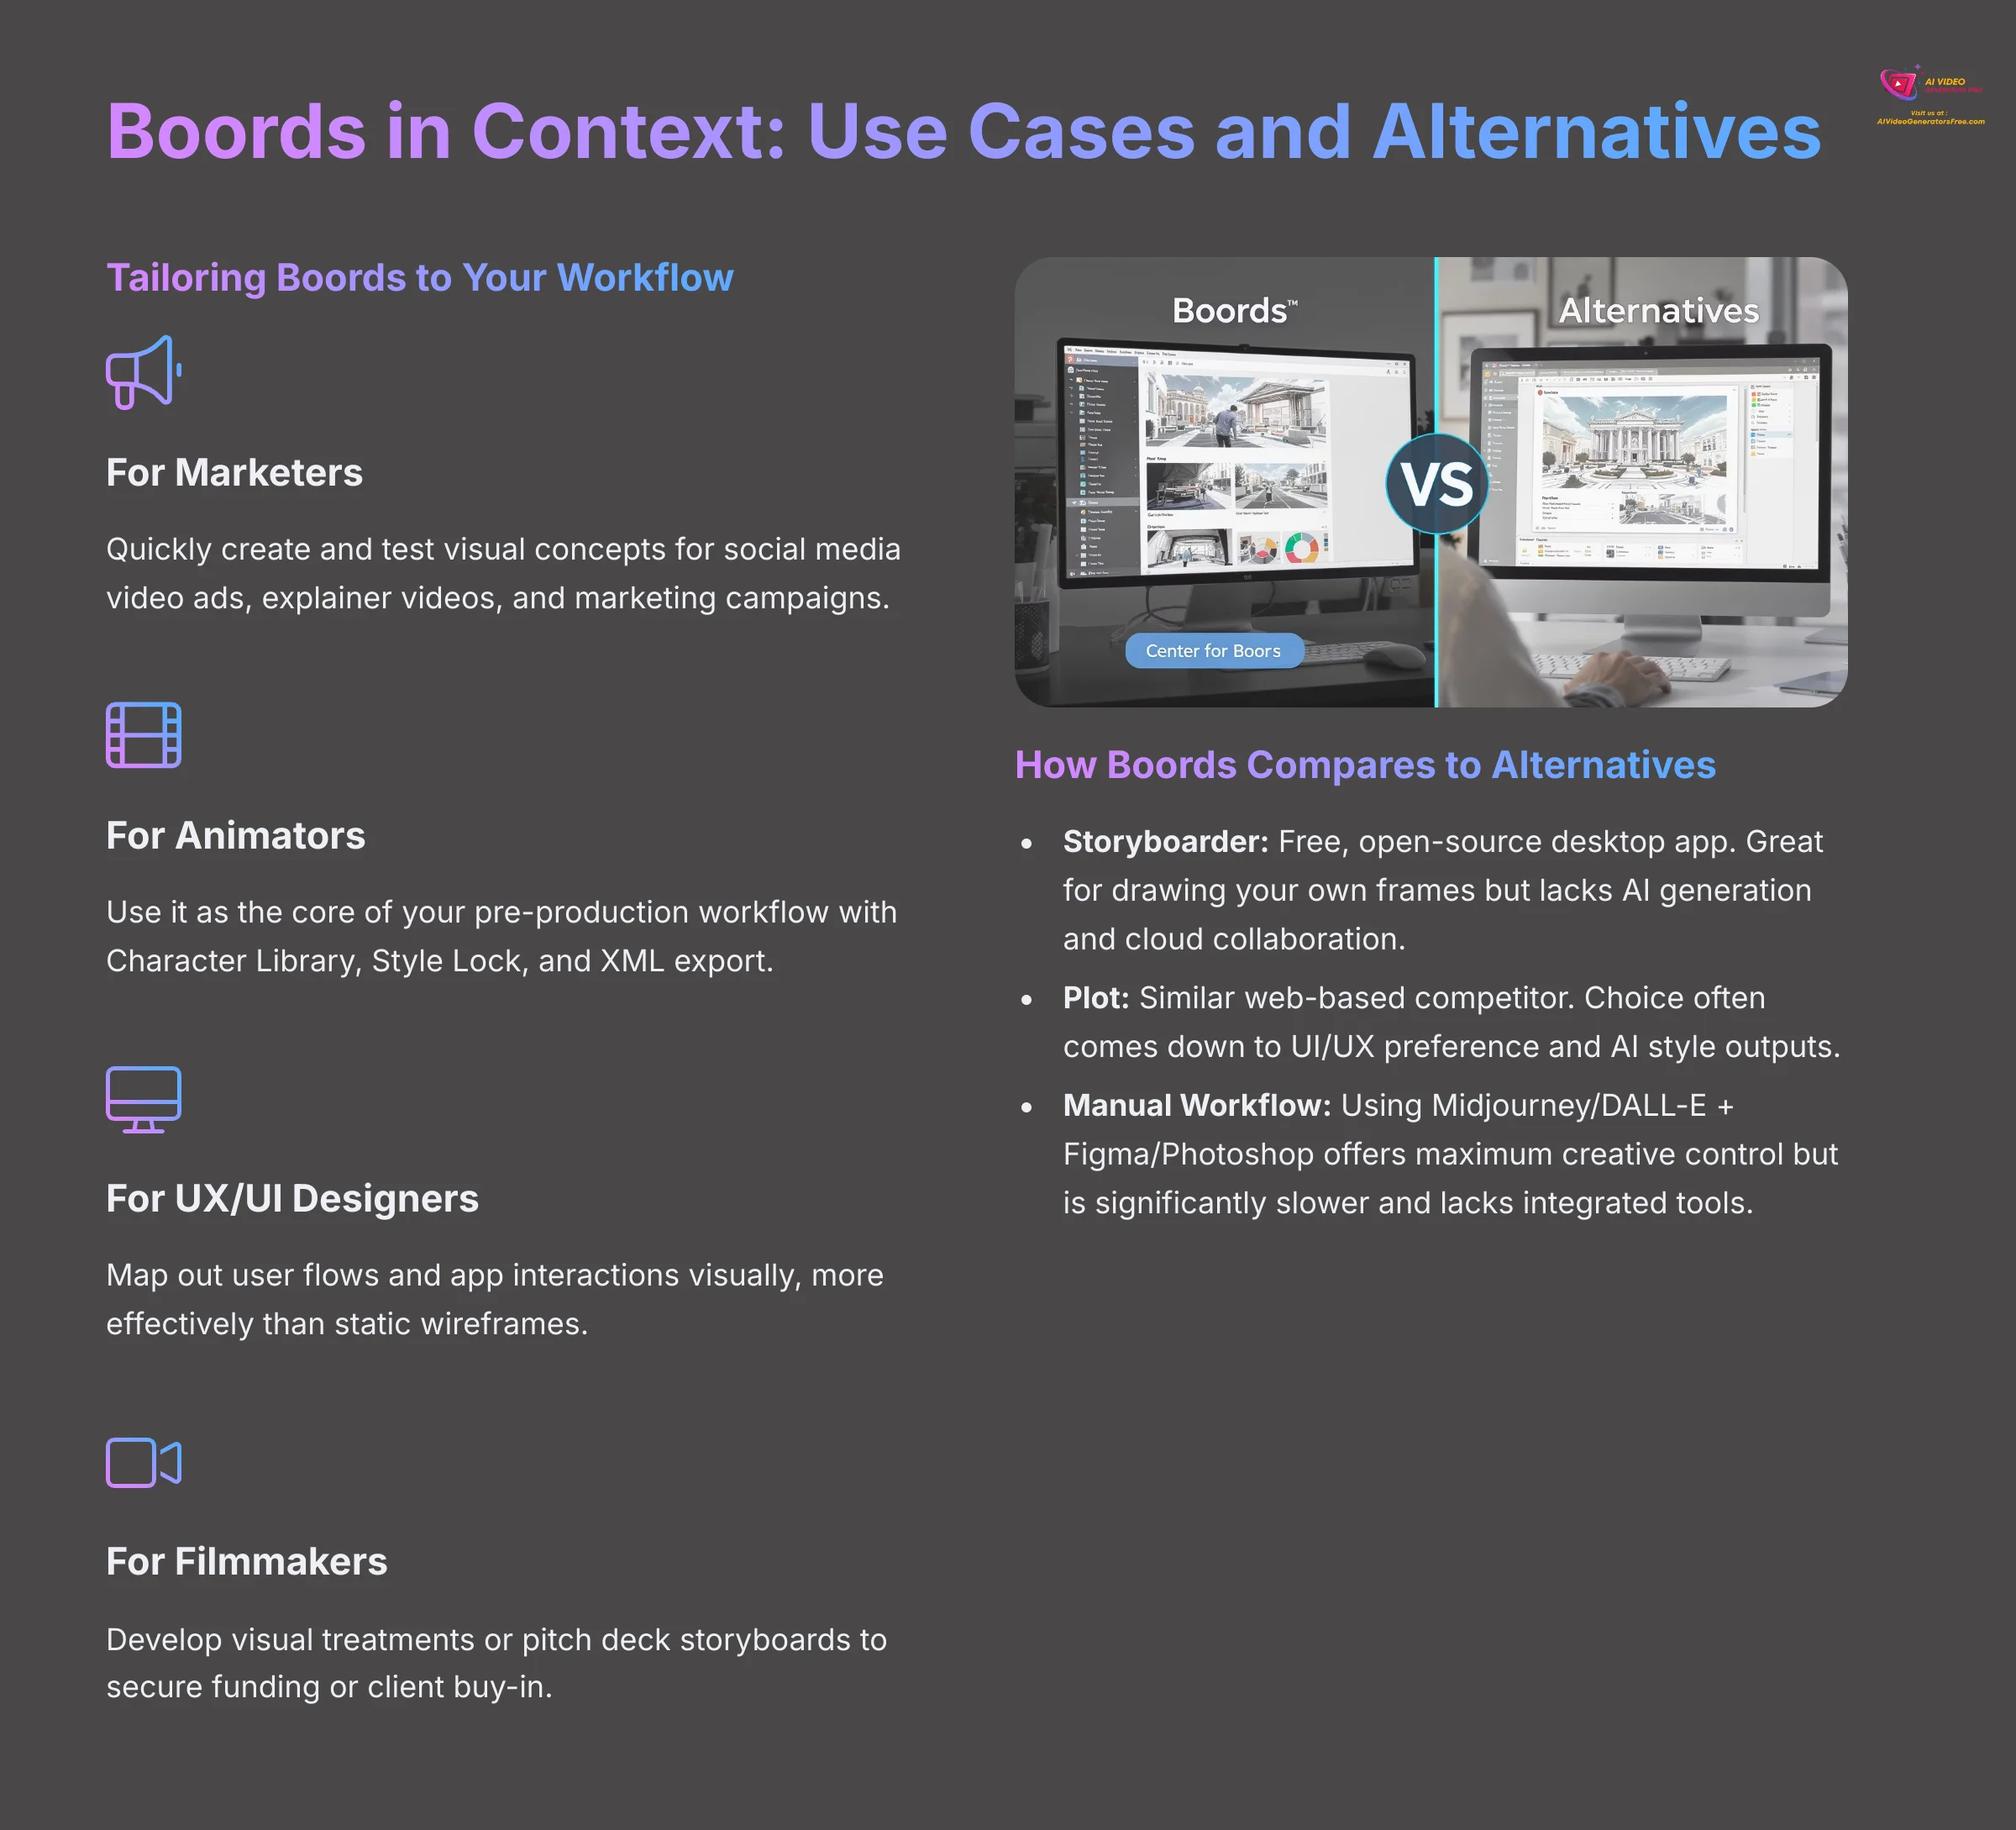
Boords in Context: Use Cases and Alternatives
To truly master a tool, you need to understand where it fits in the professional landscape. This section explores who Boords is best for and how it stacks up against other video storyboard software. By identifying the specific Boords Usecase for various professionals, we can highlight its strengths tailored to filmmakers, animators, and marketers alike. This understanding allows users to leverage its unique features effectively and maximize productivity in their creative processes. Ultimately, Boords stands out by simplifying collaboration, making it an essential tool in any video production pipeline.
Tailoring Boords to Your Workflow: Common Use Cases
While Boords is versatile, it excels in specific professional scenarios:
- For Marketers: Quickly create and test visual concepts for social media video ads, explainer videos, and marketing campaigns. The rapid iteration and easy feedback loop are ideal for fast-paced agency environments.
- For Animators and Production Studios: Use it as the core of your pre-production workflow. The combination of the Character Library, Style Lock, and XML export directly into After Effects makes it a powerful hub for planning animated shorts or series.
- For UX/UI Designers: Map out user flows and app interactions visually. A storyboard can communicate a user's journey far more effectively than a static wireframe, and Boords makes this process simple.
- For Filmmakers and Producers: Develop a visual treatment or pitch deck storyboard to secure funding or client buy-in. A timed animatic from Boords is far more compelling than a static script.
How Boords Compares to Alternatives
Boords is a leader in integrated AI storyboarding, but it's not the only option. Here's a quick look at some Boords alternatives:
| Feature | Boords | Storyboarder | Plot | Manual Workflow |
|---|---|---|---|---|
| Core Strength | All-in-one AI generation, collaboration, and animatics. | Free, open-source, and great for hand-drawing. | Web-based with strong collaborative features. | Maximum creative control and flexibility. |
| AI Generation | Integrated and advanced (Style Lock, Characters). | None. | Yes, with similar features to Boords. | Requires separate tools (Midjourney/DALL-E). |
| Collaboration | Seamless, real-time, cloud-based. | Limited; file-based. | Excellent, real-time, cloud-based. | Manual; requires tools like Figma/Photoshop. |
| Best For | Teams wanting an efficient, integrated workflow. | Artists who prefer to draw their own frames. | Teams prioritizing simple UI and web-based access. | Artists who need ultimate control over every detail. |
Ultimately, Boords' key advantage is its all-in-one platform that combines AI generation, collaboration, and animatics, solving the “too many tools” problem for creative teams.
Conclusion: Recap and Your Next Steps in Storyboarding Mastery
You've done it! You just went through the entire professional Boords workflow. You took a simple script and turned it into a real storyboard, customized it with fantastic AI tools, built a timed animatic, and managed feedback like a pro. This is the foundation for mastering modern pre-production.
Completing this tutorial is the beginning of your journey to mastering storyboarding. You have the foundational skills to streamline your creative process. To continue learning, I recommend these official resources:
- The Boords Help Center for detailed technical guides.
- The official Boords blog for creative inspiration and case studies.
- The Boords Discord community to connect with other creators.
You have the tools and knowledge to bring your ideas to life faster than ever before. For more guides, please check out our other articles on Boords Tutorial: How to Create and Share a Storyboard with Your Team.


Leave a Reply