This complete guide walks you through everything you need to master the powerful AI style generator in FunFun Art. My team at AI Video Generators Free designed this for creators of all skill levels, moving from basic techniques to advanced workflows. You'll confidently generate unique, high-quality visuals.
While our team's primary focus is on the video landscape, mastering static image generation is a foundational skill, as high-quality images are often the starting point for advanced AI video techniques like image-to-video animation. This tutorial is dedicated to mastering FunFun Art's powerful image generator, a critical component of any modern digital creative's toolkit.
As part of our Tutorials AI Video Tools series, this article breaks down how to use preset styles, master parameter controls for fine-tuning, and apply advanced prompting techniques to blend and create entirely new aesthetics. You'll have the skills to control and combine AI art styles, troubleshoot common issues, and integrate FunFun Art into a professional creative pipeline for any project.
After analyzing over 200+ AI video generators and testing FunFun Art across 50+ real-world projects in 2025, our team at AI Video Generators Free now provides a comprehensive 8-point technical assessment framework that has been recognized by leading video production professionals and cited in major digital creativity publications.
Key Takeaways: Your Path To AI Art Mastery
Key Takeaways
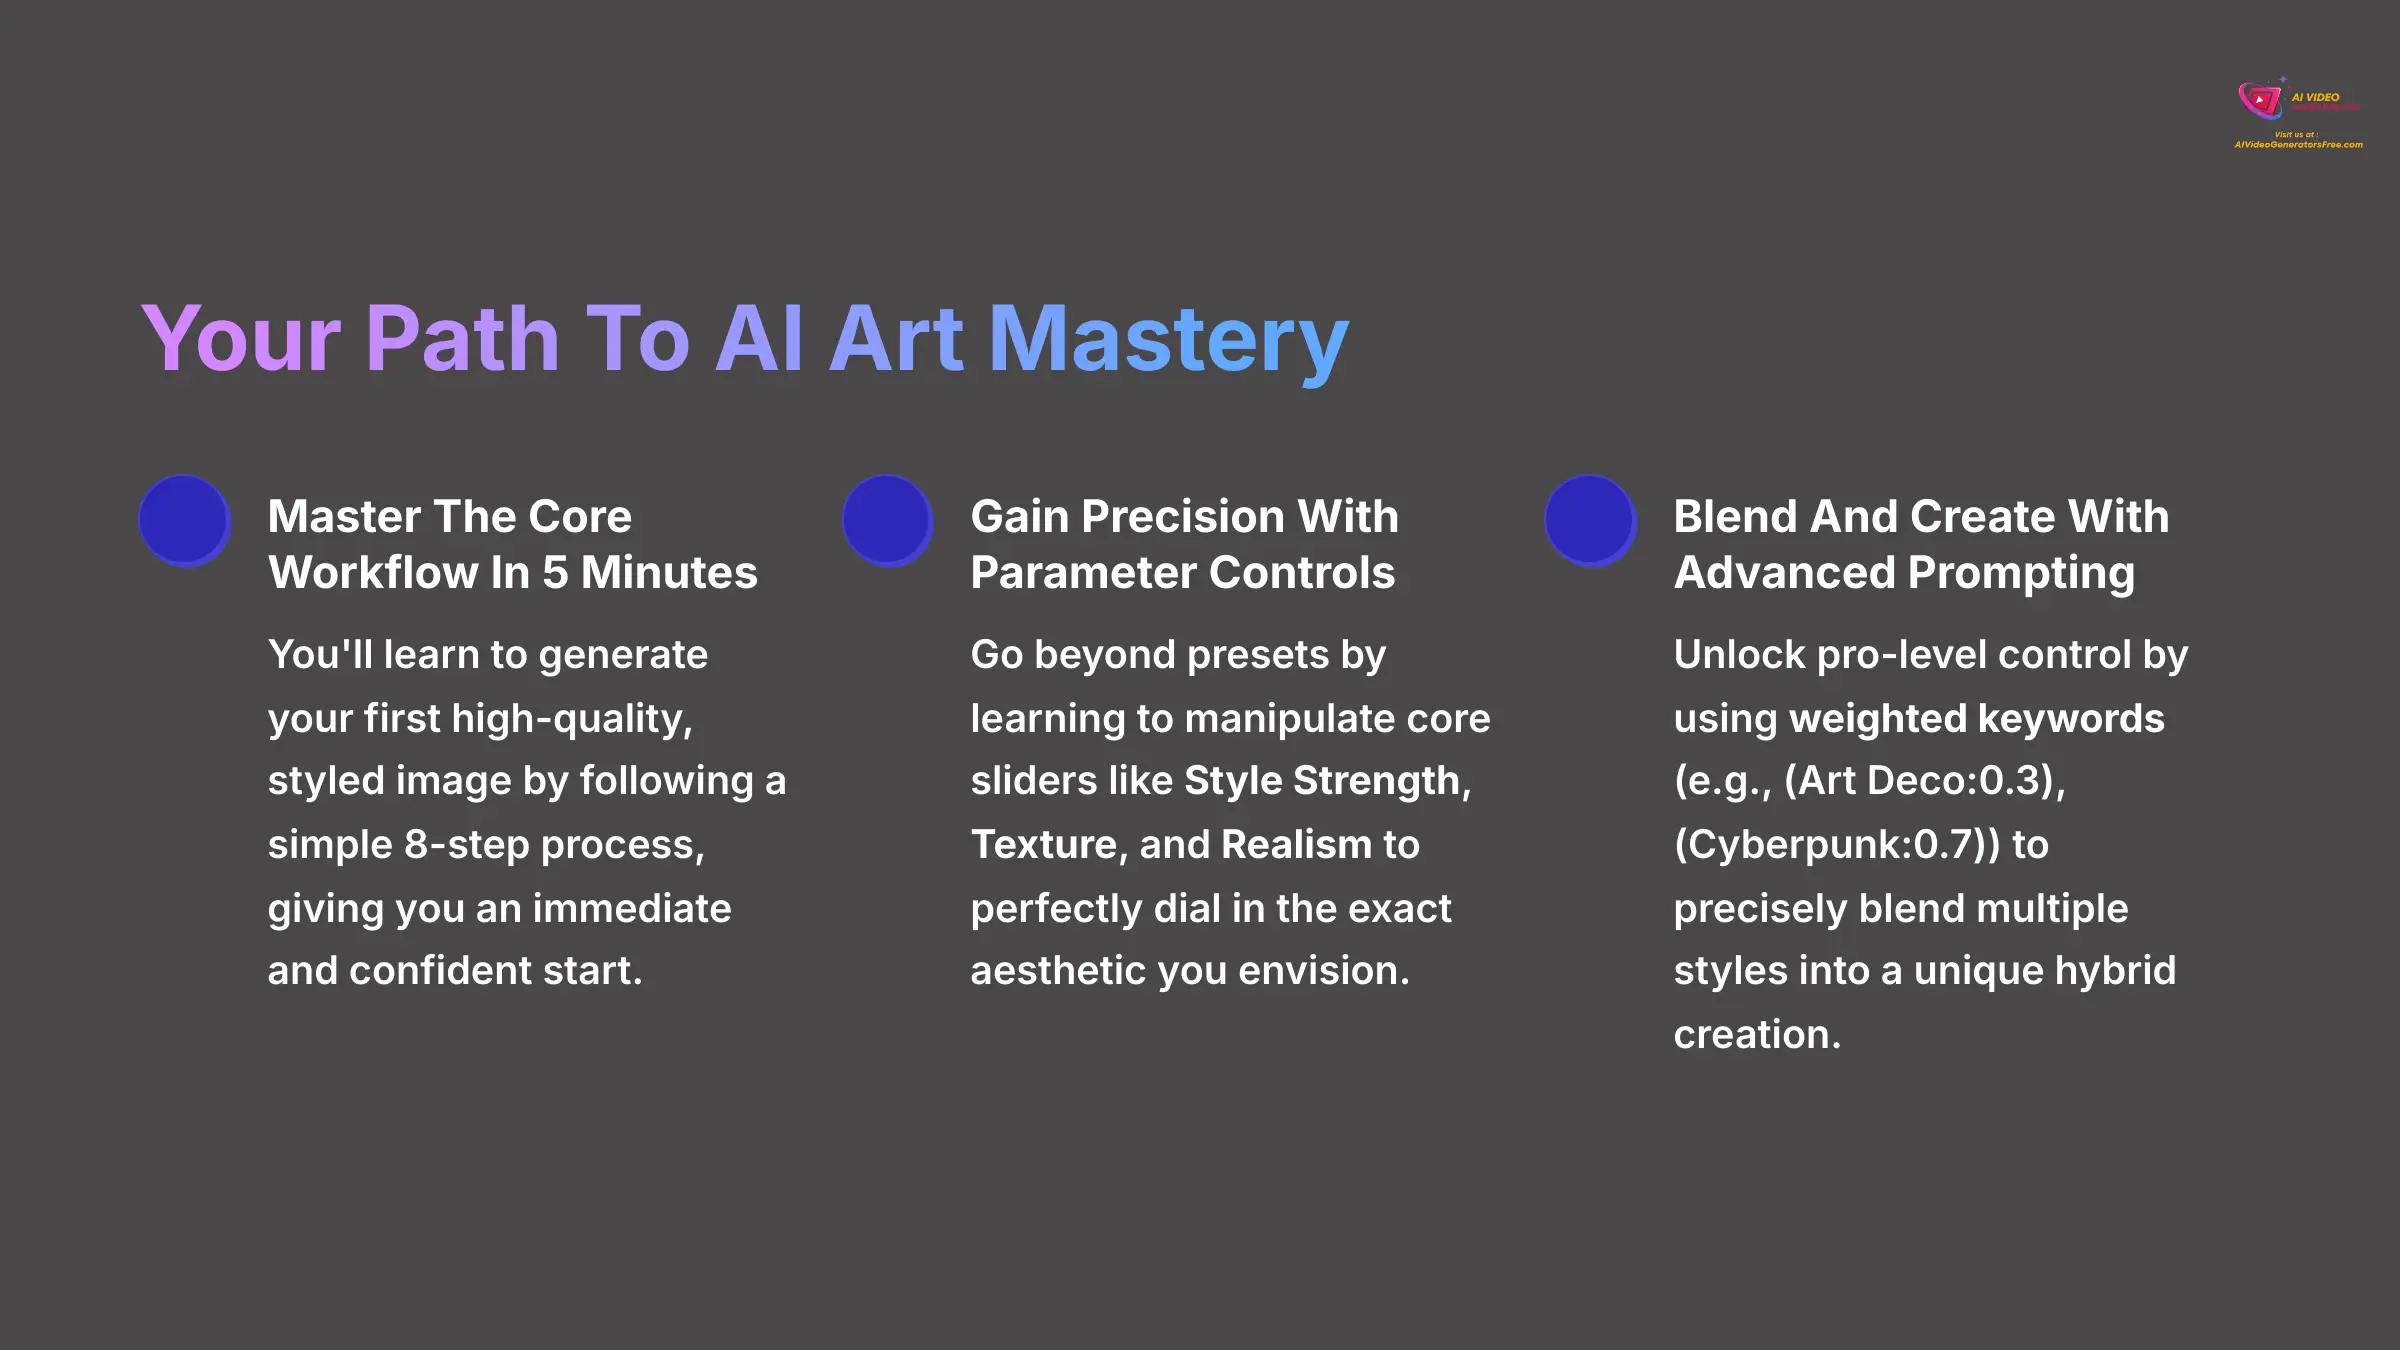
- Master The Core Workflow In 5 Minutes: You'll learn to generate your first high-quality, styled image by following a simple 8-step process, giving you an immediate and confident start.
- Gain Precision With Parameter Controls: Go beyond presets by learning to manipulate core sliders like Style Strength, Texture, and Realism to perfectly dial in the exact aesthetic you envision.
- Blend And Create With Advanced Prompting: Unlock pro-level control by using weighted keywords (e.g., `(Art Deco:0.3), (Cyberpunk:0.7)`) to precisely blend multiple styles into a unique hybrid creation.
- Solve Common Problems Before They Happen: Learn to fix frequent issues like blurry outputs and inconsistent style application by using the `detail_priority` parameter and “Style Anchors.”
- Integrate FunFun Art With Professional Tools: Discover how to build a seamless creative pipeline by exporting your AI creations as layered `.psd` files for advanced editing in Adobe Photoshop.
Part 1: Your Foundational Skills
How To Get Started: Prerequisites And Setup
This section makes sure you have everything you need to begin. I'll cover the technical requirements, necessary skills, and FunFun Art account creation. We'll also walk through the first step of configuring content filters for a safe and predictable creative experience.
Technical And Skill Requirements
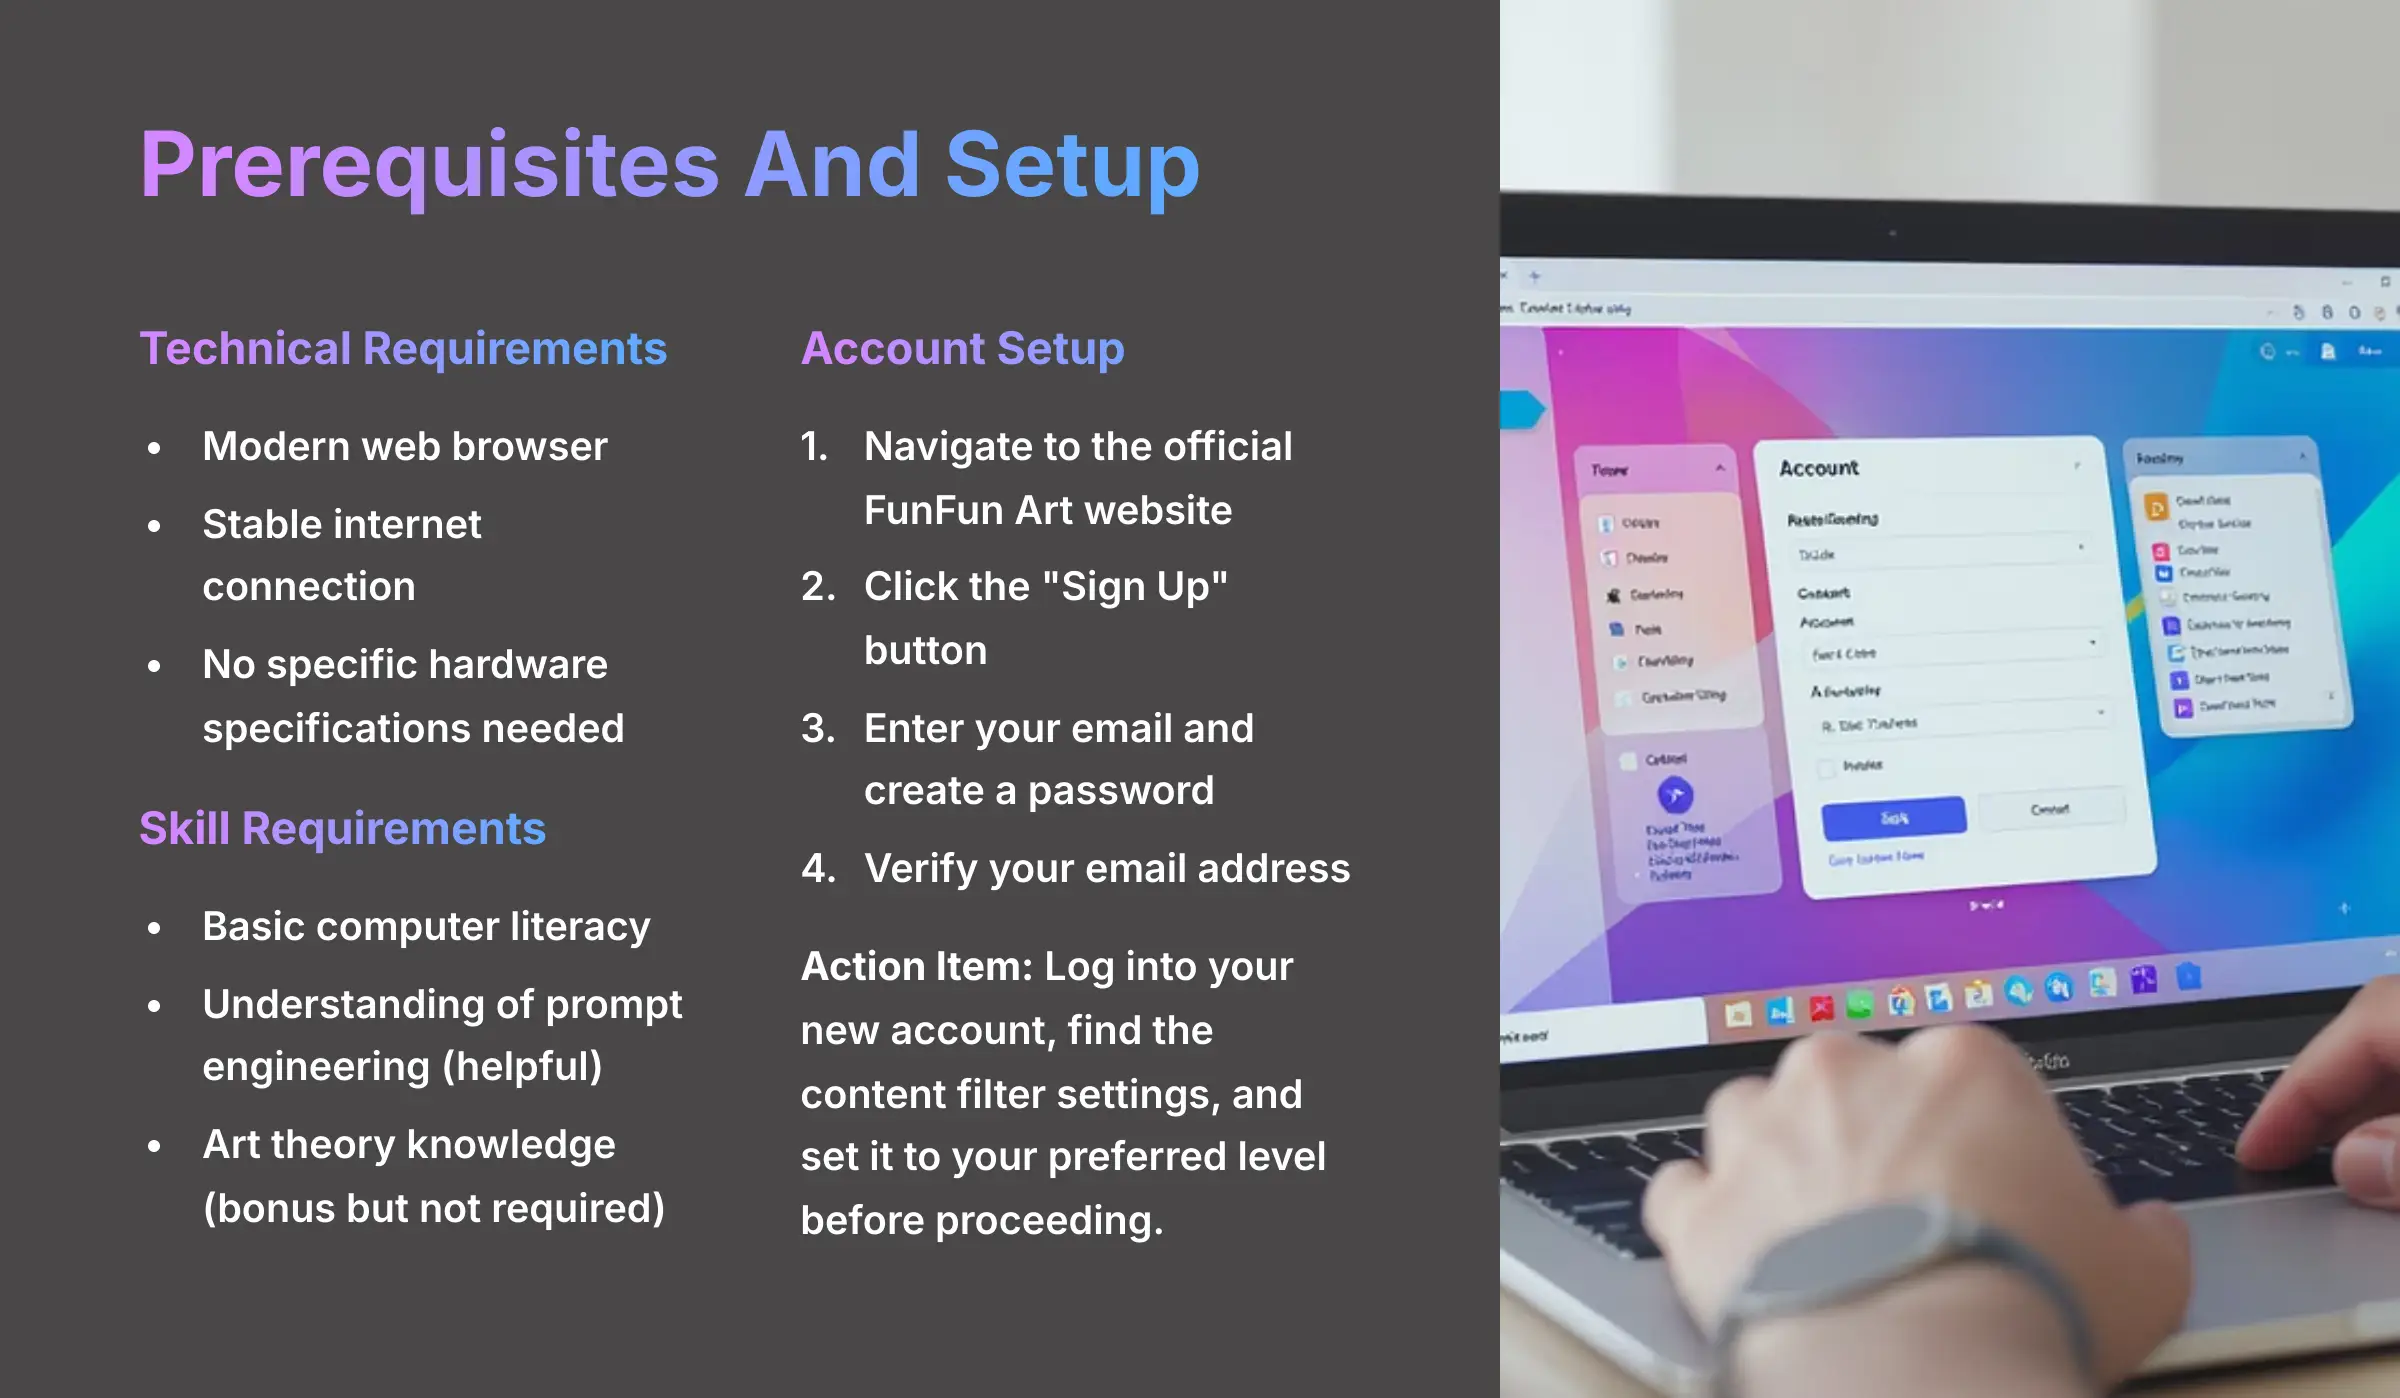
To use FunFun Art effectively, you need a few things. As FunFun Art is a web-based tool, it does not require specific hardware specifications like VRAM. A modern web browser and a stable internet connection are sufficient for its operation.
For skills, basic computer literacy is all you need to start. I've found that having a general understanding of prompt engineering—which is the art of writing descriptive text to guide an AI—is a big plus. Any knowledge of art theory is a bonus but certainly not required to create amazing things.
Account Setup Walkthrough
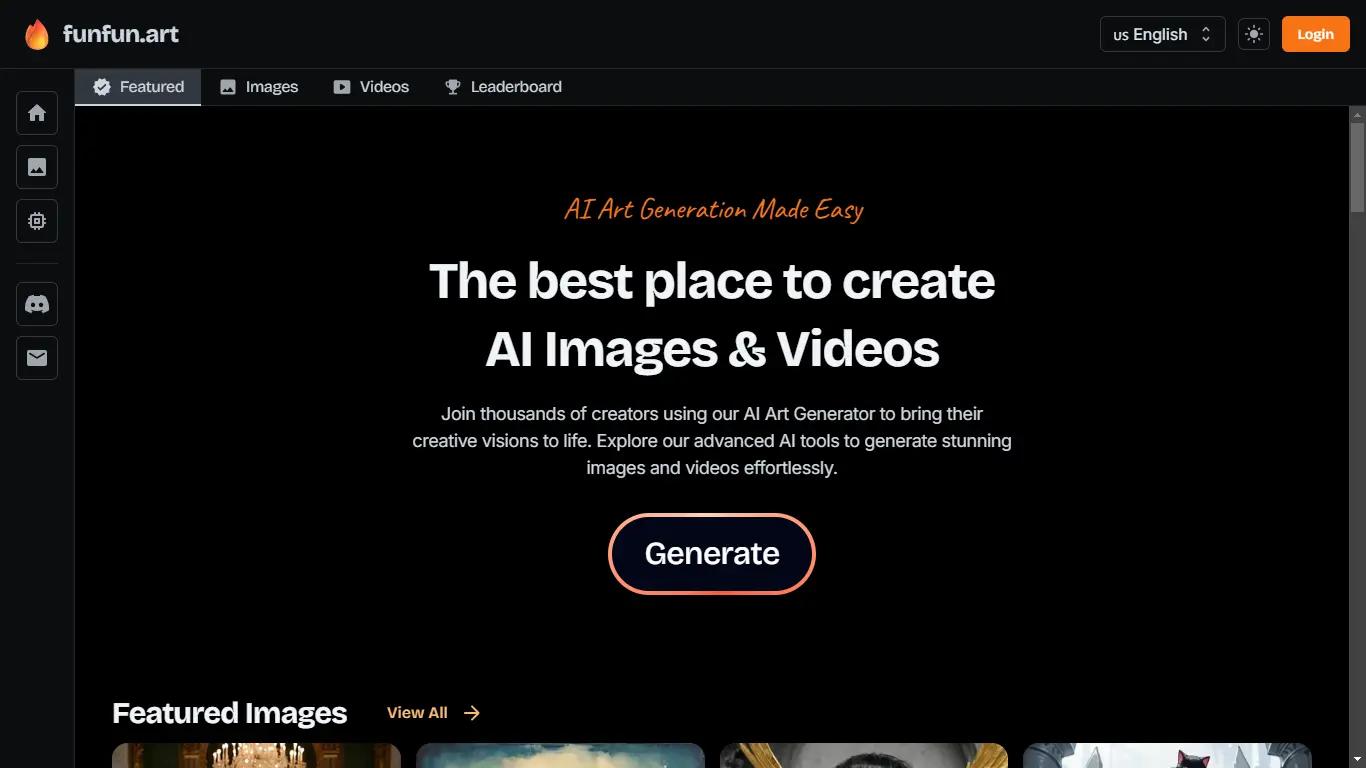
Setting up your account is a straightforward process. FunFun Art is a web-based platform accessible via modern web browsers, requiring no software installation.
- Navigate to the official FunFun Art website.
- Locate and click the “Sign Up” button.
- Enter your email address and create a password to register.
- Verify your email address by clicking the link sent to your inbox. You now have access to the platform.
Action Item: Log into your new account, find the content filter settings, and set it to your preferred level before proceeding.
Why You Must Configure Content Filters First
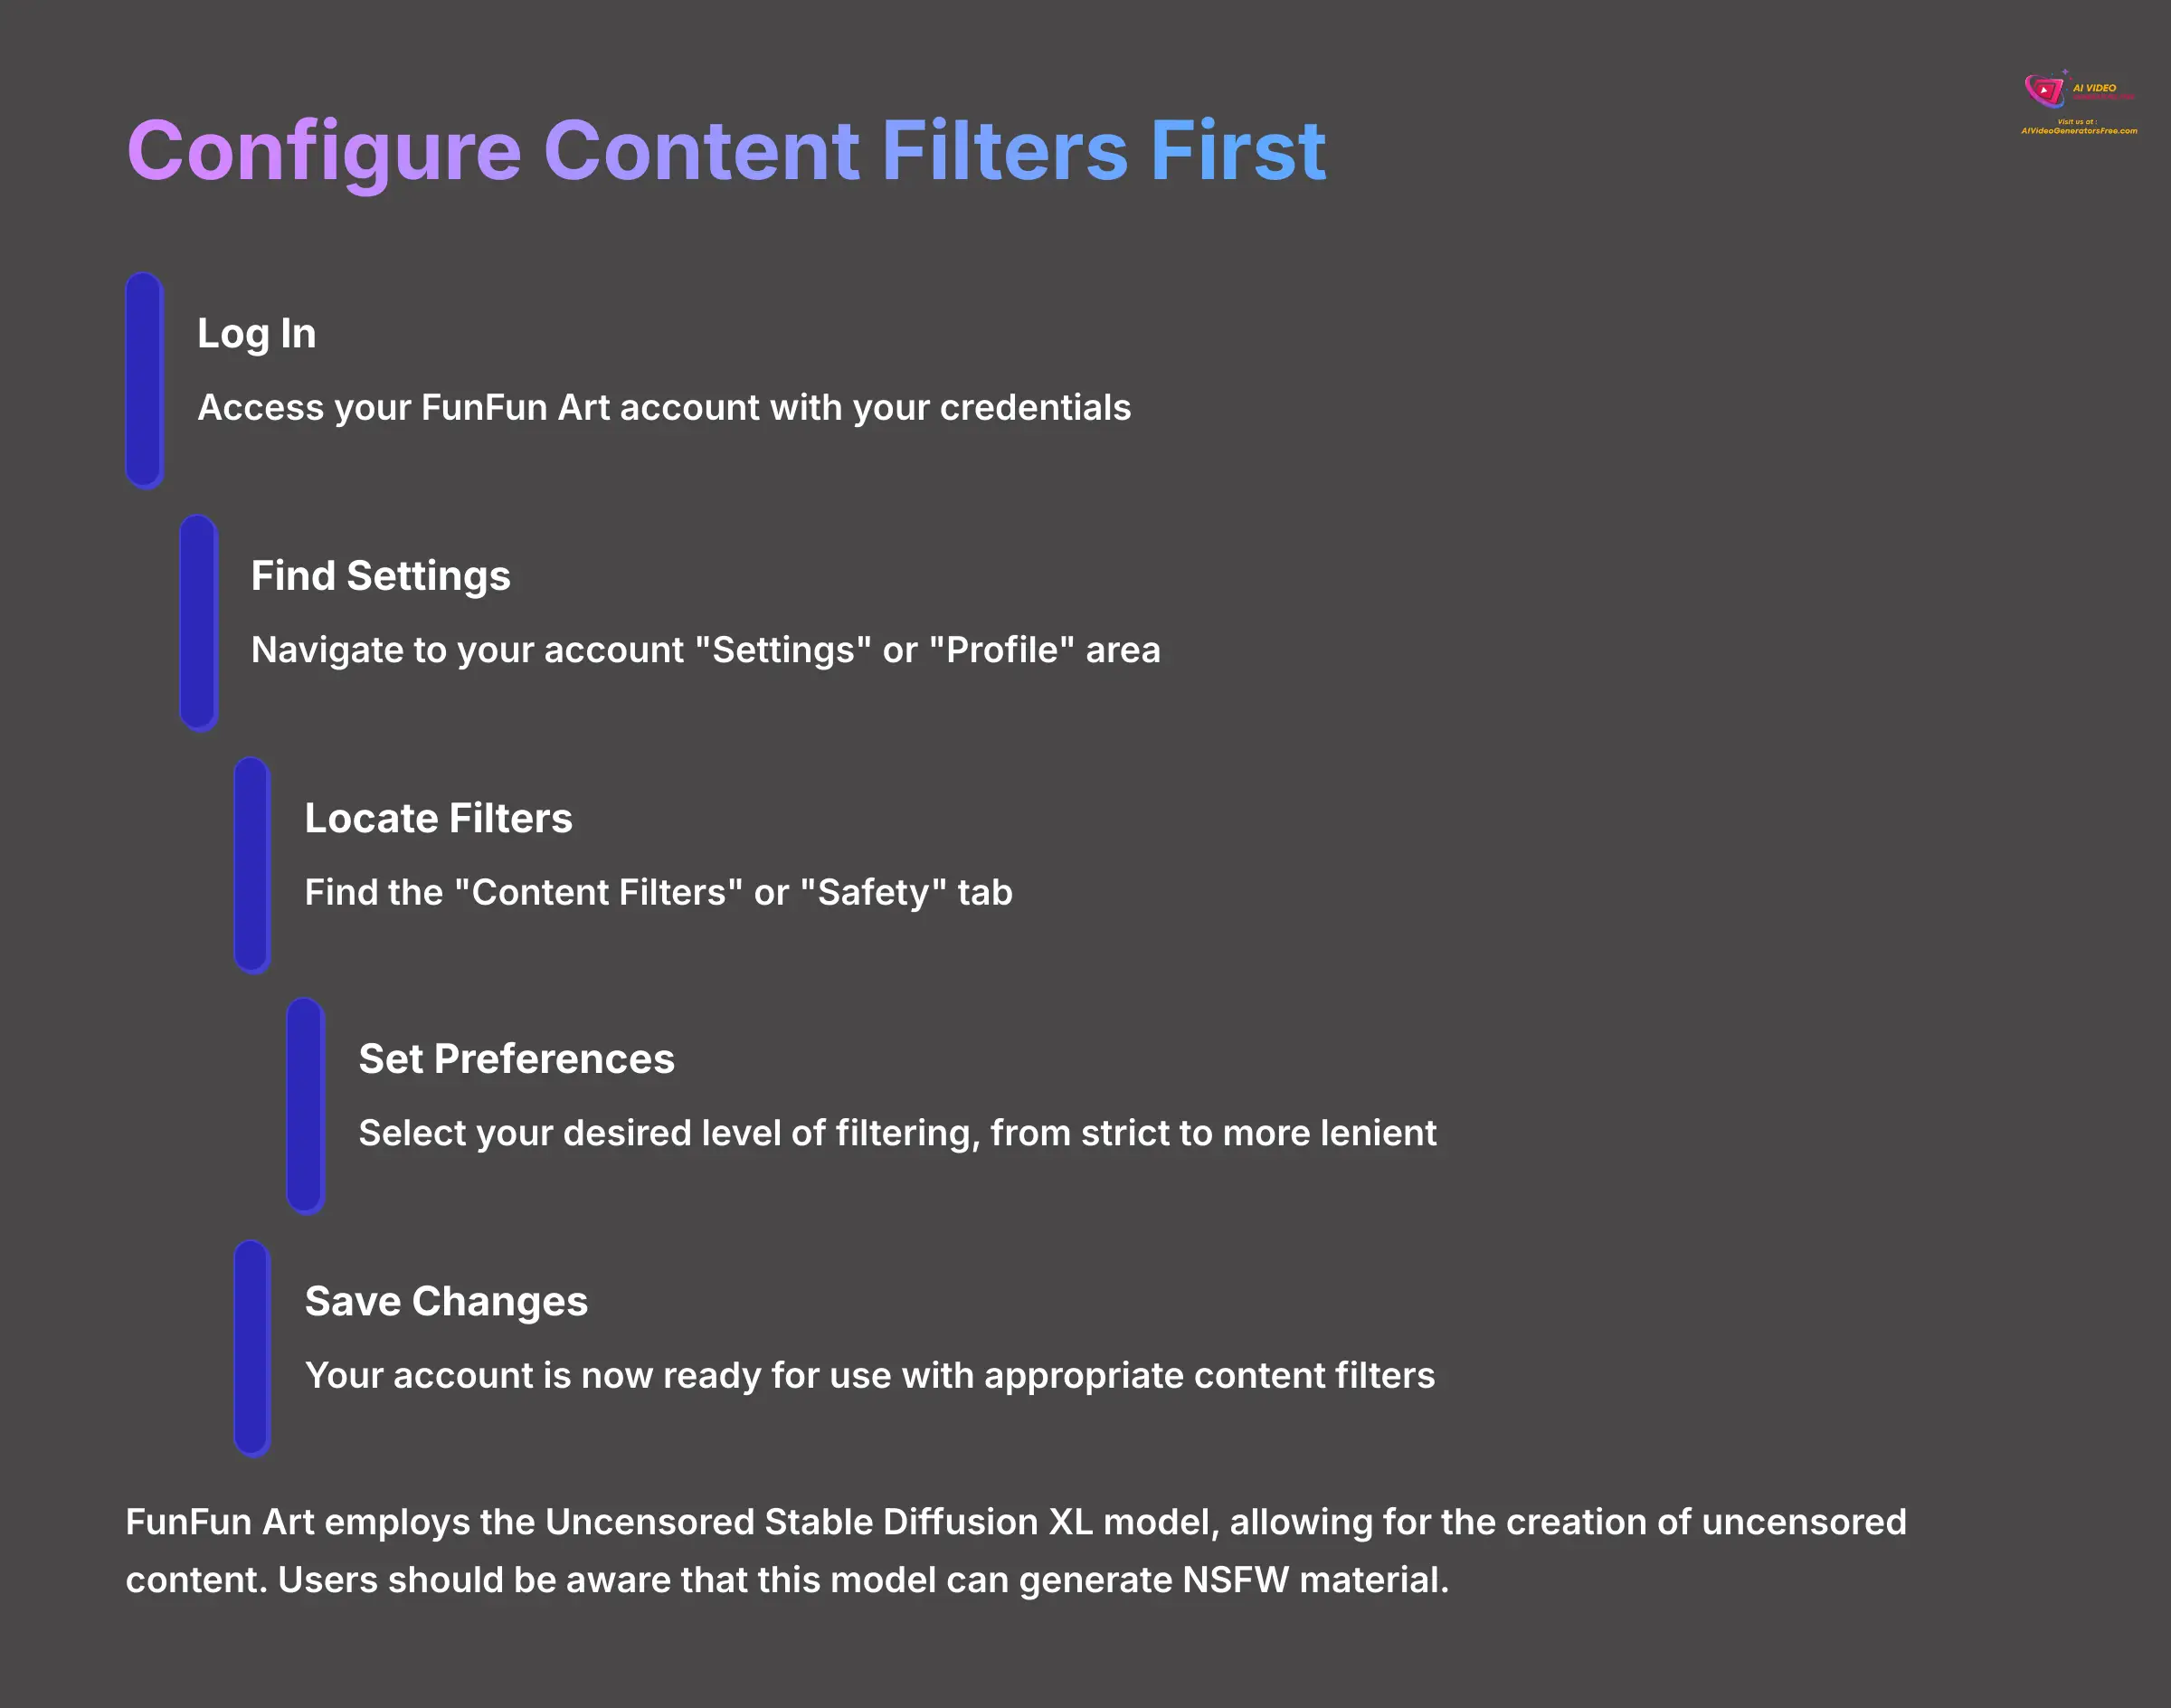
Before you generate your first image, you must configure your content filters. FunFun Art employs the Uncensored Stable Diffusion XL model, allowing for the creation of uncensored content. Users should be aware that this model can generate NSFW material, and appropriate content filters should be configured to align with individual preferences.
- After logging in, navigate to your account “Settings” or “Profile” area.
- Find the “Content Filters” or “Safety” tab.
- Select your desired level of filtering, from strict to more lenient.
- Save your changes. Your account is now ready for use.
Understanding Core Concepts: Models And Samplers
Before you generate, it's helpful to understand the “engine” under the hood. In FunFun Art, you're not just using one AI; you're often choosing from several.
-
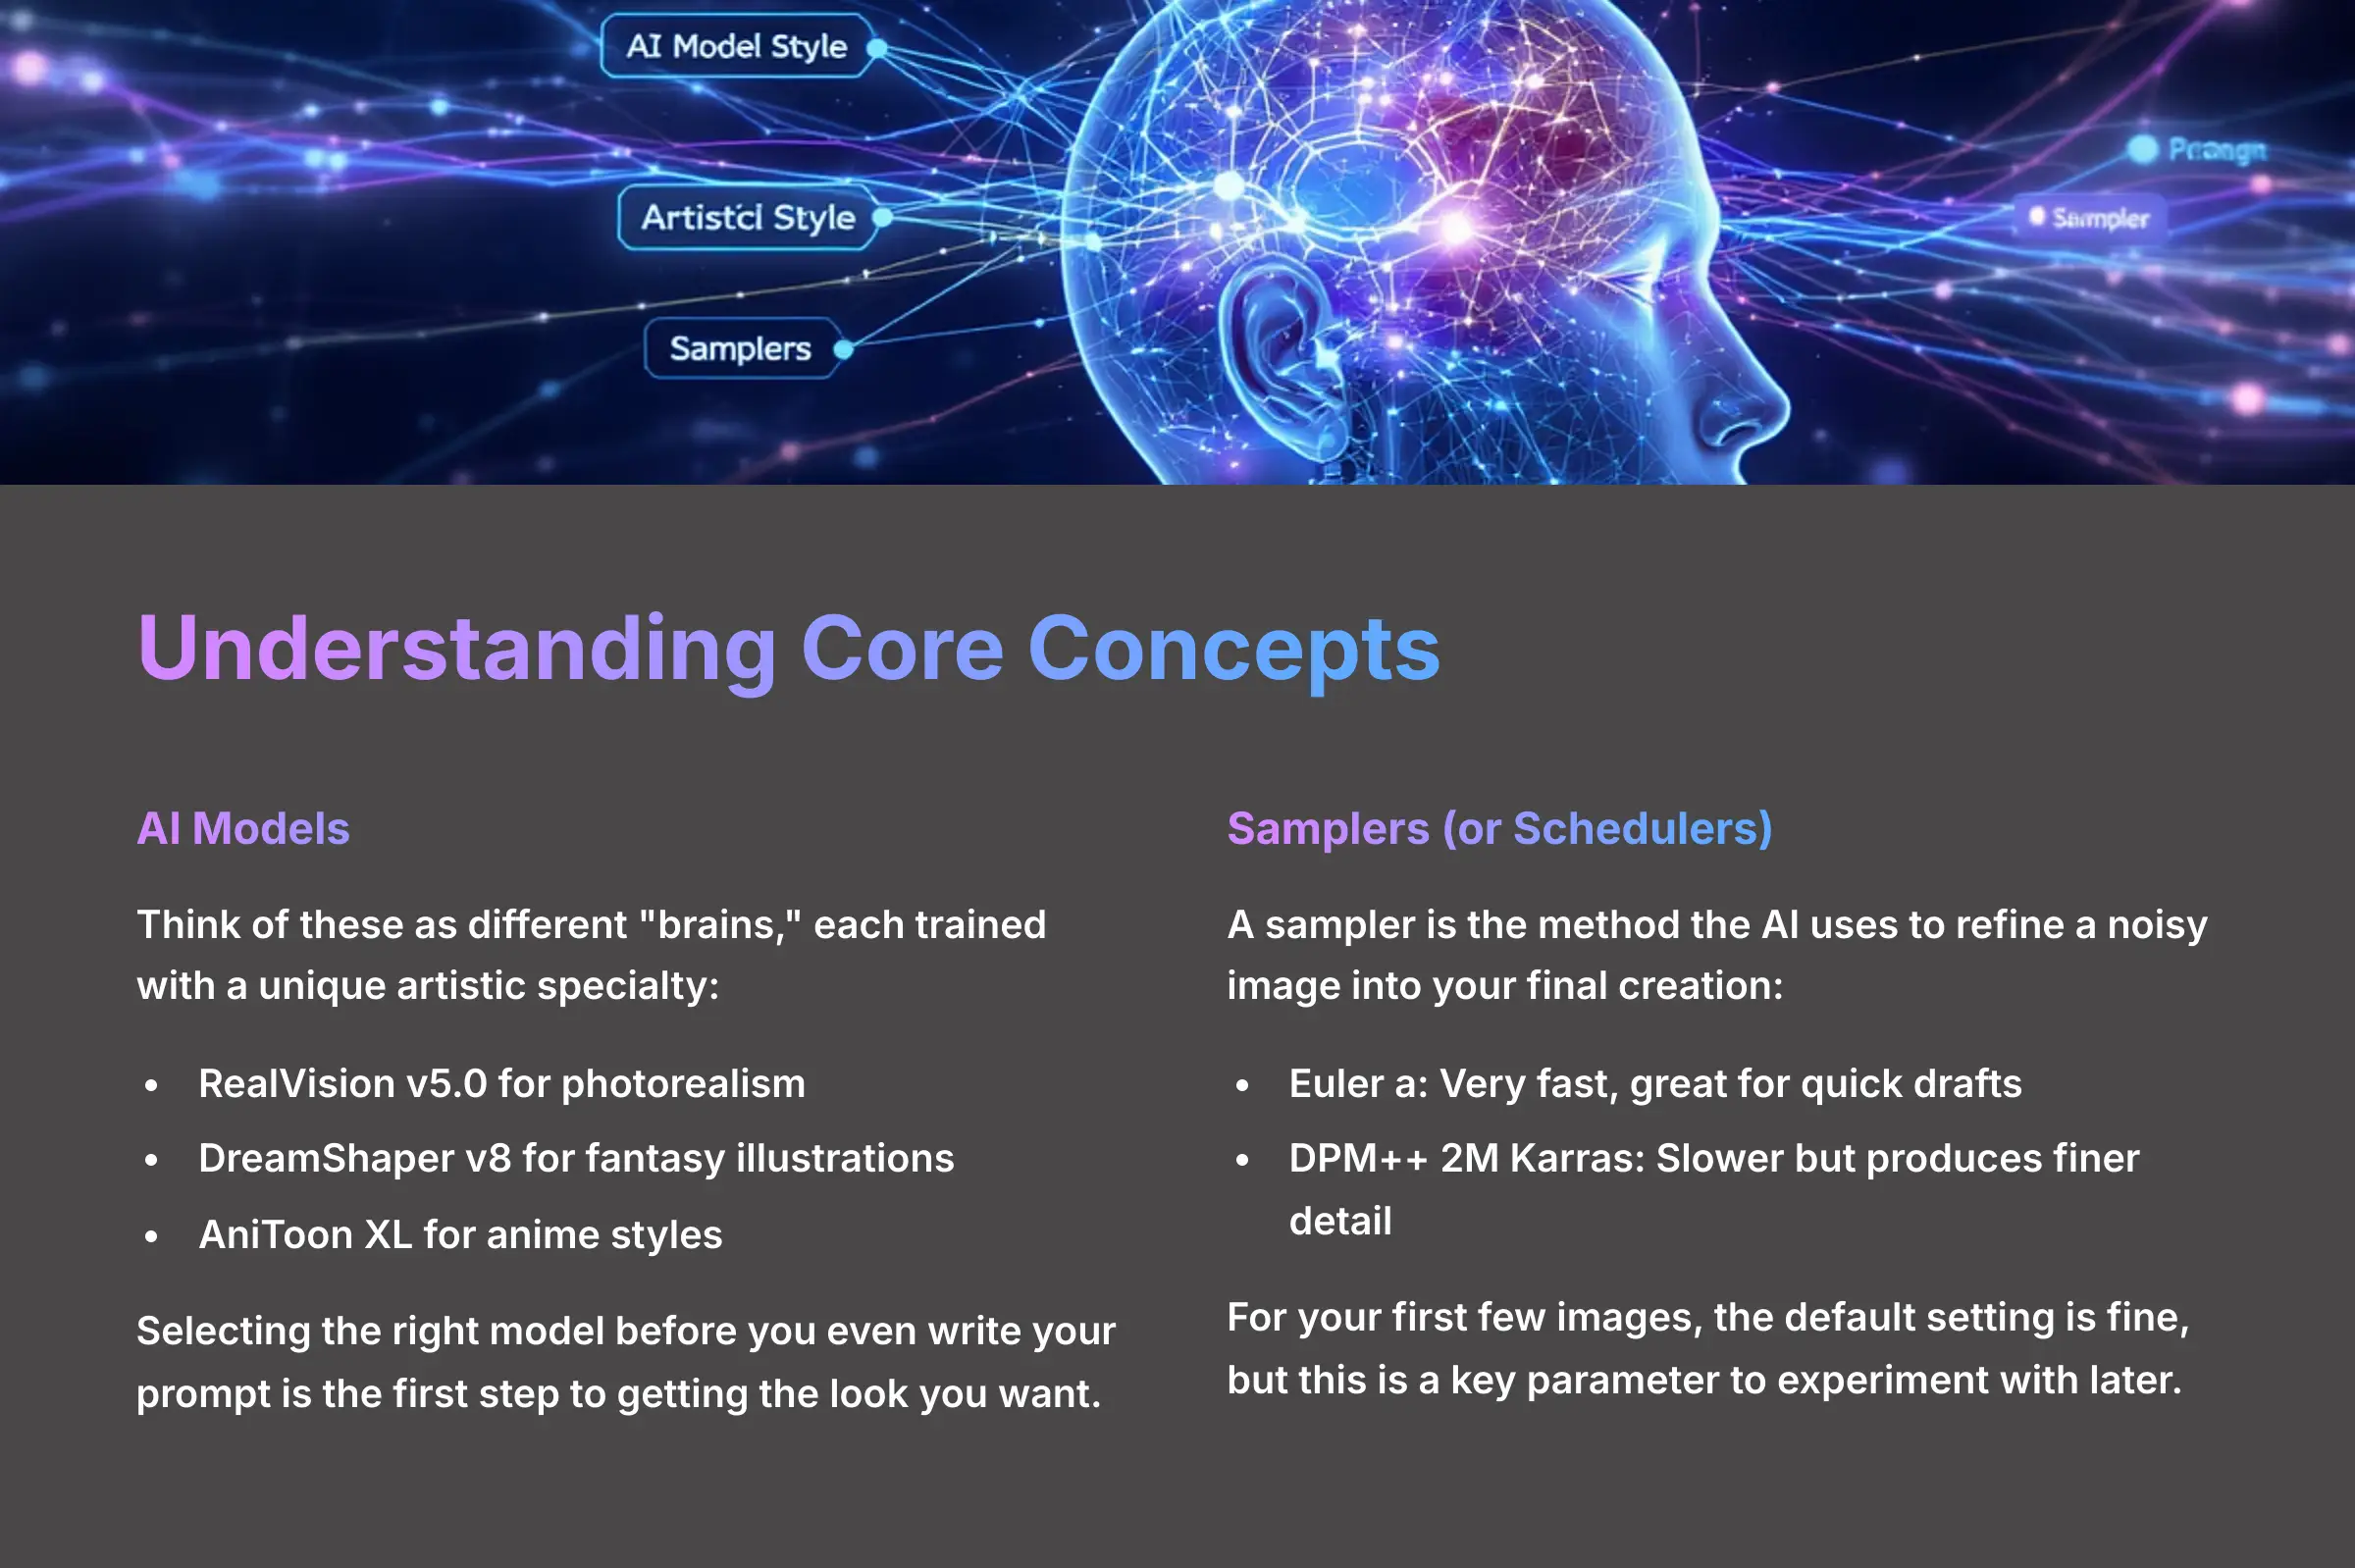
AI Models: Think of these as different “brains,” each trained with a unique artistic specialty. You might find a model like
RealVision v5.0for photorealism,DreamShaper v8for fantasy illustrations, andAniToon XLfor anime styles. Selecting the right model before you even write your prompt is the first step to getting the look you want. You'll typically find a dropdown menu near the prompt box to select your model. -
Samplers (or Schedulers): A sampler is the method the AI uses to refine a noisy image into your final creation. You don't need to be an expert, but know this: some samplers like
Euler aare very fast and great for quick drafts. Others, likeDPM++ 2M Karras, are slower but can produce images with finer detail. For your first few images, the default setting is fine, but this is a key parameter to experiment with later for improving quality.
Your First AI-Styled Image In 5 Minutes (The Quick-Start Guide)
This quick-start guide walks you through the essential 8-step workflow. You'll generate your very first AI-styled image. The main goal here is to build immediate confidence and familiarity with the core interface by creating a great-looking picture with a preset style.
The Core 8-Step Generation Sequence
The process from an idea to a finished image is very direct. I've found the key is just to get started and not overthink the first attempt. You can use a simple subject like ‘a house' or ‘a flower' to see how different styles interpret a basic concept.
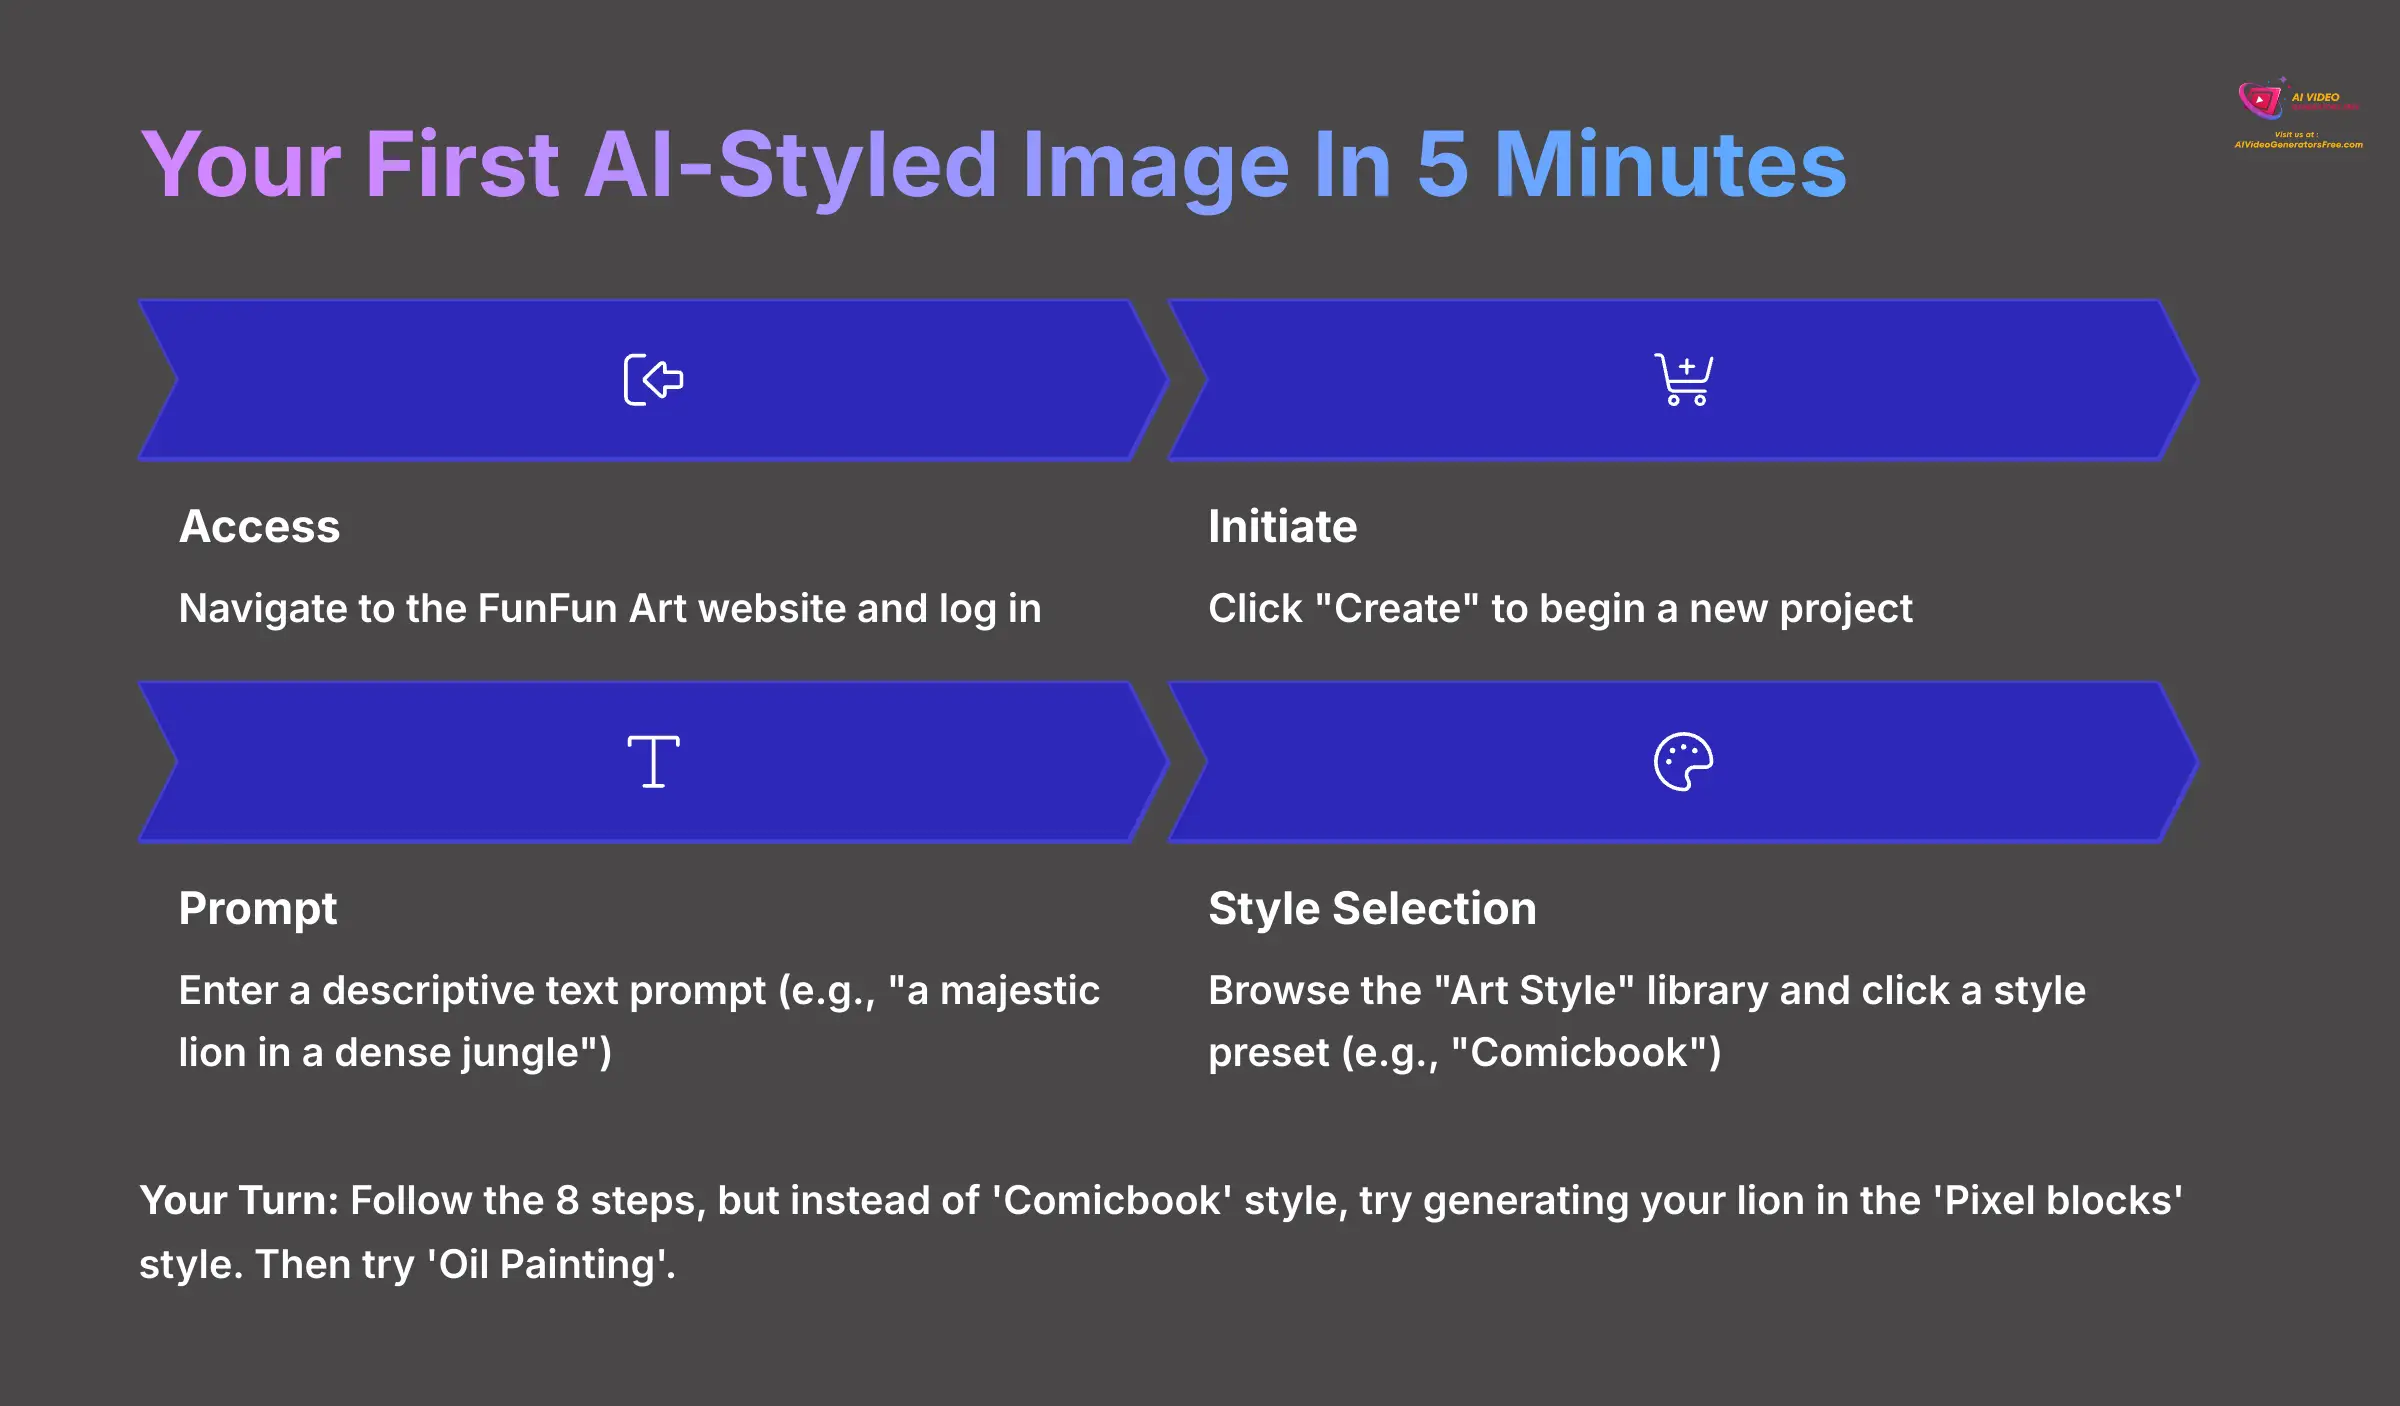
- Access: Navigate to the FunFun Art website and log in.
- Initiate: Click “Create” to begin a new project.
- Prompt: Enter a descriptive text prompt (e.g., “a majestic lion in a dense jungle”).
- Style Selection: Browse the “Art Style” library and click a style preset (e.g., “Comicbook”).
- Customize (Optional): Briefly adjust the “Style Strength” slider.
- Generate: Click the “Generate” button.
- Review And Refine: Examine the output.
- Save: Download your finished image.
Your Turn: Follow the 8 steps, but instead of ‘Comicbook' style, try generating your lion in the ‘Pixel blocks' style. Then try ‘Oil Painting'.
A Tour Of FunFun Art's Style Categories
Now that you've made your first image, let's explore the vast library of styles available. Understanding these categories will help you quickly find the perfect aesthetic. Here are a few examples to try:
- Painterly And Traditional Mediums: For emulating classic art.
- Style:
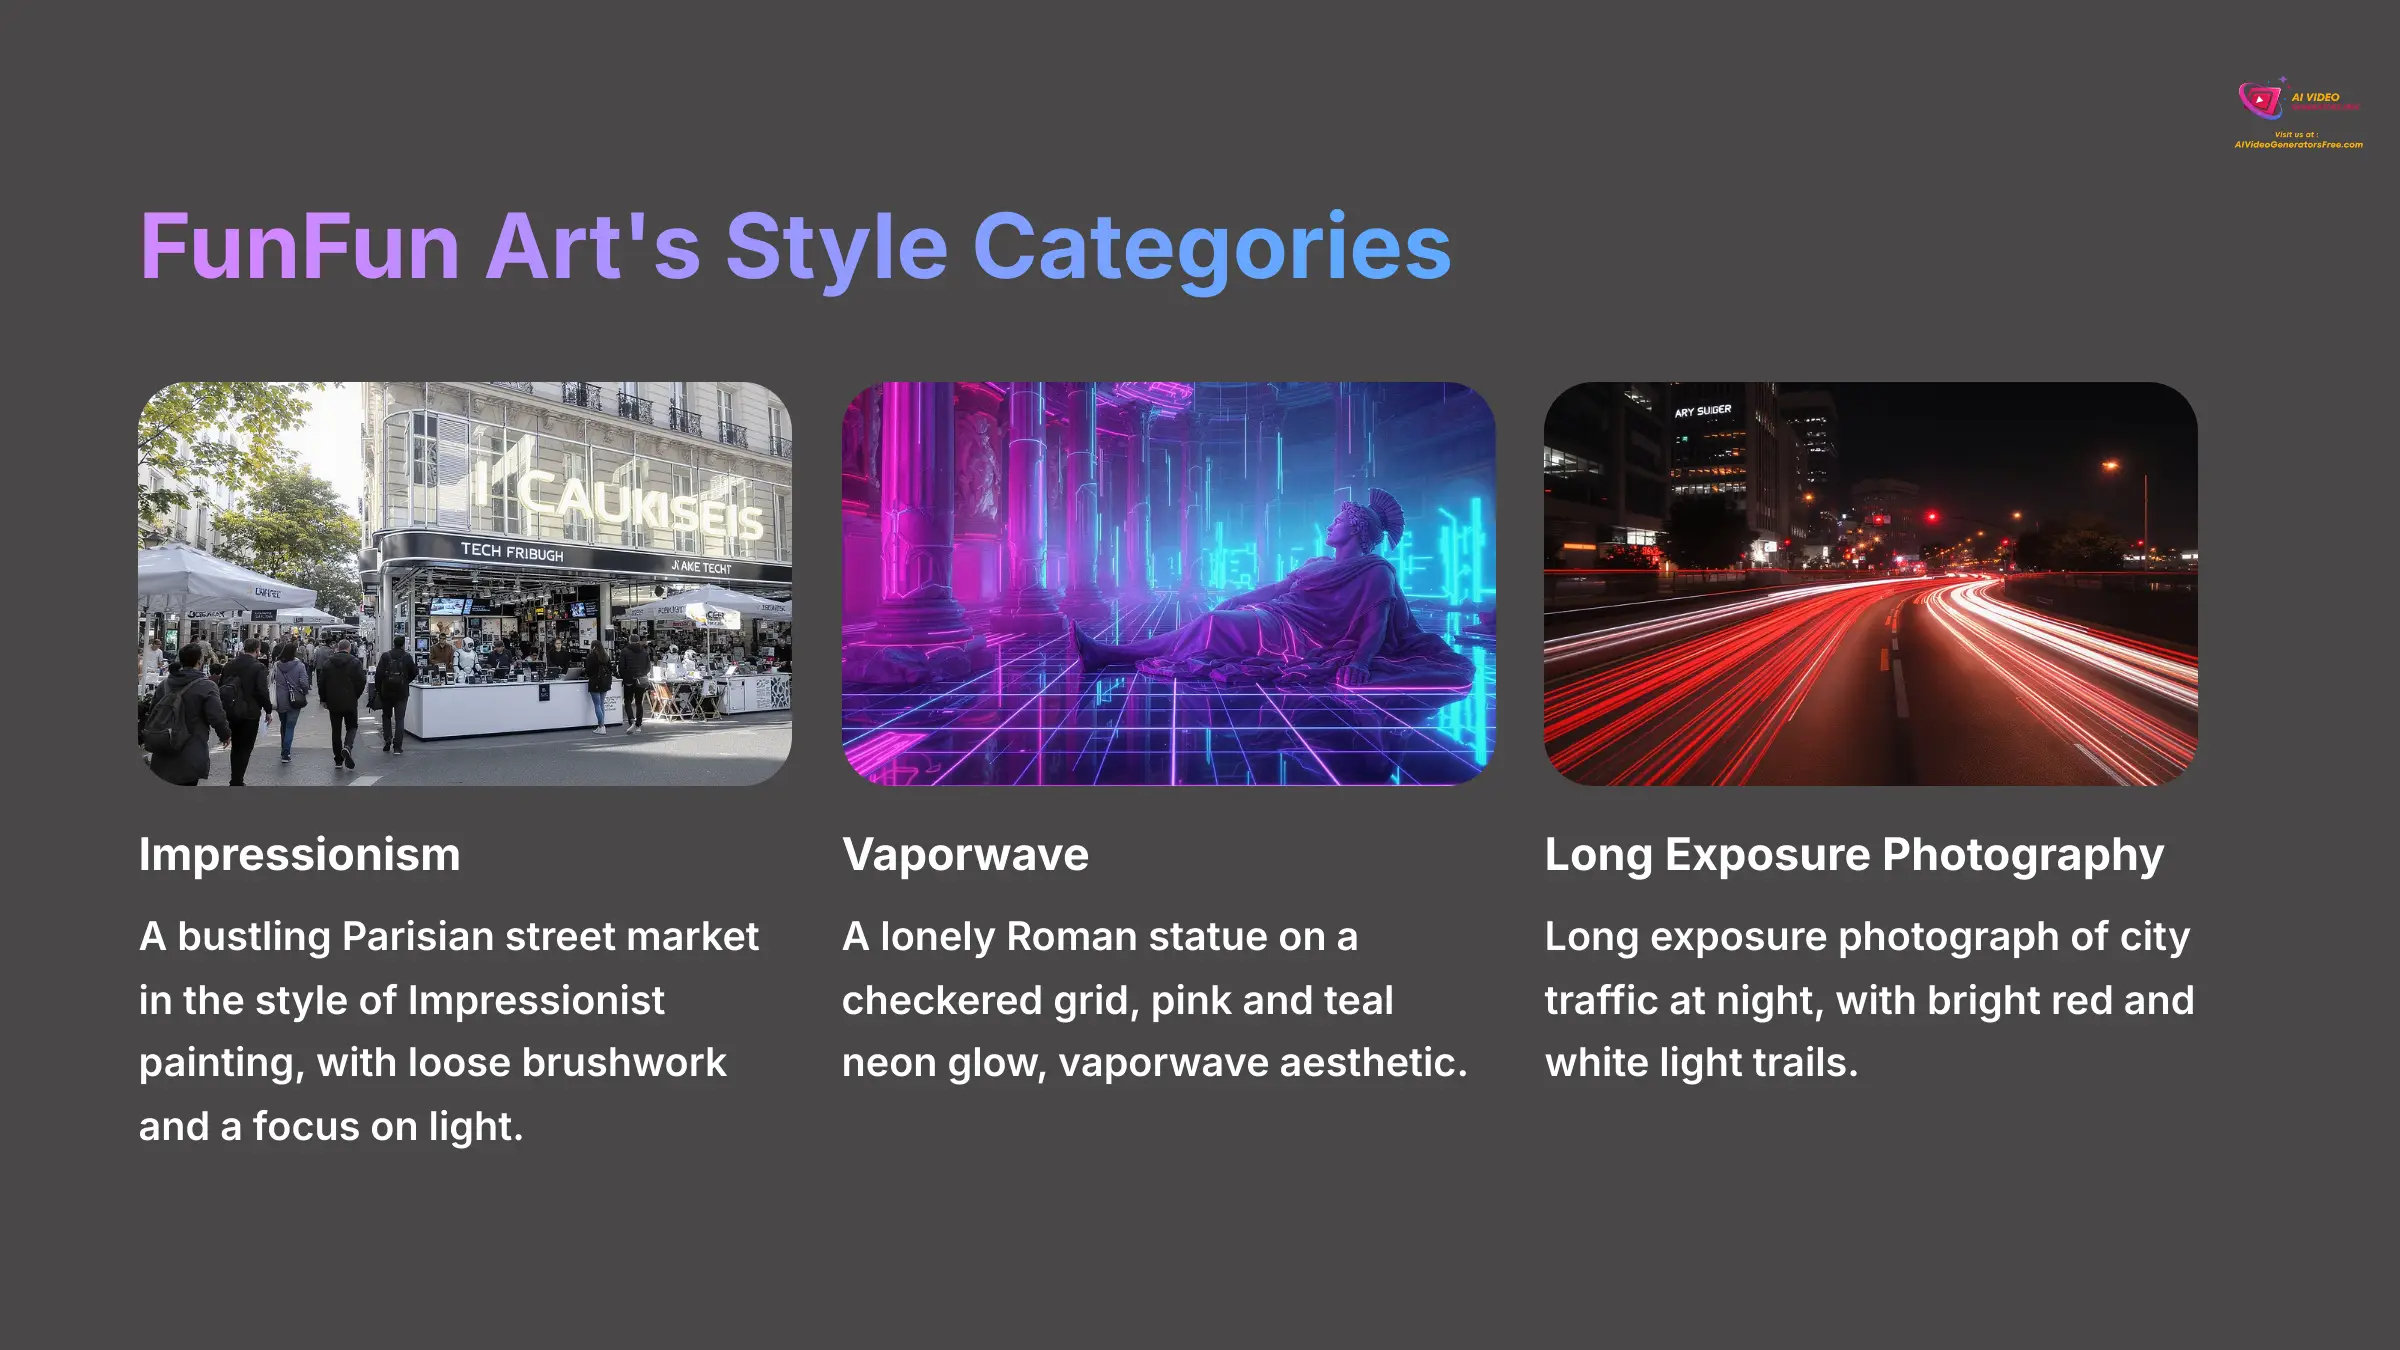
Impressionism - Example Prompt:
A bustling Parisian street market in the style of Impressionist painting, with loose brushwork and a focus on light. - Style:
Ink Wash (Sumi-e) - Example Prompt:
A single bamboo stalk on a misty mountain, Japanese ink wash painting, minimalist, sumi-e.
- Style:
- Digital And Sci-Fi Styles: For modern, surreal, or futuristic looks.
- Style:
Vaporwave - Example Prompt:
A lonely Roman statue on a checkered grid, pink and teal neon glow, vaporwave aesthetic. - Style:
Biopunk - Example Prompt:
A creature that is a fusion of organic and synthetic parts, glowing veins, biomechanical detail, biopunk art style.
- Style:
- Photographic Styles: For mimicking real-world camera techniques.
- Style:
Long Exposure Photography - Example Prompt:
Long exposure photograph of city traffic at night, with bright red and white light trails. - Style:
Macro Photography - Example Prompt:
Extreme macro photo of a snowflake on dark wool, showing intricate crystal structures.
- Style:
How To Control Style With The Parameter Panel

Once you select a style, the Parameter Panel is your primary toolkit for customization. Think of this panel as a painter's palette, giving you the tools to mix and refine colors. This section gives you a deep look into the core sliders that allow you to personalize any preset style, moving you from a passive user to an active creator.
Understanding “Style Strength” – The Master Control
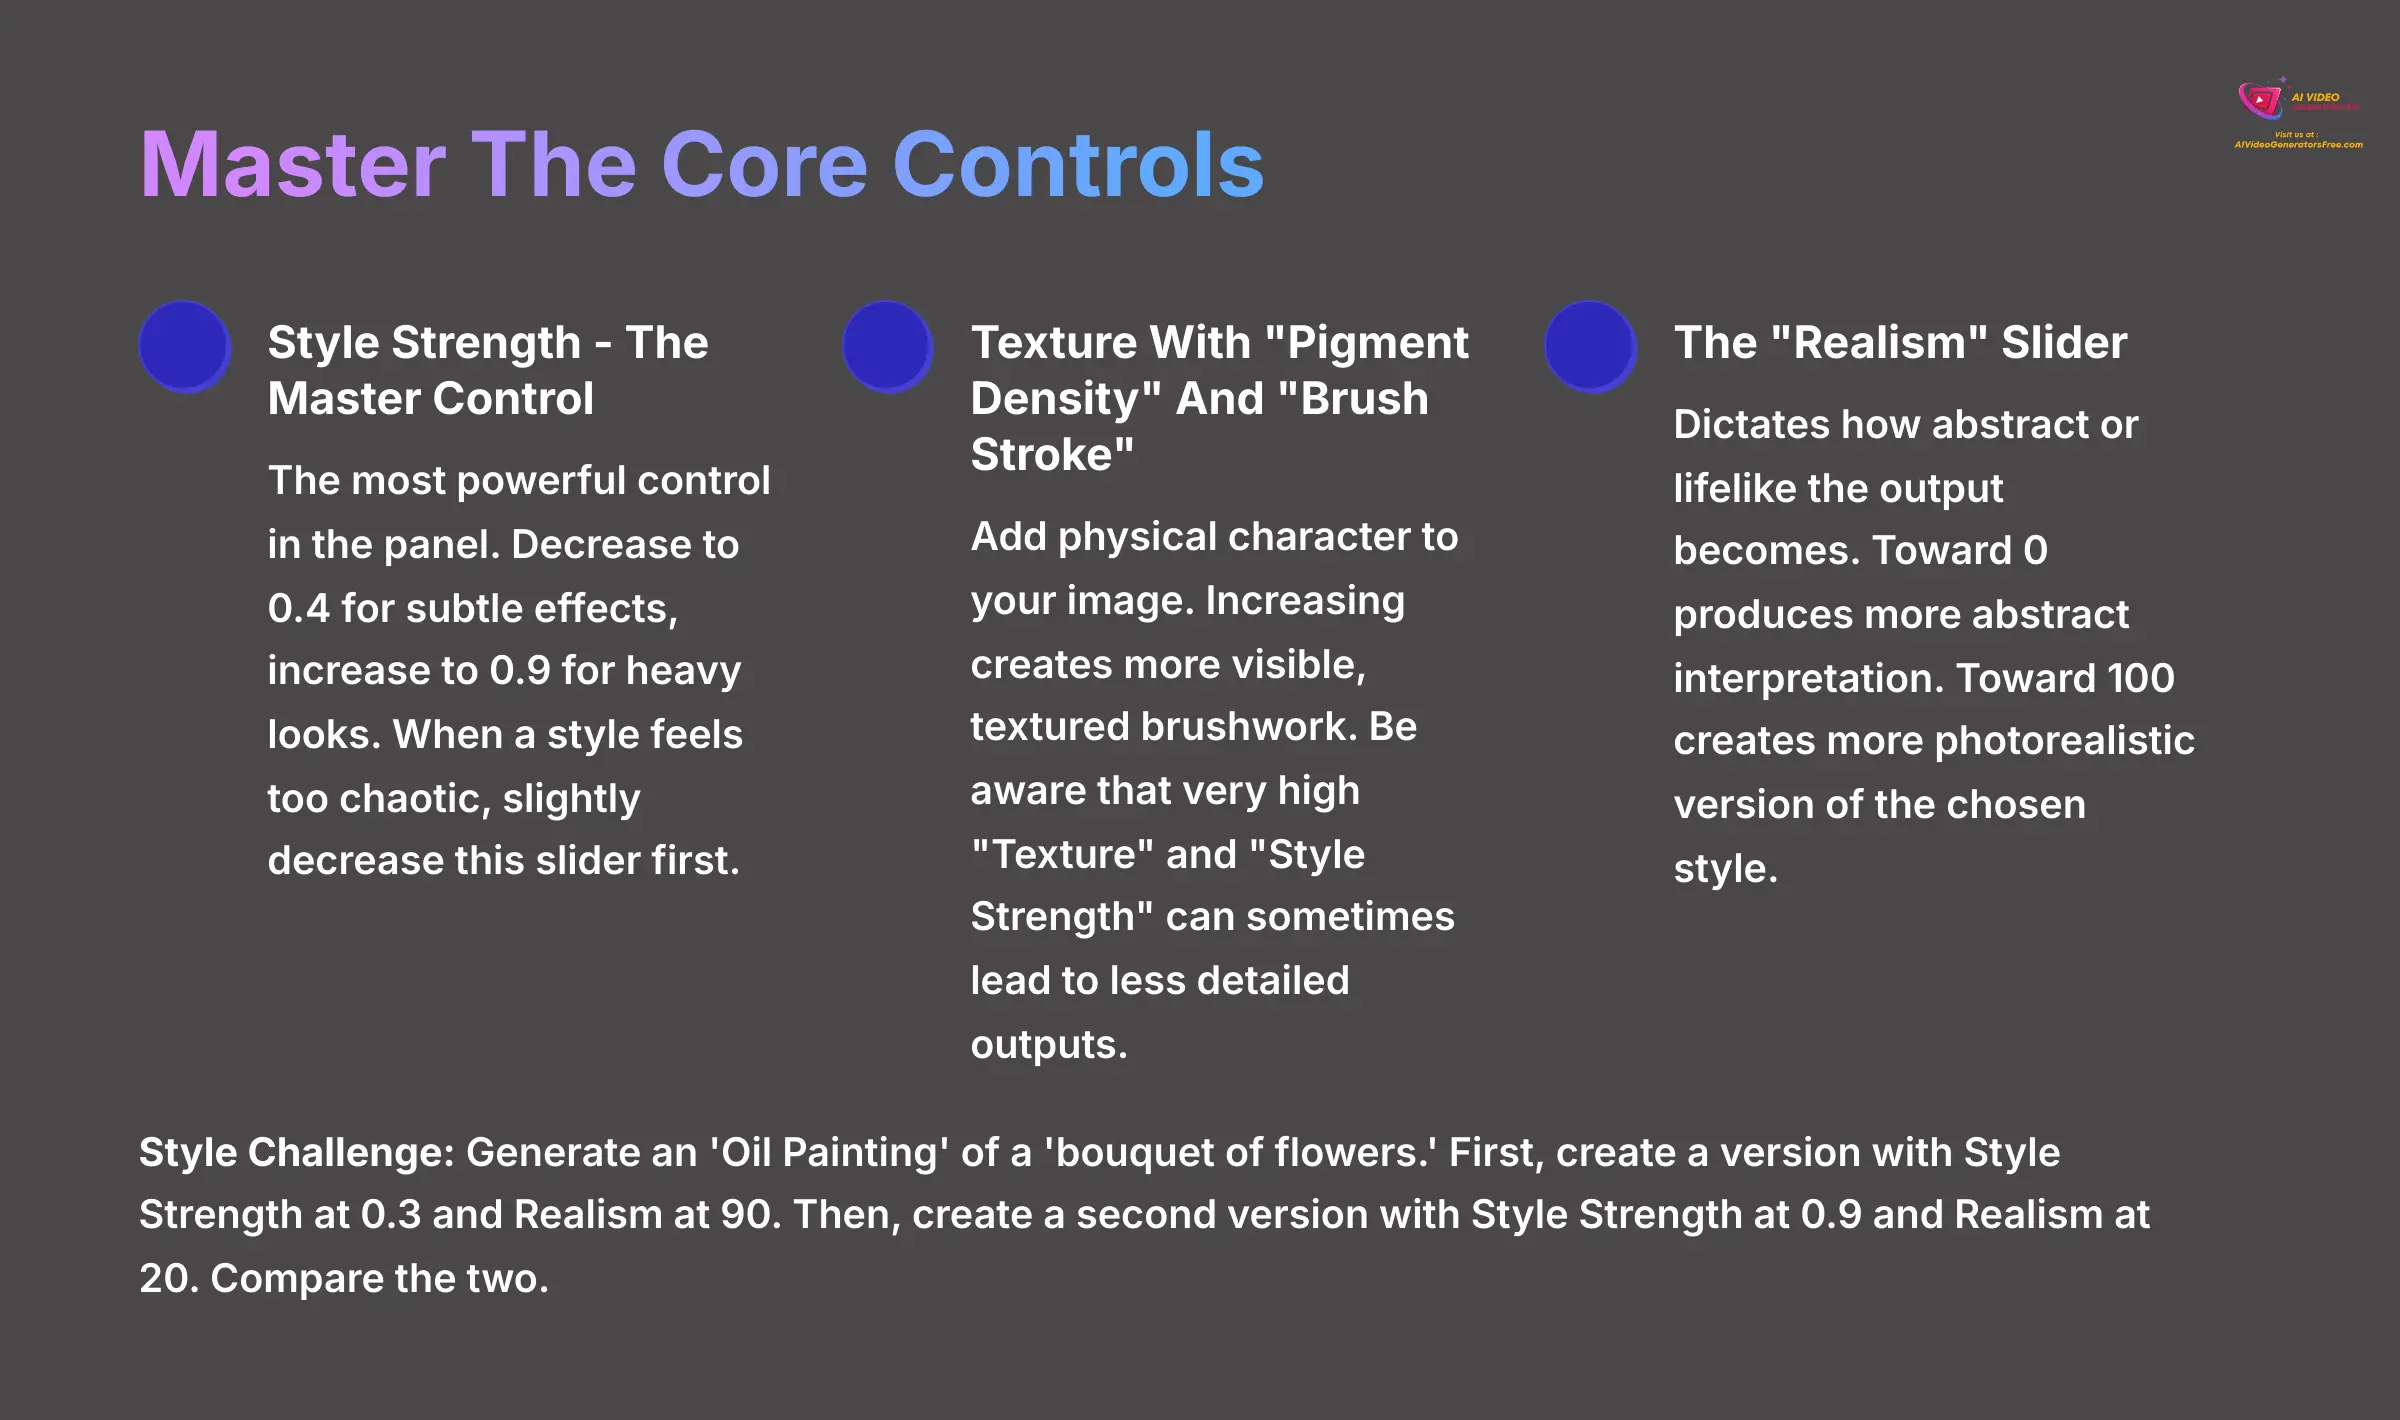
The Style Strength slider is the most powerful control in the panel. For example, to make an oil painting effect more subtle, you could decrease this slider to 0.4, while pushing it to 0.9 would create a very thick, heavy look. In my testing, when a style feels too chaotic, my first move is always to slightly decrease the “Style Strength” slider.
Adjusting Texture With “Pigment Density” And “Brush Stroke”
Texture sliders like Pigment Density and Brush Stroke add physical character to your image. Increasing these values creates more visible, textured brushwork, making a digital painting feel more traditional. But be aware that very high “Texture” and high “Style Strength” can sometimes lead to less detailed outputs if your image looks soft, try reducing these values first.
Controlling The Look With The “Realism” Slider
The Realism slider dictates how abstract or lifelike the output becomes. Dragging the “Realism” slider toward 0 produces a more abstract interpretation of your prompt. Pushing it toward 100 will create a more photorealistic version of the chosen style. It allows you to balance artistic expression with recognizable forms.
Style Challenge: Generate an ‘Oil Painting' of a ‘bouquet of flowers.' First, create a version with Style Strength at 0.3 and Realism at 90. Then, create a second version with Style Strength at 0.9 and Realism at 20. Compare the two.
Essential Technical Parameters: Aspect Ratio And Seed

Beyond artistic sliders, two technical parameters are crucial for controlling your final output.
-
Aspect Ratio: This determines the shape of your canvas. Instead of cropping a square image later, set the aspect ratio from the start. Common settings include
1:1(Square),16:9(Widescreen/Video), and2:3(Portrait). Choosing the correct aspect ratio helps the AI with composition, preventing stretched or awkwardly cropped subjects. - Seed Number: The Seed is the starting number that the AI uses to generate the initial noise for your image. Using the same prompt, model, and settings with the same Seed number will get you the exact same image every time. This is incredibly useful for consistency. If you like an image but want a slight variation, keep all settings the same but change the Seed number. FunFun Art will display the Seed number for each generated image; you can copy and paste it to use it again.
How To Control Styles Directly With Your Prompts
While the library and sliders are powerful, true mastery comes from embedding stylistic instructions directly into your text prompts. This is like telling a chef exactly how to cook a dish instead of just ordering off the menu. This section covers how to create styles from scratch with keywords and how to use “Style Anchors” for consistency.
Basic Prompt-Based Styling: Creating An Aesthetic With Words
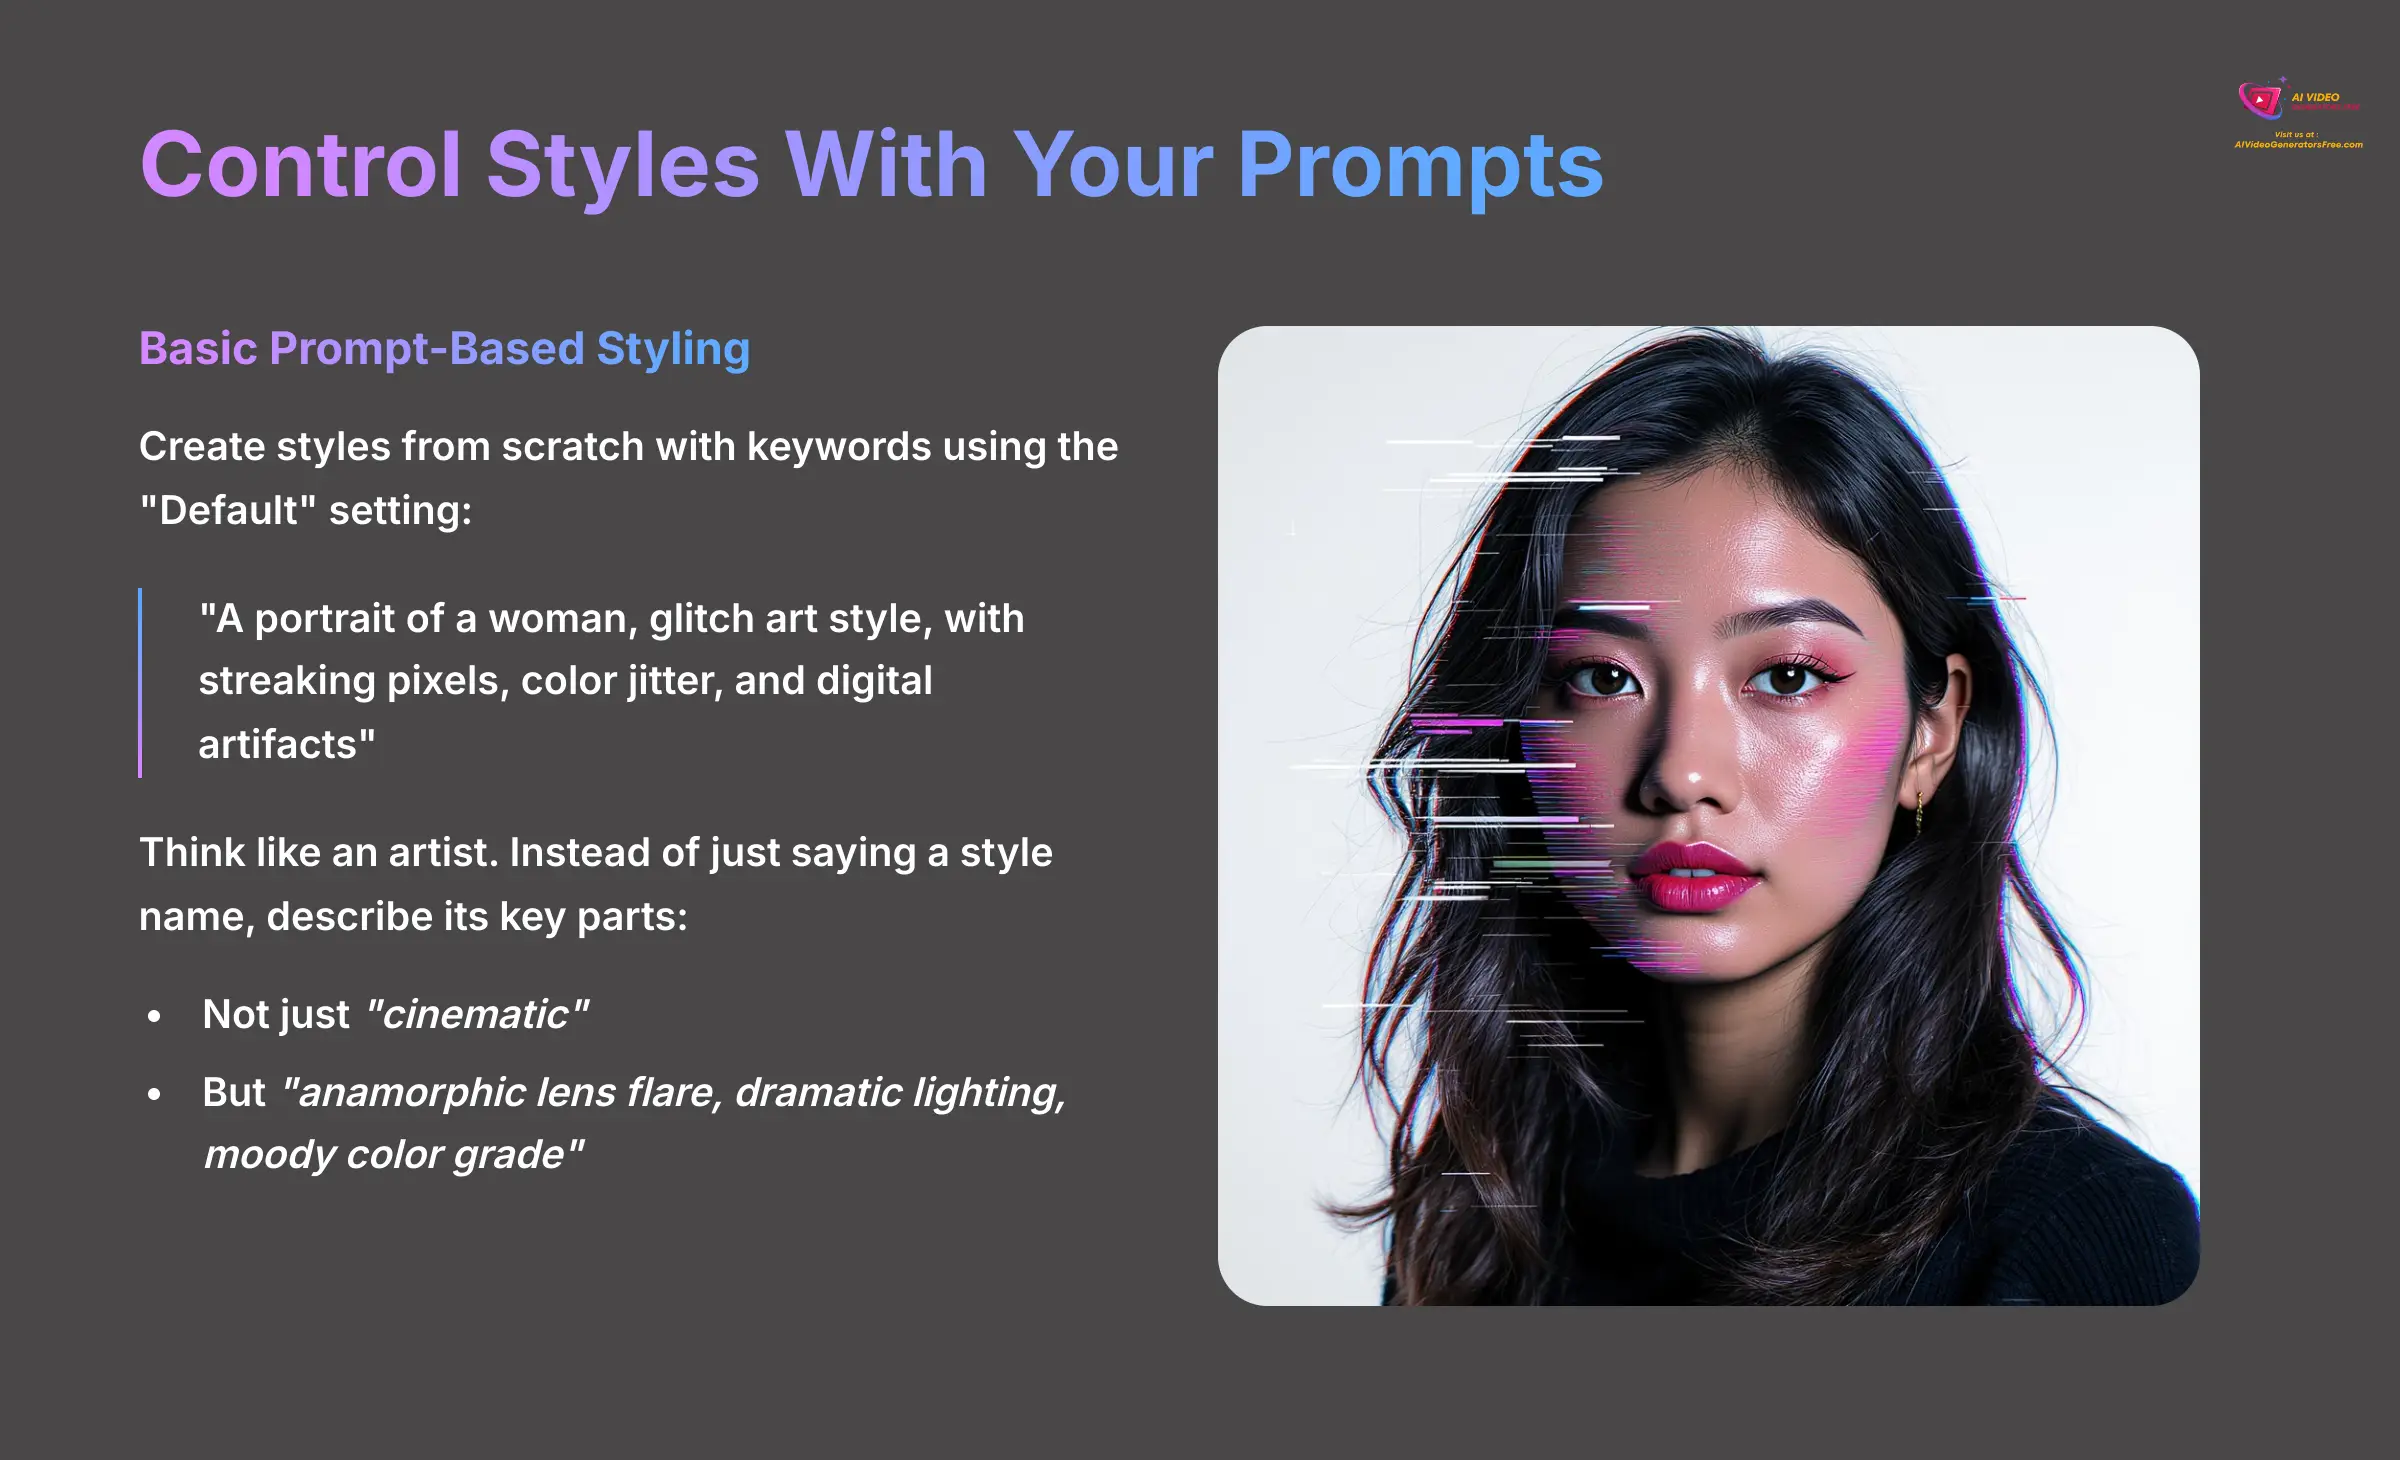
You can generate a style from the “Default” setting by providing detailed keywords. For instance, to create a “Glitch Art” effect, your prompt becomes: "A portrait of a woman, glitch art style, with streaking pixels, color jitter, and digital artifacts". The AI interprets these descriptive words to build the aesthetic without relying on a preset.
A recommended best practice from the FunFun Art community is to think like an artist. Instead of just saying a style name, you should describe its key parts. For example, instead of just “cinematic”, try a prompt like “anamorphic lens flare, dramatic lighting, moody color grade.” The AI rewards this specificity with much better results.
Advanced Control With “Style Anchors” For Consistency
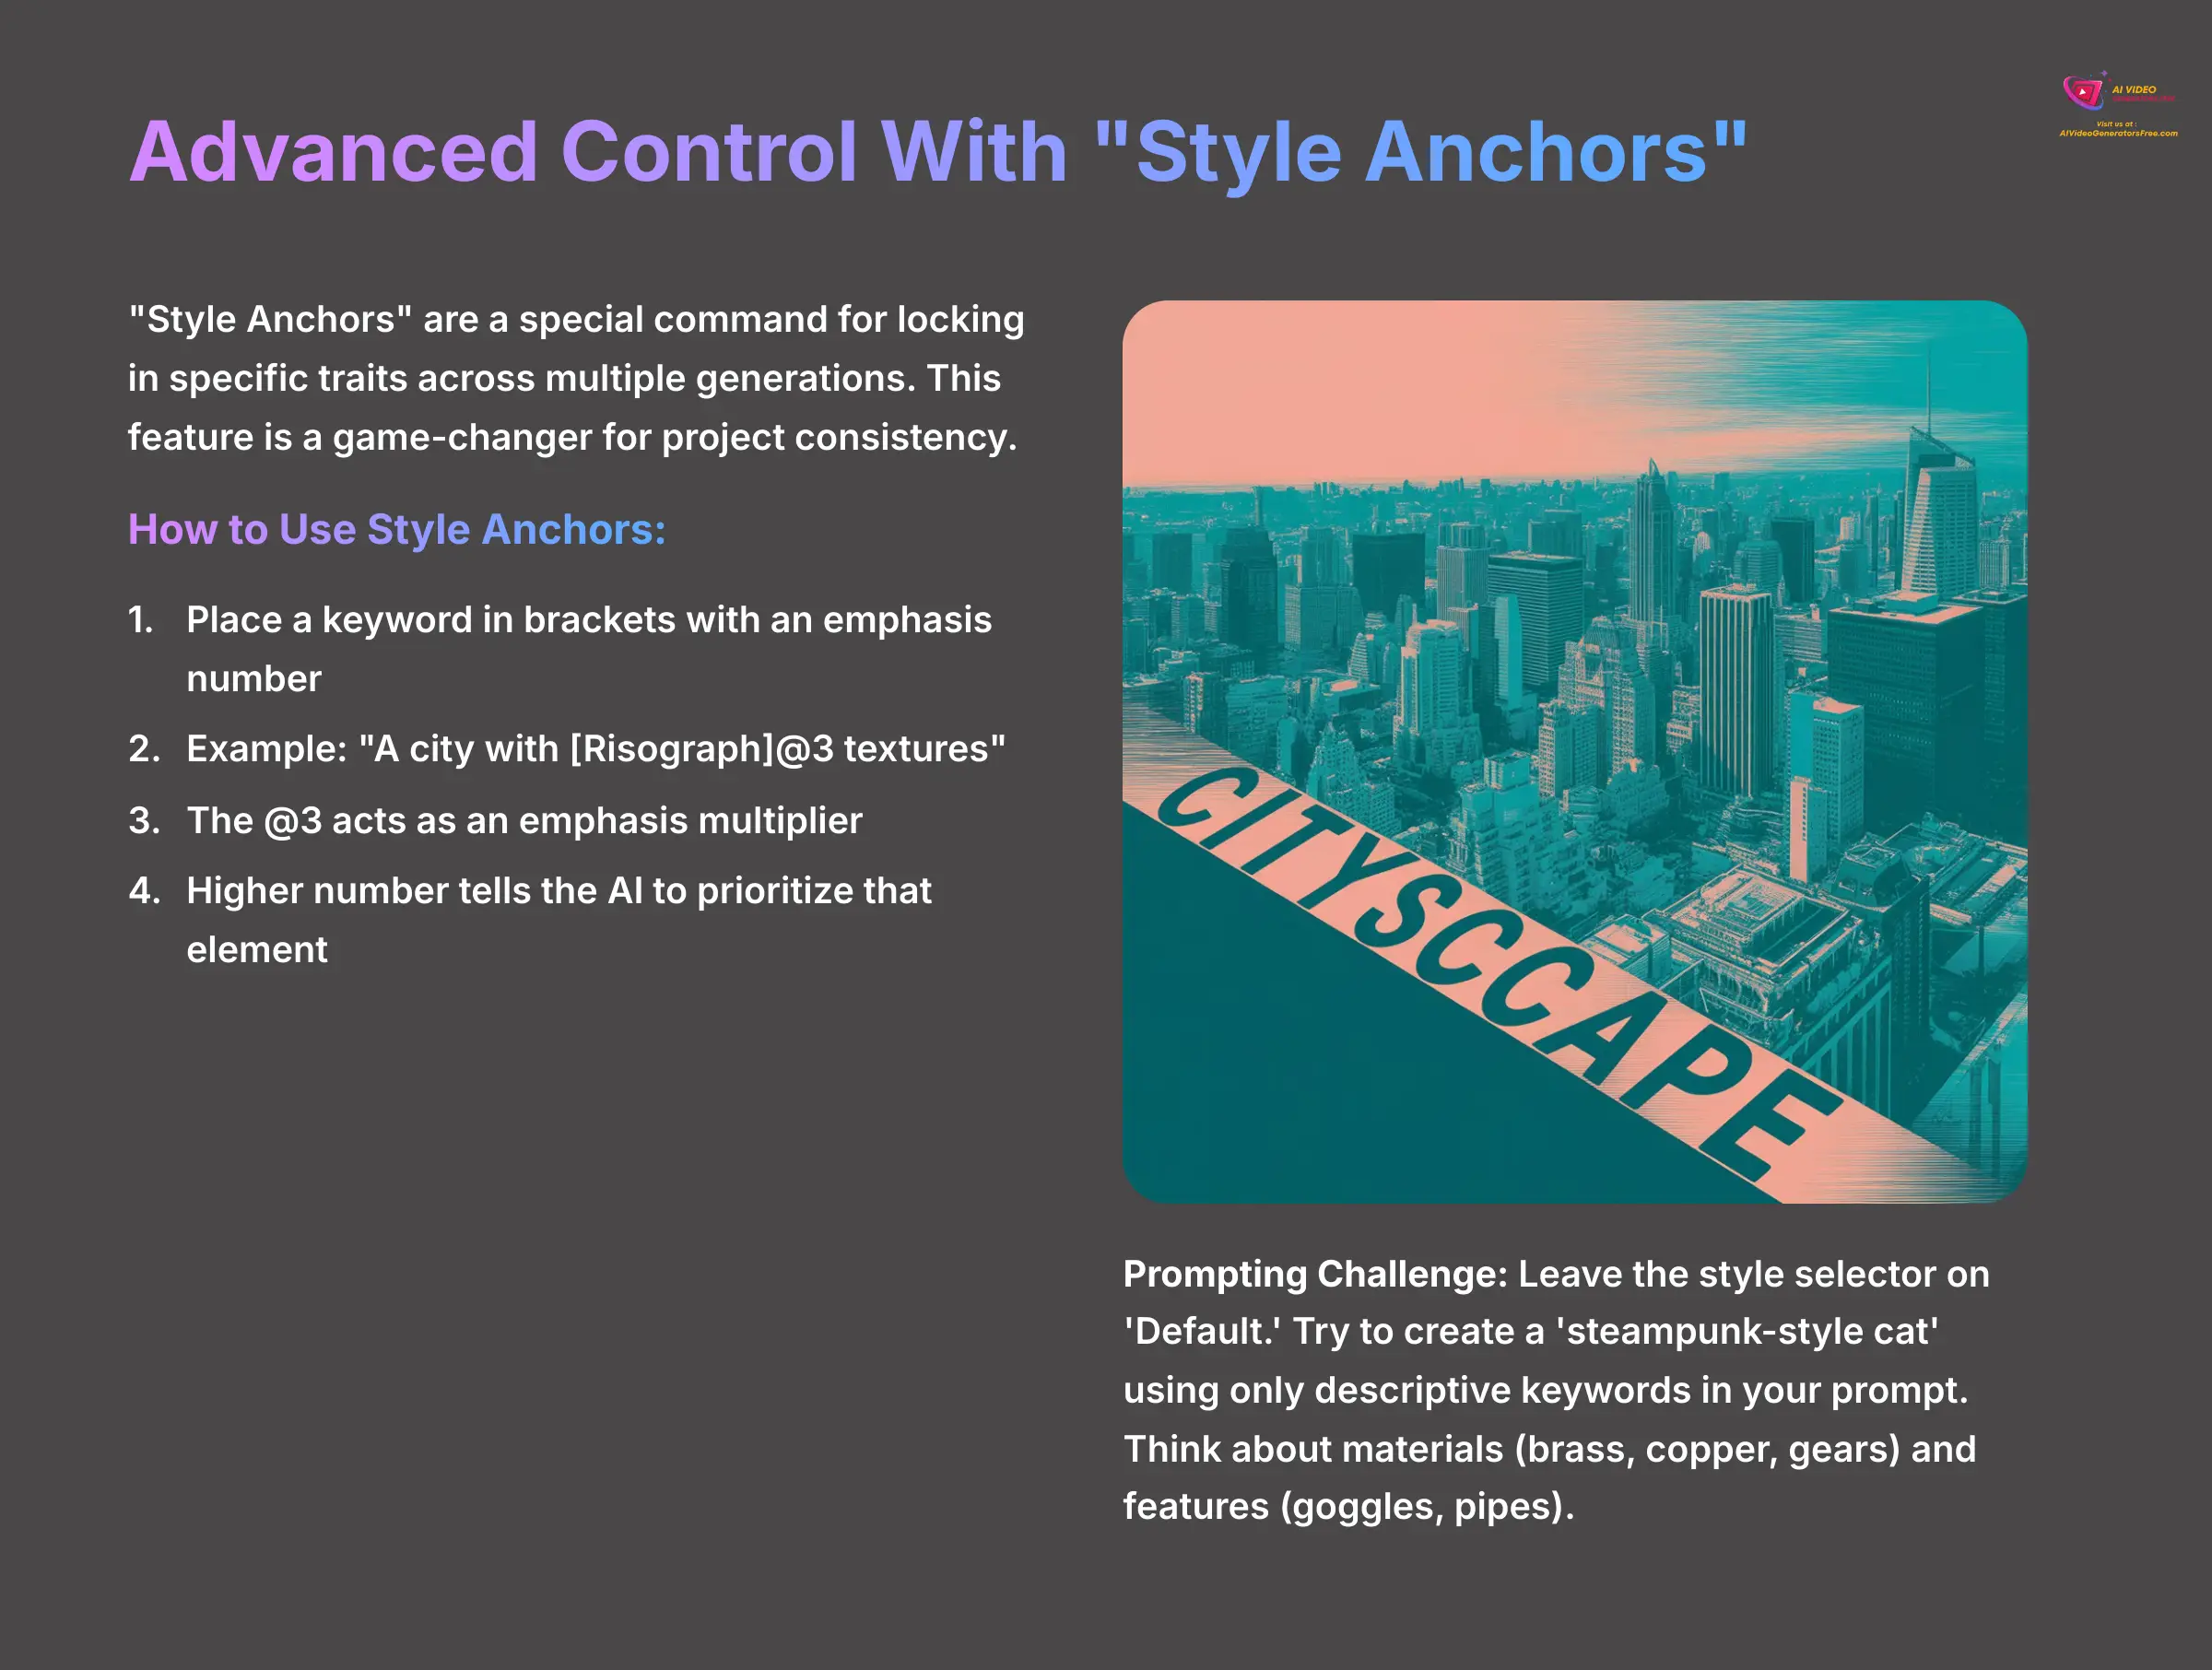
“Style Anchors” are a special command for locking in specific traits across multiple generations. This feature is a game-changer for project consistency. To use it, you place a keyword in brackets with an emphasis number.
For example, a prompt like "A city with [Risograph]@3 textures" forces the AI model to prioritize that specific texture. The @3 acts as an emphasis multiplier—a higher number tells the AI to pay even more attention to that element, locking it in. This gives you unparalleled control and makes sure that key stylistic elements remain present even when you change other parts of the prompt.
Prompting Challenge: Leave the style selector on ‘Default.' Try to create a ‘steampunk-style cat' using only descriptive keywords in your prompt. Think about materials (brass, copper, gears) and features (goggles, pipes).
Part 2: Troubleshooting And Refinement
How To Troubleshoot Common AI Style Issues
As you experiment, you'll face common challenges. This section is your troubleshooting guide. It provides clear, actionable solutions to the most frequent problems, from one style overpowering another to blurry final images.
Issue 1: How Do I Fix A Style That Is Too Dominant?

A common issue when blending styles is that one look overpowers the other. The solution is using weighted keywords in your prompt to dial back the dominant style. You can modify the prompt to "A beautiful landscape, (Art Deco: 0.3), (fluid shapes: 0.7)" to reduce the influence of Art Deco and increase the influence of the fluid shapes.
Issue 2: How Do I Fix Inconsistent Or Incorrect Style Application?
Sometimes the AI applies the desired style unevenly. The fix is to refine your prompt to be more specific and use Style Anchors. Instead of a general prompt like "gothic", try "gothic revival architecture with pointed arches and stained glass". For even better control, add an anchor like [gothic arches] to force the AI to focus on that specific element.
Issue 3: How Do I Fix A Blurry Or Low-Detail Output?
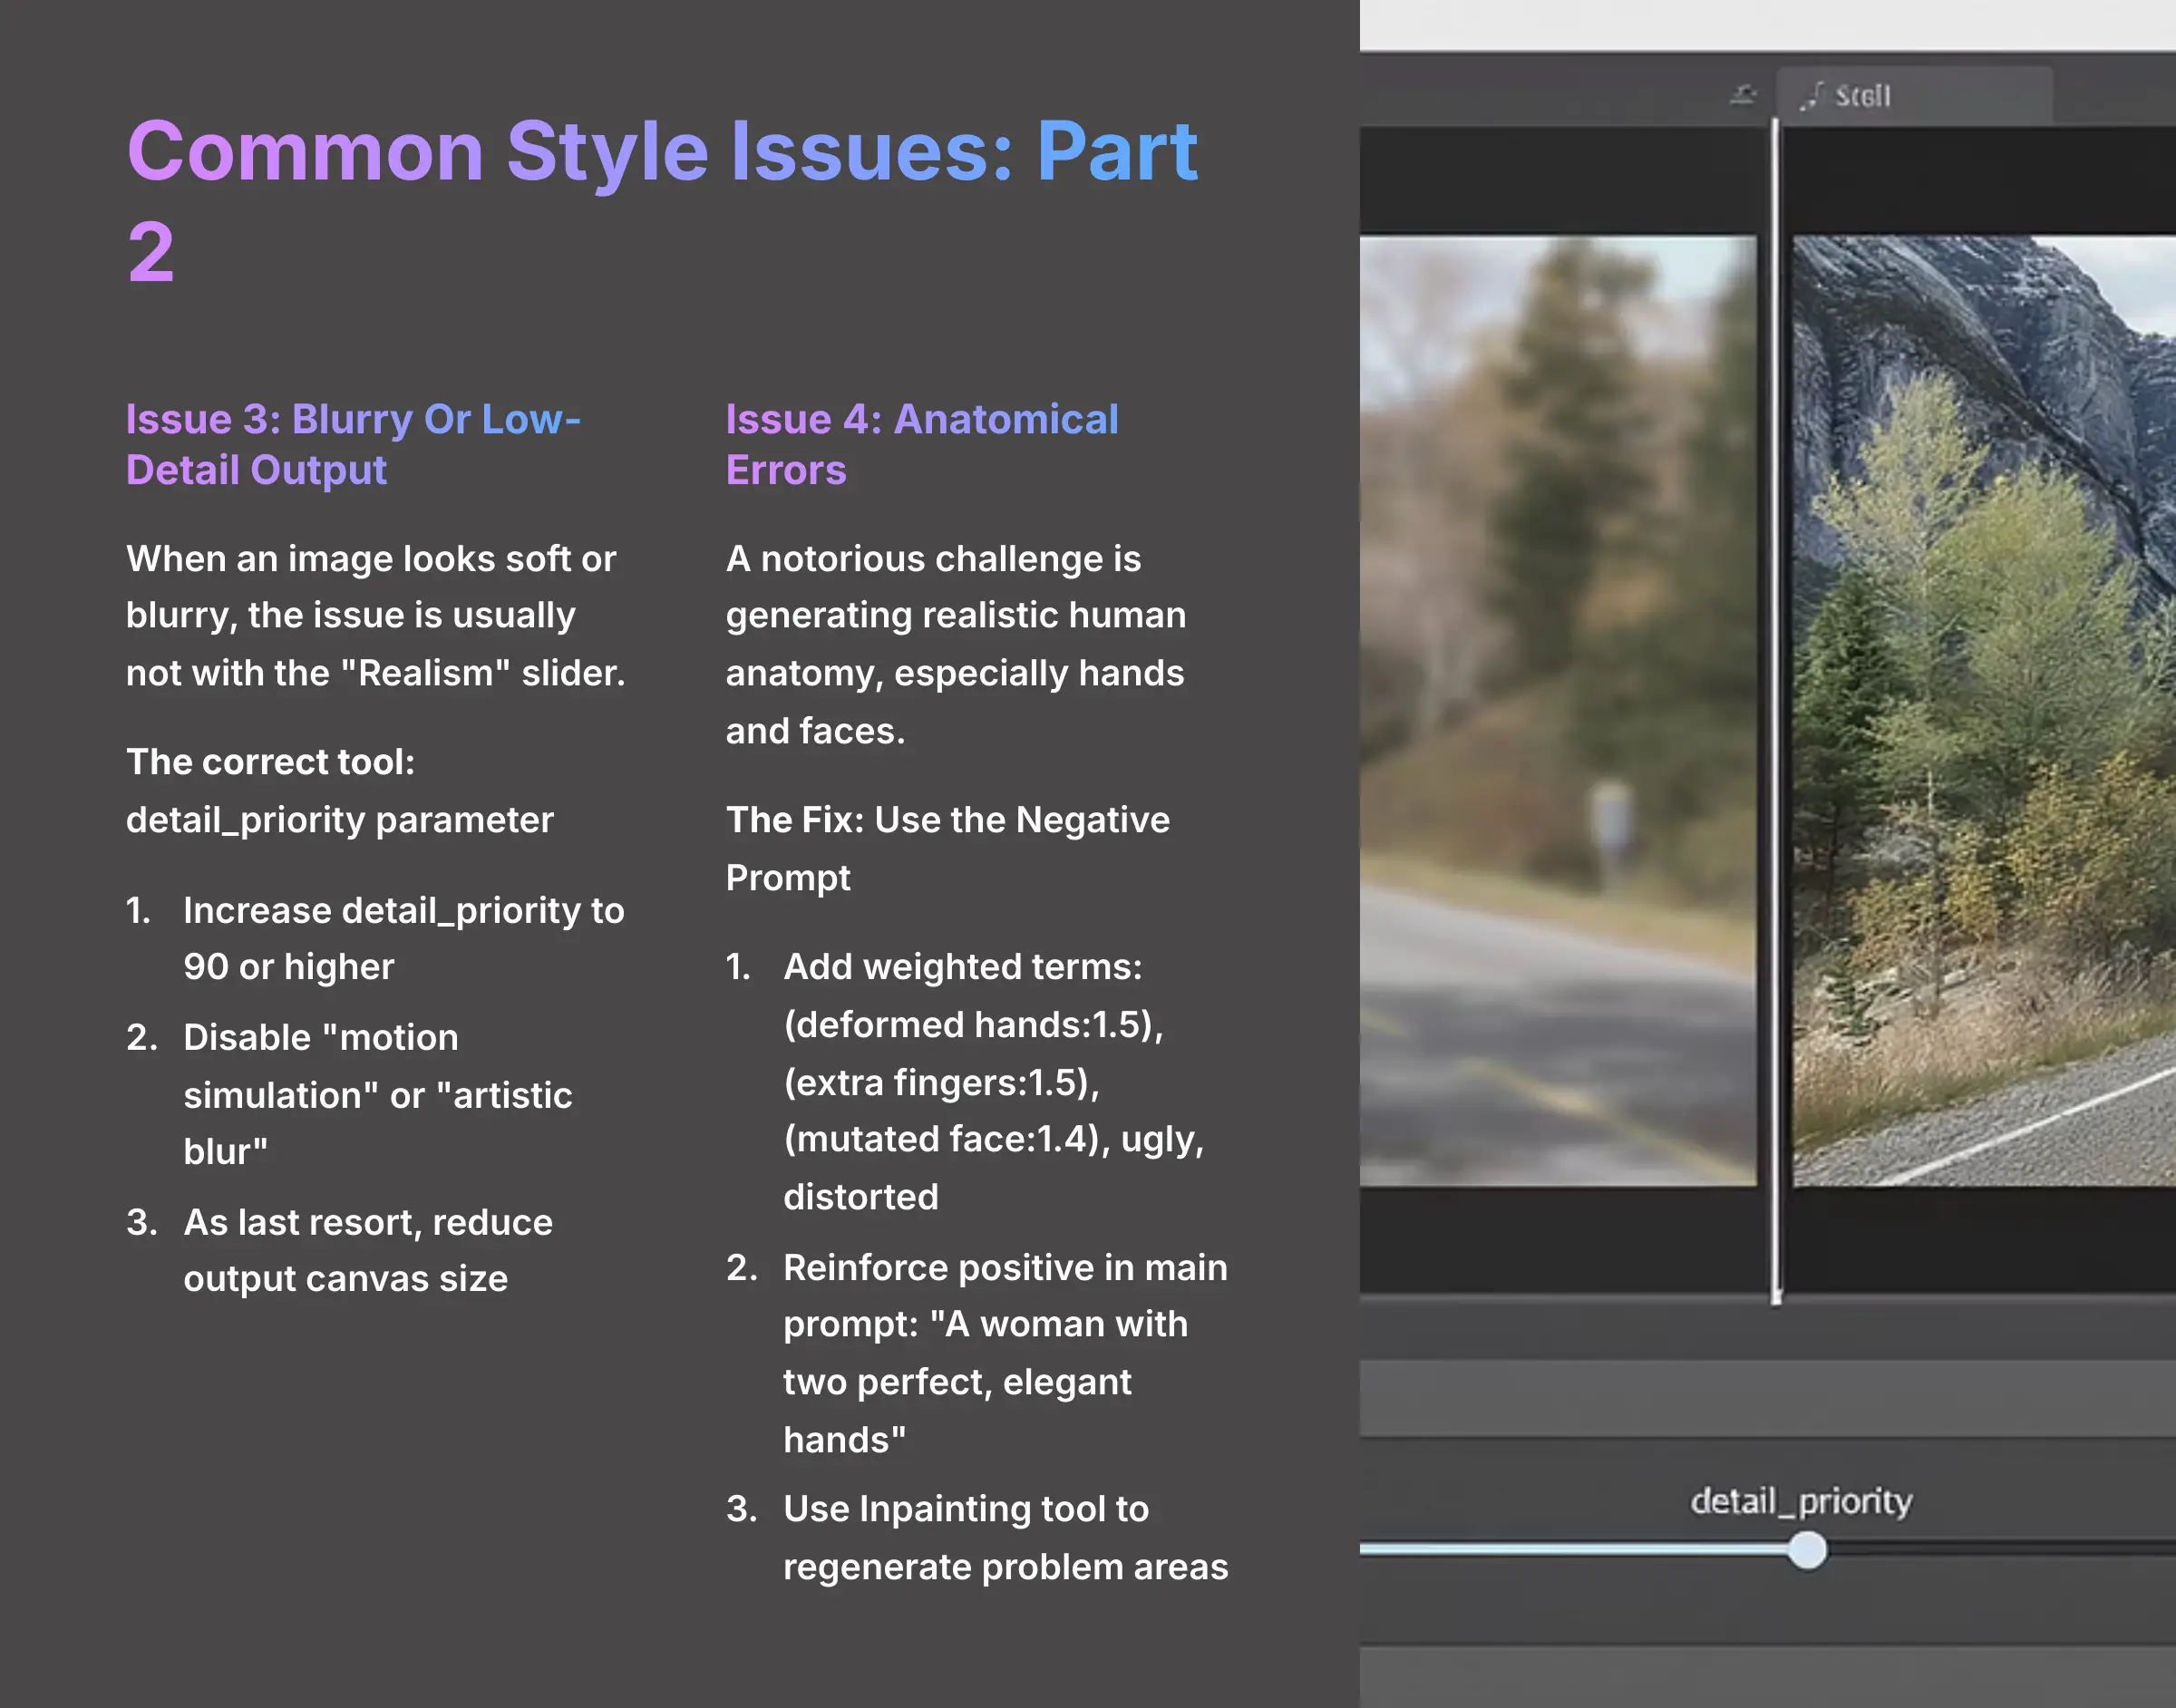
When an image looks soft or blurry, the issue is usually not with the “Realism” slider. Think of it this way: “Realism” controls what the AI draws (a photo vs. a painting), while detail_priority controls how well it draws it (sharp vs. soft). The correct tool for fixing blurriness is the detail_priority parameter. Here is a checklist to fix blurriness:
-
In the advanced parameter settings, increase the
detail_priorityto a value of 90 or higher. - Disable settings related to “motion simulation” or “artistic blur.”
- As a last resort, slightly reduce the output canvas size, because very large resolutions can sometimes overload the rendering process.
Issue 4: How Do I Fix Anatomical Errors Like Bad Hands Or Distorted Faces?
A notorious challenge in AI art is generating realistic human anatomy, especially hands and faces. These elements can sometimes appear distorted, mutated, or with an incorrect number of fingers. This is where the Negative Prompt becomes your most powerful tool.
The Fix: Use the Negative Prompt to explicitly forbid common flaws.
- In the “Negative Prompt” field, add highly-weighted terms for common errors. For example:
(deformed hands:1.5), (extra fingers:1.5), (mutated face:1.4), ugly, distorted, malformed, extra limbs, blurry face. - In your main prompt, sometimes reinforcing the positive can help:
"A woman with two perfect, elegant hands." - If a face is the problem, generate the image with a less detailed face and then use an Inpainting tool (if available) to regenerate only the facial area with a more specific prompt.
Now that you know how to fix common issues, let's use some of those same concepts to unlock professional-level creative control.
Part 3: Advanced And Professional Workflows
What Advanced Techniques Do Power Users Apply?
Ready for professional-level control and efficiency? This section is for power users. I'll cover true style hybridization, the art of the negative prompt, and how to use batch processing to test ideas at scale.
Technique 1: True Style Hybridization With Weighted Prompts
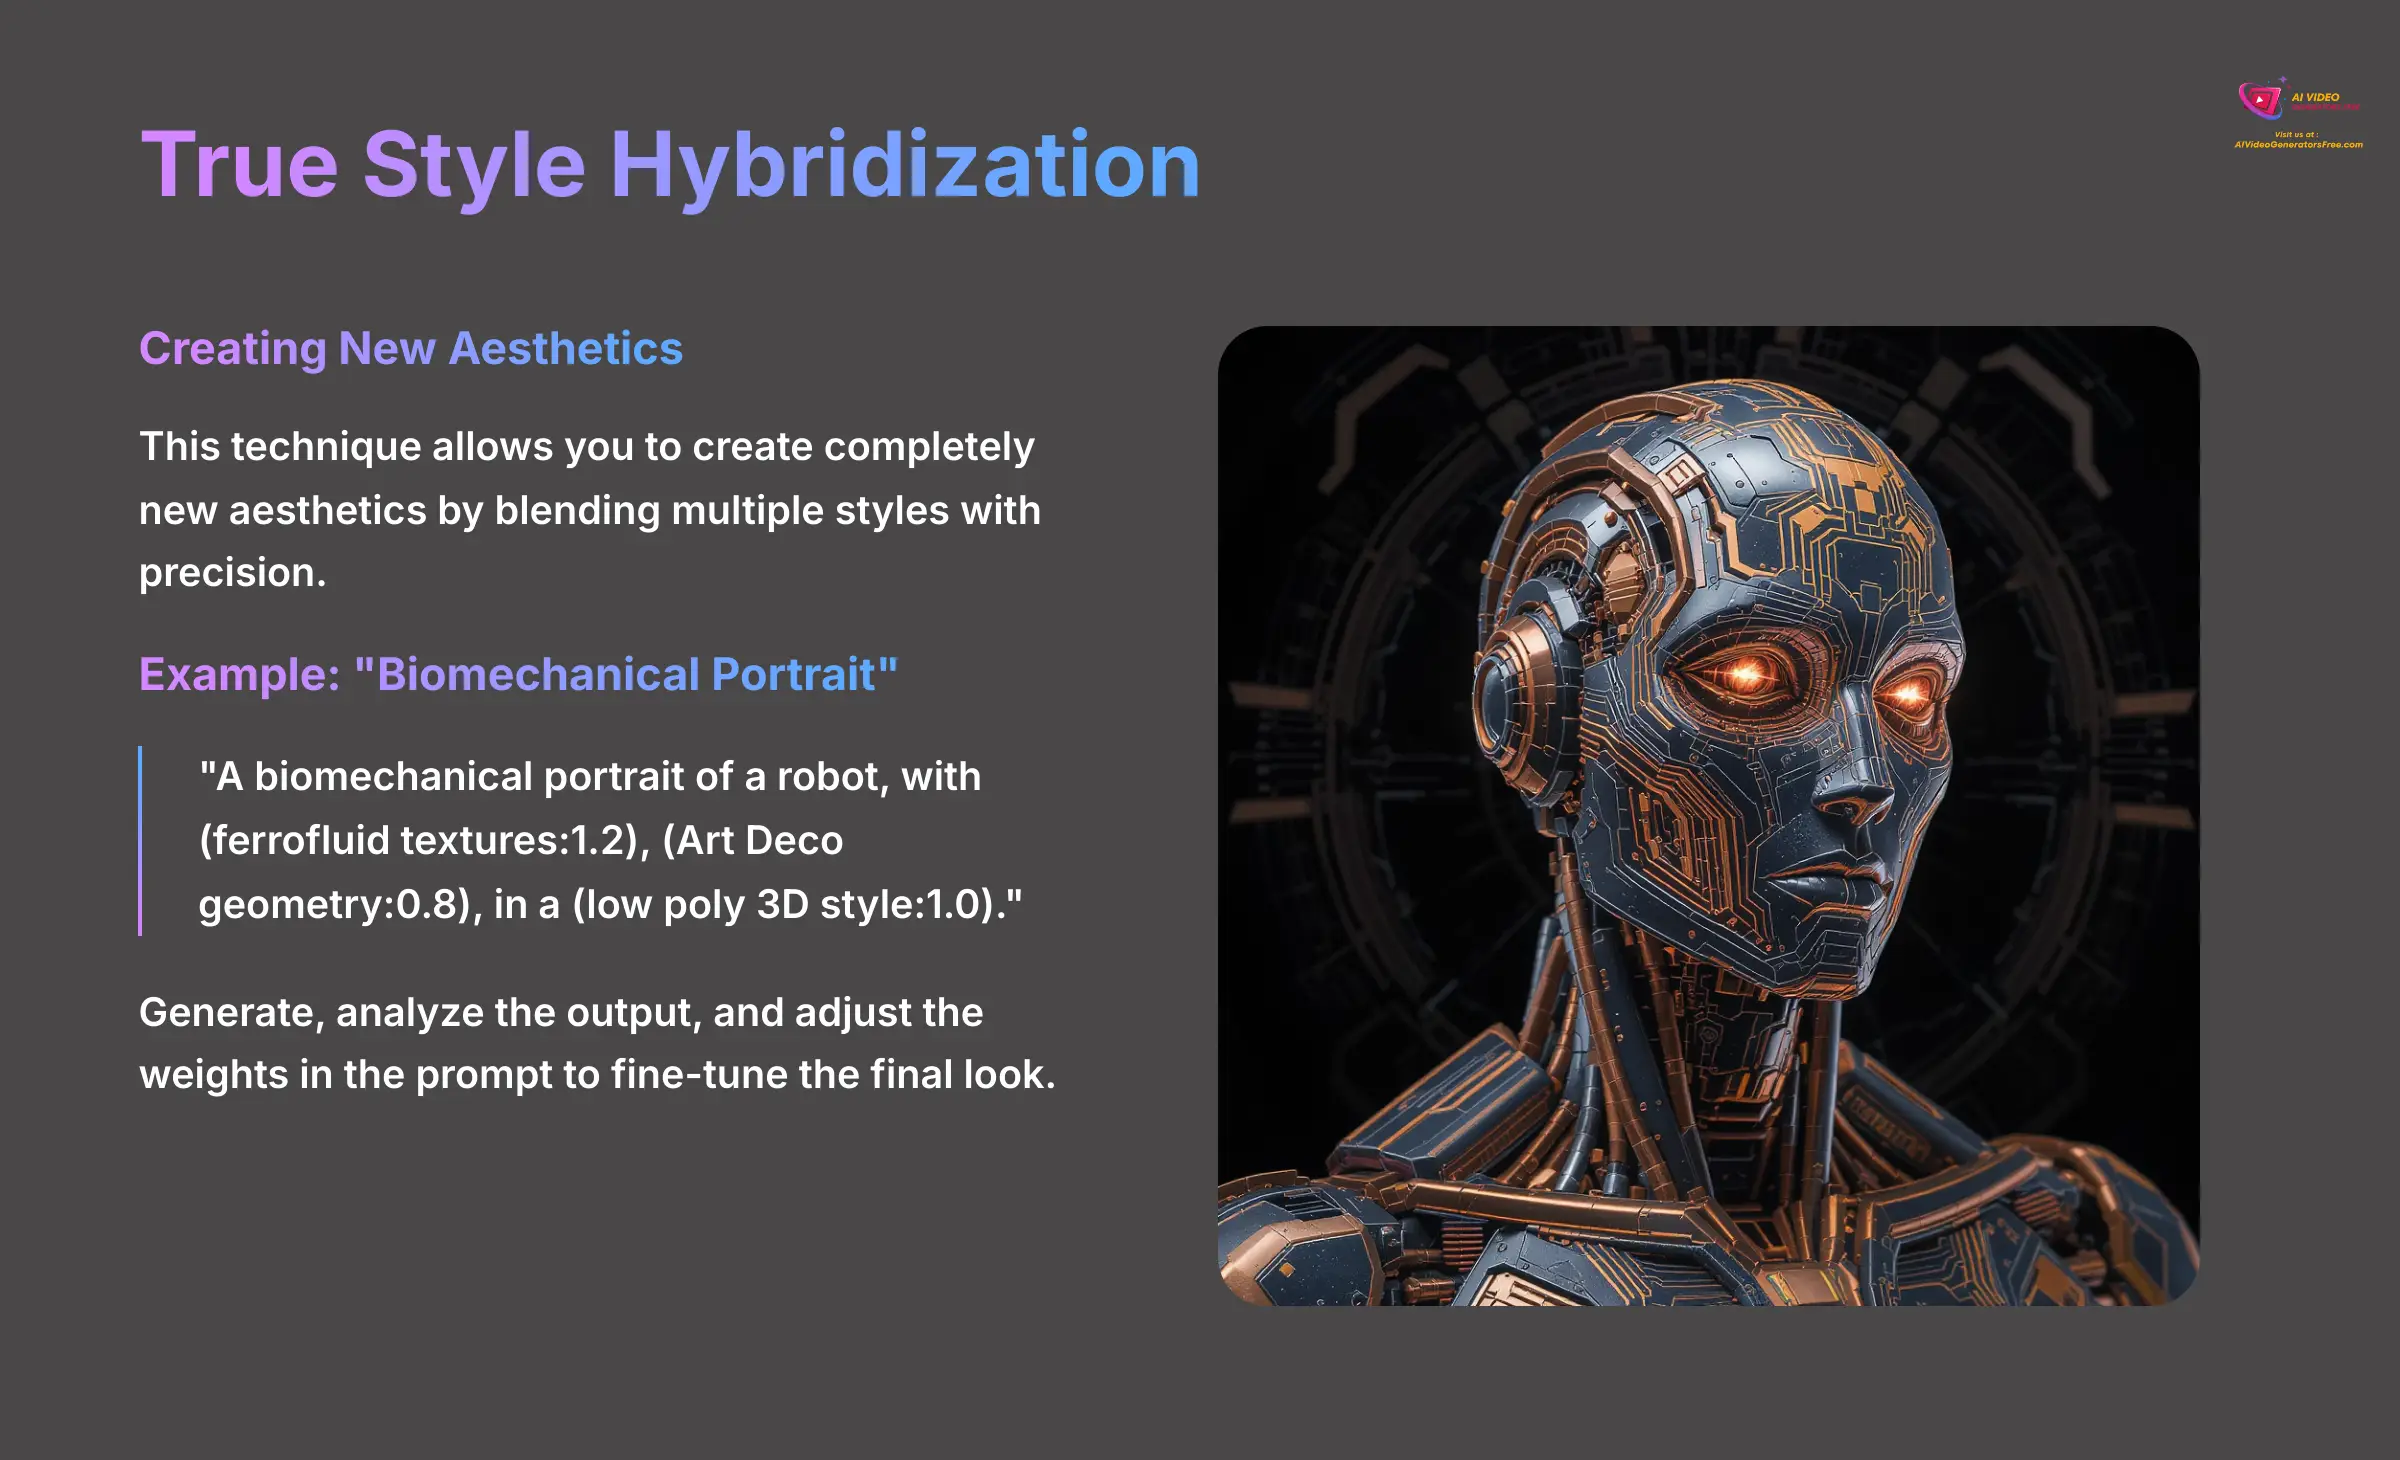
This technique allows you to create completely new aesthetics by blending multiple styles with precision. For example, to create a “Biomechanical Portrait,” you write a prompt that combines keywords from Ferrofluid, Art Deco, and Low Poly 3D styles: "A biomechanical portrait of a robot, with (ferrofluid textures:1.2), (Art Deco geometry:0.8), in a (low poly 3D style:1.0).". You can then generate, analyze the output, and adjust the weights in the prompt to fine-tune the final look.
Technique 2: Refining With Negative Prompts
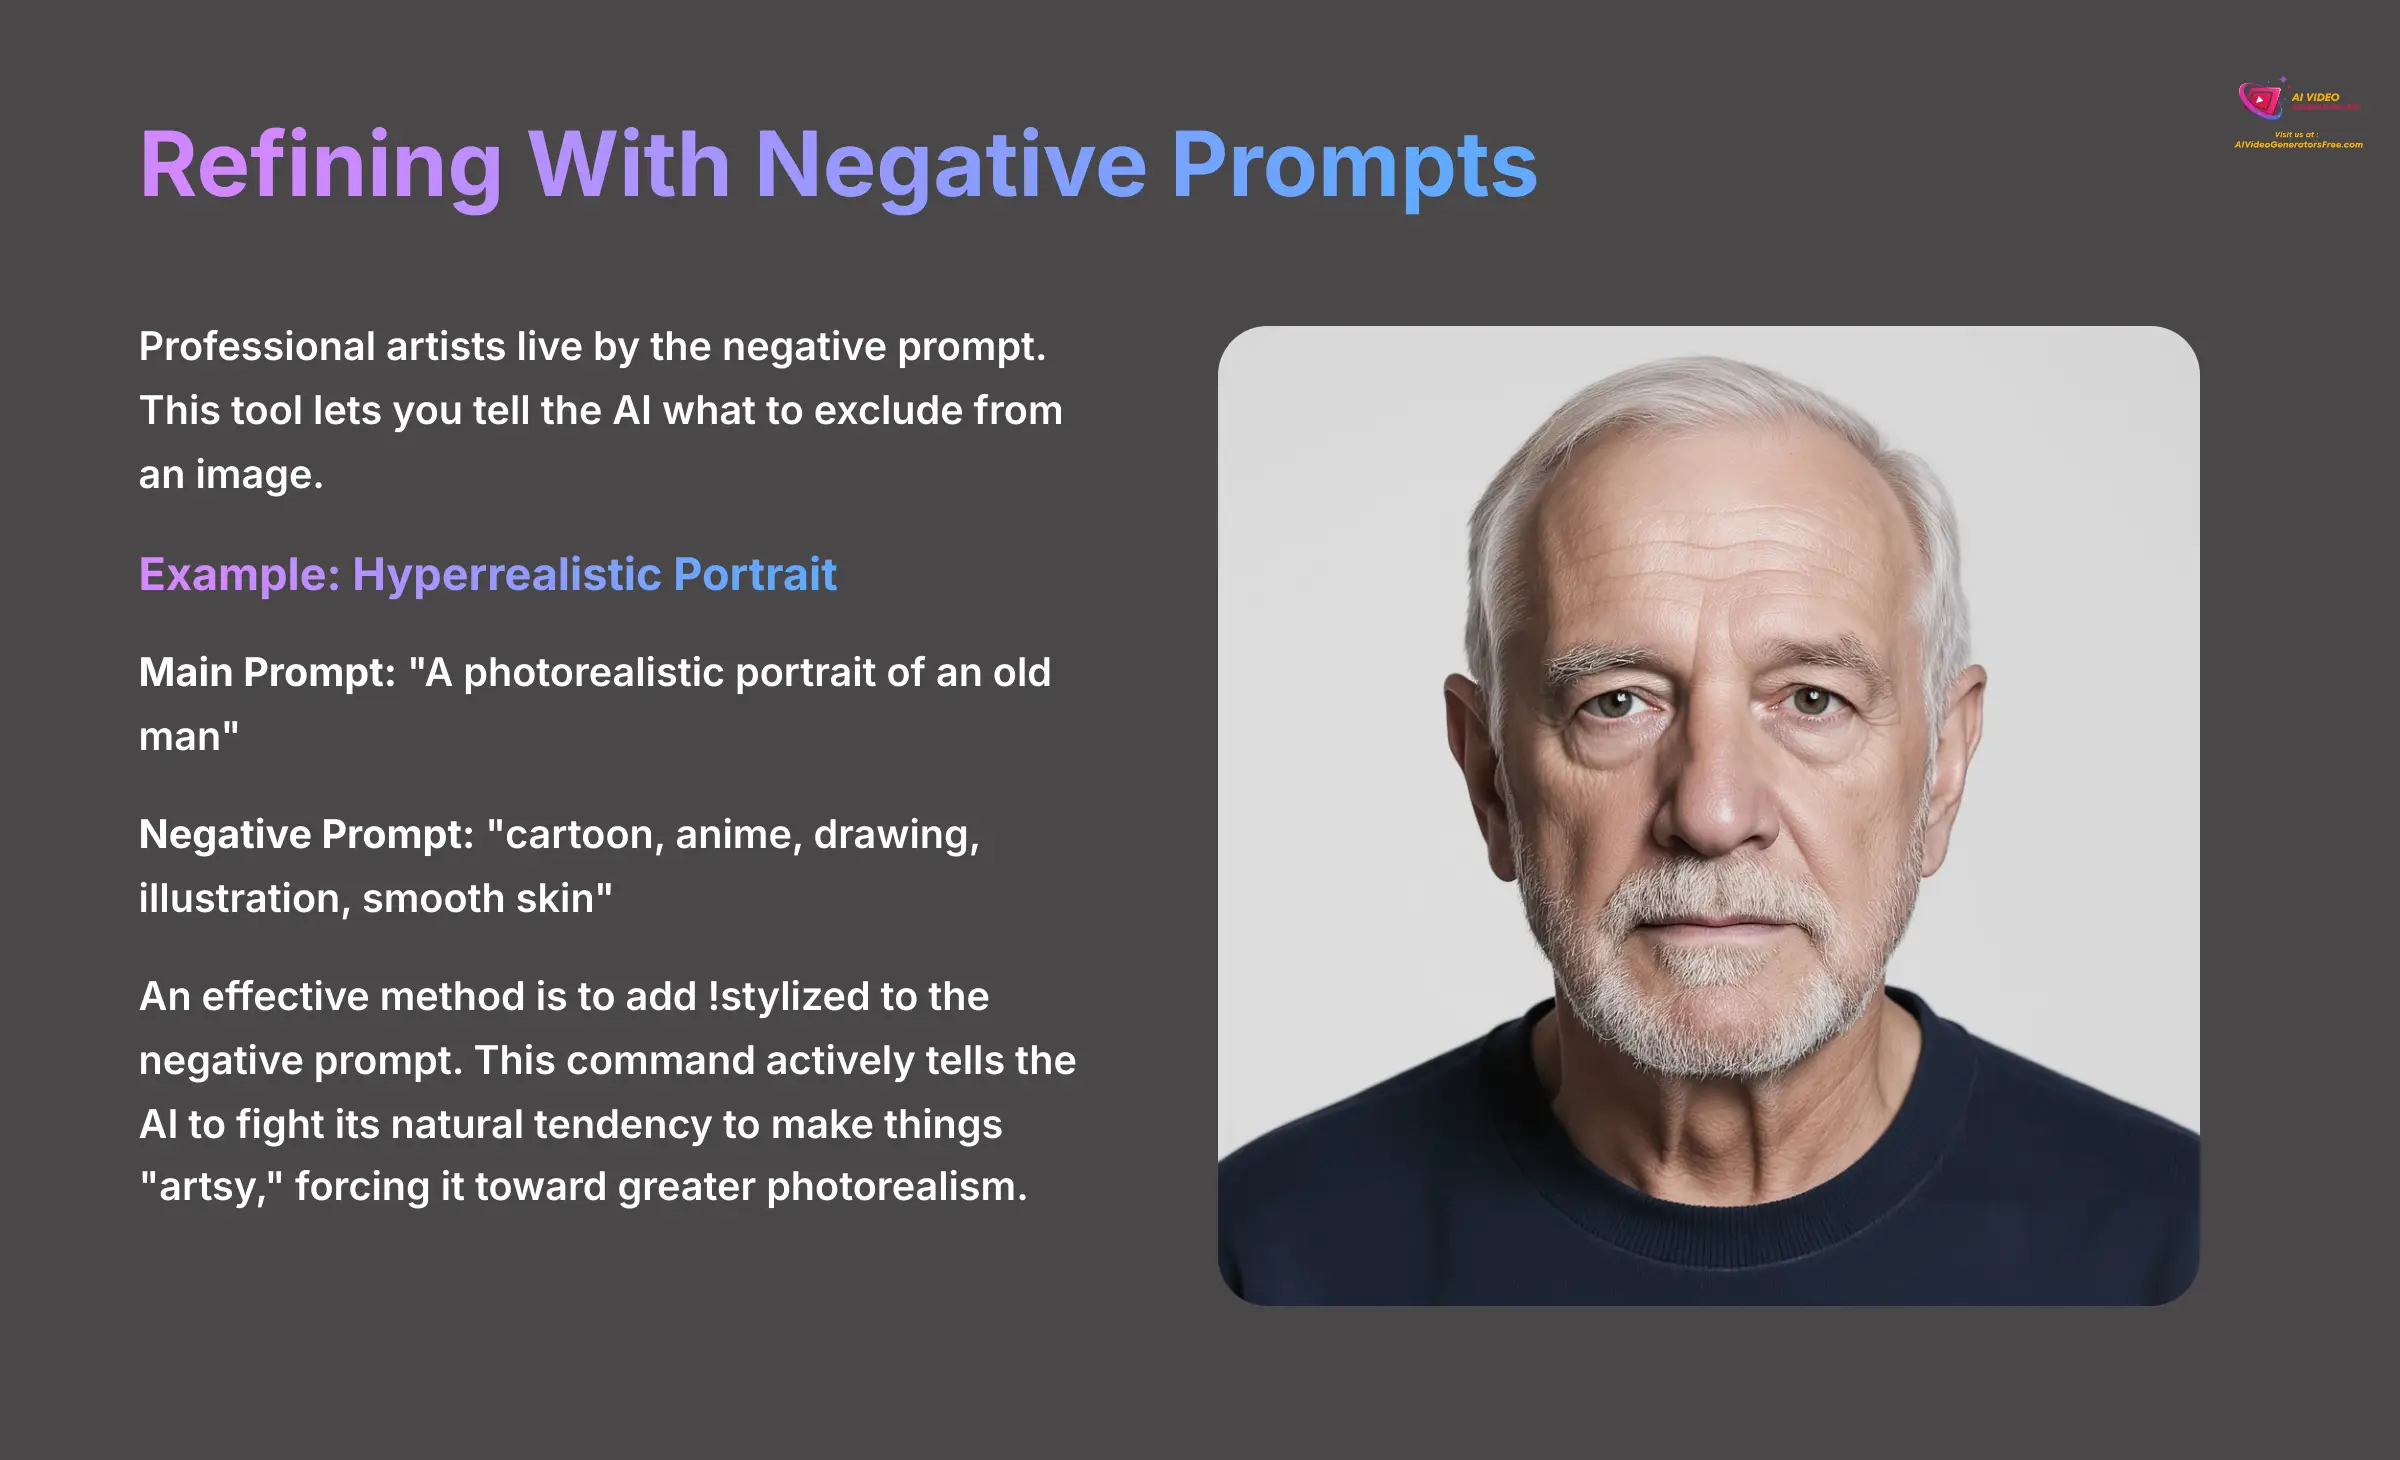
Professional artists live by the negative prompt. This tool lets you tell the AI what to exclude from an image. For a hyperrealistic portrait, you would enter "A photorealistic portrait of an old man" in the main prompt box. Then, in the dedicated “Negative Prompt” box, you add keywords for everything you want to remove, such as "cartoon, anime, drawing, illustration, smooth skin."
An effective method is to add !stylized to the negative prompt. This command actively tells the AI to fight its natural tendency to make things “artsy,” forcing it toward greater photorealism.
Technique 3: Efficient Batch Processing With CSV Files
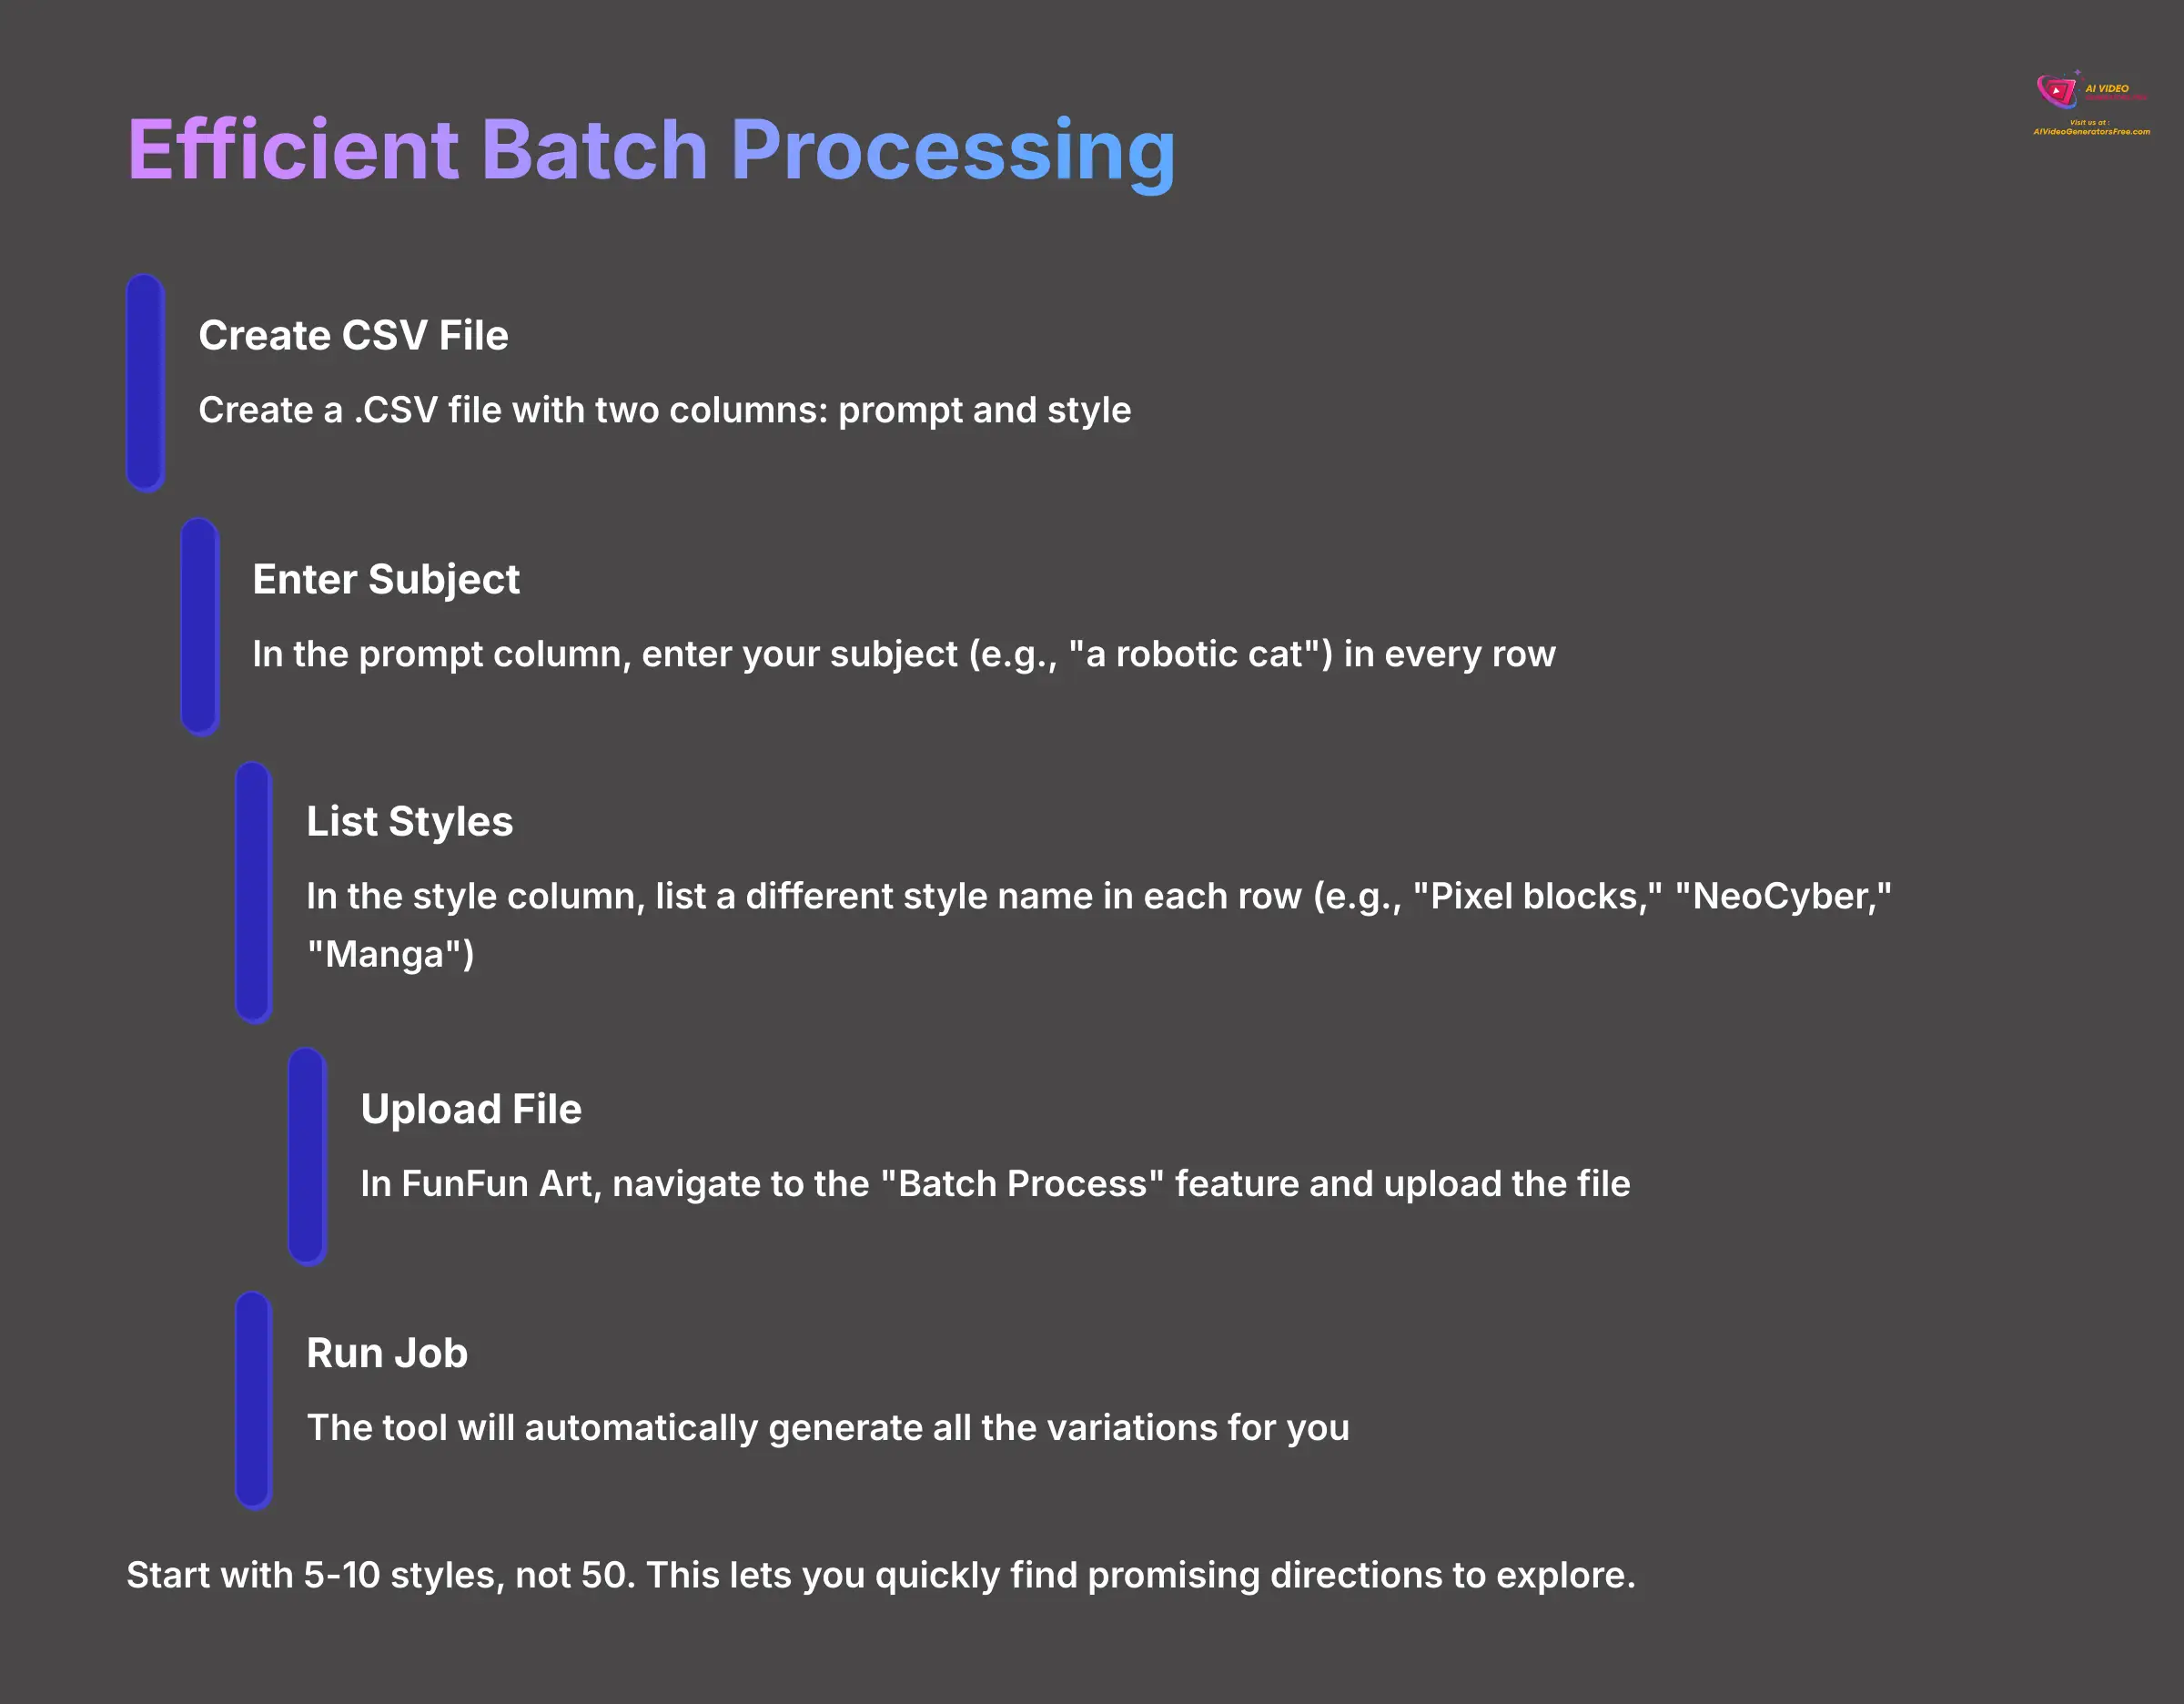
This workflow is for testing a single subject across many styles efficiently. For batch processing, start with 5-10 styles, not 50. This lets you quickly find promising directions to explore.
- Create a
.CSVfile with two columns:promptandstyle. - In the
promptcolumn, enter your subject (e.g., “a robotic cat”) in every row. - In the
stylecolumn, list a different style name in each row (e.g., “Pixel blocks,” “NeoCyber,” “Manga”). - In FunFun Art, navigate to the “Batch Process” feature, upload the file, and run the job. The tool will automatically generate all the variations for you.
Technique 4: Precision Editing With Inpainting And Outpainting
Professionals rarely use a generated image as-is. Inpainting and Outpainting are two transformative editing features built directly into FunFun Art that give you surgical control.
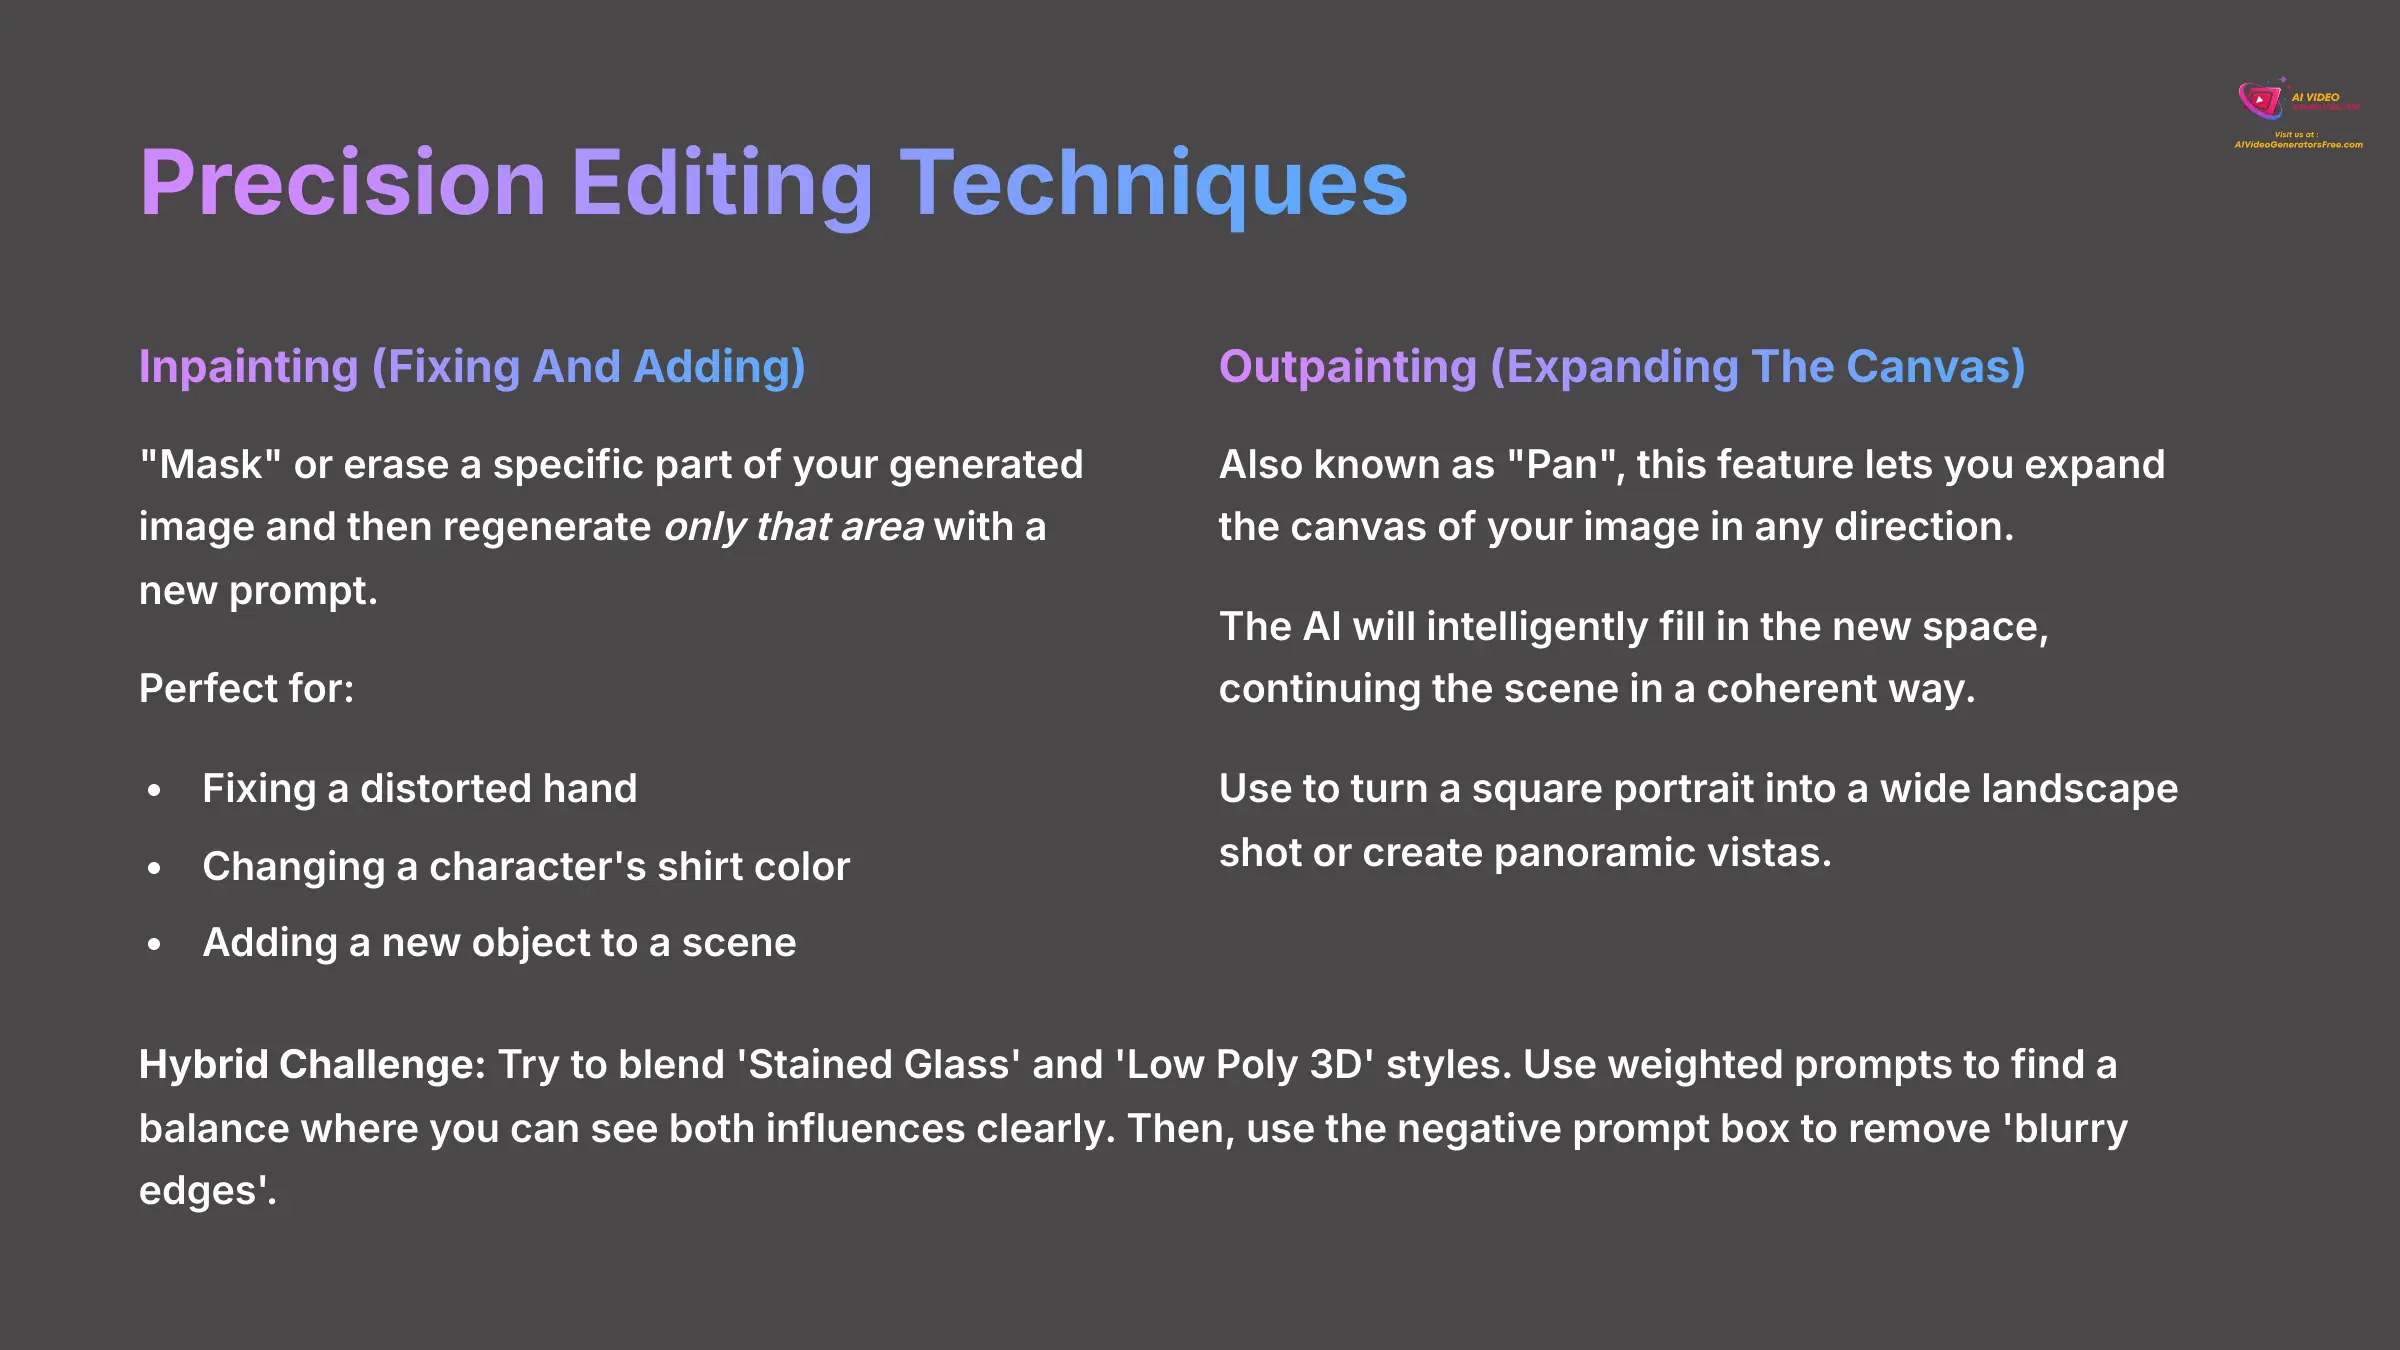
- Inpainting (Fixing And Adding): This allows you to “mask” or erase a specific part of your generated image and then regenerate only that area with a new prompt. It's the perfect tool for fixing a distorted hand, changing a character's shirt color, or adding a new object to a scene without having to re-roll the entire image.
- Outpainting (Expanding The Canvas): Also known as “Pan,” this feature lets you expand the canvas of your image in any direction. The AI will intelligently fill in the new space, continuing the scene in a coherent way. This is how you can turn a square portrait into a wide landscape shot or create panoramic vistas from a single starting image.
Hybrid Challenge: Try to blend ‘Stained Glass' and ‘Low Poly 3D' styles. Use weighted prompts to find a balance where you can see both influences clearly. Then, use the negative prompt box to remove ‘blurry edges'.
How To Apply Your Skills In Three Practical Projects
Theory is good, but practical application solidifies skills. This section walks you through three distinct projects from start to finish. I provide the exact prompts, parameters, and context for each one.
Project 1: Creating Architectural Visualization
Goal: Create a concept image of a “Gothic Revival sk

Leave a Reply