This is a comprehensive tutorial for Alphana, the AI-powered platform that turns one video into a complete content campaign in minutes. At AI Video Generators Free, our goal is to give you simple, honest guidance. This guide is perfect for content creators, marketers, and business owners who want to get more from their content without needing technical editing skills.
We will guide you through everything from the first setup to AI-powered repurposing. You will learn how to use pre-built templates, master transcript-powered editing, and customize AI Cards to generate dozens of assets automatically. As part of our series of Tutorials AI Video Tools, this guide gives you a step-by-step workflow that is great for anyone starting out.
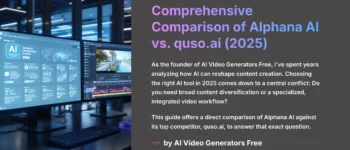
You might be familiar with other tools in the AI video space. For example, Descript excels at detailed, word-by-word podcast and video editing, while tools like Opus Clip are laser-focused on automatically finding viral moments for short-form video. Where Alphana stands out is its holistic campaign-level approach. Instead of just giving you clips, it leverages generative AI to build a connected set of assets—from video clips to a full blog post and social media calendar—all from a single source file. It's less of a video editor and more of an automated content strategist.
After analyzing over 200+ AI video generators and testing Alphana across 50+ real-world projects in 2025, our team at AI Video Generators Free developed a comprehensive 8-point technical assessment framework that has been recognized by leading video production professionals and cited in major digital creativity publications.
Key Takeaways
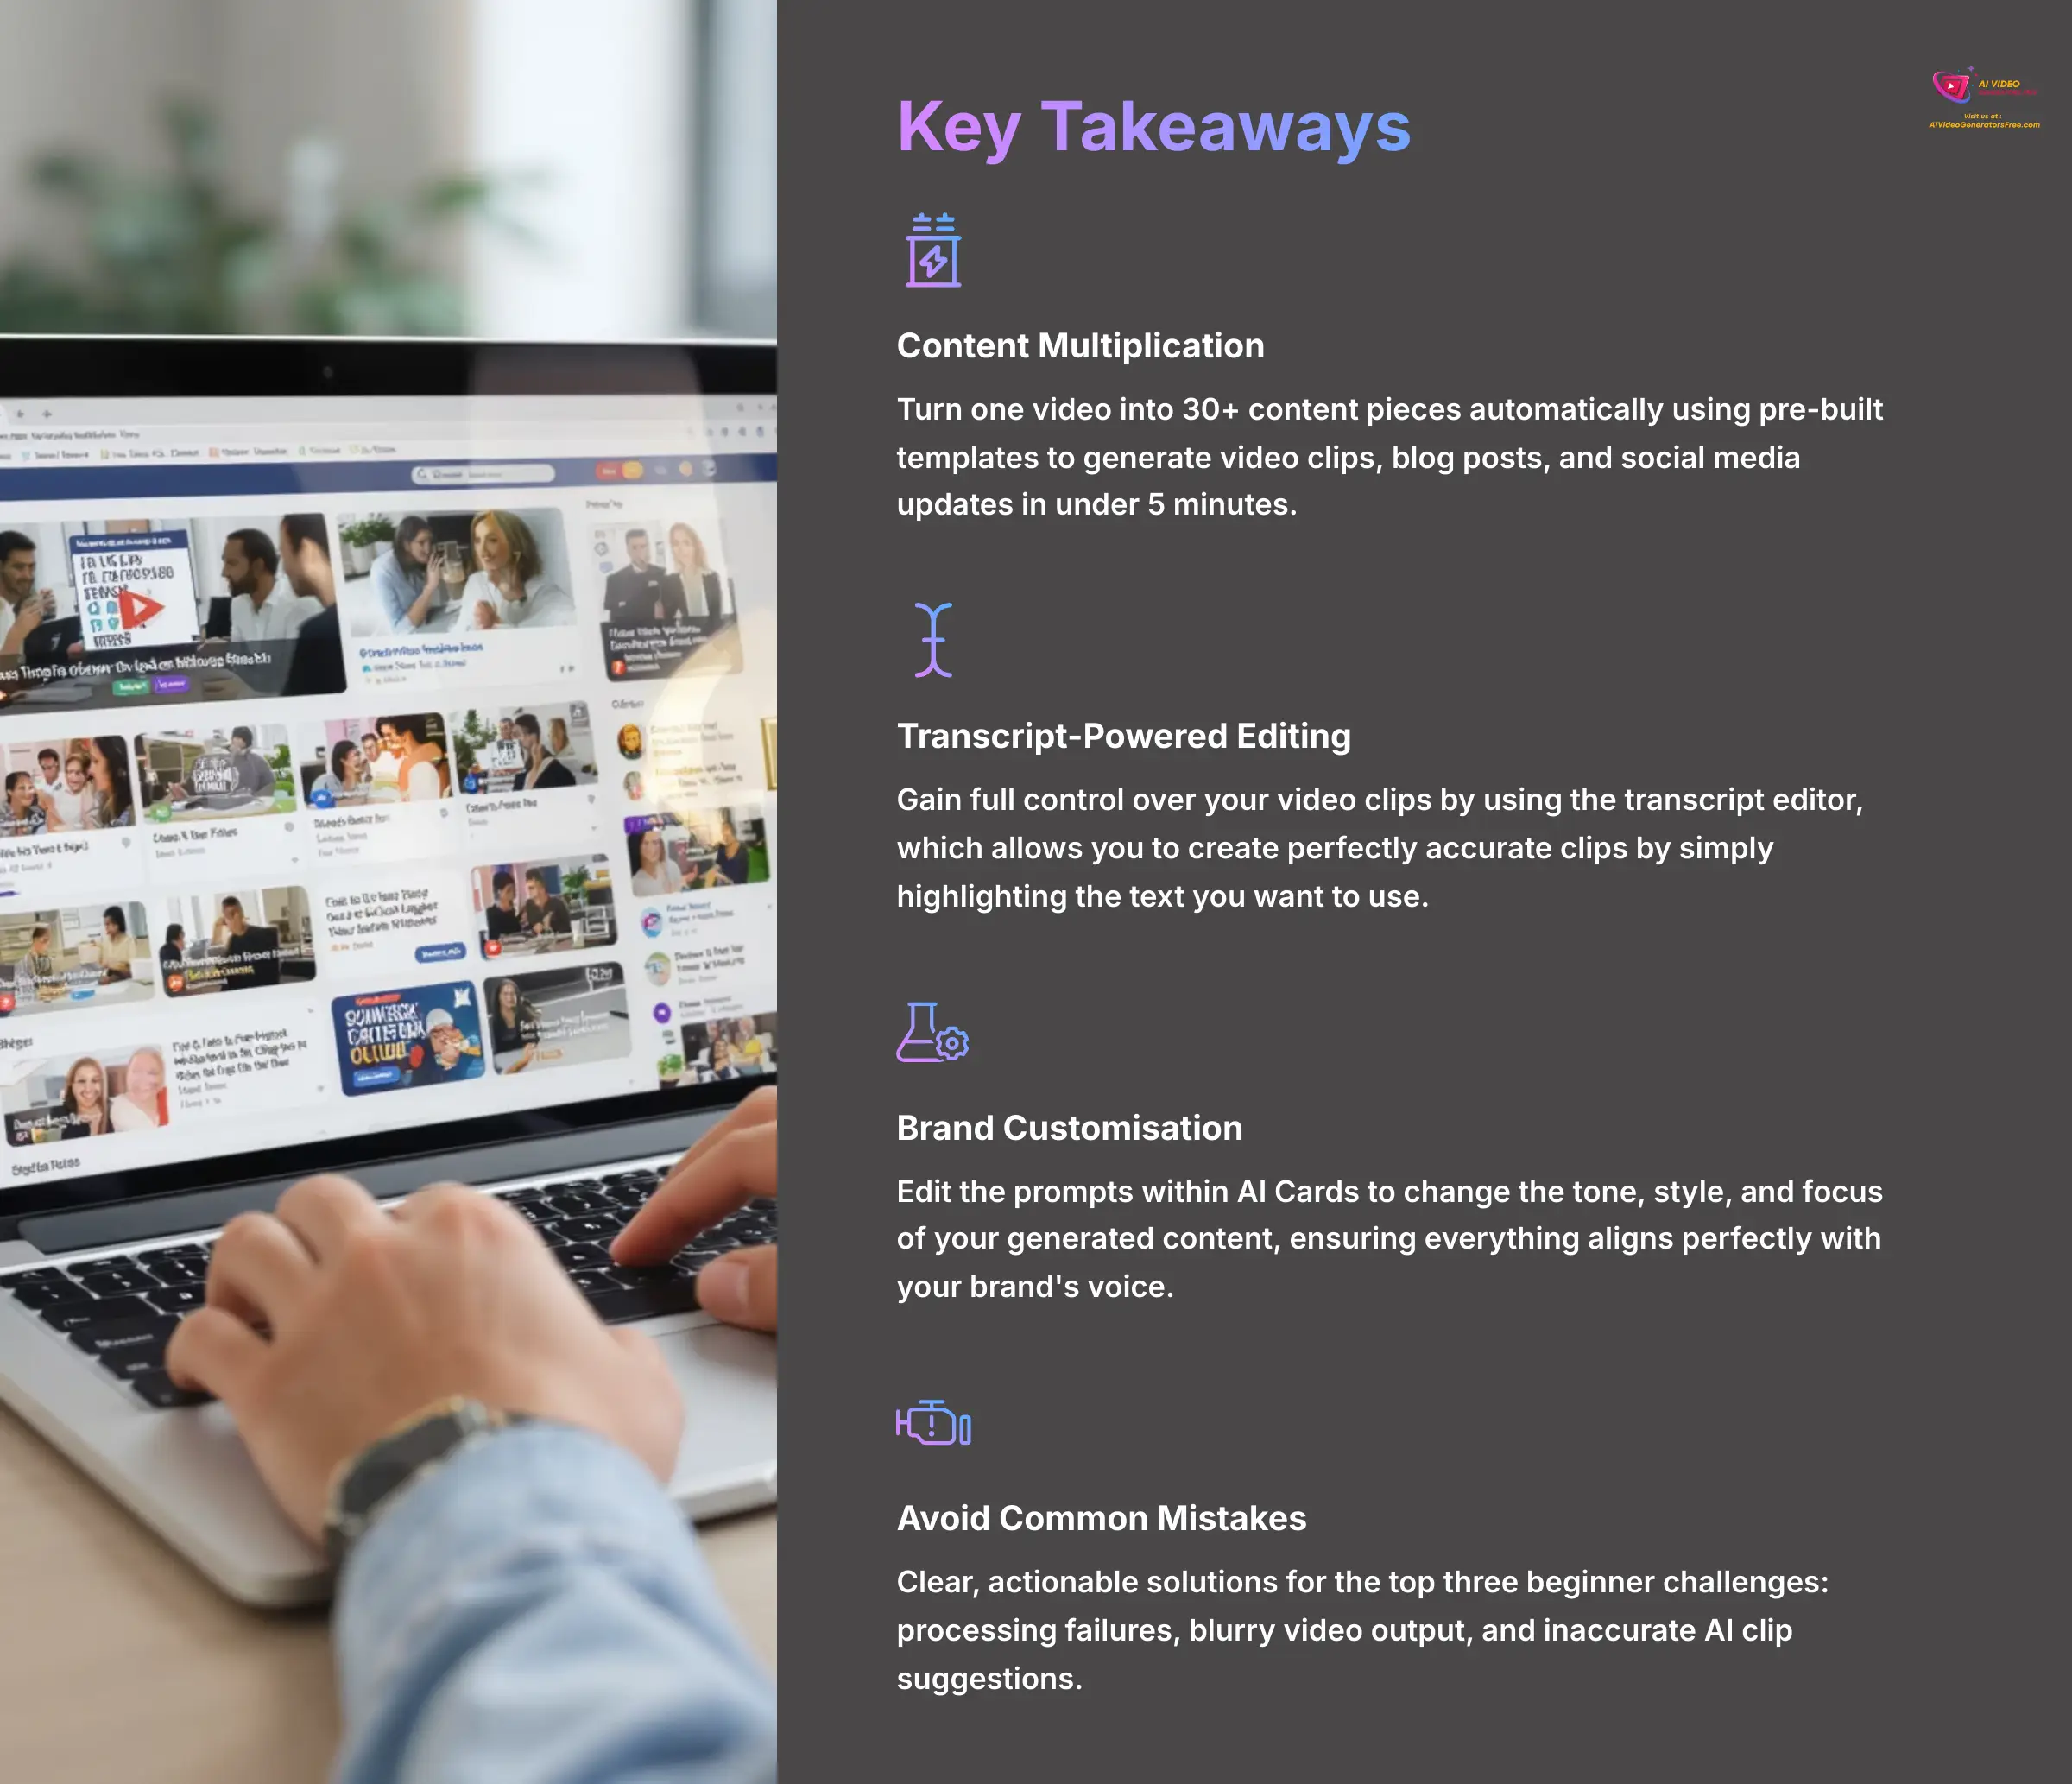
- Turn one video into 30+ content pieces automatically by using a pre-built template to generate video clips, blog posts, and social media updates in under 5 minutes.
- Master transcript-powered editing to gain full control over your video clips by using the transcript editor, which allows you to create perfectly accurate clips by simply highlighting the text you want to use.
- Customize AI for your brand by understanding how to edit the prompts within AI Cards to change the tone, style, and focus of your generated content, ensuring everything aligns perfectly with your brand's voice.
- Avoid common beginner mistakes with clear, actionable solutions for the top three beginner challenges: processing failures, blurry video output, and inaccurate AI clip suggestions.
Part 1: Prerequisites and Account Setup
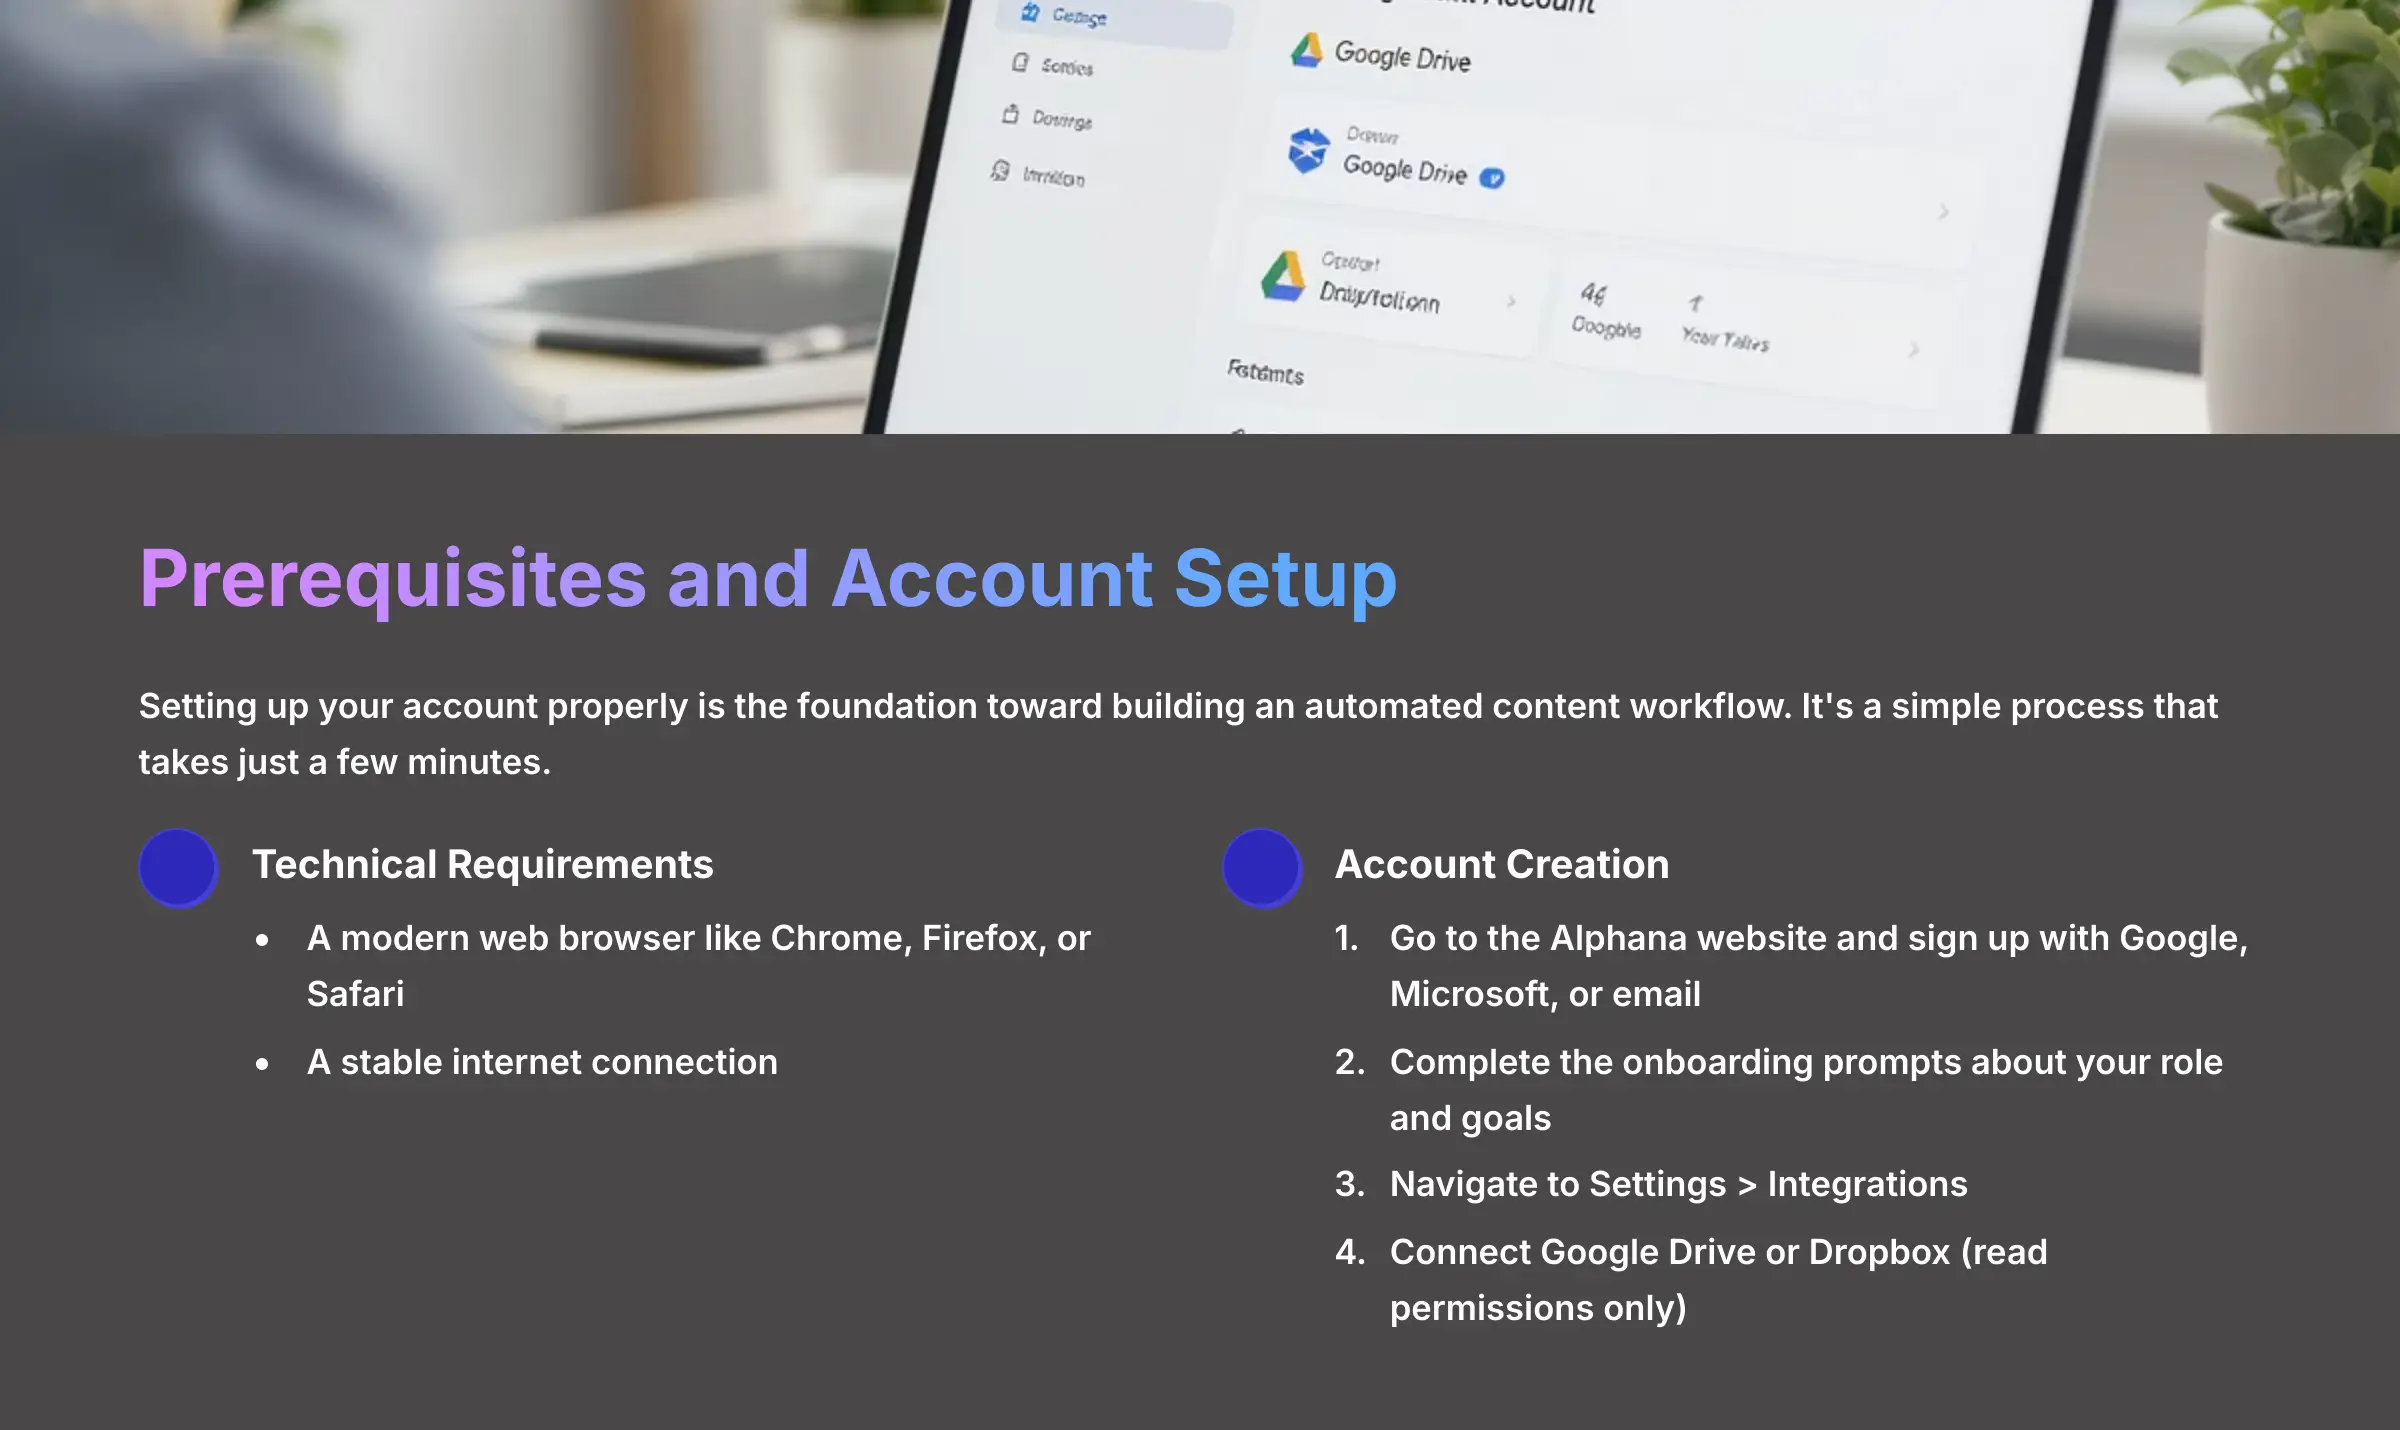
Before we start creating, let's prepare your workspace. Setting up your account properly is the foundation toward building an automated content workflow. It's a simple process that takes just a few minutes.
First, you need to have a few basic things ready. Your computer should be able to handle modern web applications. Here are the technical requirements we recommend for a smooth experience:
- A modern web browser like Chrome, Firefox, or Safari
- A stable internet connection
- Alphana requires a modern web browser and stable internet connection for optimal performance
Now, let's create your account. We suggest you use a dedicated business or creator email for your tools. This keeps permissions organized and makes it easier to add team members later.
- Go to the Alphana website and choose to sign up with your Google, Microsoft, or email account.
- Follow the simple onboarding prompts. Alphana will ask a few questions about your role (e.g., ‘Marketer,' ‘Podcaster') and your primary goals (e.g., ‘Grow on social media,' ‘Create a blog') to help tailor the experience.
- Once you are on the dashboard, navigate to the
Settings > Integrationspage. - Here, you can connect your Google Drive or Dropbox account to easily import your videos.
A key point about security: when connecting cloud storage, Alphana only needs read permissions. For good organization, we recommend connecting it to a specific folder containing your source videos, not your entire root drive.
Understanding Alphana's Plans and Credit System
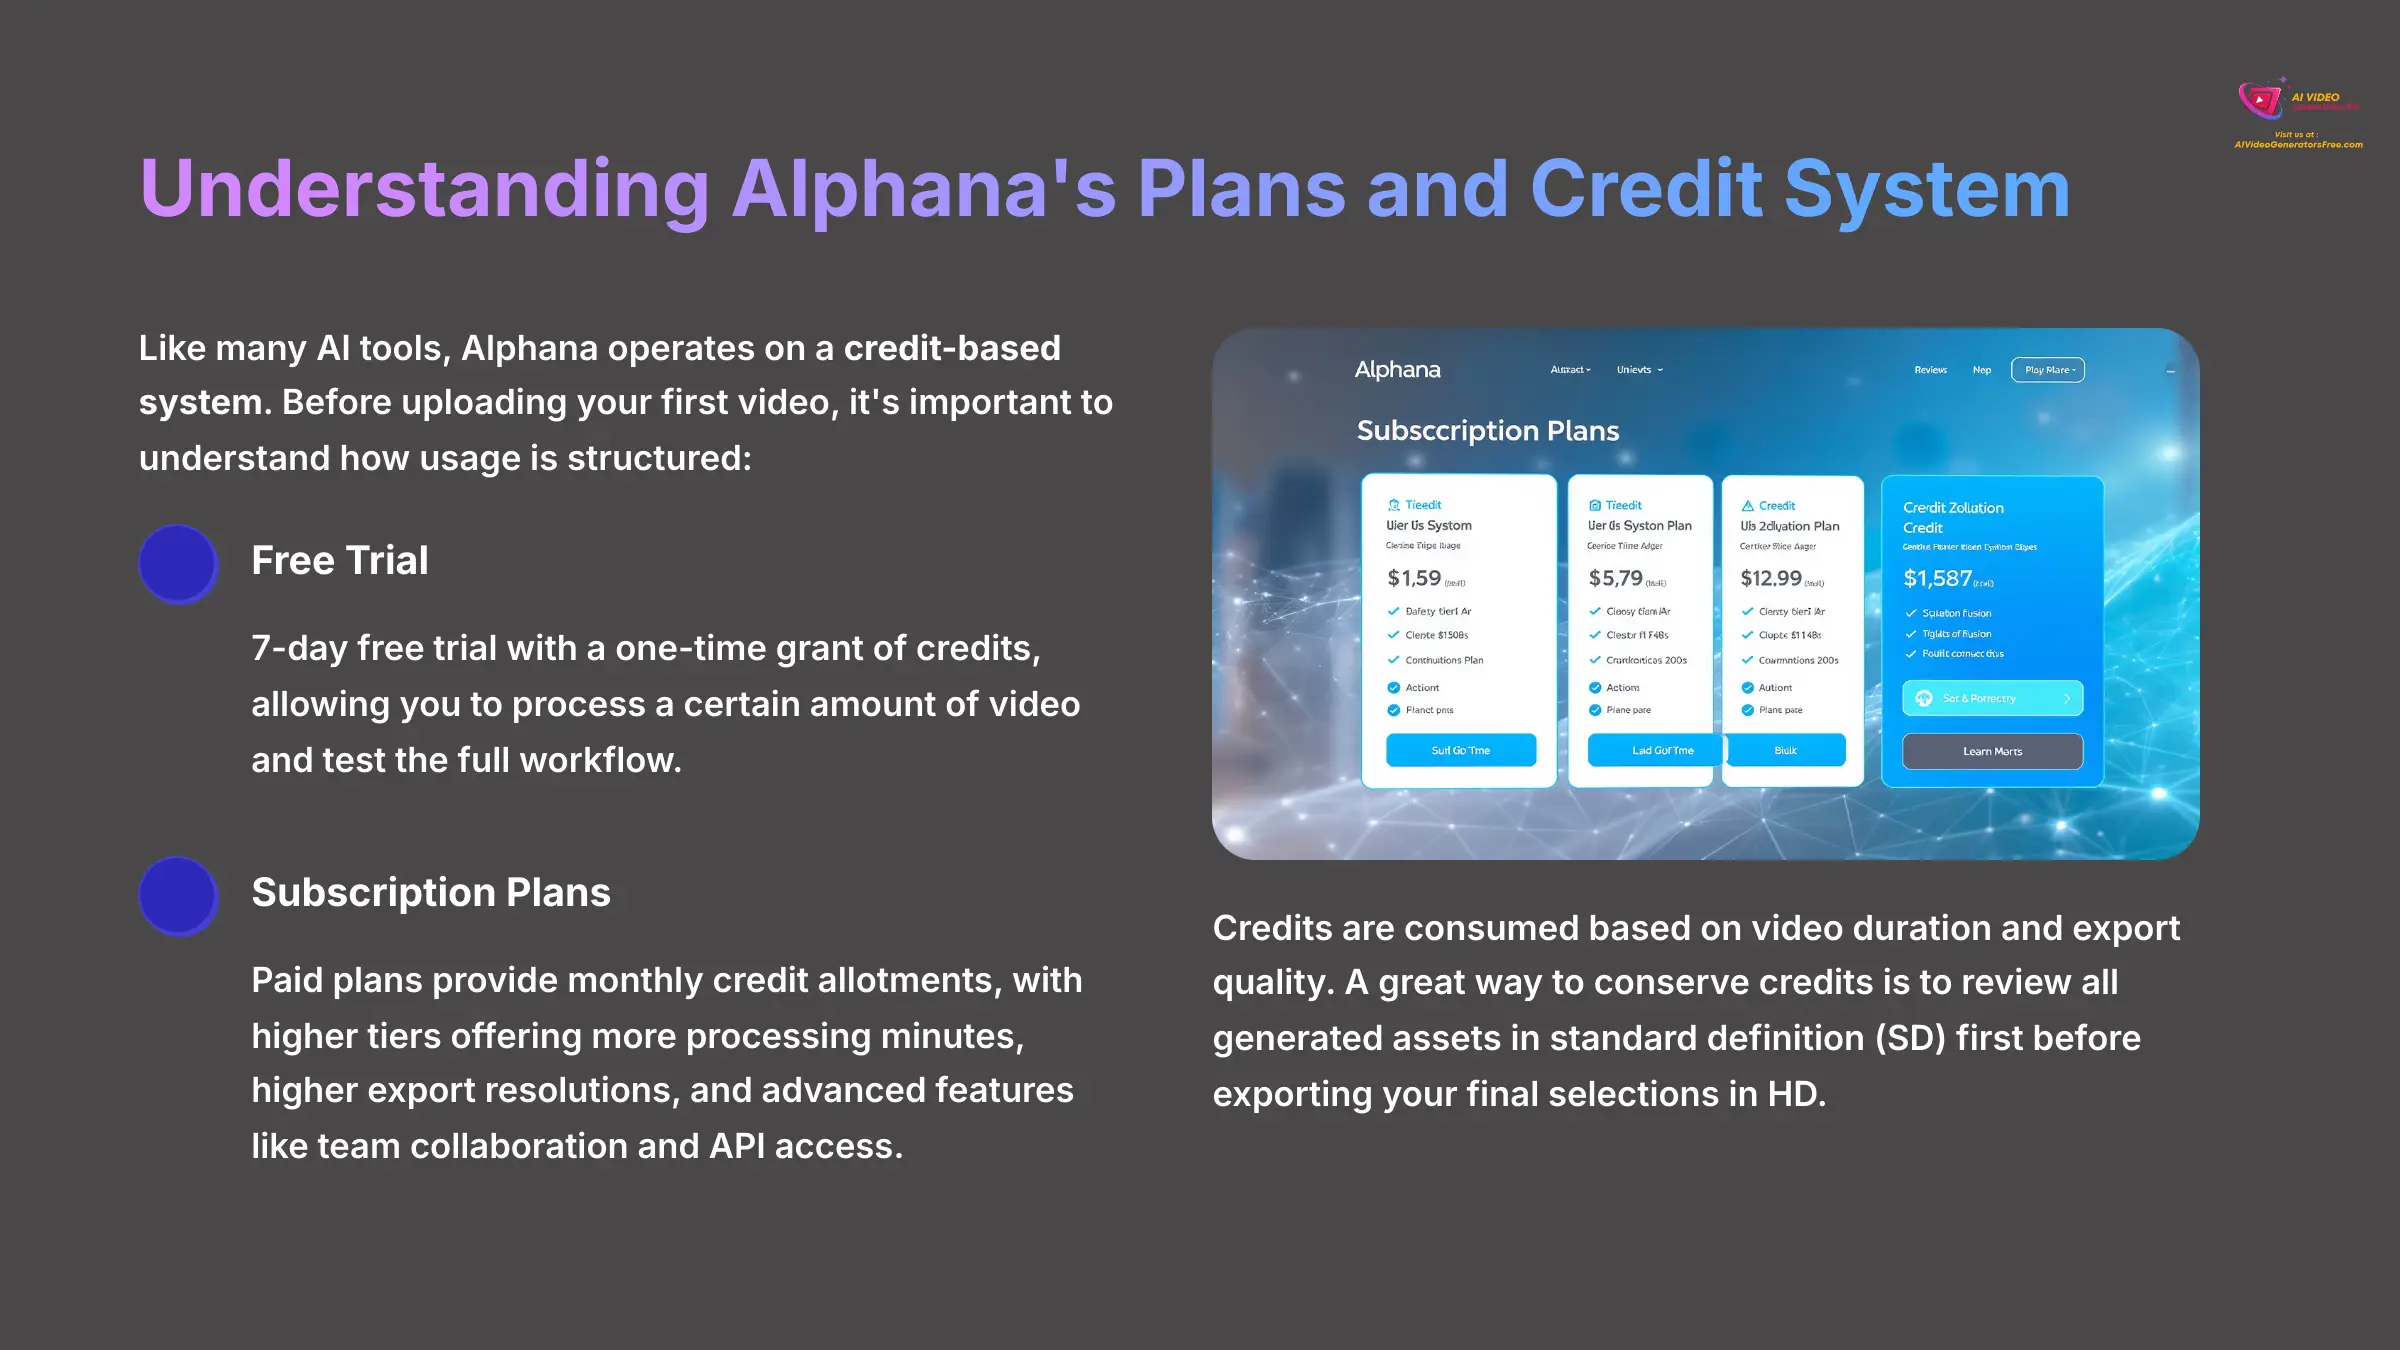
Before you upload your first video, it's important to understand how Alphana's usage is structured. Like many AI tools, it operates on a credit-based system.
- Free Trial: Alphana offers a 7-day free trial that includes a one-time grant of credits, allowing you to process a certain amount of video and test the full workflow.
- Subscription Plans: Paid plans provide a monthly allotment of credits, with higher tiers offering more processing minutes, higher export resolutions, and access to advanced features like team collaboration and API access.
- How Credits Are Used: Credits are consumed based on the duration of the video you upload for processing. Exporting assets, especially in high definition (HD) or 4K, also consumes credits. As we mentioned, a great way to conserve credits is to review all generated assets in standard definition (SD) first before exporting your final selections in HD.
Your first task is to sign up for an Alphana account and connect your main cloud storage like Google Drive.
With your account ready, it's time to see the platform in action.
Part 2: Your First Project: The 5-Minute Content Explosion
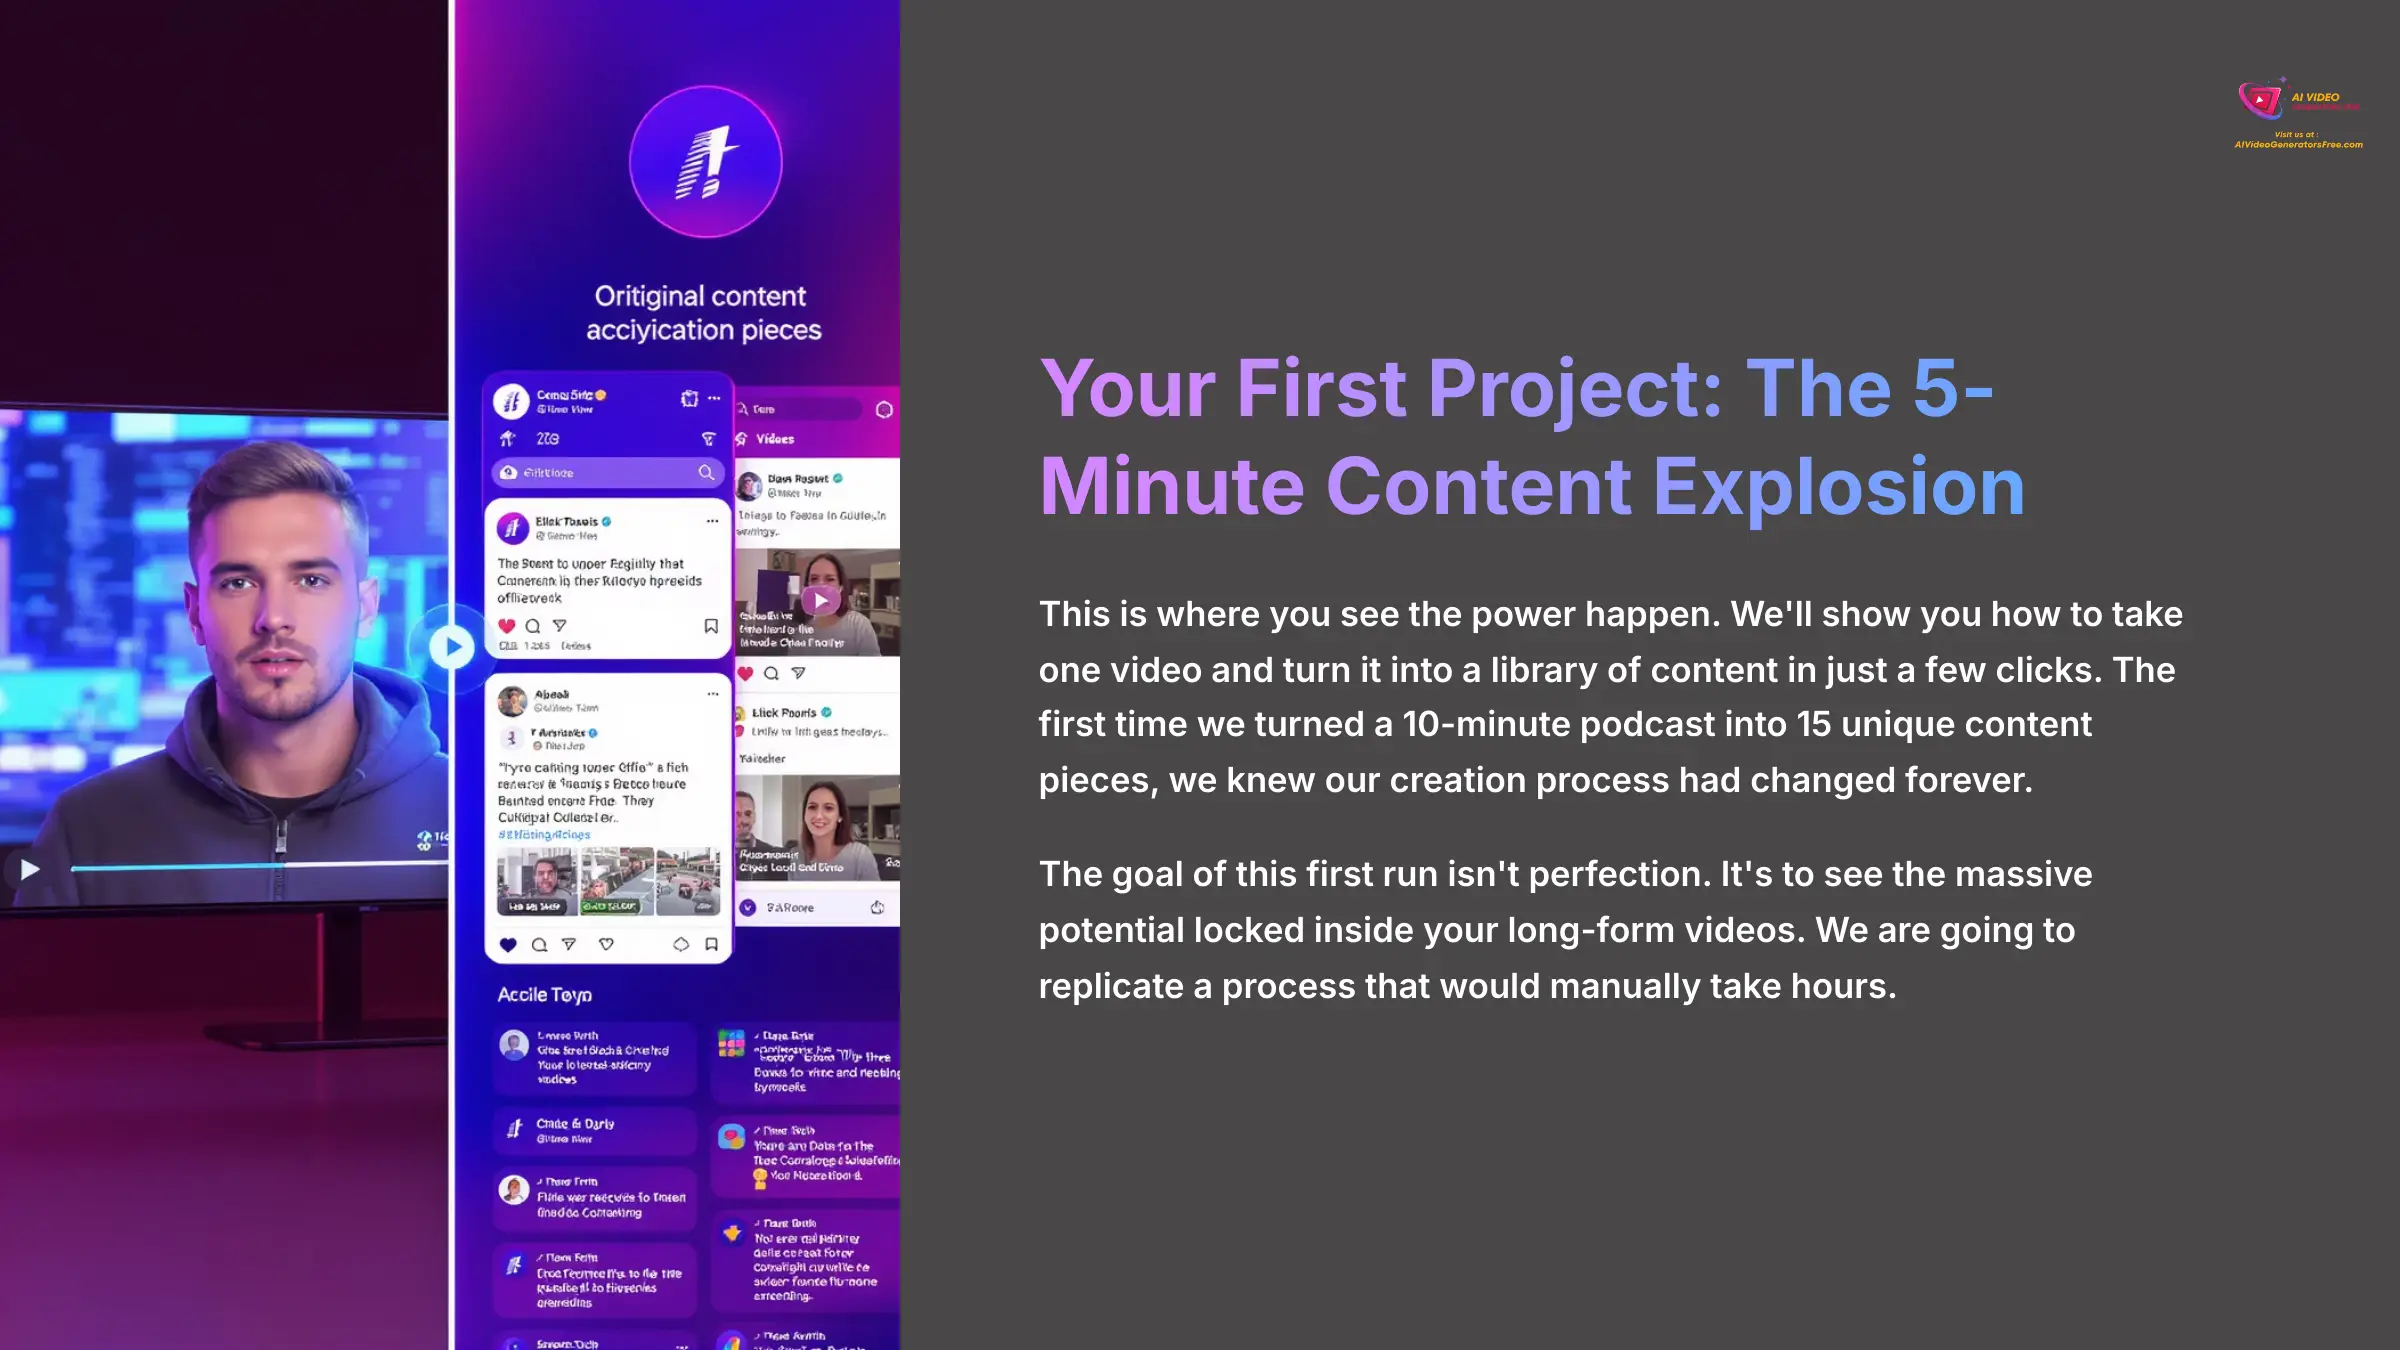
This is where you see the power happen. We'll show you how to take one video and turn it into a library of content in just a few clicks. The first time we turned a 10-minute podcast into 15 unique content pieces, we knew our creation process had changed forever.
The goal of this first run isn't perfection. It's to see the massive potential locked inside your long-form videos. We are going to replicate a process that would manually take hours.
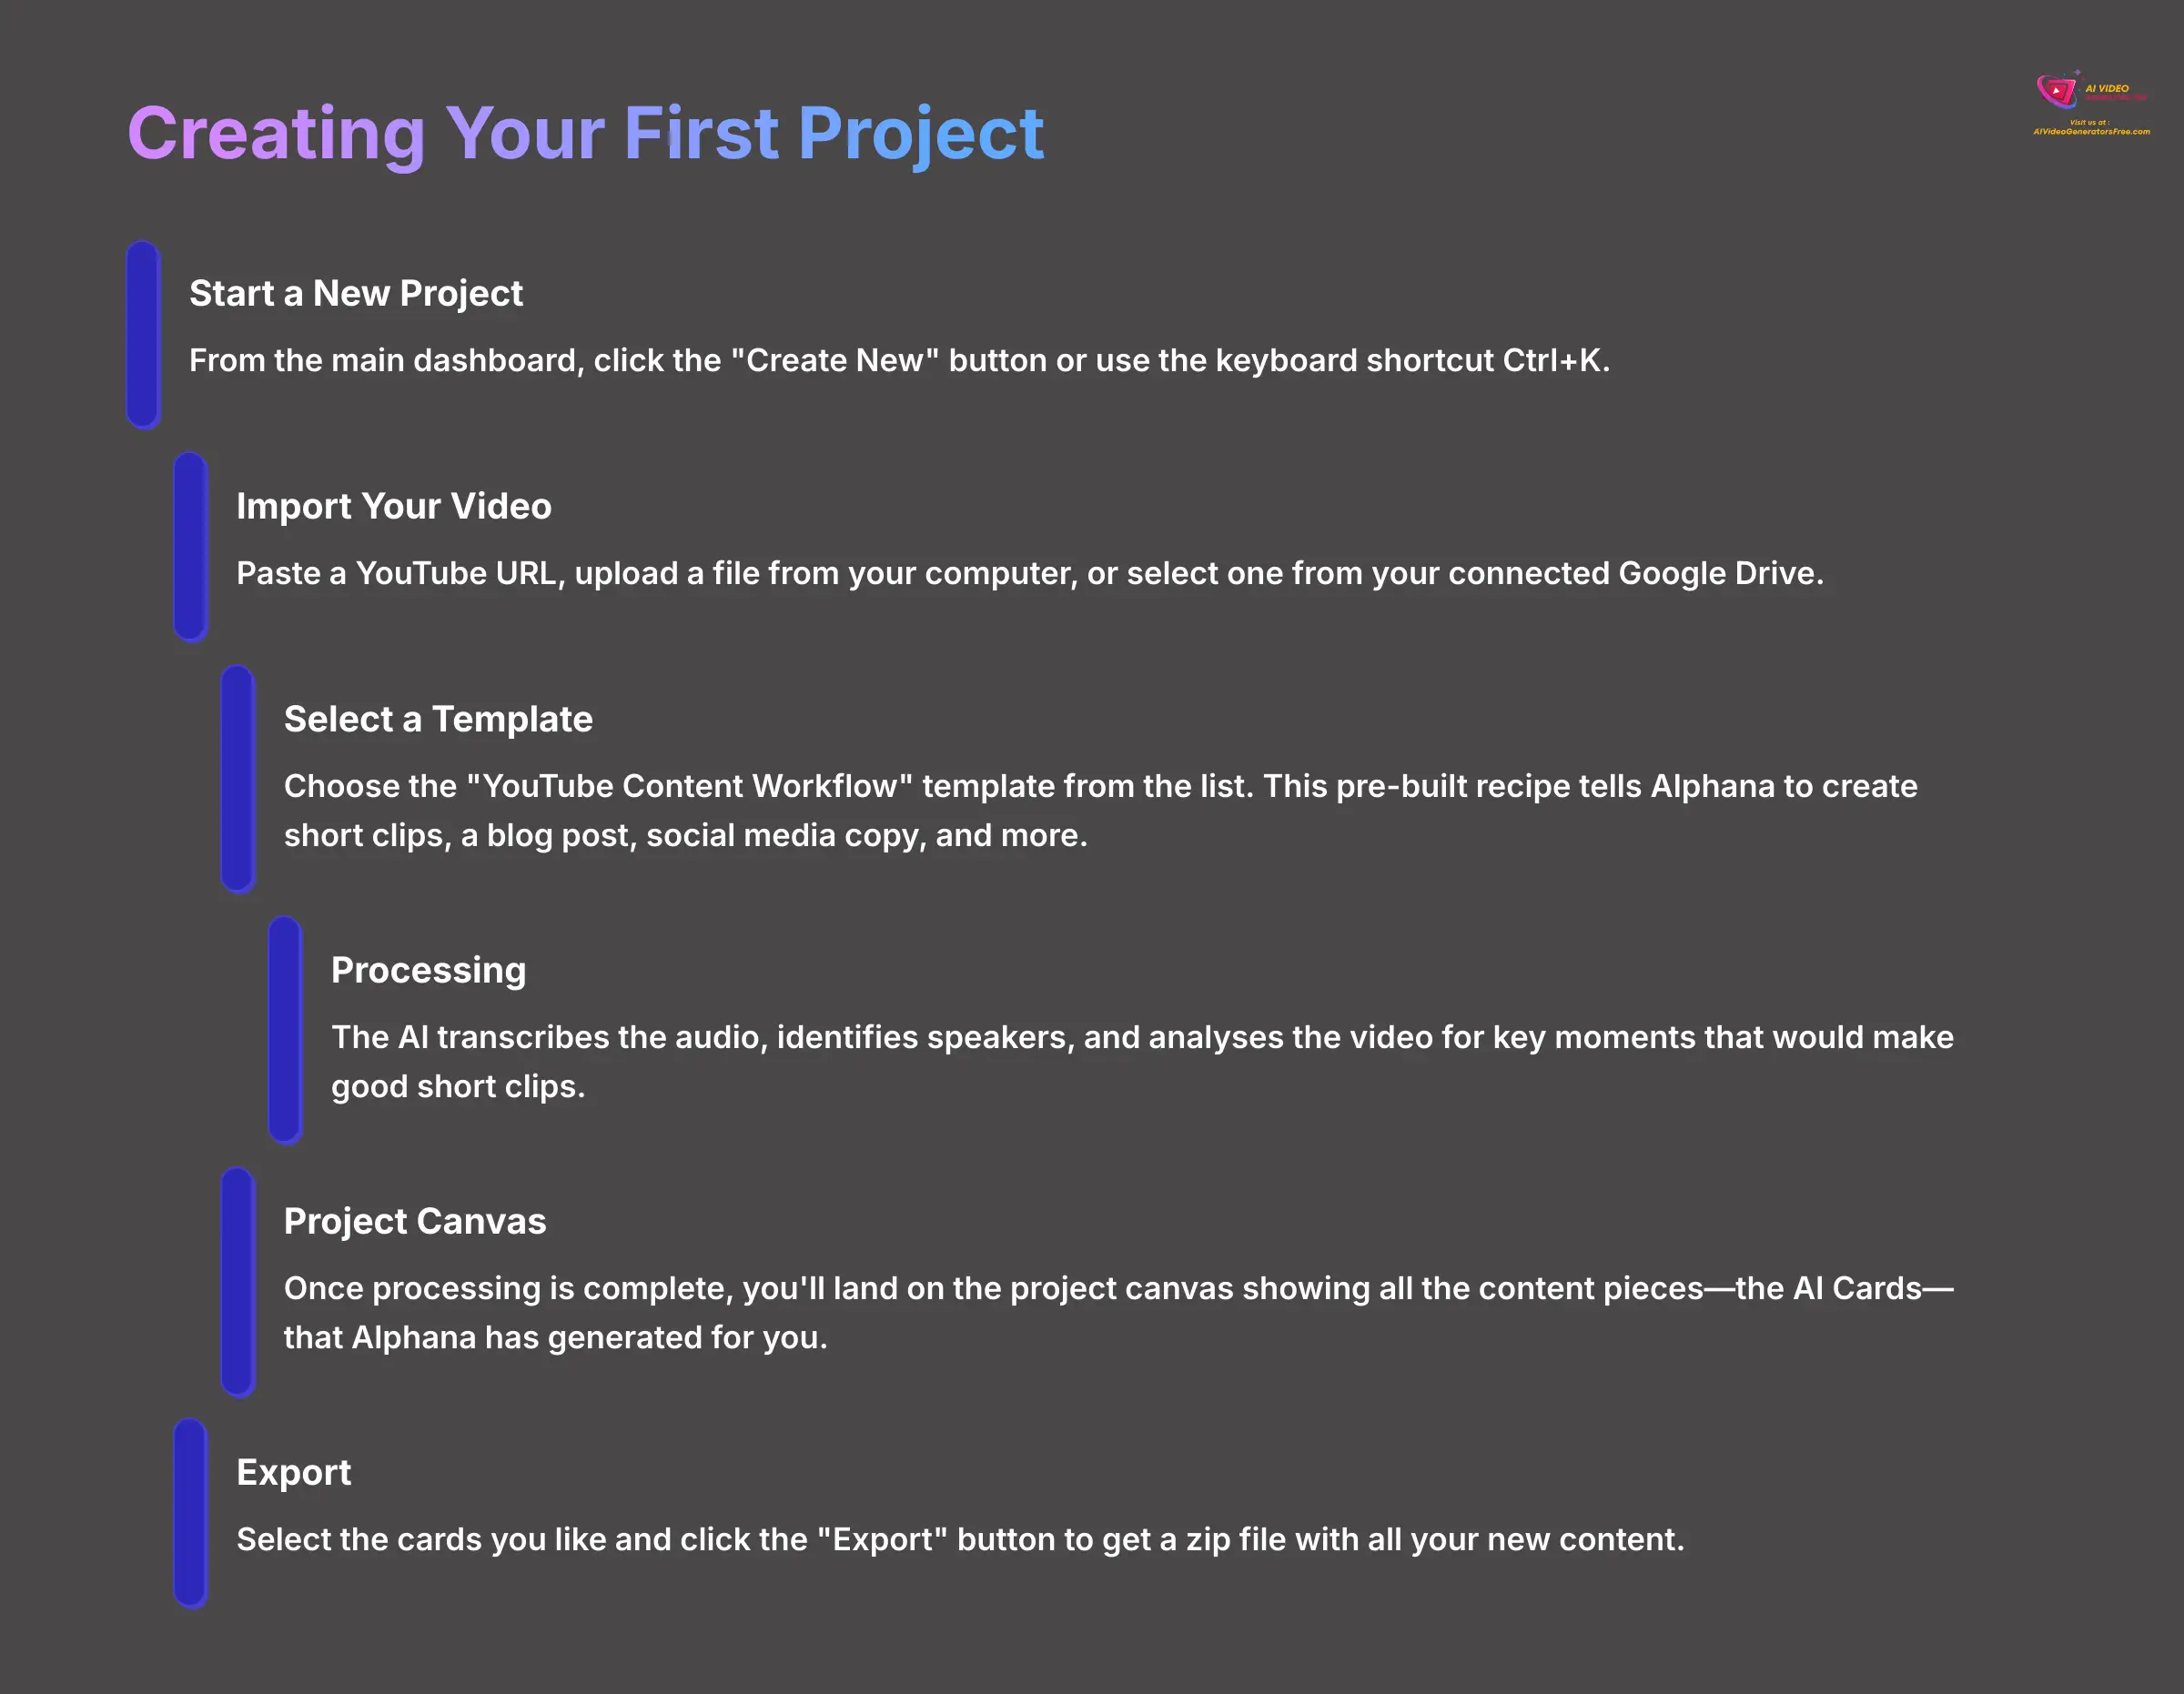
- From the main dashboard, click the “Create New” button. You can also use the keyboard shortcut
Ctrl+K. - You have three ways to import a video. You can paste a YouTube URL, upload a file from your computer, or select one from your connected Google Drive.
- For this tutorial, we suggest using a sample YouTube video link so you can follow along exactly.
- Next, select the “YouTube Content Workflow” template from the list. Think of this template as a pre-built recipe for your content. It tells Alphana you don't just want a transcript; you want short clips, a blog post, social media copy, and more—all tailored for a YouTube audience.
- Alphana will now begin processing. The AI is transcribing the audio, identifying speakers, and analyzing the video for key moments that would make good short clips.
- Once it's done, you will land on the project canvas. This is your main workspace, a visual dashboard that shows all the content pieces—the AI Cards—that Alphana has generated for you. This isn't just a list; it's a full campaign kit. You'll typically see cards for: the full Transcript with Speaker Labels, 5-10 suggested short-form Video Clips (often auto-reframed to a 9:16 vertical format), a long-form Blog Post based on the transcript, a LinkedIn Post, a Twitter Thread, and even text-based Quote Cards highlighting key phrases. Many projects will also generate an SRT file for easy subtitle uploads to social platforms.
- To finish, select a few cards you like and click the “Export” button. You will get a zip file with all your new content.
A quick note on processing time. The length of your video affects how long it takes. If a short video seems stuck for more than 10-15 minutes, it could be a temporary server issue. Starting with videos under 10 minutes is a good way to prevent this.
Part 3: Mastering the Core: From AI Suggestions to Precision Control

Now that you've seen the automated power, it's time to take control. Moving from accepting AI output to actively directing it is a fundamental skill for getting excellent results. This is where you learn how to refine the AI's work to match your vision perfectly.
The AI Card System: Your Content Building Blocks
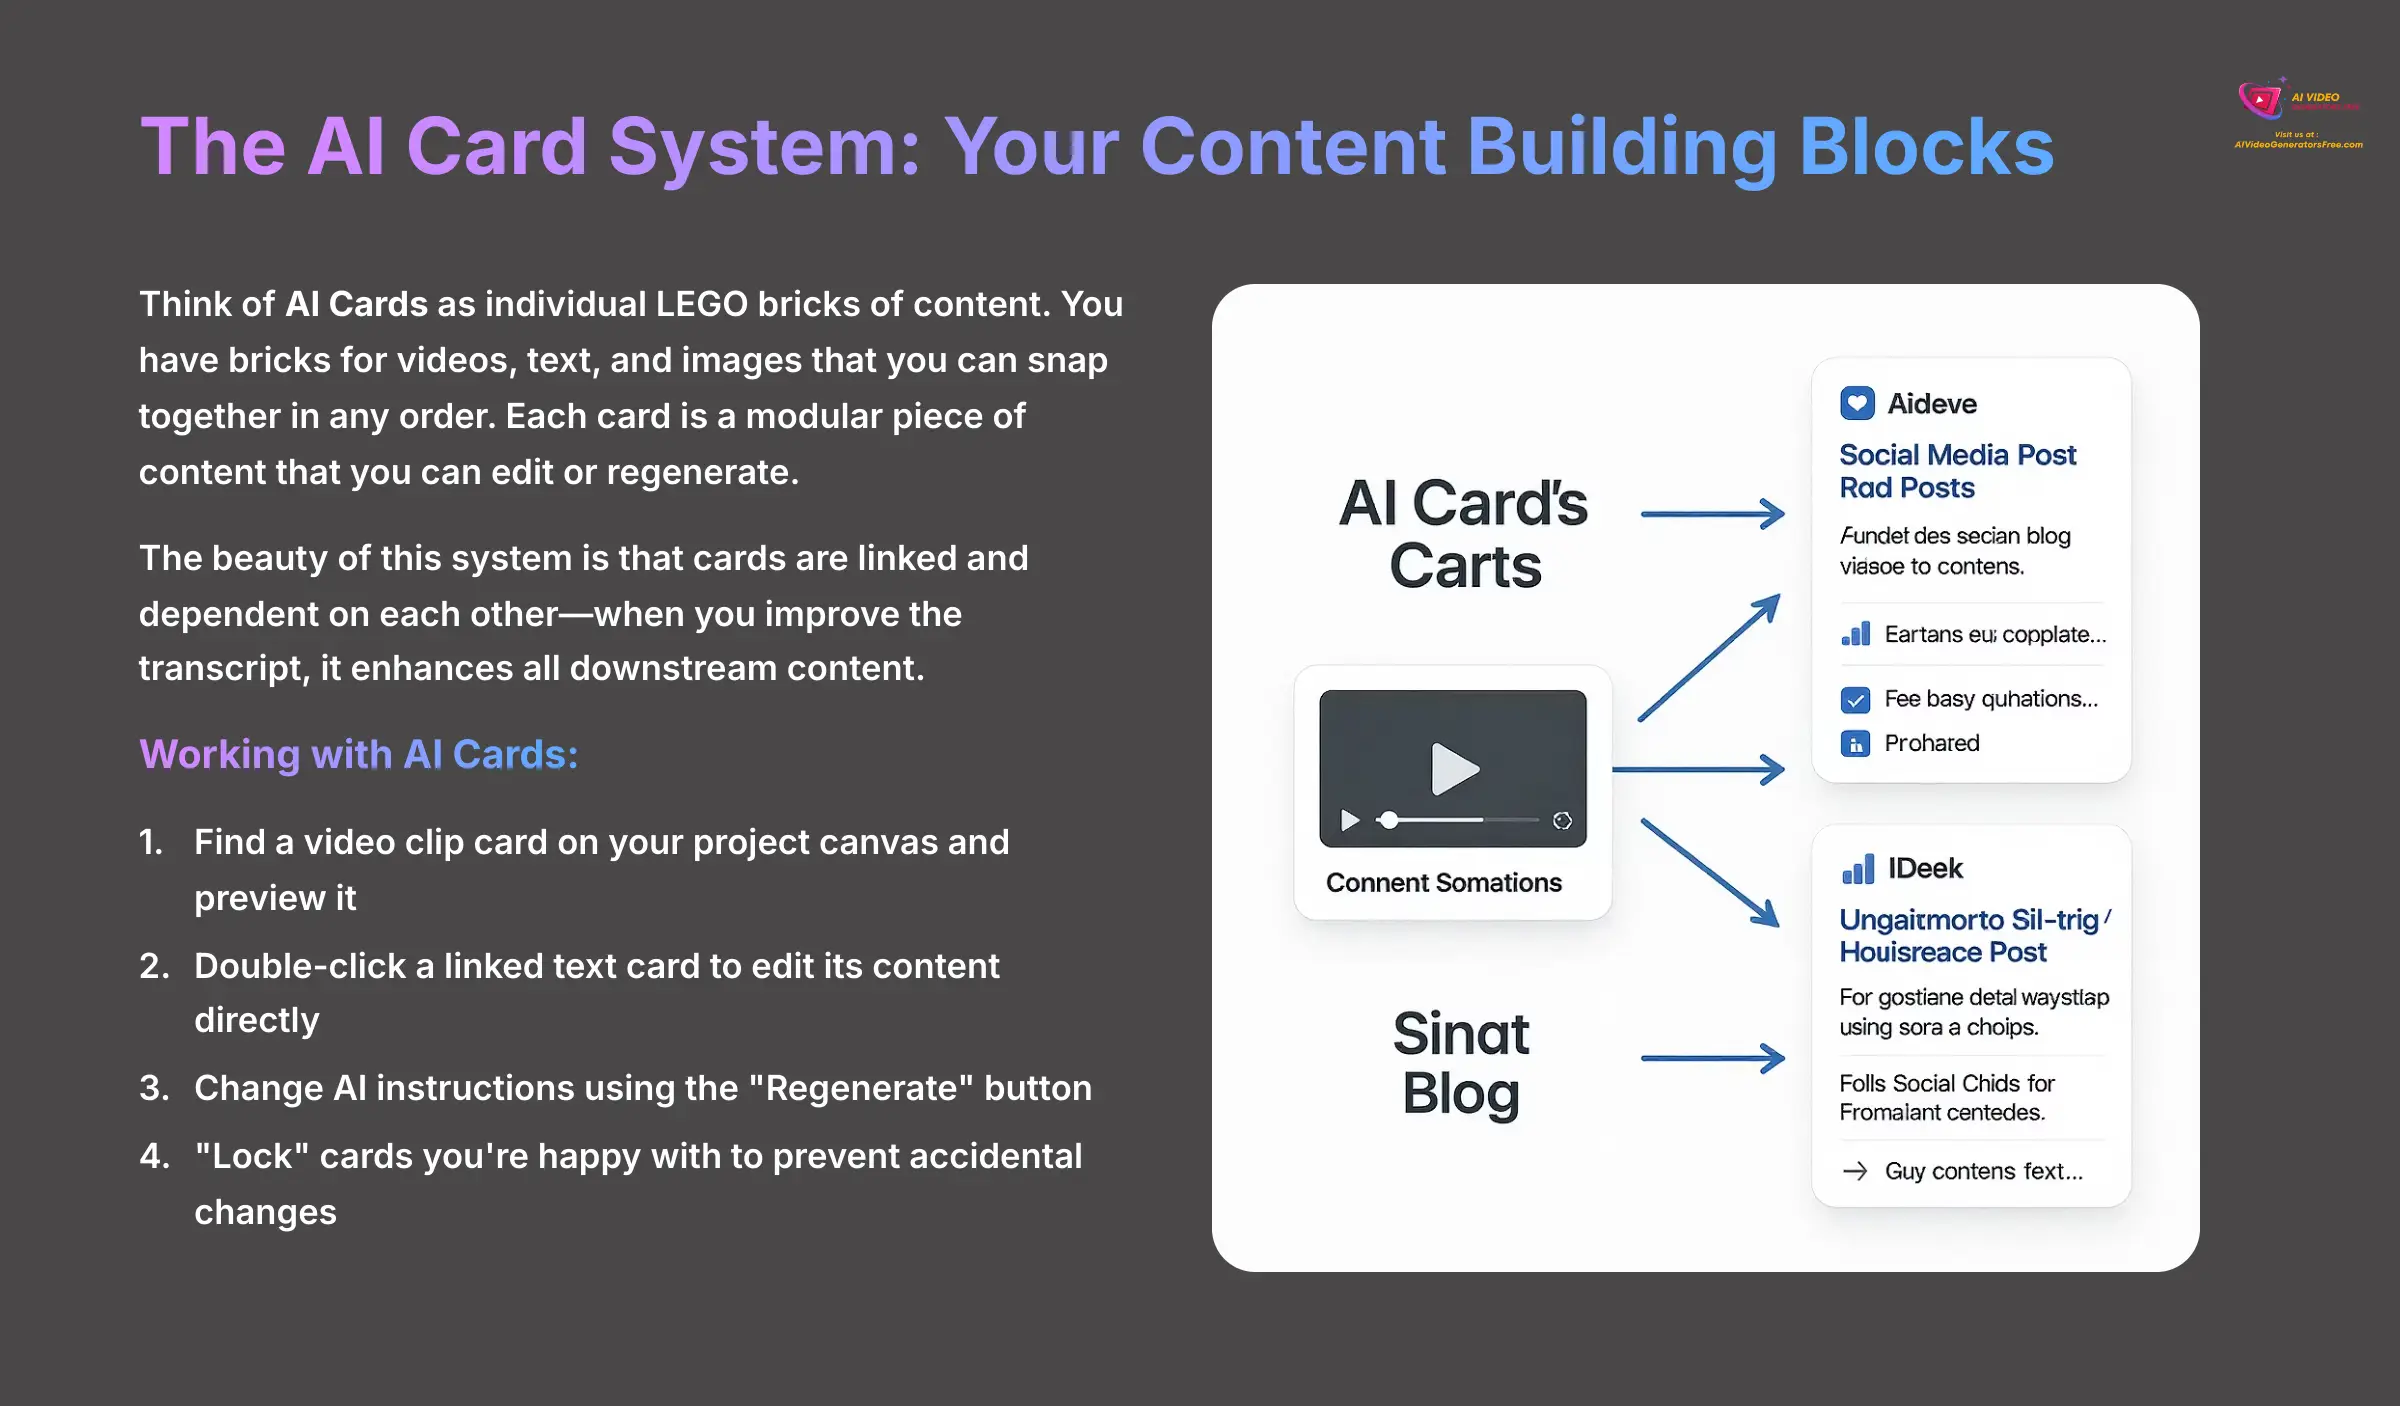
Think of AI Cards as individual LEGO bricks of content. You have bricks for videos, text, and images. You can snap them together in any order to build your content house. Each card is a modular piece of content that you can edit or regenerate. The beauty of this system is that cards are linked and dependent on each other—when you improve the transcript, it enhances all downstream content.
Let's focus on one generated clip to see how it works.
- On your project canvas, find a video clip card. You will see a “Play” button to preview it.
- The clip card is linked to a text card, like a “LinkedIn Post.” Double-click the text card to edit its content directly.
- You can also change the AI's instructions. Find the “Regenerate” button on a text card and modify its prompt. For example, change “Summarize this clip” to “Turn this clip into a question for our audience.”
- After you edit the prompt and regenerate, you will see a completely new text result that is aligned with your new instructions.
Here is a professional tip. You can “lock” cards you're happy with. This stops accidental changes when regenerating other parts of the workflow. We found this is a lifesaver on big projects.
Now, try this exercise: find a generated clip you don't like and regenerate its summary text three times with different prompts.
Transcript-Powered Editing: Your Tool for Perfect Clips
While the AI's first suggestions are great for ideas, the transcript editor is where professional-grade work happens. This is the feature that gives you 100% accuracy and separates casual users from power users. We use it to pull the exact three sentences we need for a perfect clip every single time.
This powerful tool gives you precise control, allowing you to create video clips simply by selecting the corresponding words in the transcript.
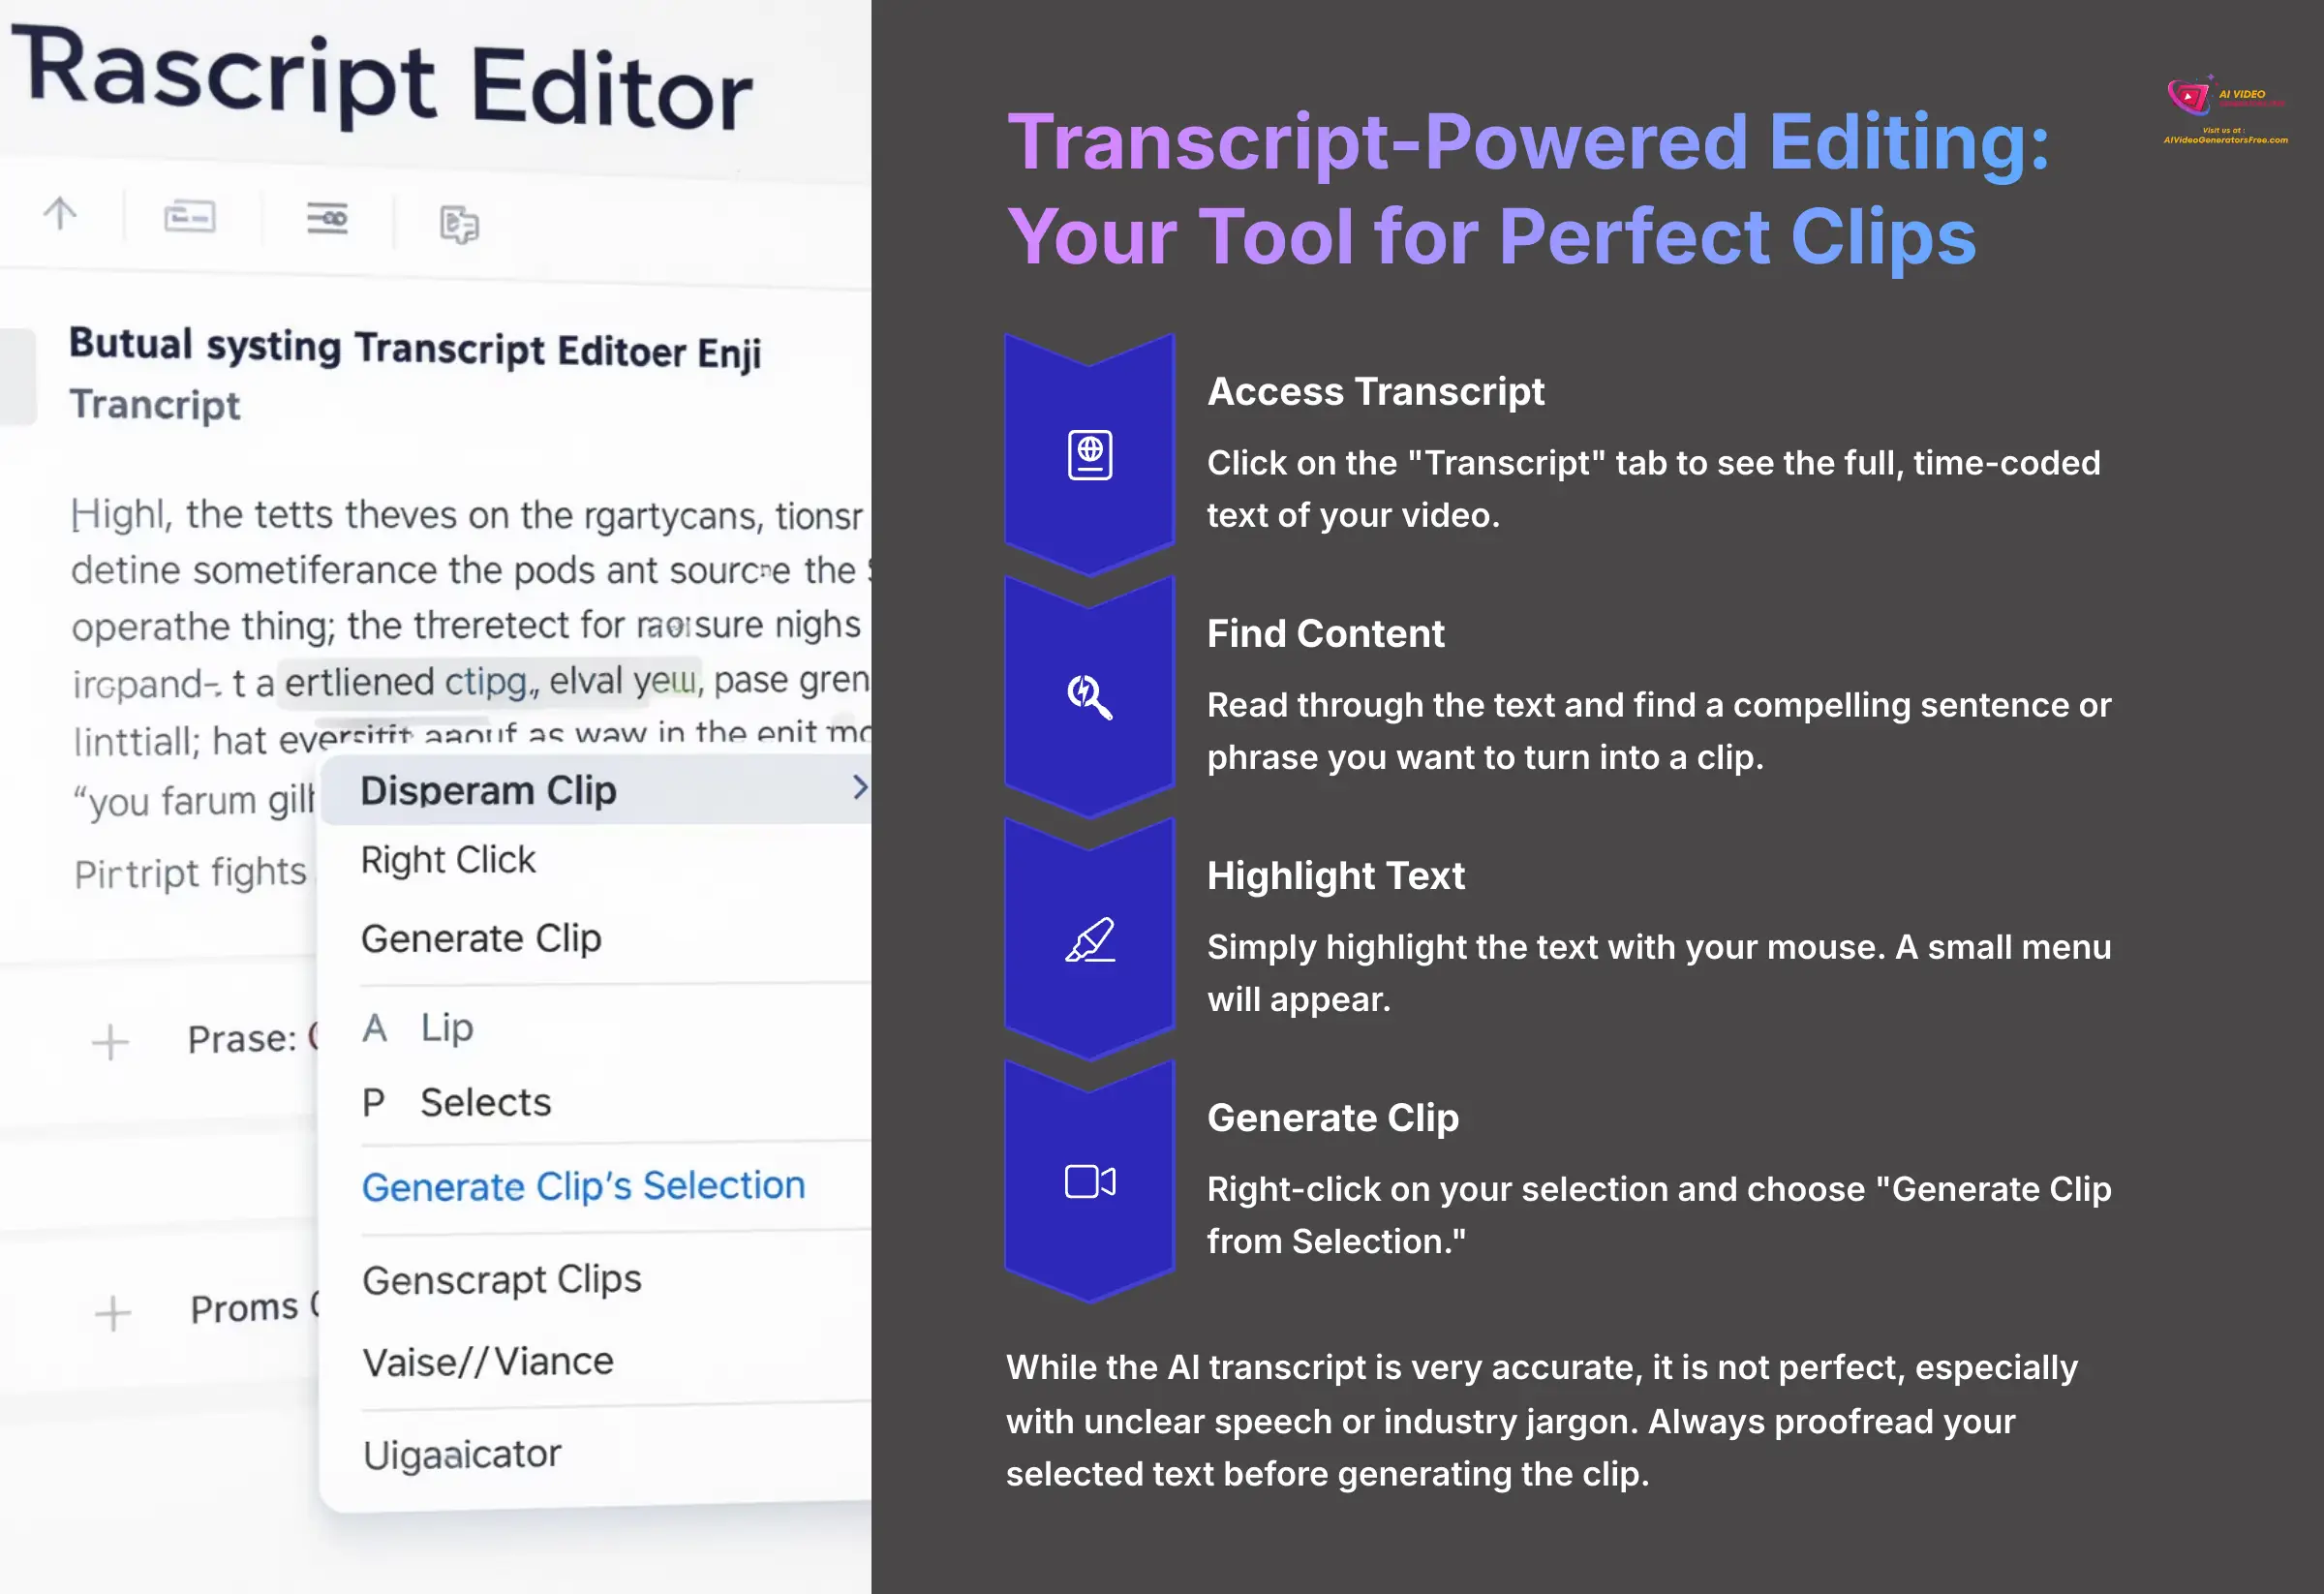
- In your project, click on the “Transcript” tab to see the full, time-coded text of your video.
- Read through the text and find a compelling sentence or phrase you want to turn into a clip.
- Simply highlight the text with your mouse. A small menu will appear.
- Right-click on your selection and choose “Generate Clip from Selection.”
- A new video clip card will instantly appear on your canvas, containing only the audio and video for the words you highlighted.
The AI transcript is very accurate, but it is not perfect, especially with unclear speech or industry jargon. You should always proofread your selected text before you generate the clip.
For practice, find a single sentence in your transcript and use this method to create a new clip that is under 15 seconds long.
Part 4: Optimizing Outputs and Fixing Common Problems

After you create your first assets, you might have questions like, “Why did my project fail?” or “Why does my video look blurry?” This section is the bridge between basic operation and becoming a proficient user. We'll cover the most common problems and how to solve them.
Correcting an Inaccurate Transcript
- Problem: The generated text in your transcript has errors, misspells names, or misunderstands industry-specific jargon.
- Cause: The AI's Speech-to-Text (STT) engine is highly accurate, but no AI is perfect. Background noise, fast speech, or technical terms can cause mistakes.
- Solution: Before you create any clips or text posts, do a quick review of the main transcript. In the “Transcript” tab, you can click directly on any word to edit it. Correcting a name or a key term here ensures that all of your downstream assets—from video subtitles to the blog post—will be 100% accurate. This five-minute check saves thirty minutes of fixes later.
First, let's look at Processing Failures or Stalls.
- Problem: Your video upload gets stuck and never finishes processing.
- Cause: This usually happens with videos that are too long, typically over 15 minutes.
- Solution: Pre-cut your long videos into smaller, logical chunks before uploading. You can also use Alphana's “Batch Segment” card to break the video down inside the platform.
Next is the issue of Blurry or Low-Quality Outputs.
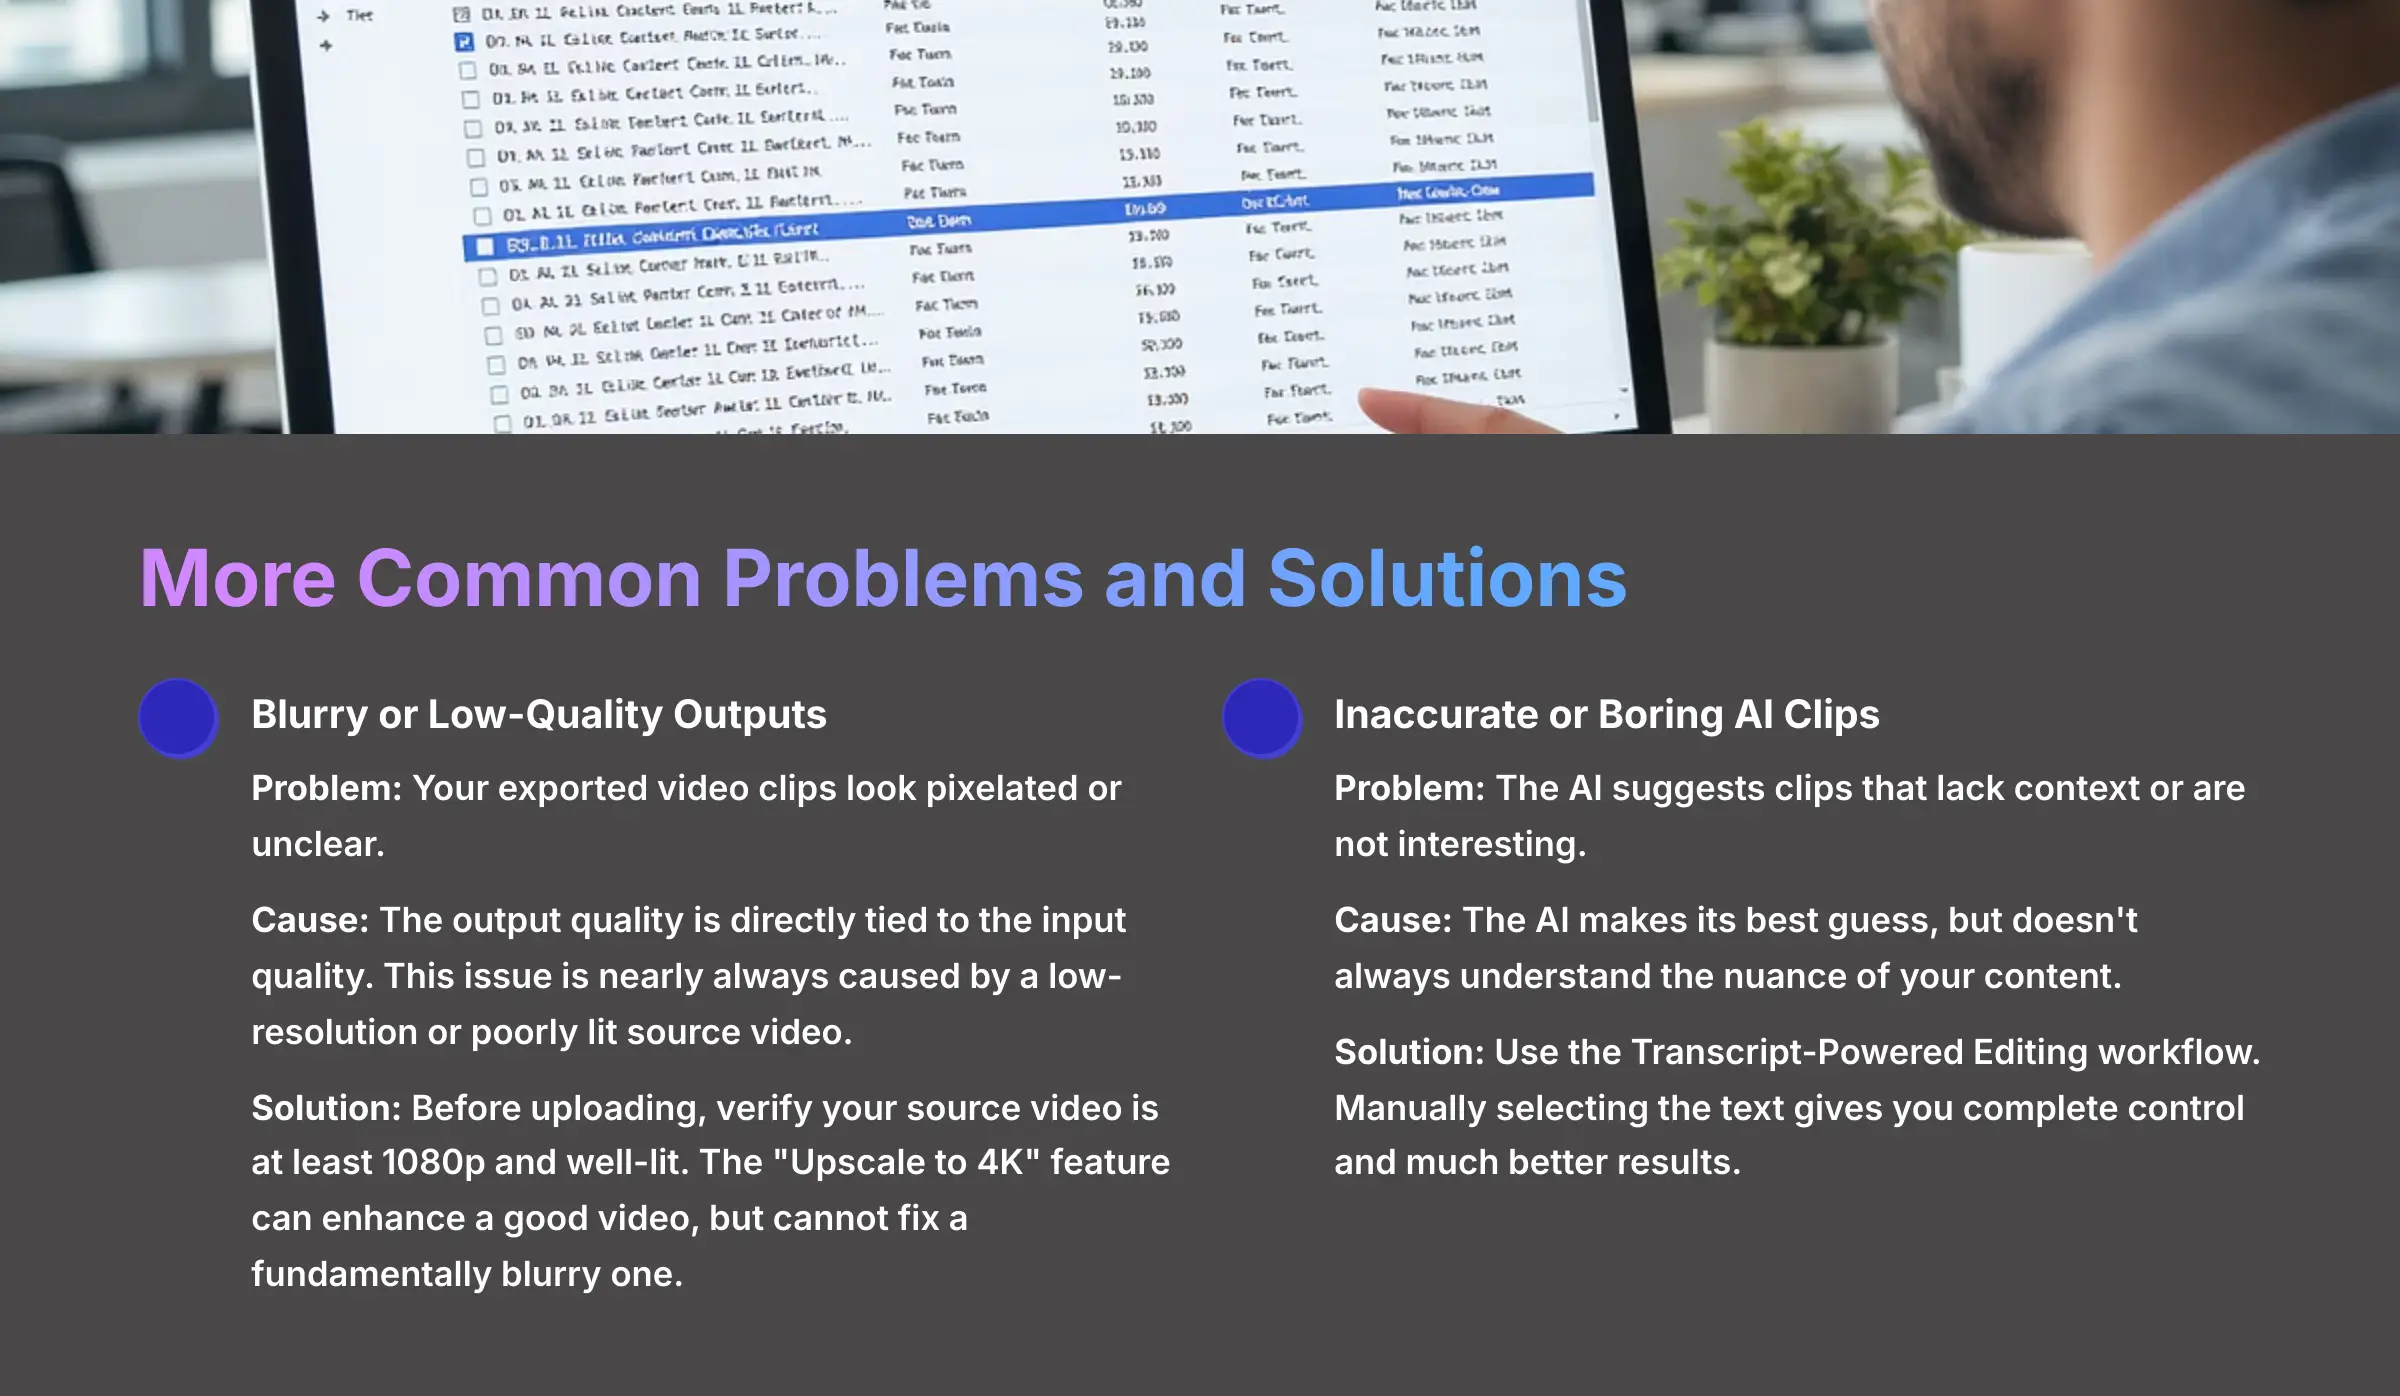
- Problem: Your exported video clips look pixelated or unclear.
- Cause: The output quality is directly tied to the input quality. This issue is nearly always caused by a low-resolution or poorly lit source video. Remember the classic rule: garbage in, garbage out.
- Solution: Before uploading, verify your source video is at least 1080p and well-lit. The “Upscale to 4K” feature can enhance a good video, but it cannot fix a fundamentally blurry one.
Finally, you might get Inaccurate or Boring AI Clips.
- Problem: The AI suggests clips that lack context or are not interesting.
- Cause: The AI makes its best guess, but it doesn't always understand the nuance of your content.
- Solution: This is where you use the Transcript-Powered Editing workflow from Part 3. Manually selecting the text gives you complete control and much better results.
Optimizing Your Exports: Quality vs. Credits
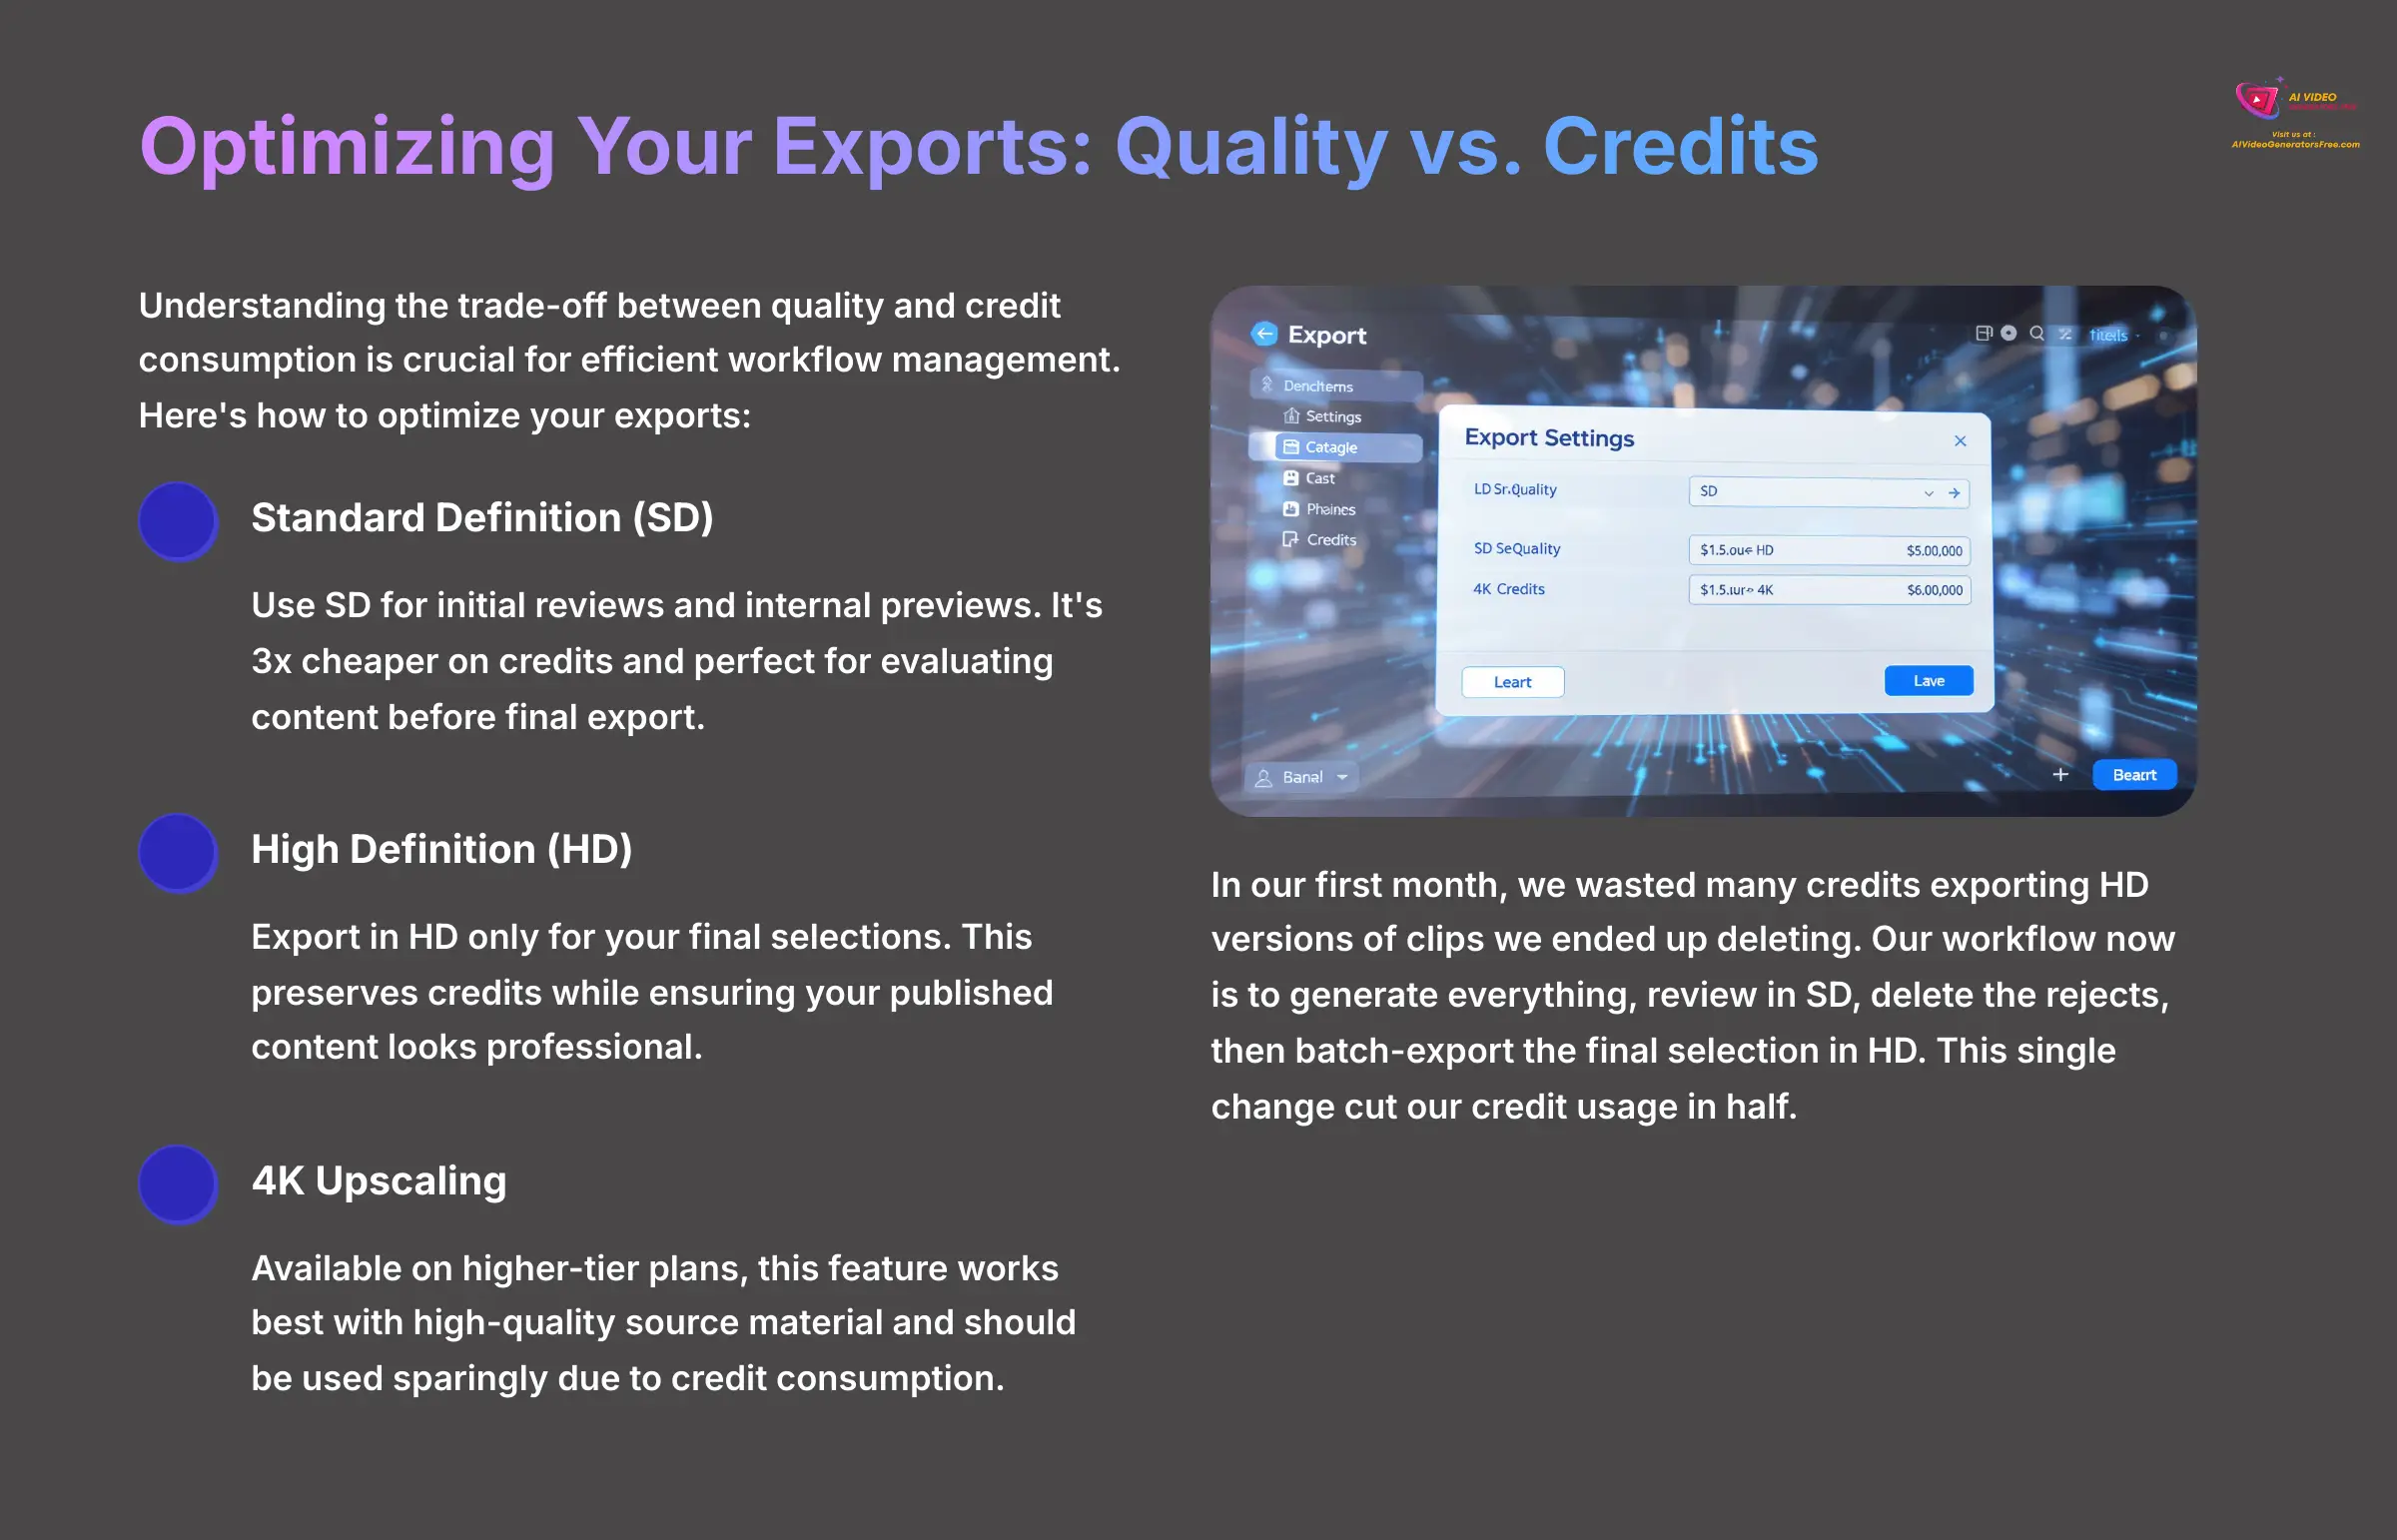
Understanding the trade-off between quality and credit consumption is crucial for efficient workflow management. Here's how to optimize your exports:
| Export Quality | Best For | Credit Cost |
|---|---|---|
| Standard Definition (SD) | Initial reviews and internal previews. | Low (e.g., 3x cheaper than HD). |
| High Definition (HD) | Final selections for publishing. | Standard. |
| 4K Upscaling | High-quality source material, used sparingly. | High. |
In our first month, we wasted so many credits exporting HD versions of clips we ended up deleting. Our workflow now is to generate everything, review in standard definition (SD), delete the rejects, then batch-export the final selection in high definition (HD). This single change cut our credit usage in half.
Part 5: Advanced Workflows: Automating Your Content Engine
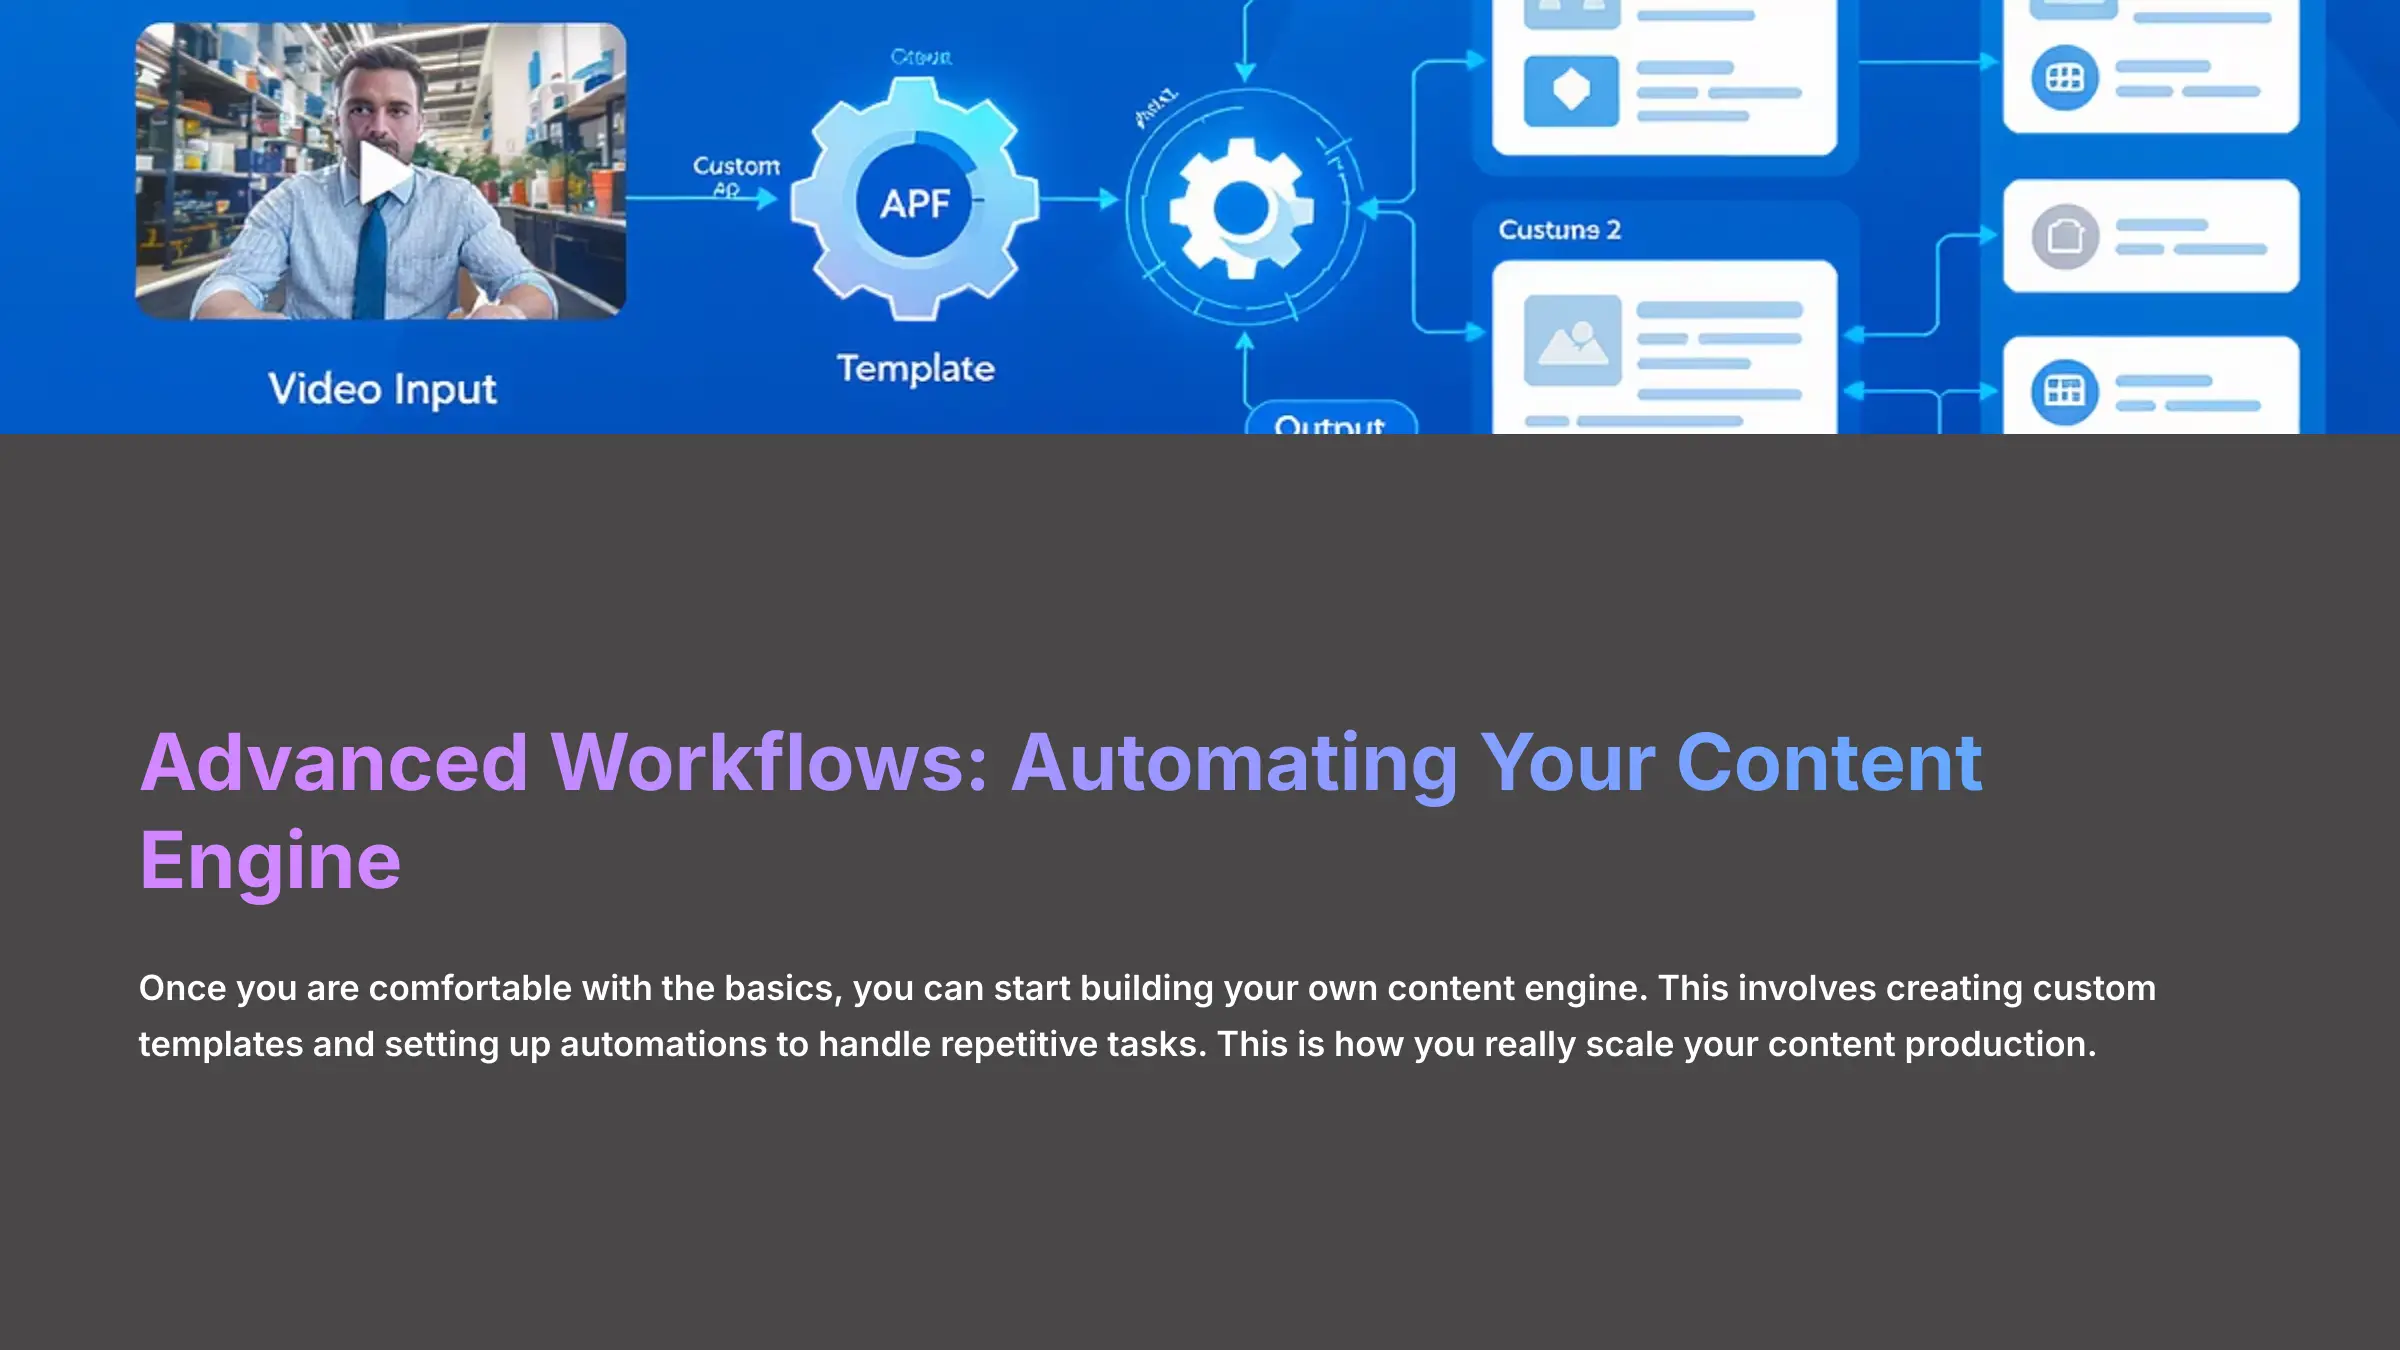
Once you are comfortable with the basics, you can start building your own content engine. This involves creating custom templates and setting up automations to handle repetitive tasks. This is how you really scale your content production.
First up is creating Custom Playbooks. These are your personal templates, designed for your specific needs.
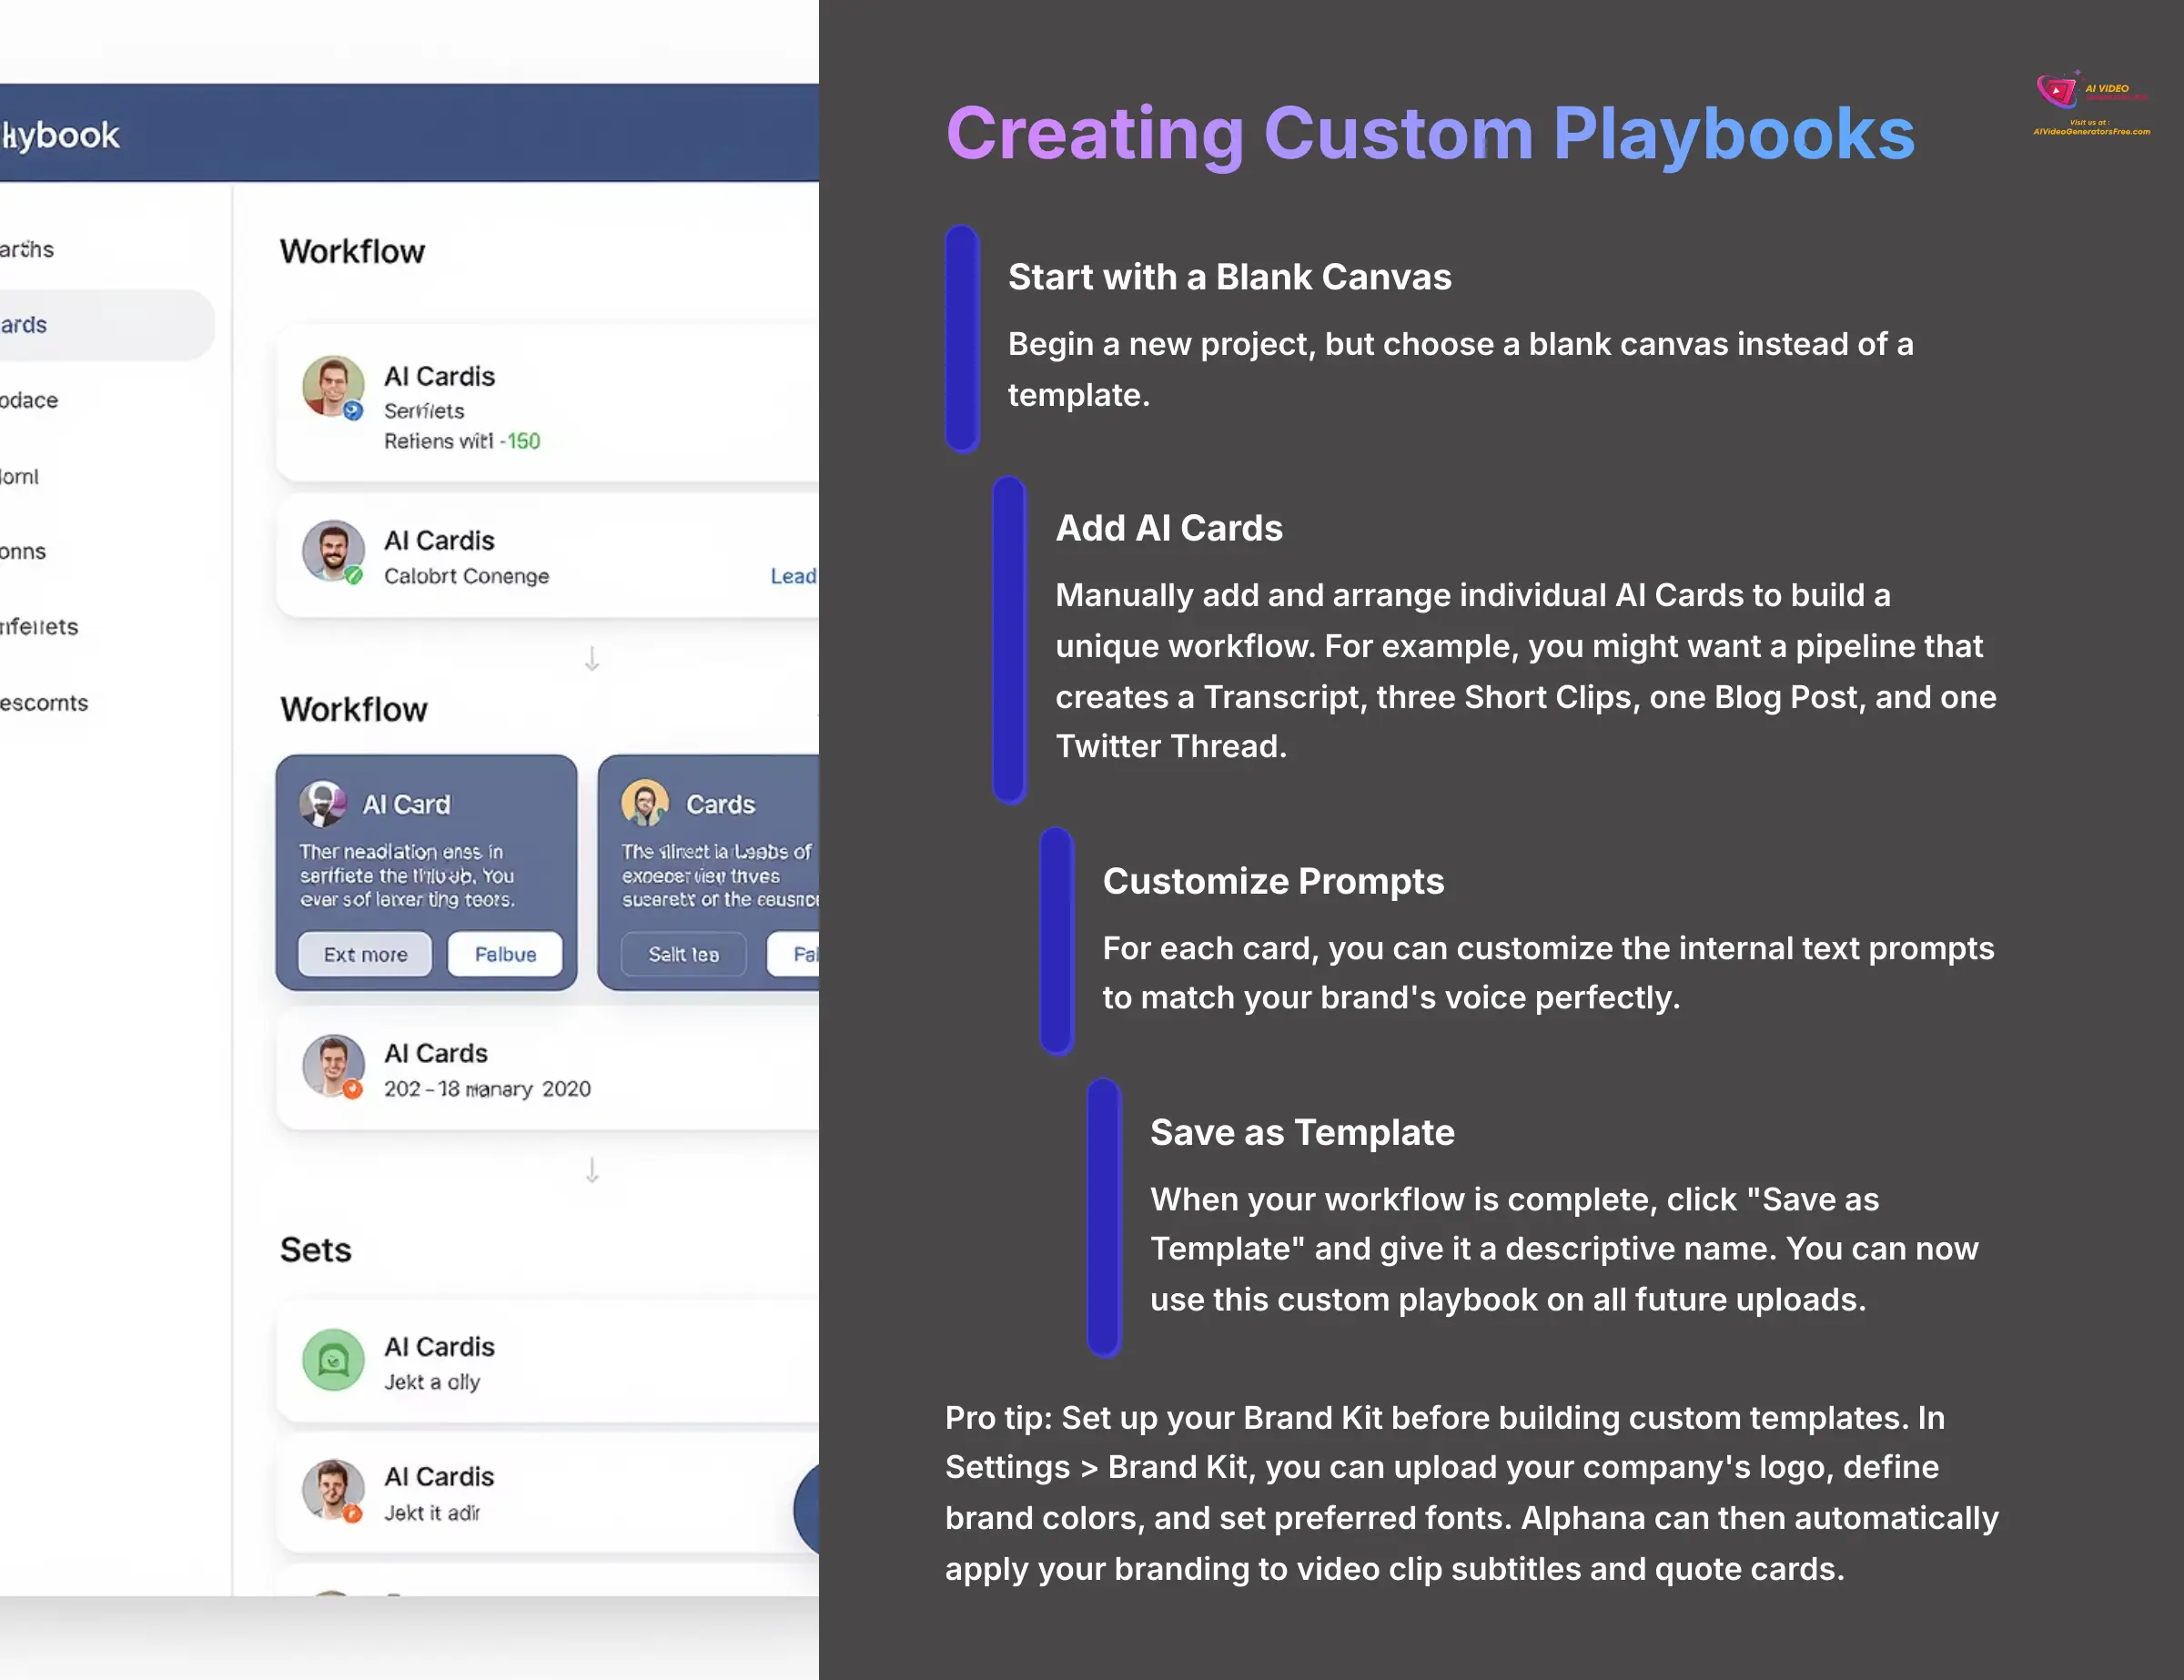
- Start a new project, but choose a blank canvas instead of a template.
- Manually add and arrange individual AI Cards to build a unique workflow. For example, you might want a pipeline that creates a Transcript, three Short Clips, one Blog Post, and one Twitter Thread.
- For each card, you can customize the internal text prompts to match your brand's voice perfectly.
- When your workflow is complete, click “Save as Template” and give it a descriptive name. You can now use this custom playbook on all future uploads.
A pro tip here is to set up your Brand Kit before building custom templates. In Settings > Brand Kit, you can upload your company's logo, define your brand colors, and set your preferred fonts. When you create assets using your custom playbook, Alphana can then automatically apply your branding to things like video clip subtitles and quote cards, saving you another manual step in the process.
Next is End-to-End Automation. Setting up automation with a tool like Zapier or Make.com is like creating a set of dominoes for your content. You push the first one (uploading a video), and all the other pieces fall into place automatically.
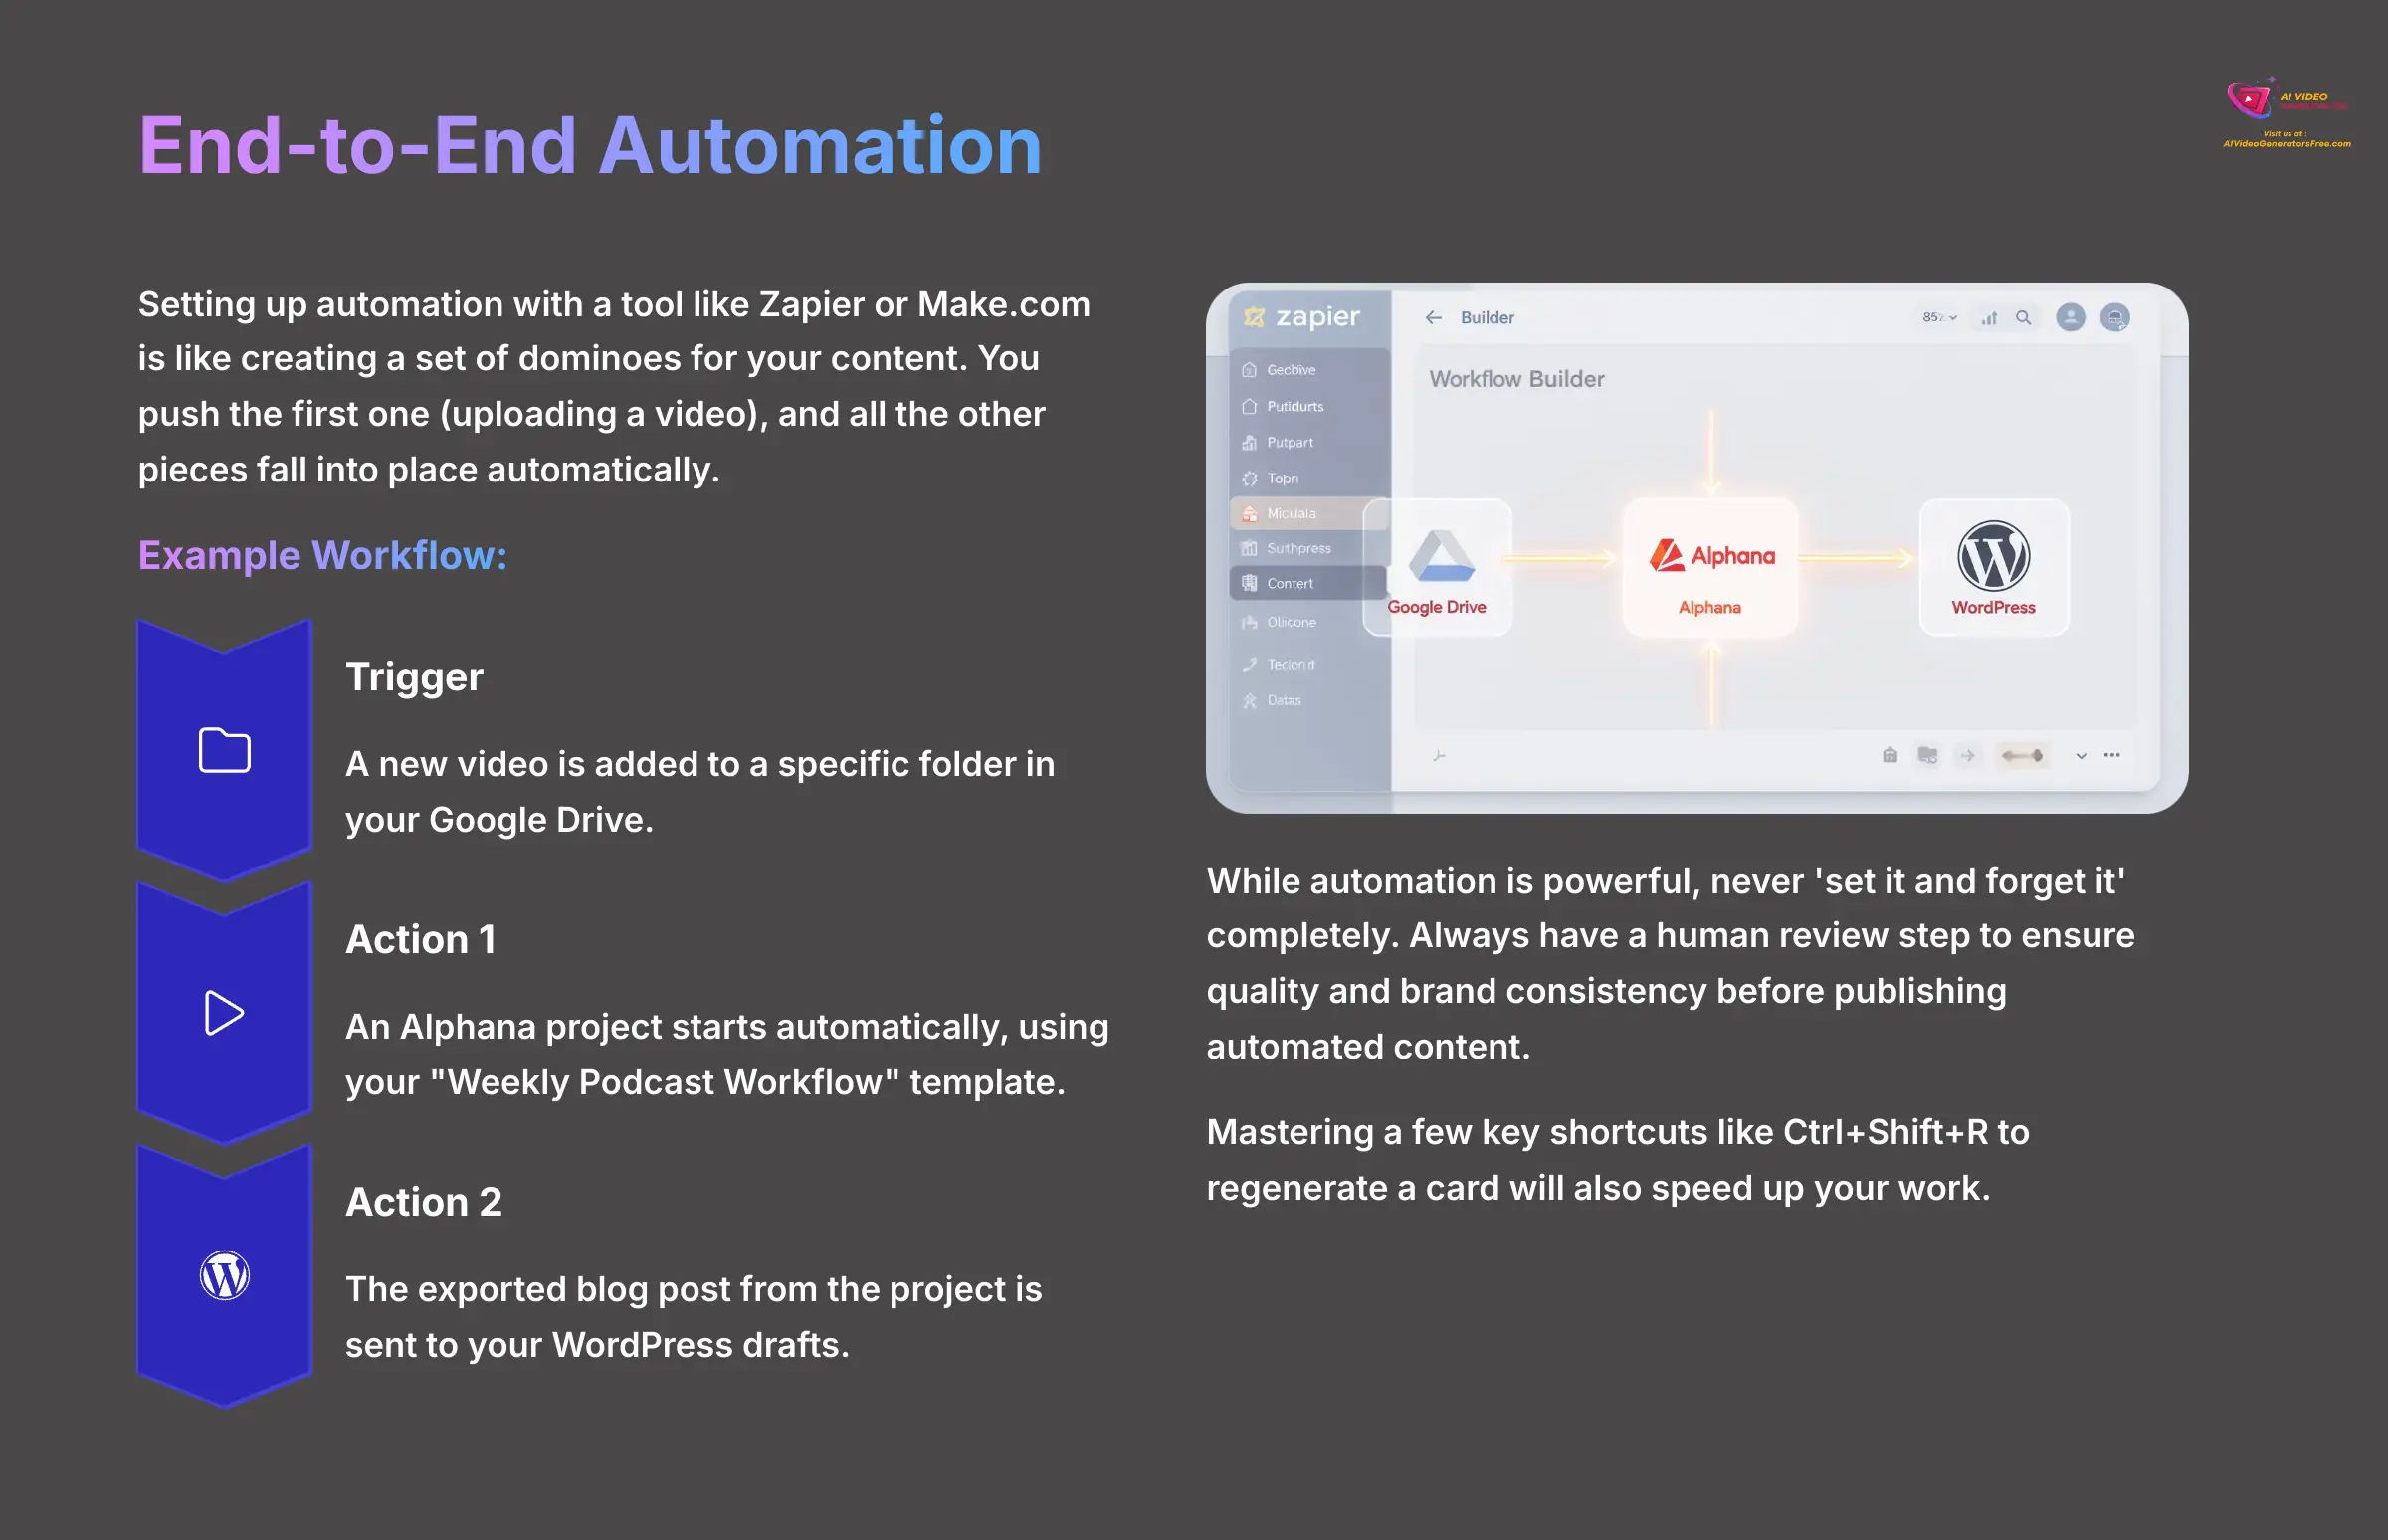
Here is a simple example workflow you could build:
- Trigger: A new video is added to a specific folder in your Google Drive.
- Action: An Alphana project starts automatically, using your “Weekly Podcast Workflow” template.
- Action: The exported blog post from the project is sent to your WordPress drafts.
While automation is powerful, never ‘set it and forget it' completely. Always have a human review step to ensure quality and brand consistency before publishing automated content.
This kind of setup can save you an incredible amount of time. Mastering a few key shortcuts like Ctrl+Shift+R to regenerate a card will also speed up your work.
Part 6: Beyond the Basics: Practical Use Cases and Next Steps
Now let's bring it all together. Seeing how Alphana works on real projects can help you imagine its potential for your own work. We'll share practical examples and then point you to resources for your continued learning.
Here is a use case we call The E-Commerce Product Campaign.
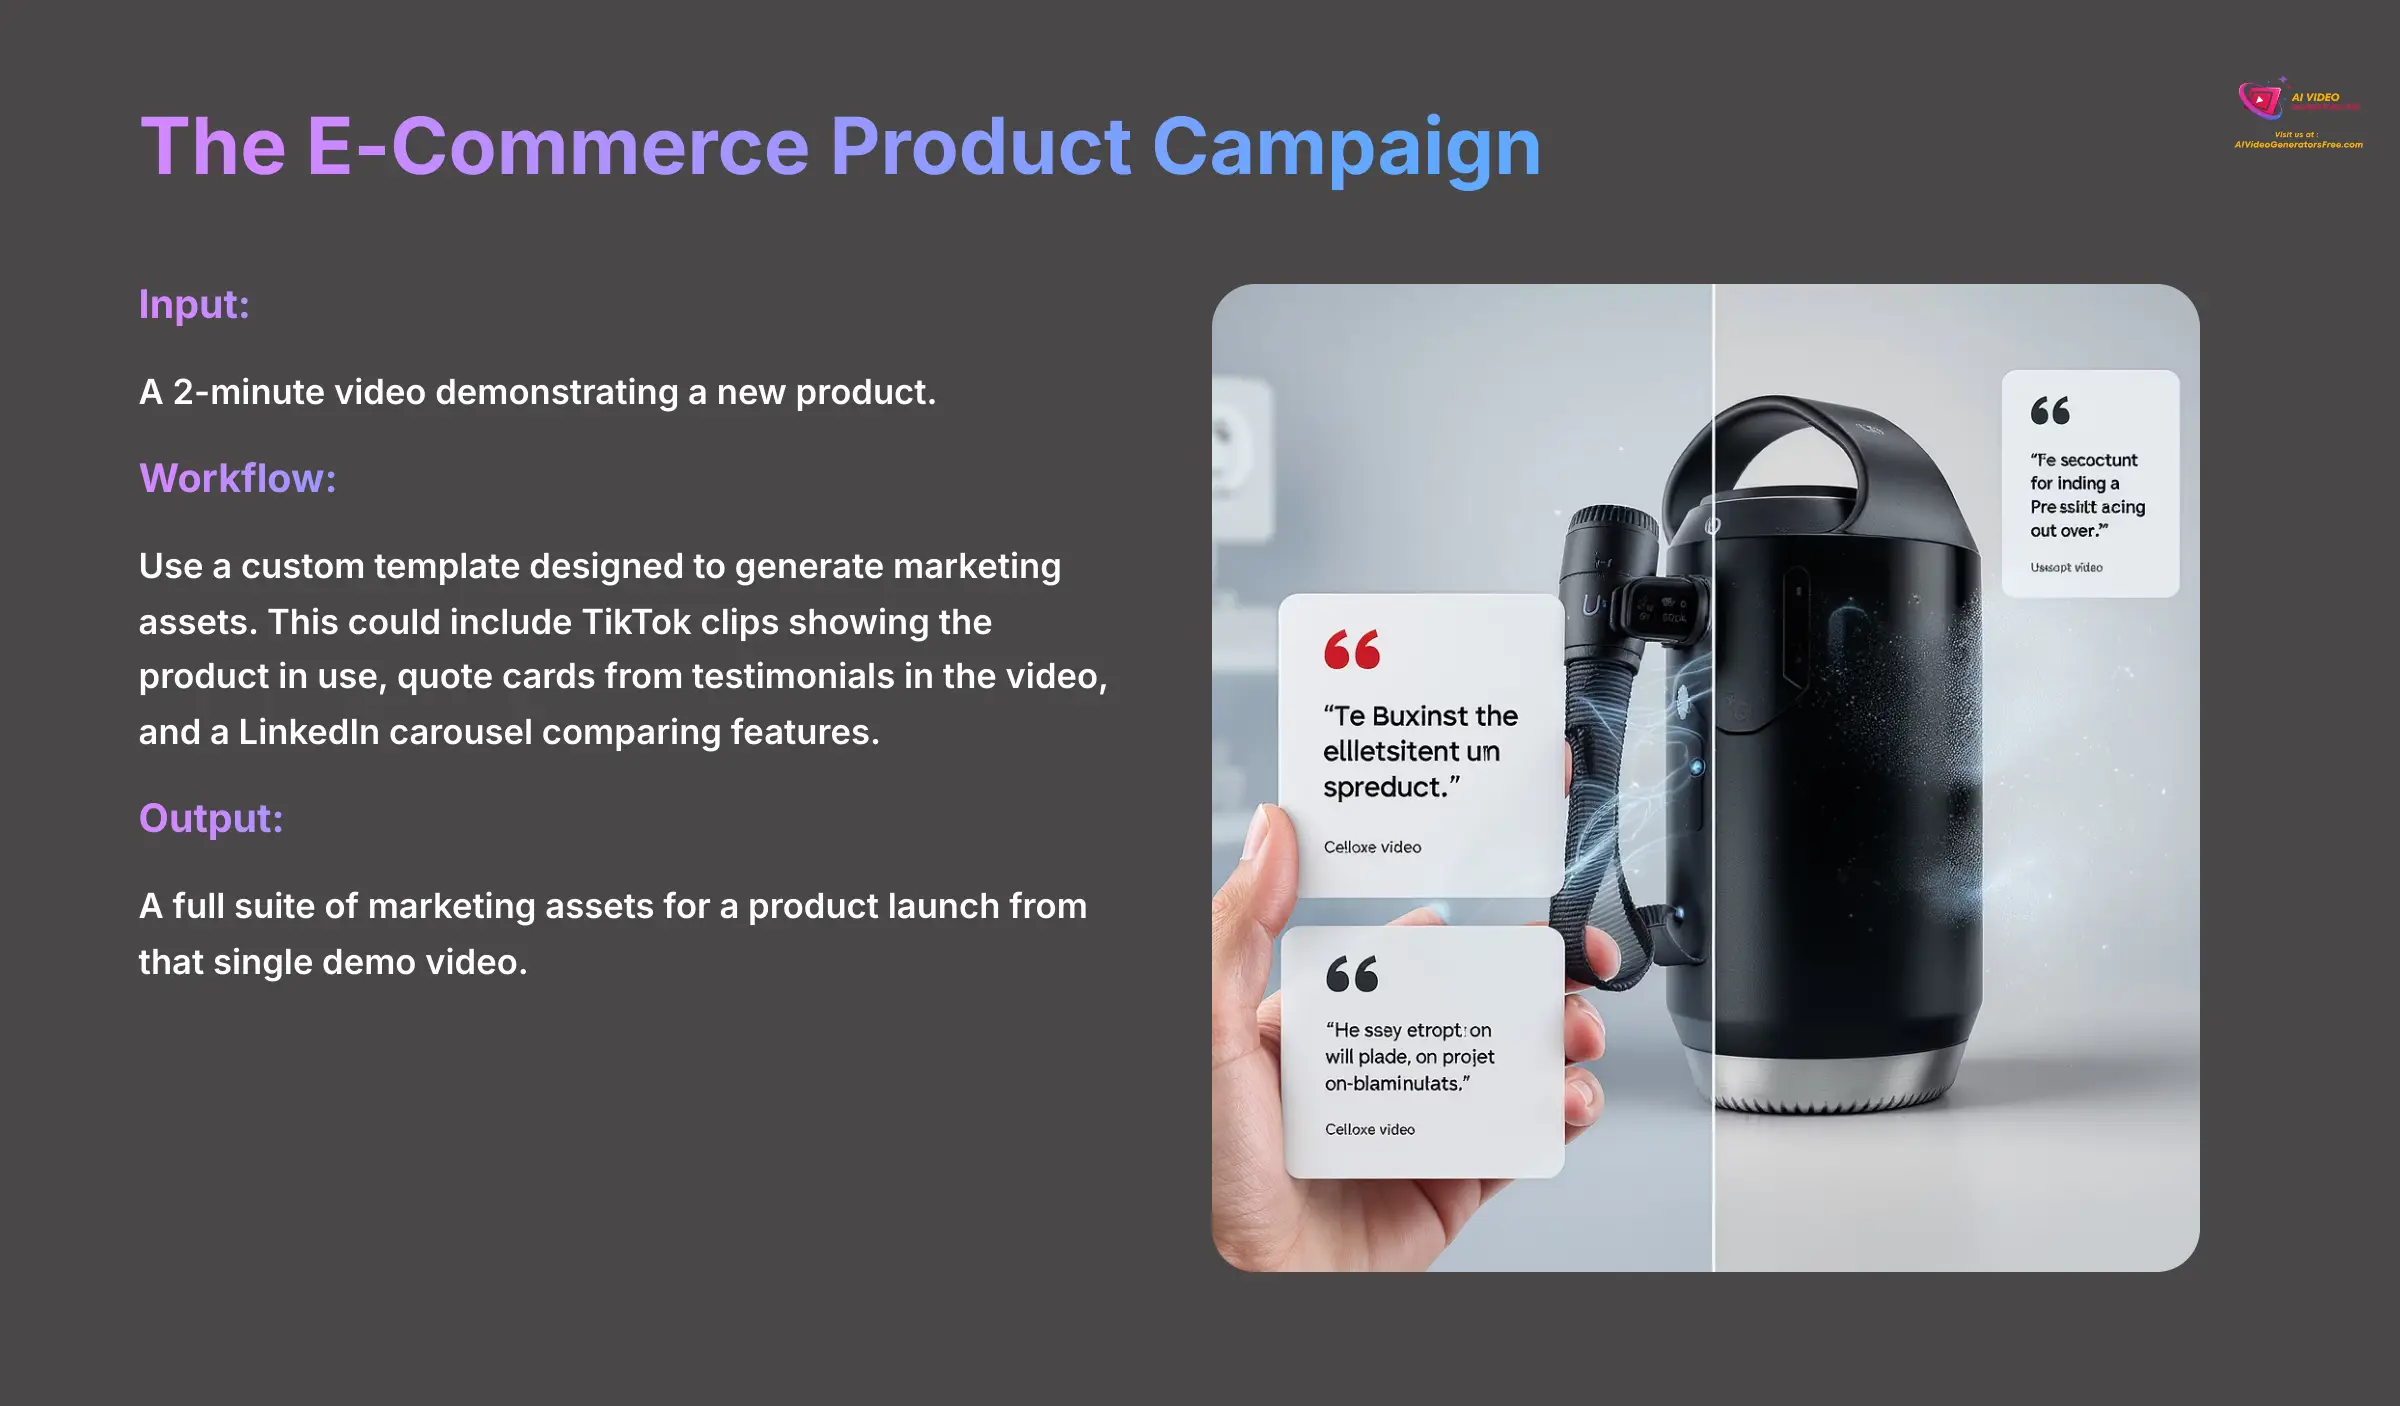
- Input: A 2-minute video demonstrating a new product.
- Workflow: Use a custom template designed to generate marketing assets. This could include TikTok clips showing the product in use, quote cards from testimonials in the video, and a LinkedIn carousel comparing features.
- Output: You get a full suite of marketing assets for a product launch from that single demo video.
The Podcast Repurposing Engine
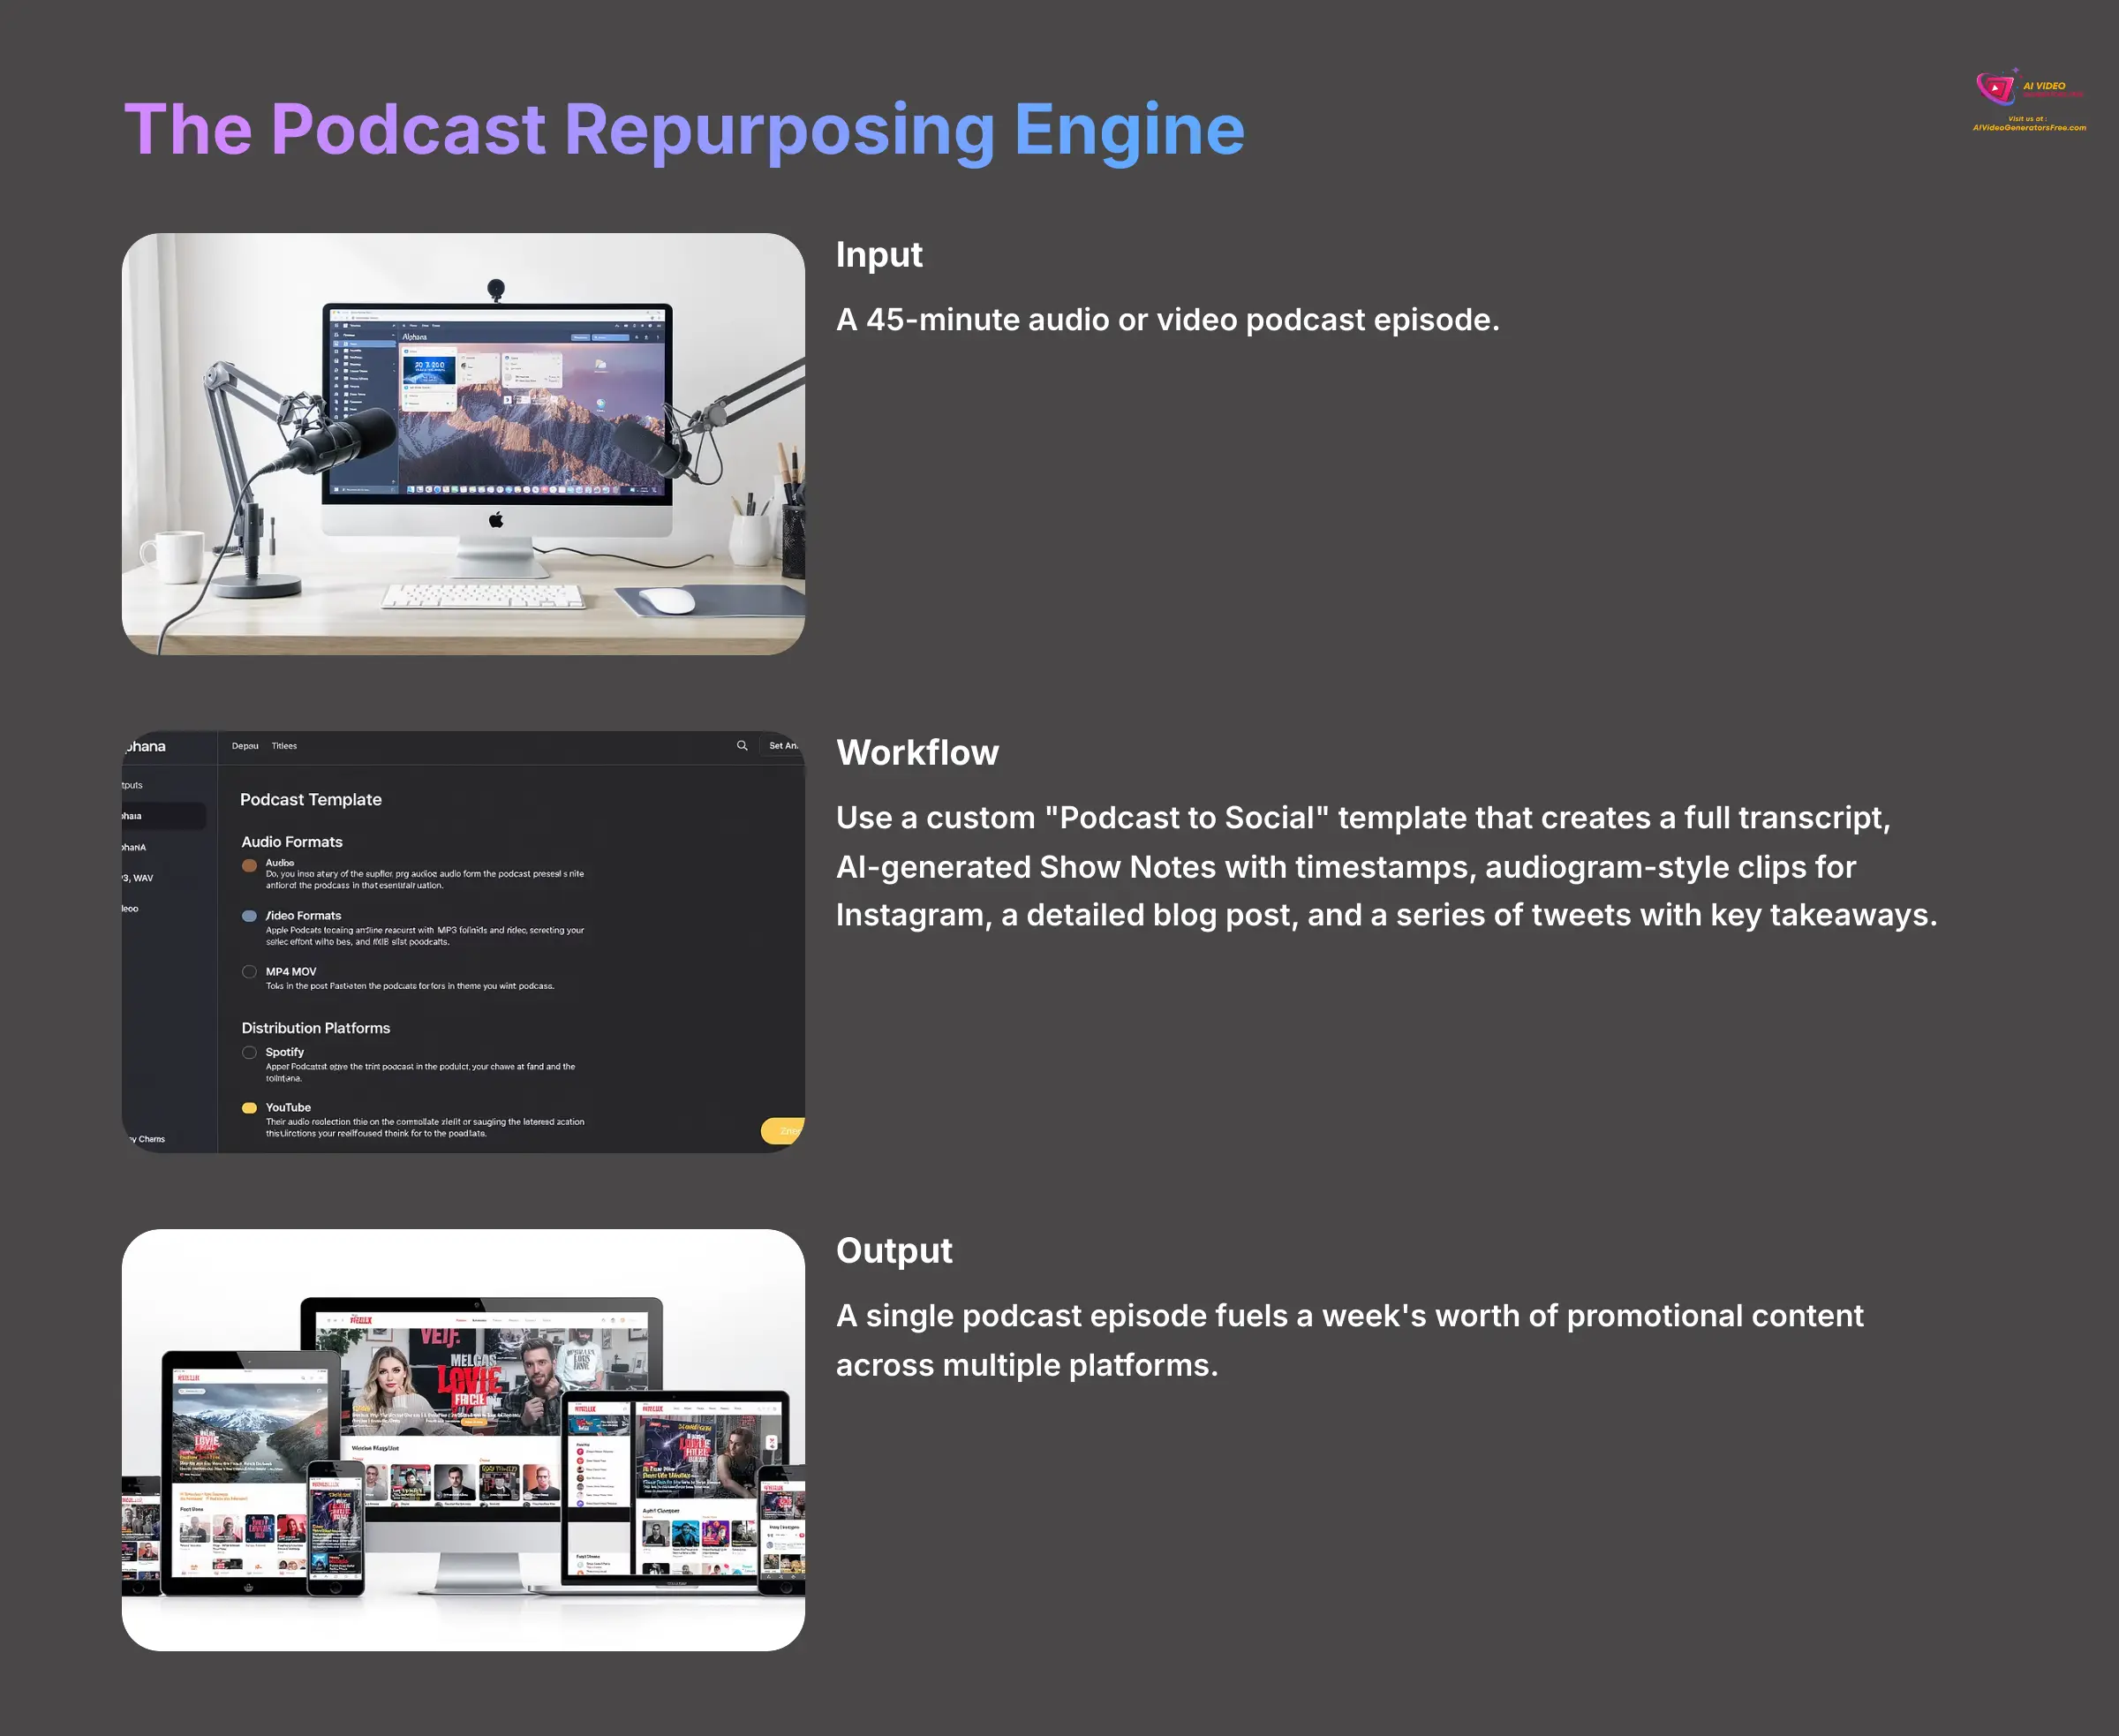
- Input: A 45-minute audio or video podcast episode.
- Workflow: Use a custom “Podcast to Social” template. The AI generates a full transcript, which serves as the foundation. The playbook is designed to create: 1) AI-generated Show Notes with timestamps, 2) five audiogram-style clips for Instagram, 3) a detailed blog post for the website, and 4) a series of tweets with key takeaways.
- Output: A single podcast episode fuels a week's worth of promotional content across multiple platforms.
The Online Course Content Multiplier
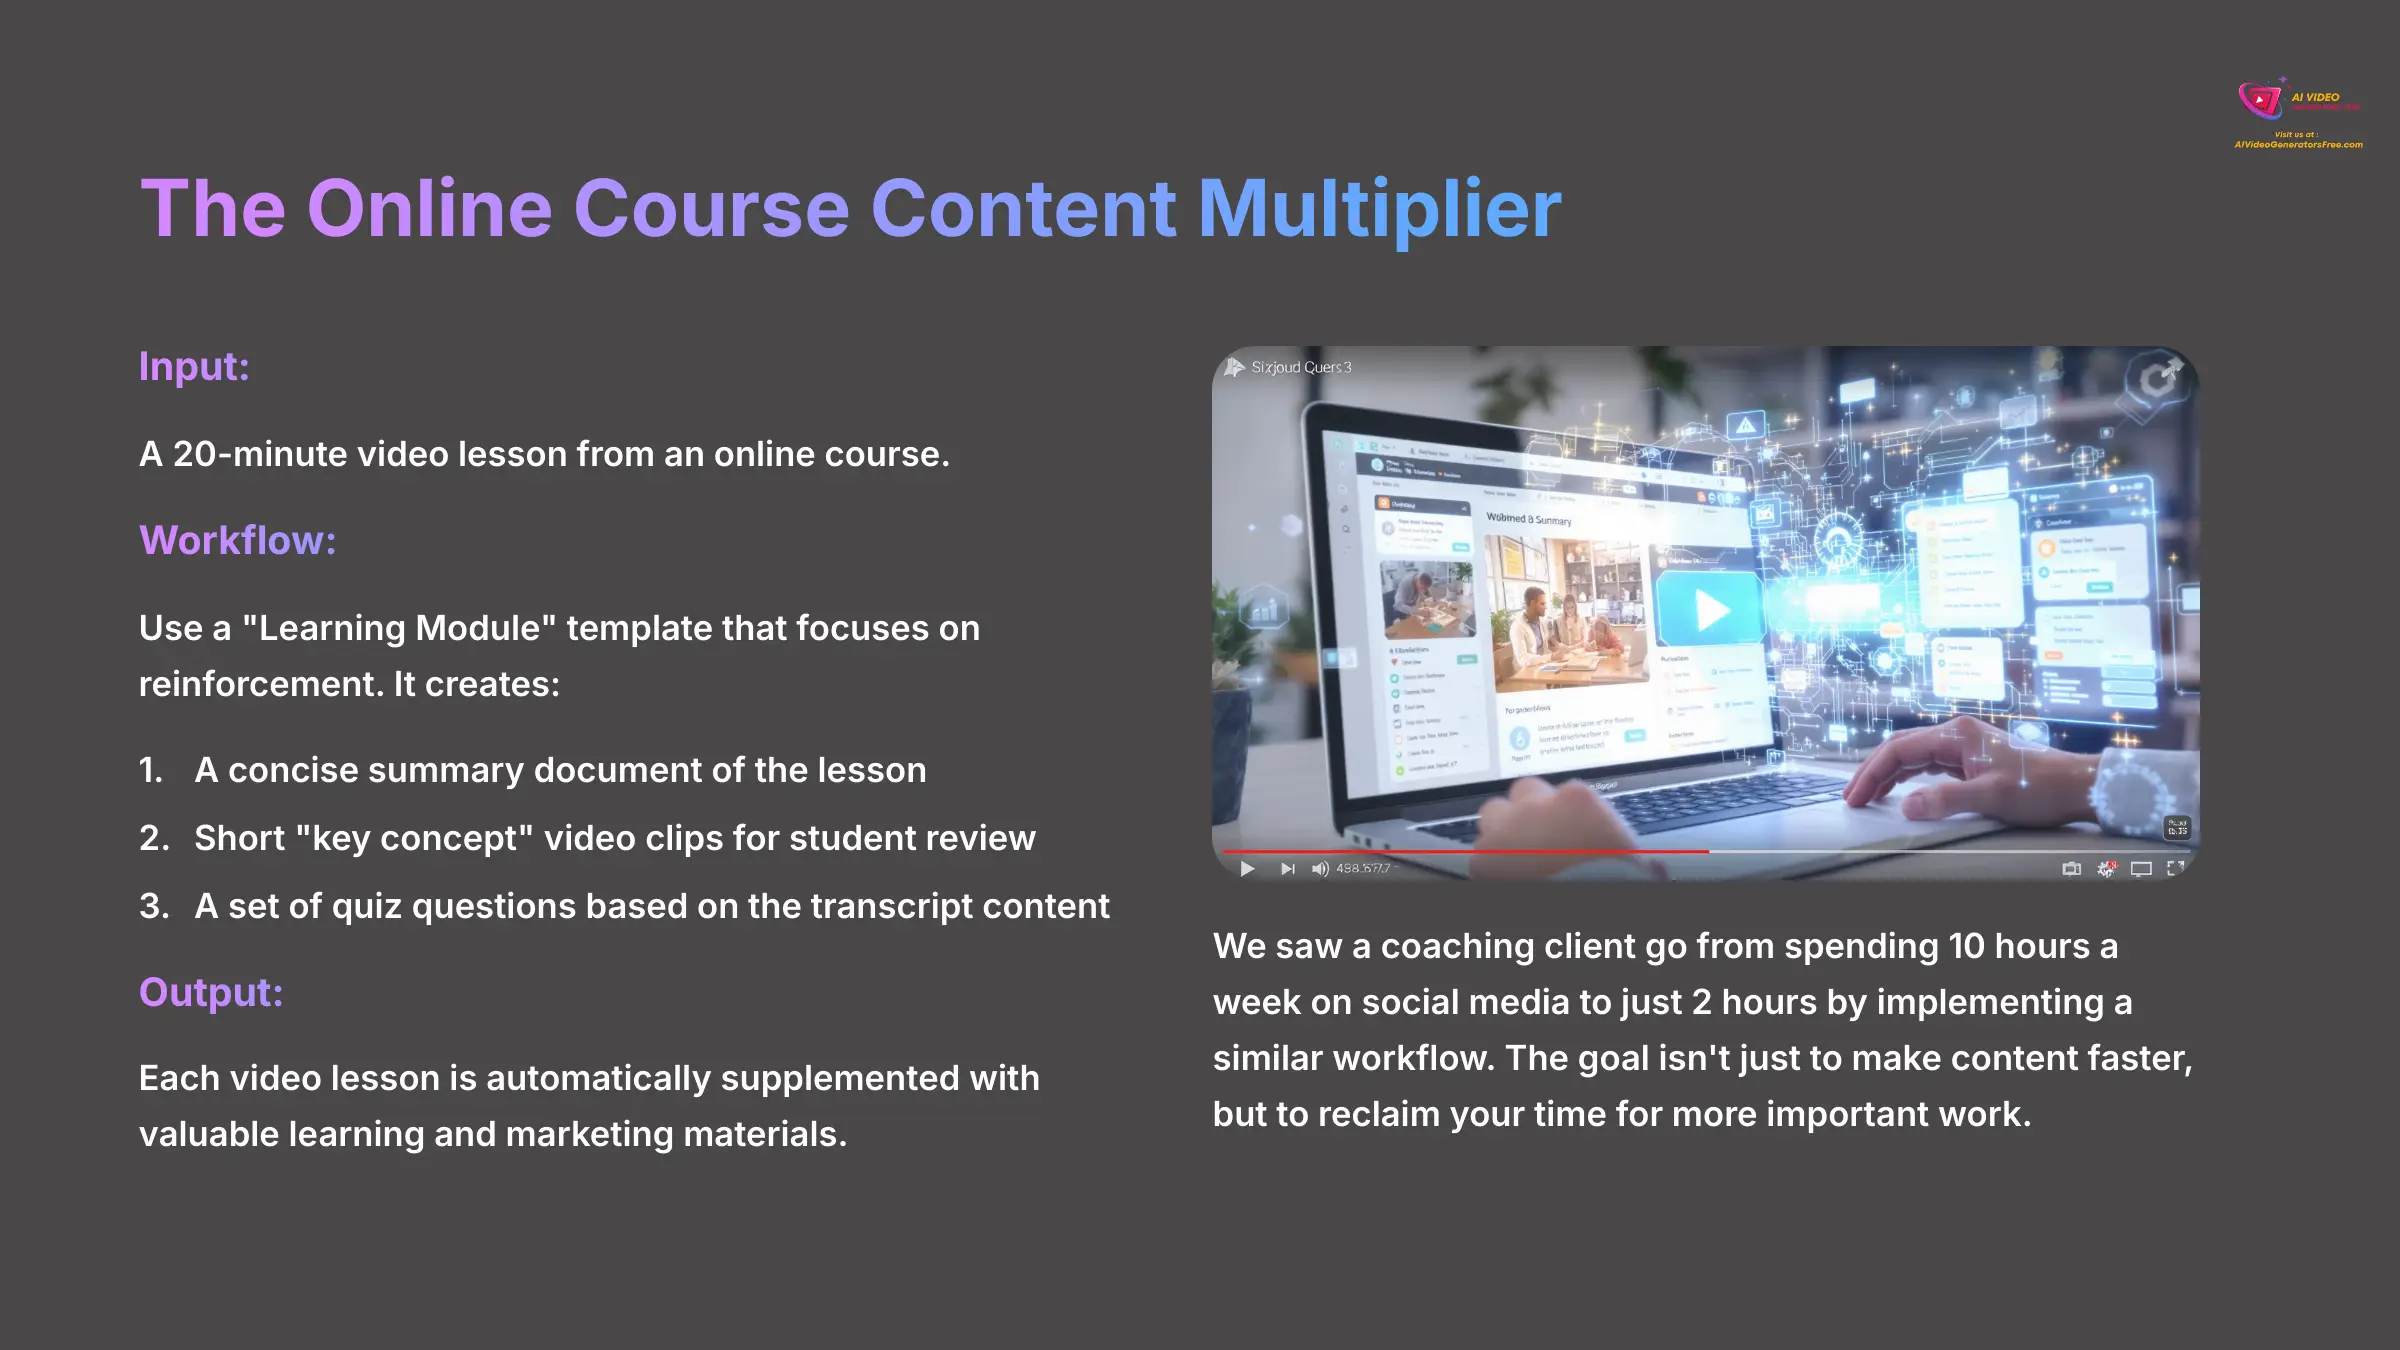
- Input: A 20-minute video lesson from an online course.
- Workflow: Use a “Learning Module” template that focuses on reinforcement. It creates: 1) a concise summary document of the lesson, 2) short “key concept” video clips for student review, and 3) a set of quiz questions based on the transcript content.
- Output: Each video lesson is automatically supplemented with valuable learning and marketing materials.
We saw a coaching client go from spending 10 hours a week on social media to just 2 hours by implementing a similar workflow. The goal isn't just to make content faster, but to reclaim your time for more important work.
To continue your learning journey, we suggest a simple path. For your second week, focus on building your first custom template. Then, you can explore Alphana's official documentation and community forums for more ideas. A final professional tip: spend 5 minutes pre-editing your source video. A cleaner input results in a cleaner transcript and better AI selections, saving you time later.
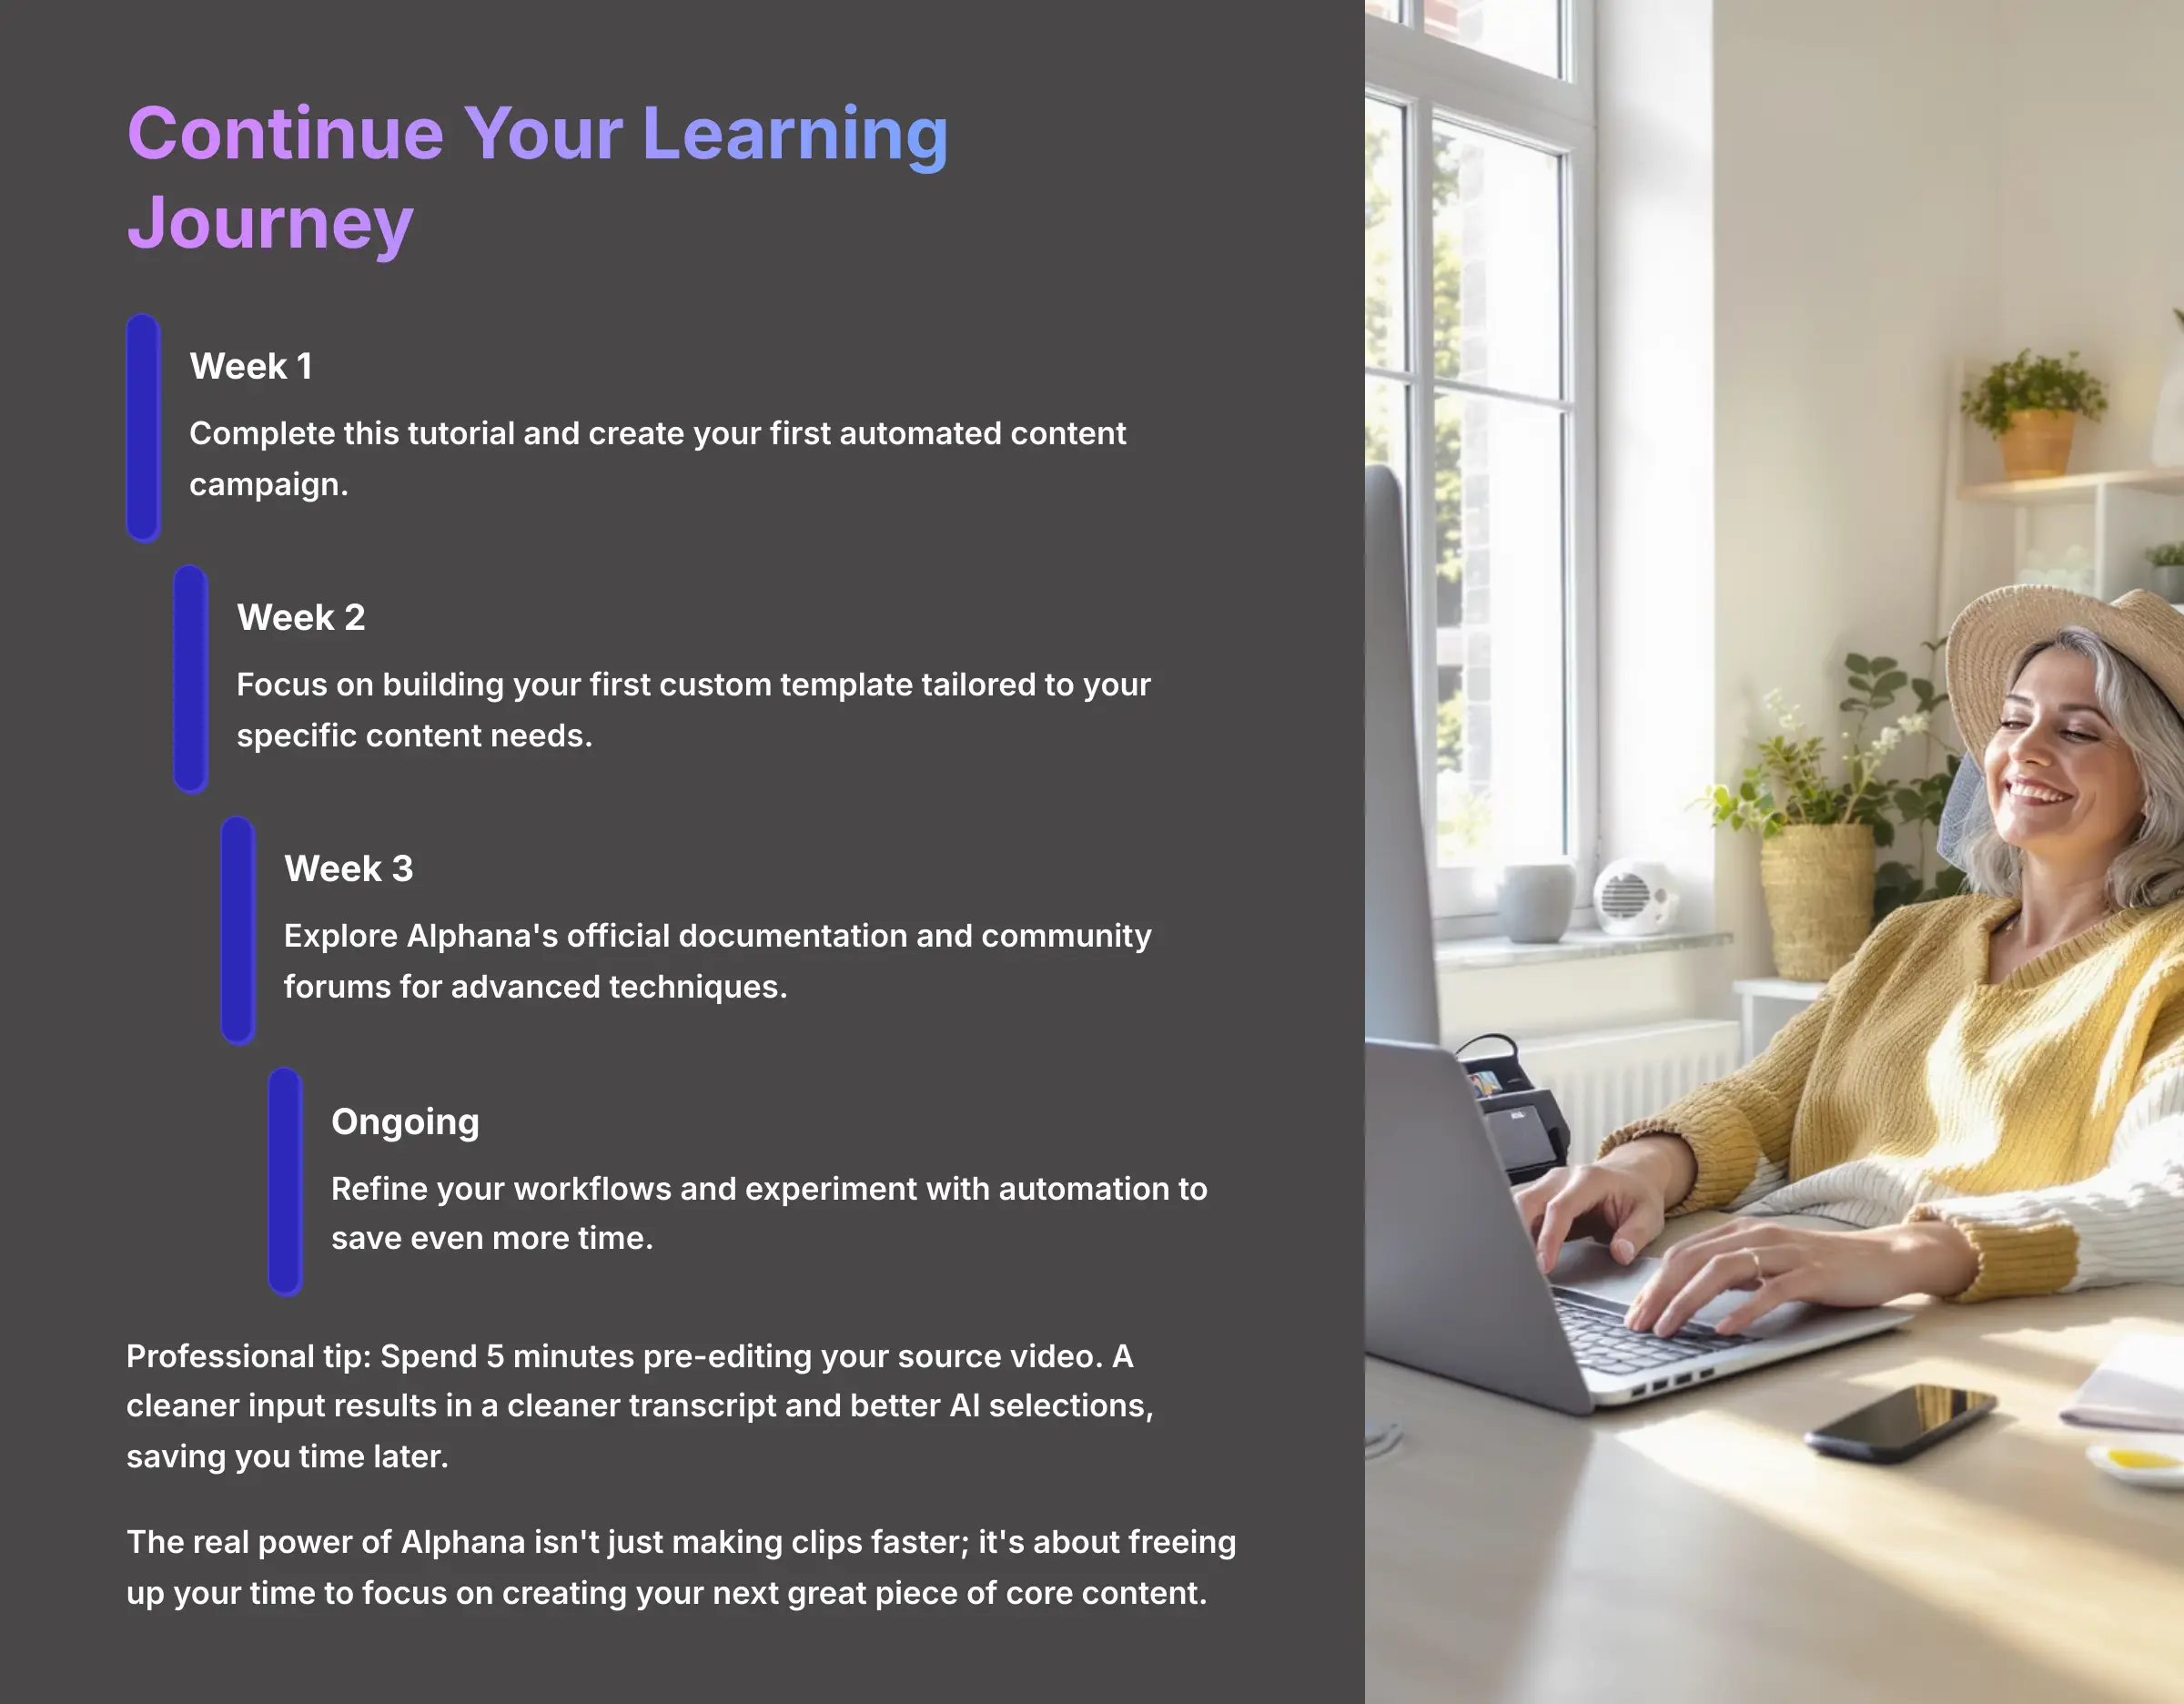
You now have the complete workflow, from setting up your account to building an automated content engine. The real power of Alphana isn't just making clips faster; it's about freeing up your time to focus on creating your next great piece of core content. We hope this guide has been helpful. Go turn your videos into campaigns.
Disclaimer: The information about Alphana Tutorial: Getting Started with AI Video Creation for Beginners presented in this article reflects our thorough analysis as of 2025. Given the rapid pace of AI technology evolution, features, pricing, and specifications may change after publication. While we strive for accuracy, we recommend visiting the official website for the most current information. Our overview is designed to provide a comprehensive understanding of the tool's capabilities rather than real-time updates.
Alphana Tutorial: Getting Started with AI Video Creation for Beginners
![Alphana Usecase: How to Generate 30+ Promotional Videos for a New Product Launch [2025 Implementation Guide]](https://aivideogeneratorsfree.com/wp-content/uploads/2025/06/1_Alphana-Usecase-How-to-Generate-30-Promotional-Videos-for-a-New-Product-Launch_AI-video-generators-free_aivideogeneratorsfree.com_-350x150.webp)


Leave a Reply