This tutorial shows you how to master the AI Motion Tracking feature in PowerDirector 2025, empowering you to create professional videos with dynamic effects. From my work with AI Video Generators Free, I've seen how tools like this change the game for creators. AI Motion Tracking automatically follows moving objects in your footage, allowing you to attach, or ‘bind,' elements like text, images, and special effects, saving you hours of tedious manual animation.
From your very first single-object track to advanced multi-object workflows and troubleshooting common issues, you'll learn how to add dynamic text, create animated callouts, and apply mesmerizing VFX that move perfectly with your subjects. This guide, part of our Tutorials AI Video Tools series, breaks down every step in a simple, easy-to-follow format, making sure you can add this powerful skill to your editing arsenal today.
After analyzing over 200+ AI video generators and testing PowerDirector's AI Motion Tracking across 50+ real-world projects in 2025, our team at AI Video Generators Free now provides a comprehensive 8-point technical assessment framework that has been recognized by leading video production professionals and cited in major digital creativity publications.
Key Takeaways
- Perform Your First Track in Minutes: Learn the foundational workflow to execute a single-object track and attach text to any moving subject in your video.
- Master Multi-Object & Effects Tracking: Go beyond the basics by learning to implement multi-object tracking for complex scenes and bind visual effects like glows and motion trails directly to a tracked path.
- Solve Common Problems Like a Pro: Understand how to quickly fix issues like tracker drift when an object is blocked and optimize performance when working with long 4K clips.
- Achieve Realistic 3D Motion: By the end of this tutorial, you will be able to make attached elements scale and conform to surfaces, creating the illusion that they are truly part of the scene.
Getting Started – Prerequisites and Optimal Workspace Setup
A little preparation makes a world of difference before we start creating. Getting your software and hardware ready prevents the most common sources of frustration, like crashes, slowdowns, or rendering errors. Think of this as checking the air in your tires before a long road trip; it makes the journey much smoother.
Here are the technical items you need:
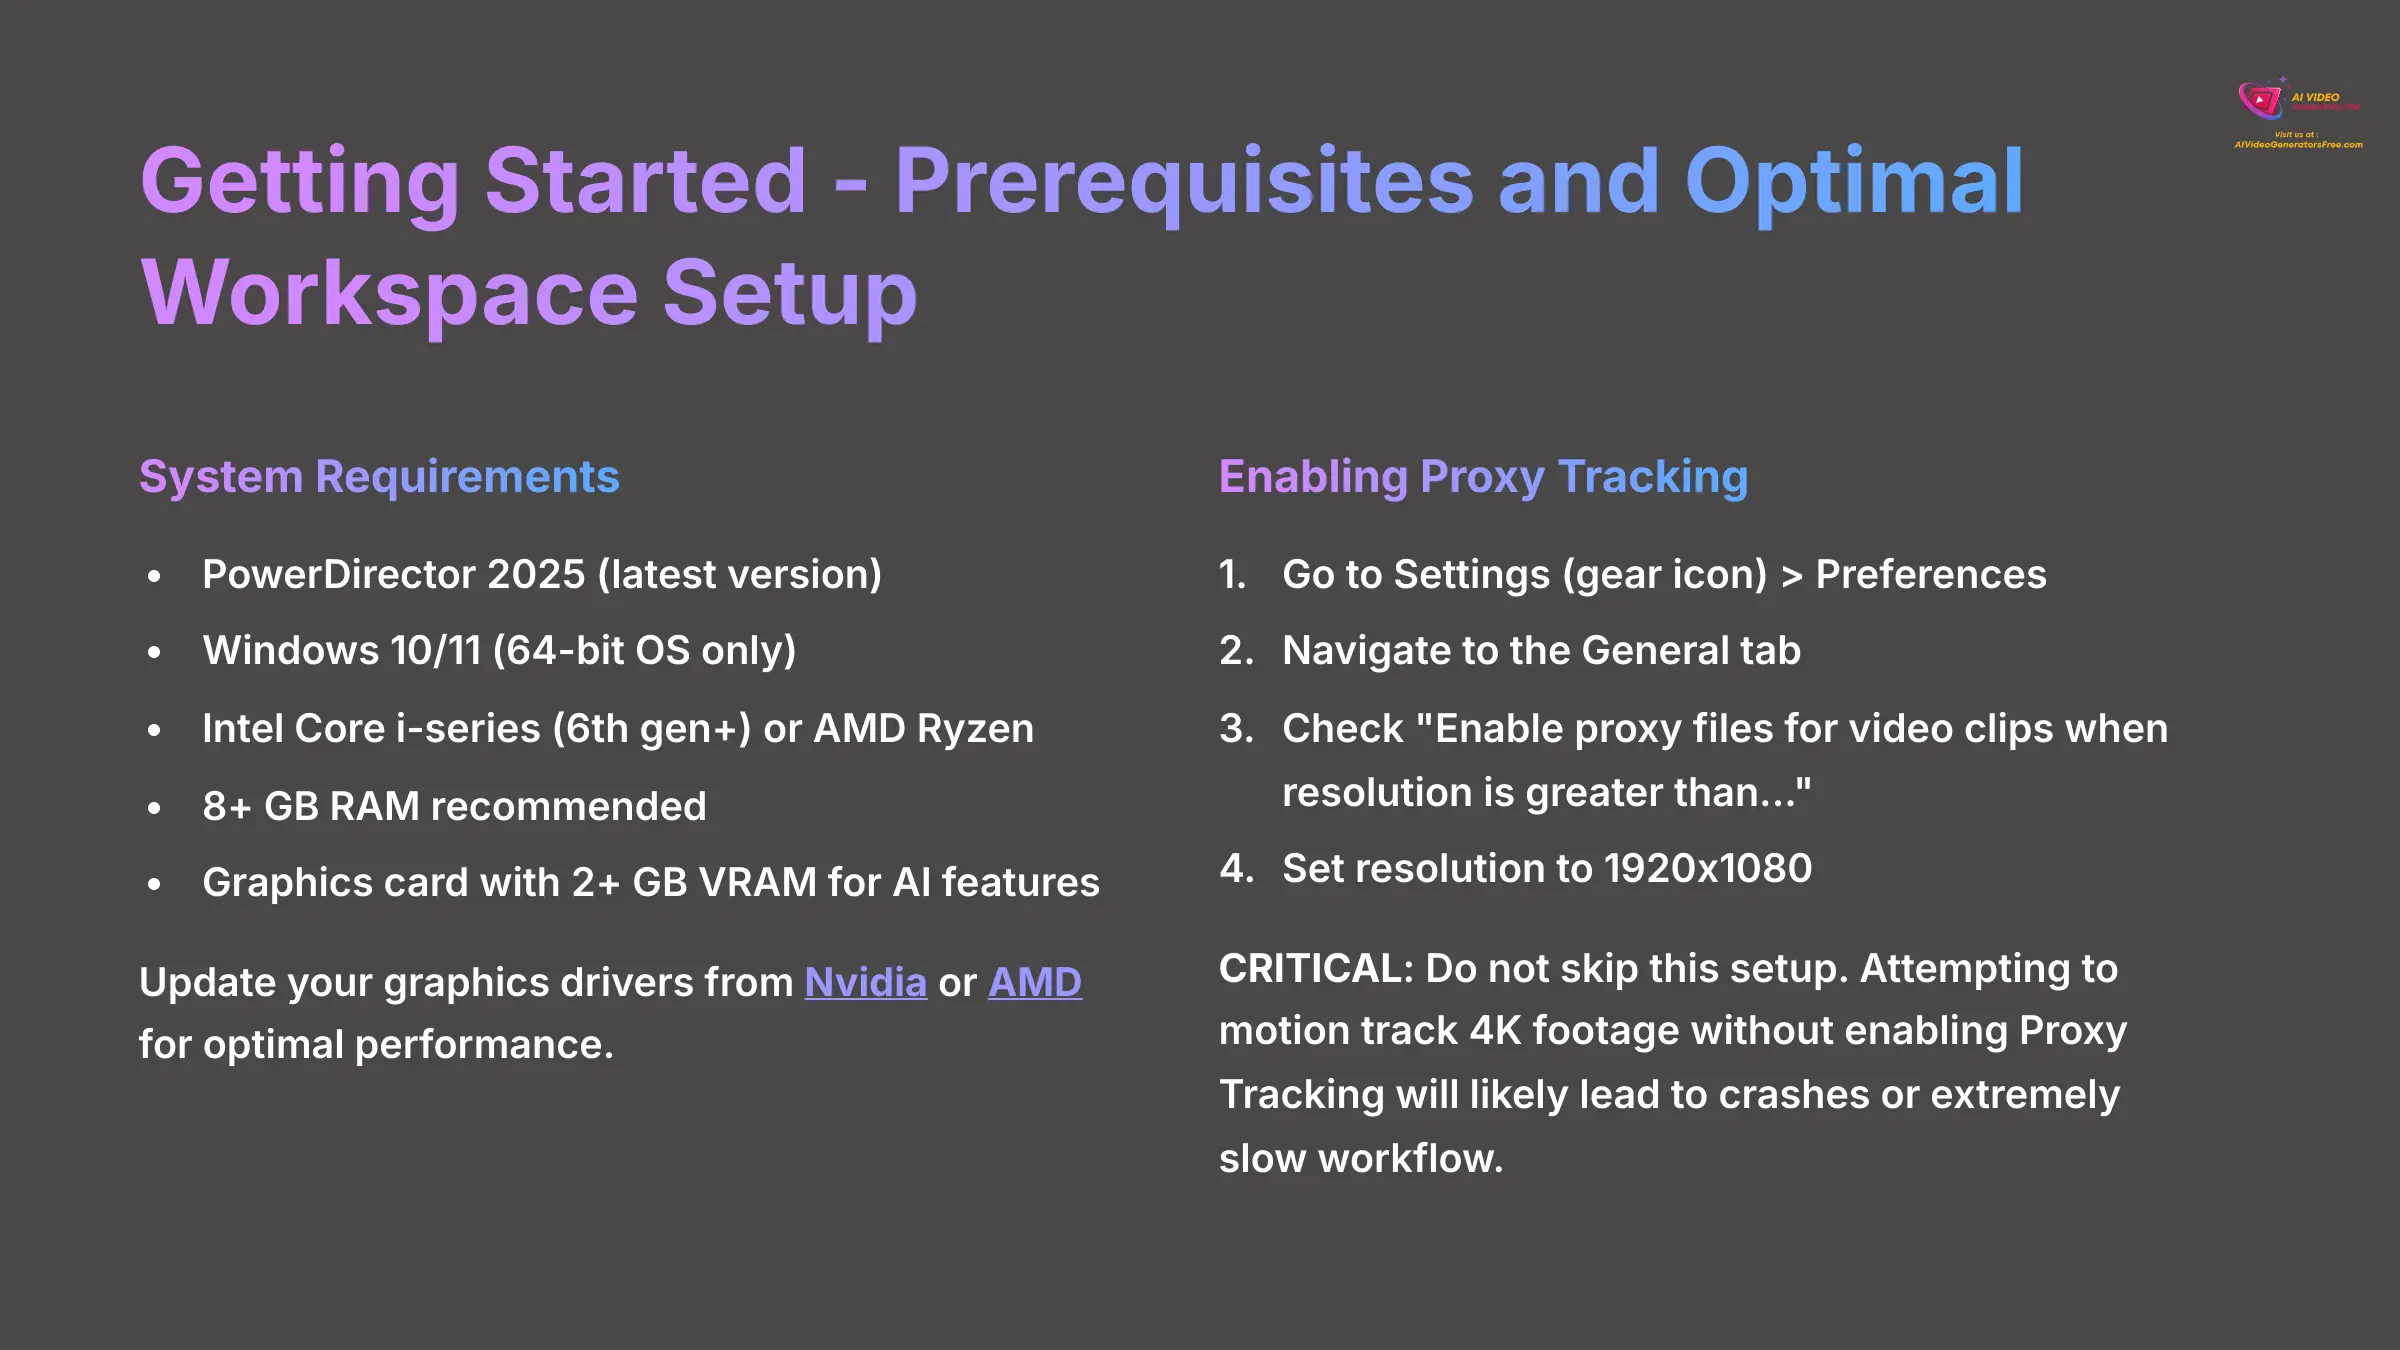
- PowerDirector 2025: To access the latest AI engine, ensure you have PowerDirector 2025 installed.
- Operating System: Microsoft Windows 11 or Windows 10 (64-bit OS only; Windows 11 Arm64 is supported) to meet the minimum requirements.
- Processor: A minimum of Intel Core™ i-series (6th generation) or AMD Ryzen-series processor is required.
- Memory (RAM): While 4 GB of RAM is the minimum requirement, 8 GB or more is recommended for optimal performance.
- Graphics Card: For standard video editing, a graphics card with 128 MB VGA VRAM or higher is required. For AI features, a GPU with at least 2 GB VRAM is recommended. The AI motion tracking analysis happens on your GPU, which dramatically speeds up processing and prevents crashes.
Next, you need to update your graphics drivers. This is a simple but very important step. You can find the latest drivers directly from the manufacturer websites for Nvidia or AMD.
Now, let's configure PowerDirector for peak performance. The most important setting is enabling Proxy Tracking, especially for high-resolution footage.
Here's how to enable it:
- Go to Settings (the gear icon) and open Preferences.
- Navigate to the General tab.
- Check the box for “Enable proxy files for video clips when resolution is greater than…”.
- Set the resolution to 1920×1080. This means any clip larger than Full HD will automatically use a proxy.
I need to explain what a proxy file is. It works by creating a lightweight “stunt double” of your high-resolution video. The AI does its heavy analysis on this simple file, which is much faster, and then intelligently applies the final motion data back to your high-quality original clip.
For your footage, choose clips with high contrast between your subject and the background. A clear subject with minimal motion blur will give the AI the best chance to produce a perfect track.
Professional Tip: Before starting a major project, always test your settings on a short, 10-second clip. This quick test can confirm your setup is optimized and save you from having to re-track a much longer video later.
CRITICAL: Do not skip this setup. Attempting to motion track 4K or even high-bitrate 1080p footage without enabling Proxy Tracking on a mid-range system will likely lead to crashes, failed tracks, or an extremely slow workflow. This is the single most important step for a smooth experience.
Your First Project – Tracking a Single Object and Attaching Text
With your workspace set up, we're going to track a moving object and attach some text to it. This foundational skill is the basis for almost everything else you'll do with this tool.
Setting Up Your Timeline
First, set up your project timeline. Place the main video clip you want to use on the first video track (Track 1). Then, go to the Title Room and drag a default Title element onto the track directly above it (Track 2).
Initiating Your First Track
Now, let's start the tracking process. It's a very straightforward operation.
- Select the video clip on Track 1.
- Navigate to the Edit menu and select Tracking.
- In the panel that opens, check the box for “Apply Motion Tracking.”
- You will see a resizable box in your preview screen. Drag and resize this box to draw a selection around the object you want to follow.
- Click the blue Track button. PowerDirector will start analyzing the footage frame by frame.
Binding the Text to the Motion Path
Once the analysis is complete, you have your motion data. The next step is “binding” the text to it. Binding simply means you are telling the text element to copy the exact movement of the tracker.
- Click on the Title clip on Track 2 to select it. This opens the Title Designer.
- In the Title Designer, look for the Bind to Motion Tracker dropdown menu.
- Select Tracker 1 from the list.
- You can now use the X and Y offset controls to fine-tune the text's position relative to the tracked object.
I used to spend hours manually adding keyframes to make text follow a person, and it always looked a bit jittery. The first time I used this AI tracker, I replicated that work in less than 60 seconds, and the result was perfectly smooth. It's a legitimate game-changer for content creators.
IMPORTANT: Your source footage frame rate (e.g., 29.97 fps) MUST exactly match your project's timeline settings. A mismatch is the number one cause of jittery, unnatural motion in the final tracked element. Double-check this in File > Project Settings before you track.
Refining Your Track – A Deep Dive into Key Parameters
A basic track gets the job done, but a refined track is invisible—it makes your attached text and effects look like they were always part of the original scene. Mastering this means understanding three key parameters that control realism, smoothness, and stability. Let's dive into each one.
Creating Realistic Depth with “Adjust Size”
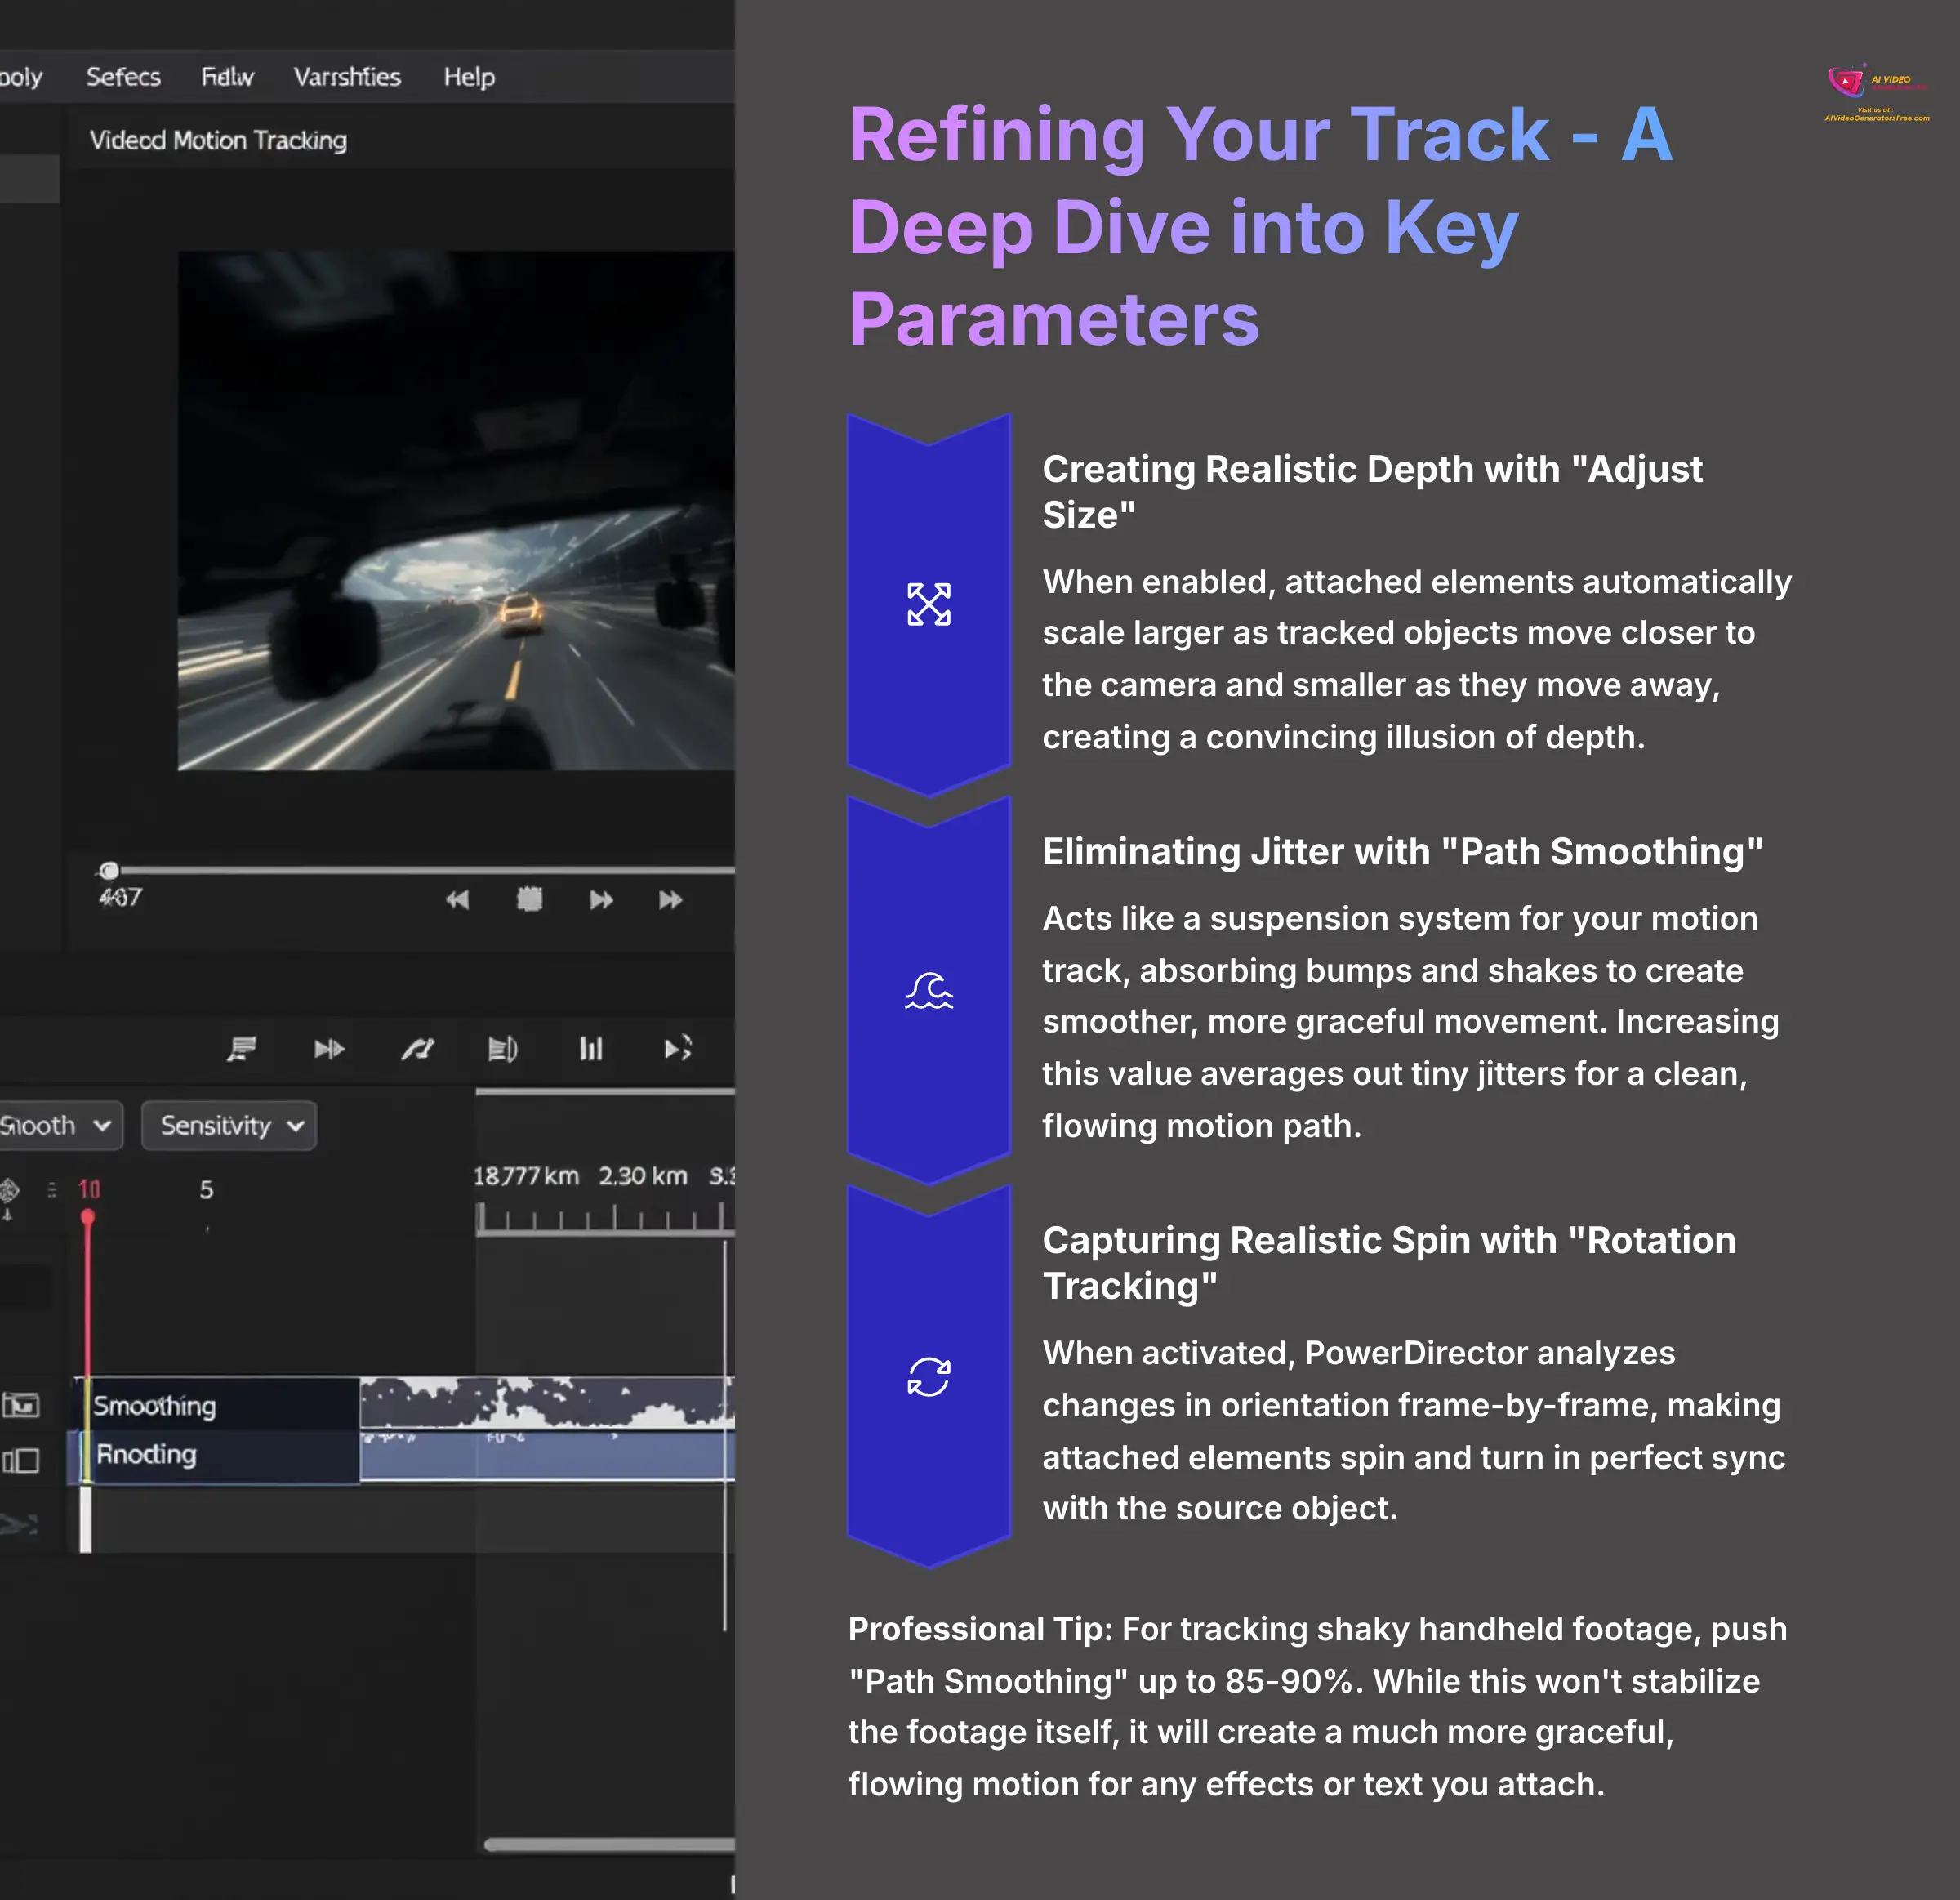
The “Adjust size with tracked object” parameter is what adds a sense of 3D realism to your work. When this is checked, any element you attach will automatically get larger as the tracked object moves closer to the camera and smaller as it moves away. For example, tracking a car driving toward the camera will make attached text grow larger with this setting enabled, creating a convincing illusion of depth. Without it, the text stays the same size and looks flat.
Eliminating Jitter with “Path Smoothing”
Think of the “Path Smoothing” slider as the suspension system for your motion track. It absorbs all the little bumps and shakes to create a smoother, more graceful ride for your attached element. A raw track might have tiny, almost unnoticeable jitters from camera shake or erratic object movement. Increasing the path smoothing value averages out these movements, resulting in a clean, flowing motion path.
Capturing Realistic Spin with “Rotation Tracking”
Beyond position and size, capturing an object's rotation is crucial for realism. Imagine tracking a logo on a spinning car wheel or a label on a rolling bottle. This is where the “Enable Rotation Tracking” checkbox comes into play.
When activated, PowerDirector's AI doesn't just analyze the object's X/Y position; it also analyzes changes in its orientation on a frame-by-frame basis. This rotational data is then applied to your bound element, making it spin and turn in perfect sync with the source object. This single setting is the key to making a flat graphic feel physically connected to a dynamic, rotating subject.
IMPORTANT: Rotation tracking requires more processing power and works best on objects with distinct, non-symmetrical features. A plain circle is difficult to track for rotation, but a wheel with spokes or a logo with text provides the AI with the detail it needs.
Maintaining the Track with “Sensitivity”
In the advanced settings, you will find the “Sensitivity” parameter. This setting is like adjusting how easily “distracted” the tracker gets. A high value (like the default 80%) means it's very sensitive and might jump to another high-contrast object that passes by. In my testing, lowering the sensitivity to around 65% helps the tracker maintain its “focus” on the original target, even when it briefly passes behind a tree or another person.
Professional Tip: For tracking shaky handheld footage, don't be afraid to push “Path Smoothing” up to 85-90%. While this won't stabilize the footage itself, it will create a much more graceful, flowing motion for any effects or text you attach, making them look intentionally stylized rather than accidentally shaky.
Intermediate Workflow – Multi-Object Tracking & Binding Effects
Once you've mastered single-object tracking, the creative possibilities expand dramatically. PowerDirector allows you to track multiple objects in the same scene and even bind visual effects to your motion paths. This is where you move from simple labels to complex, dynamic scenes.
Implementing Multi-Object Tracking
Let's say you want to track two players in a sports clip. The process is simple.
- After creating your first track (Tracker 1), simply click the “+ Add Tracker” button in the Motion Tracker panel.
- A new selection box will appear. Draw this new box around the second object you want to follow.
- Click “Track” again. PowerDirector now has two independent sets of motion data.
- Now, on your timeline, you can bind one element (like a text name) to “Tracker 1” and a second element (like a PiP image) to “Tracker 2.”
Each tracker acts like an independent brain. It only knows about the object it is following. The elements you add are simply ‘told' which ‘brain' to listen to via the binding menu.
Binding AI Visual Effects to a Track
The result is magical. Instead of a generic, screen-wide filter, the effect now clings perfectly to your subject. This is how you create those fantastic glowing auras, targeted motion trails, or stylized sketch effects that follow a character's every move.
- Apply a standard motion track to an object in your clip.
- Go to the Effects Room and find an effect you like, for instance, the “Aura” effect from one of the AI Style Packs.
- Drag the effect directly onto the video clip on the timeline.
- In the Effect settings panel that appears, check the box labeled “Apply to Tracked Object Only” and select the correct tracker from the list.
I often use this to create magical auras that follow characters in fantasy shorts or to apply a stylized sketch effect that appears to be ‘painted' onto a moving car as it drives by. It unlocks a huge range of possibilities beyond just simple titles.
Using Tracked Masks for Censorship and Selective Effects
One of the most powerful applications of motion tracking is not attaching a visible element, but attaching an invisible mask. This allows you to apply an effect to a specific, moving part of your video. The most common use is for censorship—blurring a face or pixelating a license plate.
Here's the professional workflow for tracking and blurring a face:
- Place your video clip on Track 1. Duplicate this clip and place it directly above on Track 2.
- On the top clip (Track 2), go to the Effect Room and apply a Gaussian Blur or Mosaic (pixelate) effect. The entire clip will now be blurred.
- Go to the Mask Designer for the top clip. Create a circular or rectangular mask and position it over the face you want to blur. Invert the mask when necessary.
- Now, with the top clip still selected, navigate to the Edit menu and select Tracking.
- Track the person's face.
- In the Motion Tracker window, instead of binding a title or PiP, find the dropdown for “Bind Mask” and select the mask you created.
The result? The blur or mosaic effect is now “stuck” to the moving face, following it perfectly through the shot while the rest of the video remains clear. This same technique can be used for creative effects, like making a single moving object black and white in a color video.
Professional Tip: For complex projects with many trackers, stay organized by renaming your timeline elements. Right-click the PiP or Title clip and rename it (e.g., ‘Player Name Label,' ‘Ball Glow Effect'). This makes selecting the correct item from the ‘Bind to Tracker' list much faster and less error-prone.
Advanced Creative Techniques

Now we get to advanced techniques: combining motion tracking with other PowerDirector features to achieve professional-grade visual effects. These techniques are less about single functions and more about how you can layer different tools together for sophisticated results.
Hierarchical & Relative Tracking for Complex Motion
Imagine you want to track a small logo on the side of a moving car. You could just track the logo, but when the shot is wide, the logo might be too small for a stable track. A better method is to use Hierarchical Tracking. First, do a solid track on the large object (the car). Then, add a secondary tracker for the small object (the logo) and use the “Relative Tracking” setting to link its motion relative to the car's motion. This results in a much more stable and accurate track for the smaller element.
Creating Dynamic Reveals with Path Animation
This is a great technique for stylish text reveals. First, attach a text element to a tracked path as you normally would. Then, go to the text clip's properties and add an opacity keyframe at the start of the clip, setting its value to 0%. A little further down the timeline, add a second keyframe and set the opacity to 100%. The result is text that fades into view while already in motion, as though it is being revealed by the moving object.
Simulating Surface Adhesion with Planar and Corner Pin Tracking
To make a graphic look like it's truly stuck to a surface that is turning away from the camera—like a sign on a building or a graphic on a laptop screen being closed—you need more than just scaling. This is where PowerDirector's advanced surface tracking shines, which functions as a Planar Tracker.
- First, track the surface (e.g., the face of the building or the laptop lid).
- Bind your graphic or PiP object to the track.
- In the Motion Tracker's advanced settings, enable “Surface Conform” and set the tracker mode to “Corner Pin” or “Perspective”.
This mode doesn't just track a single point; it tracks the four corners of a plane. As the surface moves and turns in 3D space, the attached element will skew and distort its perspective realistically. This corner pin tracking is the professional technique used to convincingly composite screens, signs, and textures onto moving surfaces.
IMPORTANT: When using ‘Surface Conform' and distortion effects, subtlety is key. Over-distorting an overlay is a tell-tale sign of an amateur effect. Start with very small adjustments and build up until it looks believable, not forced.
Professional Tip: For the most precise tracks possible in visually ‘noisy' scenes, use the AI Object Selection tool to create an animated mask of your moving object first. Then, apply the motion tracker to that clean, isolated mask. This is a pro-level workflow that removes all background distractions and yields near-perfect tracks.
Troubleshooting Common Motion Tracking Challenges
Tutorials often use perfect footage, but your projects won't always be so forgiving. Knowing how to troubleshoot is what separates beginners from pros. Here are the practical solutions for the two most common problems you will face.
Problem: The Tracker “Drifts” or Loses the Object
This is the most common issue. It happens when your object gets blocked (occluded), moves too fast, or blends in with the background. The key is not to start over.
The Correction Workflow
- Pause the track right at the frame where it fails.
- Do not delete anything. Manually drag the selection box and reposition it on the correct object.
- Use the “Frame Advance Mode” (the little right arrow button) to step forward one frame at a time. Correct the box position manually for a few frames.
- The 2025 version's “Keyframe Prediction” feature is fantastic here; it helps smooth out your manual fixes. After a few manual corrections, you can resume the automated tracking.
Problem: Tracking Fails on Very Long Clips
Trying to process a very long clip, like 5 or 10 minutes, in one go can sometimes fail or use up all your system's memory. The solution is to break the job into smaller pieces.
The “Track Range Isolation” Technique
- Use the Split tool (the razor icon) to cut your long clip into shorter 1-2 minute segments.
- Apply motion tracking to each segment individually. So you will have Tracker 1 for the first segment, Tracker 1 for the second, and so on.
- PowerDirector has a smart “Path Stitching” feature that can merge the individual tracking data from these segments into one seamless, continuous path.
I used to get so frustrated when a 10-minute clip would fail at the 90% mark. Discovering the ‘Track Range Isolation' method was a lifesaver for my documentary work. I now track everything in 1-2 minute chunks and stitch them. It's a dependable workflow that has never let me down.
IMPORTANT: When a tracker drifts, do NOT just delete it and start over. That is the biggest waste of time. Learning the five-minute manual correction workflow is infinitely faster than re-processing an entire clip from scratch.
Professional Tip: Here's an expert trick to speed up your tracking analysis: while the analysis is running, MINIMIZE the PowerDirector window. This deactivates the resource-heavy live preview and dedicates all your GPU power to the analysis itself. On many systems, I've found this can cut processing time by more than half.
AI Tracking vs. Manual Keyframing
Before AI trackers, achieving this effect required manual keyframing—a painstaking process of moving an element frame by frame. So, what are the real-world differences?
| Feature | AI Motion Tracking | Manual Keyframing |
|---|---|---|
| Speed & Efficiency | Extremely fast. A 10-second clip can be analyzed in about 30 seconds, saving hours on longer projects. | Very slow and tedious. A 10-second clip could take 20-30 minutes for a skilled editor. |
| Smoothness | Creates organically smooth motion paths by default using its Path Smoothing algorithm. | Often results in jittery motion unless significant time is spent manually adjusting interpolation curves. |
| Precision vs. Control | Incredibly precise but can be “fooled” by occlusions or fast motion, requiring manual correction. | Offers absolute, frame-by-frame control but is labor-intensive. Best for very short, complex shots. |
Think of the AI Motion Tracker as a powerful, highly skilled assistant. It's not a replacement for the editor, but a tool that handles the most tedious part of the job, freeing you to focus on creative decisions.
Pro-Level Workflow Integration

Mastering motion tracking is fantastic, but a true professional understands how this one skill fits into a larger editing workflow. By doing a few things before and after you track, you can elevate your results from good to great.
Pre-Processing for Better Tracks
What you do before you click the “Track” button can have a huge impact on your accuracy.
- Stabilize First: When you are working with shaky, handheld footage, apply video stabilization to the clip before you track. This gives the AI a smoother, more predictable path to follow, which results in a much better track.
- Correct for Contrast: Use basic color correction tools to increase the contrast between your target object and its background. Making the object “pop” a little more gives the AI a clearer target and significantly improves tracking accuracy.
Post-Processing for Better Blending
After your track is done and your elements are attached, a final touch can help sell the effect. The best digital effects are the ones that blend seamlessly with the real-world footage. A subtle motion blur effect, added during the final render, helps your attached digital elements feel like they are part of the organic motion of the scene instead of being pasted on top.
My workflow for any professional tracking job is always the same, in this exact order: 1. Stabilize. 2. Color Correct for Contrast. 3. Track. 4. Add Elements. 5. Render with Motion Blur. Following these steps in order prevents countless headaches.
Finalizing Your Project & Your Learning Path Forward
You have now covered everything from basic setup to advanced, professional techniques. You have the skills to solve common problems and integrate motion tracking into a complete creative workflow. Let's recap what you have learned and see where you can go from here.
Recap of Skills Learned
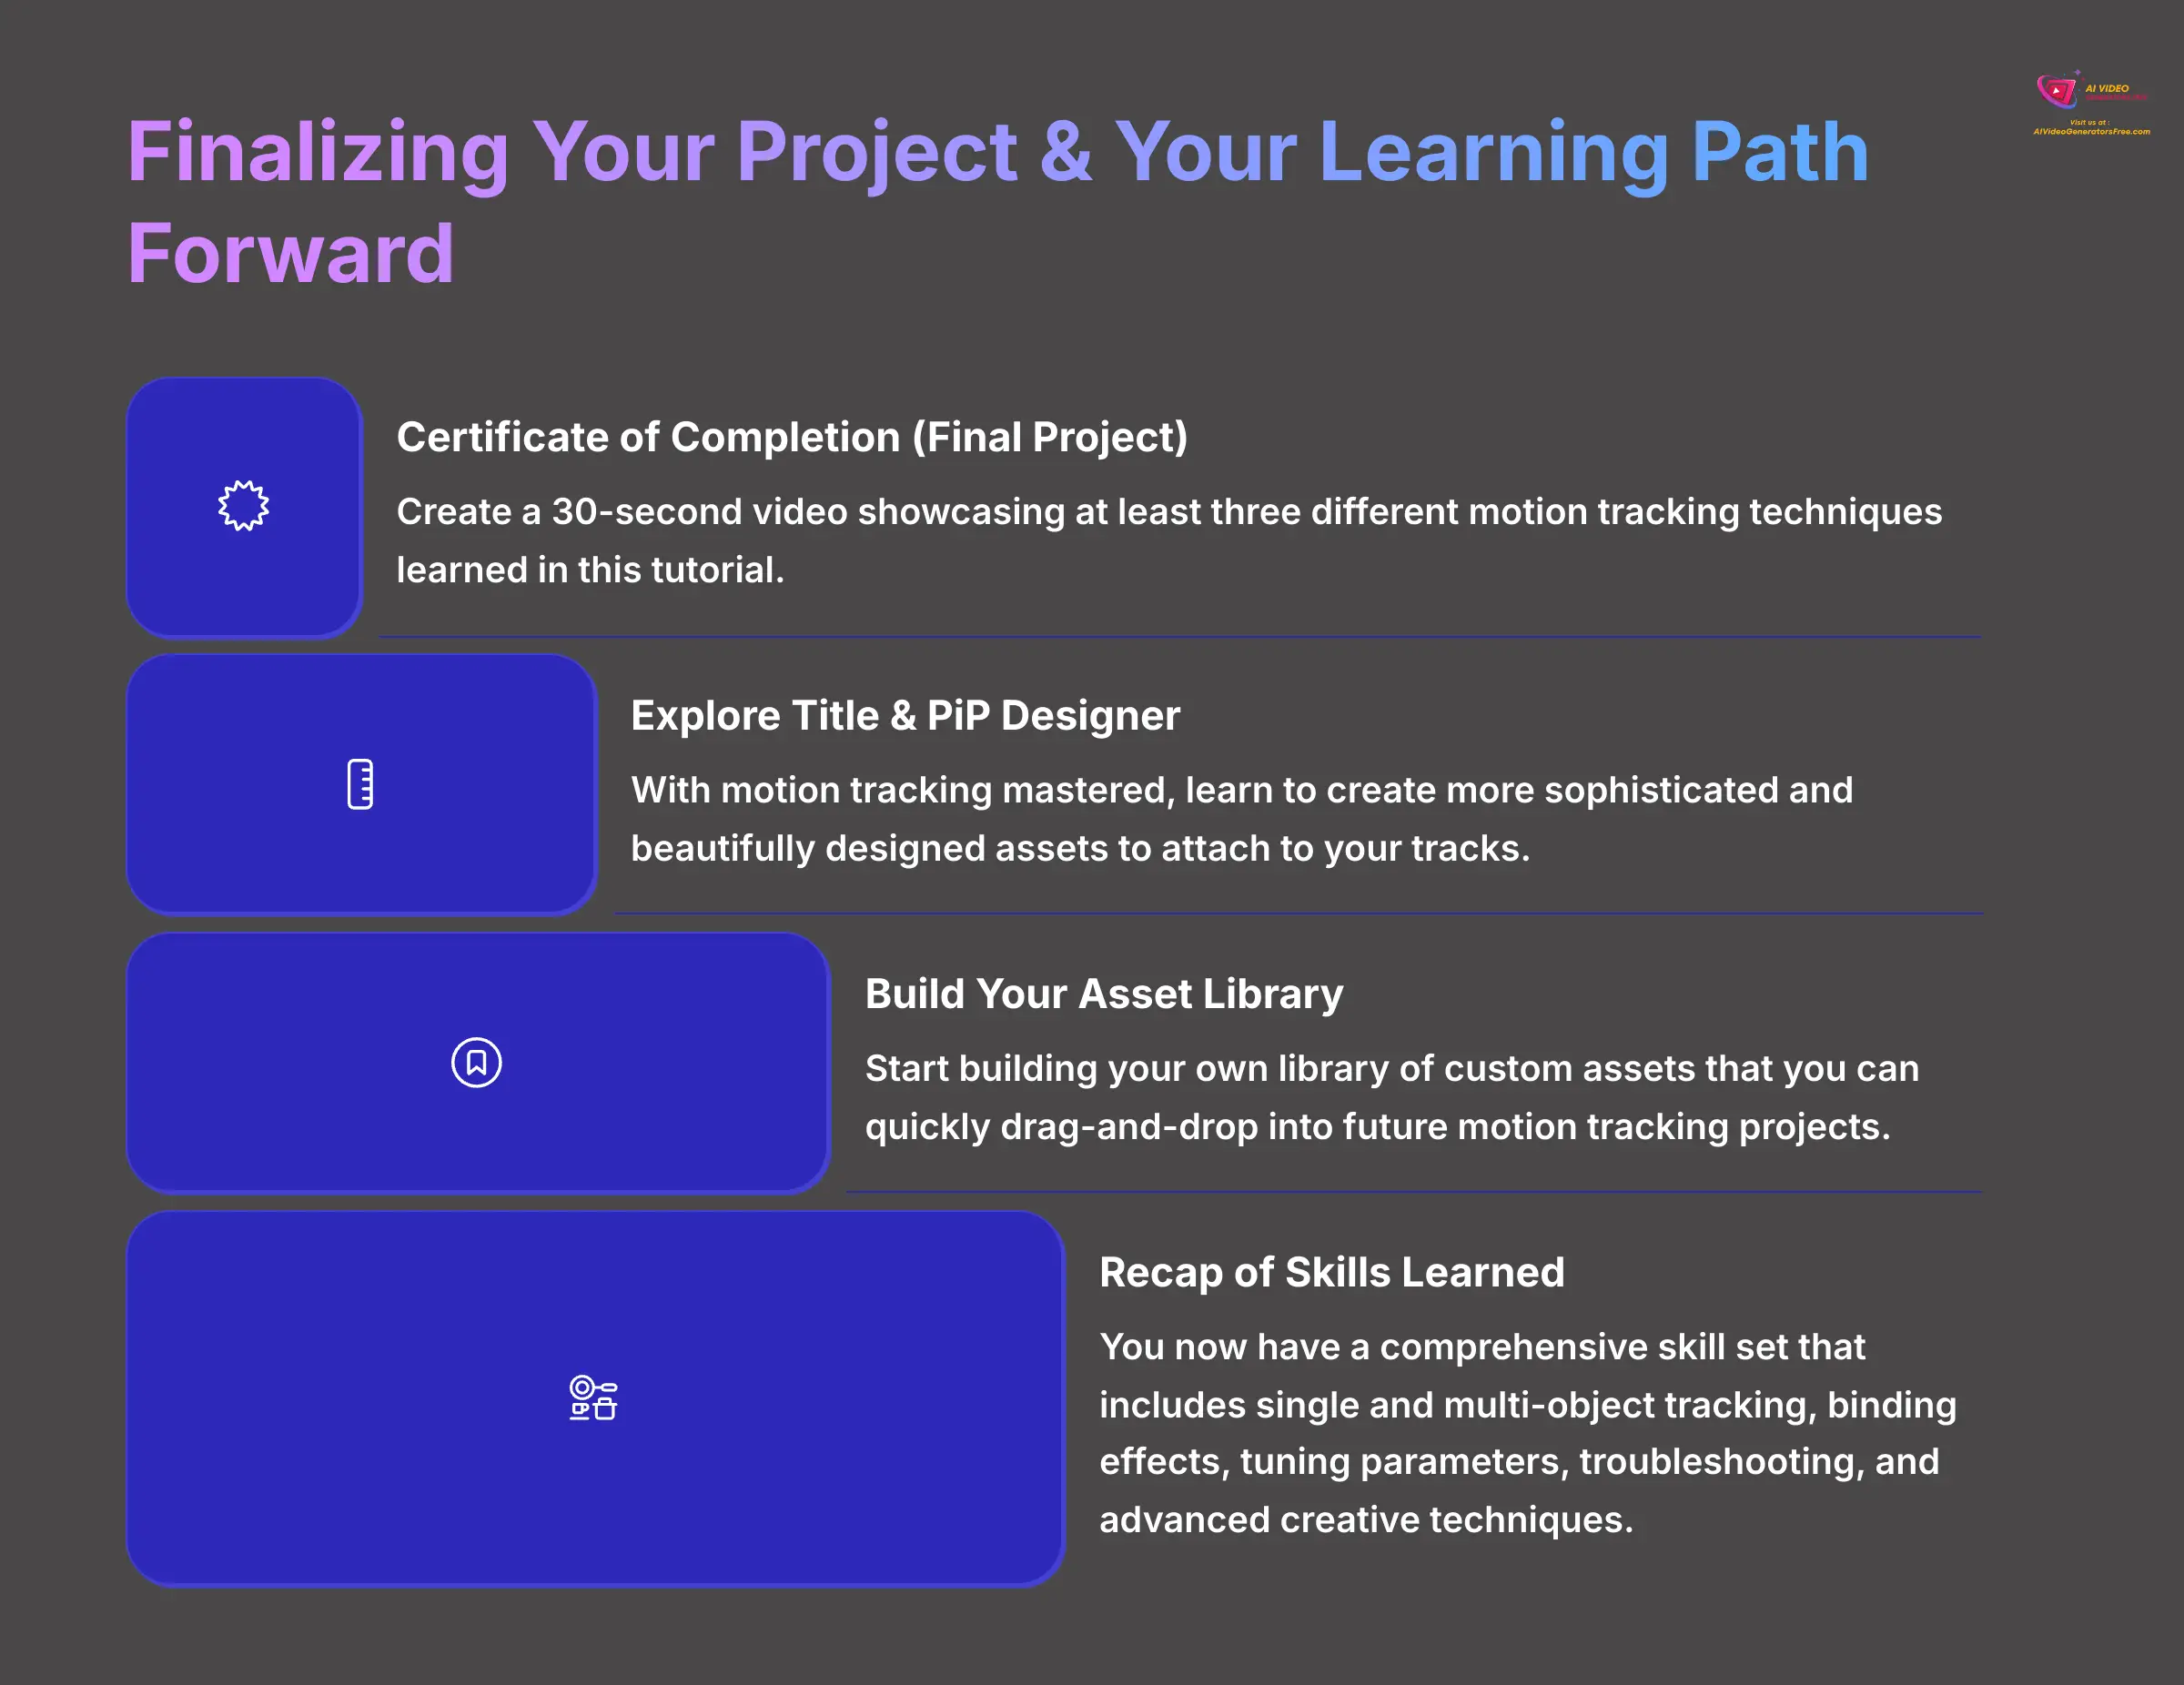
In this guide, you have learned how to execute a single-object track, implement multi-object tracking, and bind visual effects to a motion path. You also know how to tune key parameters for realism, troubleshoot common tracking failures, and apply advanced creative techniques to produce sophisticated results. This is a comprehensive skill set that unlocks enormous creative potential.
Your Learning Path Forward
With motion tracking mastered, you now have a powerful tool to attach things to moving objects. So, what's next? I recommend exploring the Title Designer and PiP Designer in more depth. Learning how to create more sophisticated and beautifully designed assets is the perfect next step. A great motion track is only as good as the element you attach to it.
Certificate of Completion (Final Project)
To truly solidify your new skills, I challenge you to complete a final project. The best way to learn is by doing.
Final Project: Create a 30-second video that showcases at least three different motion tracking techniques learned in this tutorial. For example, include a tracked title, a censored object using a blur effect, and a tracked AI visual effect. Share your result in the comments!
Professional Tip: Start building your own library of custom assets. When you design a cool text callout or a custom PiP graphic for a project, save it in the PowerDirector library. Over time, you'll build a personalized toolkit that you can quickly drag-and-drop into future motion tracking projects, saving you immense amounts of time.
Understanding Limitations and When to Use Other Tools
While PowerDirector's AI Motion Tracker is incredibly powerful, it's important to understand its limitations to know when it's the right tool for the job.
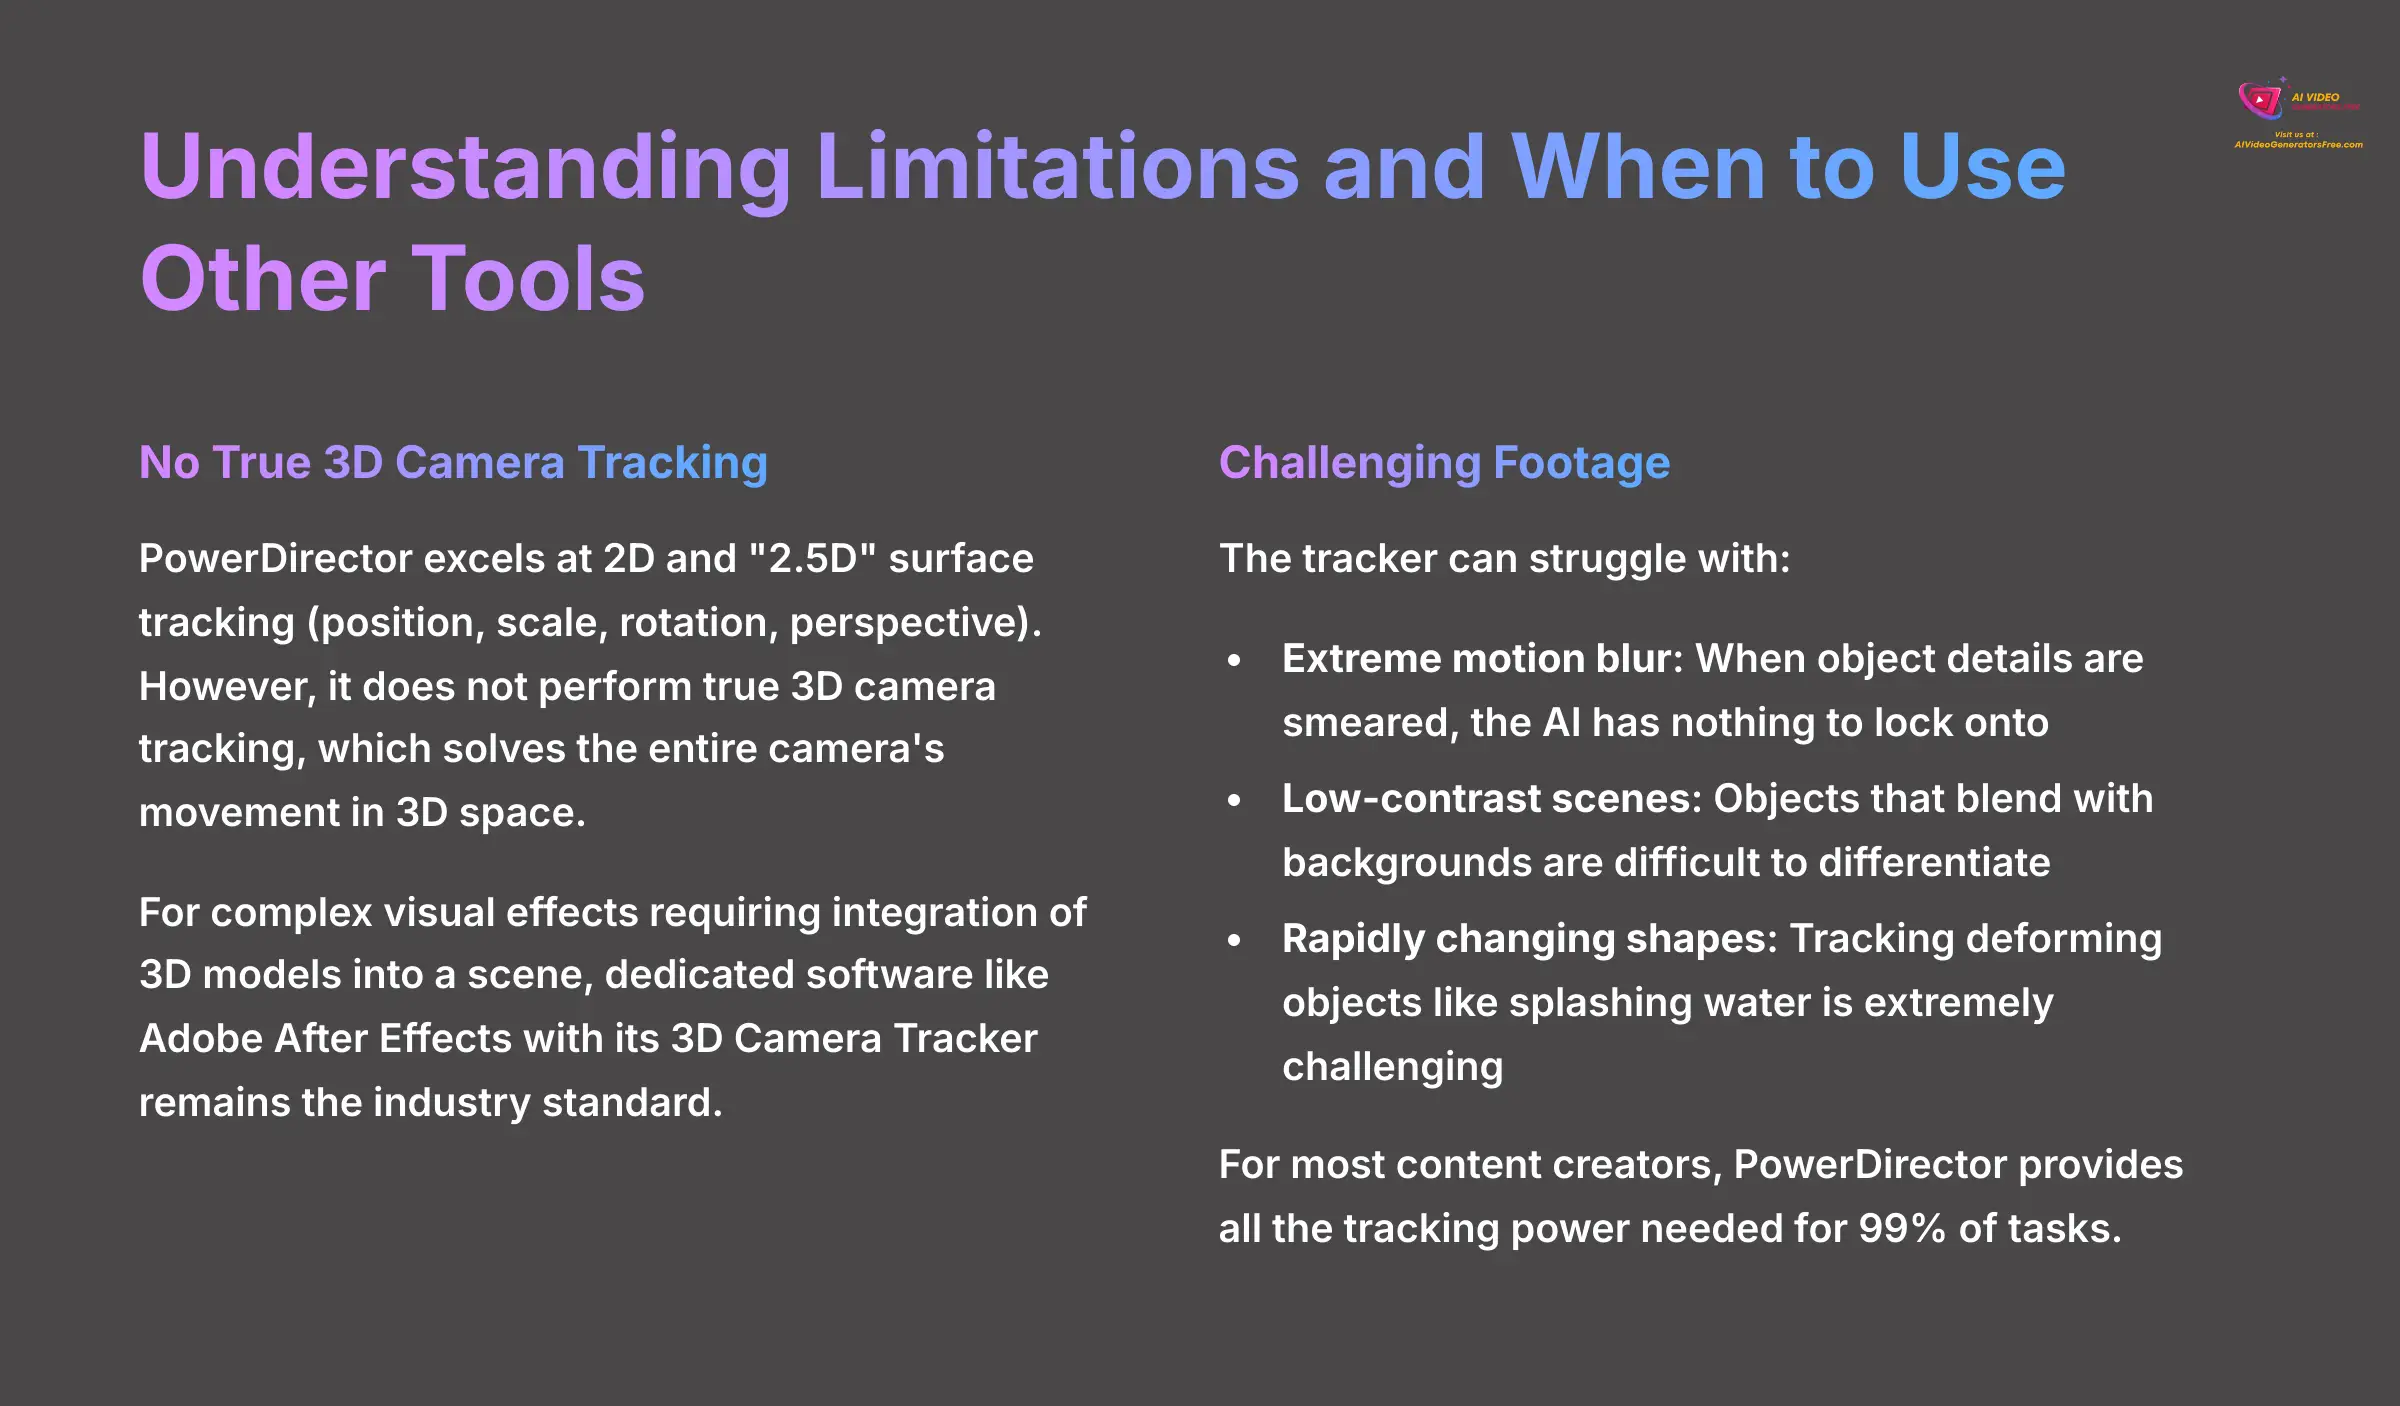
- No True 3D Camera Tracking: The tool excels at 2D and “2.5D” surface tracking (position, scale, rotation, perspective). However, it does not perform true 3D camera tracking, which solves the entire camera's movement in 3D space. For complex visual effects that require integrating 3D models into a scene, dedicated software like Adobe After Effects with its 3D Camera Tracker is still the industry standard.
- Challenging Footage: The tracker can struggle with:
- Extreme motion blur: When the object's details are smeared, the AI has nothing to lock onto.
- Low-contrast scenes: An object that blends seamlessly with its background is difficult to differentiate.
- Rapid, unpredictable changes in shape: Tracking a deforming object like splashing water is extremely challenging for any automated tracker.
For most content creators, PowerDirector provides all the tracking power needed for 99% of tasks. Knowing these boundaries helps you choose the right projects for this tool and understand when a more specialized workflow might be required.
Disclaimer: The information about PowerDirector Tutorial: How to Use AI Motion Tracking for Dynamic Effects presented in this article reflects our thorough analysis as of 2025. Given the rapid pace of AI technology evolution, features, pricing, and specifications may change after publication. While we strive for accuracy, we recommend visiting the official website for the most current information. Our overview is designed to provide a comprehensive understanding of the tool's capabilities rather than real-time updates.
You've just unlocked a skill that separates great videos from good ones. What once took hours of painstaking manual animation can now be done in minutes, giving you more time to focus on your creative vision. Practice these techniques, and you'll be adding incredible, dynamic effects to your projects like a seasoned pro. Thank you for joining me on this journey. To review the guide, you can find the complete PowerDirector Tutorial: How to Use AI Motion Tracking for Dynamic Effects on our site.


Leave a Reply