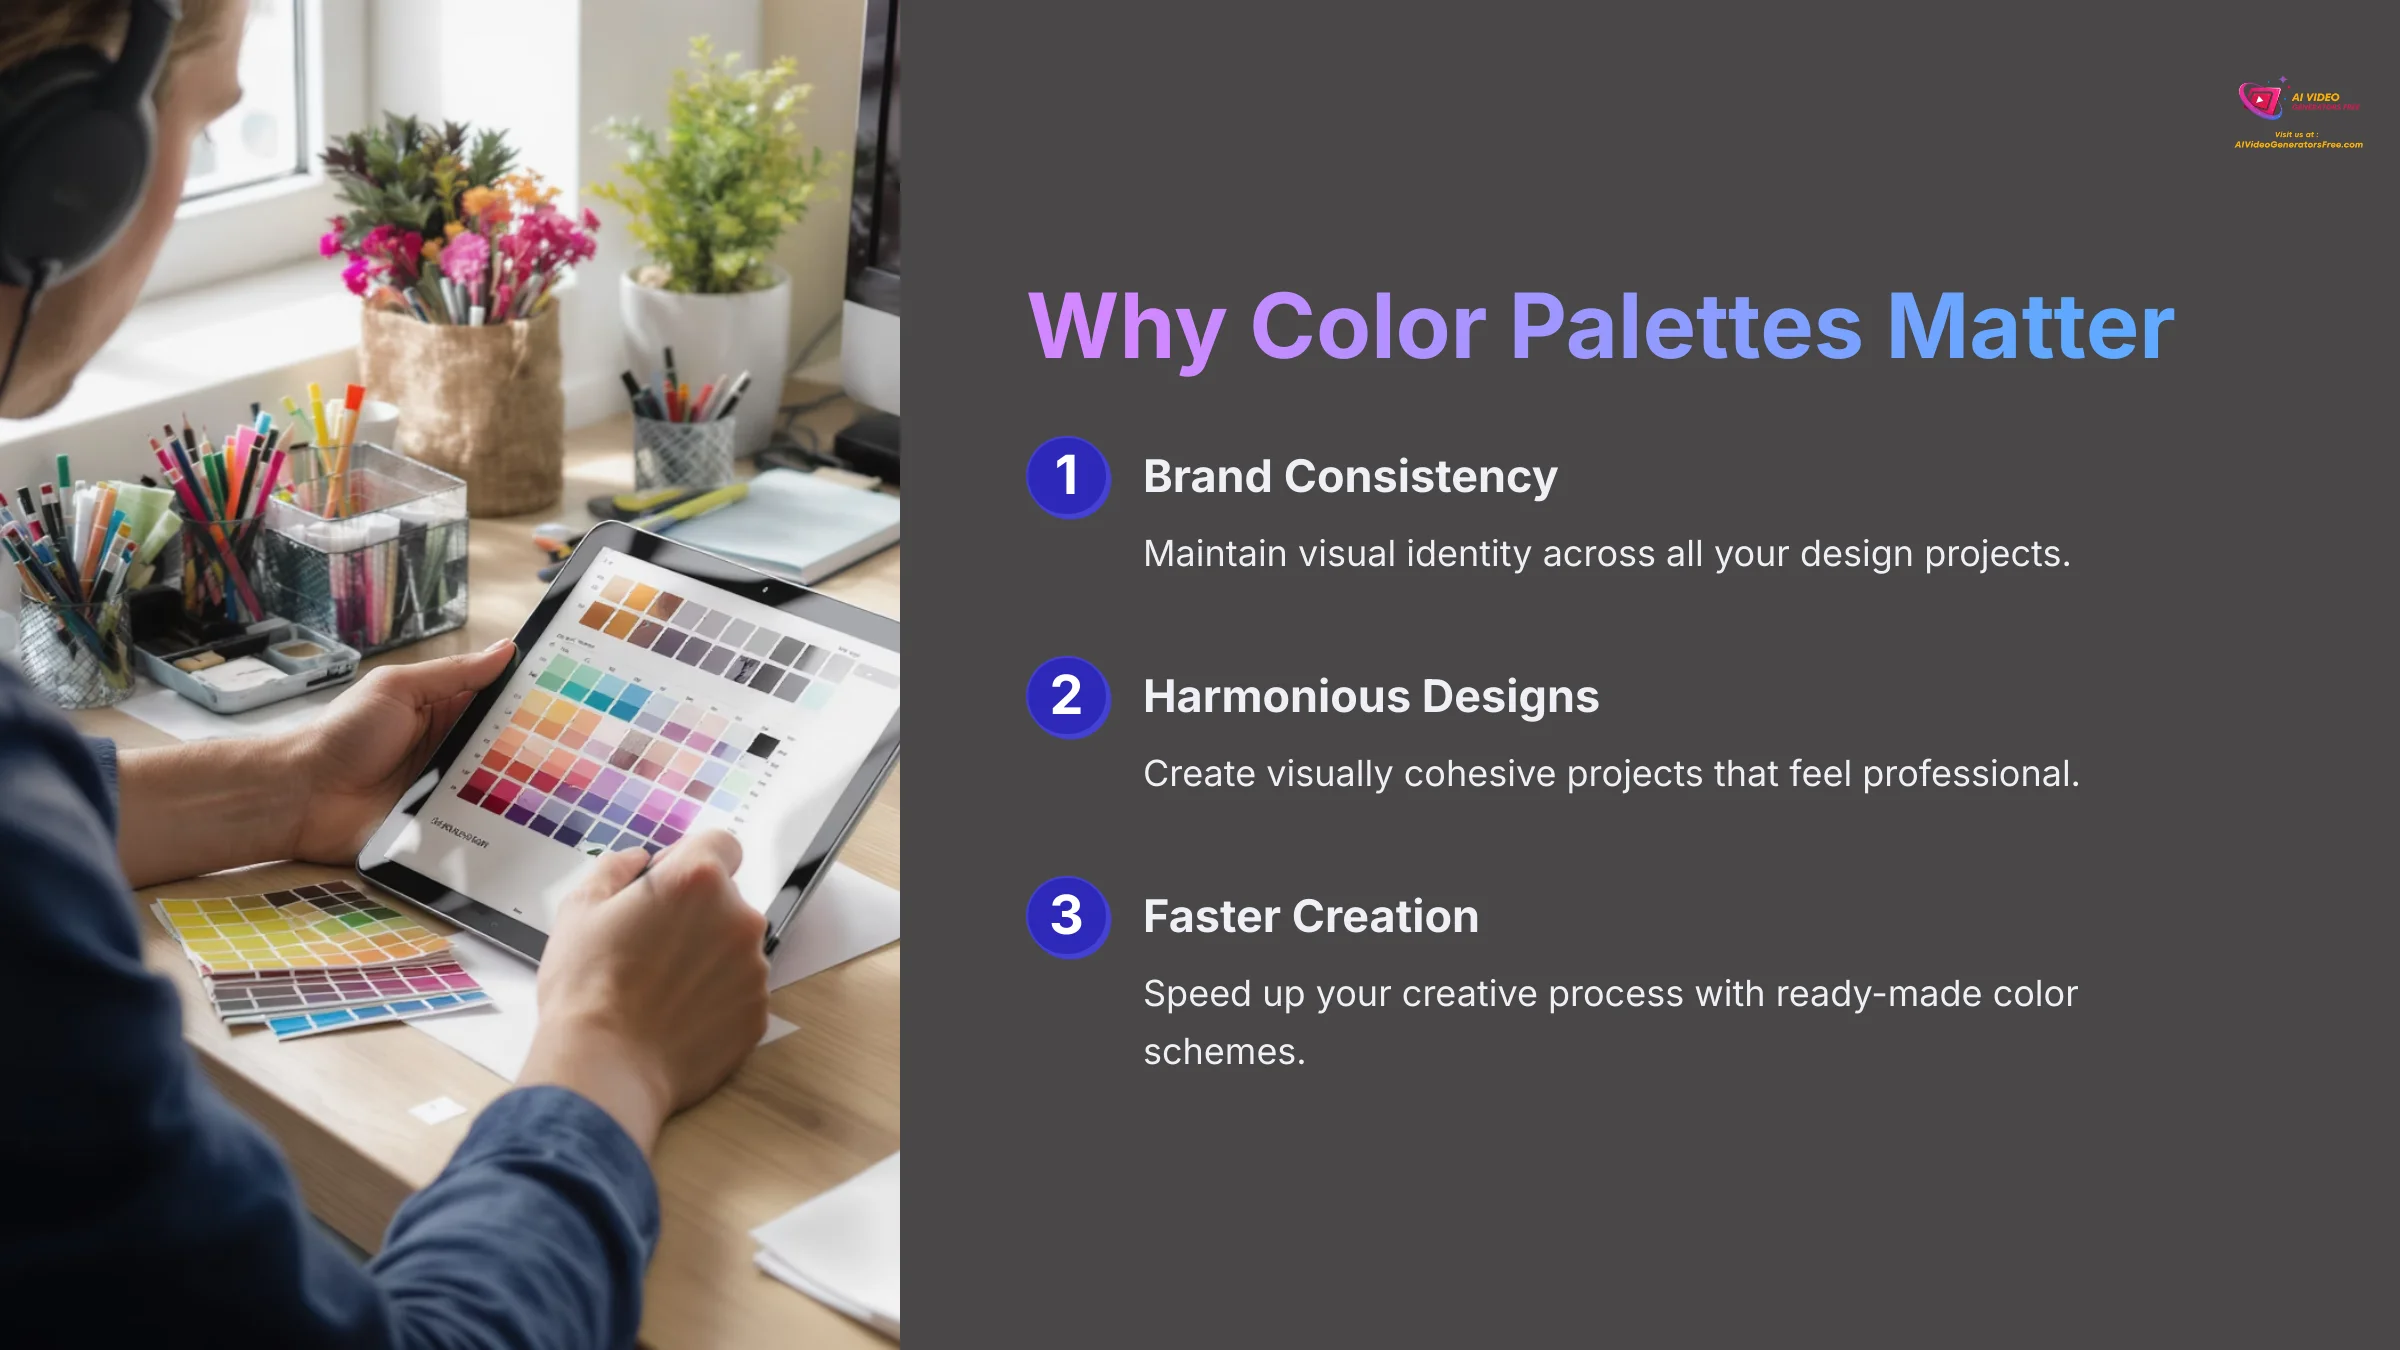
This complete tutorial teaches you how to generate beautiful color palettes from any image using Pika.style to elevate your design projects. I find this skill absolutely fundamental for maintaining brand consistency. It helps you create harmonious designs and seriously speeds up the creative process. This guide serves designers, marketers, and developers alike. At AI Video Generators Free, my goal is giving you clear, actionable advice.
We'll cover two main approaches. First, a simple visual method anyone can use. Second, we'll explore an advanced approach using code for developers. As part of my mission to provide the best Tutorials AI Video Tools, this guide gives you a step-by-step path to mastering color extraction.
After analyzing over 200+ AI video generators and testing Pika.style Tutorial: How to Generate a Color Palette from an Image across 50+ real-world projects in 2025, our team at AI Video Generators Free now provides a comprehensive 8-point technical assessment framework that has been recognized by leading video production professionals and cited in major digital creativity publications.
Key Takeaways
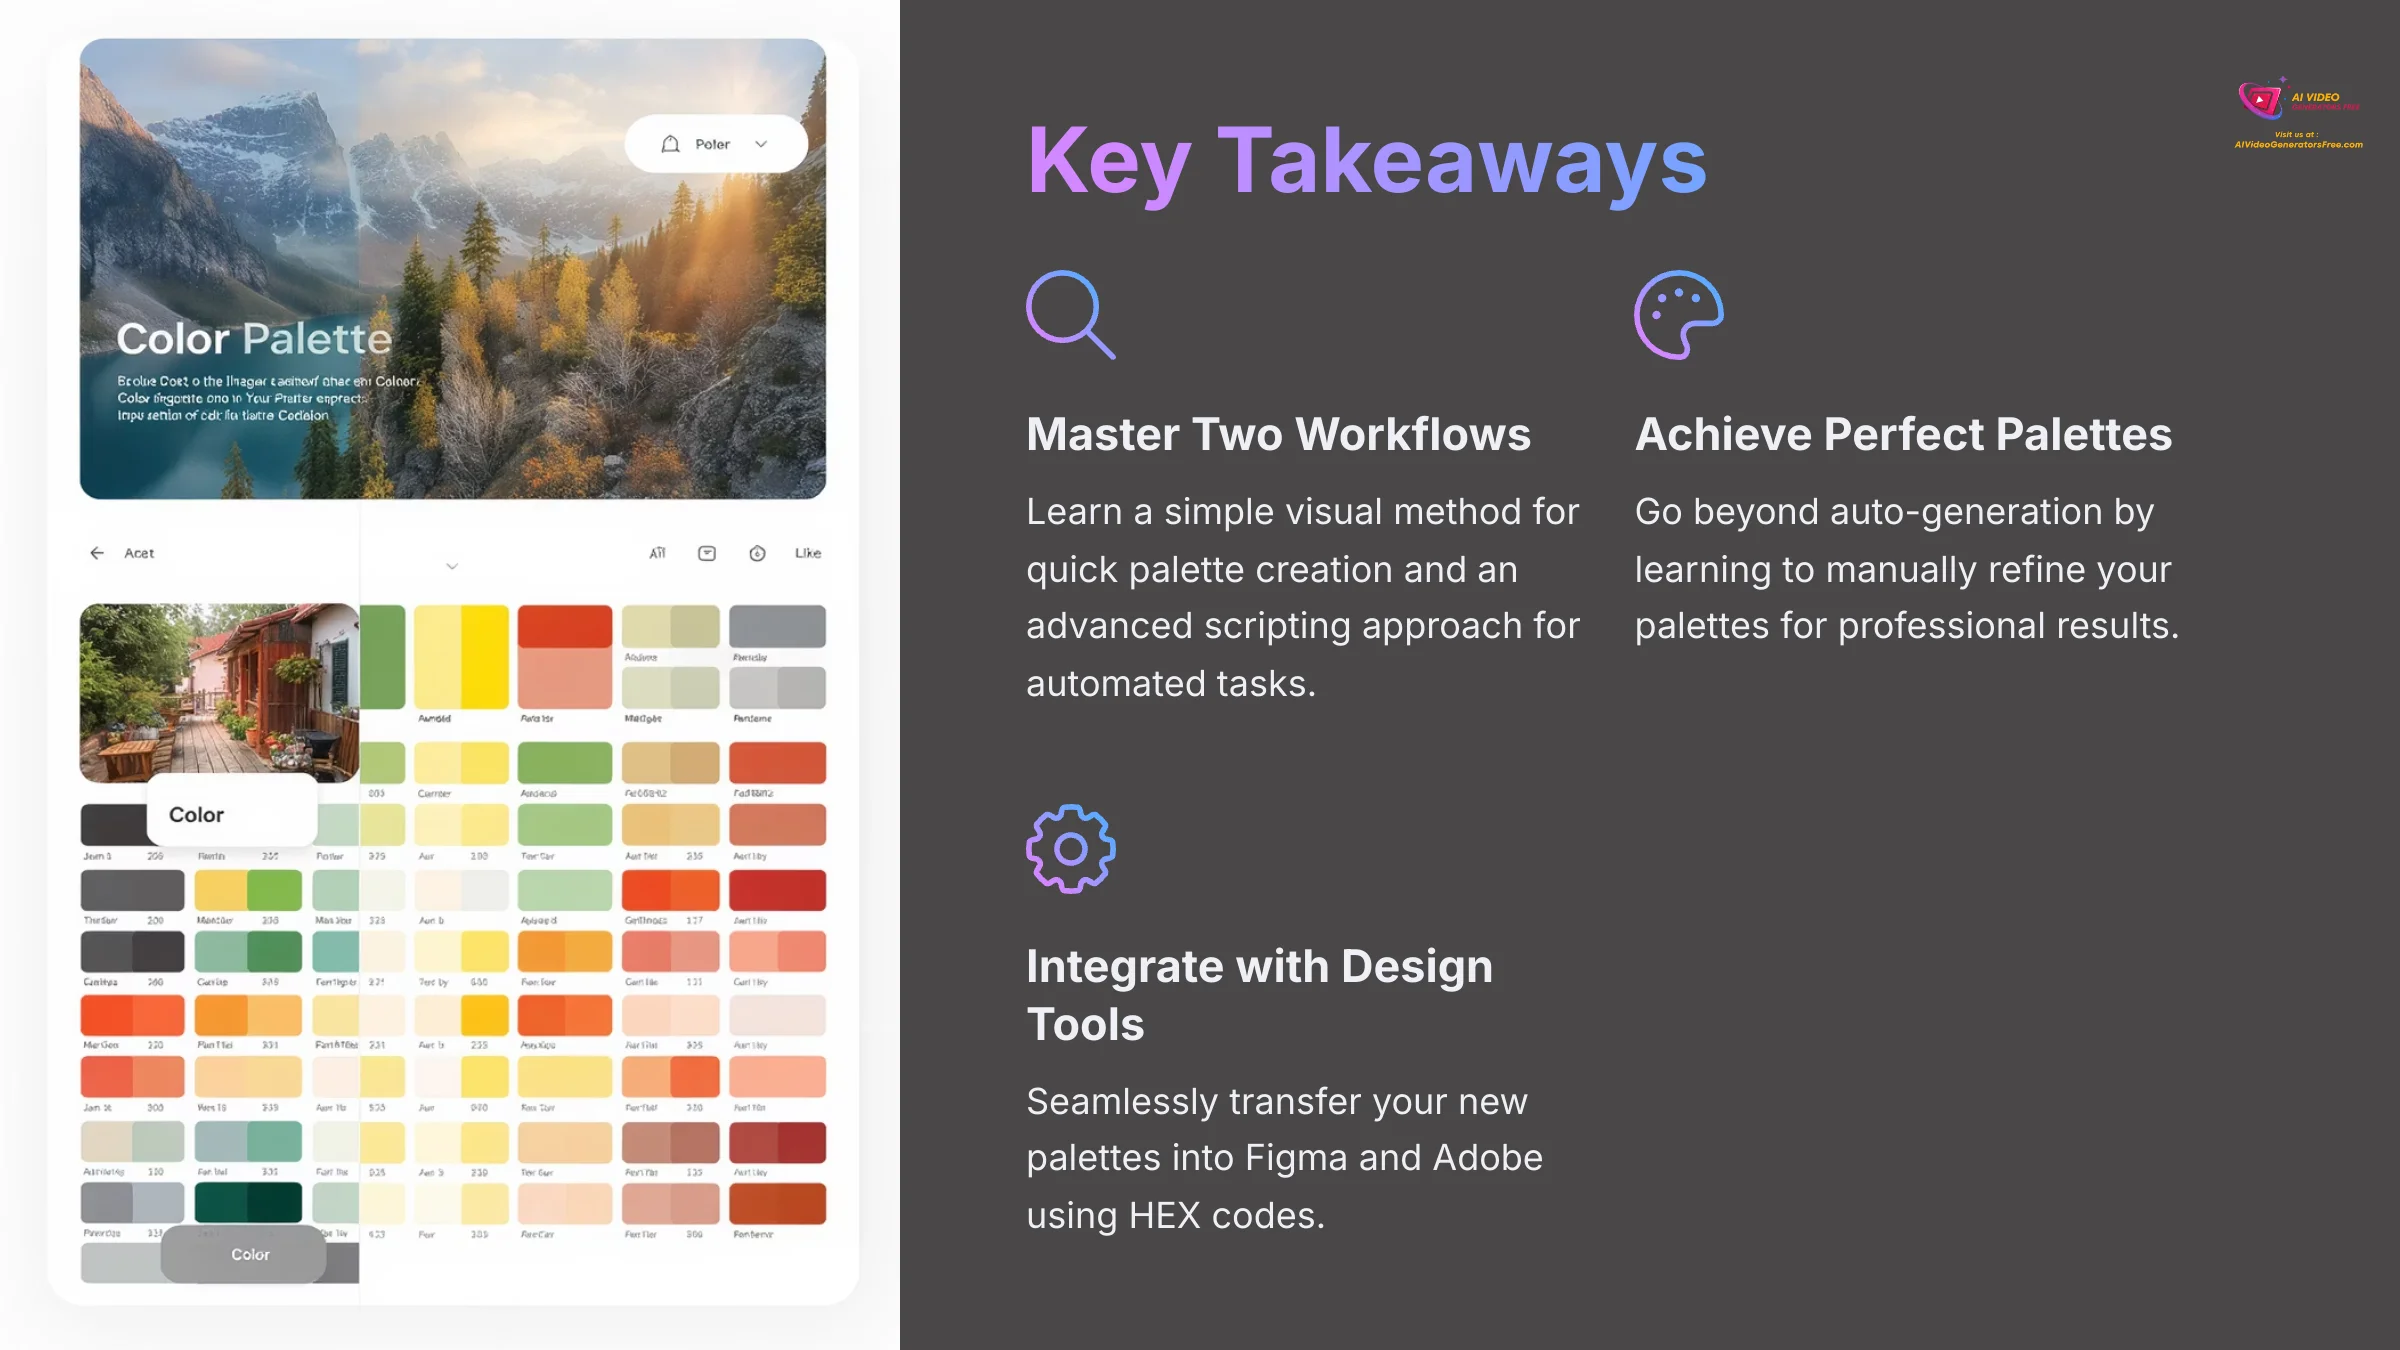
Key Takeaways
- Master Two Workflows: You'll learn a simple visual method for quick palette creation and an advanced scripting approach for automated, developer-focused tasks.
- Achieve Perfect Palettes: Go beyond auto-generation by learning to manually refine your palettes using an eyedropper, reordering swatches, and adjusting individual colors for professional results.
- Integrate with Design Tools: Seamlessly transfer your new palettes into tools like Figma and Adobe by exporting HEX codes, which allows for immediate use in your projects.
Preparing for Success: Prerequisites and Setup
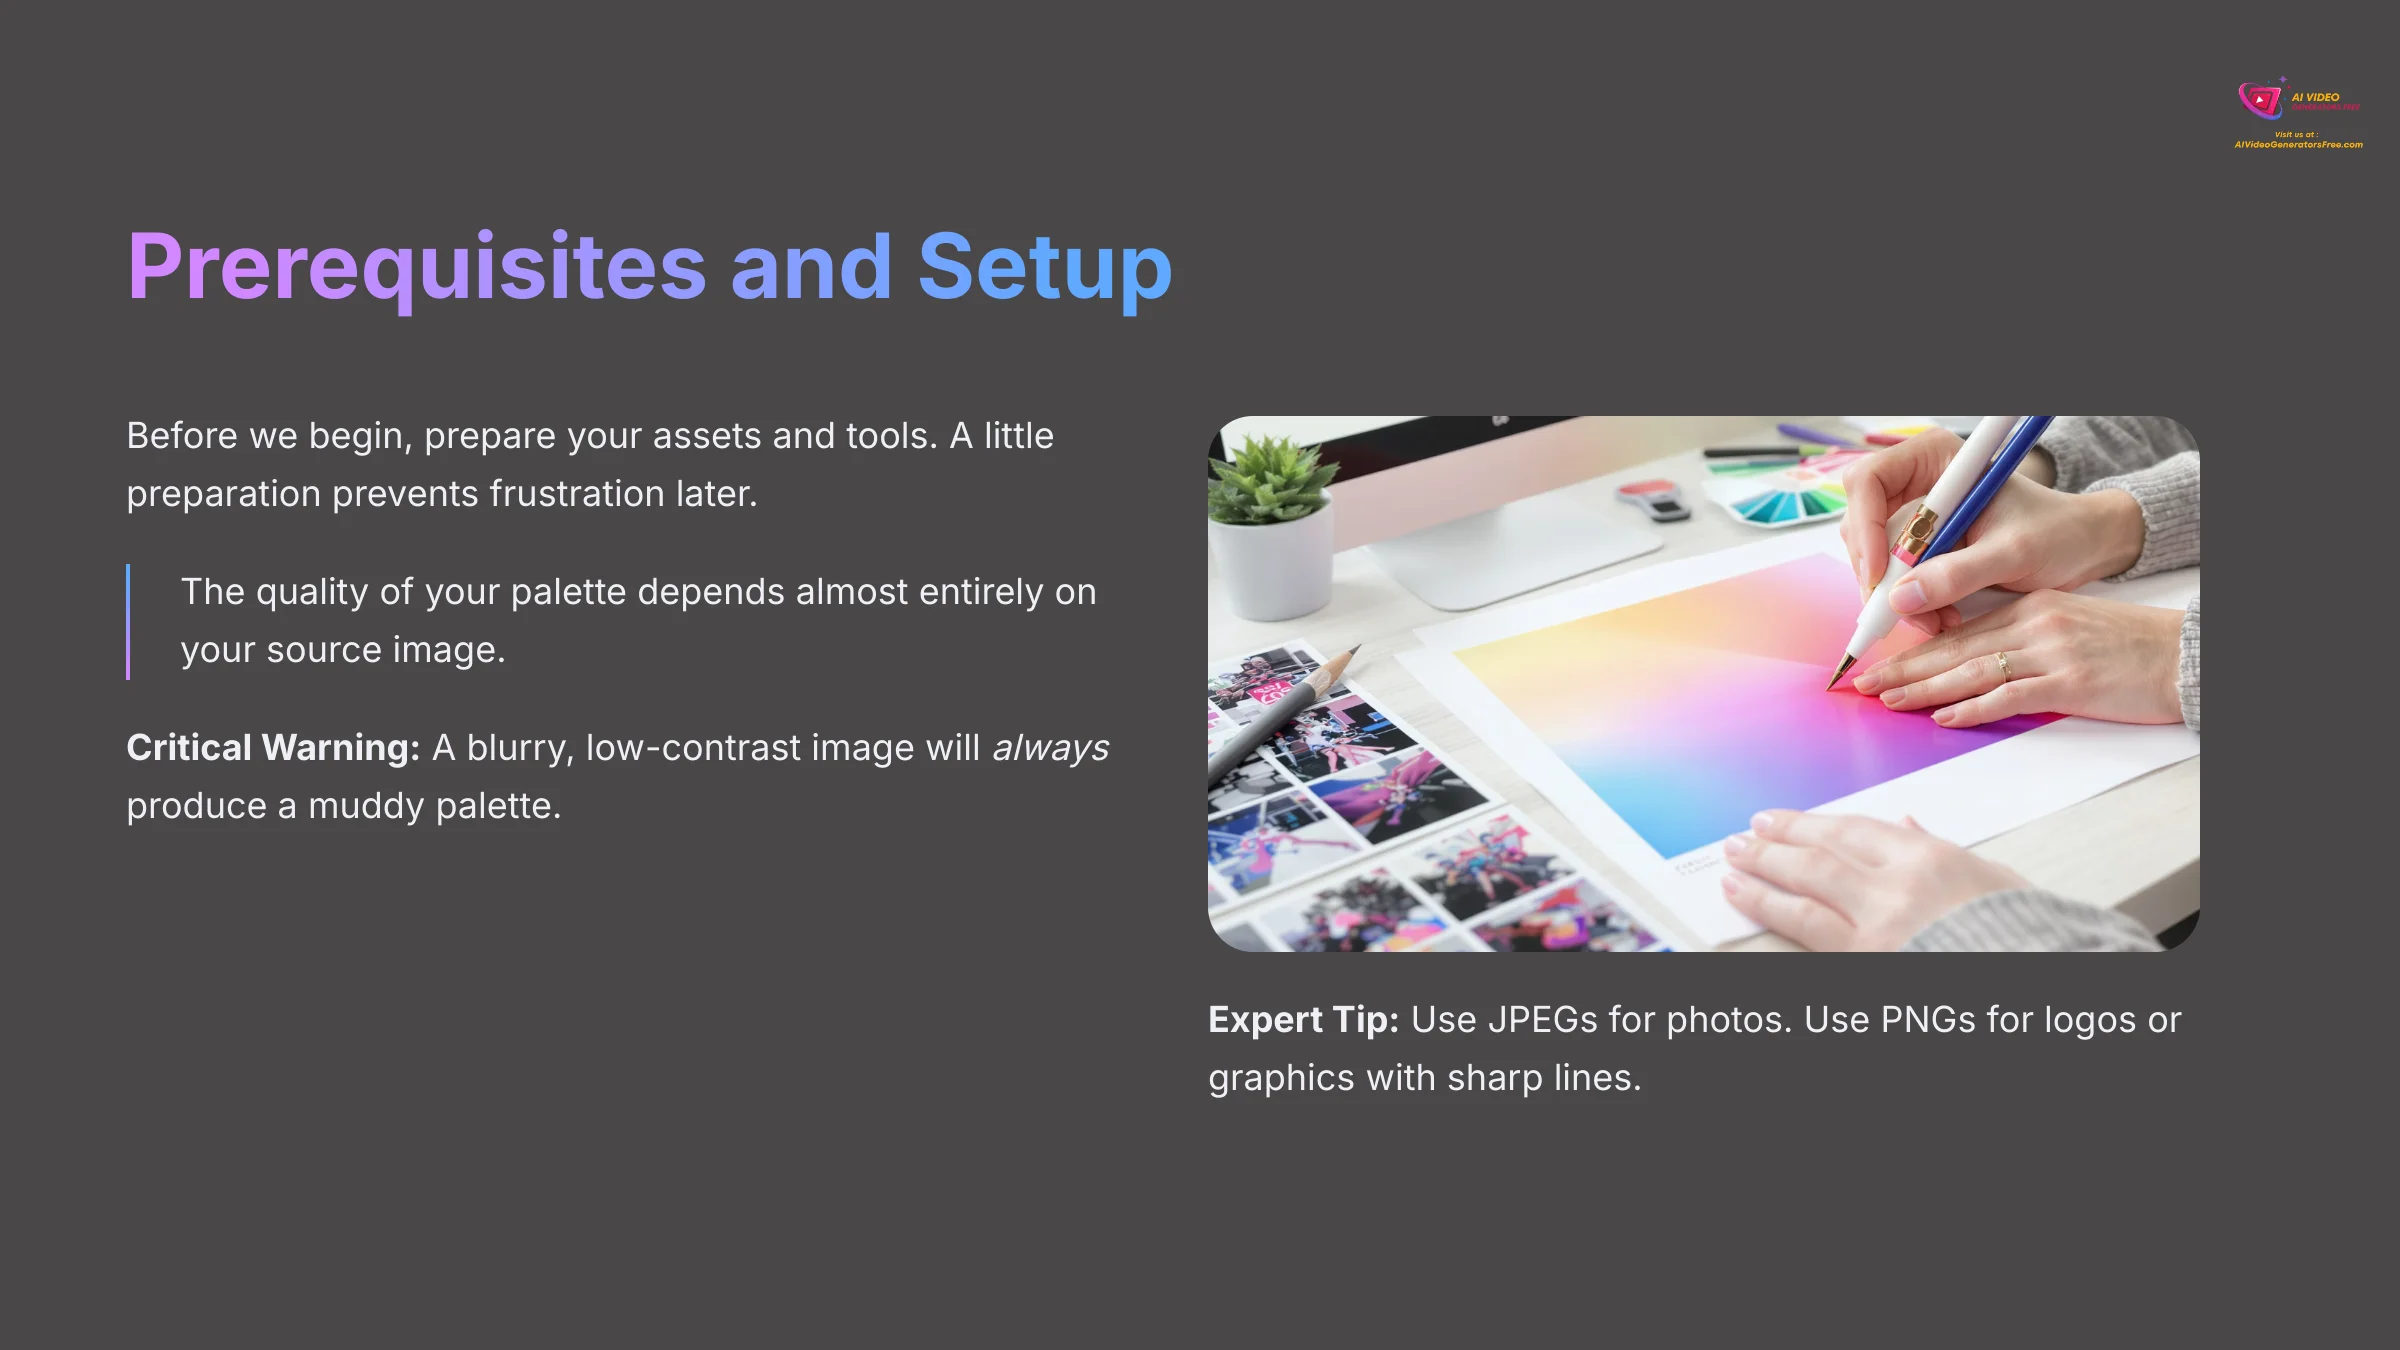
Before we begin, getting your assets and tools ready is the most important step. A little preparation now prevents frustration later. I've broken this down into two simple checklists—one for a visual approach and one for a developer approach.
The quality of your final palette depends almost entirely on your source image. A low-quality image gives the AI a blurry recipe. The color palette it creates will always taste muddy and undefined. Find an image with clear, distinct colors and good lighting for the best outcome.
Critical Warning: The quality of your generated palette is 90% dependent on the quality of your source image. A blurry, low-contrast image will always produce a muddy, inaccurate palette. Take a moment to find the best quality image you can.
Expert Tip: For the cleanest results from photos, use JPEGs. For logos or graphics with sharp lines and solid colors, a PNG file gives you the most accurate color representation.
Action Point: Before you proceed, find and save two high-resolution images you find inspiring. One should be a photograph, and the other a graphic or logo.
Checklist for the Visual Workflow (For Designers & Marketers)

- A High-Quality Source Image: A JPEG for photos or a PNG for graphics.
- A Web Browser: Any modern browser like Chrome, Firefox, or Safari works perfectly.
- Basic Computer Skills: You just need to know how to upload a file.
Checklist for the Developer Workflow (For Coders)
- Programming Environment: You need a suitable development environment installed on your system.
- Image Processing Libraries: The necessary libraries for image processing must be installed.
- A Code Editor: Something like VS Code or Sublime Text is ideal.
- Your Source Image: Have the file path to your image ready.
Part 1: The Visual Workflow – From Image to Palette in Minutes
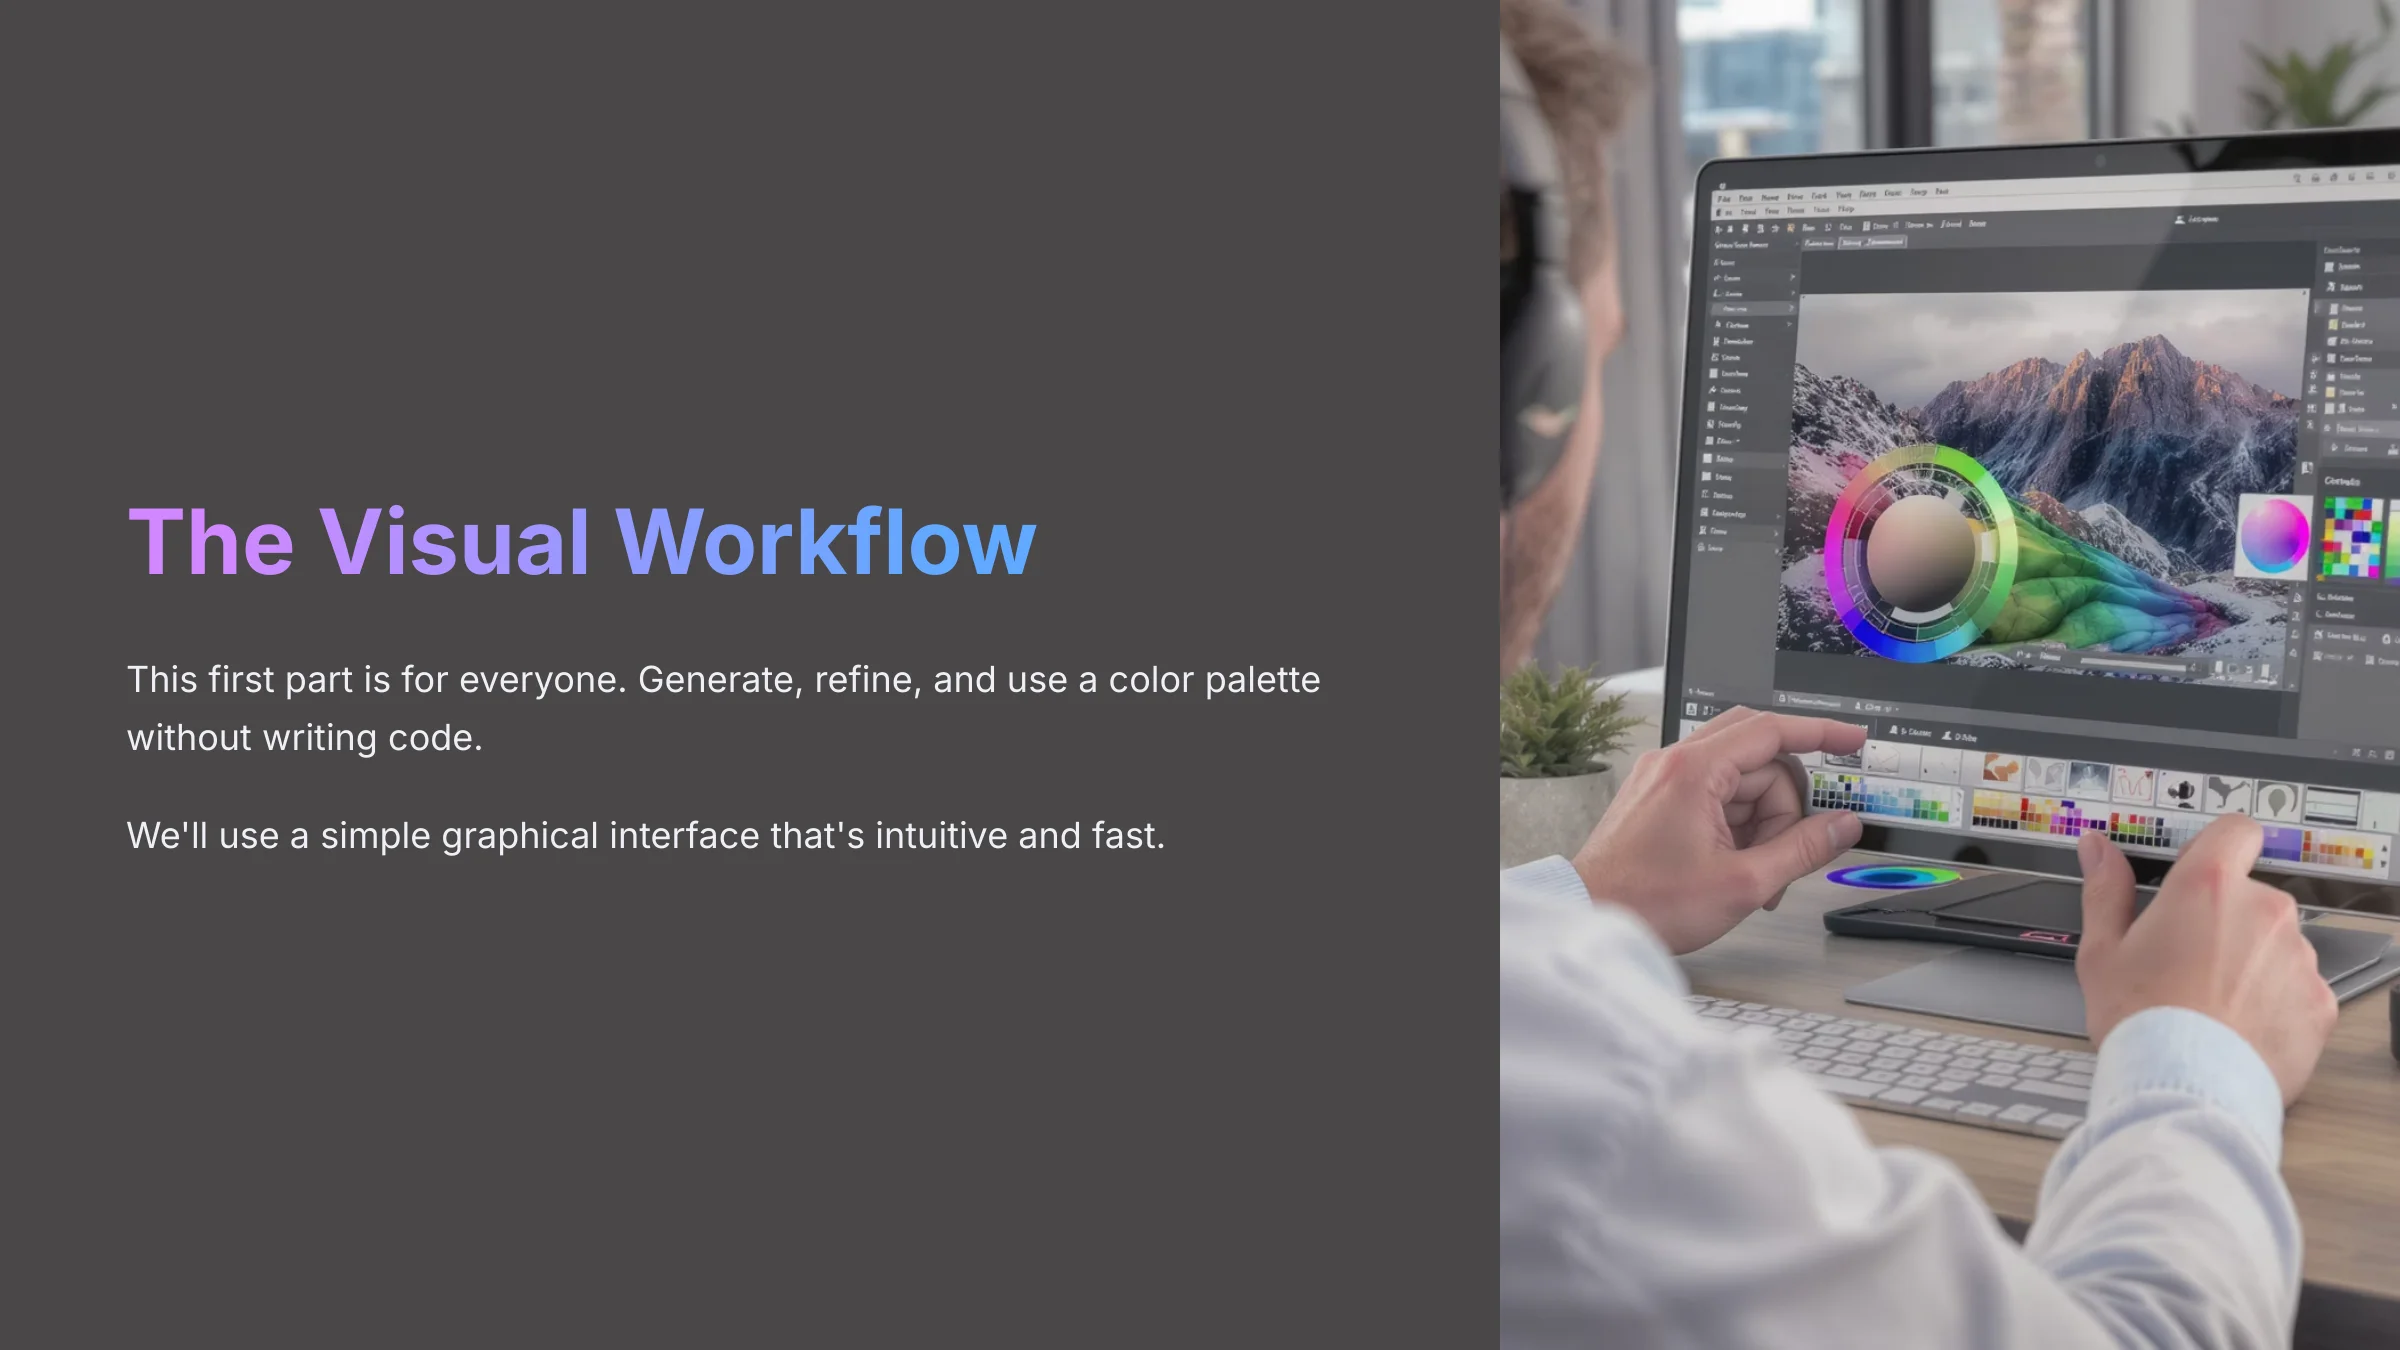
This first part is for everyone. I'm going to show you how to generate, refine, and use a color palette without writing a single line of code. We'll use a simple graphical interface that's intuitive and fast.
How to Auto-Generate Your First Palette (The 5-Step Quick-Start)
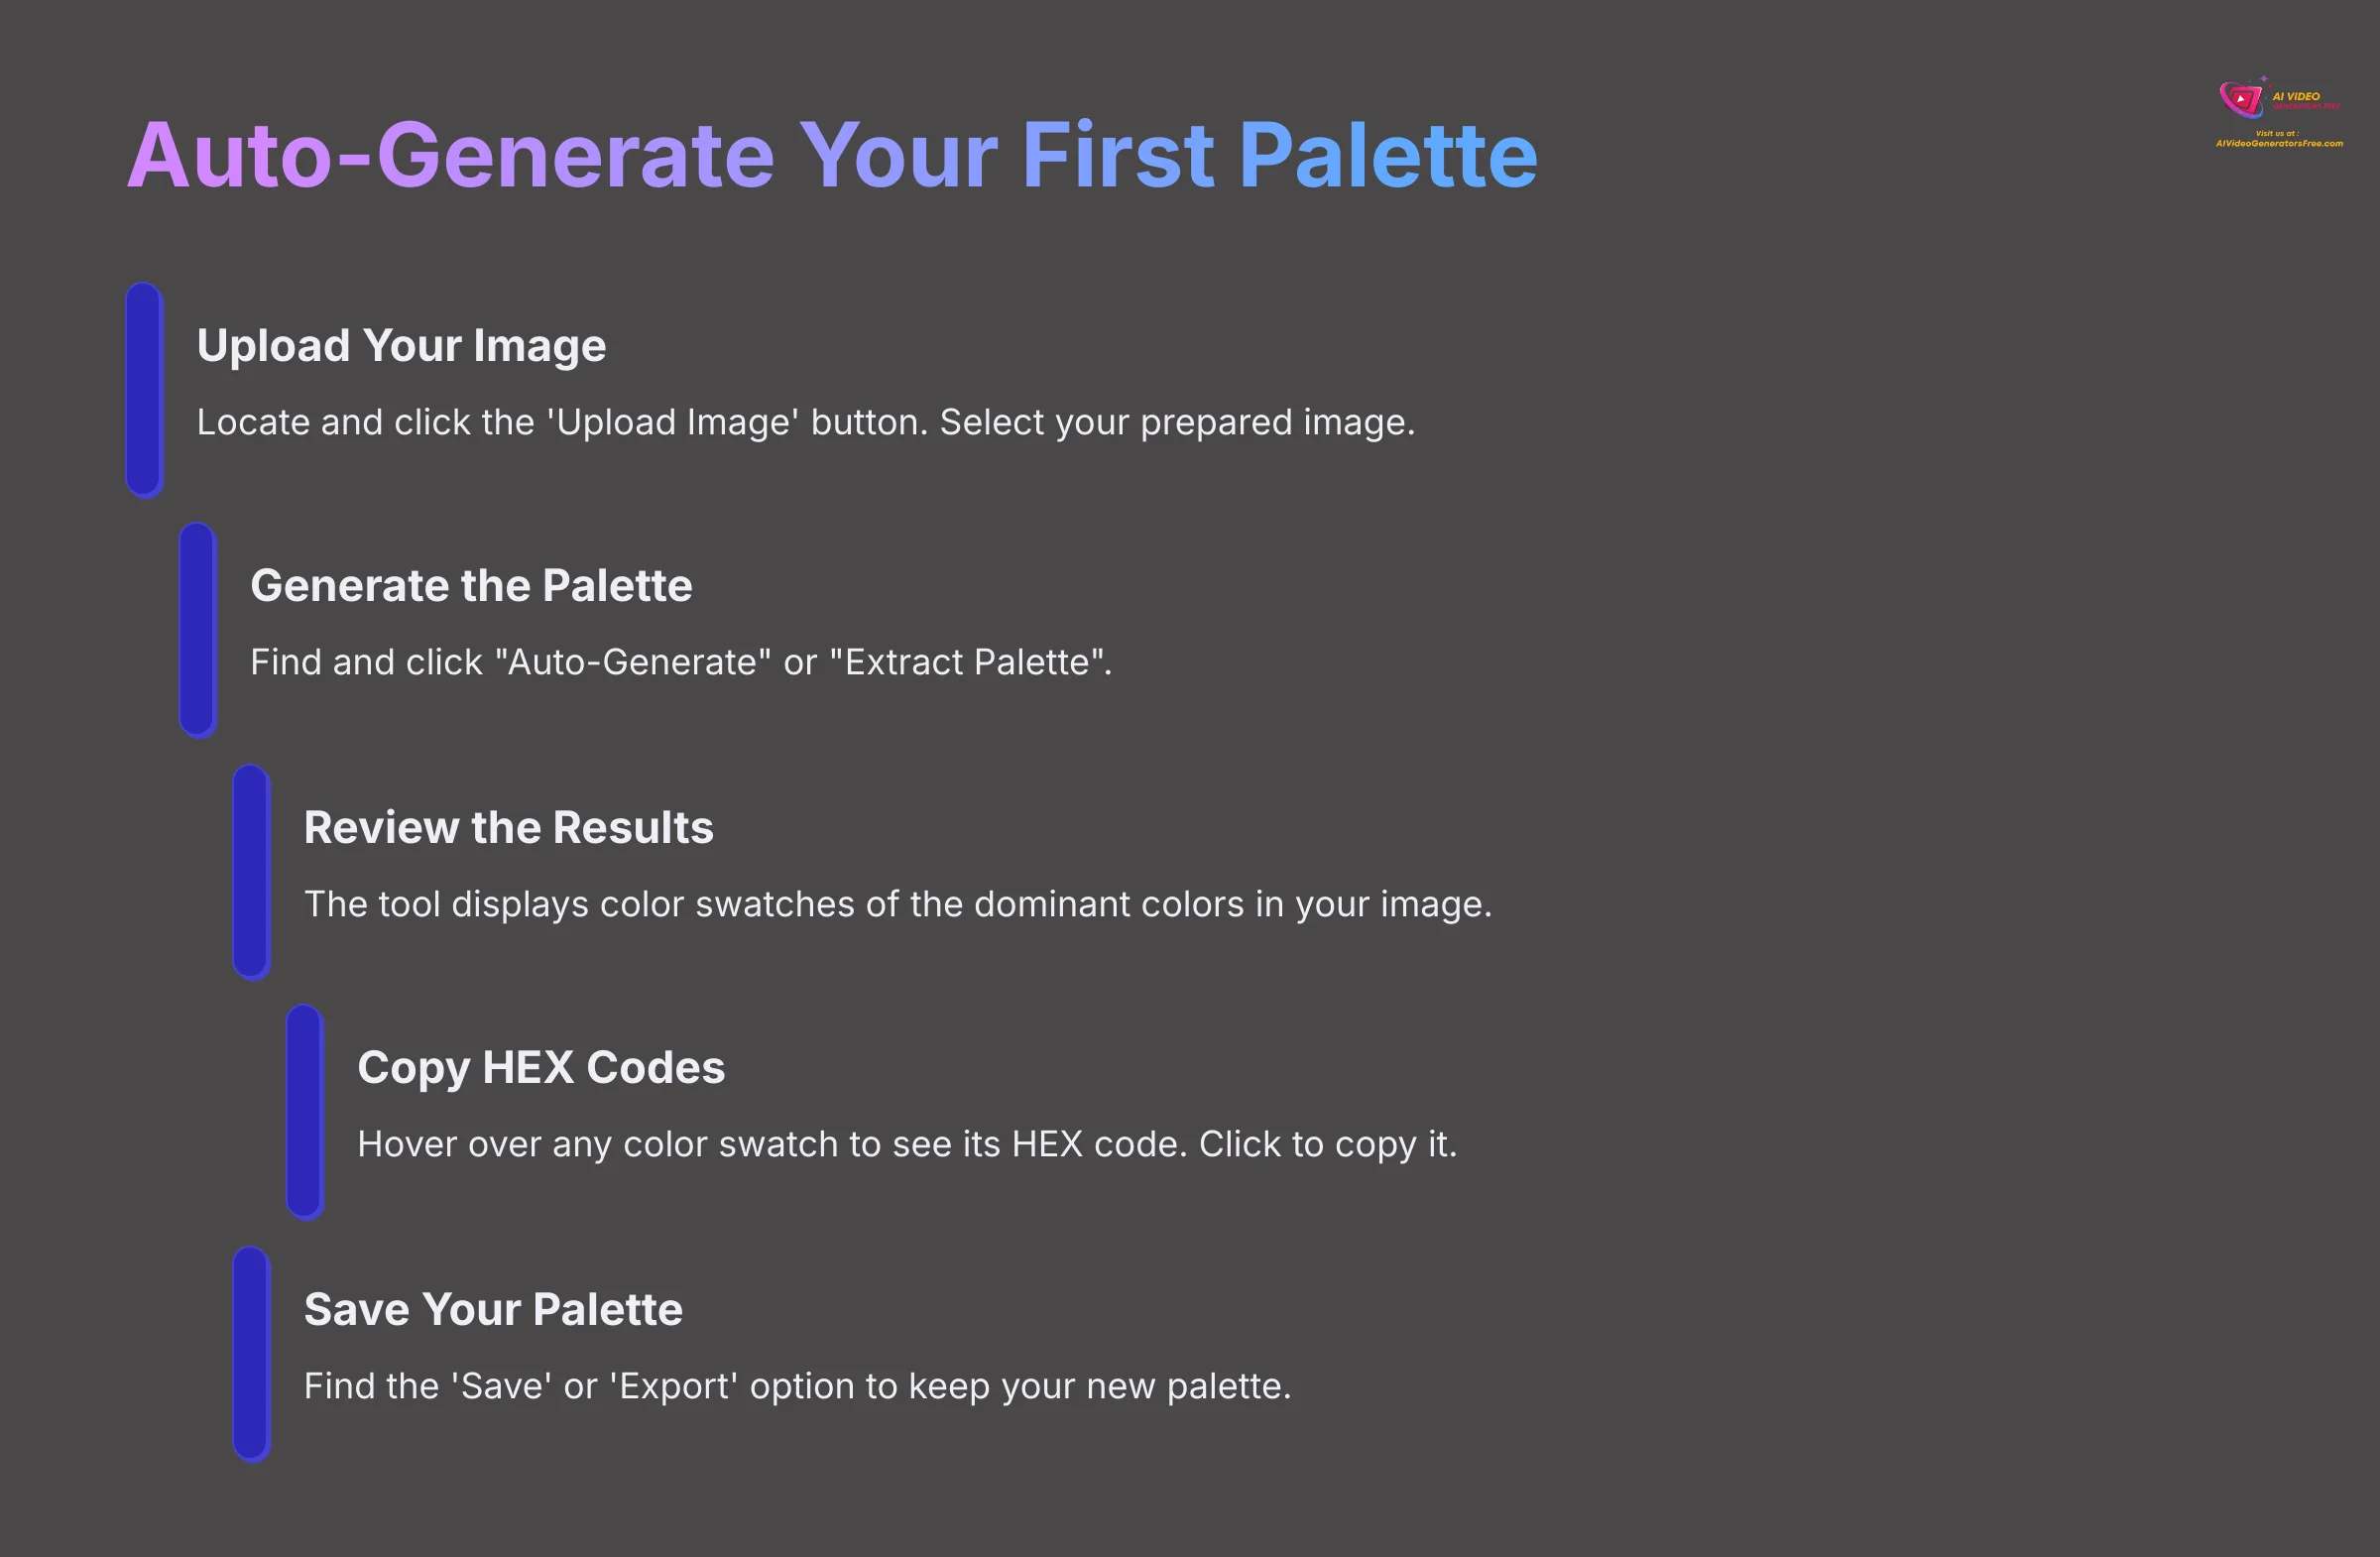
The easiest way to start is by letting the tool do the work for you. This quick process shows you the core power of automatic color extraction. You can get a working palette in seconds.
Personal Insight: The first time I did this, it felt like magic. Going from a complex photo to a perfectly matched 5-color palette in 15 seconds is a total game-changer for brainstorming social media graphics.
Here's the 5-step process:
- Locate and Click the ‘Upload Image' Button. This is typically the most prominent button on the screen. Select the image you prepared earlier.
- Use the ‘Auto-Generate' Feature. Once the image loads, find a button that says “Auto-Generate” or “Extract Palette” and click it.
- Review the Dominant Color Results. The tool instantly displays a series of color swatches. These are the most dominant colors found in your image.
- Hover and Click to Copy a HEX Code. Move your mouse over any color swatch. You'll see its HEX code, which is a six-digit code representing a specific color. Click to copy it.
- Find the ‘Save' or ‘Export' Option. Look for a button to save your new palette or export the color codes for later use.
Try It Now: Take one of the photos you downloaded and run it through the auto-generator. Copy the HEX codes into a text file.
How to Manually Select Specific Colors with the Eyedropper Tool
Sometimes, the automatic generator misses a specific shade you love. This is where the eyedropper tool gives you complete control. Using the eyedropper is like being a digital botanist—carefully picking the exact petal of color you want from a field of pixels.
Here's how you do it:
- Find and activate the Eyedropper tool in the toolbar.
- Zoom into your image for better precision. This helps you select the exact pixel you want.
- Hover your cursor over the color you want to add. A small preview window shows you the exact color you're selecting.
- Click your mouse to add that color to your palette. Repeat this process until your palette is complete.
Important Warning: Be careful when using the eyedropper near the edges of objects in a photo. Anti-aliasing, the technique used to smooth jagged digital edges, can create ‘mixed' pixels that result in a muddy color. Zoom in to make sure you're selecting a pure, solid color.
How to Refine and Customize Your Generated Palette
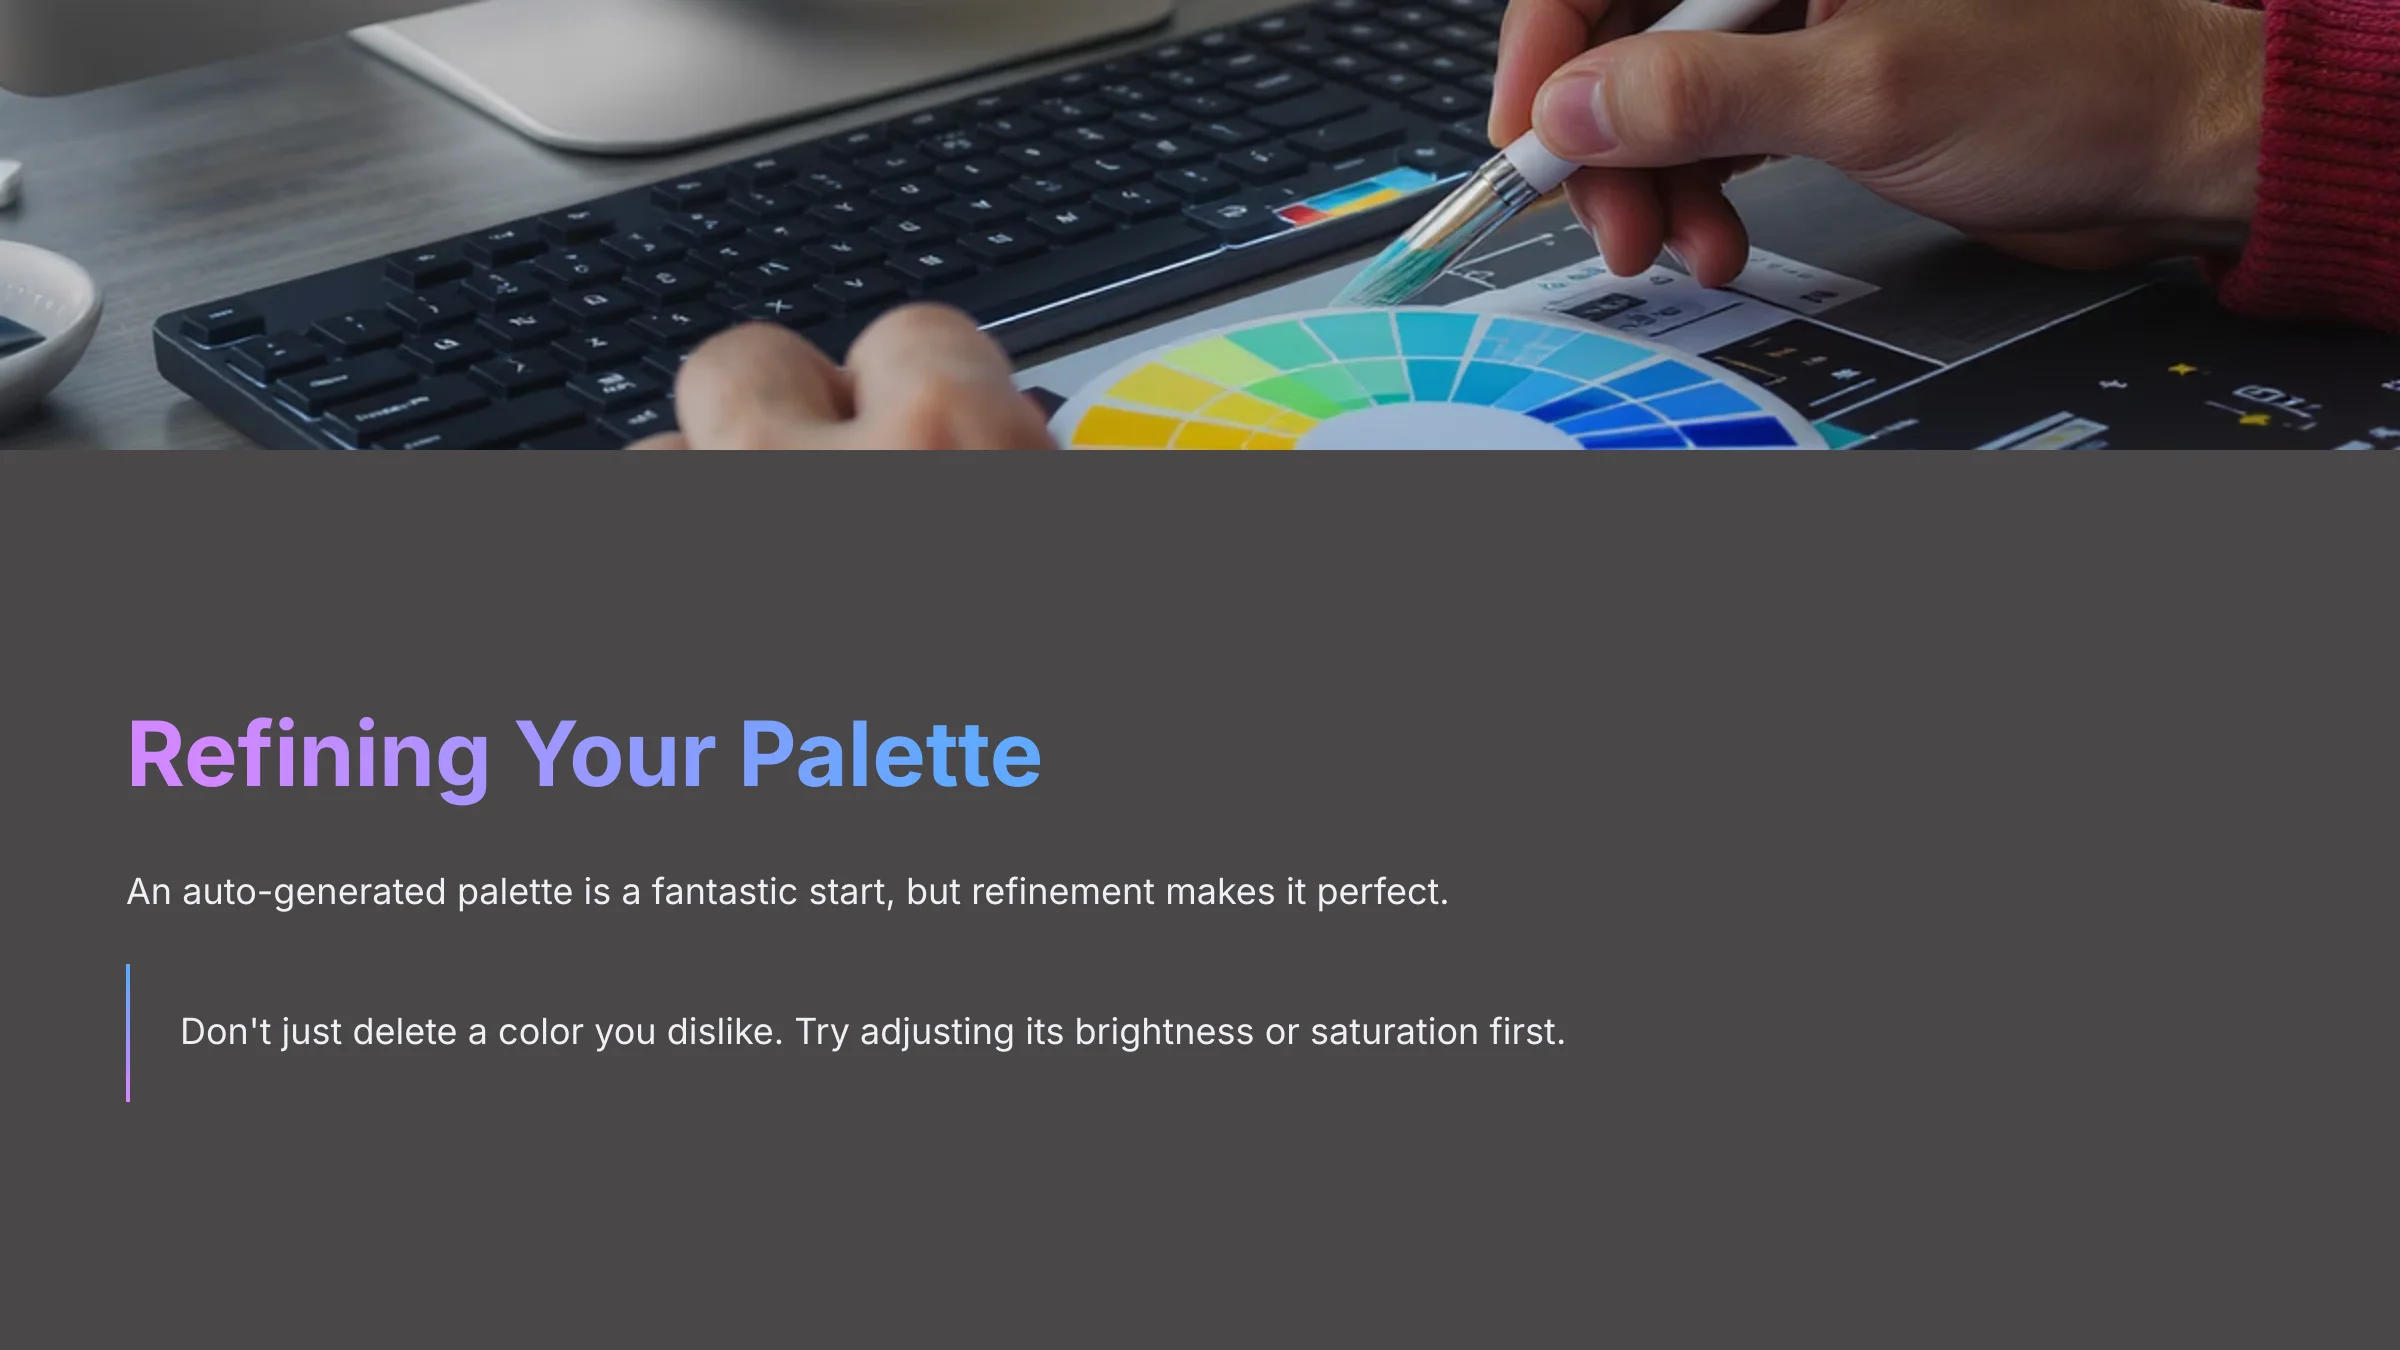
An auto-generated palette is a fantastic start, but refinement is where you make it perfect. These techniques allow you to fine-tune the results to match your vision exactly. You can turn a good palette into a professional one.
Expert Tip: Don't just delete a color you dislike. Click on it first and try adjusting its brightness or saturation. Often, the AI picks the right hue but the wrong shade. A quick tweak can save a color you were about to discard.
Technique 1: Adjusting a Single Color (Hue, Saturation, Brightness)
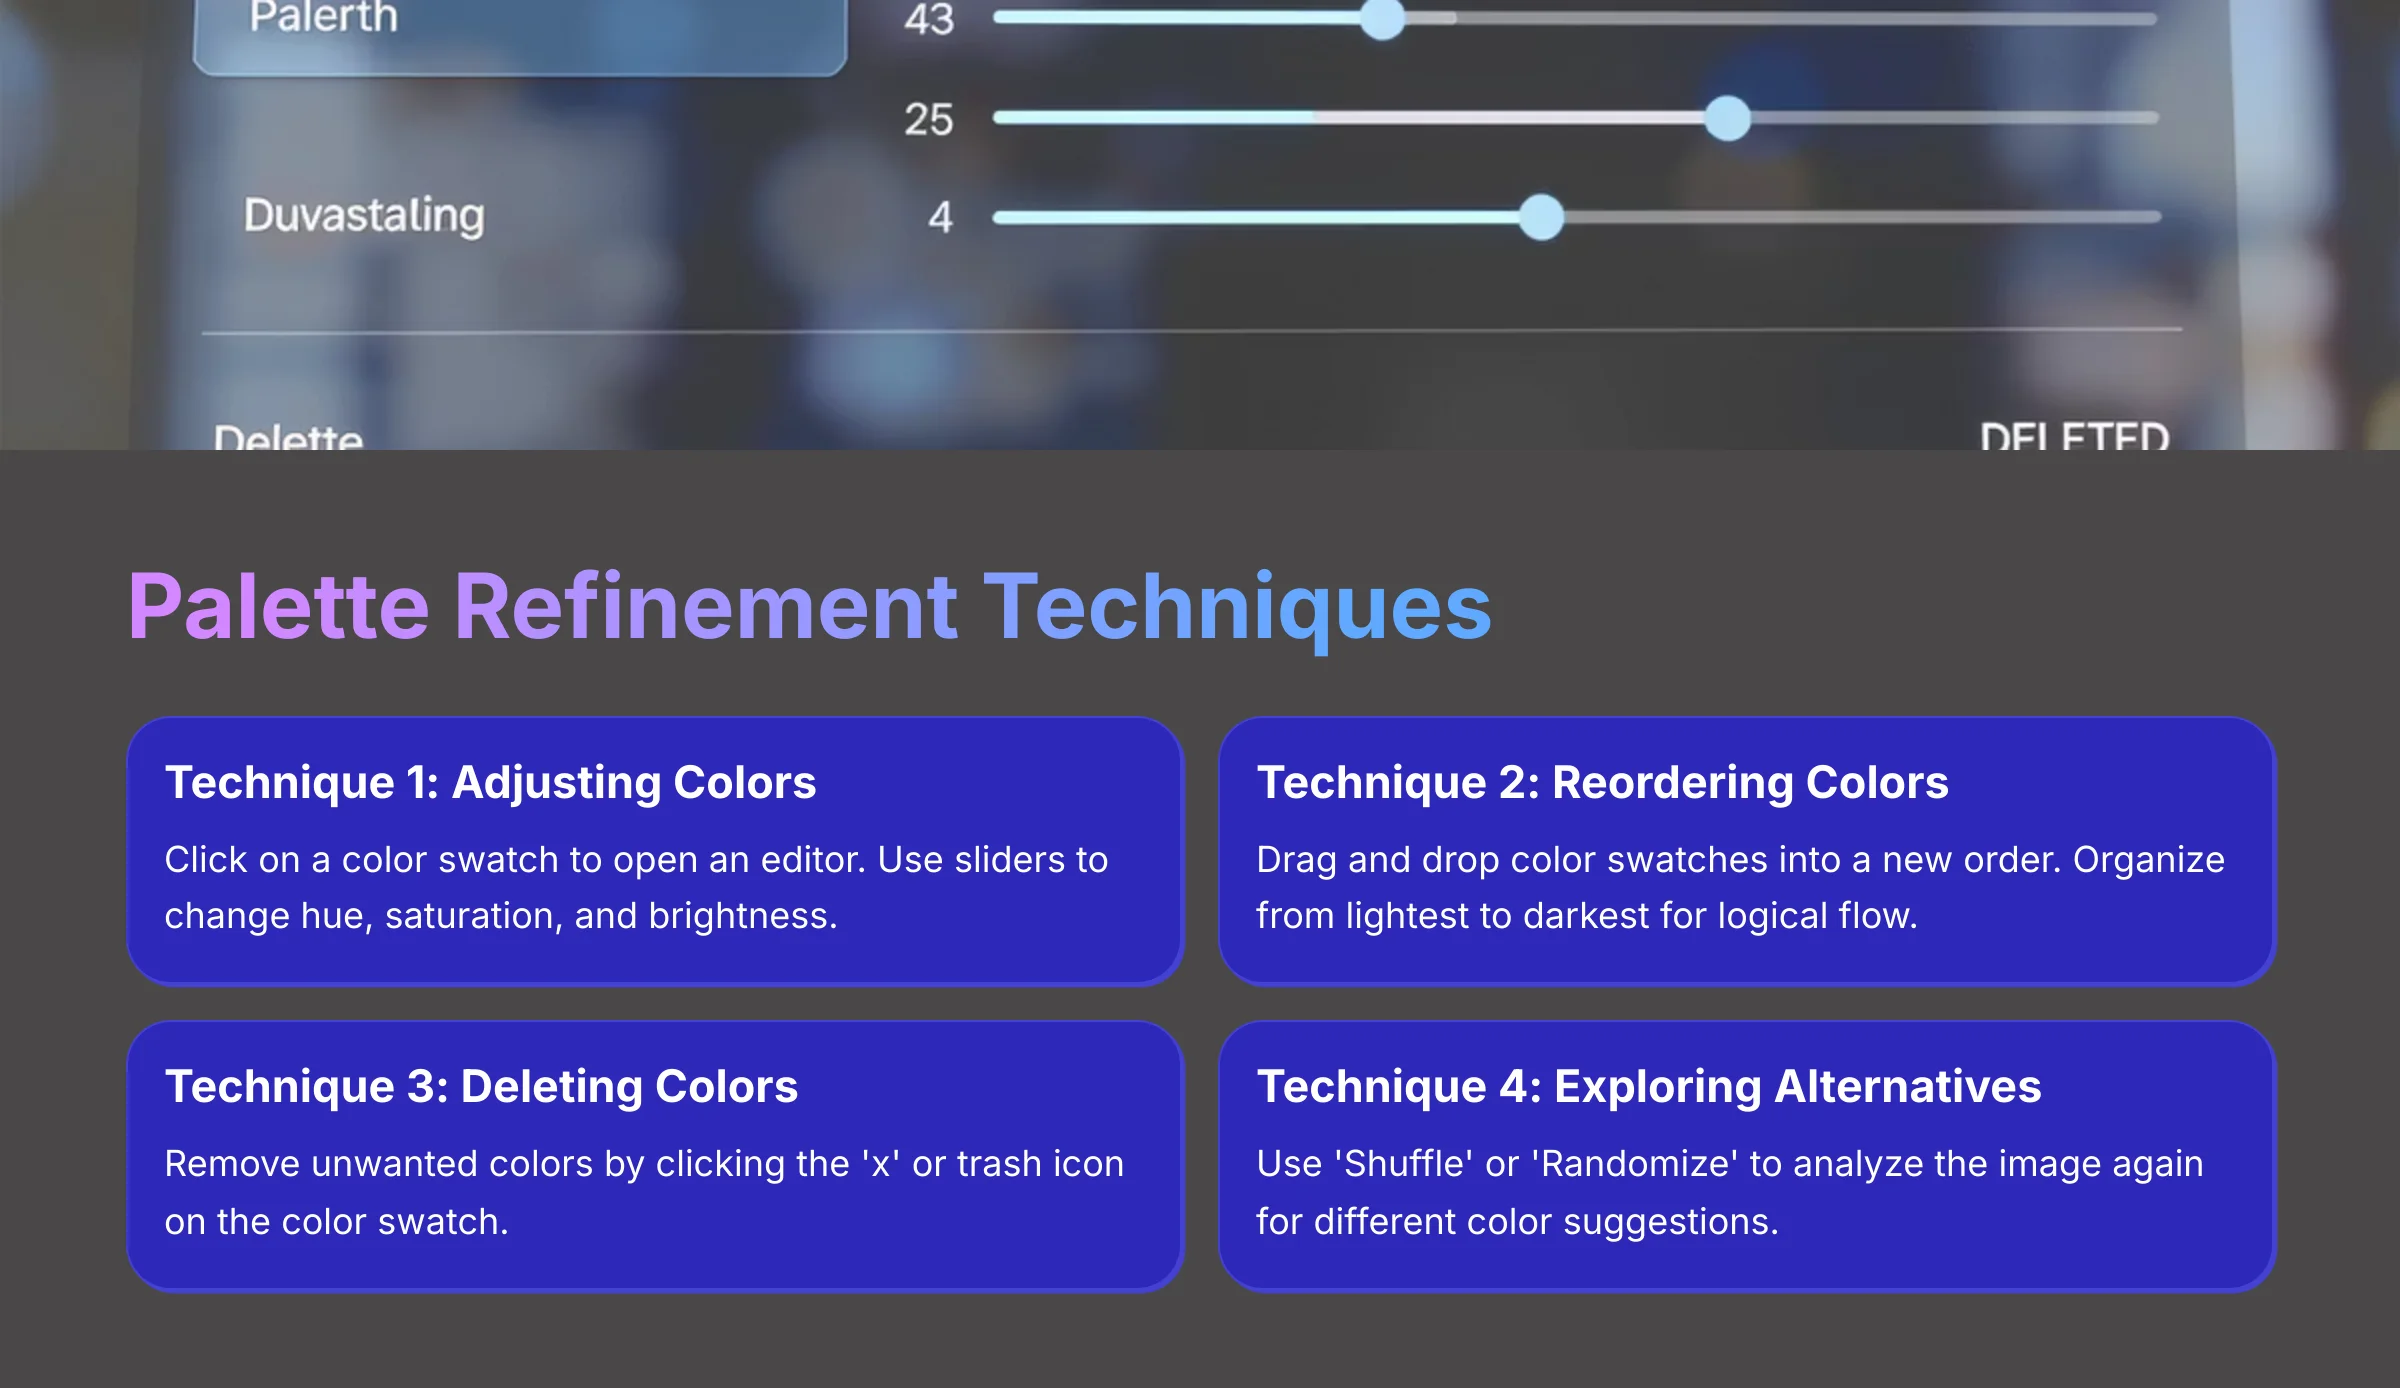
Most tools let you click on an individual color swatch to open an editor. Here, you can use sliders to change its hue (the color itself), saturation (its intensity), and brightness (how light or dark it is). This is perfect for when the AI is close but not quite right.
Technique 2: Reordering Colors (e.g., Light to Dark)
A well-organized palette is easier to use. Most interfaces allow you to drag and drop the color swatches into a new order. I often organize my palettes from the lightest shade to the darkest to create a logical flow.
Technique 3: Deleting Unwanted Colors
If the generator picks up a color you don't want, like a distracting background element, just remove it. Look for a small ‘x' or trash can icon on the color swatch. Clicking it deletes the color from your palette.
Technique 4: Exploring Alternatives with the ‘Shuffle' Feature
Some tools have a ‘Shuffle' or ‘Randomize' button. Clicking this tells the algorithm to analyze the image again and suggest a different set of colors. This is a great way to find inspiration if you're not happy with the first result.
Part 2: The Developer Workflow – Automating Palettes with Code

This part is for my fellow developers. While the visual tools are great, sometimes you need to extract colors programmatically. This is where using programming languages becomes incredibly powerful.
Use Case: When to Use Programmatic Color Extraction
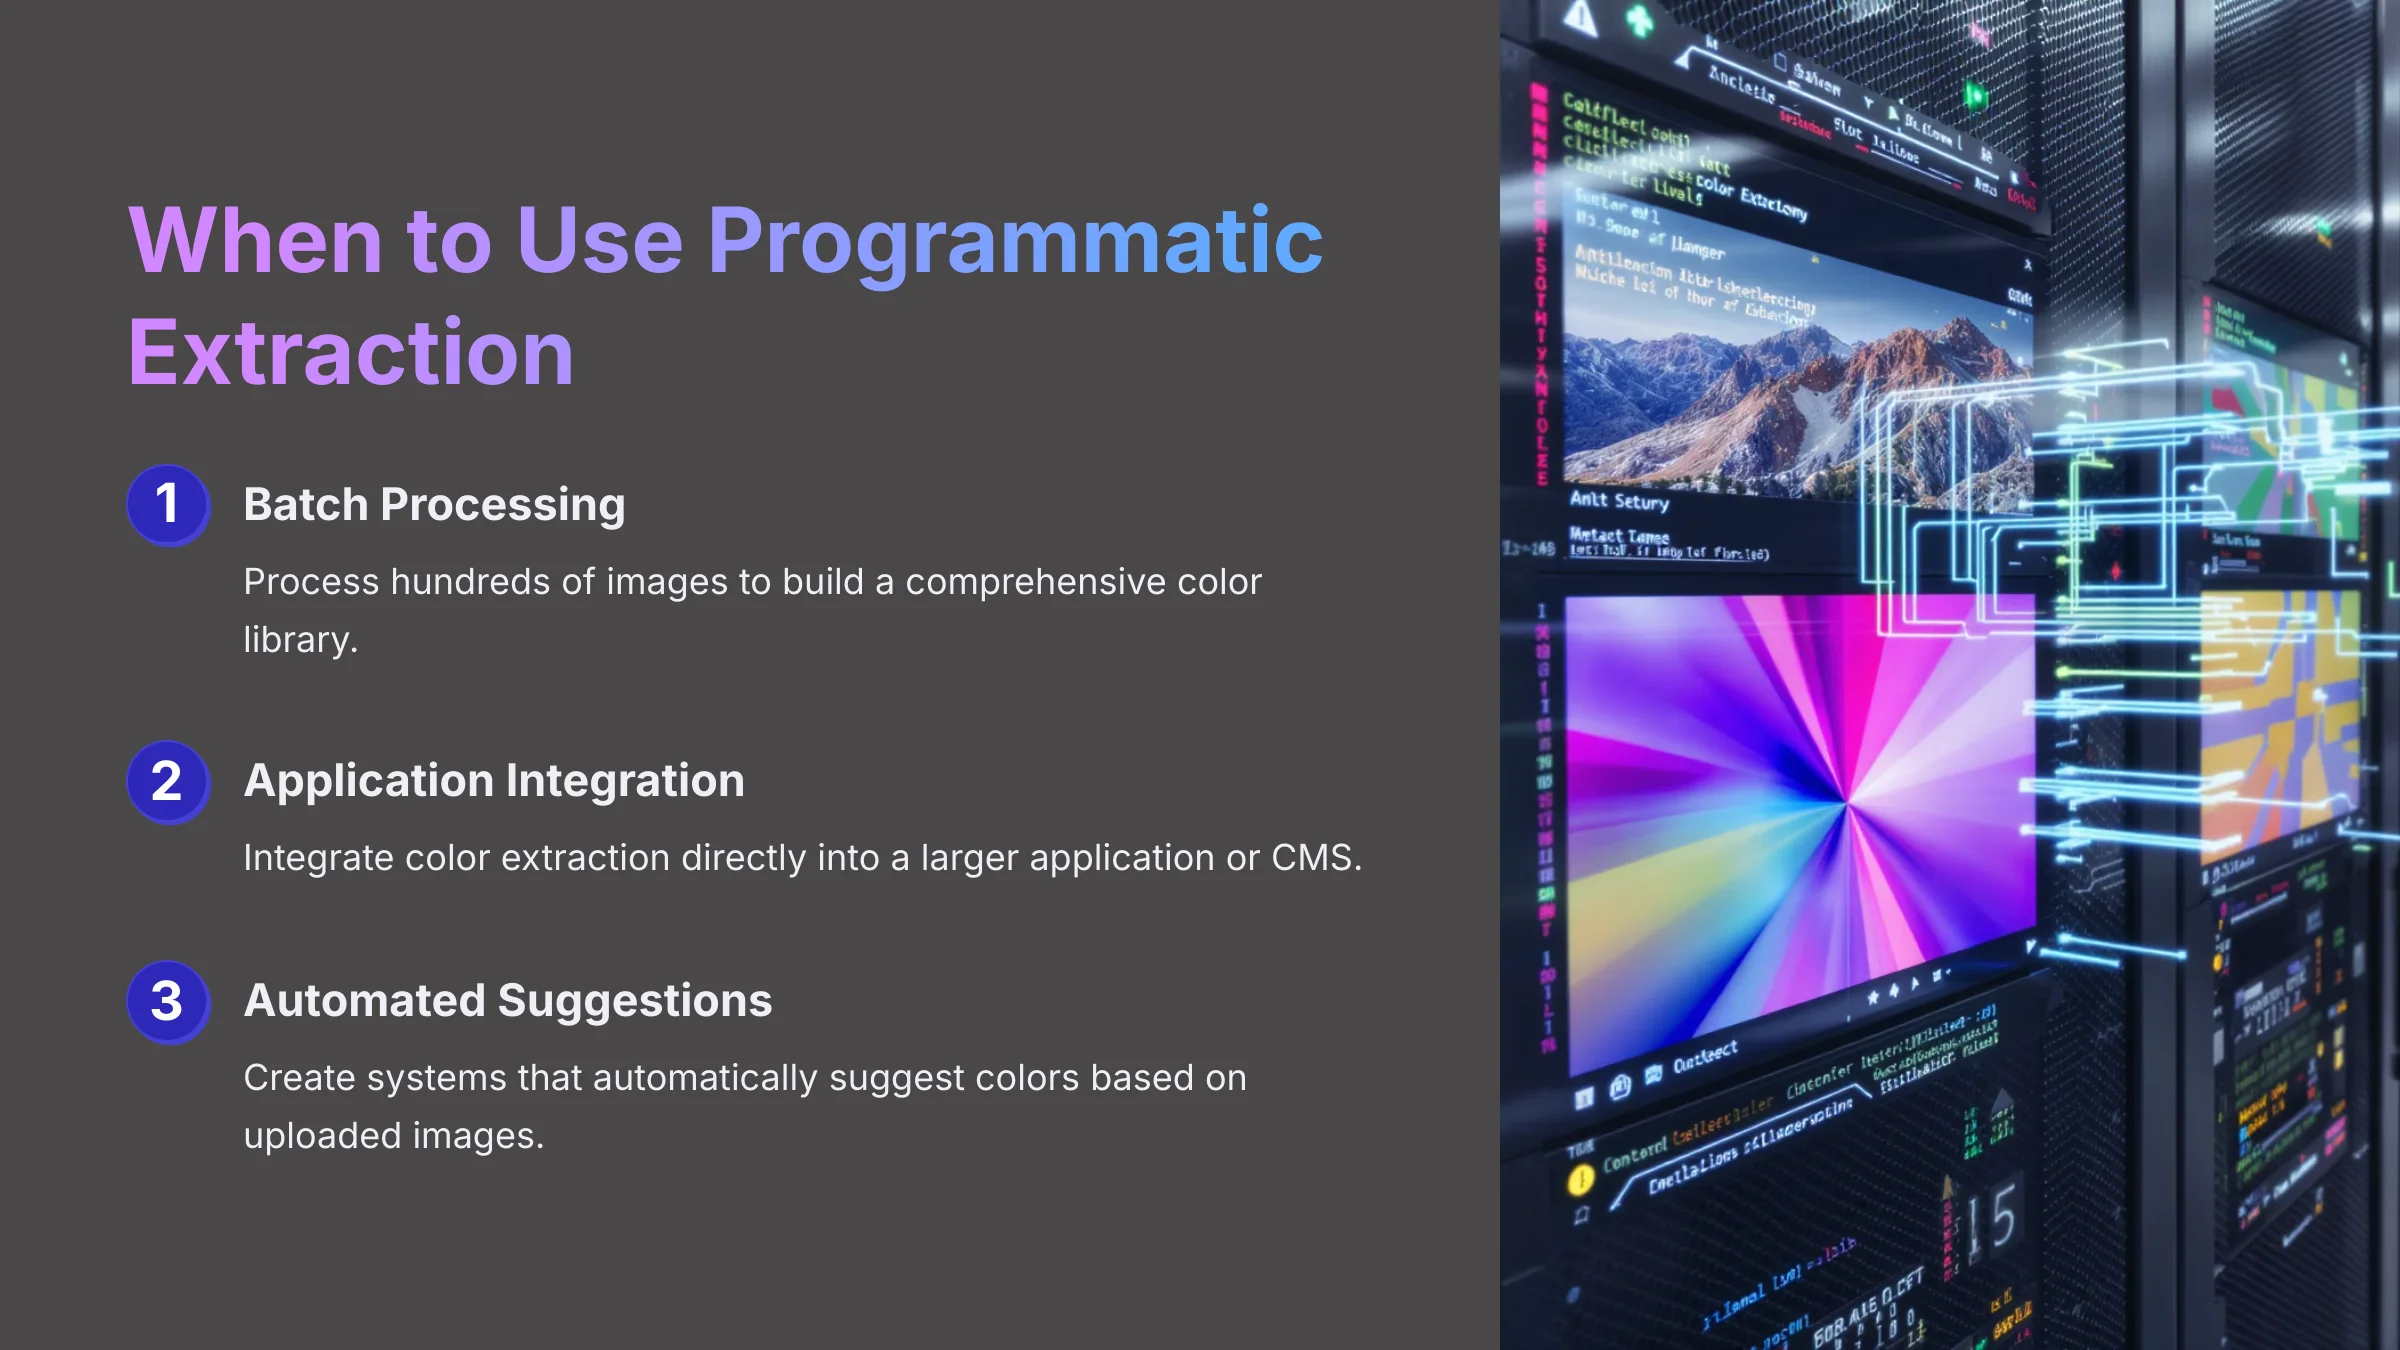
You'd choose this method for several reasons. You might need to batch-process a folder with hundreds of images to build a color library. Or you might want to integrate color extraction directly into a larger application, like a content management system that automatically suggests colors based on an uploaded image.
The Full Script for Automated Palette Generation
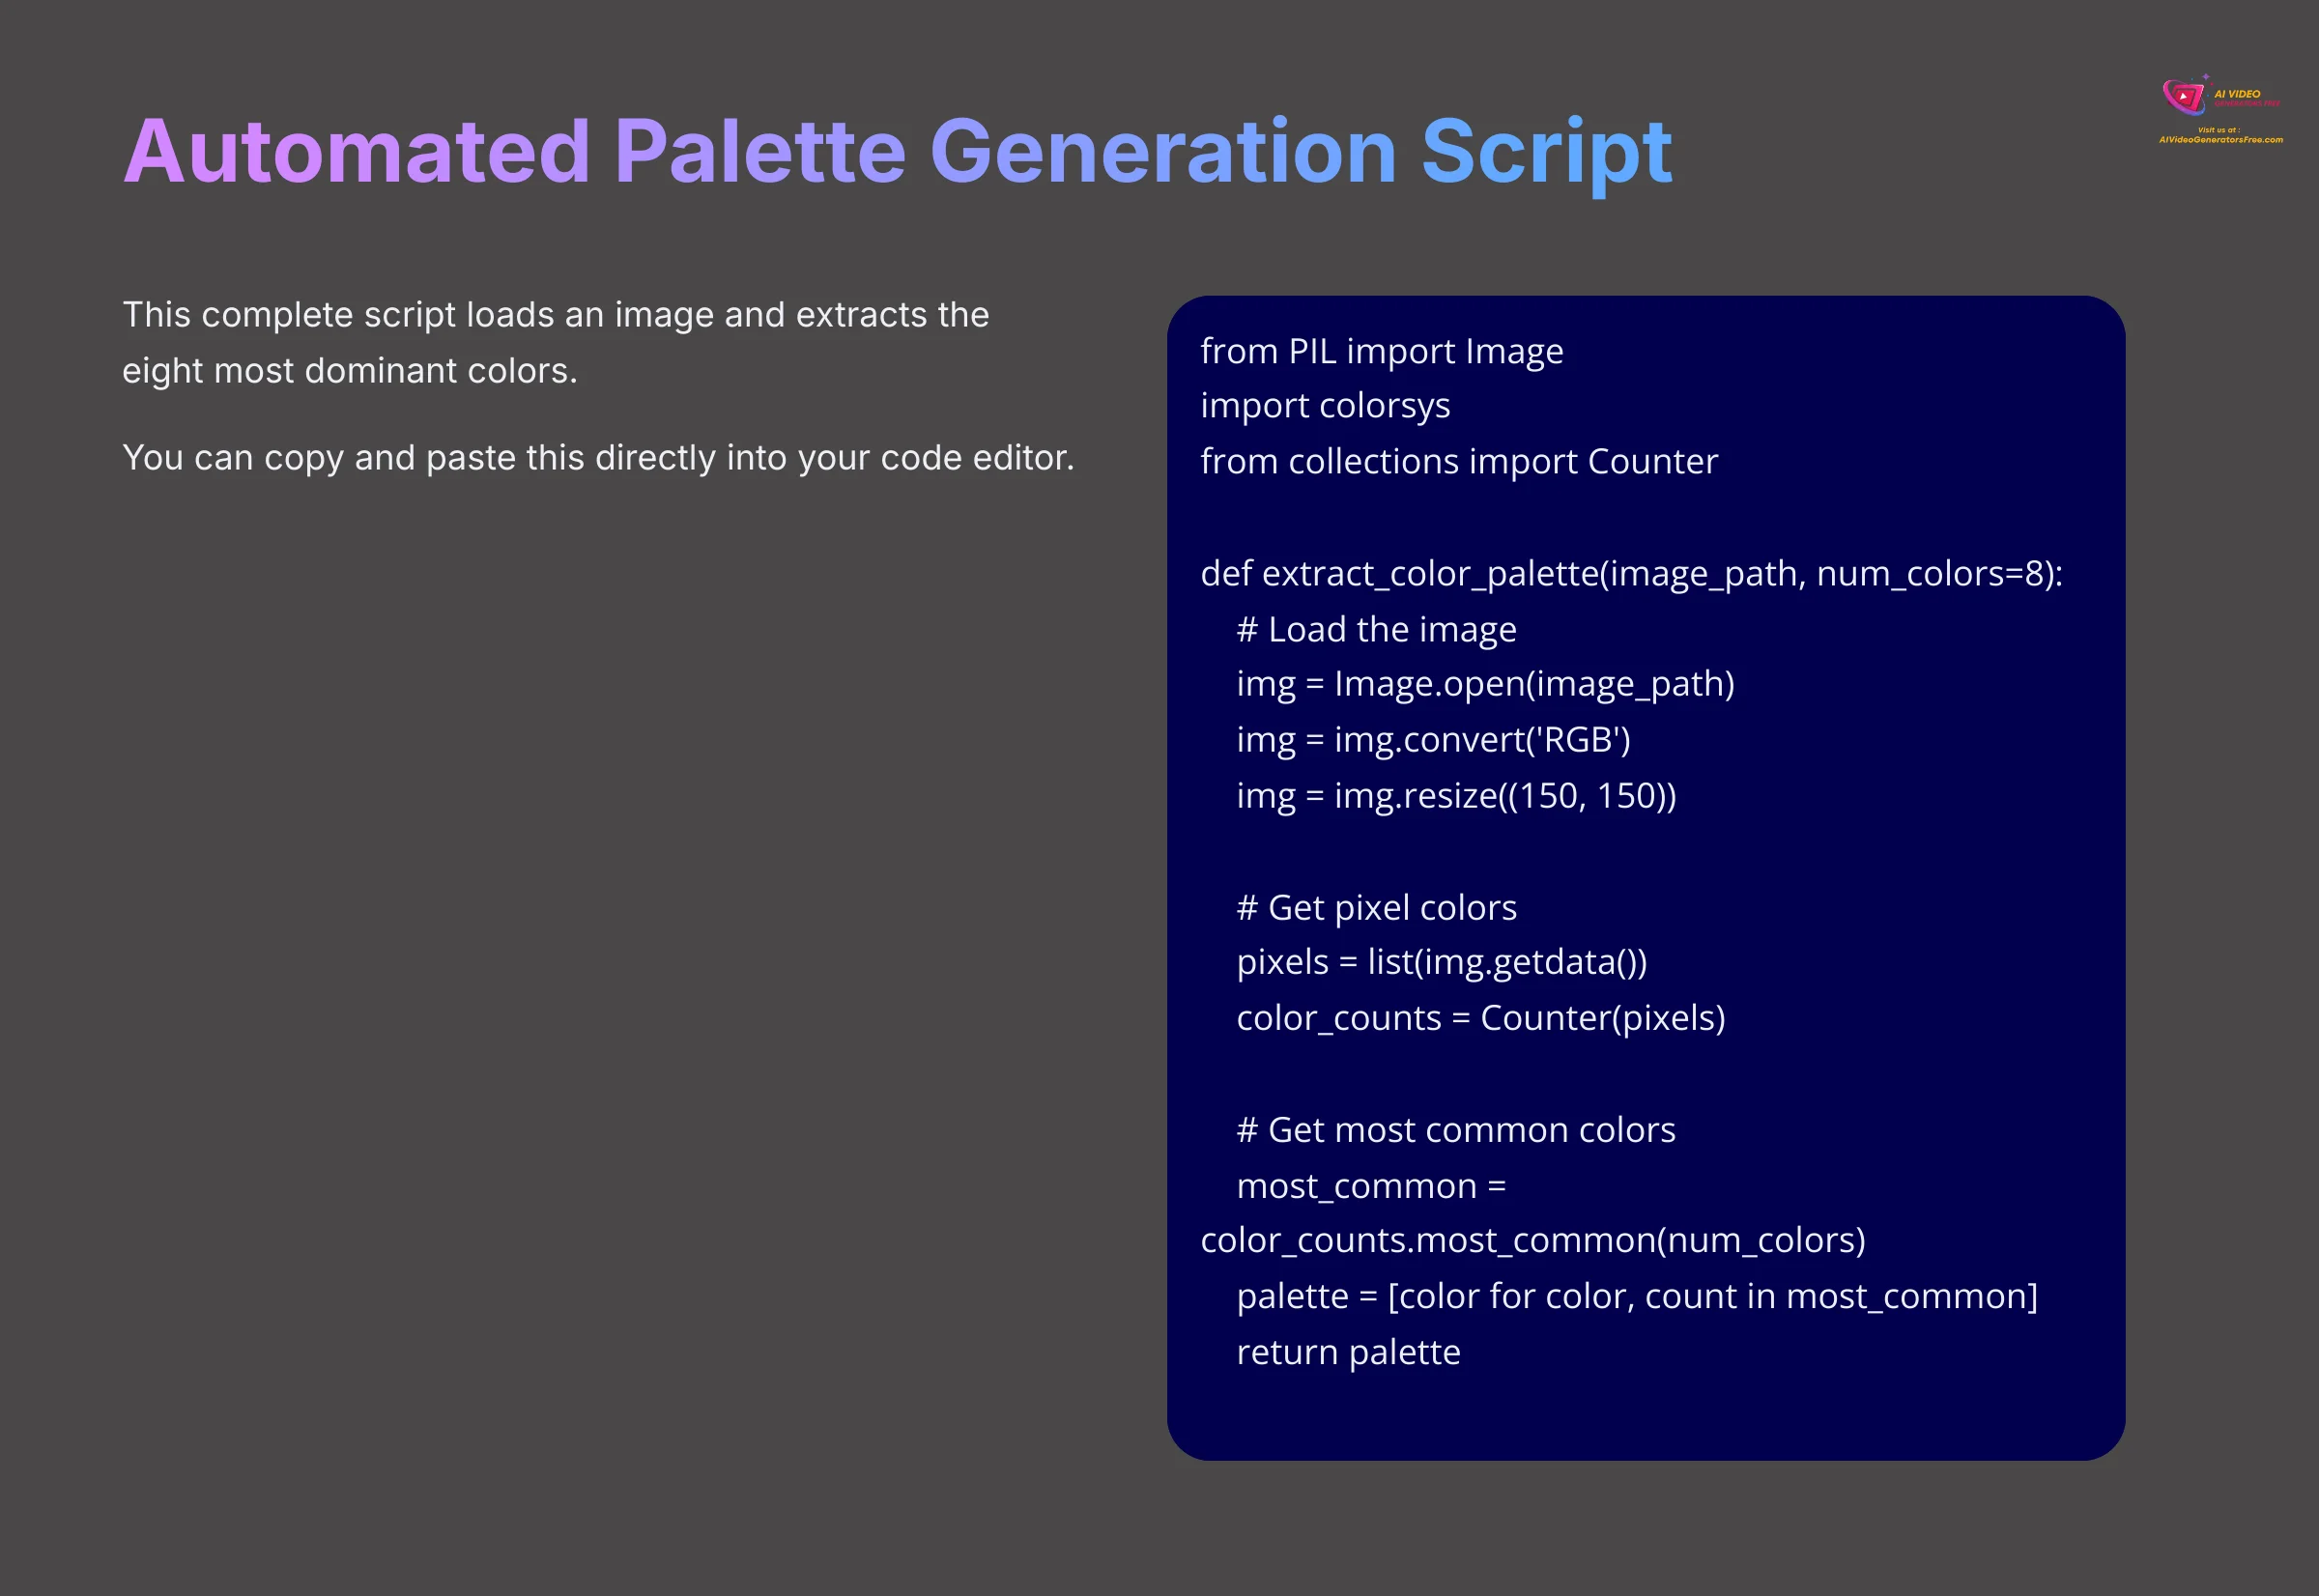
Here's a complete, working script that loads an image and extracts the eight most dominant colors from it. You can copy and paste this directly into your code editor.
from PIL import Image
import colorsys
from collections import Counter


def extract_color_palette(image_path, num_colors=8):
# 1. Load the image from a file path
img = Image.open(image_path)

Generated code
# 2. Convert to RGB if necessary
img = img.convert('RGB')

# 3. Resize for faster processing
img = img.resize((150, 150))

# 4. Get all pixel colors
pixels = list(img.getdata())

# 5. Count color frequency
color_counts = Counter(pixels)

# 6. Get the most common colors
most_common = color_counts.most_common(num_colors)

# 7. Extract just the RGB values
palette = [color for color, count in most_common]

return palette


def rgb_to_hex(rgb):
"""Convert RGB tuple to HEX string"""
return '#{:02x}{:02x}{:02x}'.format(rgb, rgb[1], rgb[2])

Example usage

if name == "main":
image_path = "path/to/your/image.jpg"
colors = extract_color_palette(image_path)

Generated code
print("Extracted Color Palette:")
for i, color in enumerate(colors, 1):
    hex_color = rgb_to_hex(color)
    print(f"Color {i}: RGB{color} - {hex_color}")
IGNORE_WHEN_COPYING_START
content_copy
download
Use code with caution.
IGNORE_WHEN_COPYING_END
Code Breakdown: Understanding the Color Extraction Process
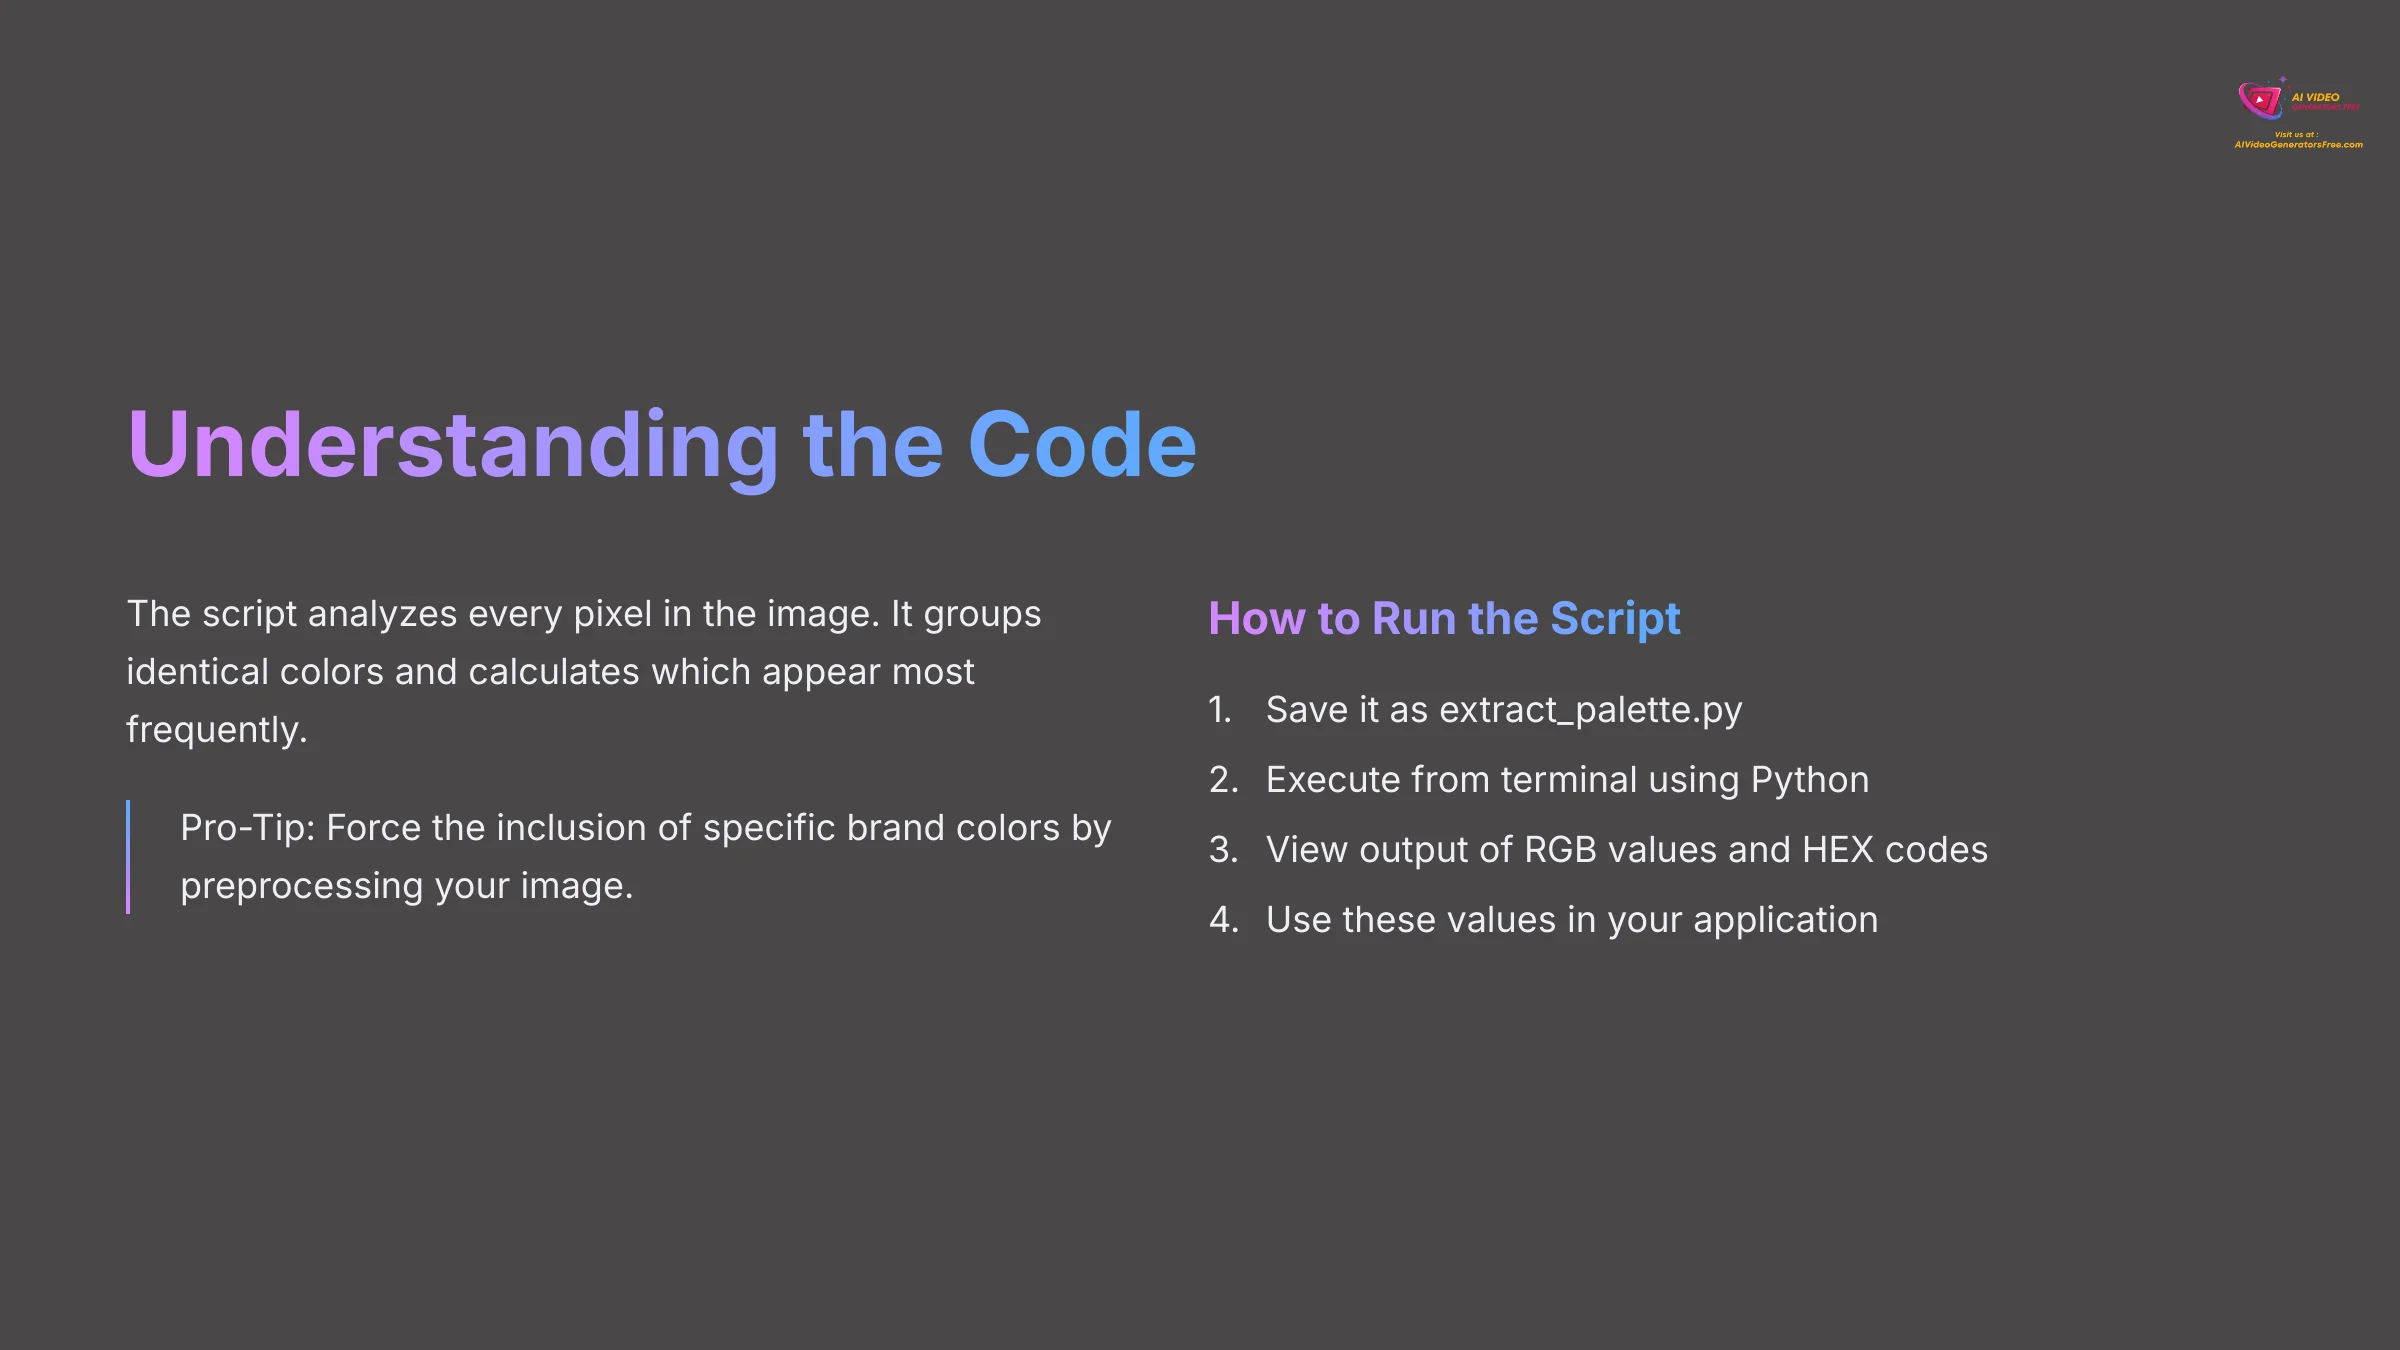
Let's quickly break down the key parts of that script. The magic happens through statistical analysis of pixel data. When you load an image, you can access every single pixel's color information.
The script analyzes every pixel in the image. It groups identical colors together and calculates which ones appear most frequently. The number you provide tells it how many of the top colors to return in the final palette. It's a very efficient way to get the main color information from any picture.
Pro-Tip for Developers: You can force the inclusion of specific brand colors by preprocessing your image or post-processing the results. This is invaluable for automated branding systems, ensuring your key colors are always present in the final output.
How to Run the Script and Use the Output
To run this script, save it as a .py file, like extract_palette.py. Then you can execute it from your terminal using Python.
The output will be a list of RGB color values and their corresponding HEX codes. You can then use these values in your application, save them to a database, or convert them into other formats for use in CSS.
Practical Application: Turning Your Palette into a Real-World Project

Knowing how to generate a palette is one thing. But the real fun starts when you apply it to a project. Here are two common use cases that show just how valuable this skill is.
Use Case 1: Create Cohesive Social Media Branding for 2025
Your color palette is the DNA of your brand's visual identity. Using it consistently ensures every new design looks like it belongs to the same family. You can generate a palette from your main logo or a key brand photograph.
Once you have those 4-5 core HEX codes, use them for everything. Apply them to text colors, button colors, and background graphics in your social media templates. This creates an instantly recognizable and professional look across all your posts.
Use Case 2: Find Instant UI/UX Design Inspiration
A Designer's Secret Weapon: As a UI designer, this is my go-to for breaking a creative block. I'll find a beautiful photo from a completely unrelated field, extract the palette, and apply it to my wireframes. It almost always leads to a more exciting and unique design direction.
A wireframe is just a basic black-and-white layout. By applying a vibrant, harmonious palette from an inspiring photo, you can instantly breathe life into it. This simple trick can transform a boring layout into something that feels unique and emotionally resonant.
Troubleshooting: How to Solve Common Palette Problems
Even with the best tools, you can run into issues. Here are the most common problems I see and how to fix them quickly.
Proactive Advice: Don't immediately blame the tool if the colors look off. 9 times out of 10, the issue lies with the source image. Pre-cropping your image to focus on the key subject is the single most effective trick for getting professional results.
Problem: My Palette's Colors Look Muddy or Inaccurate
Cause: This is almost always caused by a low-resolution or poorly lit source image. If the image is blurry or has washed-out colors, the algorithm has bad information to work with.
Solution: Find a higher-quality version of your image. Look for one that's sharp, well-lit, and has rich colors. A better input always produces a better output.
Problem: The Palette Includes Colors I Don't Want (e.g., Backgrounds)
Cause: The auto-generator analyzes the entire image. If a boring grey background takes up a lot of space, the tool will likely include grey in your palette.
Solution: You have two options. First, you can simply delete the unwanted color from the refined palette. Second, you can build the palette yourself using the eyedropper tool to select only the colors you want from the foreground.
Problem: I Can't Find an ‘Export' Button
Cause: Some simpler online tools may not have a formal export feature. They're designed for quick, on-the-fly color copying.
Solution: This is an easy fix. Manually copy each HEX code one by one and paste them into a text file or directly into your design software. It's a little more work but achieves the same result.
Workflow Integration: Using Your Palettes in Figma & Adobe

The final step is making your new palette a permanent part of your design toolkit. Integrating it into software like Figma or Adobe makes it reusable for any future project.
For Figma Users: Creating Reusable Color Styles
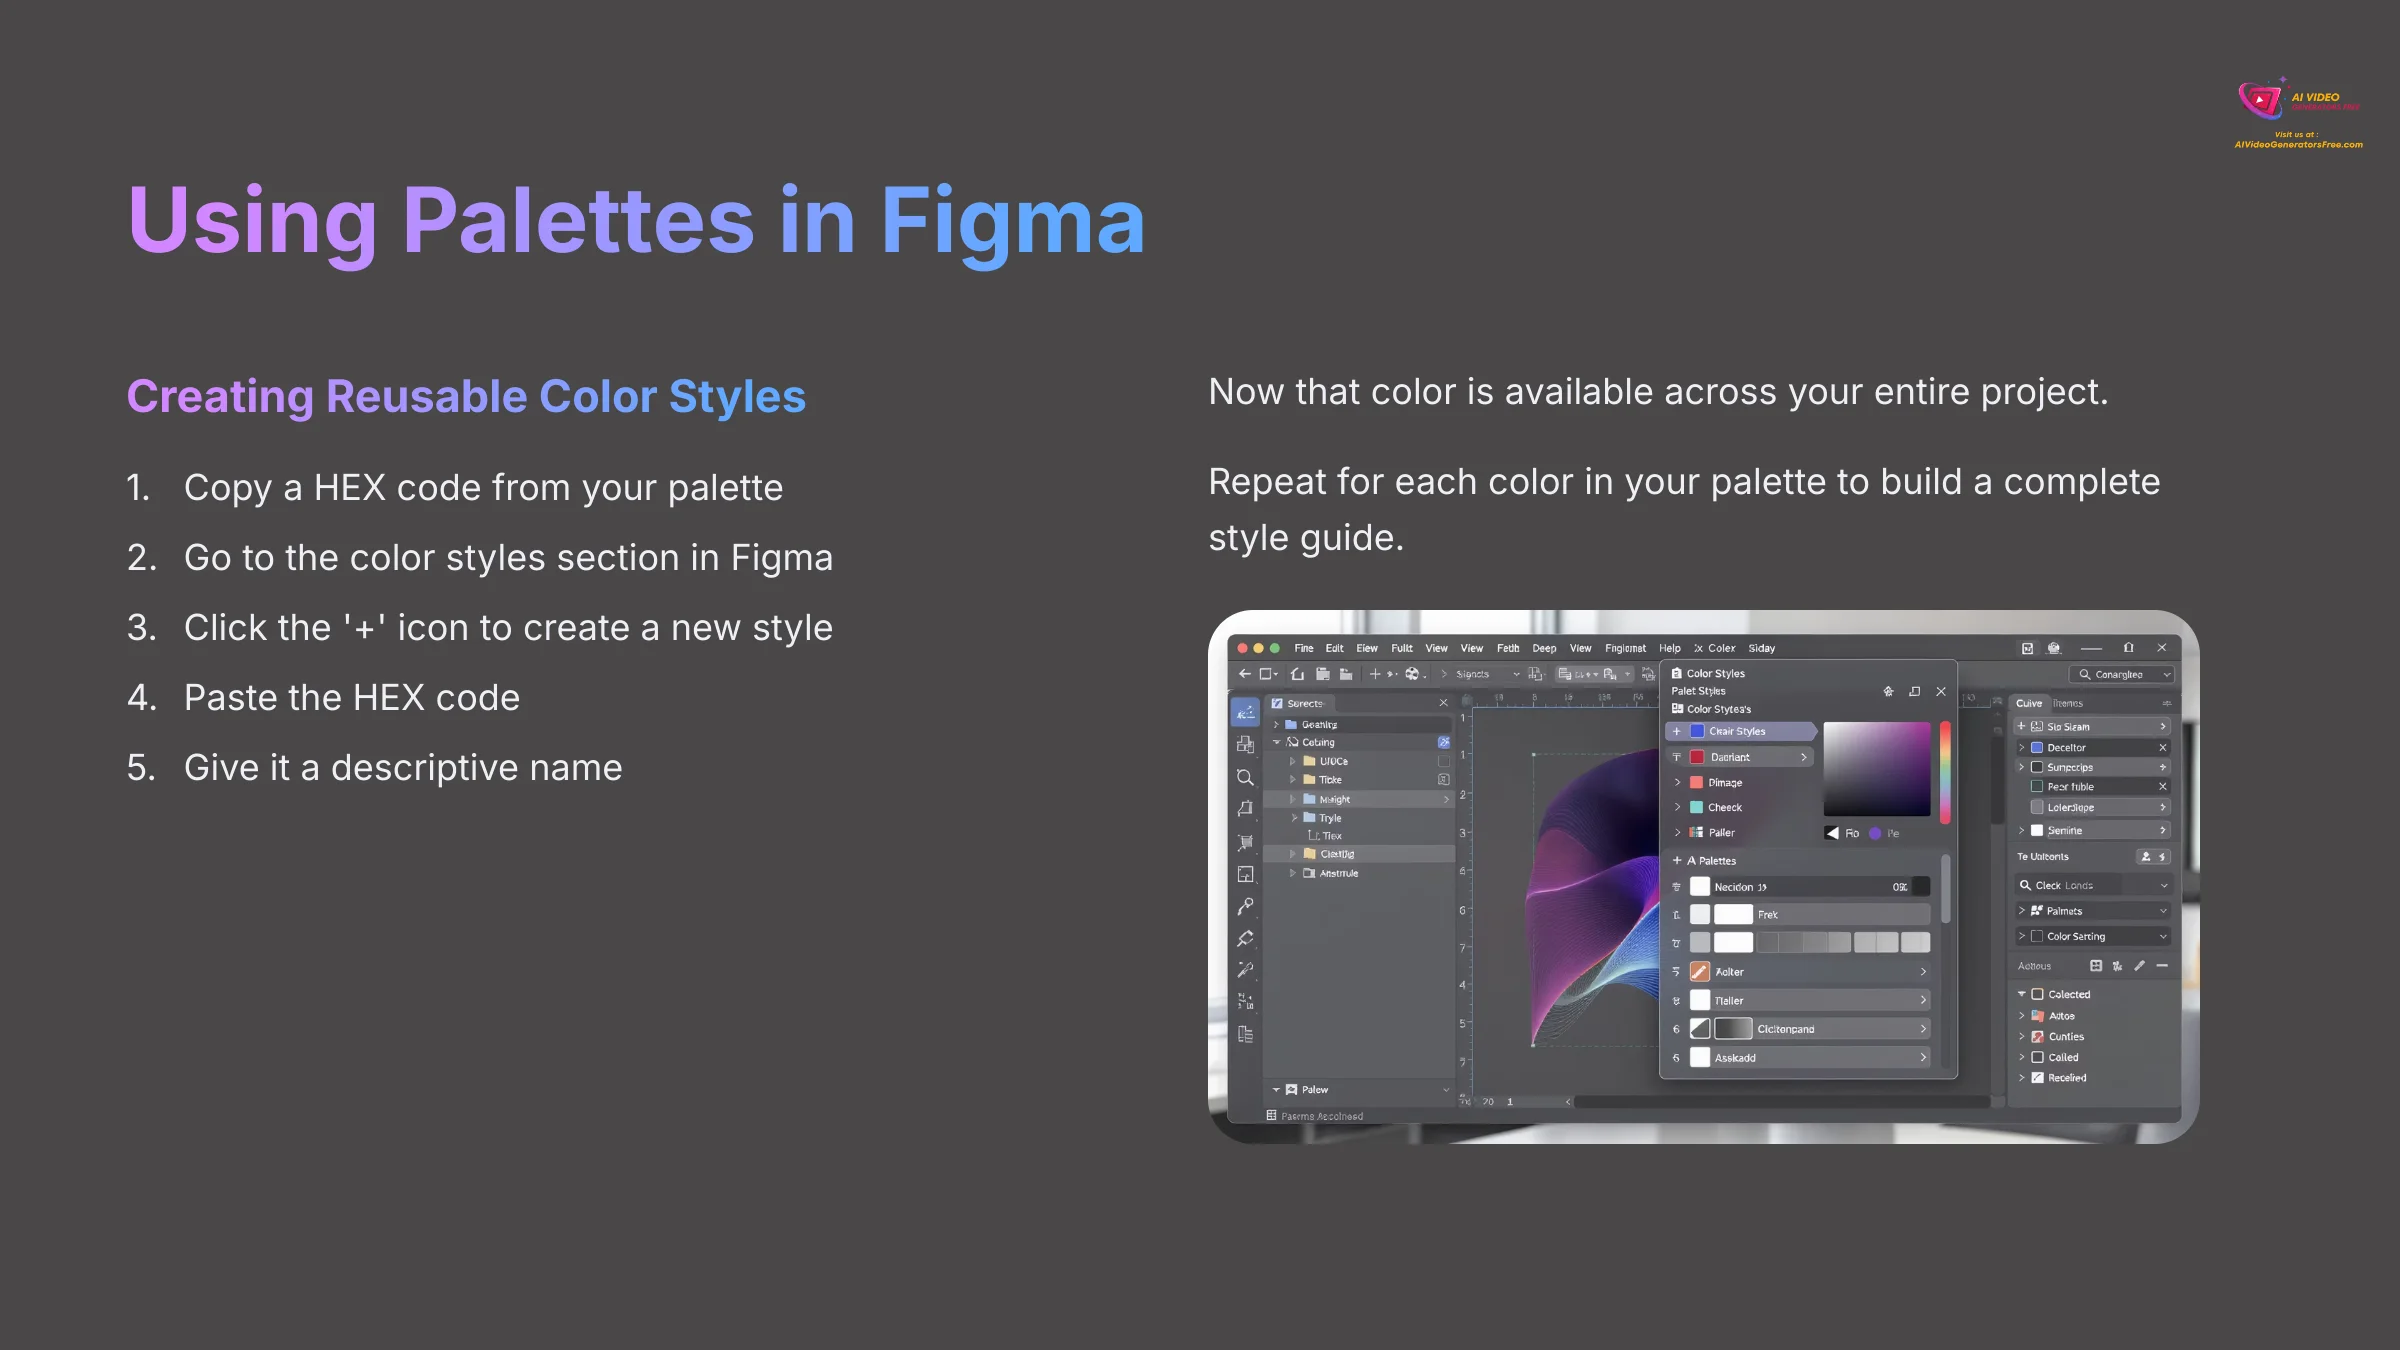
In Figma, you can save colors as “Color Styles.” Simply copy a HEX code from your palette. Then, in Figma's right-hand panel, go to the color styles section, click the ‘+' icon to create a new style, and paste the HEX code in. Give it a name, and now that color is available across your entire project.
For Adobe Users: Building a Custom Swatch Library
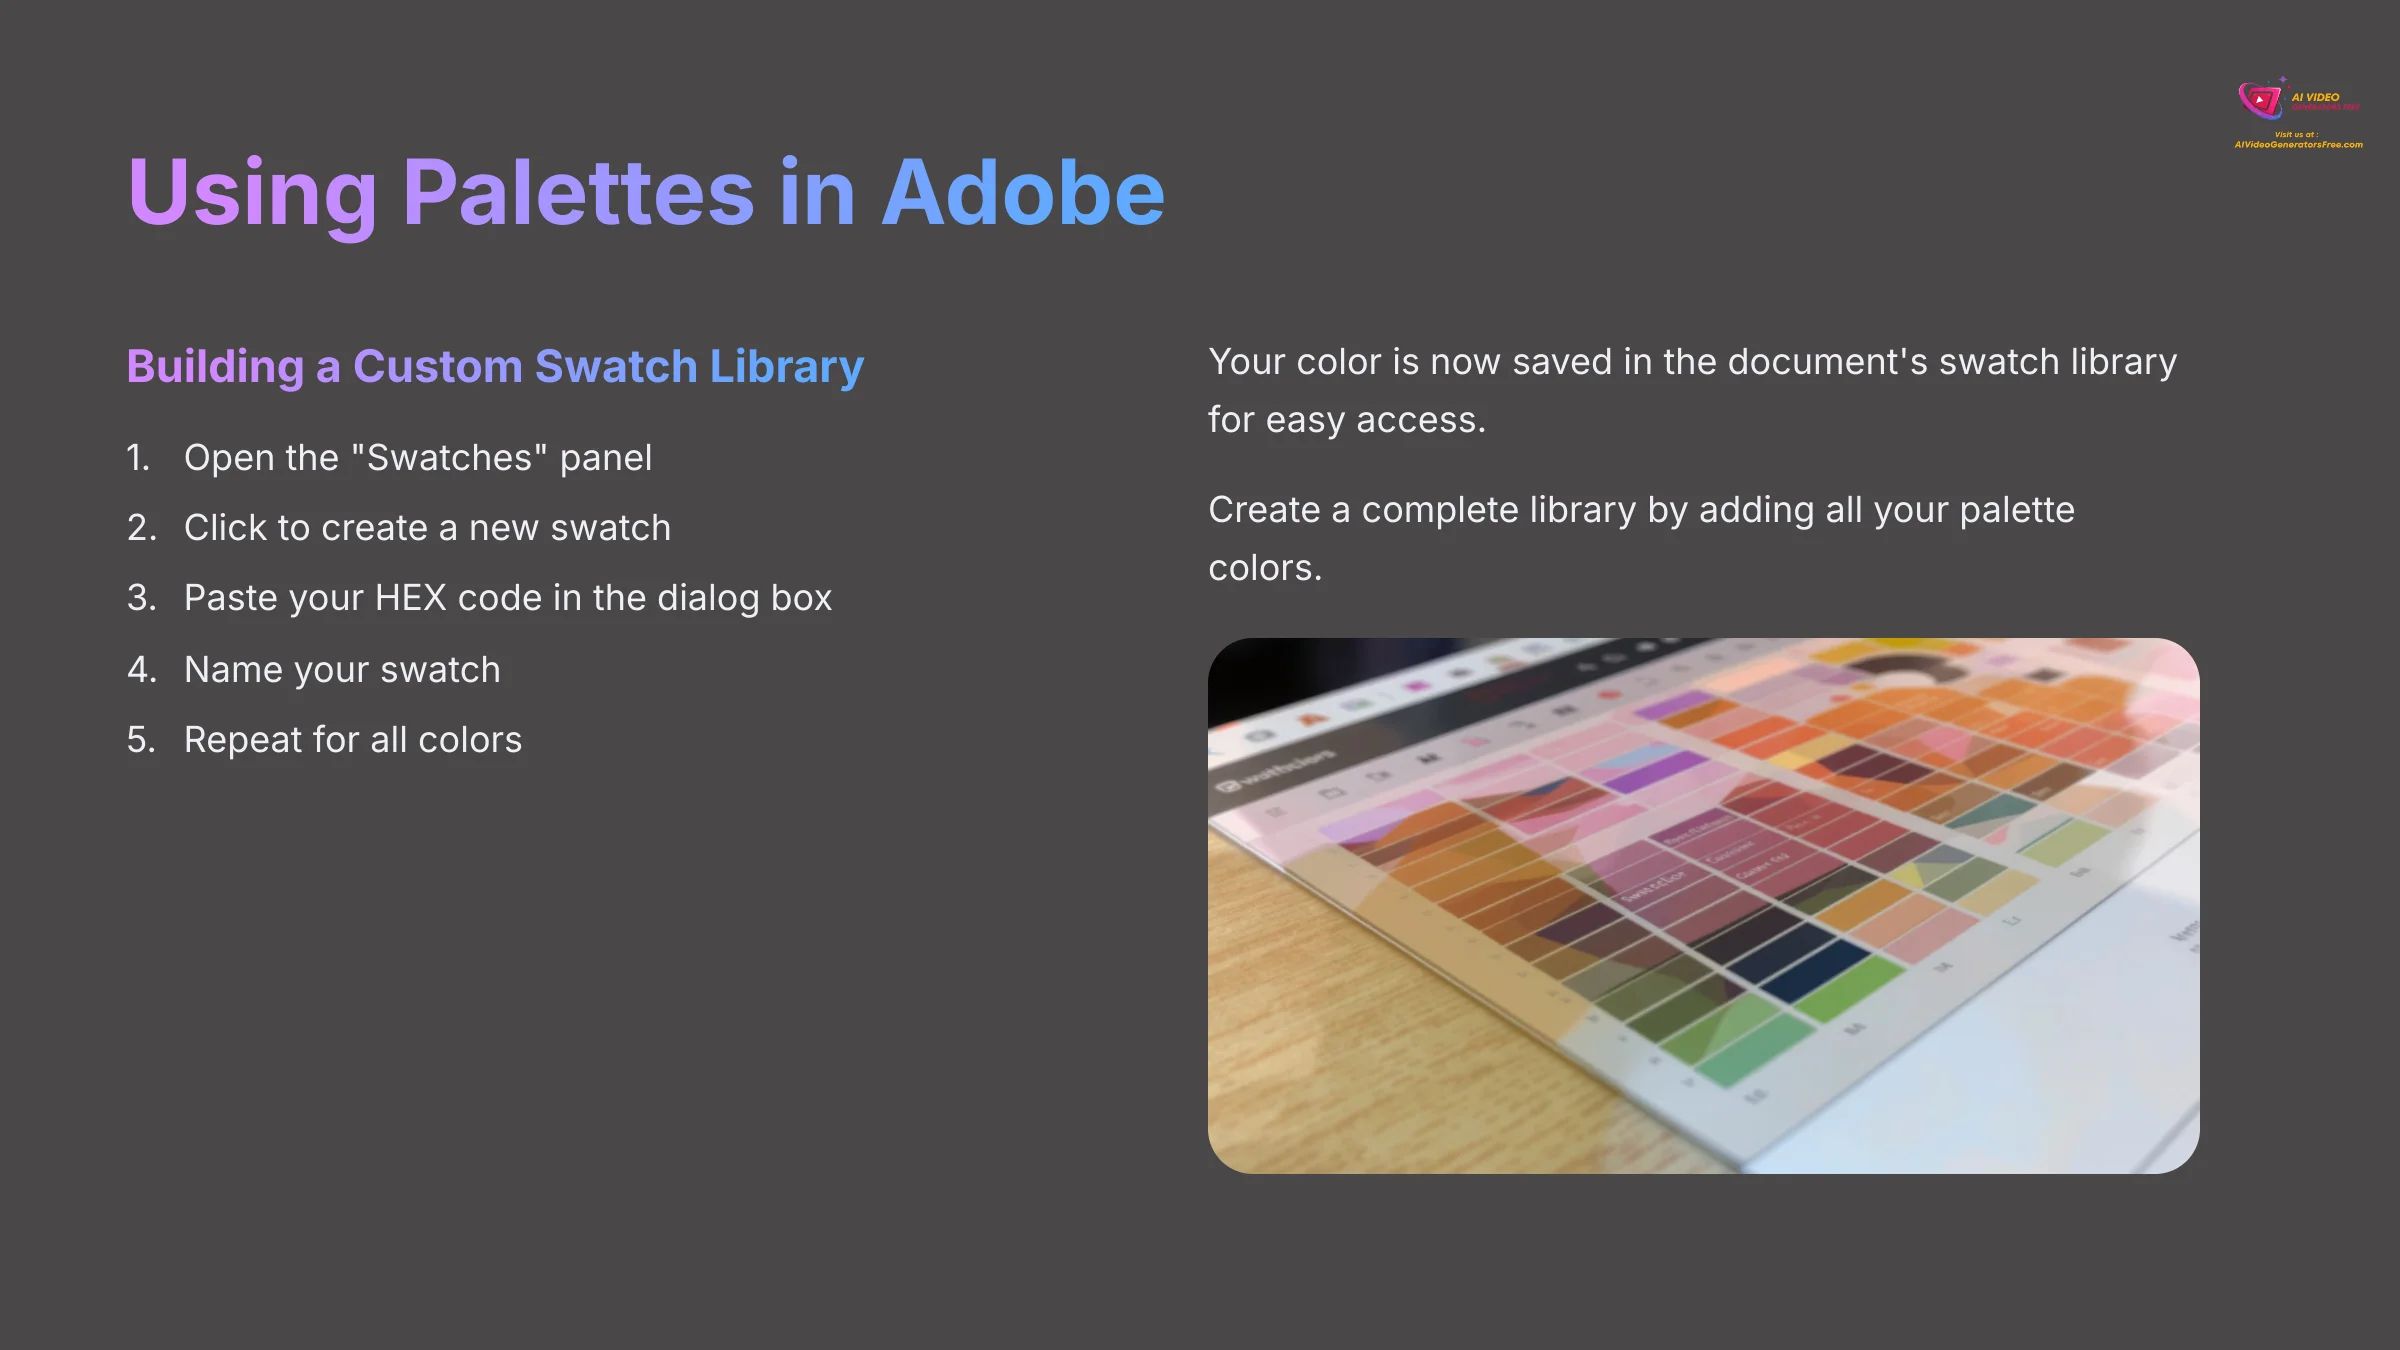
In Adobe Photoshop or Illustrator, you use the “Swatches” panel. Open the panel, click the button to create a new swatch. In the dialog box that appears, paste your HEX code. That color is now saved in your document's swatch library for easy access.
Disclaimer: The information about Pika.style Tutorial: How to Generate a Color Palette from an Image presented in this article reflects our thorough analysis as of 2025. Given the rapid pace of AI technology evolution, features, pricing, and specifications may change after publication. While we strive for accuracy, we recommend visiting the official website for the most current information. Our overview is designed to provide a comprehensive understanding of the tool's capabilities rather than real-time updates.
Conclusion & Your Next Steps in Color Mastery
What You've Learned in This Tutorial
You now have a powerful new skill in your creative arsenal. You know how to instantly generate a color palette from any image using both simple and advanced methods. More importantly, you know how to refine those results and apply them to real-world design projects.
Continue Your Learning Journey (Recommended Resources)
Mastering color is a lifelong journey, but you've taken a huge step today. I encourage you to practice with different types of images to see what kind of palettes you can create. The more you experiment, the more intuitive this process becomes.
Thank you for following along with this Pika.style Tutorial: How to Generate a Color Palette from an Image. I hope it helps you create beautiful, harmonious designs that elevate your creative projects to the next level.


Leave a Reply