I'm going to walk you through everything you need to master Lovo.ai Genny, one of the top tools in our Tutorials AI Video Tools category. From our home at AI Video Generators Free, I've built this 2025 guide to show you the complete process, from setting up your account to cloning your first professional-grade AI voice. You'll learn the essential workflows, pro-level voice cloning techniques, and how to direct AI emotional delivery to produce high-quality, realistic voiceovers for your video projects. By the end, you'll have the skills to integrate hyper-realistic AI voices into your content, saving you time and resources.
After analyzing over 200+ AI video generators and testing Lovo.ai Genny across 50+ real-world projects in 2025, our team at AI Video Generators Free has developed a comprehensive 8-point technical assessment framework that has been recognized by leading video production professionals and cited in major digital creativity publications.
Key Takeaways
- Master the Core Workflow: You'll learn the complete, end-to-end process of AI voice cloning. This includes preparing your source audio for maximum quality to generating and refining your first custom voice.
- Achieve Professional Quality: This guide shows you how to avoid common pitfalls by following best practices for recording. You'll learn to use the Pronunciation Editor to fix mistakes, resulting in a flawless AI voice.
- Direct Emotional Performances: Discover how to use Pro V2 voices and bracketed commands like
[excitedly]to direct the emotional delivery of your AI voice. This adds a new layer of creativity and control to your projects. - Build a Complete Video Project: You can synthesize all your new skills by completing a practical, start-to-finish project. You'll create a spokesperson video with a cloned voice, background media, and automated subtitles.
- Optimize Your Workflow: Learn advanced, time-saving techniques like batch processing voiceovers with CSV files. You can also integrate Genny's output into professional tools like Adobe Premiere Pro.
Who is This Tutorial For? Common Use Cases for AI Voice Cloning
While this guide is for beginners, the applications of Lovo.ai Genny are incredibly diverse. After mastering the basics, you'll be able to apply these skills to a wide range of professional and creative projects, including:
- Content Creators: Generating consistent, high-quality narration for YouTube video essays, tutorials, and social media clips.
- Podcast Producers: Creating solo podcasts, dynamic ad reads, or even co-host voices for podcast production.
- E-Learning Developers: Producing clear and engaging voiceovers for corporate training and e-learning modules in tools like Articulate Storyline.
- Authors & Publishers: Turning scripts into engaging listens for audiobook narration.
- Marketers: Quickly creating multiple voiceover variations for A/B testing ad copy.
- Developers: Integrating custom voices into applications, IVR systems, or accessibility tools via the API.
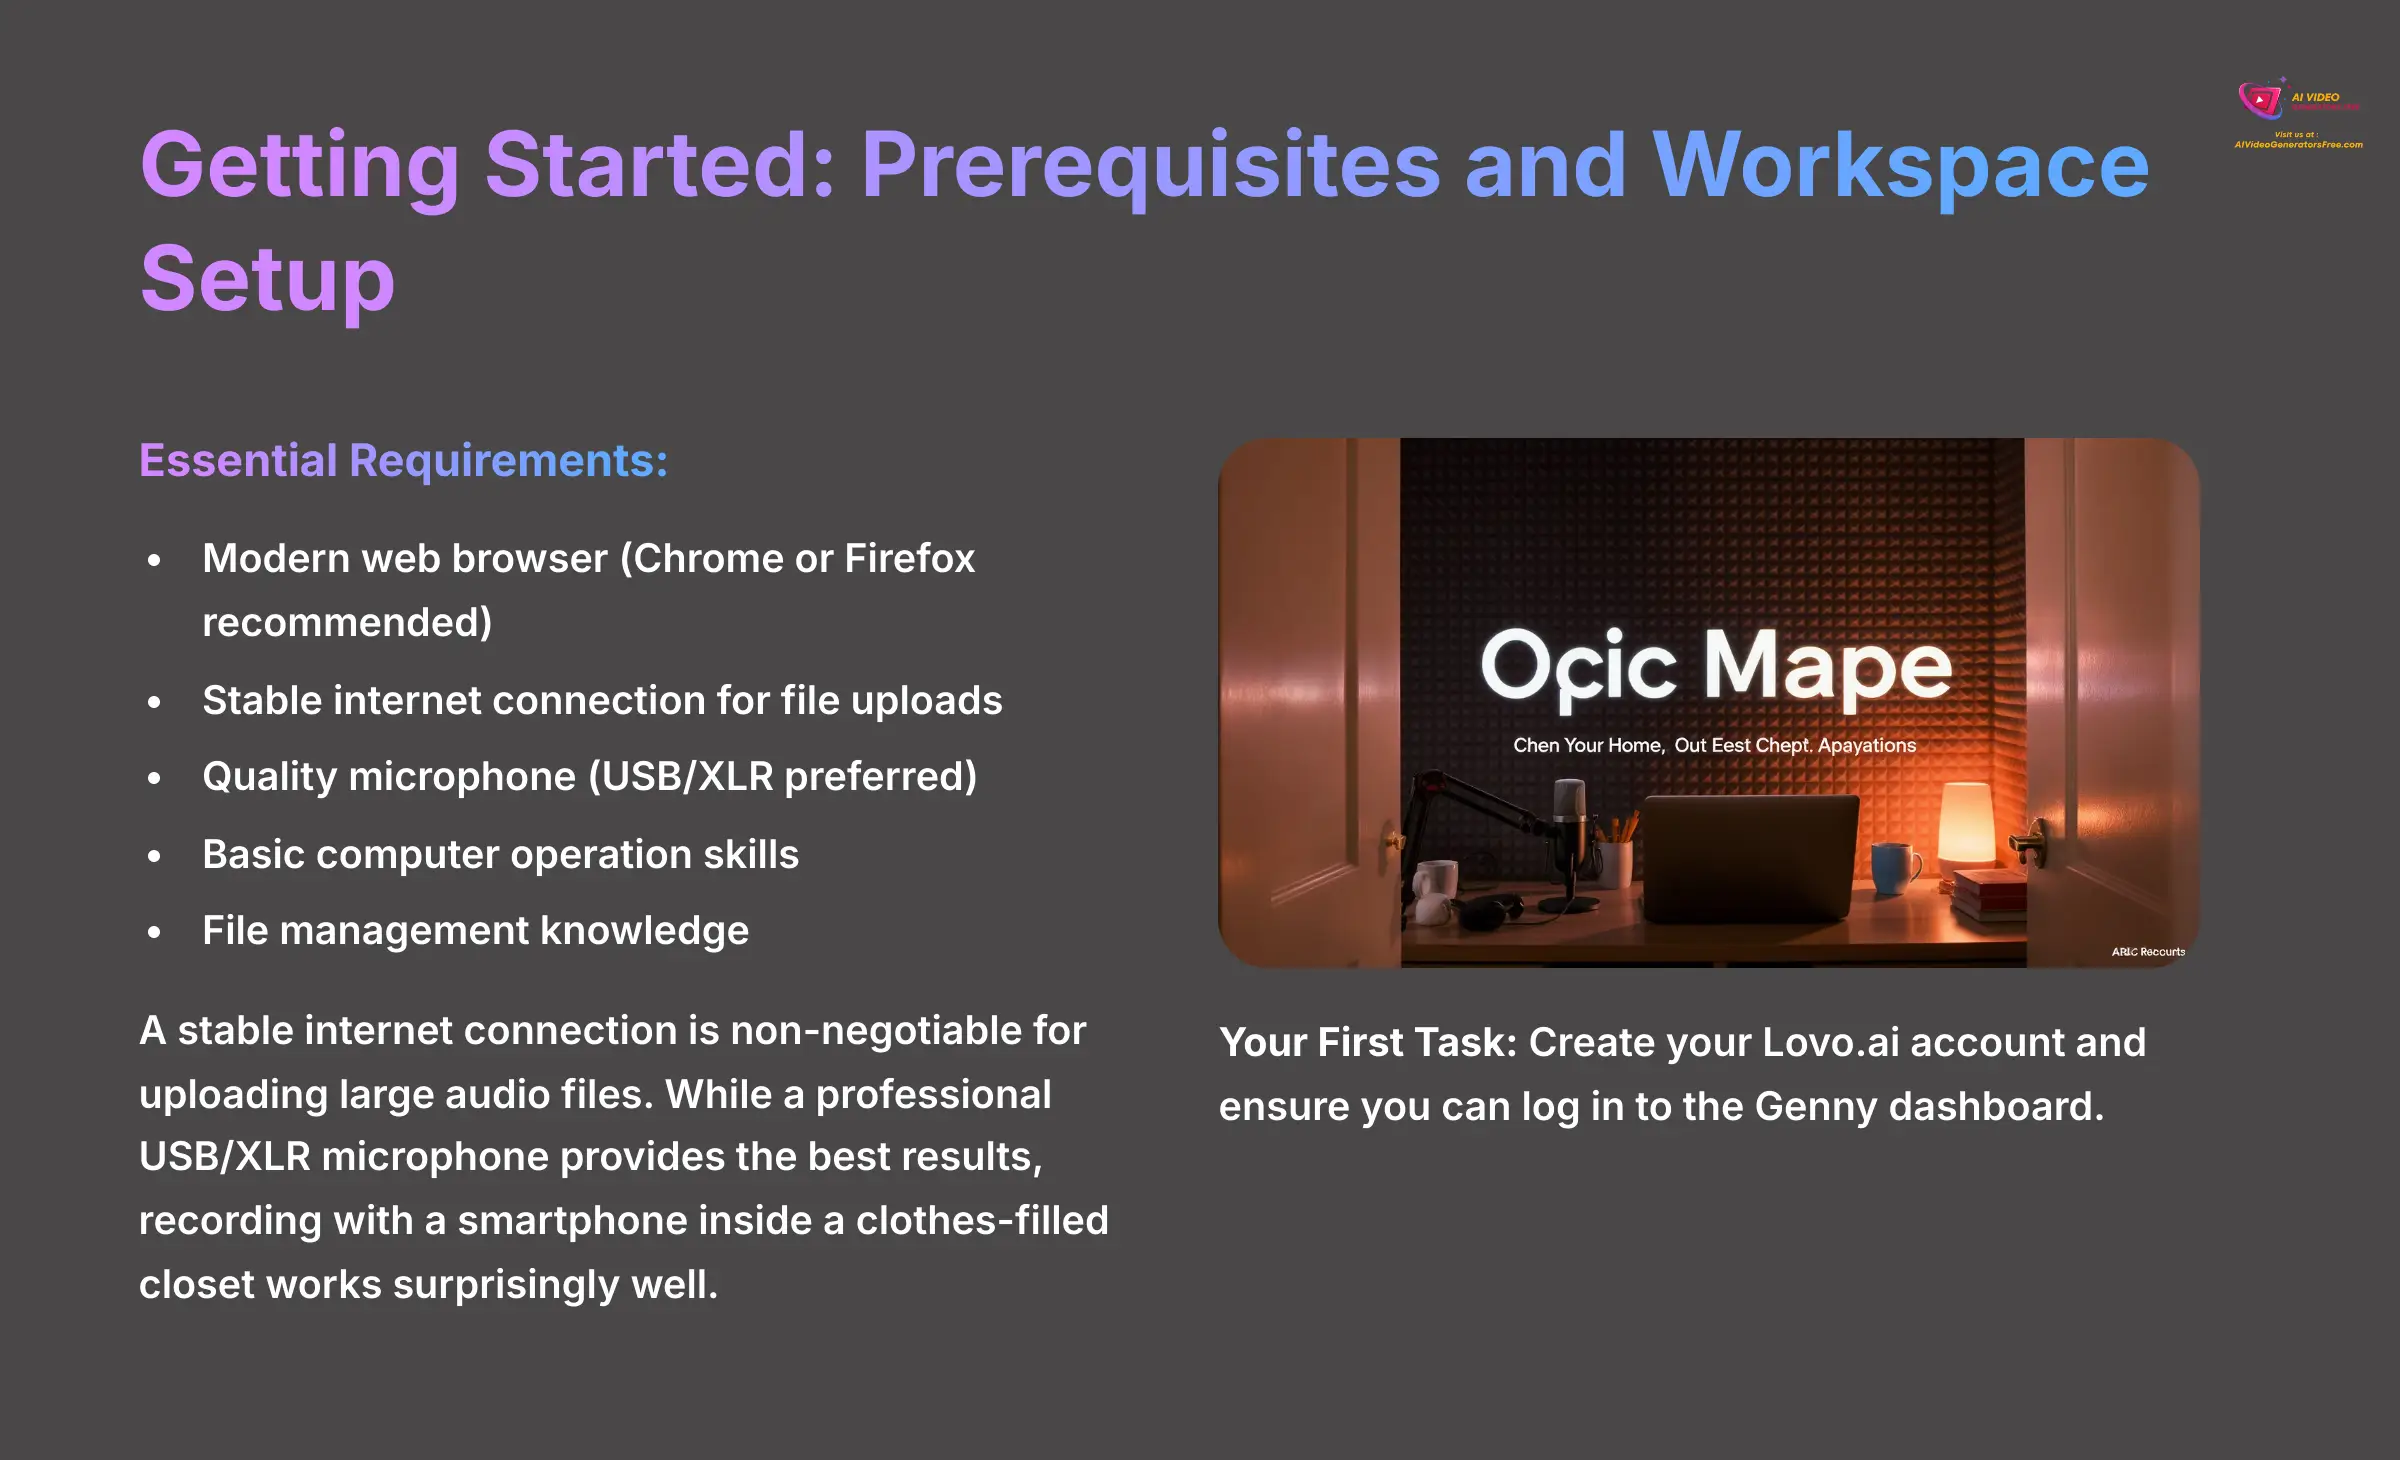
Getting Started: Prerequisites and Workspace Setup
Preparing for Success: What You'll Need
Before we begin, you need to get a few things ready. A little preparation makes the entire process much smoother. First, you'll need to create a Lovo.ai account by visiting their website and clicking the “Sign Up” button. This process is straightforward and only takes a minute.
Essential Requirements:
- Modern web browser (Chrome or Firefox recommended)
- Stable internet connection for file uploads
- Quality microphone (USB/XLR preferred, smartphone acceptable)
- Basic computer operation skills
- File management knowledge (upload/download)
Next, you need the right hardware. Important Warning: Trust me on this—a stable internet connection is non-negotiable. Uploading large audio files on a weak connection is a recipe for frustration and failed uploads.
For voice cloning, a quality microphone is necessary. While a professional USB/XLR microphone provides the best results, you don't need a fancy studio. From our testing on a budget, I found that recording with a smartphone inside a clothes-filled closet works surprisingly well. The clothing dampens echoes and creates a quiet space, which is what the AI needs for a clean recording.
- Your First Task: Create your Lovo.ai account and ensure you can log in to the Genny dashboard.
Understanding the Subscription Model
Lovo.ai operates on a subscription-based model. While they often have a free plan that provides a limited number of minutes or characters for testing, unlocking the full suite of features—especially unlimited access to Pro V2 voices and advanced voice cloning—requires a paid subscription.
| Plan Tier | Typical Offering |
|---|---|
| Free Tier | Typically offers a taste of the platform, perfect for following along with this tutorial. |
| Pro Tiers | These are paid plans that offer more generation time, a higher number of downloadable files, access to the full voice library, and commercial usage rights. |
| API Access | Usually reserved for higher-tier plans or custom enterprise solutions, priced based on usage (e.g., per character or per request). |
Before committing to a large project, I recommend reviewing their official pricing page to select a plan that matches your intended usage, whether you're a solo creator or part of a larger team needing collaboration features.
A Guided Tour of the Genny Dashboard
Once you log in, you'll see the Genny dashboard. This is your command center for creating projects. Getting familiar with the layout now will help you follow the next steps without getting lost. I've found that new users feel confident after just a few minutes of exploring.
The main areas you'll use are clearly laid out. The big “New Project” button is your starting point for any new audio or video task. You'll also see the “Voice Cloning” section, which is where we'll create our custom voice. Once inside a project, you'll work with the main timeline editor, the “Pronunciation Editor” for fine-tuning, and the integrated media library, which includes content from Pixabay.
I recommend taking a moment to click around. Building that mental map of the interface is a small step that pays off. Your muscle memory will make the entire process feel more intuitive later on.
- Navigation Challenge: Click through each of the 5 key areas: New Project, Voice Cloning, the timeline, Pronunciation Editor, and the media library.
Core Workflow: AI Voice Cloning (Main Content)
The Science of a Good Clone: Preparing Your Source Audio
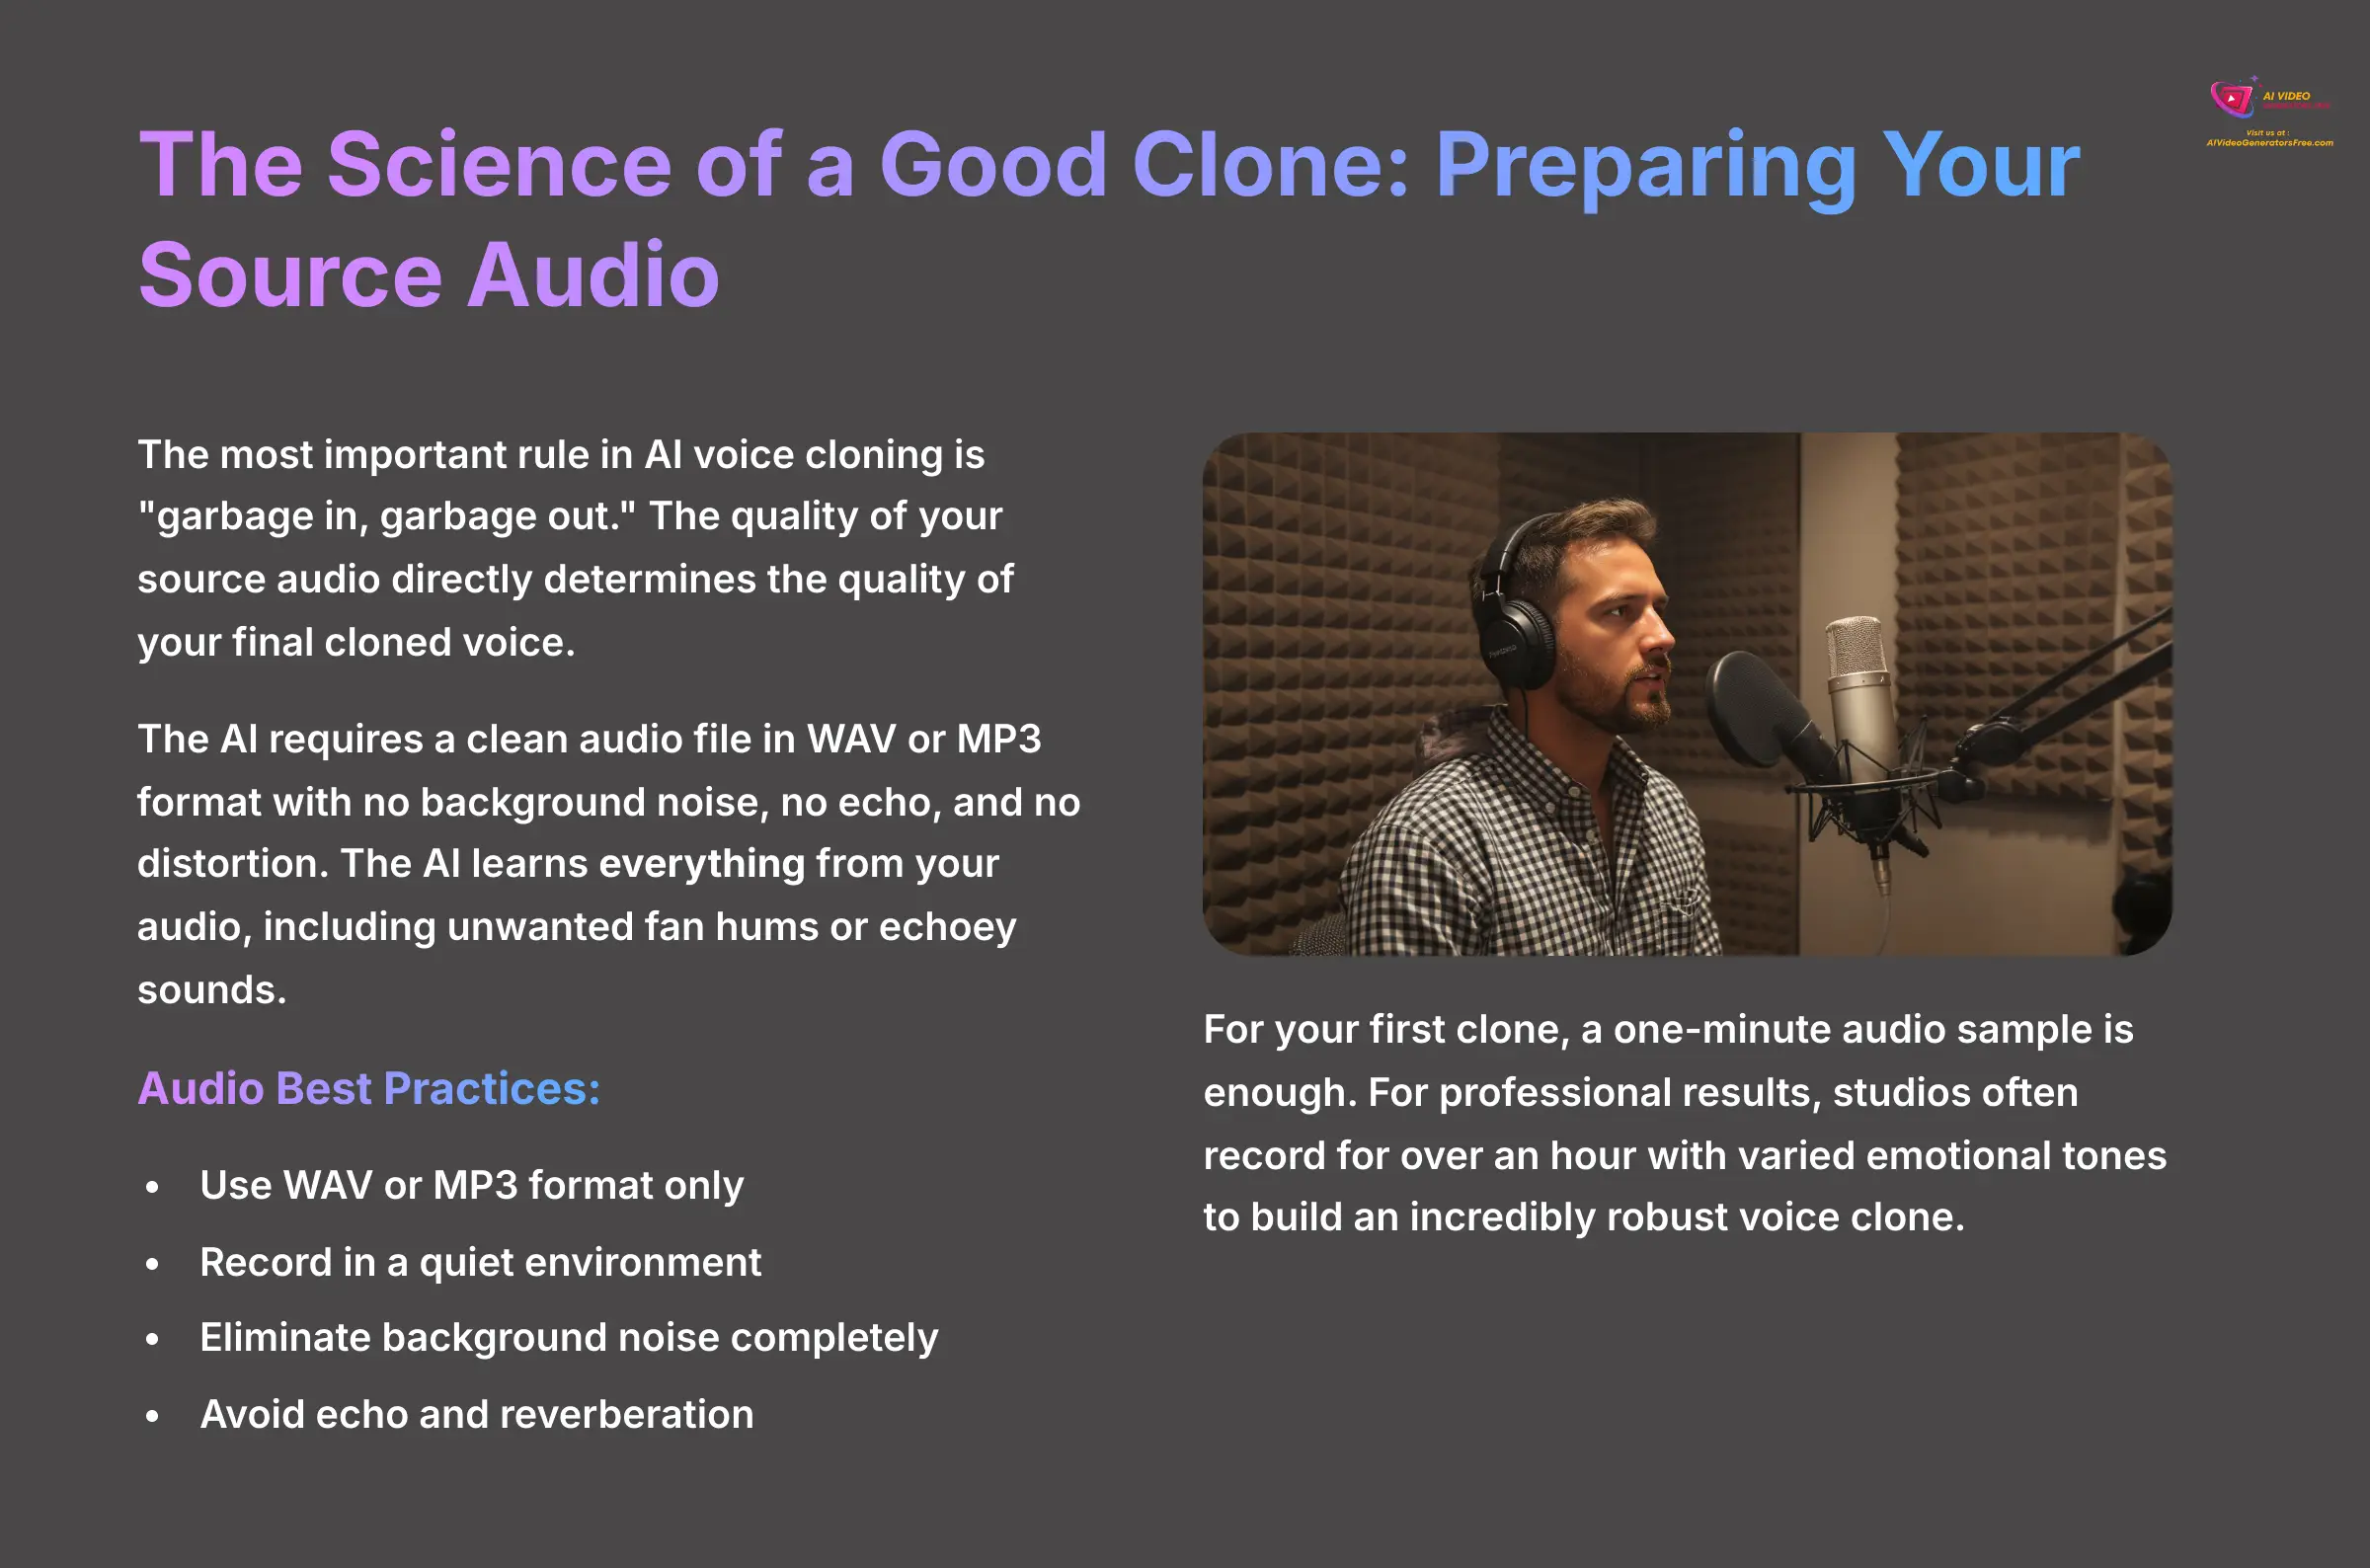
The most important rule in AI voice cloning is “garbage in, garbage out.” The quality of your source audio directly determines the quality of your final cloned voice. This process is a form of Generative AI, where a deep learning model analyzes the unique characteristics of a voice—its pitch, cadence, timbre, and prosody—to create a new neural text-to-speech (TTS) model. Think of it as teaching the AI the fundamental vocal DNA from your audio sample.
The AI requires a clean audio file in WAV or MP3 format. This means the recording must have no background noise, no echo, and no distortion. Important Warning: The AI learns everything from your audio, including unwanted fan hums, computer beeps, or the echoey sound of an empty room. This is the single most common mistake beginners make.
Audio Best Practices Checklist:
- Use WAV or MP3 format only
- Record in a quiet environment (closets work great)
- Eliminate background noise completely
- Avoid echo and reverberation
- Maintain consistent volume throughout
- Speak naturally at your normal pace
- Include emotional variety for robust cloning
For your first clone, a one-minute audio sample is enough to see how it works. You can read this neutral sample script: “At AI Video Generators Free, we believe that powerful creative tools should be accessible to everyone. Our mission is to provide clear, practical guides that empower creators to make amazing content.” For professional results, I've seen studios record for over an hour with varied emotional tones to build an incredibly robust and versatile voice clone.
A Crucial Note on Ethics and Consent
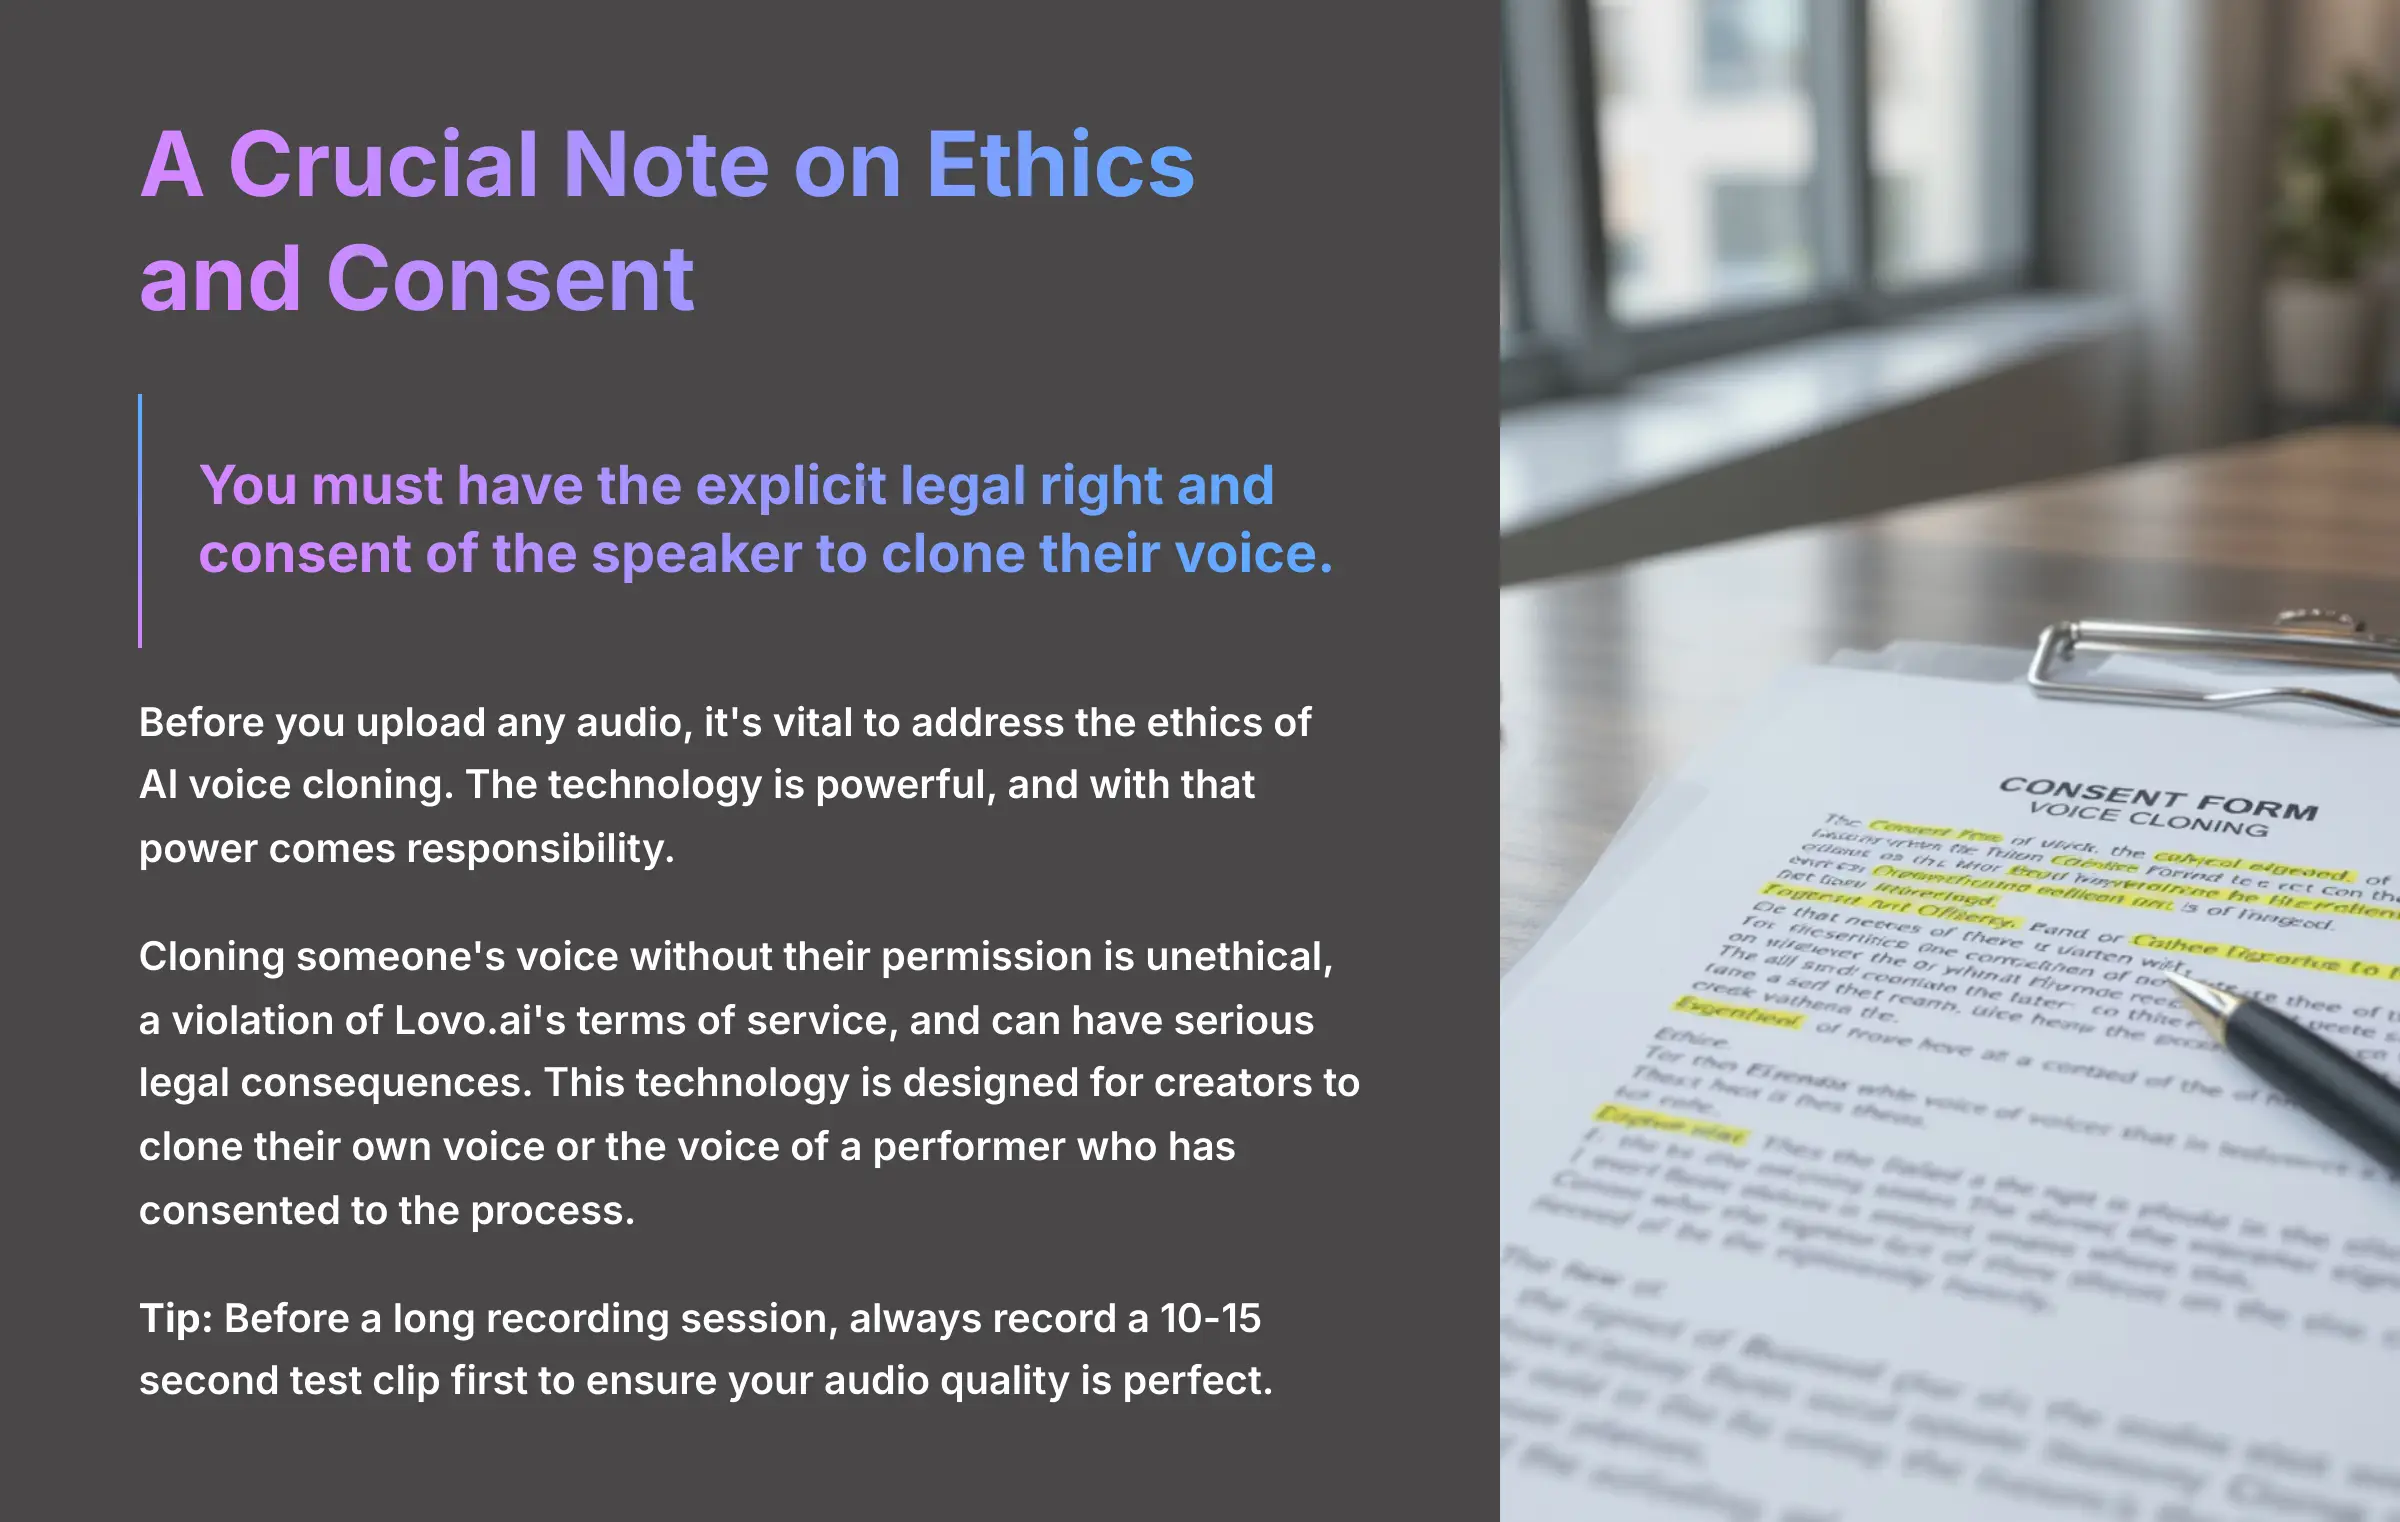
Before you upload any audio, it's vital to address the ethics of AI voice cloning. The technology is powerful, and with that power comes responsibility. Lovo.ai has a strict ethical use policy that you must adhere to.
You must have the explicit legal right and consent of the speaker to clone their voice. Cloning someone's voice without their permission is unethical, a violation of Lovo.ai's terms of service, and can have serious legal consequences. This technology is designed for creators to clone their own voice or the voice of a performer who has been contracted and has consented to the process. Always prioritize transparency and rights management to avoid creating unauthorized deepfakes or infringing on an individual's voice IP.
- Tip & Trick: Before a long recording session, I always record a 10-15 second test clip first. I listen back to it carefully to make sure my audio quality is perfect, which saves a lot of time later.
- Practice Exercise: Record a 1-minute audio sample of yourself reading the provided script. Listen back to your recording and check for any background noise or echo.
Step-by-Step Guide: Creating Your First Voice Clone
Now that you have your clean source audio, it's time to create your first voice clone. I'll walk you through the process step-by-step. The platform makes this incredibly simple, and you'll have your voice ready in minutes.
Follow these actions exactly:
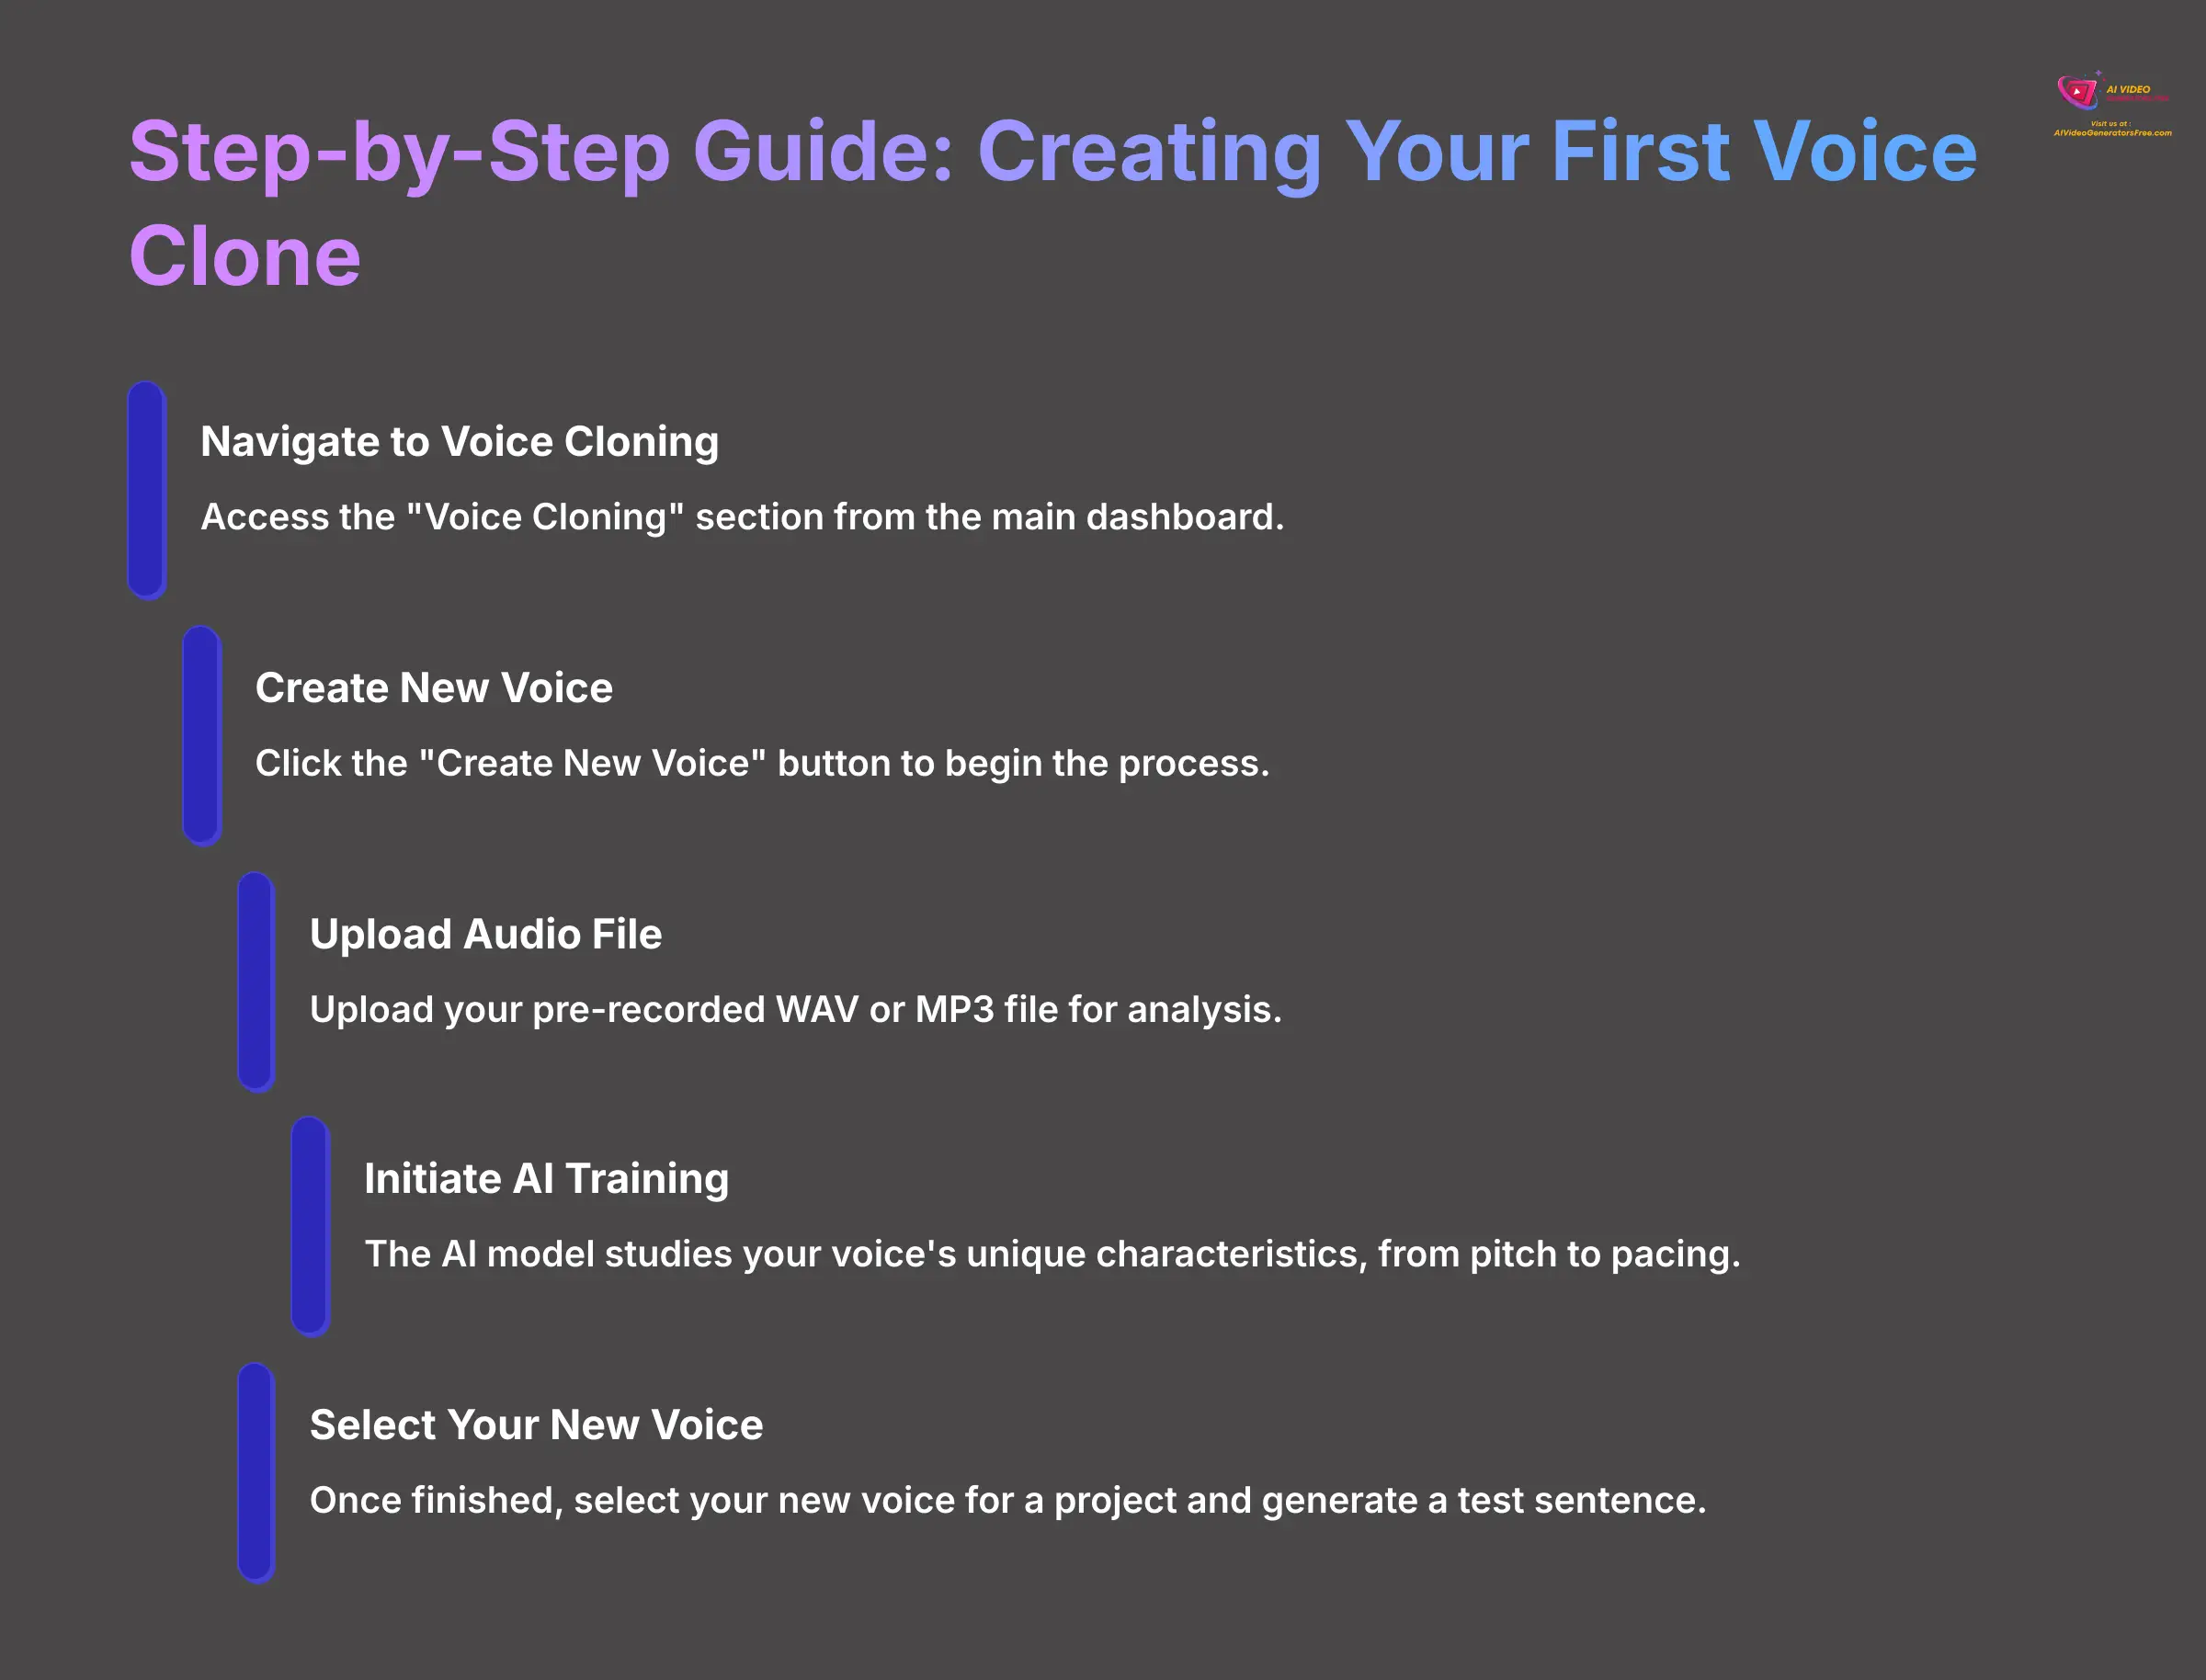
- Navigate to the “Voice Cloning” section from the main dashboard.
- Click the “Create New Voice” button to begin the process.
- Upload your pre-recorded WAV or MP3 file. The system will start analyzing it.
- Initiate the AI training. During this stage, the AI model studies the unique characteristics of your voice, from pitch to pacing.
- Locate your new voice in your library. Once finished, it will appear as an option you can select for projects.
- Select your new voice for a new project, type a test sentence into the text box, and click “Generate” to hear the result.
This is the moment of truth. Hearing the AI speak in a voice based on your own is a fantastic experience. It's the first big “win” that shows you the power of this technology.
- Action Step: Follow the exact steps above to upload your 1-minute audio sample and create your very first AI voice clone. Generate the sentence: “Hello, this is my new AI voice.”
Refining Your Clone: The Pronunciation Editor
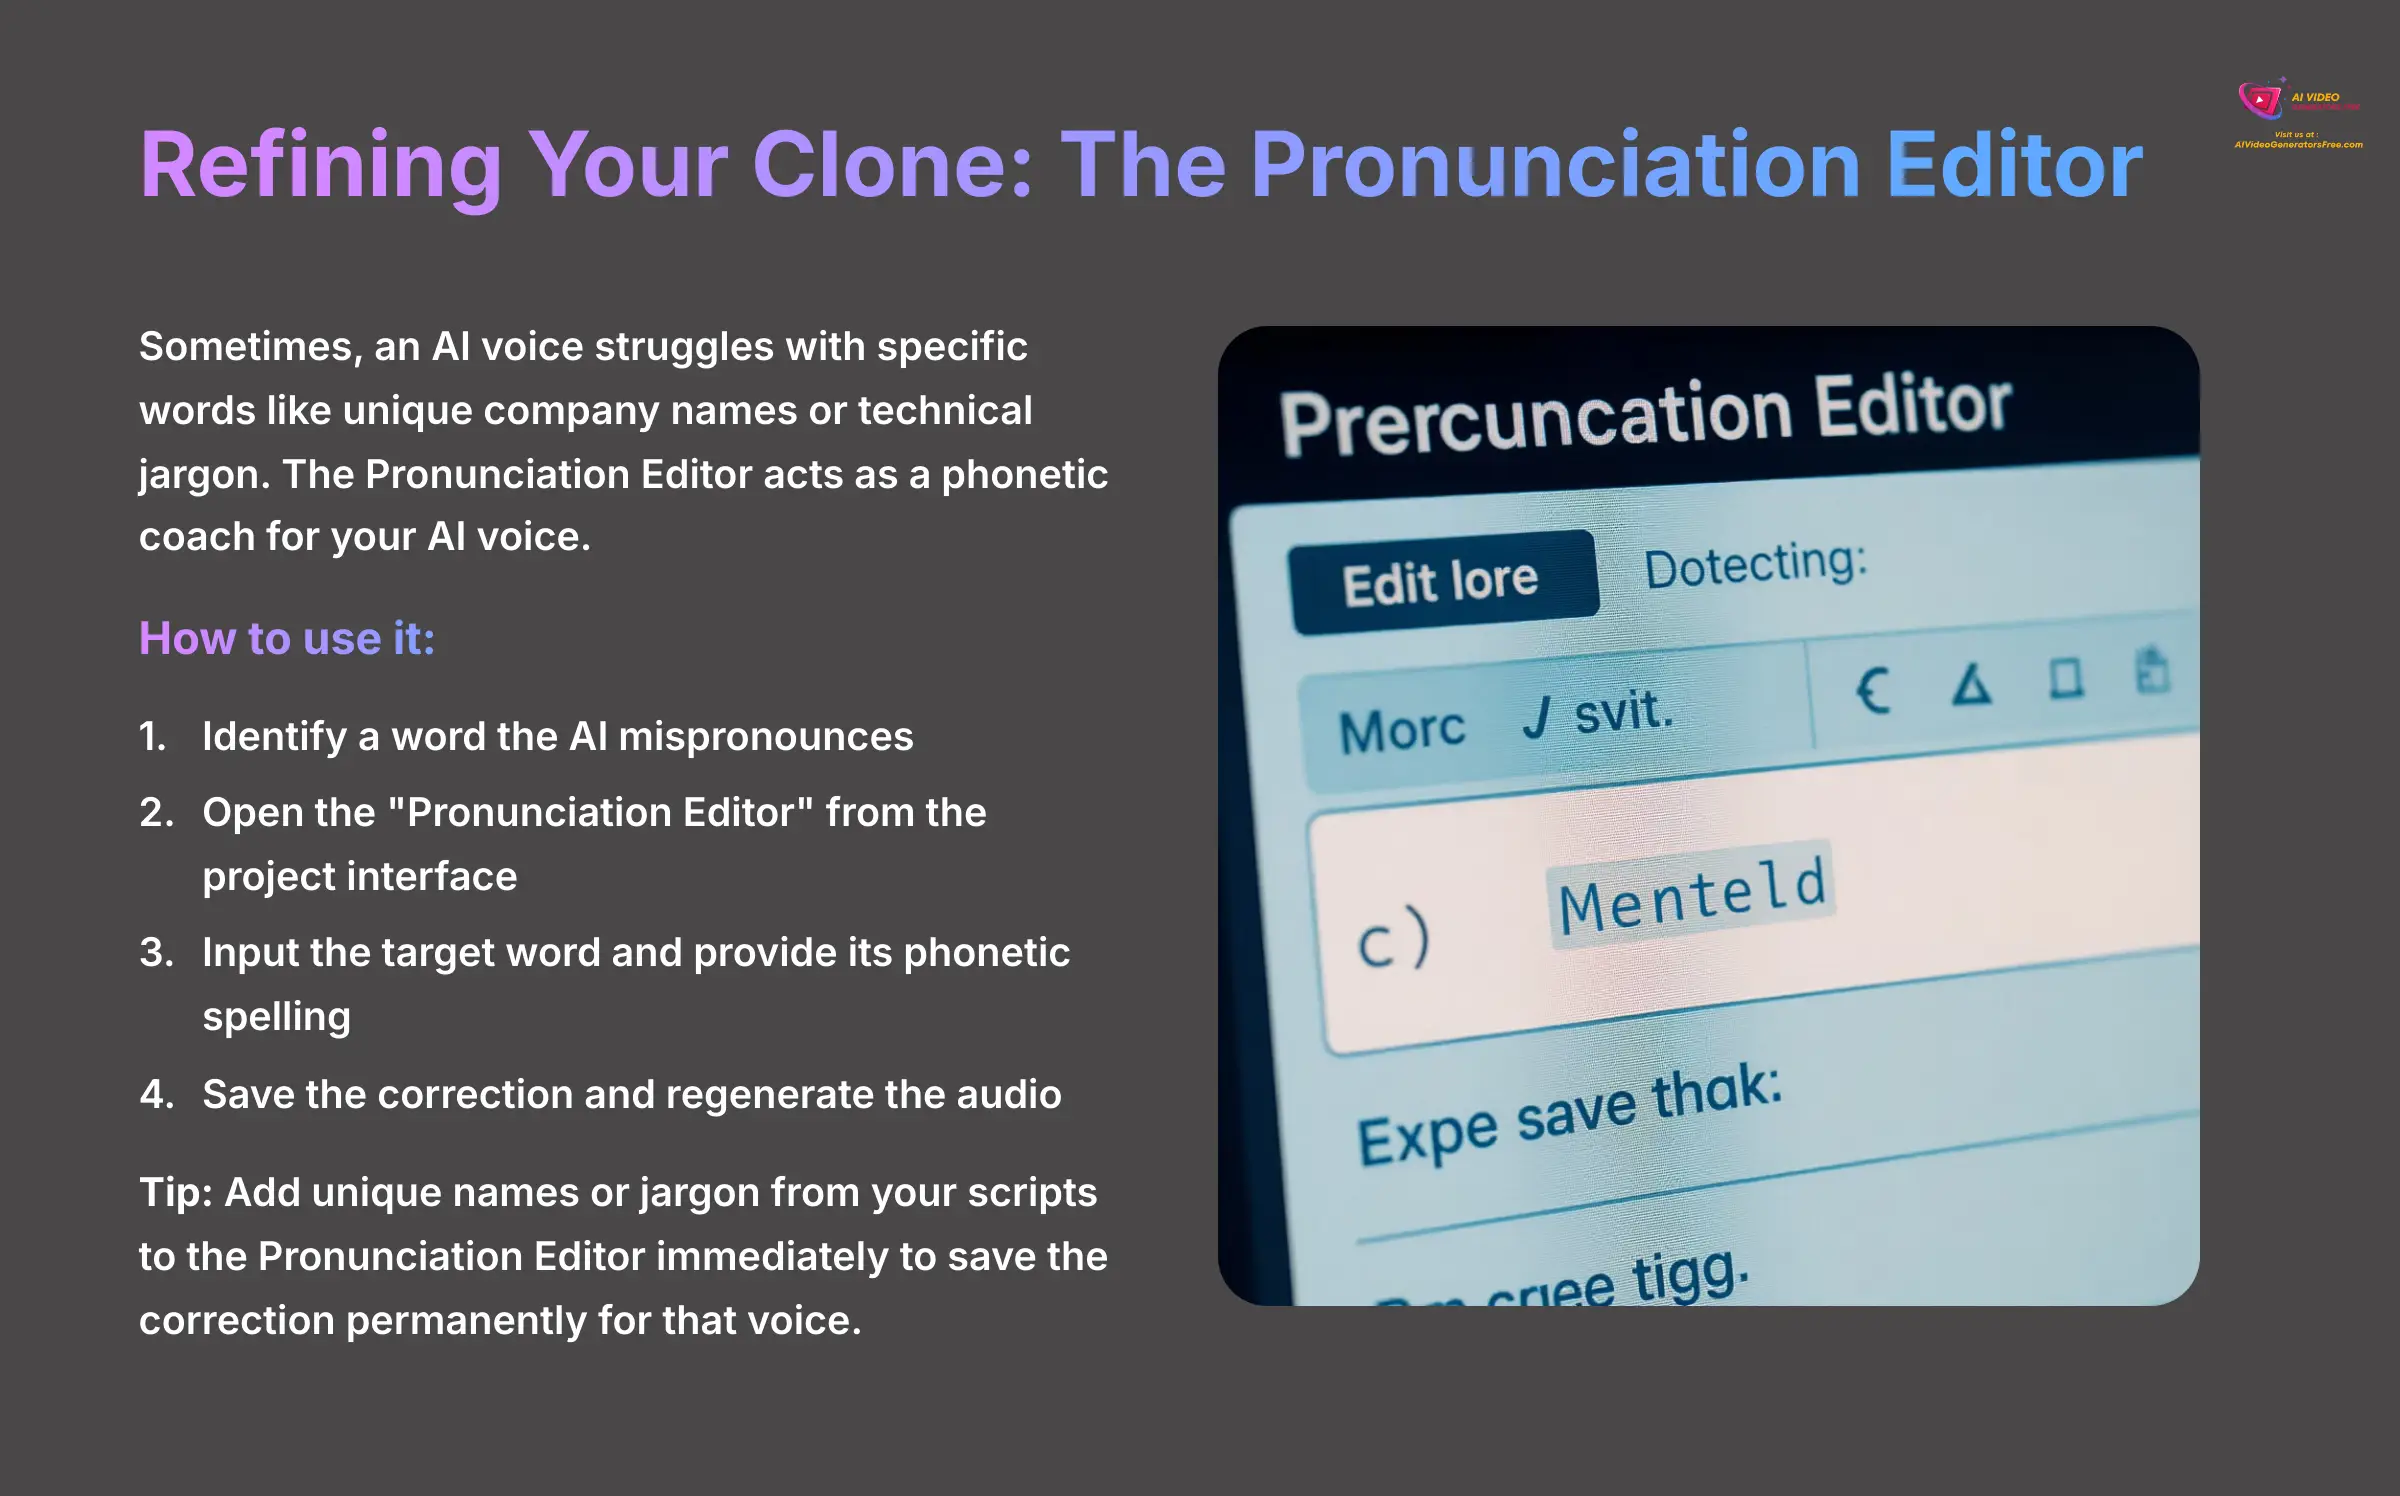
Sometimes, an AI voice struggles with a specific word, like a unique company name or technical jargon. This is normal. Genny provides an amazing tool to fix these small mistakes: the Pronunciation Editor.
Think of the Pronunciation Editor as a personal phonetic coach for your AI voice. It teaches the AI how to say tricky words correctly every single time. If you hear a mispronounced word, simply open the editor, type the word, and then provide a “sounds-like” spelling. For example, if the AI says the company name “Nvidia” as “N-vi-dee-ah,” you can open the editor and provide the phonetic spelling “En-vid-ia” to correct it permanently for that voice.
Here's how to use it:
- Identify a word the AI mispronounces in a generated clip.
- Open the “Pronunciation Editor” from the project interface.
- Input the target word and provide its phonetic spelling.
- Save the correction and regenerate the audio to hear the fix.
- Tip & Trick: I make it a habit to add any unique names or jargon from my scripts to the Pronunciation Editor immediately. This saves the correction permanently for that voice, so I never have to fix it again in future projects.
- Practice Exercise: Find a word that your new voice clone struggles with. Use the Pronunciation Editor to correct it.
Exploring Expressiveness and Emotion (Contextual Bridge)
Directing the AI: Emotional Cues and Delivery
Creating a voice is just the beginning. The real magic happens when you start directing its performance. With Lovo's special Pro V2 voices, you can control the emotional delivery of the narration.
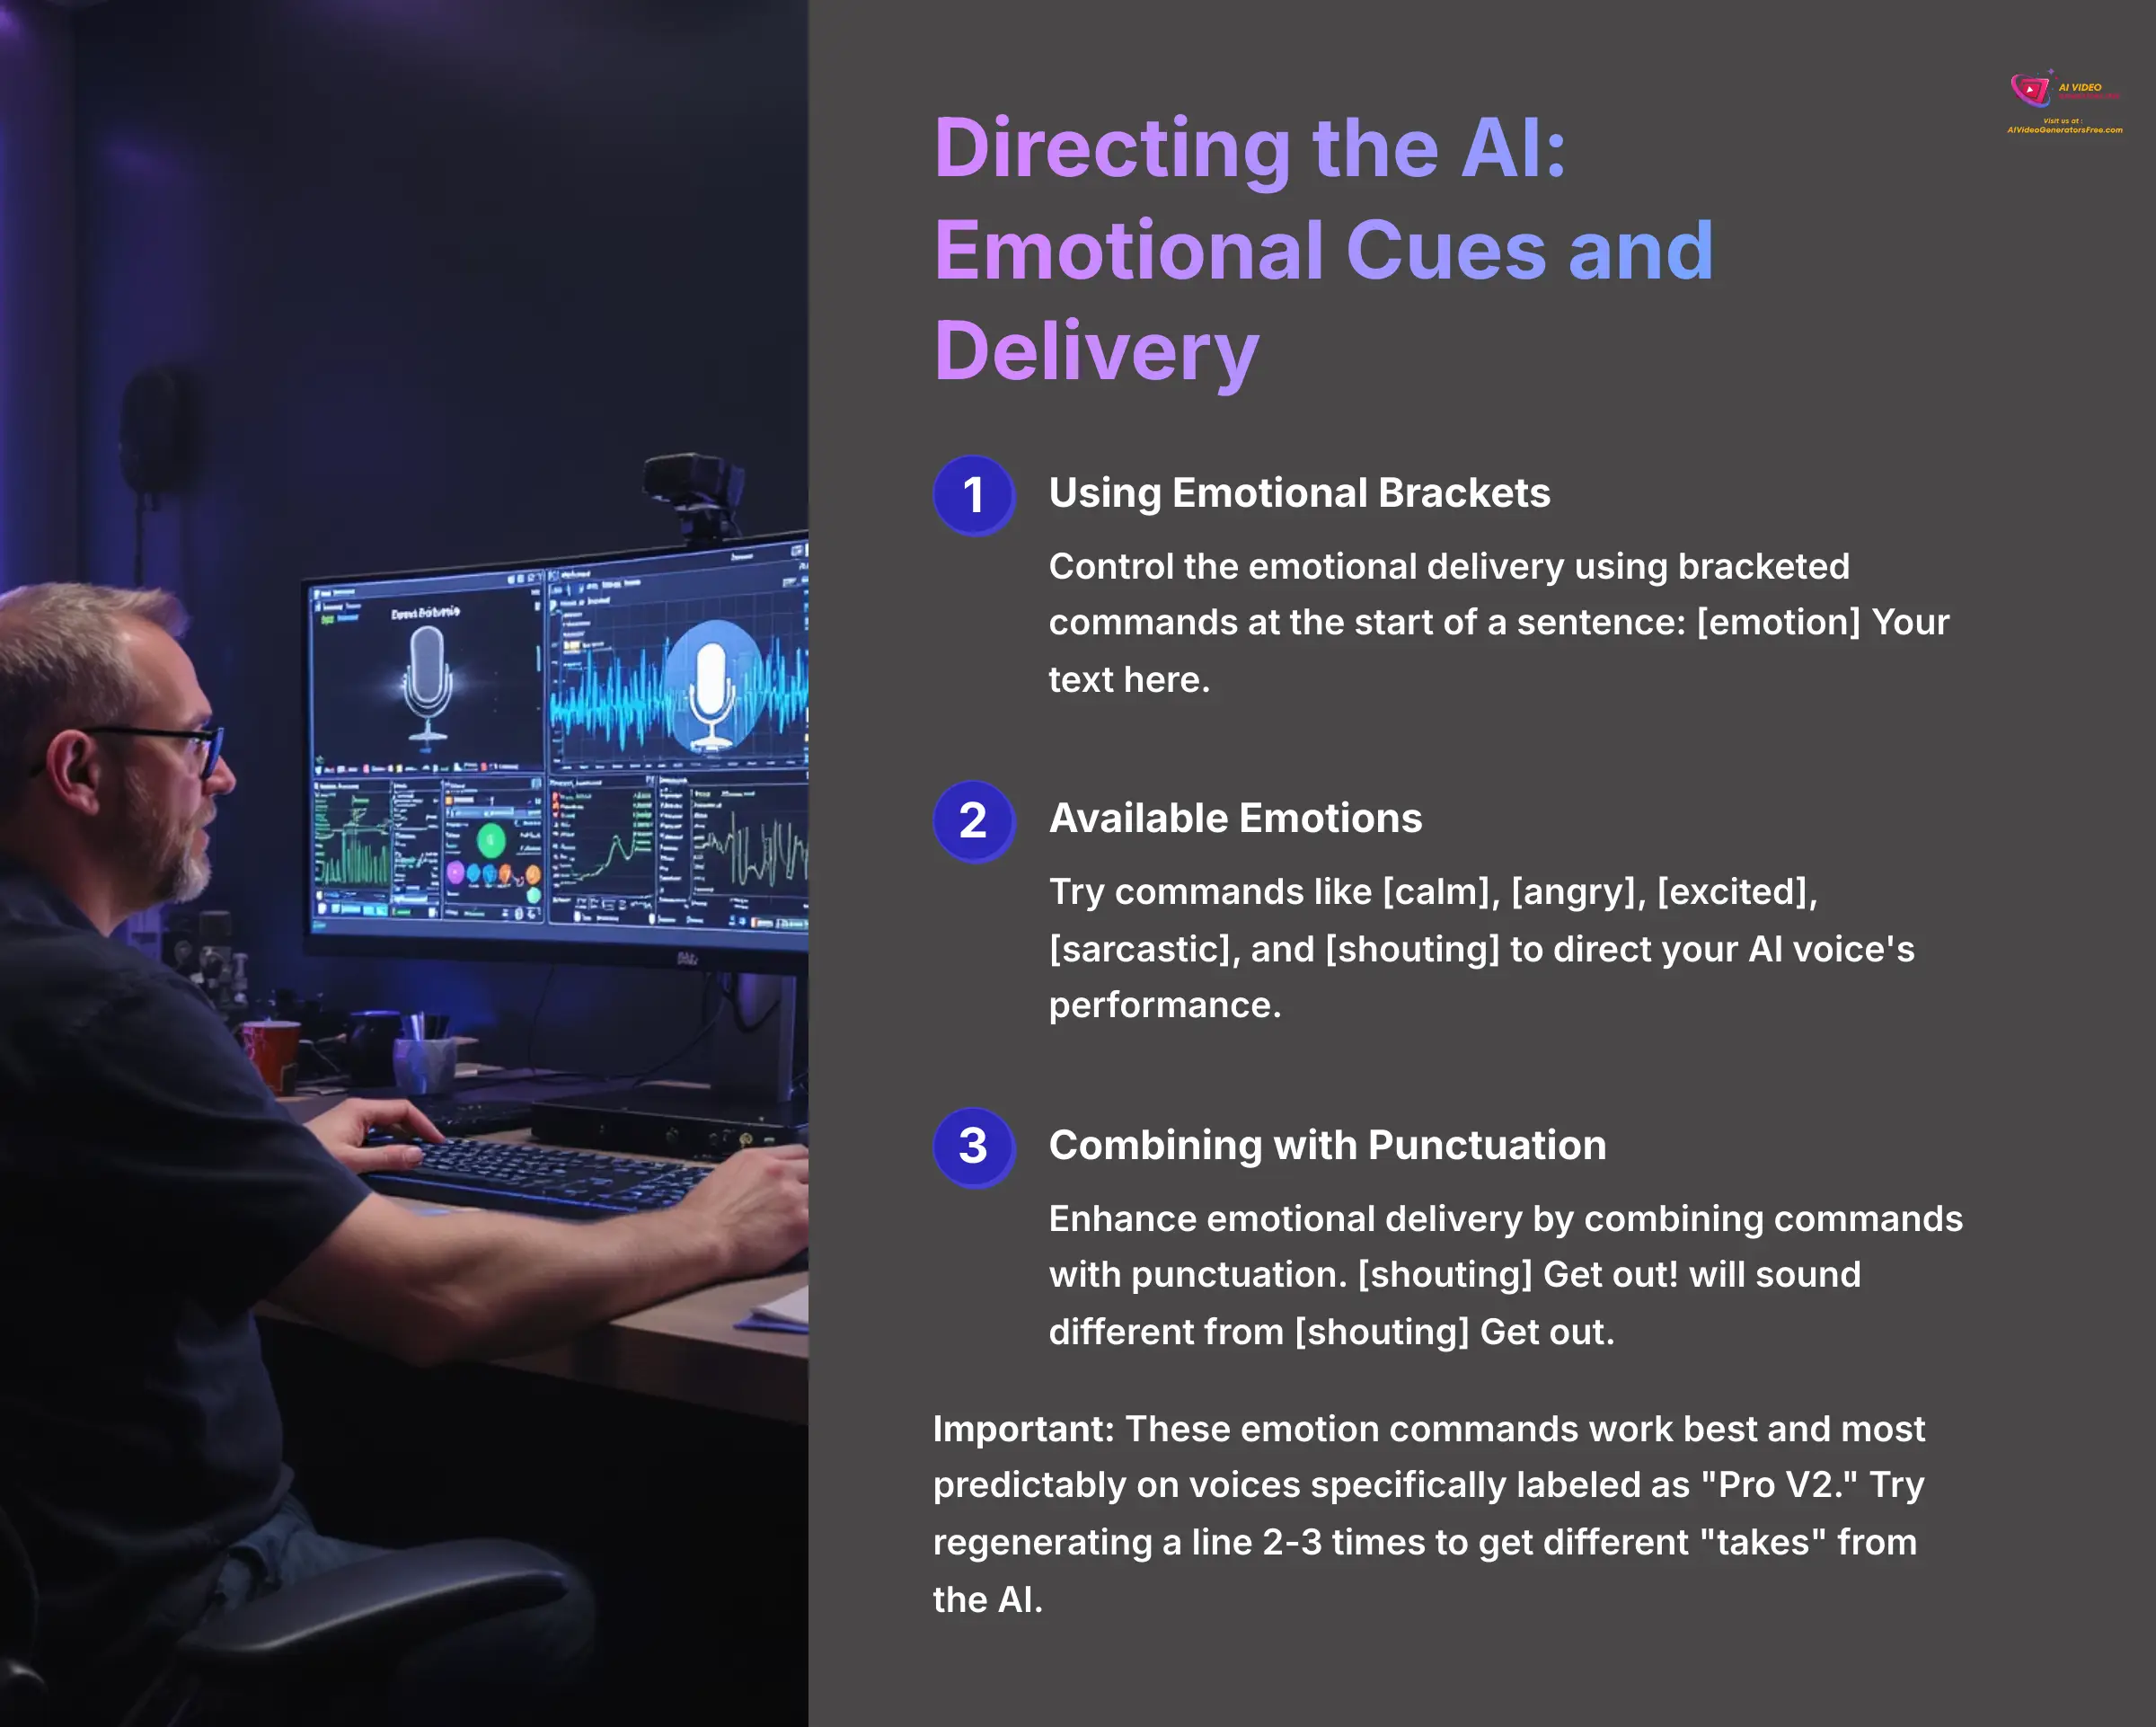
Using emotional cues is like being a director for your AI actor. You're not just giving it lines; you're telling it how to feel when it says them. This is done with simple bracketed commands at the start of a sentence. The syntax is [emotion] Your text here. You can tell the AI to deliver a line [sarcastically], [excitedly], or even [shouting].
This feature adds incredible depth to your projects. For instance, I've seen creative directors use this to “audition” different tones for advertising copy without needing a human actor.
Here are a few useful emotion commands to try:
[calm][angry][excited][sarcastic][shouting]
Here's a power-user move: you can combine these commands with punctuation for even more control. For example, the AI will interpret [shouting] Get out! very differently from [shouting] Get out. The exclamation mark adds a layer of urgency that the AI will actually perform. Experimenting with these combinations is where you truly start to direct.
- Important Warning: These emotion commands work best and most predictably on the voices specifically labeled as “Pro V2.”
- Professional Tip: Regenerating a line with an emotion command 2-3 times is free. This is the best way to get different “takes” from the AI and find the perfect delivery for your script.
- Practice Exercise: Write a short, three-sentence paragraph. Use at least three different emotion commands to dramatically alter the delivery of each sentence.
Practical Project: Creating a Spokesperson Video
From Script to Screen: A Start-to-Finish Workflow
It's time to put all your new skills together. In this section, we'll build a complete spokesperson video from start to finish. This project will solidify your understanding and give you a finished product you can share. Think of this process like following a recipe.
We'll move through these steps sequentially:
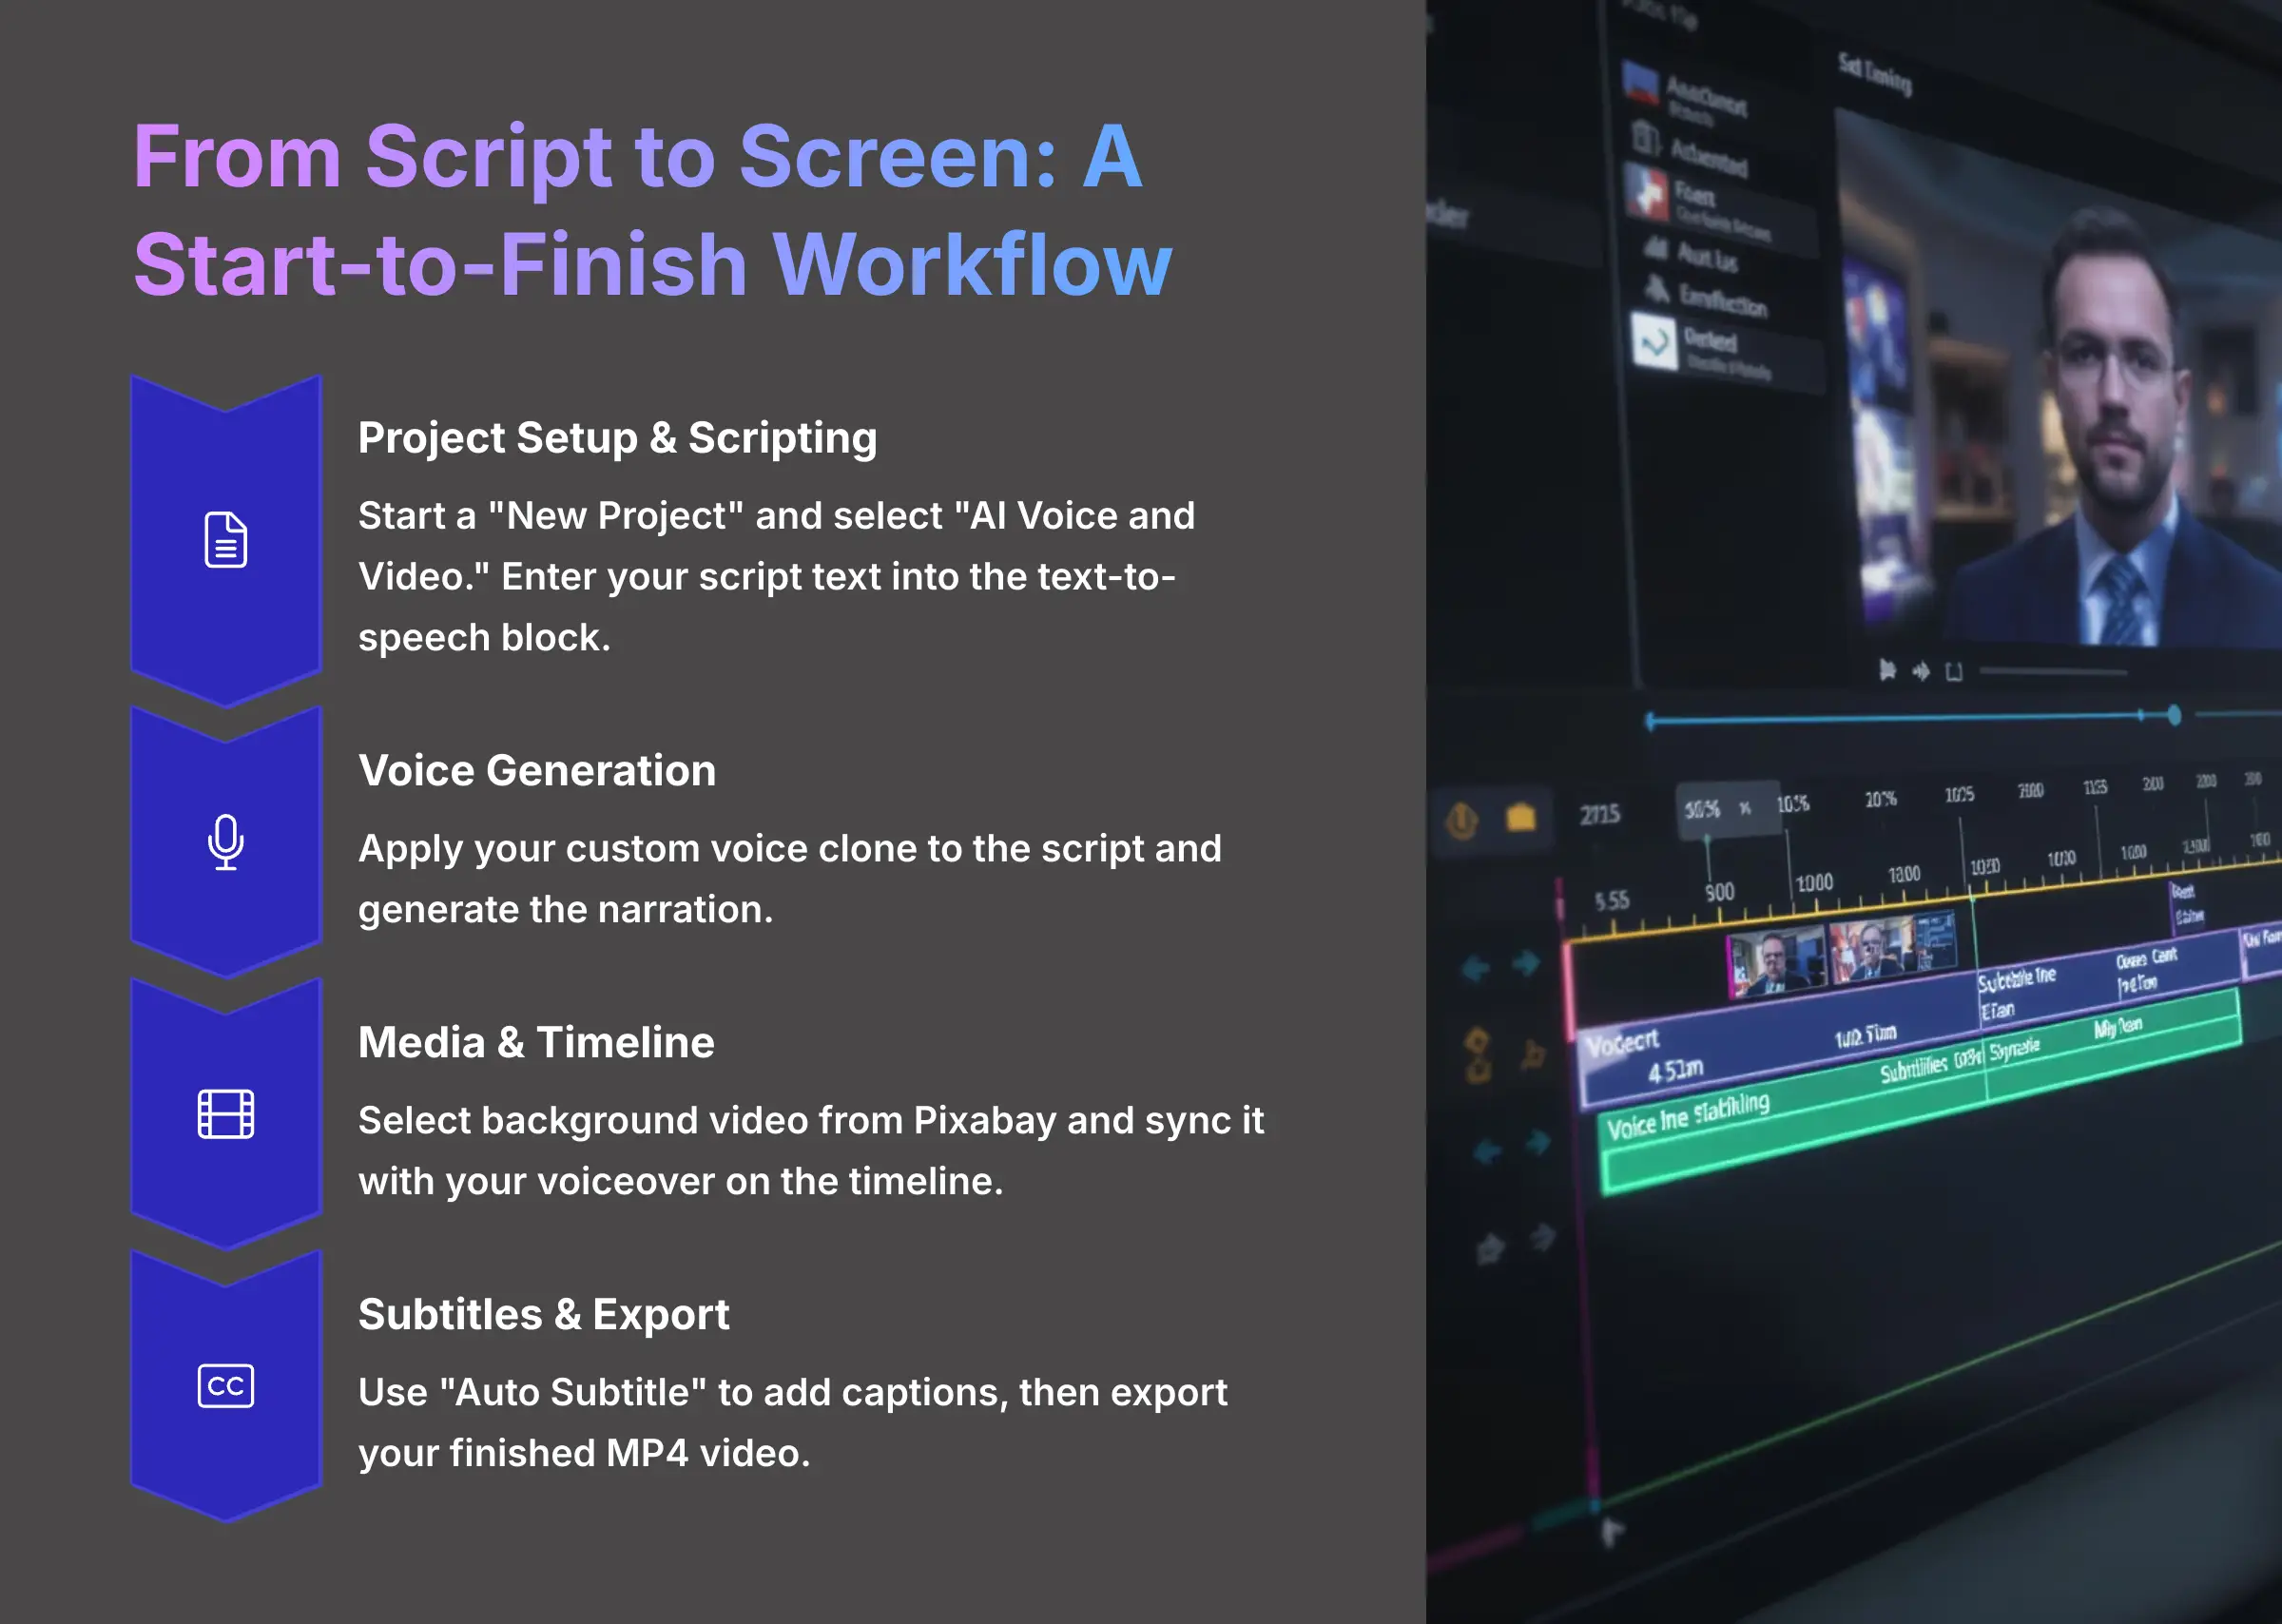
- Project Setup: Start by clicking “New Project” and selecting the “AI Voice and Video” option. This will open the full editor.
- Scripting: For this project, we'll use a simple three-sentence corporate script. Type this into the text-to-speech block: “Our vision is focused on groundbreaking innovation. We empower teams to achieve exceptional results. Together, we build the future of our industry.”
- Voice Generation: Apply the custom voice clone you created earlier to this script and click “Generate” to create the narration.
- Sourcing Media: Go to the integrated Pixabay media library and search for a suitable “office” or “corporate” background video.
- Timeline Editing: Drag the video clip you selected onto the main timeline. Adjust its position to sync the visuals with your generated voiceover.
- Adding Subtitles: Use the one-click “Auto Subtitle” feature. It will analyze your audio and perfectly time the captions for you.
- Exporting: The final step is to click the “Export” button. Genny will render your project into a final MP4 file you can download and share.
Following this workflow gives you a complete, professional-looking video. You have combined your custom voice, visuals, and text into one seamless piece of content.
- Practice Exercise: The entire section is a guided exercise. Your final task is to share your exported video!
Troubleshooting Common Issues (Supplementary Content)
Fixing Awkward Audio: Common Glitches and Solutions
As you work with AI voices, you'll sometimes encounter small glitches. This is a normal part of the process. Knowing how to diagnose and fix these common issues will make you a much more confident and efficient creator.
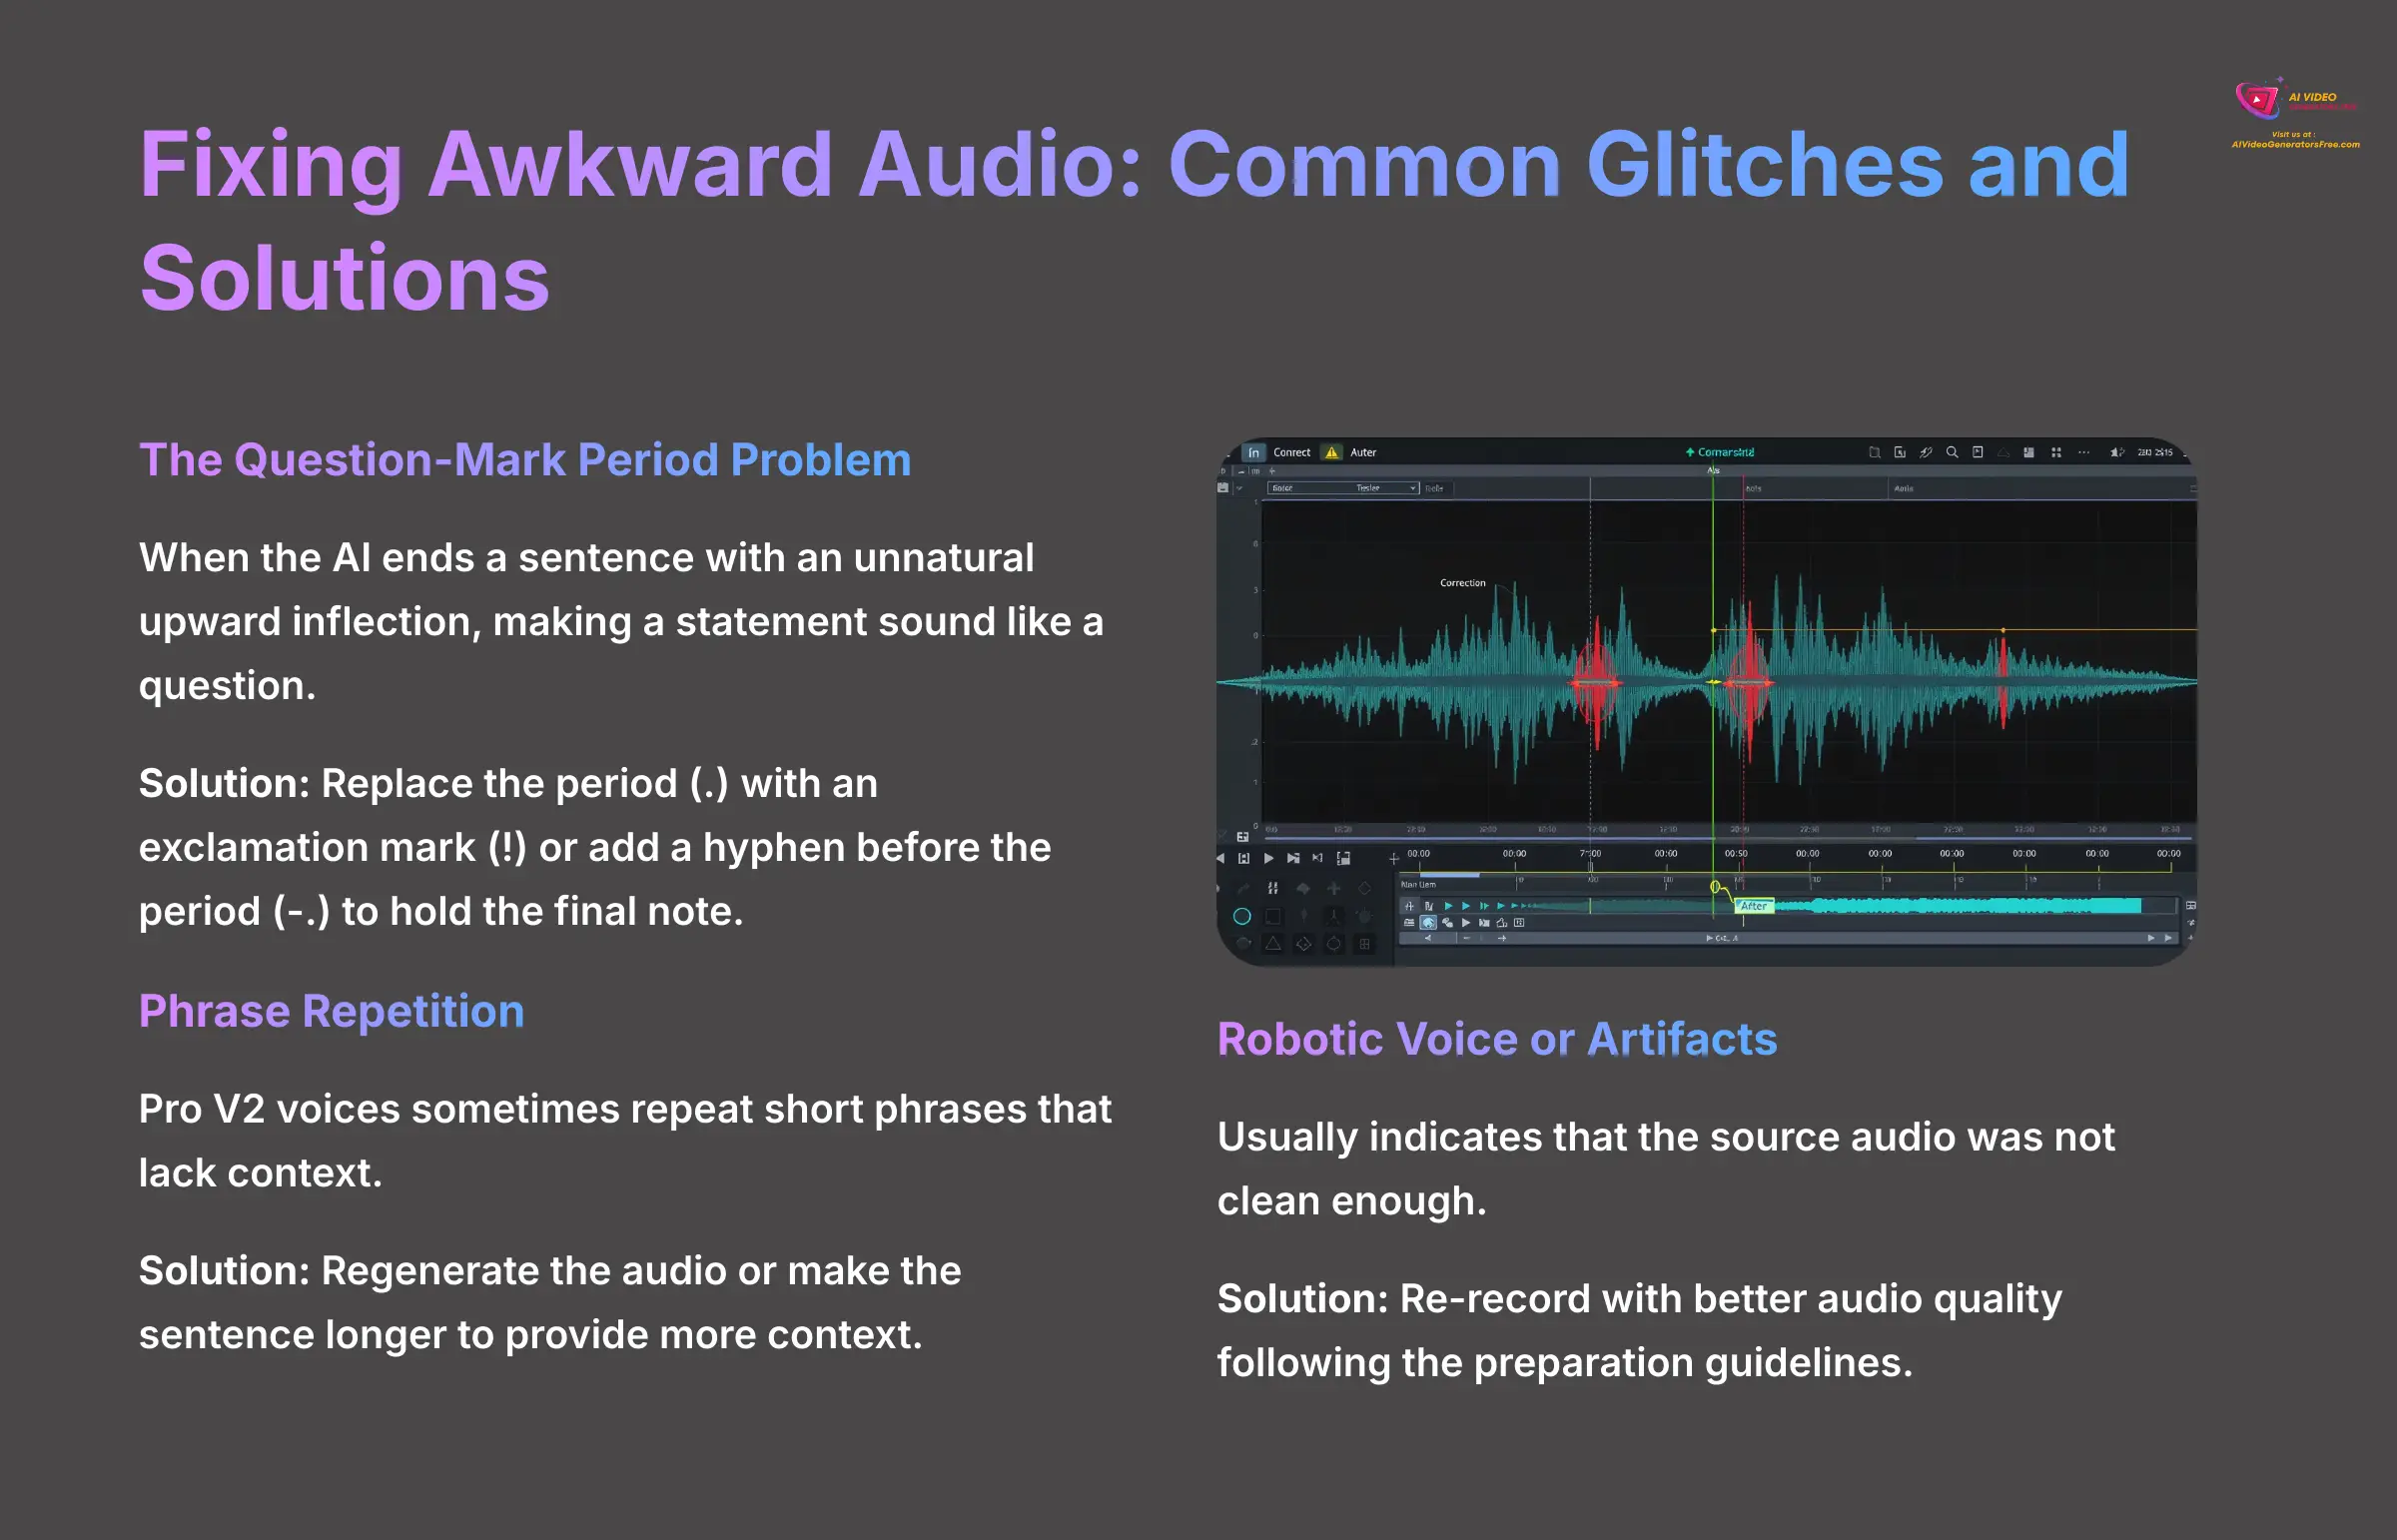
I call the most common issue “The Question-Mark Period Problem.” This is when the AI ends a sentence with an unnatural upward inflection, making a statement sound like a question. To fix this, you can replace the period . with an exclamation mark !. My favorite power-user move is to add a hyphen before the period (-.). This tells the AI to hold the final note, resulting in a much more natural-sounding end to the sentence.
Another glitch you might see is a Pro V2 voice repeating a short phrase. This usually happens with very short sentences that lack context for the AI. The easiest fix is to regenerate the audio. If it persists, try making the sentence a little longer. Finally, if your cloned voice sounds robotic or has artifacts, it's almost always a sign that the source audio was not clean. Refer back to the audio preparation section to improve your input quality.
- Practice Exercise: Go back to a previously generated sentence that ends awkwardly. Apply the hyphen trick (
-.) and regenerate the audio to hear the difference yourself.
Once you've gotten the hang of fixing those small audio glitches, you're ready to start thinking about speed and scale. Now we can move on from single-clip creation to true workflow optimization.
Advanced Techniques and Workflow Optimization
Power-User Workflow: Batch Processing with CSV
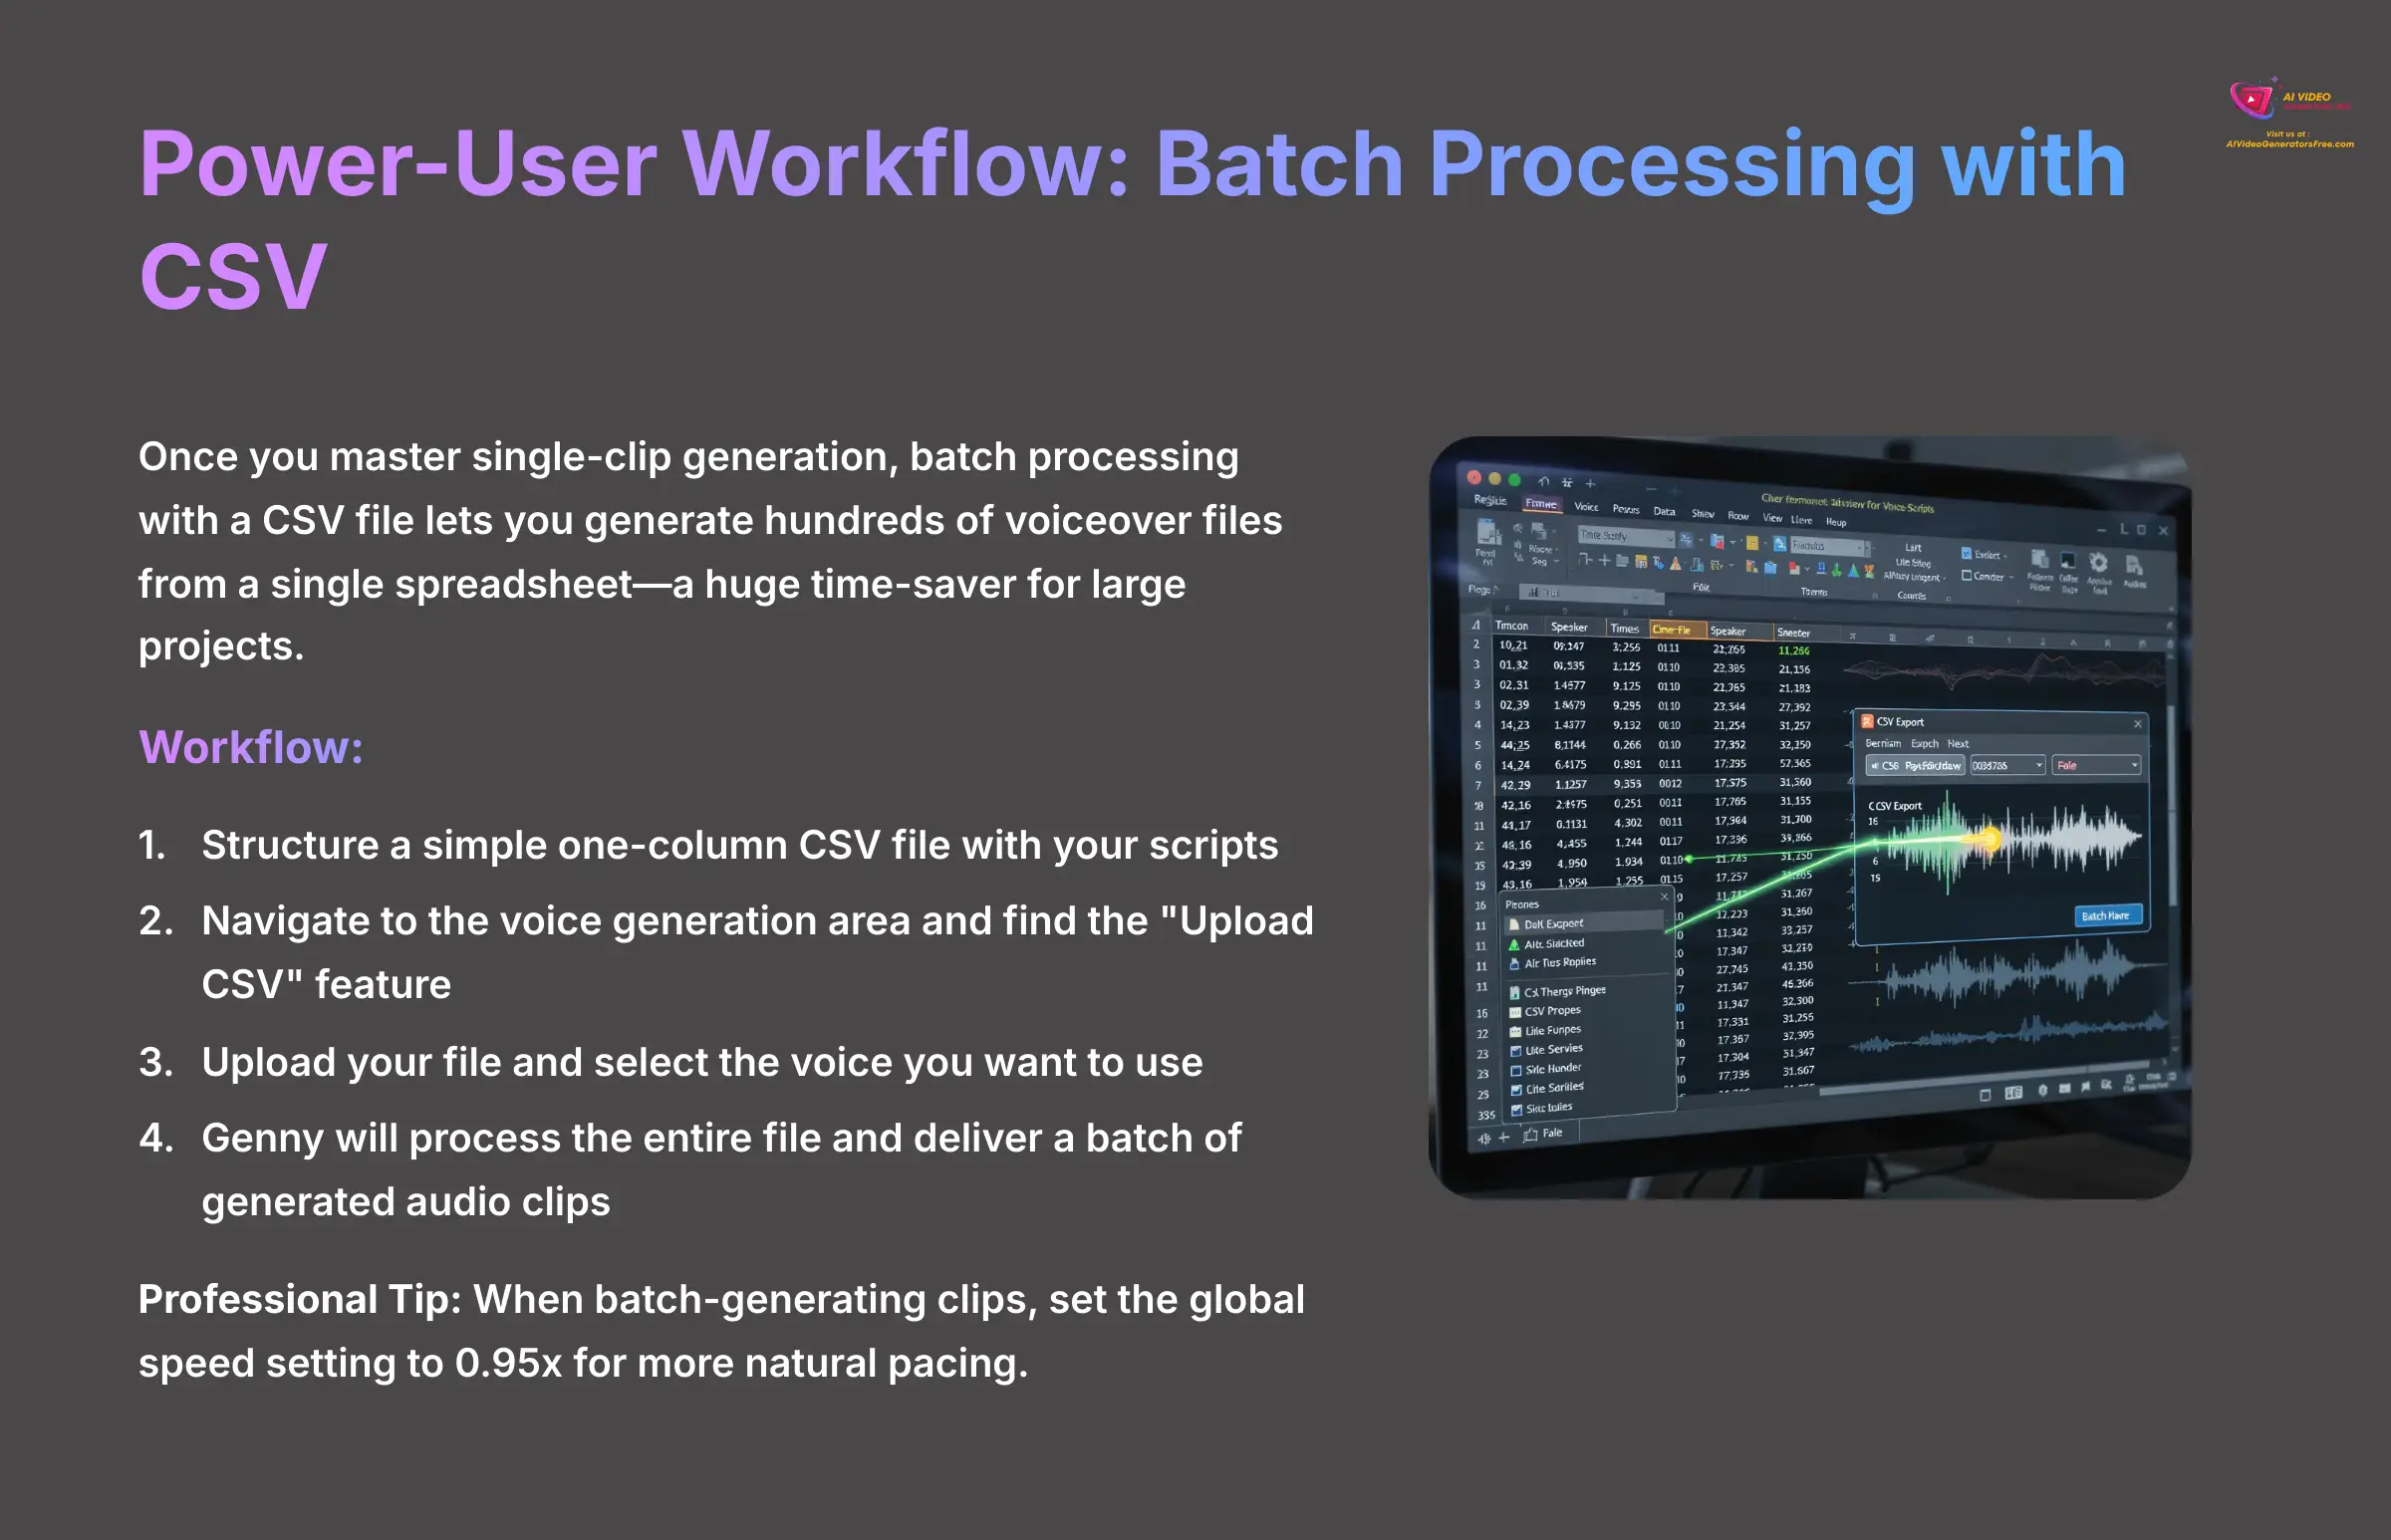
Once you master single-clip generation, you'll want to find ways to work faster. Genny has a powerful feature for this: batch processing with a CSV file. This lets you generate hundreds of voiceover files from a single spreadsheet, which is a huge time-saver for large projects.
This workflow is perfect for creating e-learning modules, narrated flashcards, or variations of social media ad copy. A CSV file is just a plain text file where spreadsheet columns are separated by commas. You simply put all your lines of script into a single column.
Here's the workflow:
- Structure a simple one-column CSV file with your scripts.
- In Genny, navigate to the voice generation area and find the “Upload CSV” feature.
- Upload your file and select the voice you want to use.
- Genny will process the entire file and deliver a batch of generated audio clips.
- Professional Tip: When I batch-generate a large number of clips, I often set the global speed setting to
0.95x. This subtle slowdown can make the overall pacing of the voiceovers feel more natural and less rushed, all with a single click. - Practice Exercise: Create a small CSV file with 5 different sentences. Use the batch processing feature to generate them all in a single action.
Integration and Post-Processing
Genny in Your Ecosystem: Exporting for Professional Tools
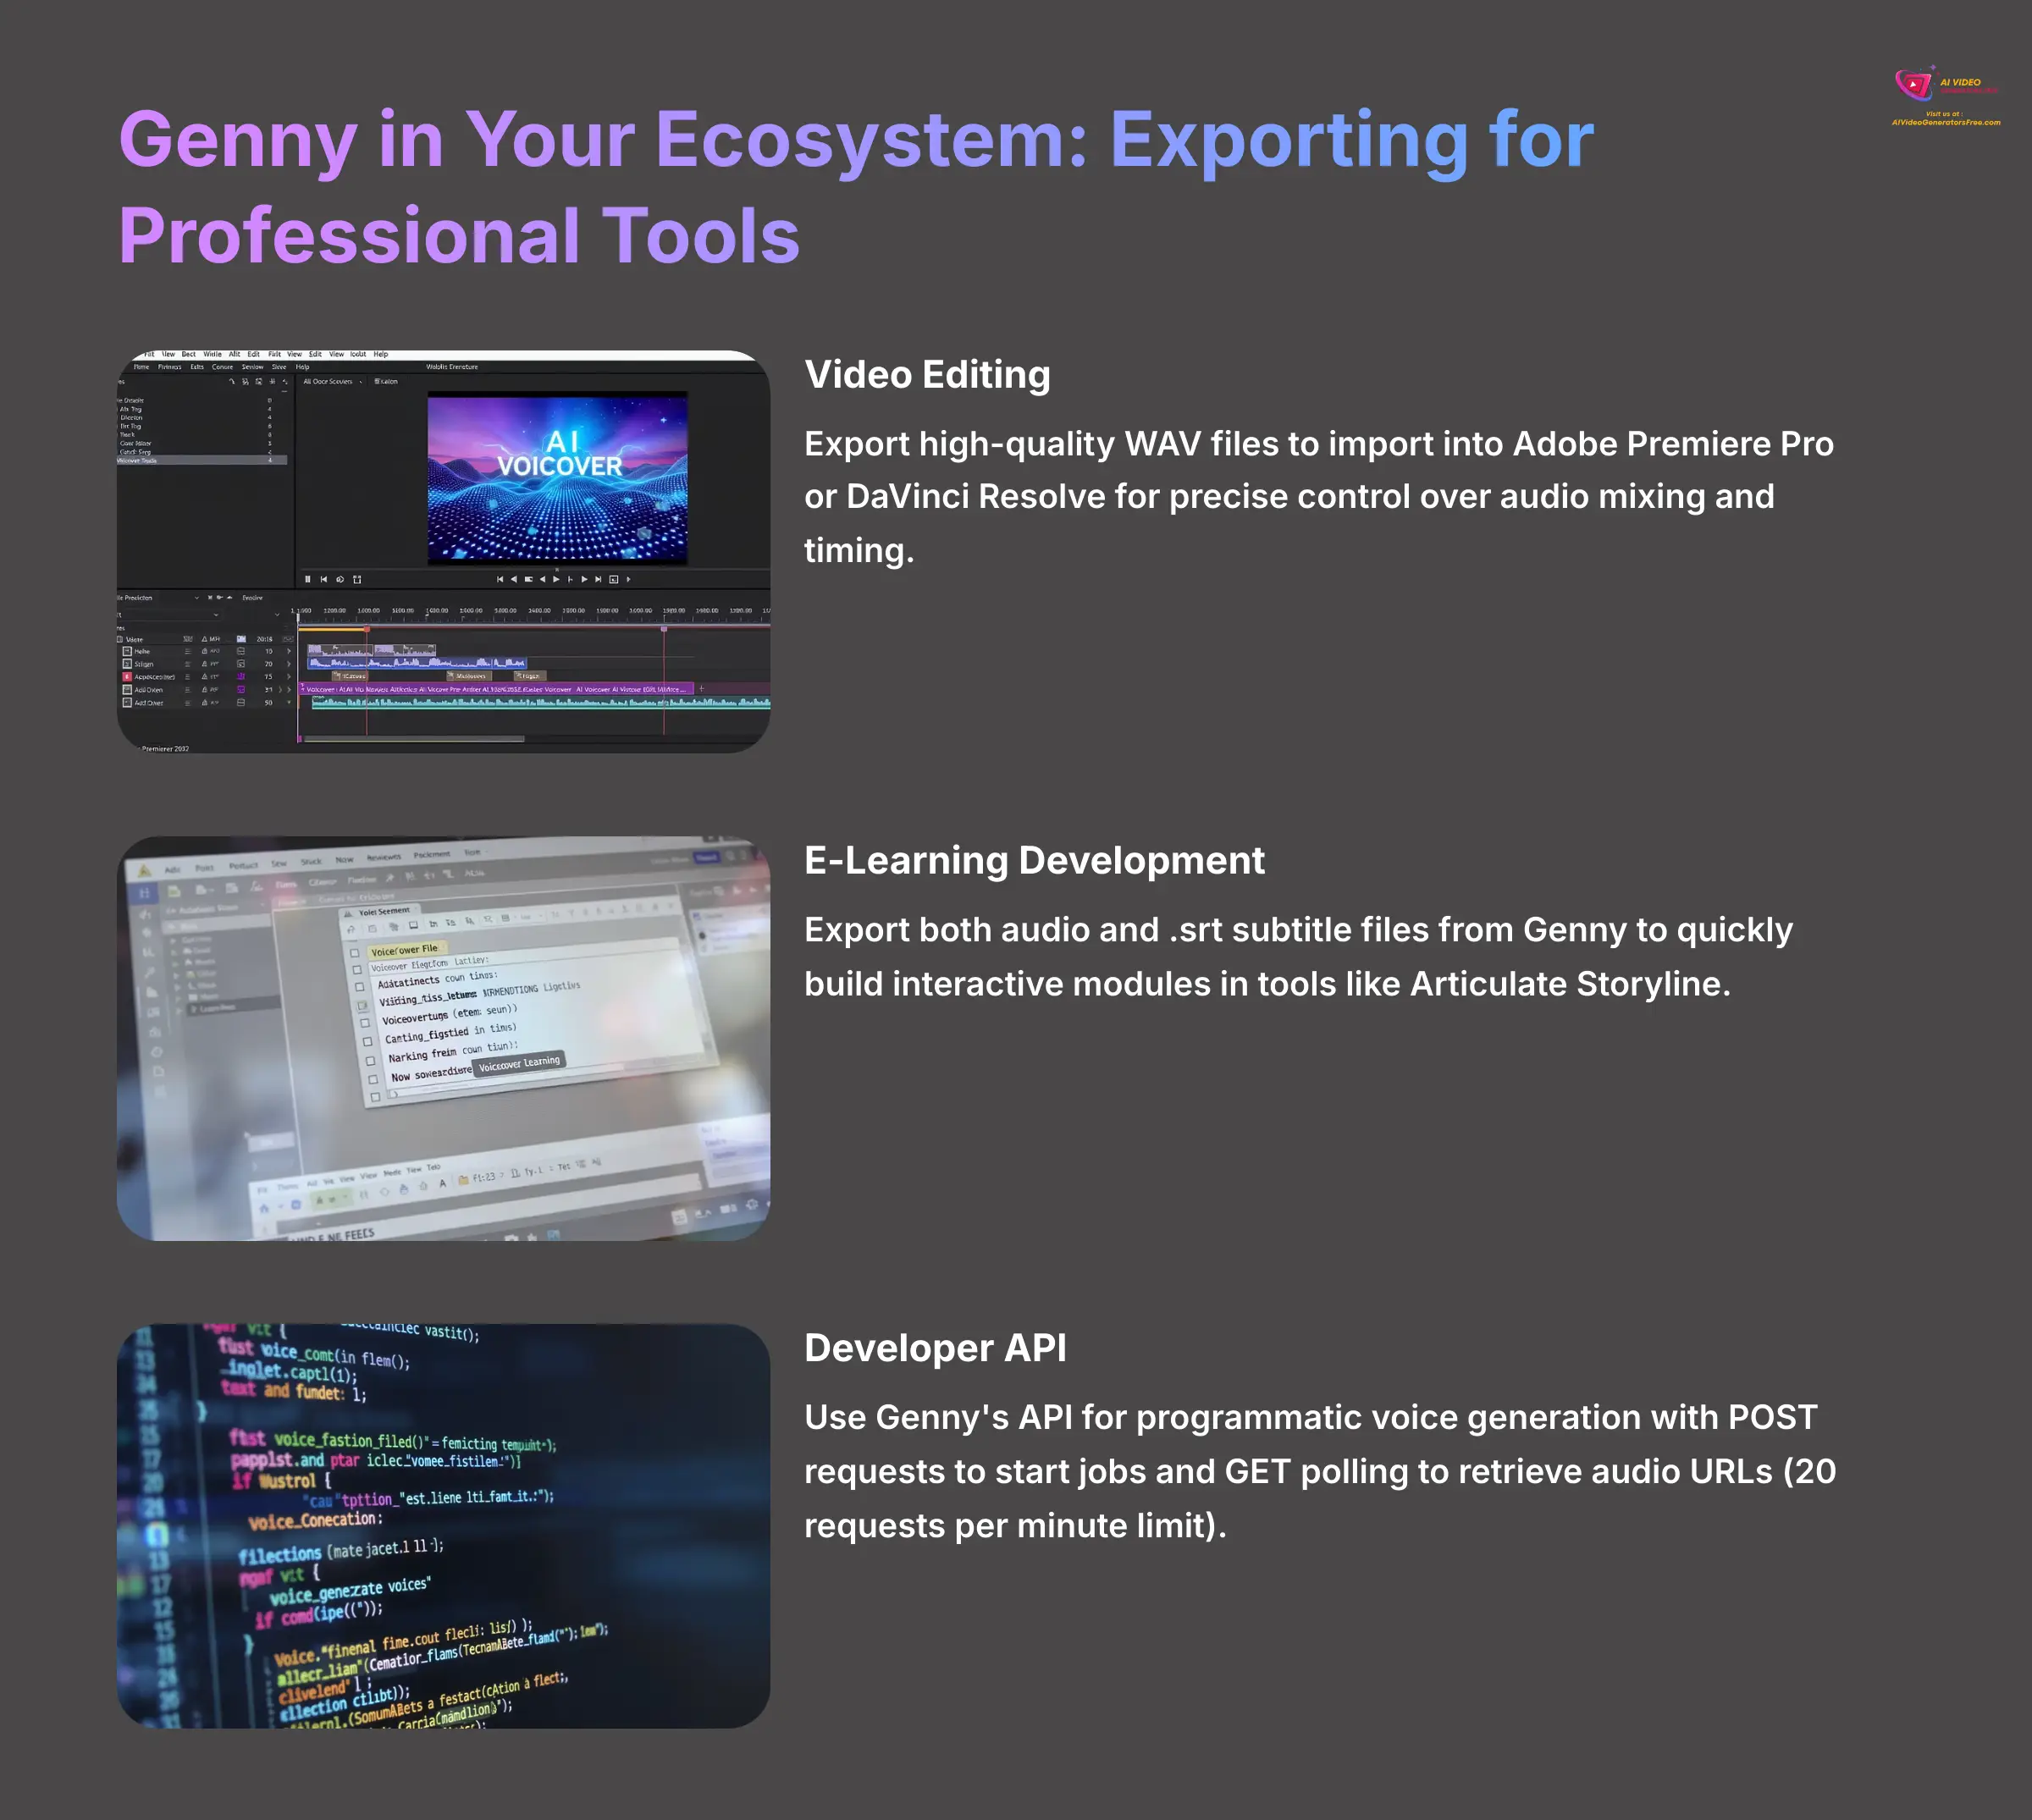
While Genny is a powerful all-in-one platform, its real strength for professionals is how well it integrates into a larger production pipeline. Understanding how to use its outputs can connect it to industry-standard software.
For video editors, the best workflow is to generate your voiceover in Genny and export it as a high-quality WAV file. You can then import this audio into a program like Adobe Premiere Pro or DaVinci Resolve. This gives you much more precise control over audio mixing, effects, and timing alongside your video footage.
For e-learning developers using tools like Articulate Storyline, you can export both the audio and the .srt subtitle file from Genny to quickly build interactive modules.
For developers, Genny offers an API for programmatic voice generation. The basic logic is to send a POST request to start a job and then use GET polling to retrieve the final audio URL. Important Warning: The API has a rate limit of 20 requests per minute. To avoid failed jobs, you must build a proper polling mechanism with a delay in your code, as sending too many requests too quickly will result in errors.
- Practice Exercise: From the spokesperson video project you created earlier, export both the final WAV audio file and the SRT subtitle file.
Conclusion: Your Next Steps in AI Content Creation
Exploring the AI Voice Ecosystem
Lovo.ai Genny is a fantastic and user-friendly choice, but it's part of a rapidly growing ecosystem of generative voice AI tools. As you become more advanced, you may want to explore how other platforms handle specific tasks. For instance, tools like ElevenLabs are often praised for their raw emotional realism, while platforms like Murf.ai and Play.ht offer robust features for team collaboration and enterprise workflows. Understanding the strengths of each Lovo.ai alternative helps you make the most informed decision for every project you tackle. This guide gives you the foundational skills that are transferable across the entire industry.
Continuing Your Learning Journey
You now have a solid foundation for creating amazing content with Lovo.ai Genny. You've learned how to clone a voice, direct an AI performance, troubleshoot issues, and build a complete video project. But your learning doesn't have to stop here.
I encourage you to take on a bigger project next. Try creating a high-fidelity voice clone using 30 minutes or more of your best audio. Experiment with creatively stacking emotion commands to create dynamic scenes.
For support and inspiration, I highly recommend joining the official LOVO Discord community. It's a fantastic place to ask questions and see what other creators are building. For developers, the full API documentation is the next logical step. The path from beginner to expert is all about practice and experimentation.
- Your final challenge: Join the official Lovo Discord community and share the spokesperson video you created in this tutorial!
I am genuinely excited to see what you create. Tools like Genny are completely revolutionizing content creation, and you now have the skills to be a part of it. Thank you so much for being here and following this guide. I wish you a delightful and creative day!
Disclaimer: The information about Lovo.ai Tutorial: A Beginner's Guide to AI Voice Cloning (Genny) presented in this article reflects our thorough analysis as of 2025. Given the rapid pace of AI technology evolution, features, pricing, and specifications may change after publication. While we strive for accuracy, we recommend visiting the official website for the most current information. Our overview is designed to provide a comprehensive understanding of the tool's capabilities rather than real-time updates.


Leave a Reply