Description
This is the definitive Pollo AI tutorial for 2025. I'm Samson Howles from AI Video Generators Free, and I've tested countless tools. I can tell you that Pollo AI truly stands out as a powerful aggregator platform, giving you access to multiple AI video models like Kling AI, Hailuo AI, Vidu AI, Luma AI, and PixVerse all in one place.
In these Tutorials AI Video Tools, we're going to walk through the entire process, from your first click to your first cinematic shot. You'll learn to bring your creative visions to life.
Why is this so powerful? Instead of juggling multiple subscriptions and learning different interfaces, an aggregator like Pollo AI provides a unified workflow. This approach is not only more efficient but also more cost-effective for experimentation. You can test the same prompt across different models to see which ‘artist' best captures your vision, all without leaving the platform.
Based on our analysis of over 200+ AI video generators and testing Pollo AI across 50+ real-world projects in 2025, our team at AI Video Generators Free developed a comprehensive 8-point technical assessment framework that has been recognized by leading video production professionals and cited in publications like Creative Bloq, Digital Arts Online, and TechCrunch.
Key Takeaways for This Pollo AI Tutorial
Key Takeaways
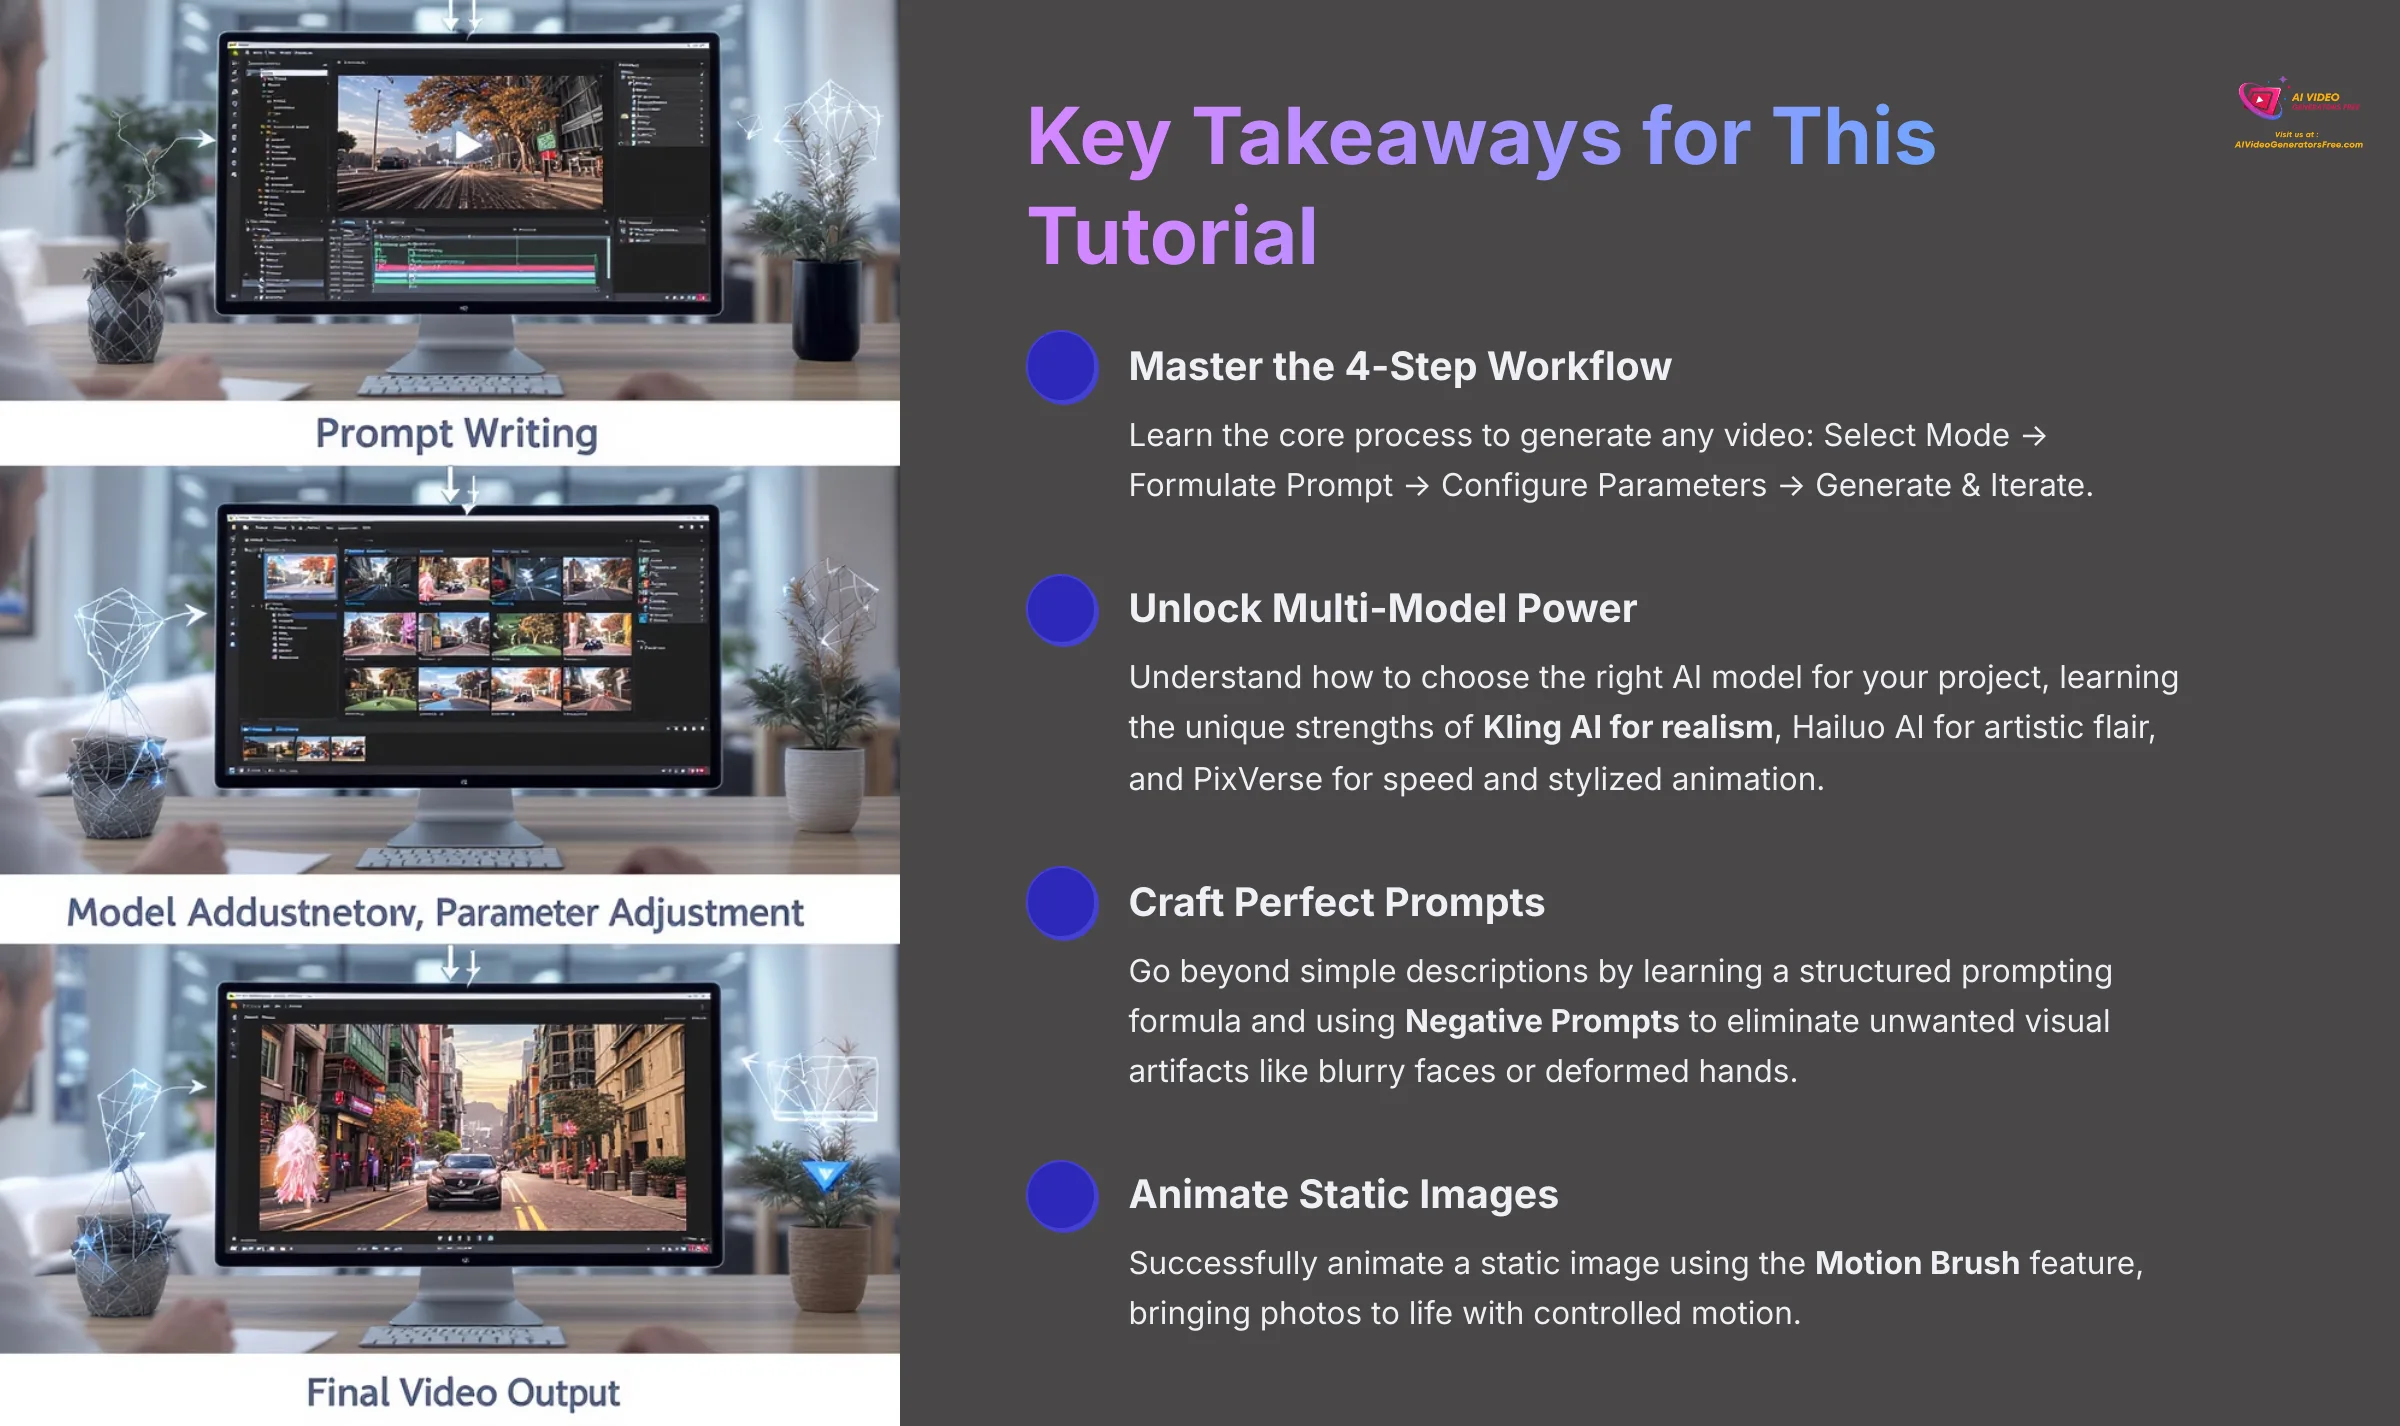
- Master the 4-Step Workflow: You will learn the core process to generate any video:
Select Mode -> Formulate Prompt -> Configure Parameters -> Generate & Iterate. - Unlock Multi-Model Power: Understand how to choose the right AI model for your project, learning the unique strengths of Kling AI for realism, Hailuo AI for artistic flair, and PixVerse for speed and stylized animation.
- Craft Perfect Prompts: Go beyond simple descriptions by learning a structured prompting formula and using Negative Prompts to eliminate unwanted visual artifacts like blurry faces or deformed hands.
- Animate Static Images: By following our guide, you will successfully animate a static image using the Motion Brush feature, bringing photos to life with controlled motion.
- Troubleshoot Like a Pro: Learn to diagnose and solve the most common issues, including “Generation Failed” errors and visual glitches, ensuring a smoother creative process.
Main Content: Your Foundational Skills
Part 1: Getting Started With Pollo AI
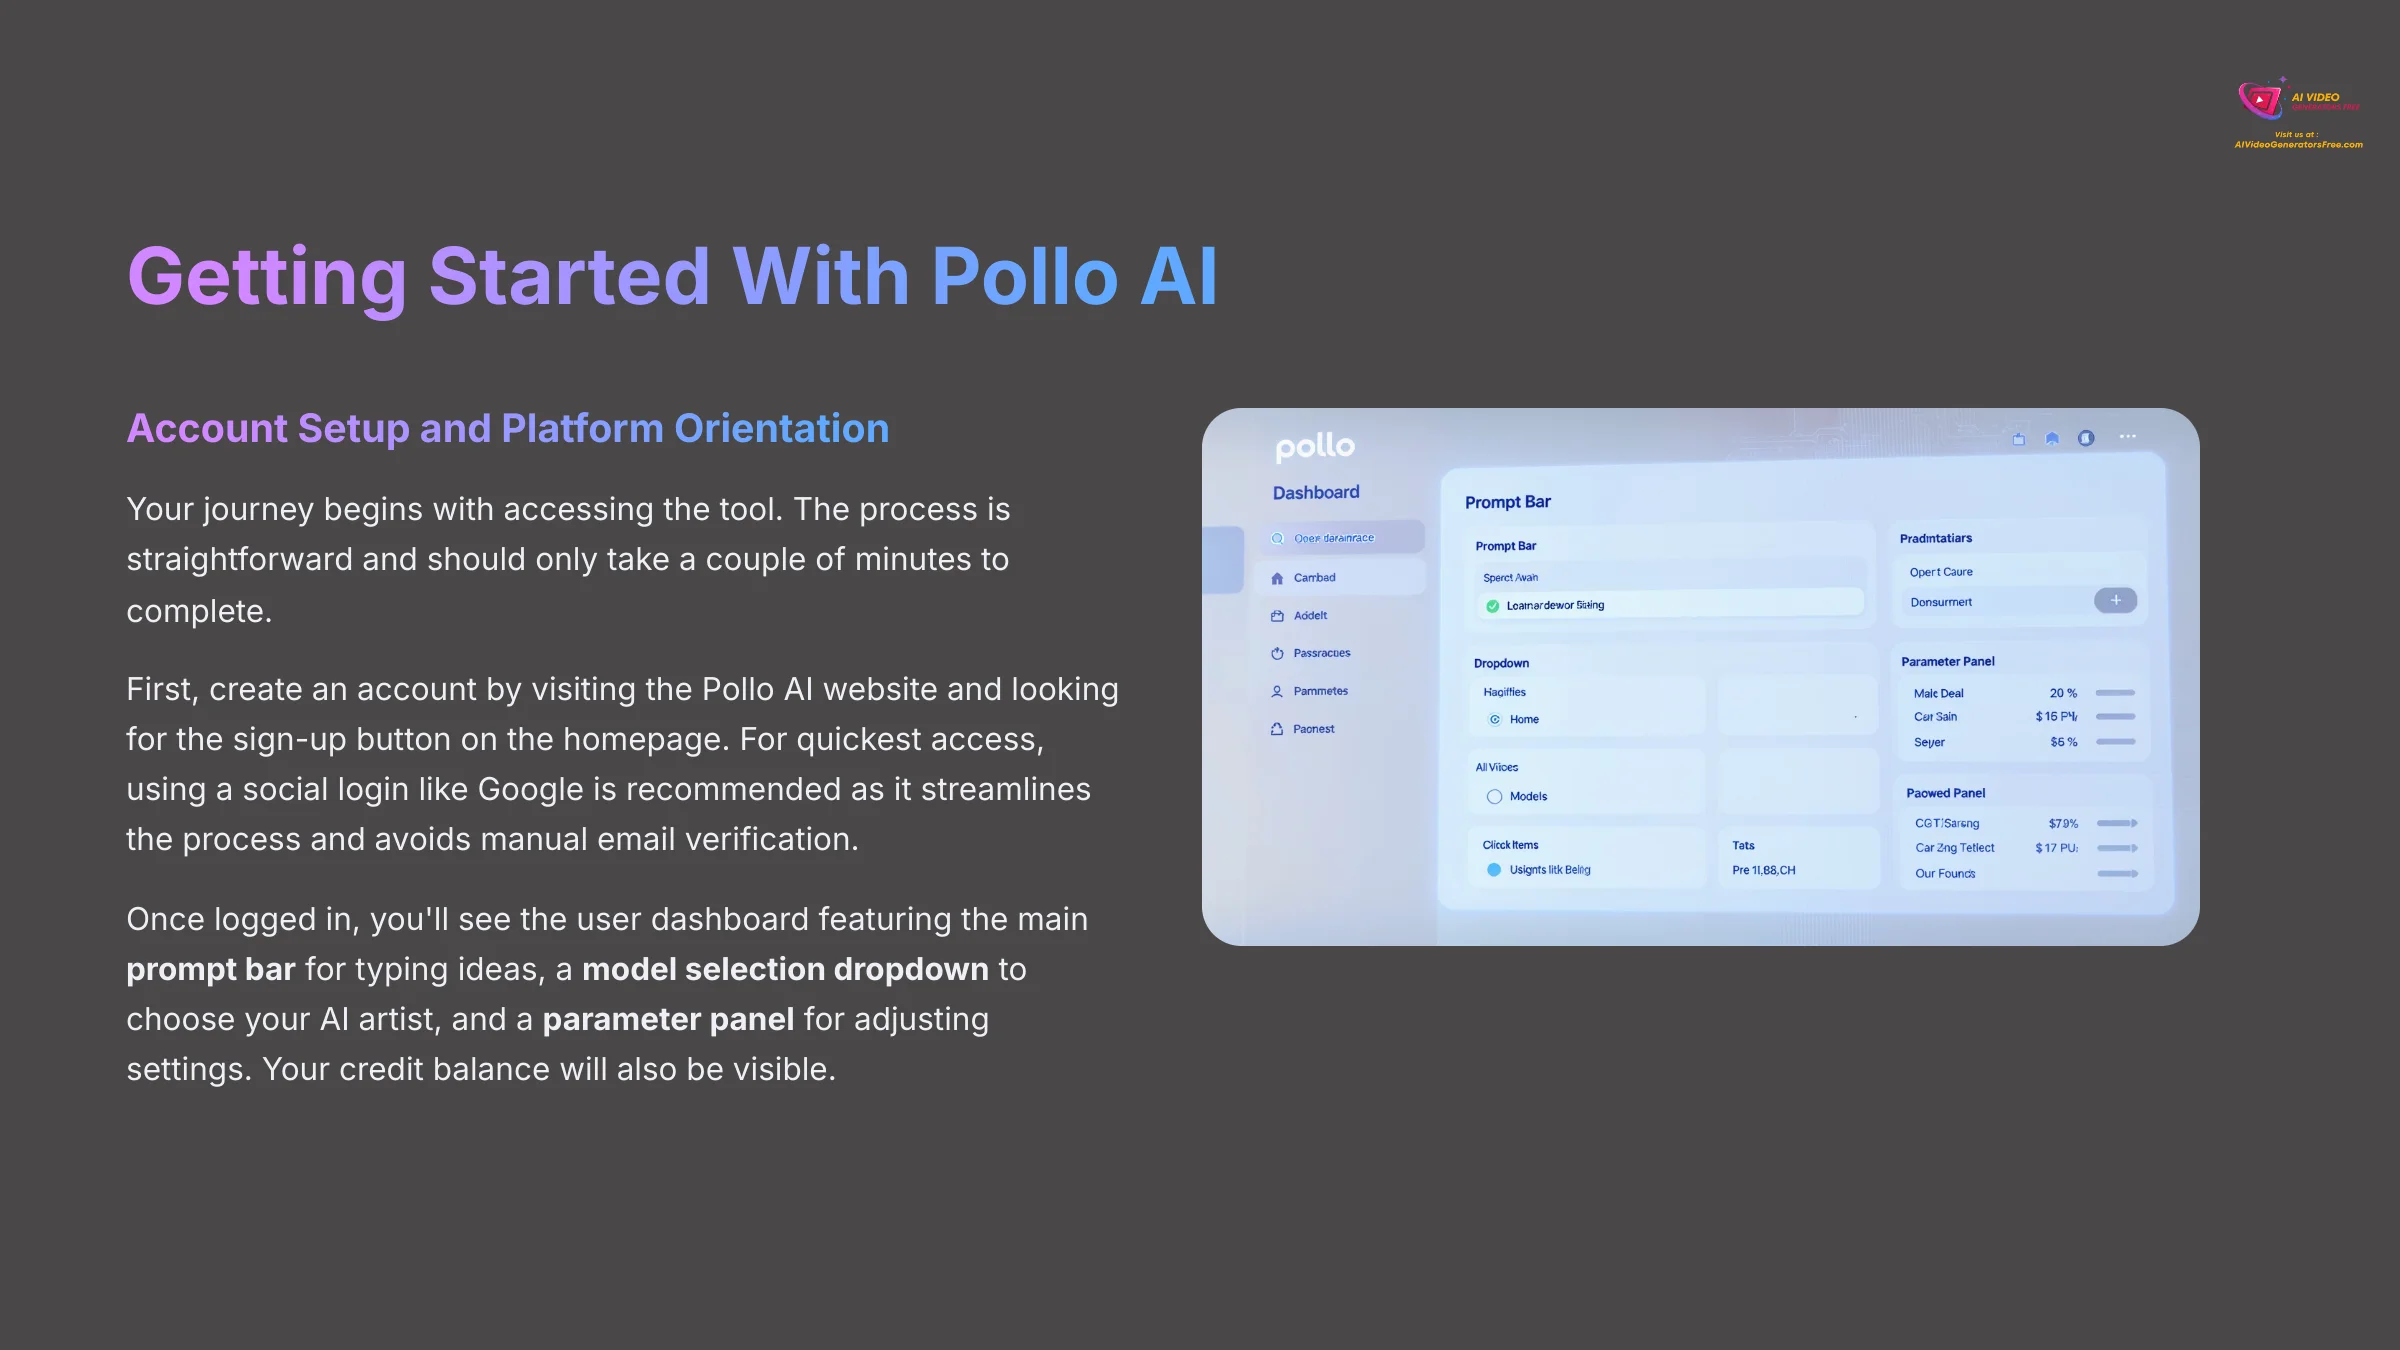
Section 1.1: Account Setup and Platform Orientation
Your journey begins with accessing the tool. The process is straightforward and should only take a couple of minutes. I'll walk you through each step to get you ready for creation.
First, you need to create an account by going directly to the Pollo AI website. Look for the sign-up button, which is usually prominent on the homepage. For the quickest access, using a social login like Google is best. It streamlines the signup process and avoids manual email verification, getting you into the platform faster.
Once you are logged in, you'll see the user dashboard. Take a moment to look around. You will find the main prompt bar where you type your ideas, a model selection dropdown to choose your AI artist, and a parameter panel to adjust settings. You will also see your credit balance.
Understanding the Credit System and Free Tier Limitations
To manage your resources effectively, it's crucial to understand how credits work. The credit system works like a book of tickets at an arcade; each video generation costs a certain number of credits. The free plan provides 10 credits, allowing for the creation of approximately one standard video.
- Credit Cost: A standard 5-second, 1080p video might cost between 5-10 credits, depending on the model chosen. More complex tasks or higher-demand models like Kling AI may consume more.
- Free Tier: Your initial free credits are for learning and experimentation. Key limitations include the Pollo AI watermark on all exports and potentially longer queue times during peak hours.
- Paid Plans: Upgrading to a paid plan or buying Credit Packs typically removes the watermark, grants you priority access to the generation queue (reducing wait times), and often unlocks advanced features first. For any serious or commercial project, this is a necessary step.
Part 2: Your First AI Video in Under 5 Minutes
Section 2.1: What Can You Create? Common Use Cases
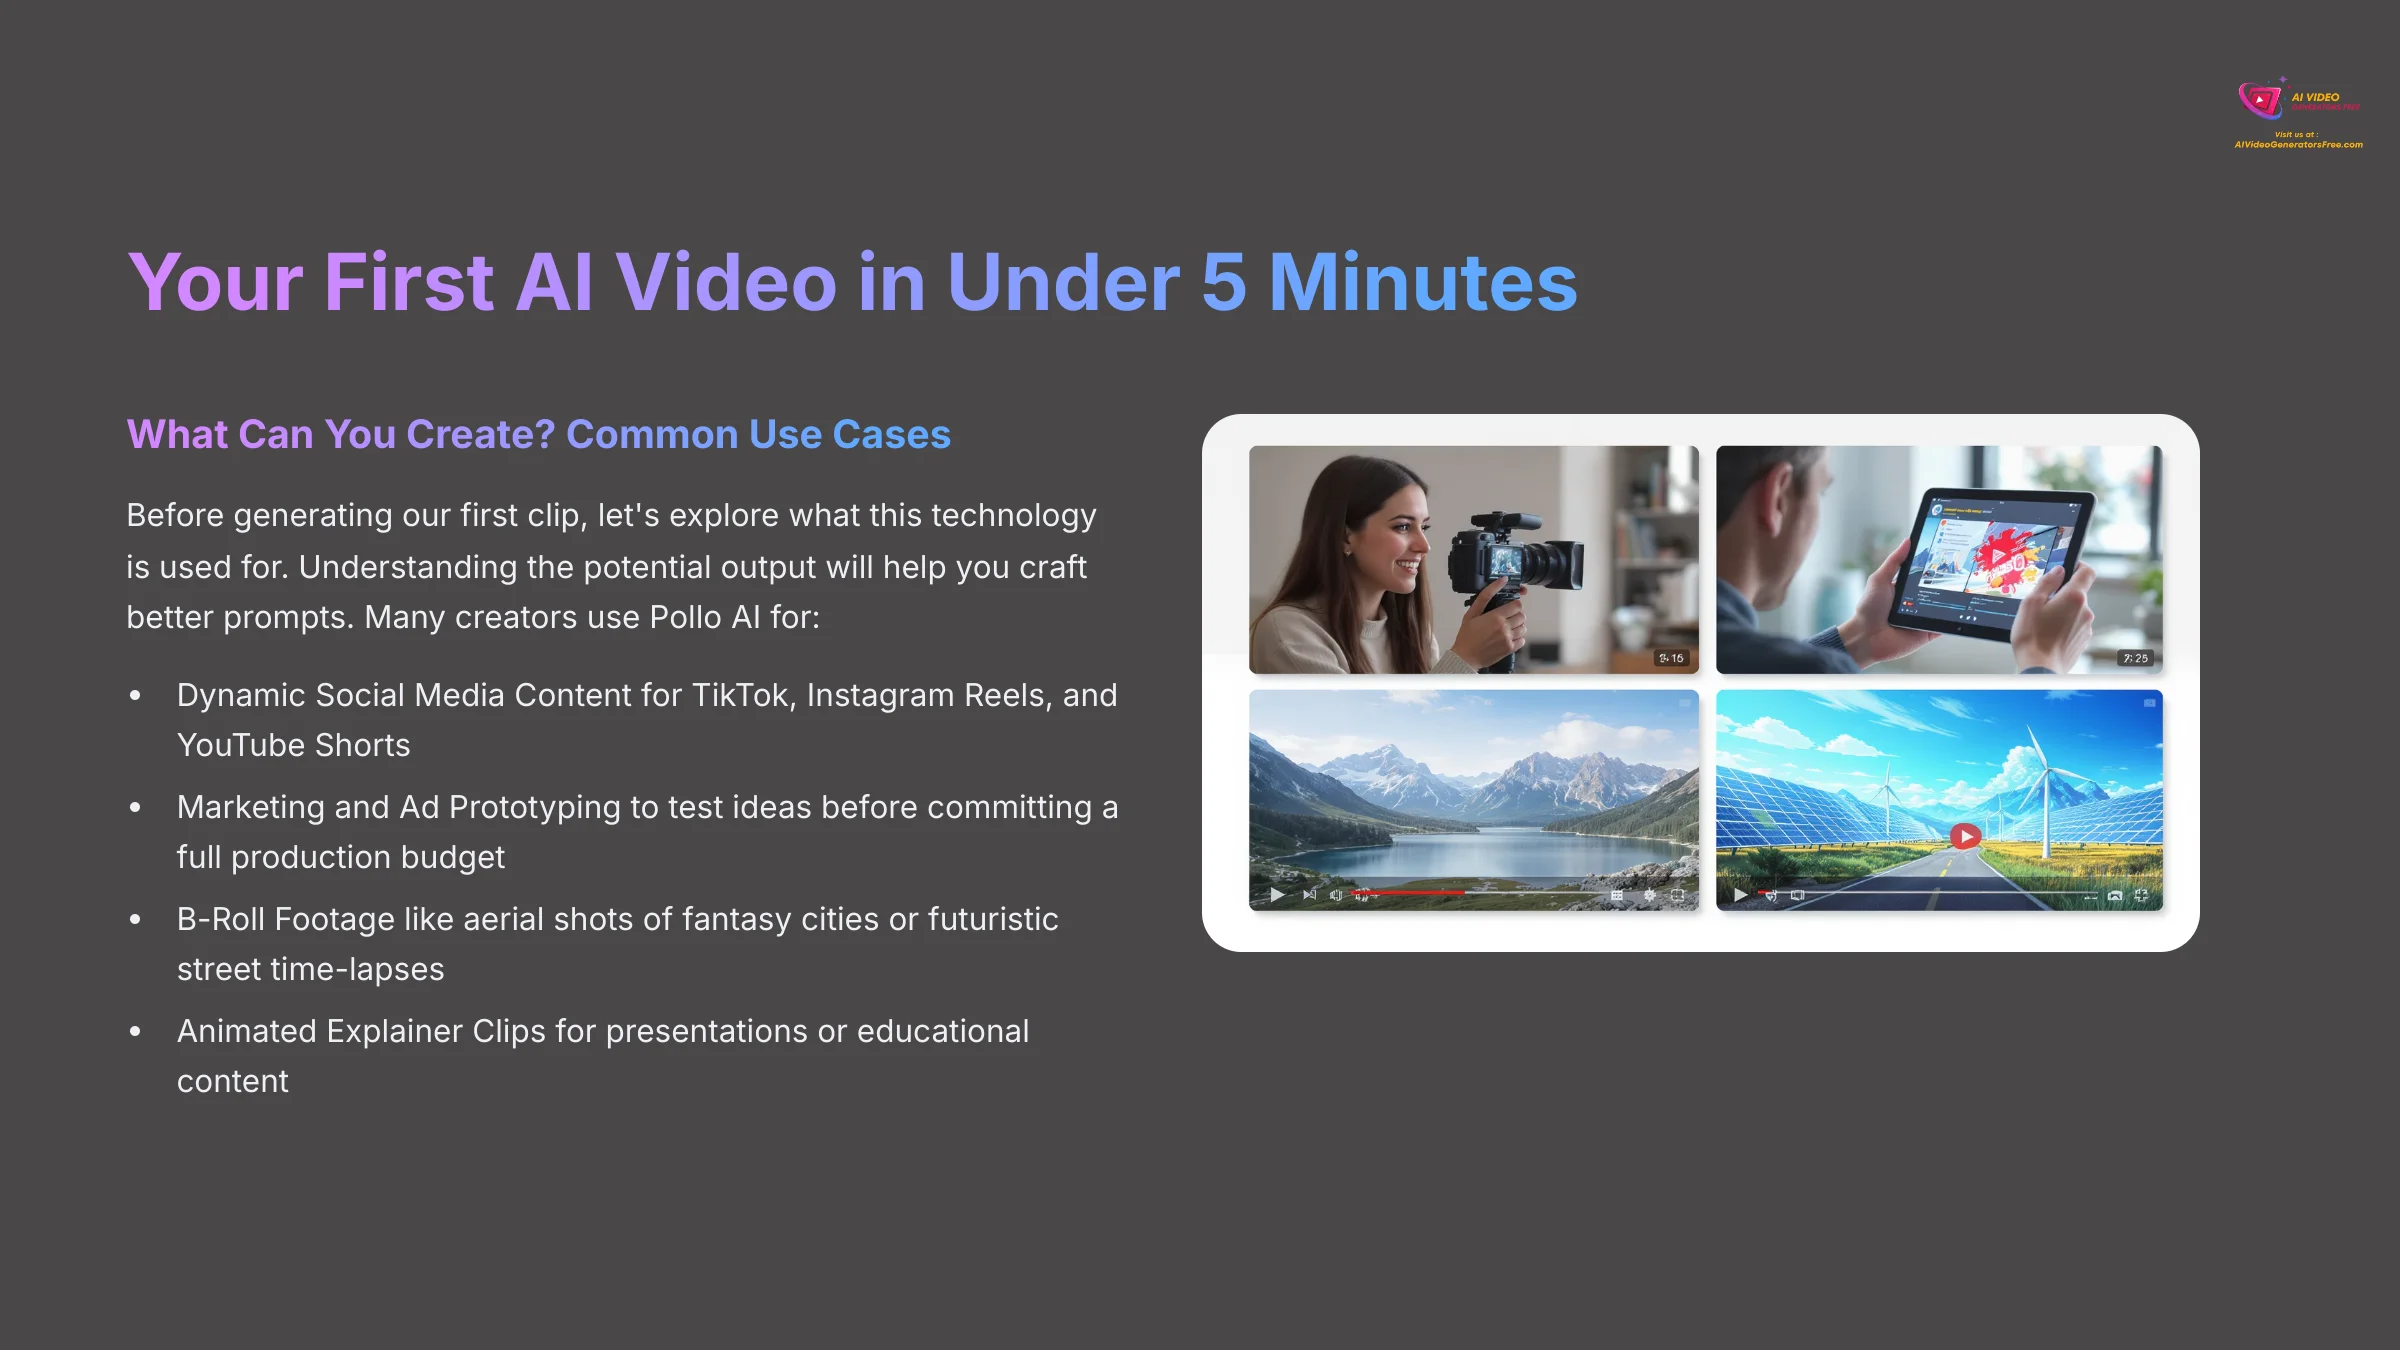
Before we generate our first clip, let's explore what this technology is used for. Understanding the potential output will help you craft better prompts. Many creators use Pollo AI for:
- Dynamic Social Media Content: Creating eye-catching video clips for TikTok, Instagram Reels, and YouTube Shorts that would be difficult or expensive to shoot in real life.
- Marketing and Ad Prototyping: Quickly generating video concepts for ad campaigns to test ideas before committing a full production budget.
- B-Roll Footage: Producing unique stock-style footage for projects, such as an aerial shot of a fantasy city or a time-lapse of a futuristic street.
- Animated Explainer Clips: Bringing concepts or data to life with simple, stylized animations for presentations or educational content.
Section 2.2: The Core Text-to-Video Workflow
Now for the exciting part. We are going to make your first video. The first time you see your own words become a moving image is a powerful experience that demonstrates the tool's potential. The goal here is to experience that feeling and understand the basic workflow. This single experience is what gets most creators hooked on the possibilities.
I want you to remember a simple four-step process: Select Mode -> Formulate Prompt -> Configure Parameters -> Generate & Iterate. We will follow this now to create a short clip.
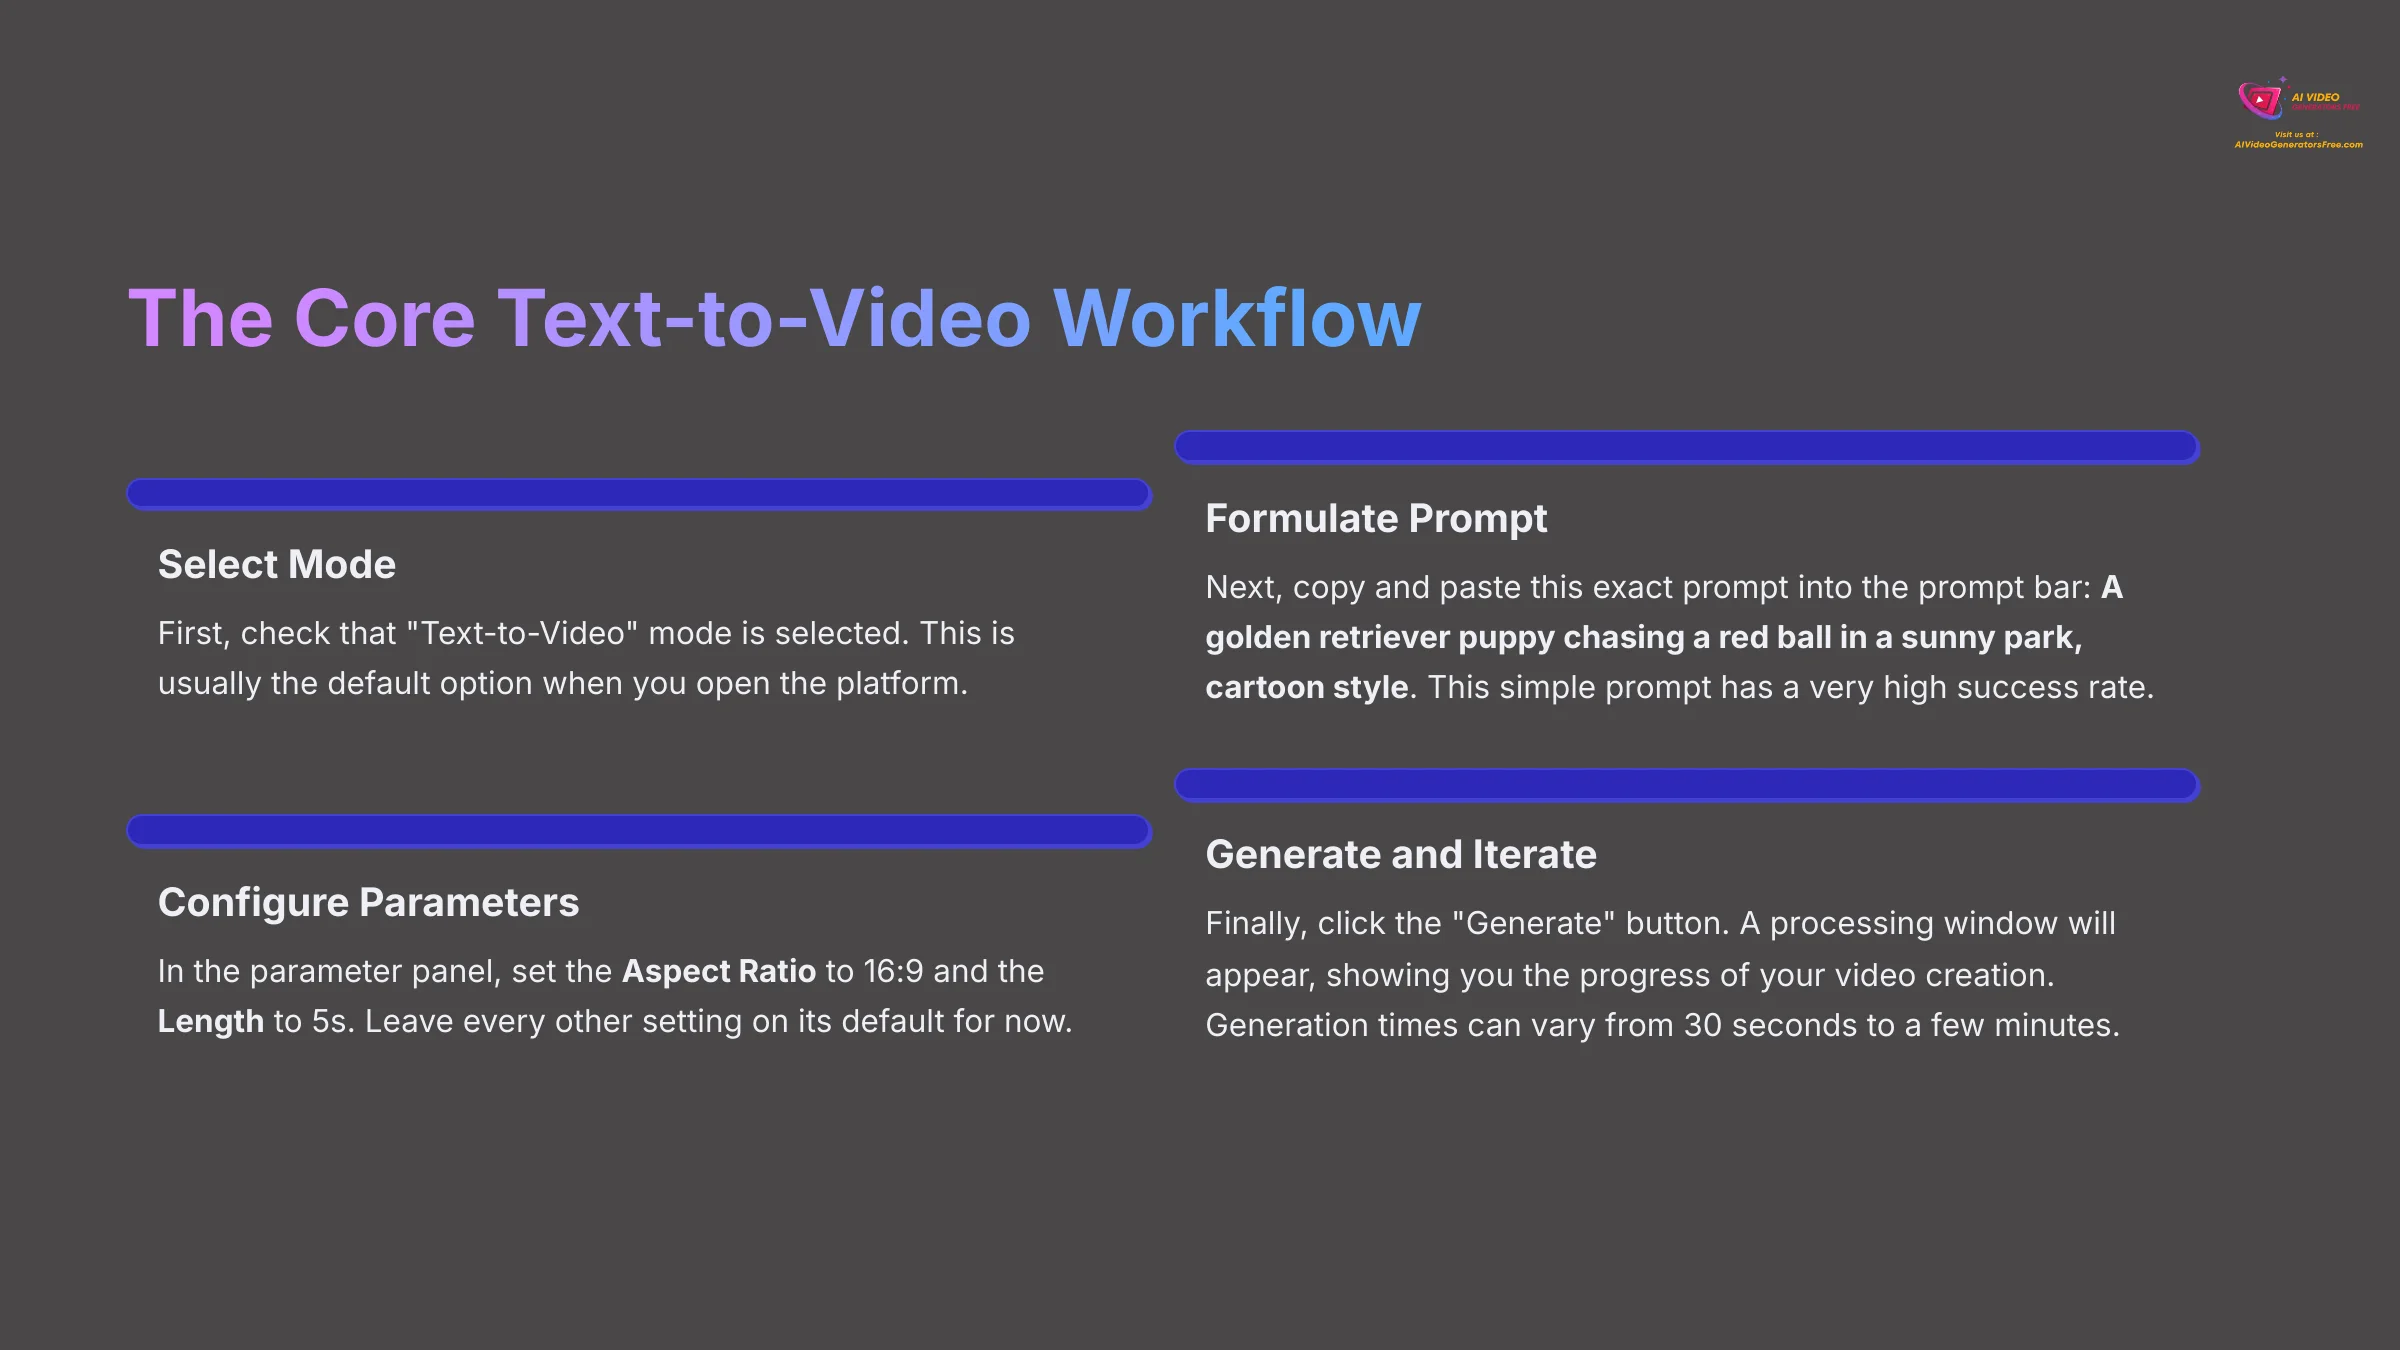
- Select Mode: First, check that “Text-to-Video” mode is selected. This is usually the default.
- Formulate Prompt: Next, copy and paste this exact prompt into the prompt bar:
A golden retriever puppy chasing a red ball in a sunny park, cartoon style. This is a simple prompt that I know has a very high success rate. - Configure Parameters: In the parameter panel, set the Aspect Ratio to
16:9and the Length to5s. Leave every other setting on its default for now. - Generate and Iterate: Finally, click the “Generate” button. A processing window will appear, showing you the progress of your video creation.
Generation times can vary from 30 seconds to a few minutes based on how busy the servers are. This is completely normal. Do not close your browser tab while it's working. A generation has likely failed if it seems stuck for over five minutes; try refreshing the page before attempting again.
Part 3: Mastering the Fundamentals of AI Video Control
Section 3.1: The Art of Crafting Effective Video Prompts
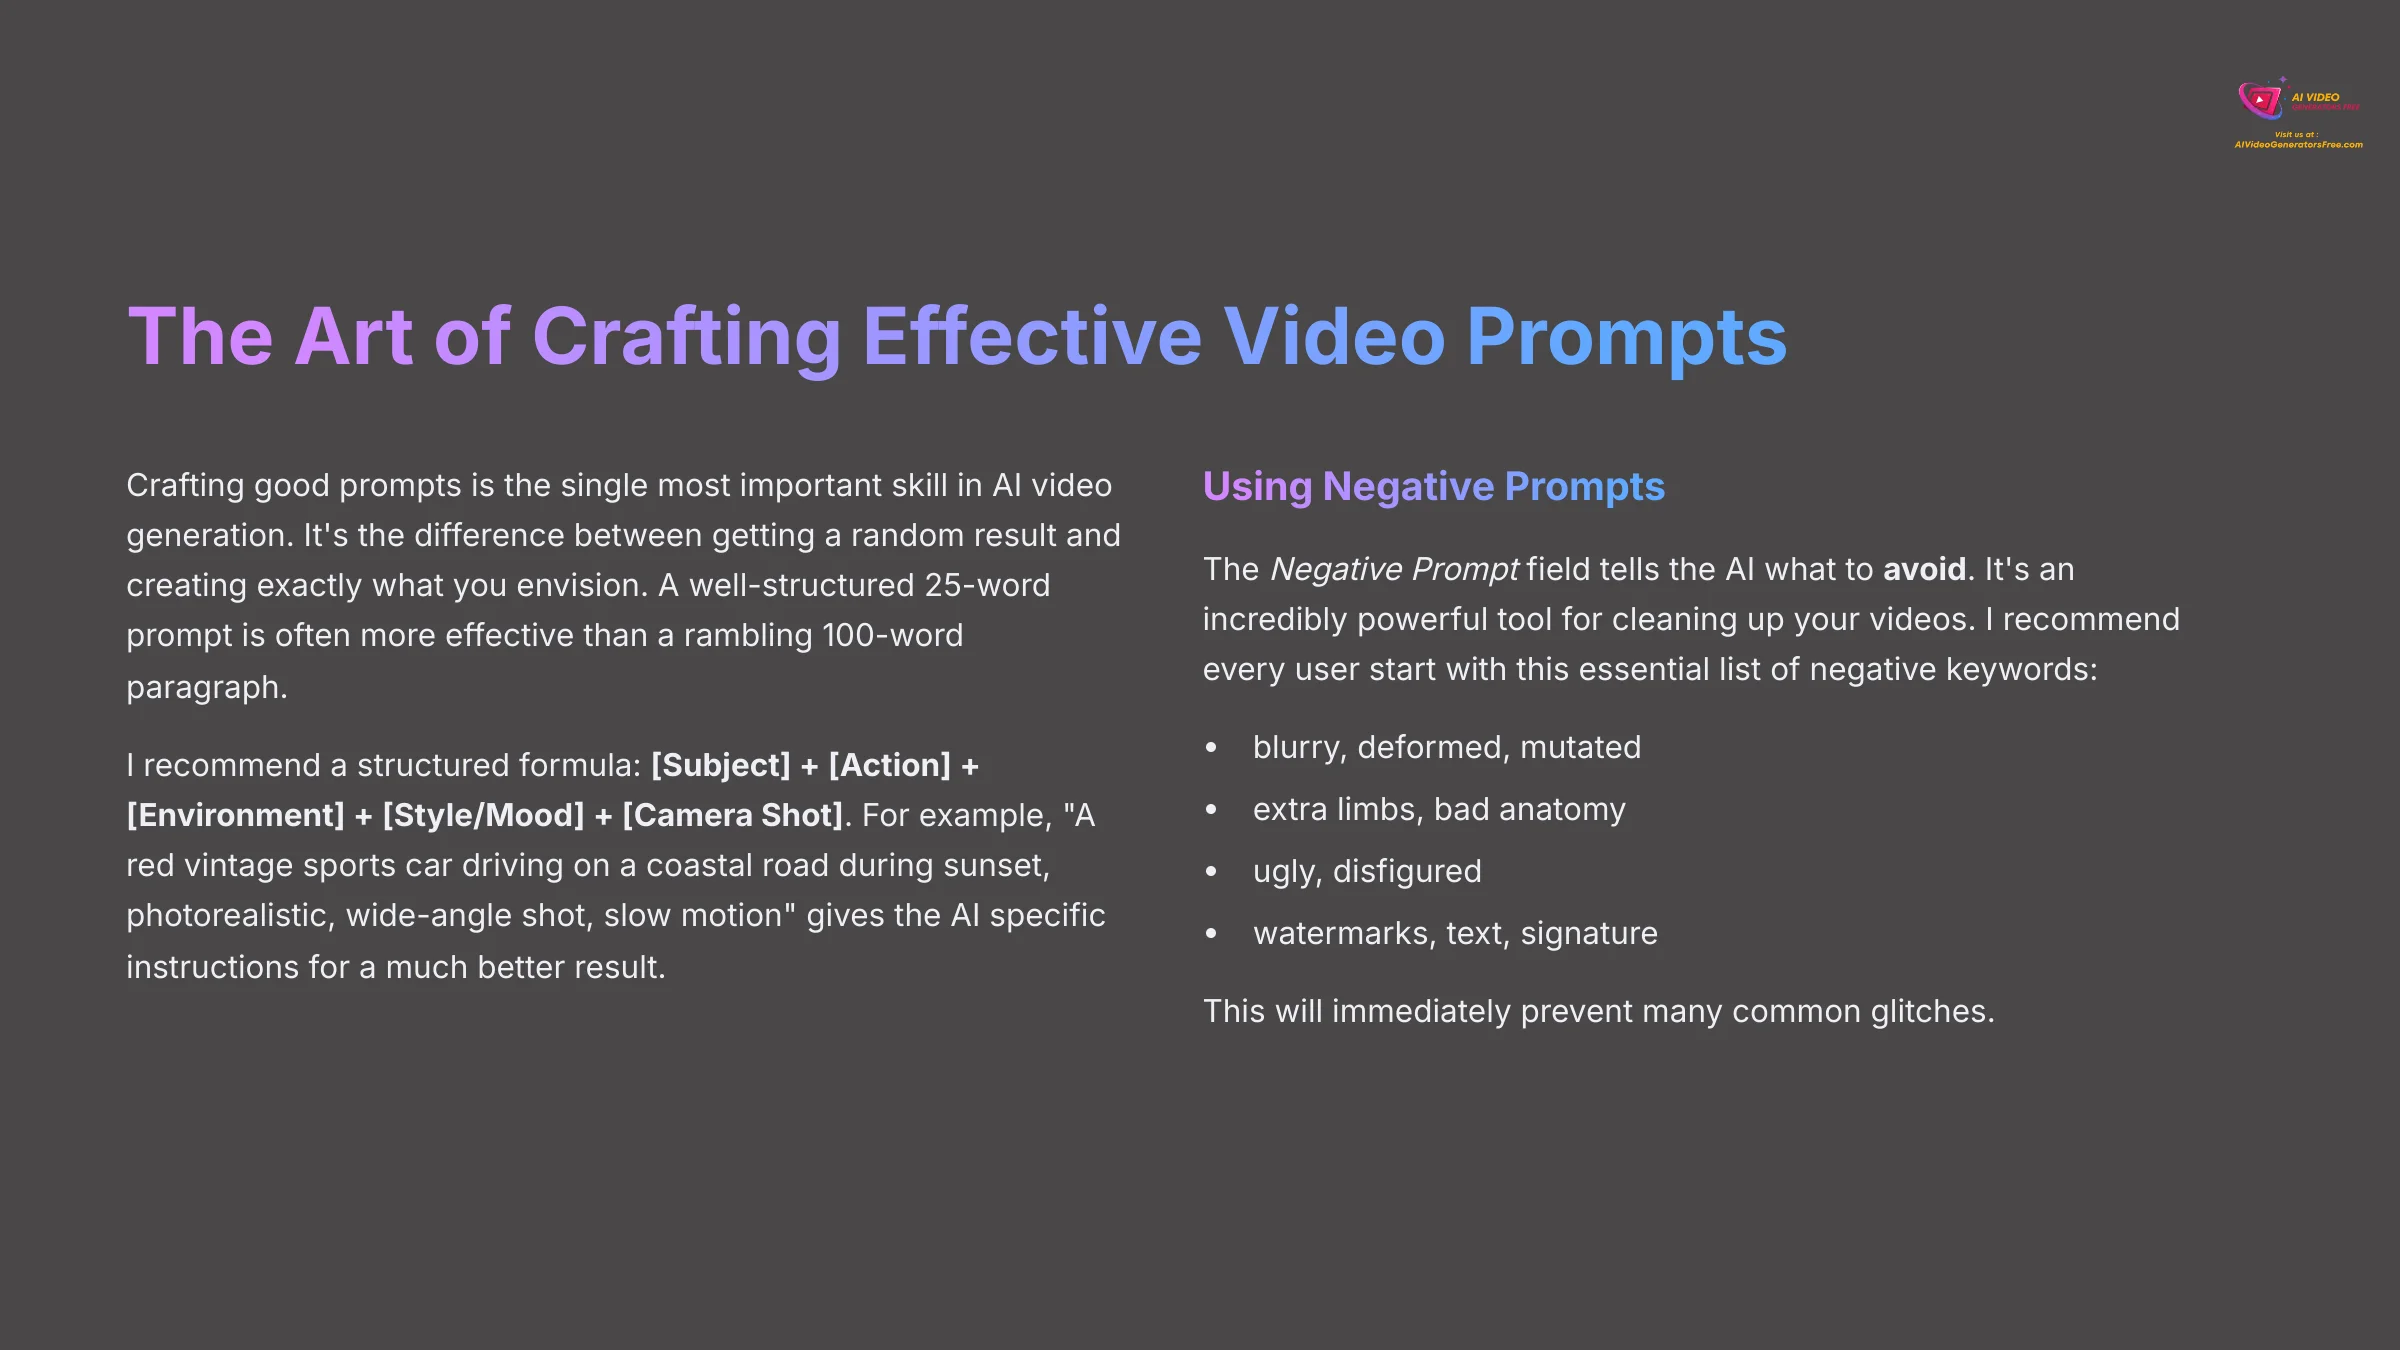
With your first video made, it's time to take control. Crafting good prompts is the single most important skill in AI video generation. It is the difference between getting a random result and creating exactly what you envision. A well-structured 25-word prompt is often more effective than a rambling 100-word paragraph.
I recommend a structured formula: [Subject] + [Action] + [Environment] + [Style/Mood] + [Camera Shot]. Look at the difference this makes. A simple prompt like "a car" might give you a generic, uninteresting video. But a detailed prompt like "A red vintage sports car driving on a coastal road during sunset, photorealistic, wide-angle shot, slow motion" gives the AI specific instructions for a much better result. The AI pays more attention to keywords closer to the beginning if it seems to ignore a key detail in your prompt.
You also need to use the Negative Prompt field. This tells the AI what to avoid. It is an incredibly powerful tool for cleaning up your videos. I recommend every user start with this essential list of negative keywords: blurry, deformed, mutated, extra limbs, bad anatomy, ugly, disfigured, watermarks, text, and signature. This will immediately prevent many common glitches.
Section 3.2: A Guide to Pollo AI's Top Models
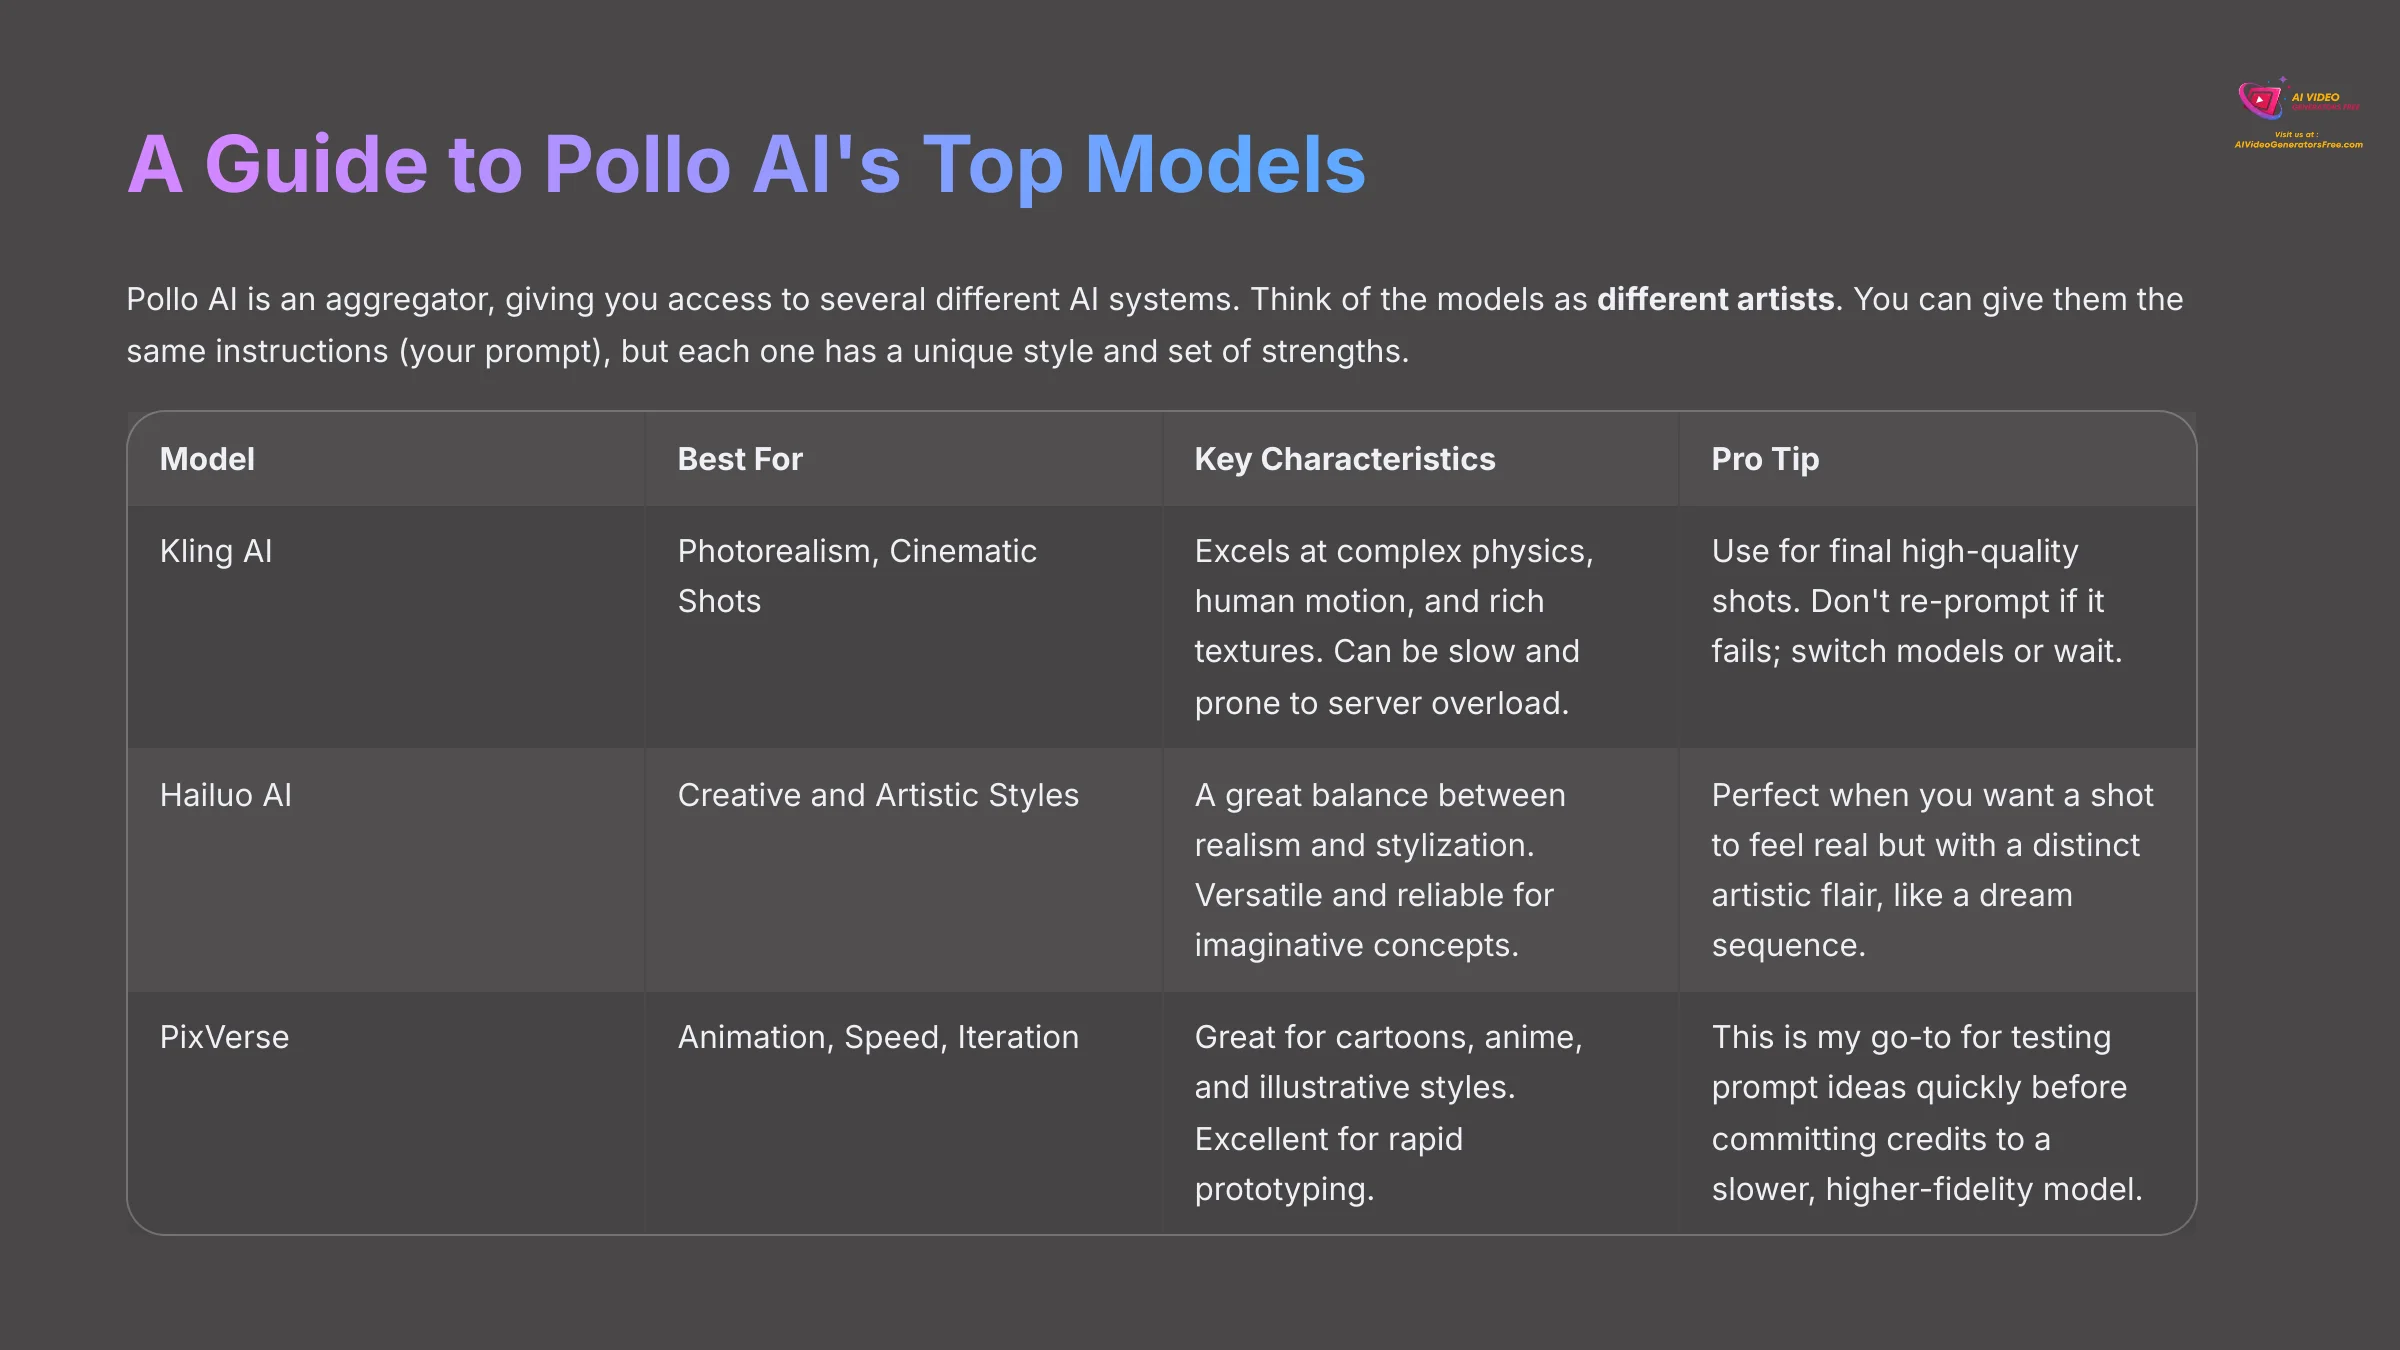
Pollo AI is an aggregator, which means you have access to several different AI systems. Think of the models as different artists. You can give them the same instructions (your prompt), but each one has a unique style and set of strengths. A ‘bad' prompt for one model might be the perfect prompt for another.
Here is a breakdown of the main models you'll use:
| Model | Best For | Key Characteristics | My Pro Tip |
|---|---|---|---|
| Kling AI | Photorealism, Cinematic Shots | Excels at complex physics, human motion, and rich textures. Can be slow and prone to server overload. | Use for final high-quality shots. Don't re-prompt if it fails; switch models or wait. |
| Hailuo AI | Creative and Artistic Styles | A great balance between realism and stylization. Versatile and reliable for imaginative concepts. | Perfect when you want a shot to feel real but with a distinct artistic flair, like a dream sequence. |
| PixVerse | Animation, Speed, Iteration | Great for cartoons, anime, and illustrative styles. Excellent for rapid prototyping. | This is my go-to for testing prompt ideas quickly before committing credits to a slower, higher-fidelity model. |
High-demand models like Kling AI frequently experience server overload, which causes a “Generation Failed” error. This is not your fault. The best solution is to switch to a less busy model for a while or try again during off-peak hours.
Section 3.3: Configuring Key Generation Parameters
You have mastered prompts and models. Now, we will use parameters to fine-tune the final output. These settings give you another layer of precision.
Let's look at the most important ones:
-
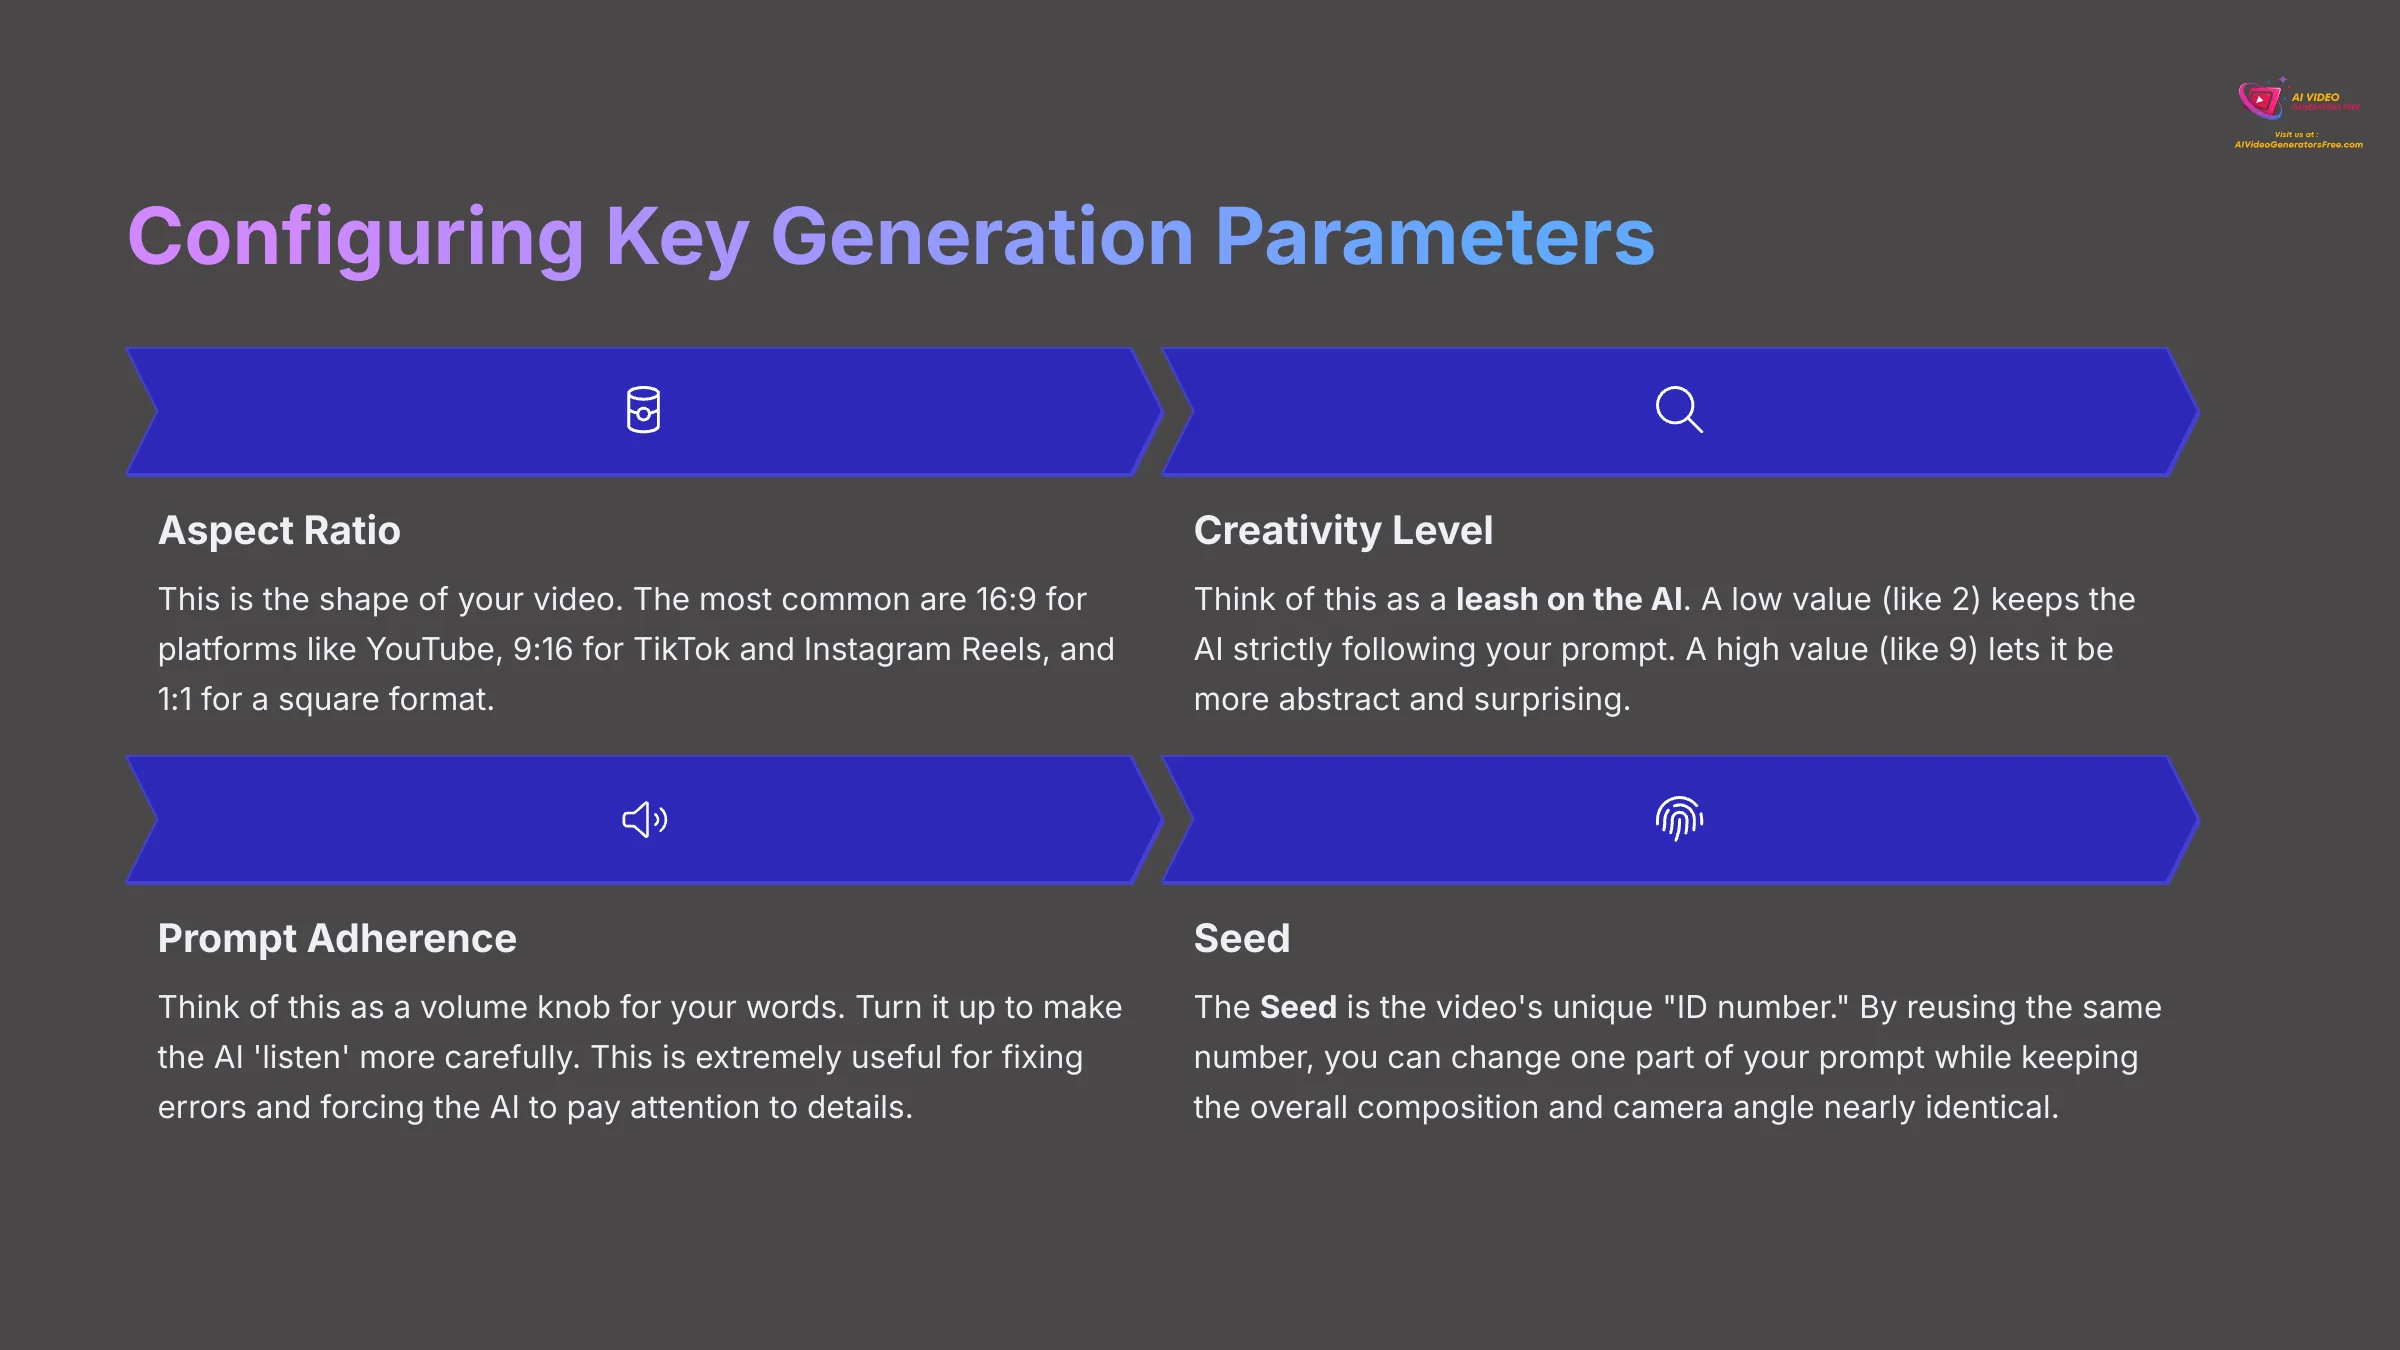
Aspect Ratio: This is the shape of your video. The most common are
16:9for platforms like YouTube,9:16for TikTok and Instagram Reels, and1:1for a square format. - Creativity Level: Think of this as a leash on the AI. A low value (like 2) keeps the AI strictly following your prompt. A high value (like 9) lets it be more abstract and surprising.
- Prompt Adherence: Think of ‘Prompt Adherence' as a volume knob for your words. Turn it up to make the AI ‘listen' more carefully. This is a primary tool for forcing the AI to pay attention to your details, which is extremely useful for fixing errors.
- Seed: The Seed is the video's unique “ID number,” and it's one of my favorite tools for creating consistent scenes. Every video gets one. By reusing that same number, you can change one part of your prompt while keeping the overall composition and camera angle nearly identical.
Here's how you use it:
- Generate a video with the prompt:
a red sports car on a mountain road, cinematic shot. - Find and copy the Seed number from the generated video's details.
- Start a new generation. This time, use the prompt:
a blue sports car on a mountain road, cinematic shot. - Paste the Seed number you copied into the Seed field.
The new video will have the exact same camera movement and road, but the car will now be blue. It's an incredibly powerful technique for creating variations on a theme.
For fixing distorted faces or hands, your two most powerful weapons are setting ‘Prompt Adherence' to its maximum value and adding highly specific descriptions to your negative prompt. This combination solves over 80% of common artifact issues.
Contextual Bridge: From Learning to Problem-Solving
You now have the foundational skills to create videos. But creation is never a perfectly straight line; it's a process of experimenting and fixing things that go wrong. The next section shifts our focus from learning the tools to solving the real-world problems you'll encounter. Mastering this is what separates a beginner from a pro.
Part 4: Troubleshooting Common Issues
Section 4.1: Your Guide to Fixing Failed or Flawed Videos
As you create, you will run into problems. It happens to everyone. The key is knowing how to fix them quickly without wasting time or credits. I used to waste countless credits trying to regenerate a failed prompt on Kling AI over and over, thinking my prompt was broken. The moment I realized it was a server capacity issue and not my fault was a game-changer.
Here are solutions to the most common issues:
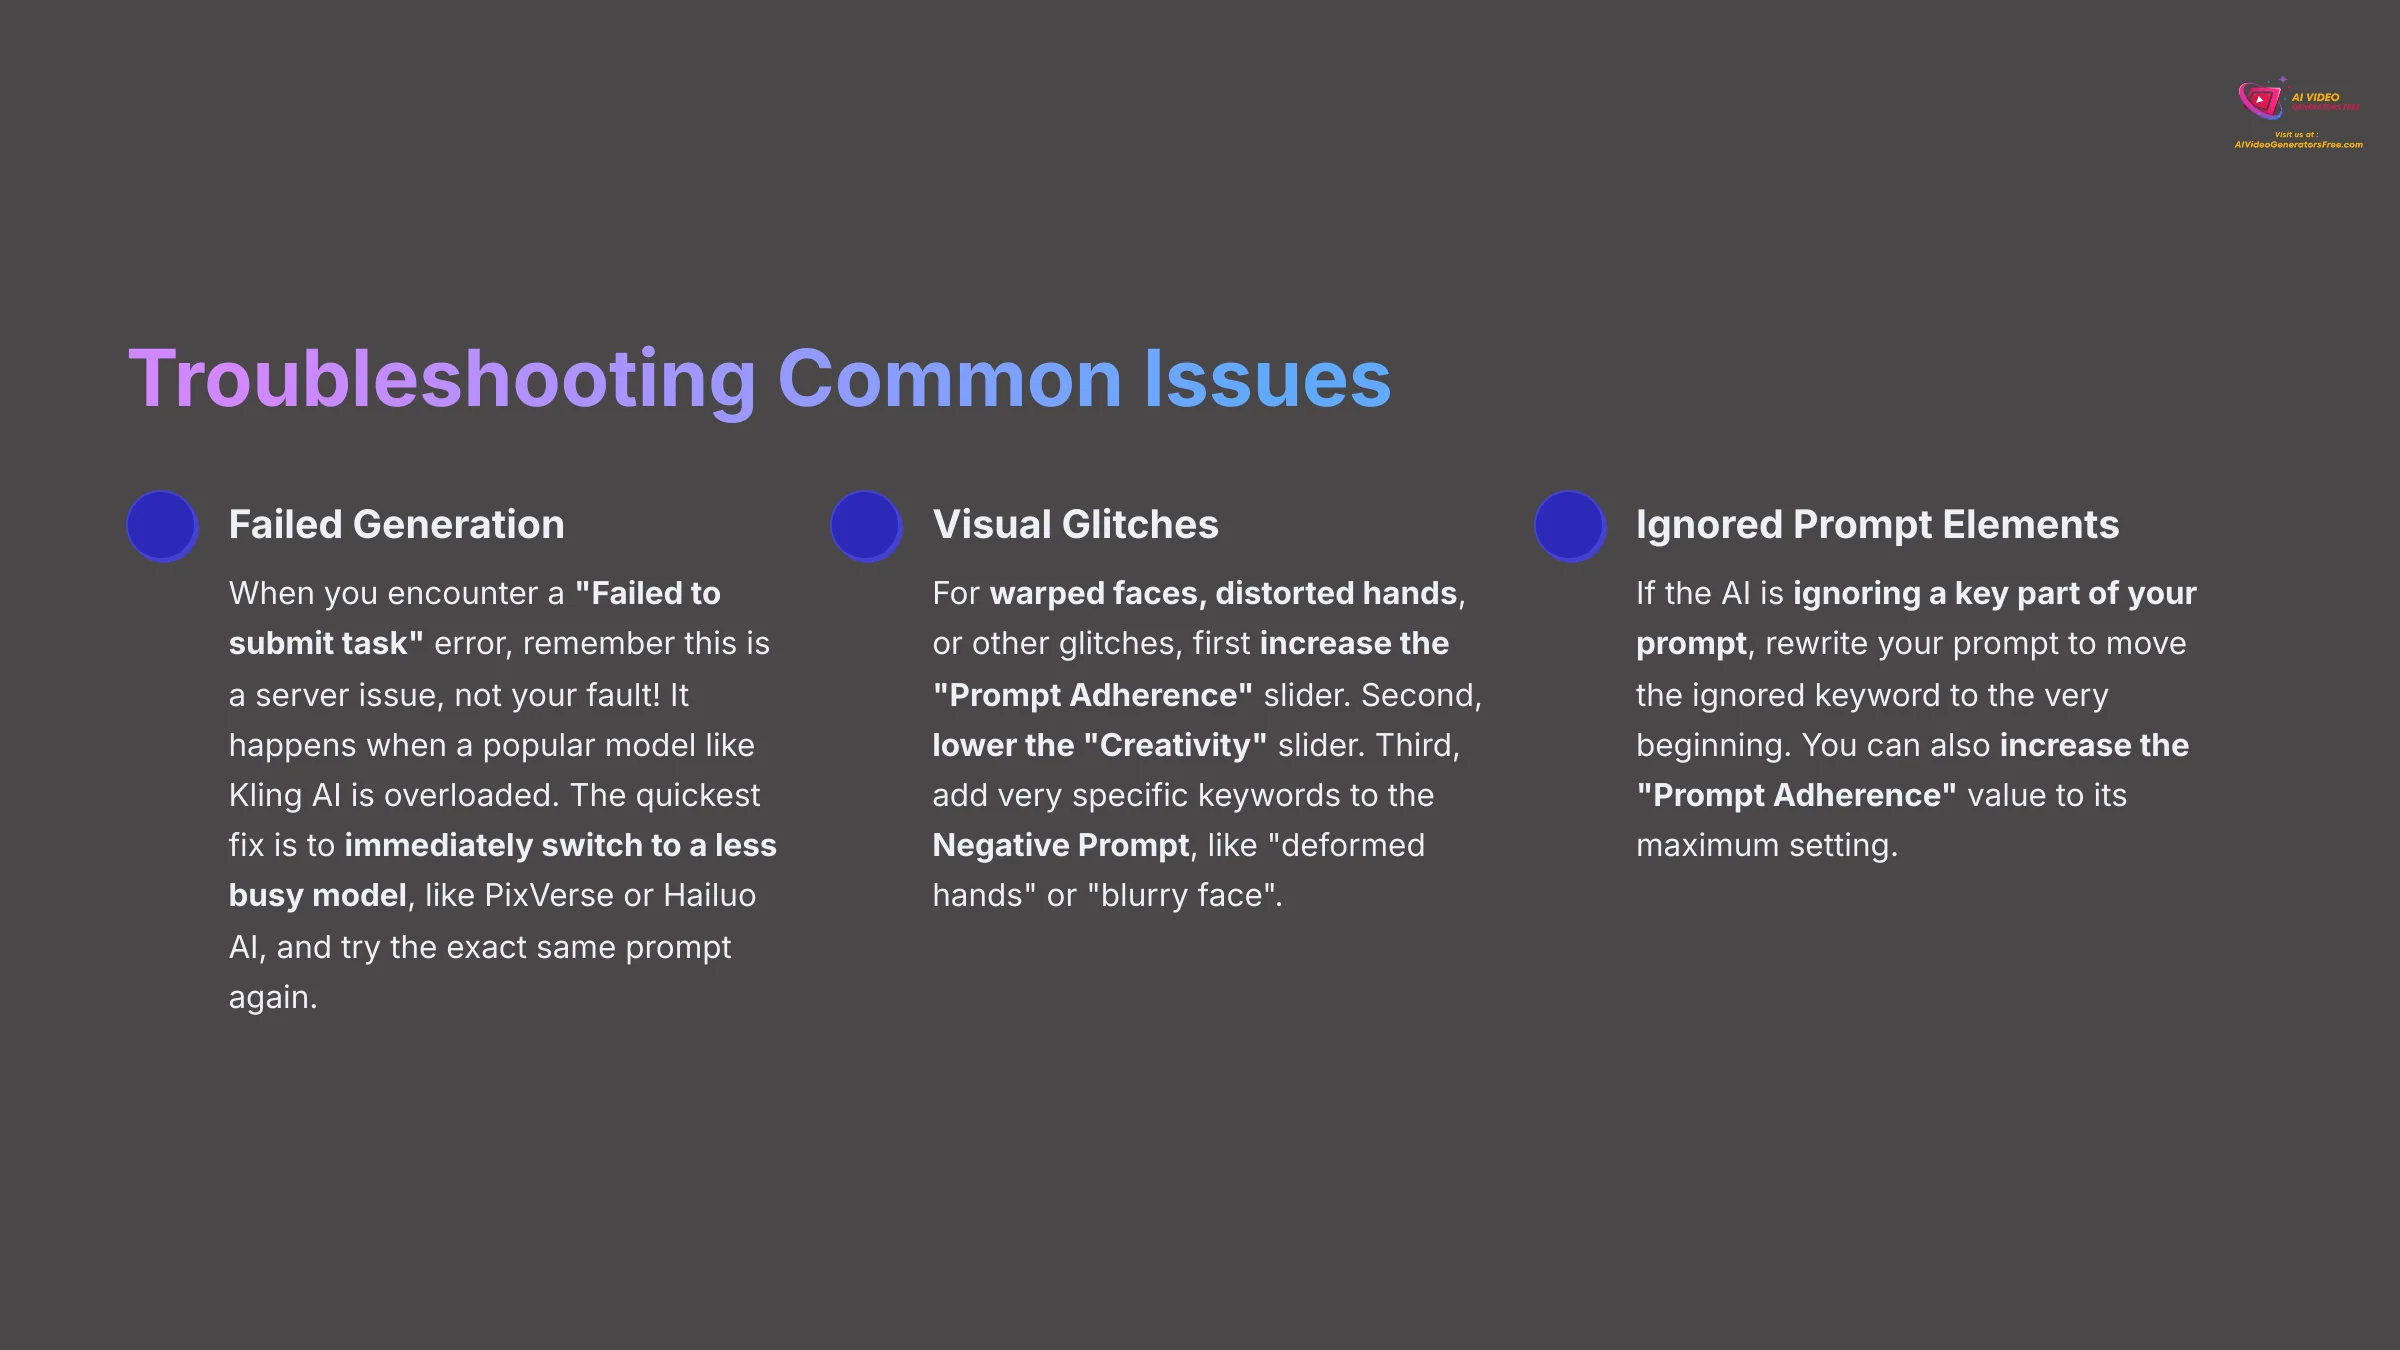
- Problem: My generation failed with a “Failed to submit task” error.
- Solution: This is a server issue, not your fault! It happens when a popular model like Kling AI is overloaded. Your prompt is likely fine. The quickest fix is to immediately switch to a less busy model, like PixVerse or Hailuo AI, and try the exact same prompt again. It will almost always work. Don't waste your credits trying to force it on the busy model.
- Problem: The video has warped faces, distorted hands, or other glitches.
- Solution: This happens when the AI misunderstands or gets too creative. First, increase the “Prompt Adherence” slider. Second, lower the “Creativity” slider. Third, add very specific keywords to the Negative Prompt, like
deformed handsorblurry face.
- Solution: This happens when the AI misunderstands or gets too creative. First, increase the “Prompt Adherence” slider. Second, lower the “Creativity” slider. Third, add very specific keywords to the Negative Prompt, like
- Problem: The AI is ignoring a key part of my prompt.
- Solution: The AI thinks that part of the prompt is not important. To fix this, rewrite your prompt to move the ignored keyword to the very beginning. You can also increase the “Prompt Adherence” value to its maximum setting.
Supplementary Content: Advanced and Creative Techniques
Part 5: Intermediate Techniques for Creative Control
Section 5.1: Bringing Images to Life With the Motion Brush
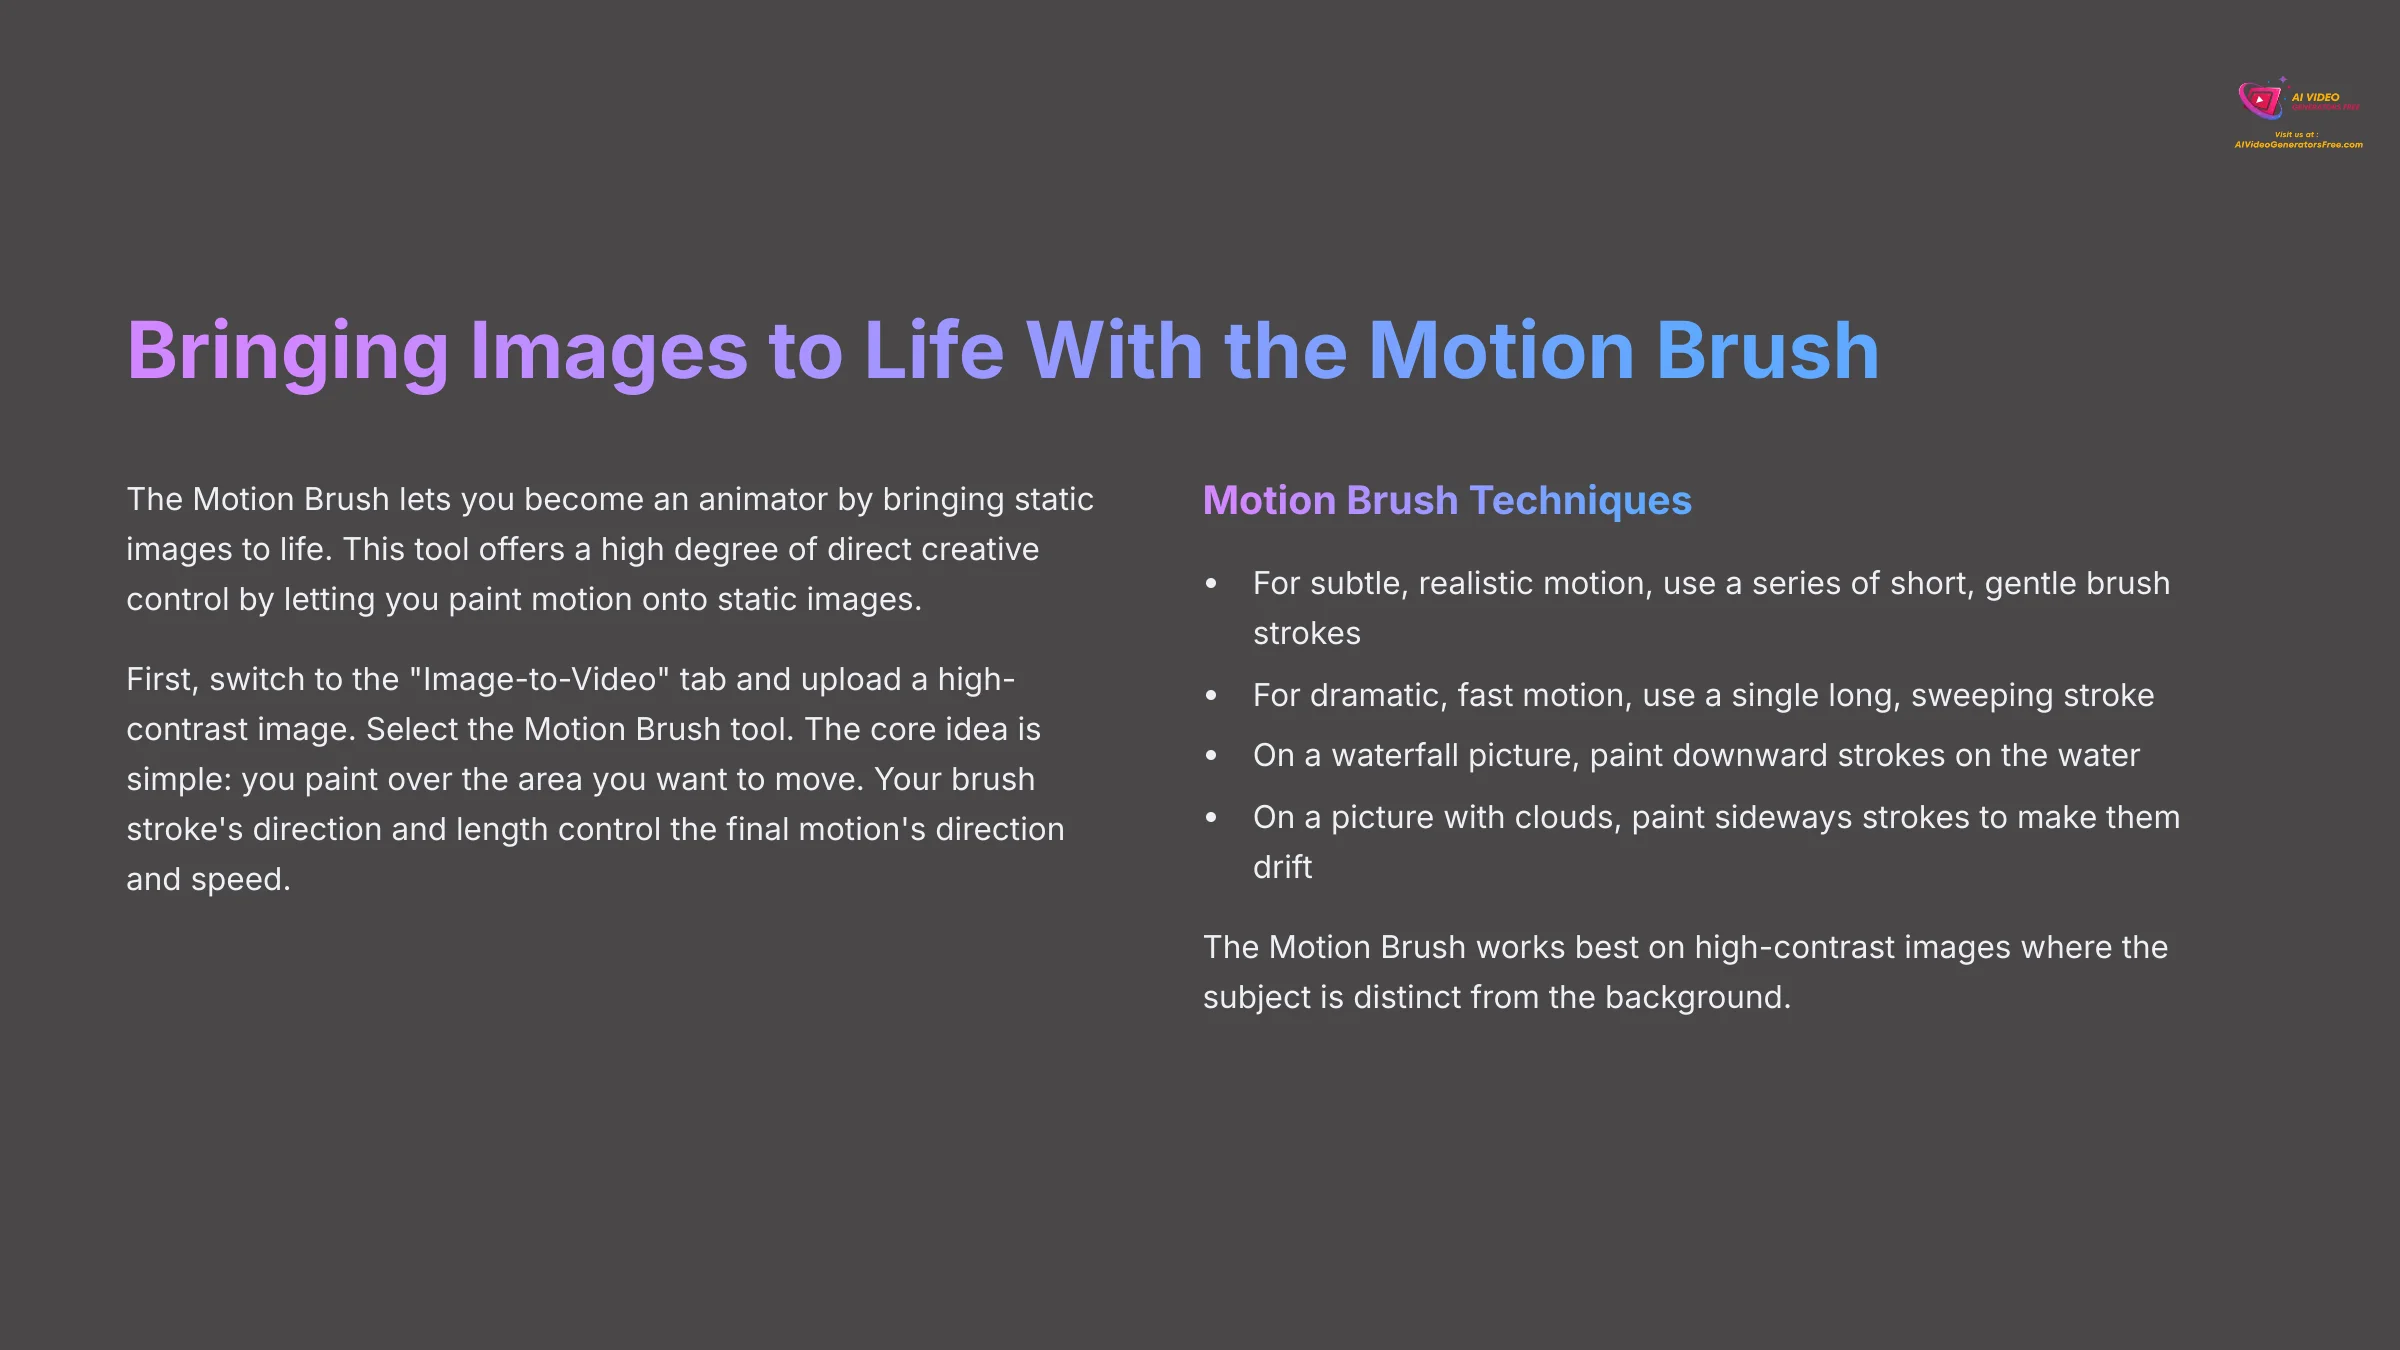
Now we move beyond pure text. The Motion Brush lets you become an animator by bringing static images to life. This tool offers a high degree of direct creative control by letting you paint motion onto static images.
First, switch to the “Image-to-Video” tab and upload a high-contrast image. Select the Motion Brush tool. The core idea is simple: you paint over the area you want to move. Your brush stroke's direction and length control the final motion's direction and speed. For subtle, realistic motion, I use a series of short, gentle brush strokes. For dramatic, fast motion, a single long, sweeping stroke works better.
For example, on a picture of a waterfall, you would paint downward strokes on the water. On a picture with clouds, you would paint sideways strokes to make them drift. The Motion Brush works best on high-contrast images where the subject is distinct from the background. Low-contrast images can result in messy animation.
Section 5.2: Creating Consistent Characters Across Scenes
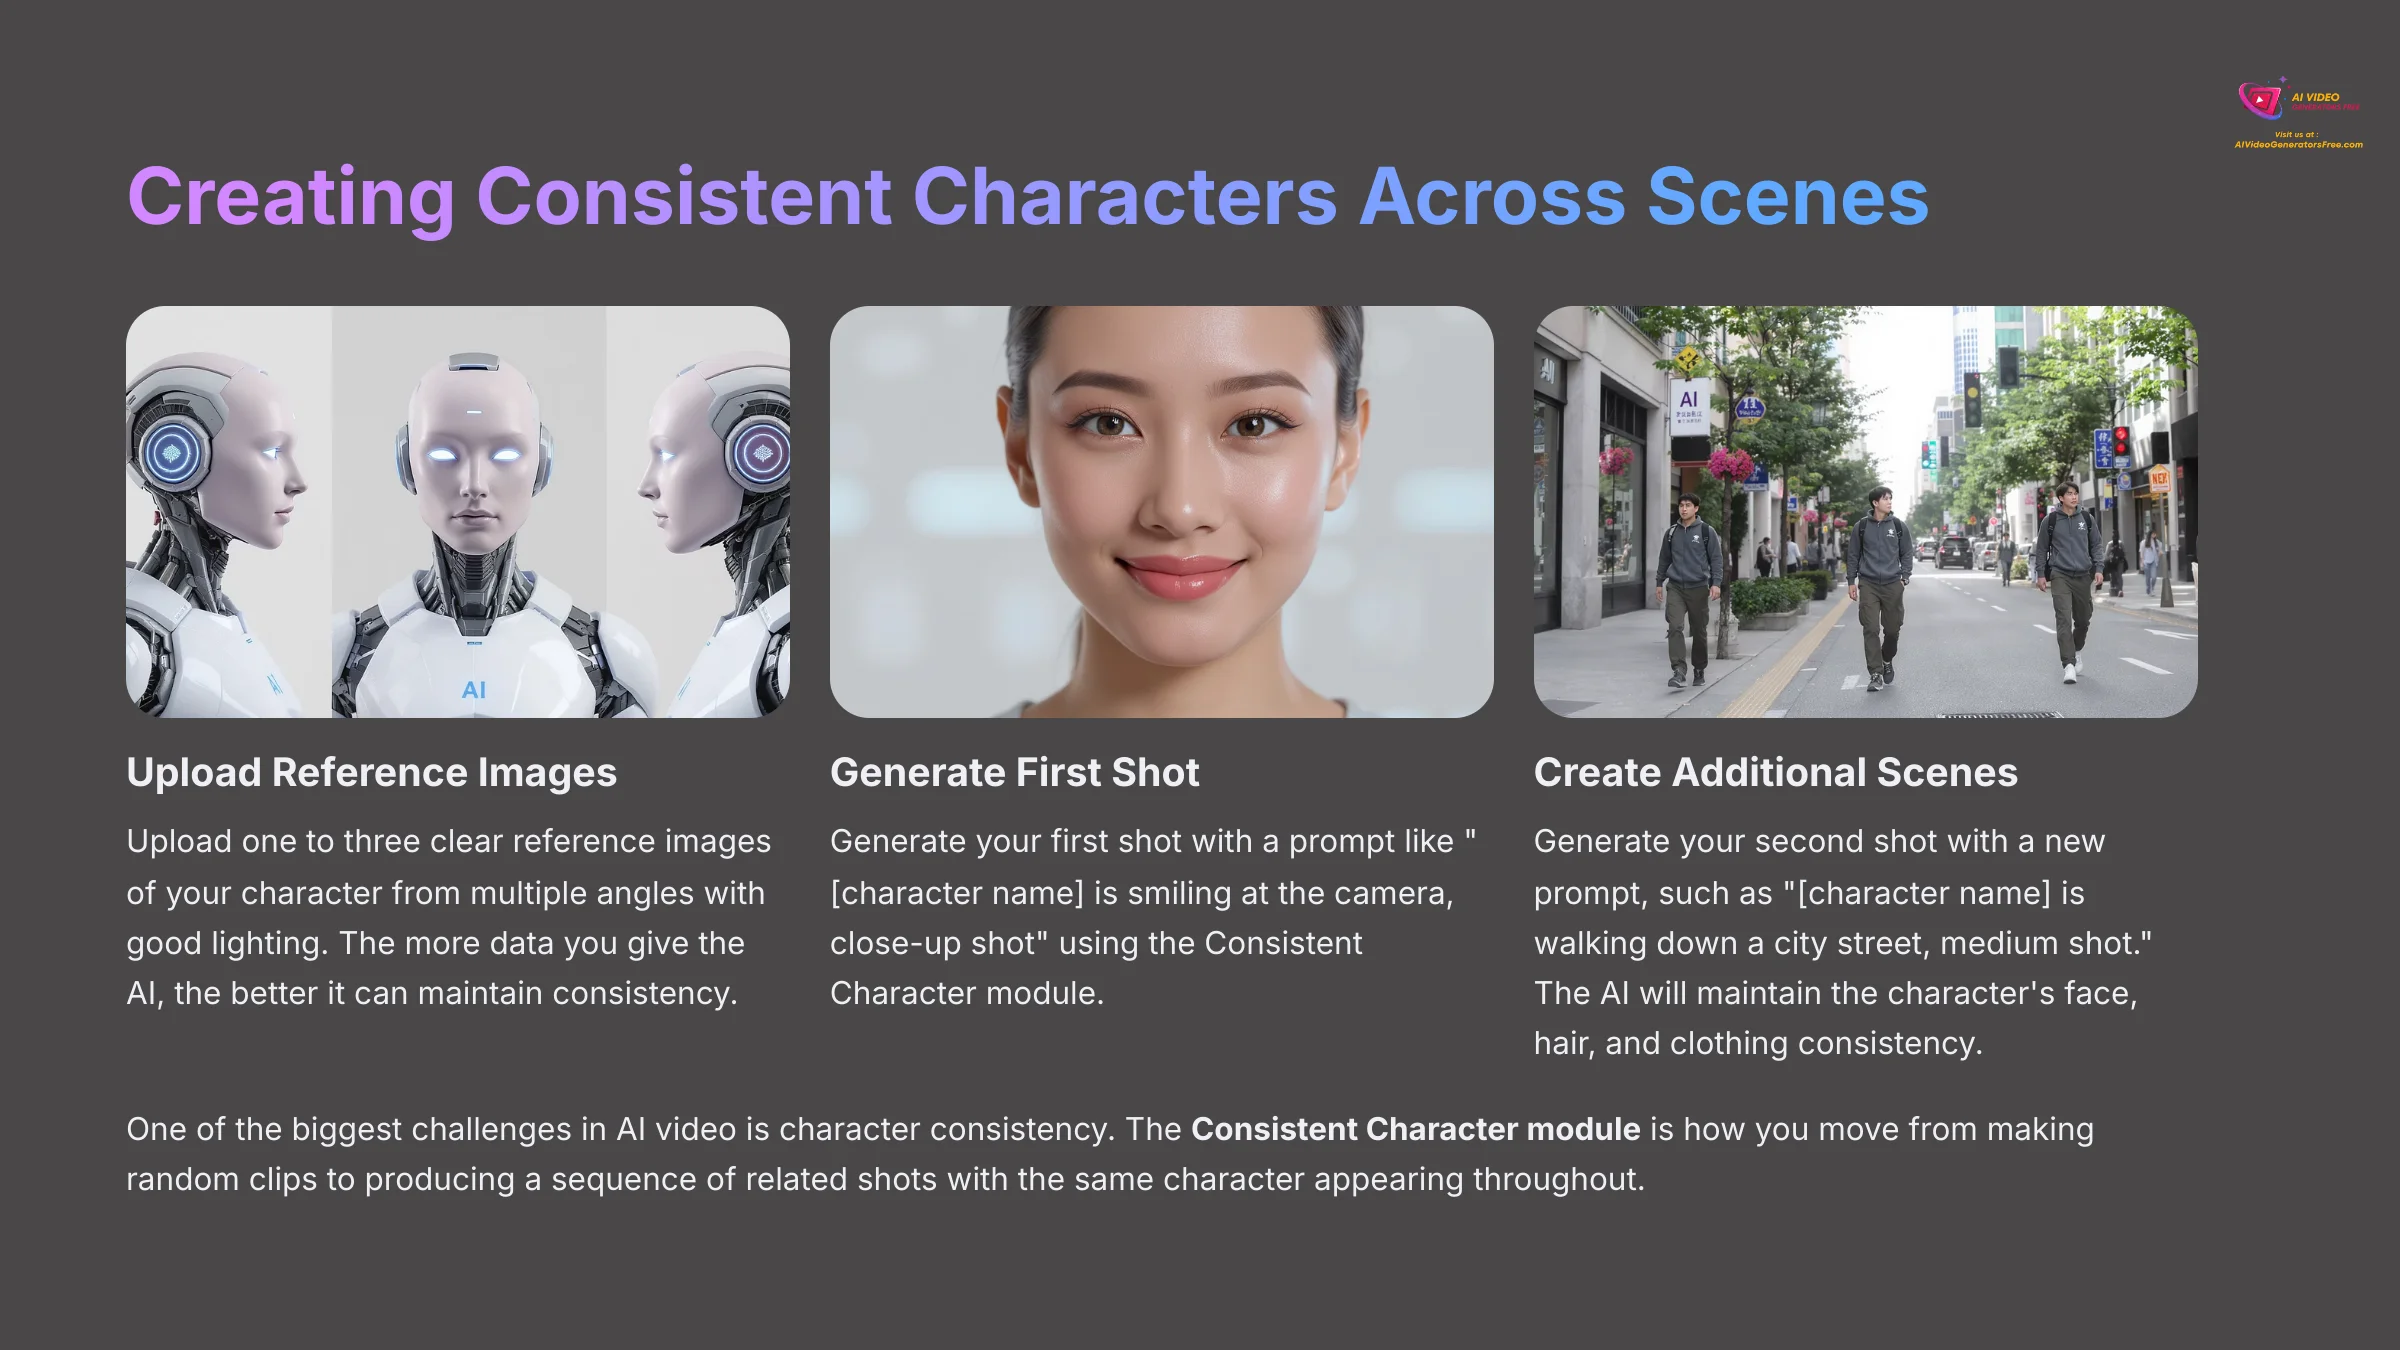
One of the biggest challenges in AI video is character consistency. You will likely get two different men if you generate two separate clips of “a man walking.” This makes telling a story impossible. But Pollo AI has a solution: the Consistent Character module.
This feature is how you move from making random clips to producing a sequence of related shots. First, you must activate the module in the advanced settings. Then, you upload one to three clear reference images of your character. For the best results, your reference images should show the character from multiple angles with good lighting. The more data you give the AI, the better it can maintain consistency.
The workflow is straightforward. You upload your character images. Then you generate your first shot with a prompt like [character name] is smiling at the camera, close-up shot. After that, you generate your second shot with a new prompt, such as [character name] is walking down a city street, medium shot. The AI will use your reference images to keep the character's face, hair, and clothing consistent between the two clips.
Part 6: Advanced Workflows and Your Next Steps in AI Video
Section 6.1: Pro Workflow: Upscaling and Post-Processing
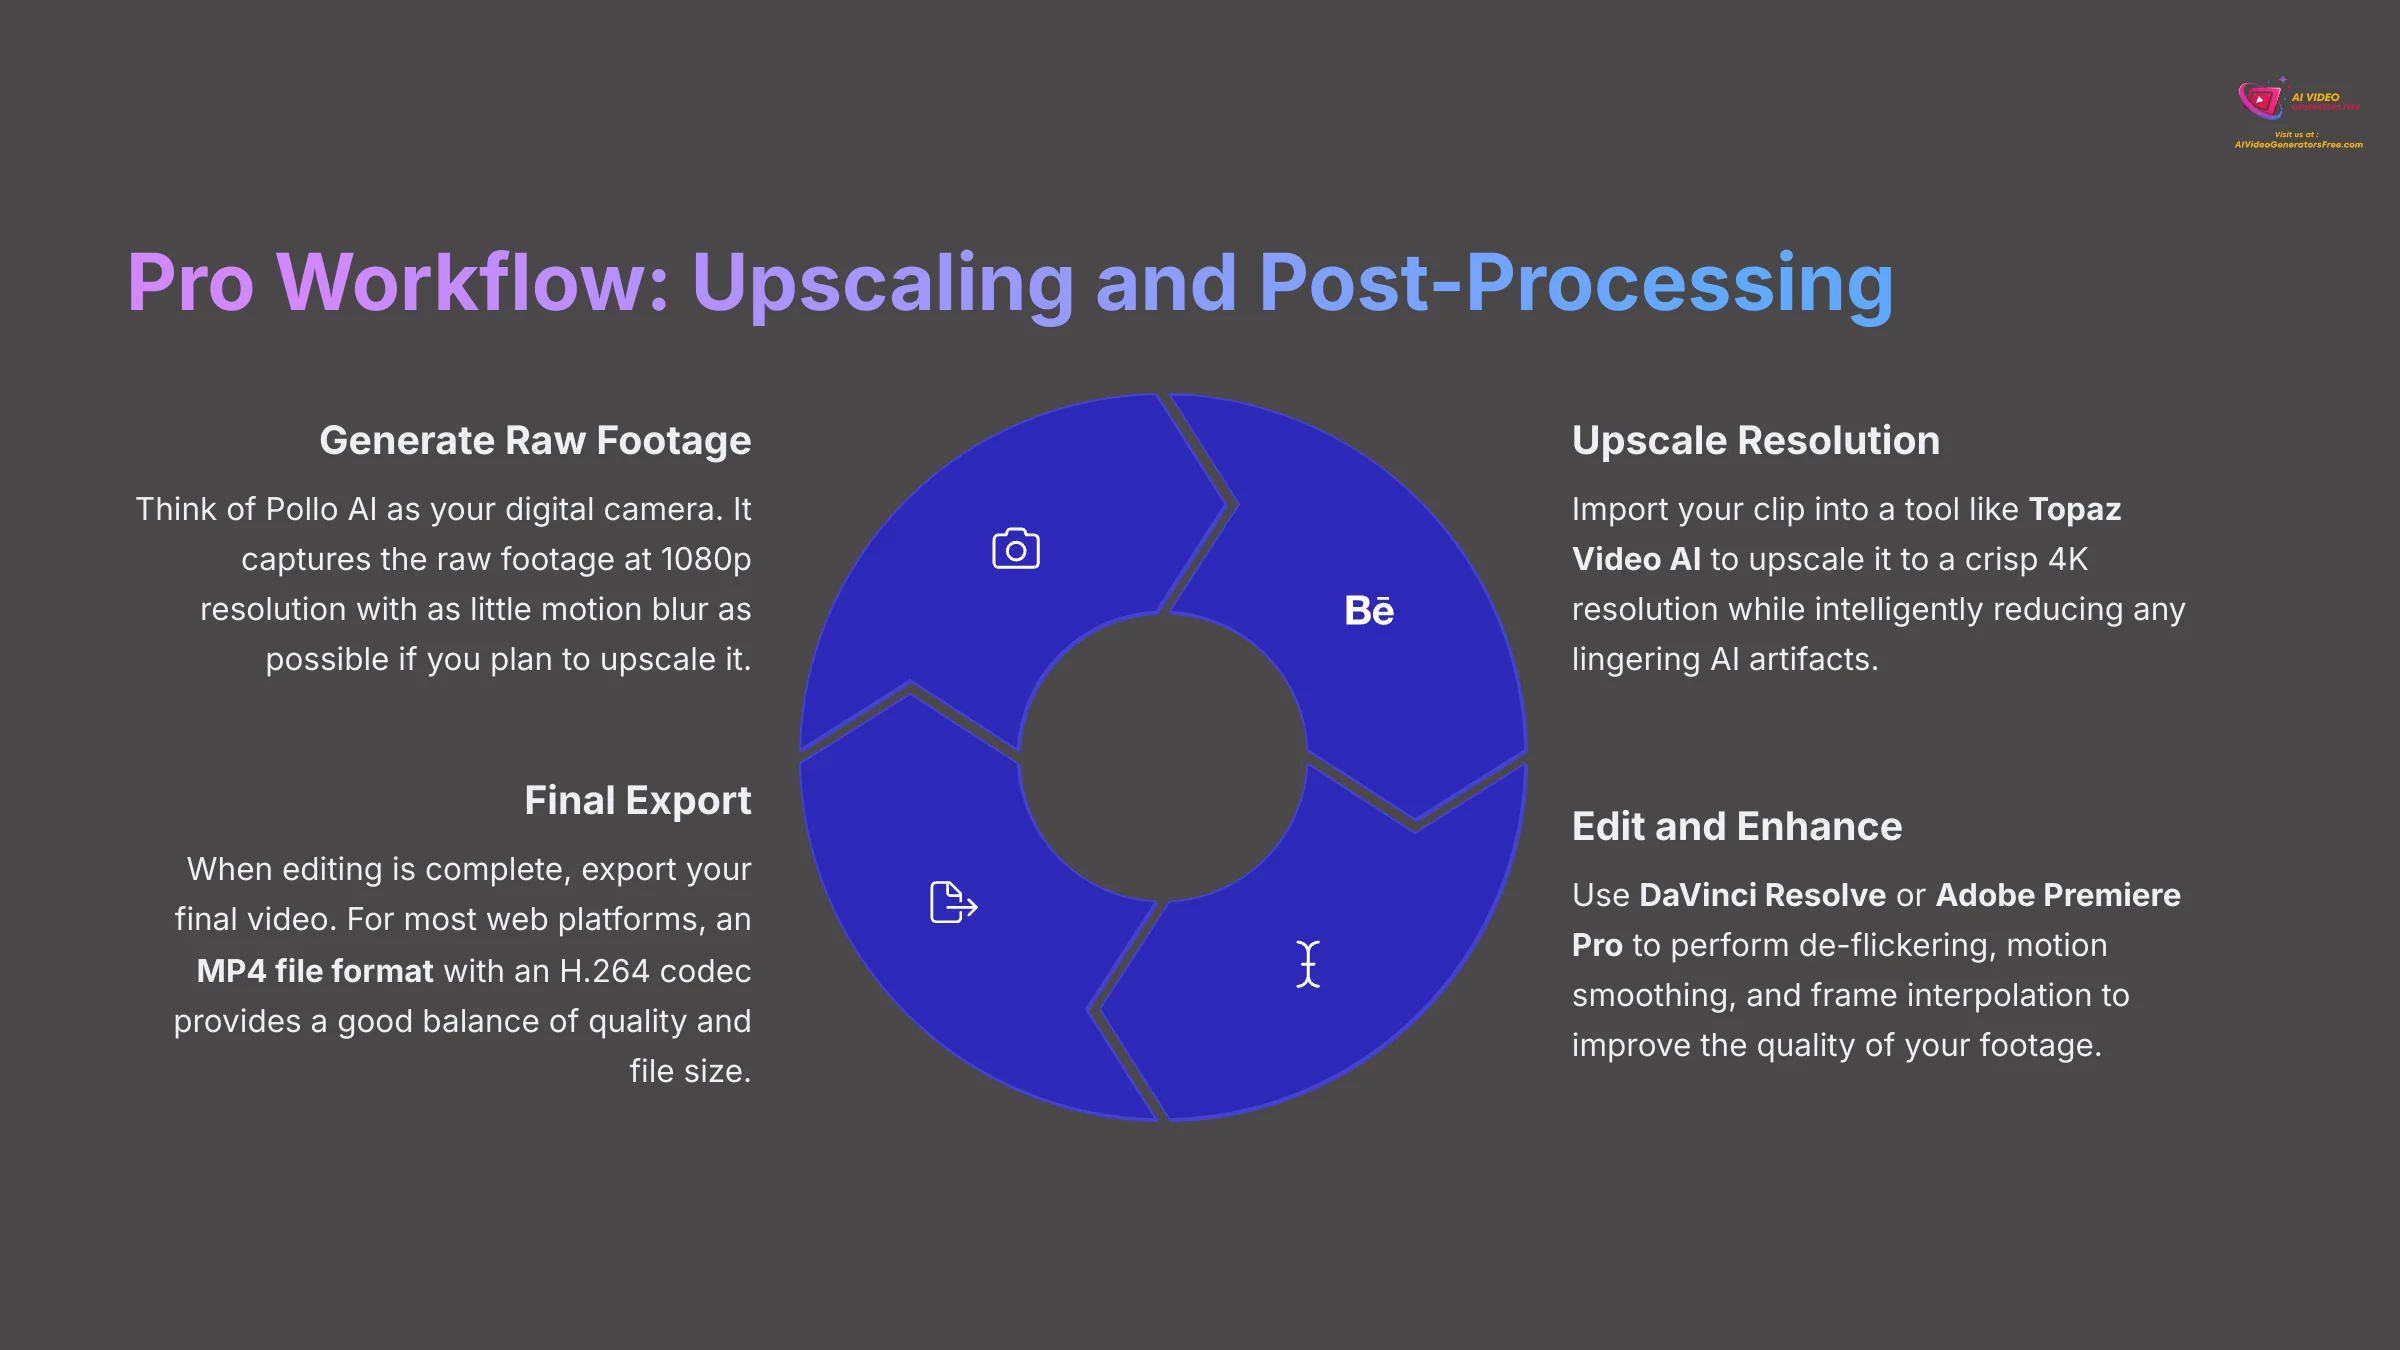
Think of Pollo AI as your digital camera. It captures the raw footage. To finish the film, you need an editing suite. A professional workflow always involves post-processing to improve AI-generated clips into a polished final video.
The most common steps are upscaling and editing. For upscaling, I recommend a tool like Topaz Video AI. You can generate a clip at 1080p in Pollo AI, import it into Topaz, and then upscale it to a crisp 4K resolution while the software intelligently reduces any lingering AI artifacts. Always generate your source footage with as little motion blur as possible to plan to upscale it.
AI-generated video often has unique artifacts that post-processing can solve. Beyond simple upscaling, you will often perform tasks like:
- De-flickering: AI video can sometimes have subtle brightness or color shifts between frames, creating a “flicker.” Specialized plugins in DaVinci Resolve or Adobe After Effects can smooth this out.
- Motion Smoothing / Frame Interpolation: The motion in a clip feels slightly jittery if tools like Topaz Video AI can use AI to insert new frames, resulting in a higher frame rate (e.g., converting 24fps to a silky-smooth 60fps).
- Final Export: When editing is complete, you will export your final video. For most web platforms, an MP4 file format with an H.264 codec is the standard for a good balance of quality and file size.
For editing, you can use a free tool like DaVinci Resolve or a paid one like Adobe Premiere Pro. You import multiple clips from Pollo AI into the editor. There you can sequence them to tell a story, add transitions, perform color grading, and complete the project with music and sound effects.
Section 6.2: Conclusion: Your Future in AI Video Generation
You have come a long way. You have progressed from the basics of prompts and models, through troubleshooting common problems, to using creative tools like the Motion Brush and finally, to understanding a professional workflow. You now have a solid foundation.
AI video is changing at an incredible pace. The skills you've learned here are your starting point. My experience shows that the most successful creators are the ones who stay curious, constantly experiment, and engage with the community to learn new tricks as they emerge. I encourage you to join the official Pollo AI Discord community to share your work and learn from others. Continue exploring our resources at AI Video Generators Free for more tutorials.
You've come a long way, and you're now equipped with a complete toolkit. You understand prompts, you can choose the right model, and you know how to bring an image to life. This is your foundation. The most successful creators are the ones who stay curious and never stop experimenting. So take these skills, join the community, and start creating. I am genuinely excited to see the incredible things you'll make.
Pollo AI Tutorial: A Beginner's Guide to Creating Videos from Text Prompts
Reviews
There are no reviews yet.